When you click on links to various merchants on this site and make a purchase, this can result in this site earning a commission. Affiliate programs and affiliations include, but are not limited to, the eBay Partner Network.
It is a very indepth listing this guy put together listing lots of brake/undercarriage stuff on Chevelles. The block thing is about halfway down the page - he says it was OE on Chevelles with disc brakes. Lots of good stuff, not sure how much crosses over to our cars, but impressive nonetheless. I was beginning to develop the theory after finding out it fits Chevrolet that since the rear end is Type C, that maybe the whole frame/undercarriage is from another car, but turns out I was wrong - see next post. Very possible the car originally did not have PWB since it did not have PS - is the hole in the firewall for manual brake cars the same as one for a car with power brakes? I've never had or worked on one.
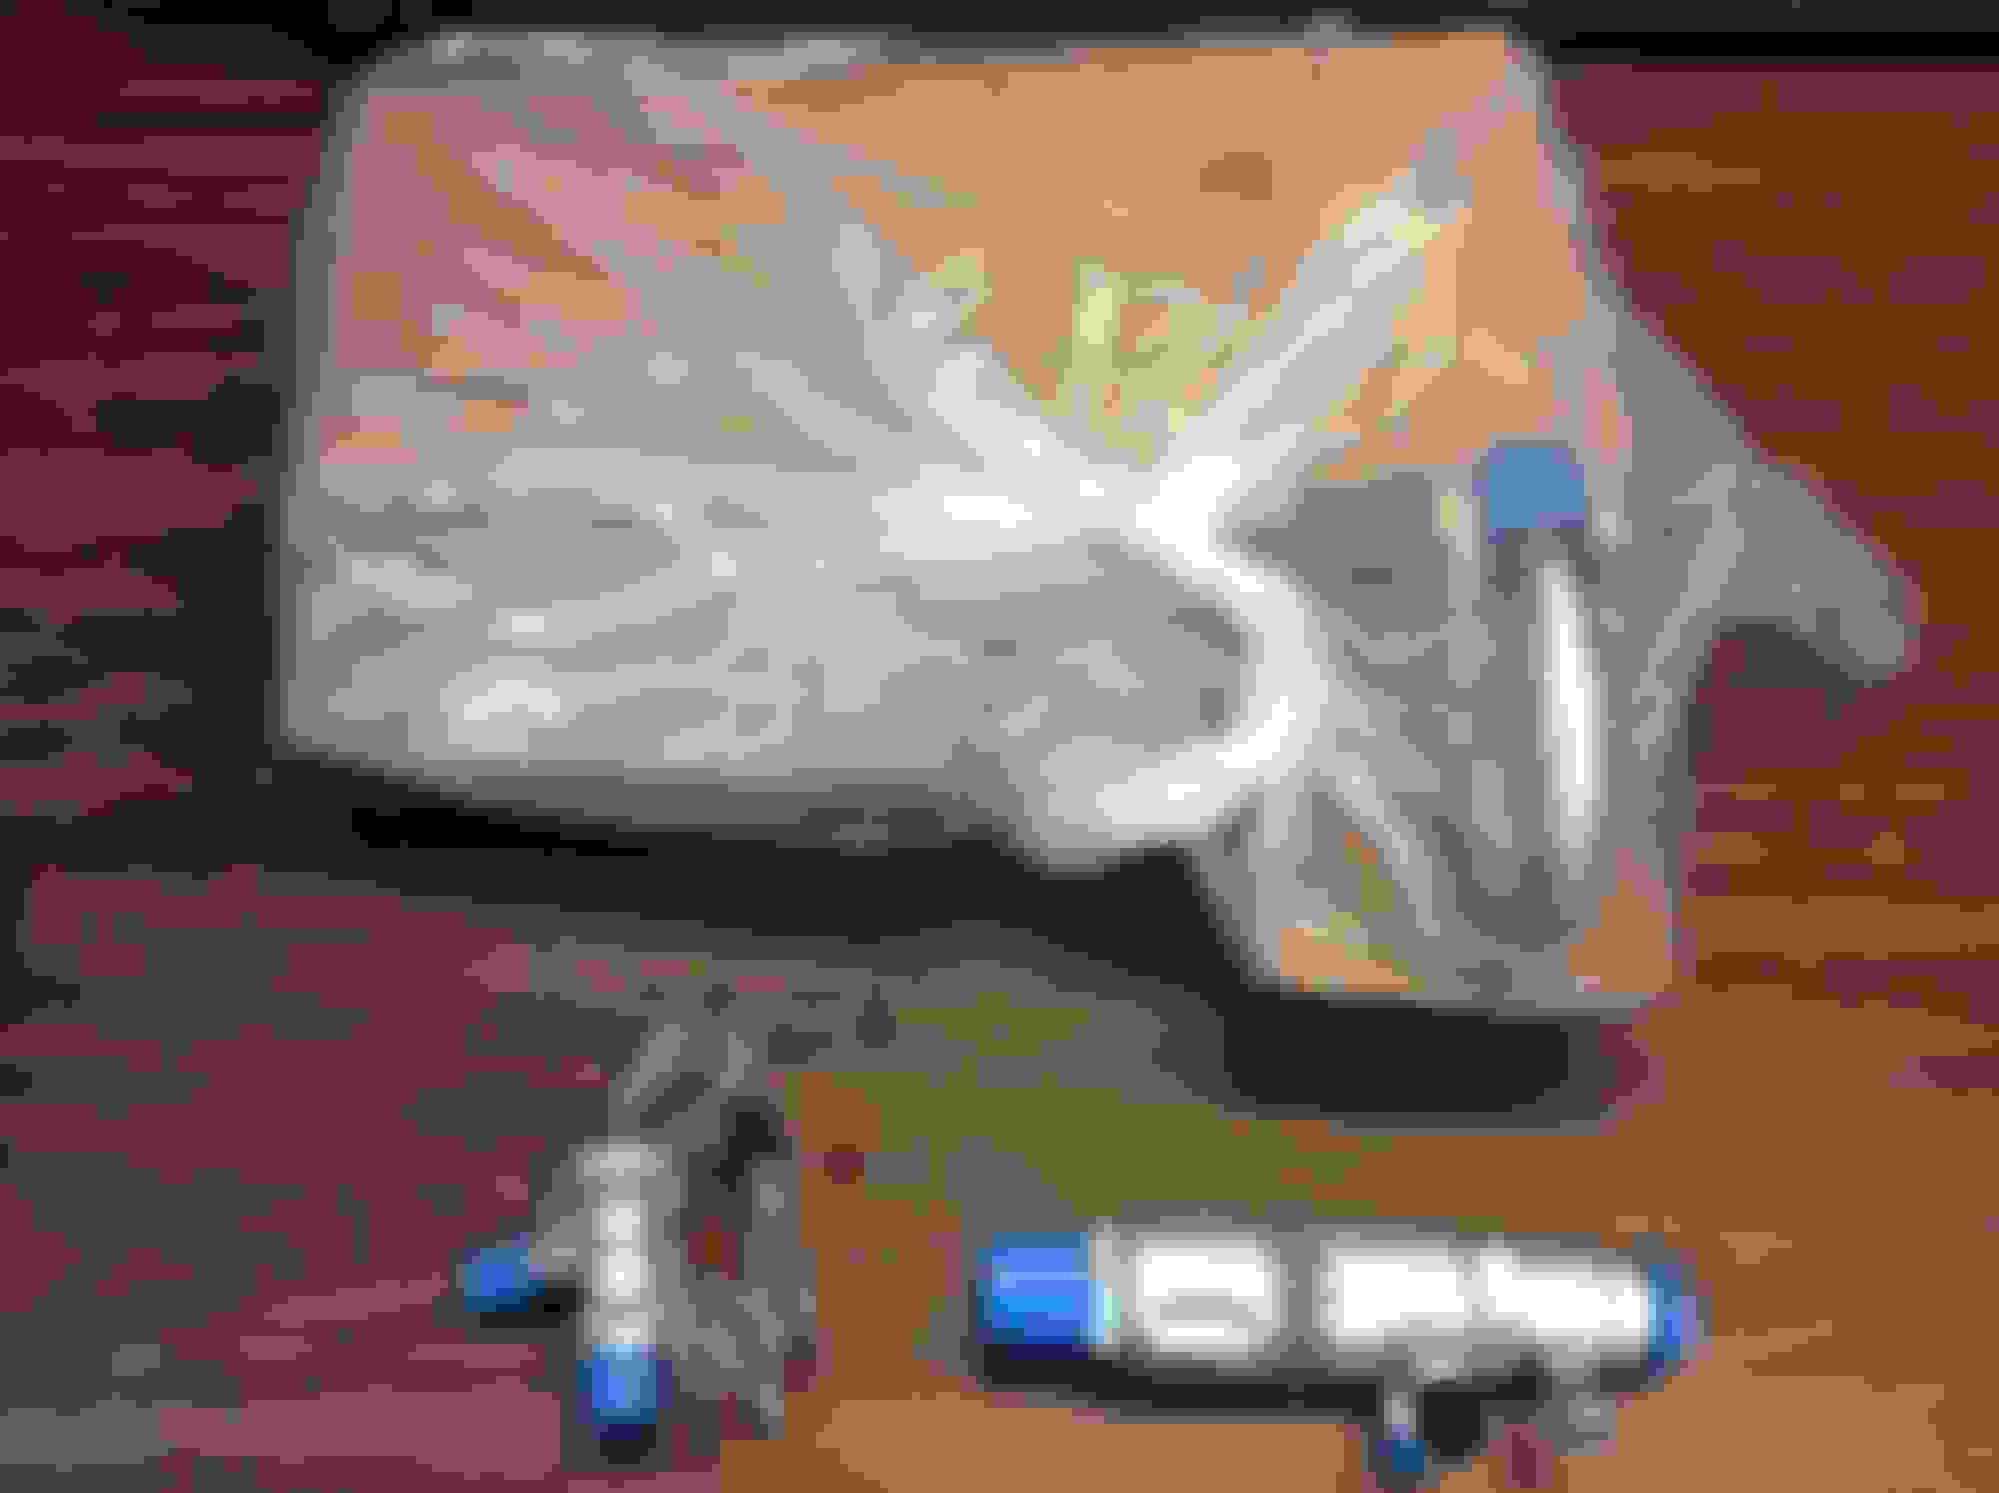
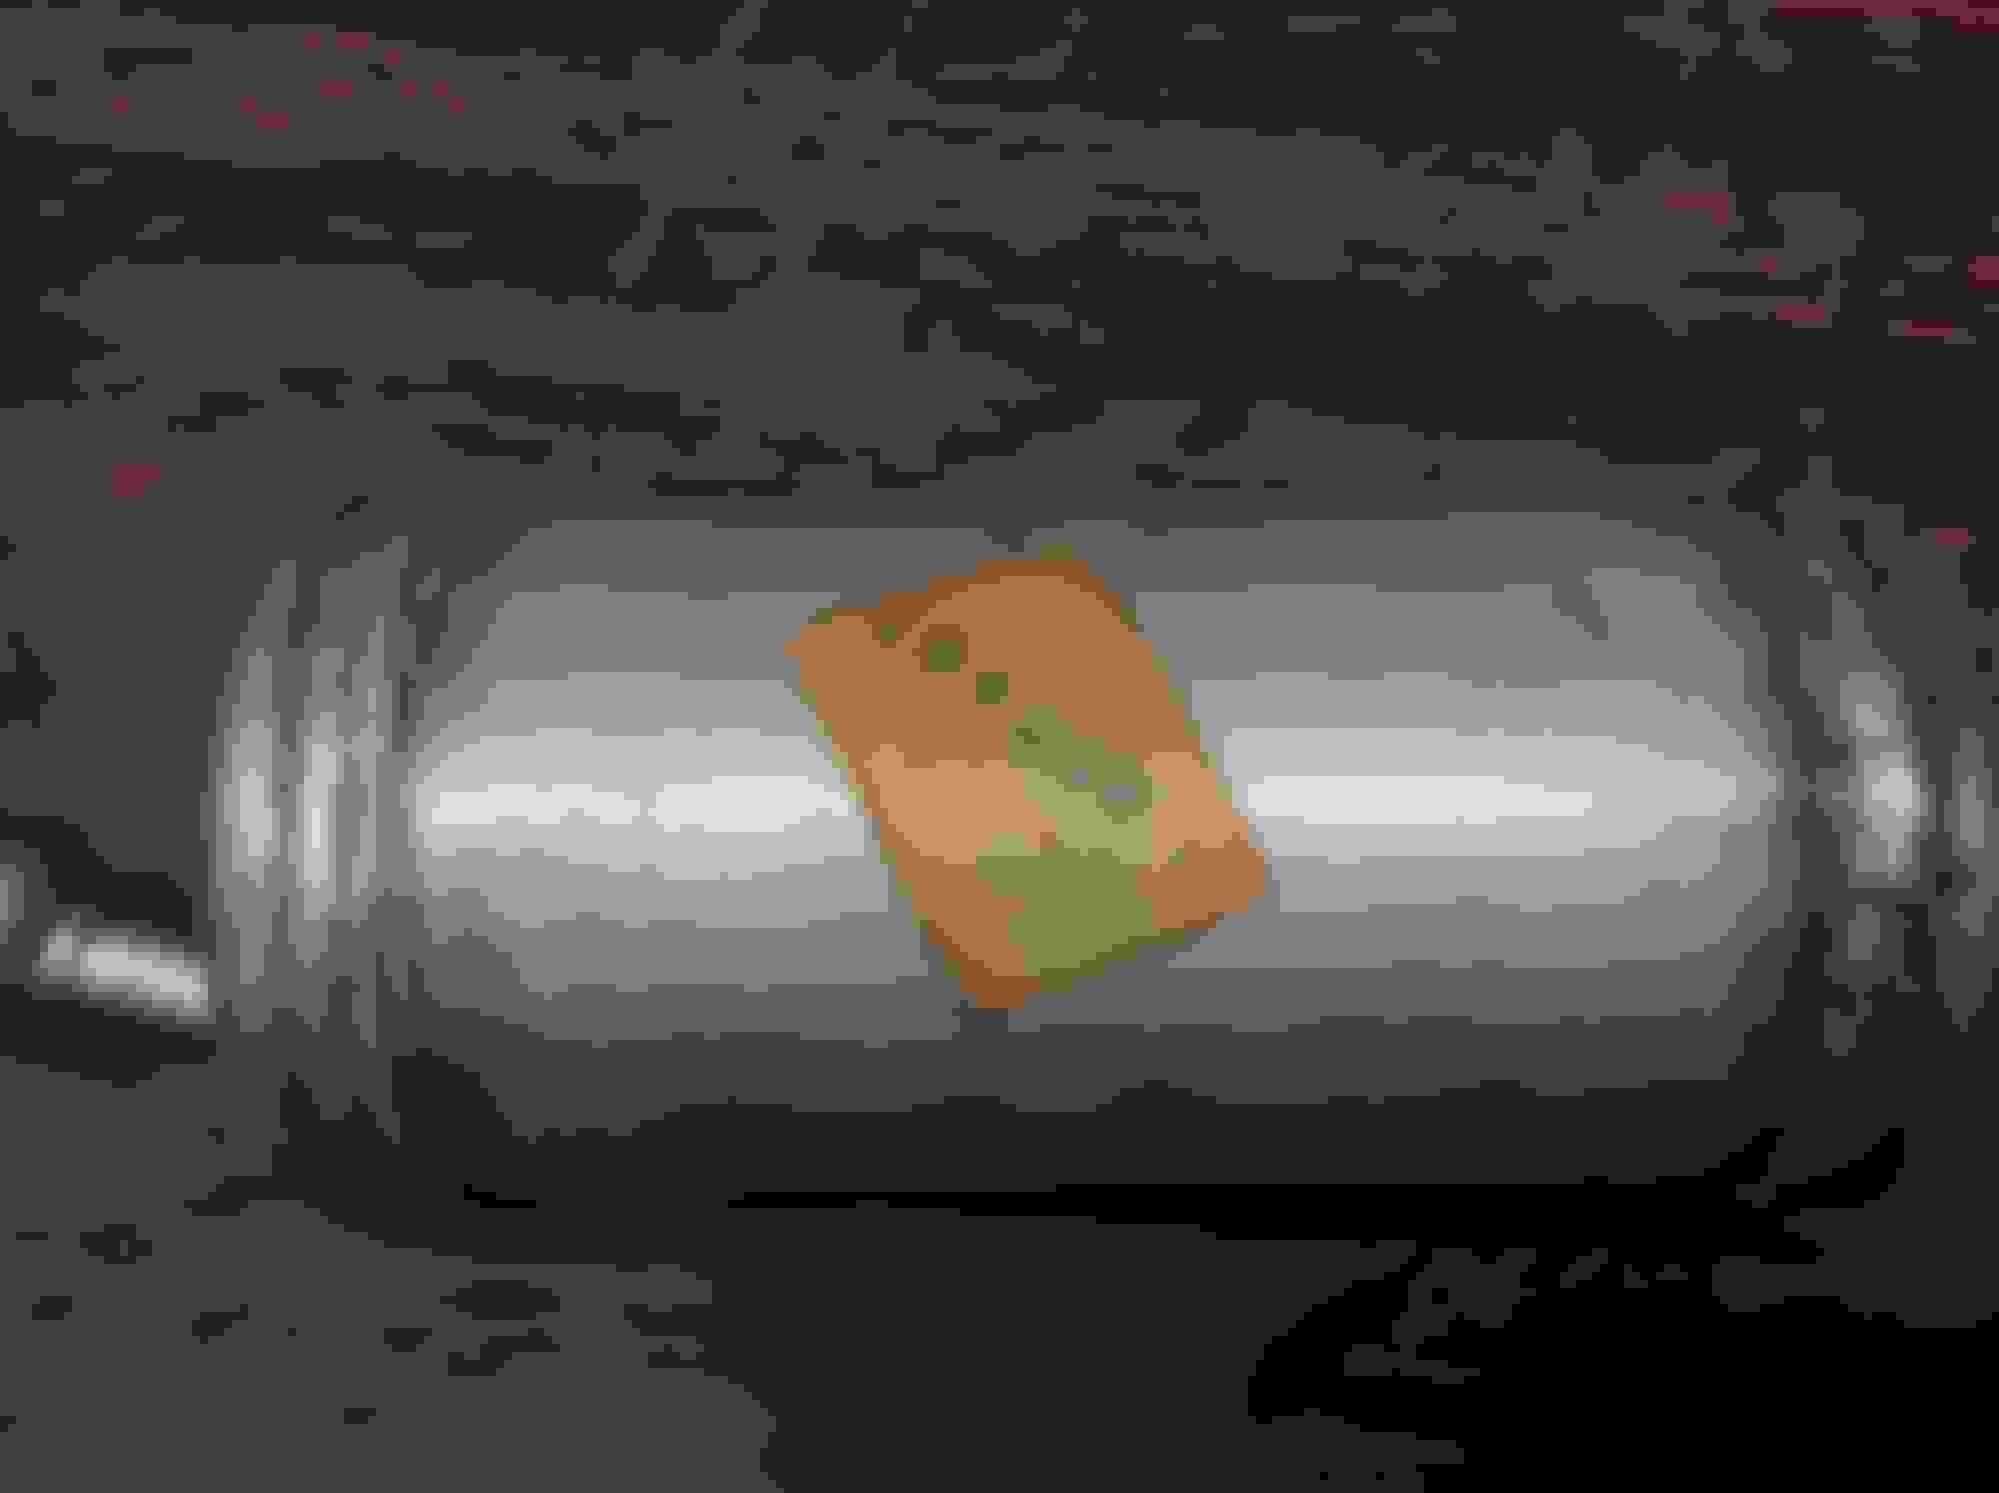
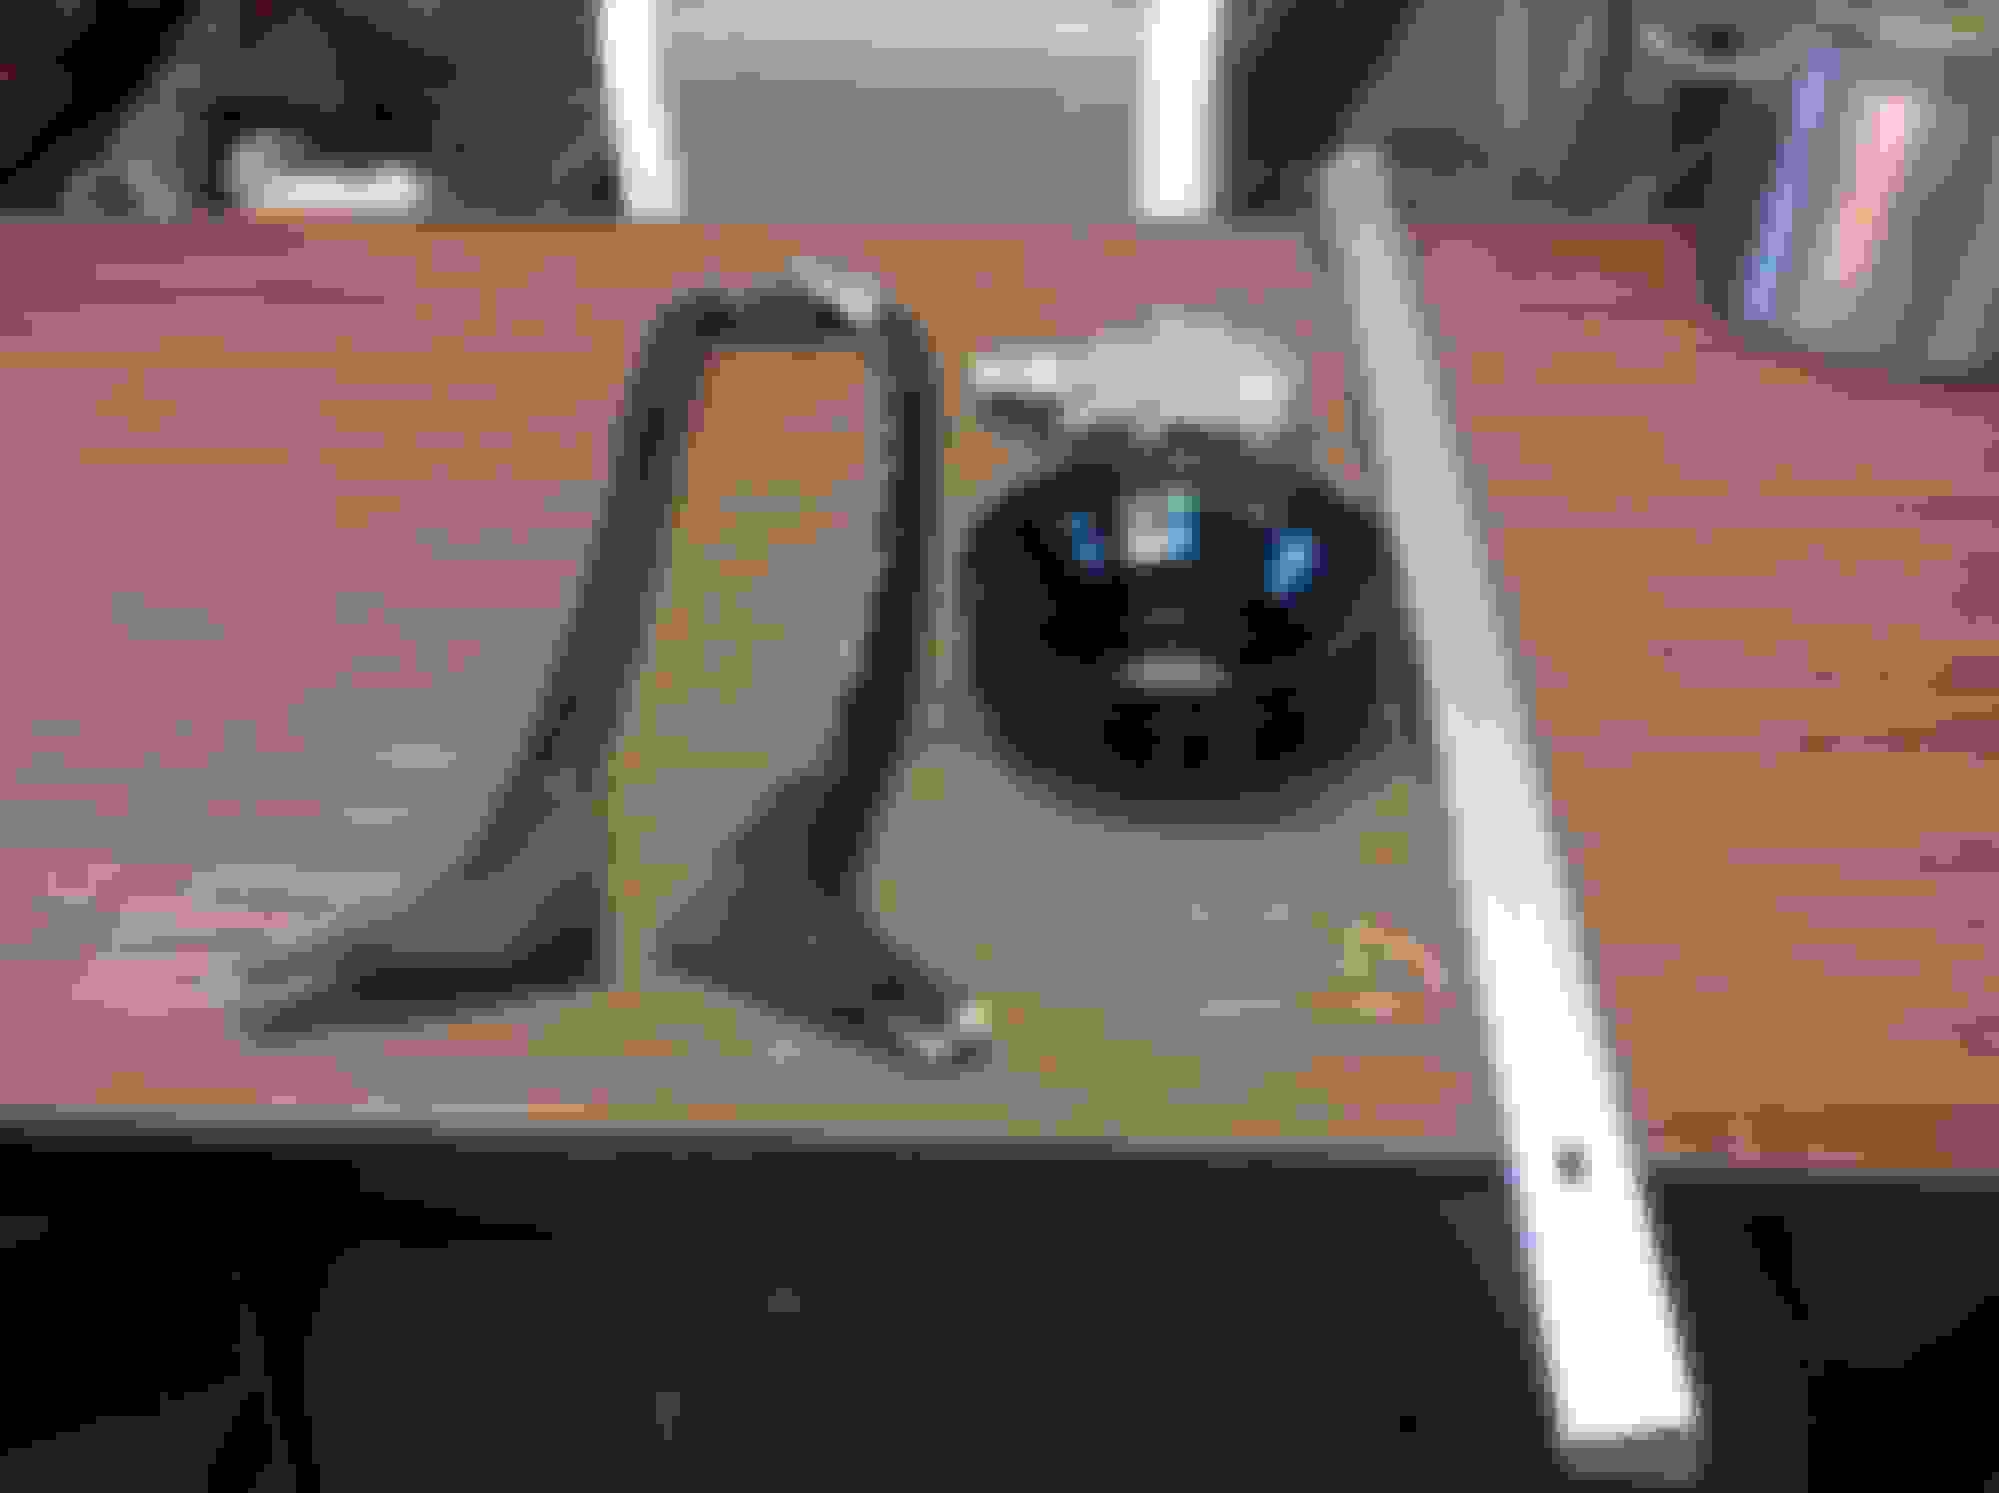
Guess what I found today as I was cleaning the garage? The long lost distribution block from my Fremont Build 442. To make things more interesting note that the bracket is not held on by screws. I cannot find a part number only a patent number on the bracket.
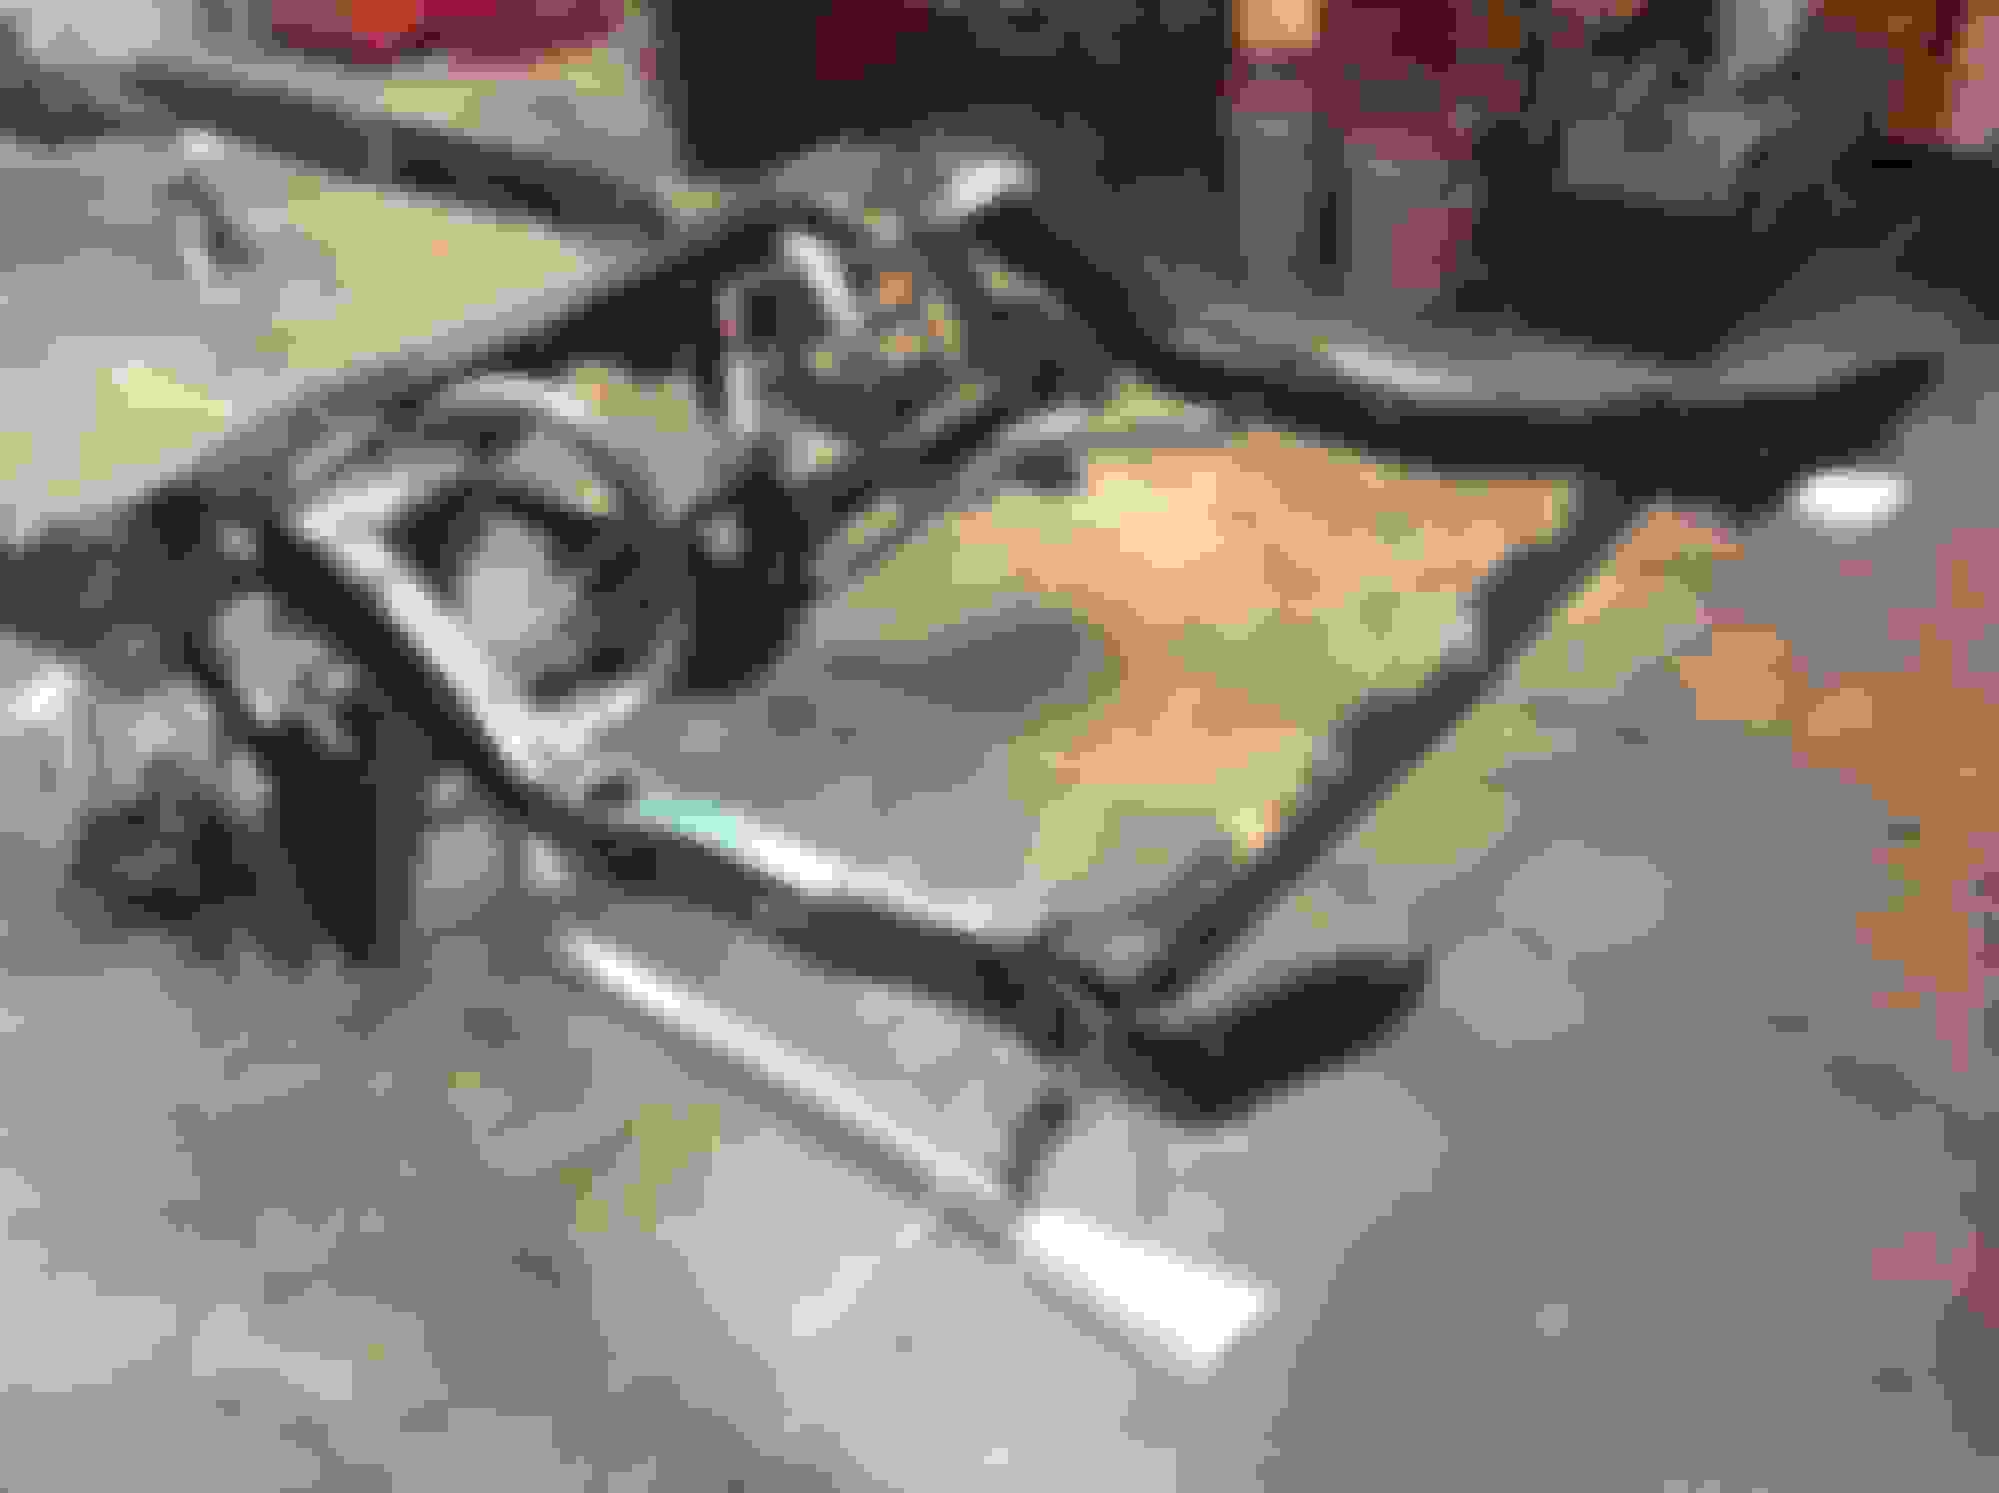
My garage is pretty small, and the Gardner Exhaust system boxes are big. I like having plenty of workspace, so I went ahead and unpacked the tailpipes and hung them on the car. If I can get the enigine in before the chassis has to go back to the painter, I will install the mufflers and head pipes before it leaves. Also am going to finish installing the rear brakes now since I have a little time, ran the cables but somehow have misplaced the #@!?# parking brake arms. I don't think anybody makes these, so I am on the hunt.
Parking brake arms??? You mean the "hooks" used to hold the intermediate cable (2 smaller and one bigger one on the trans crossmember)??
If so....your buddies at ILT have all of them.
If instead you mean the "spreader bars" in the rear brake assembly...then ILT as well.
Patton, it is the thing on the left - and you are right they are reproduced, but I don't think anyone catalogs them for a Olds listing. Damn they are proud of this stamped steel stuff that fits a million applications!
Does this car have an AM/FM radio? This is one of the few items I am still looking for the restoration of my 1971 Cutlass Supreme.
I don't know how it was originally equipped, but it had a 70 AM radio in it when it was disassembled. Greg Godon hooked us up with a excellent used unit at a fraction of the cost of getting the old one rebuilt.
Last edited by costpenn; Aug 18, 2018 at 07:47 PM.
Just to keep the the work logged (7 hours - 3 hours yesterday, 4 hours today)
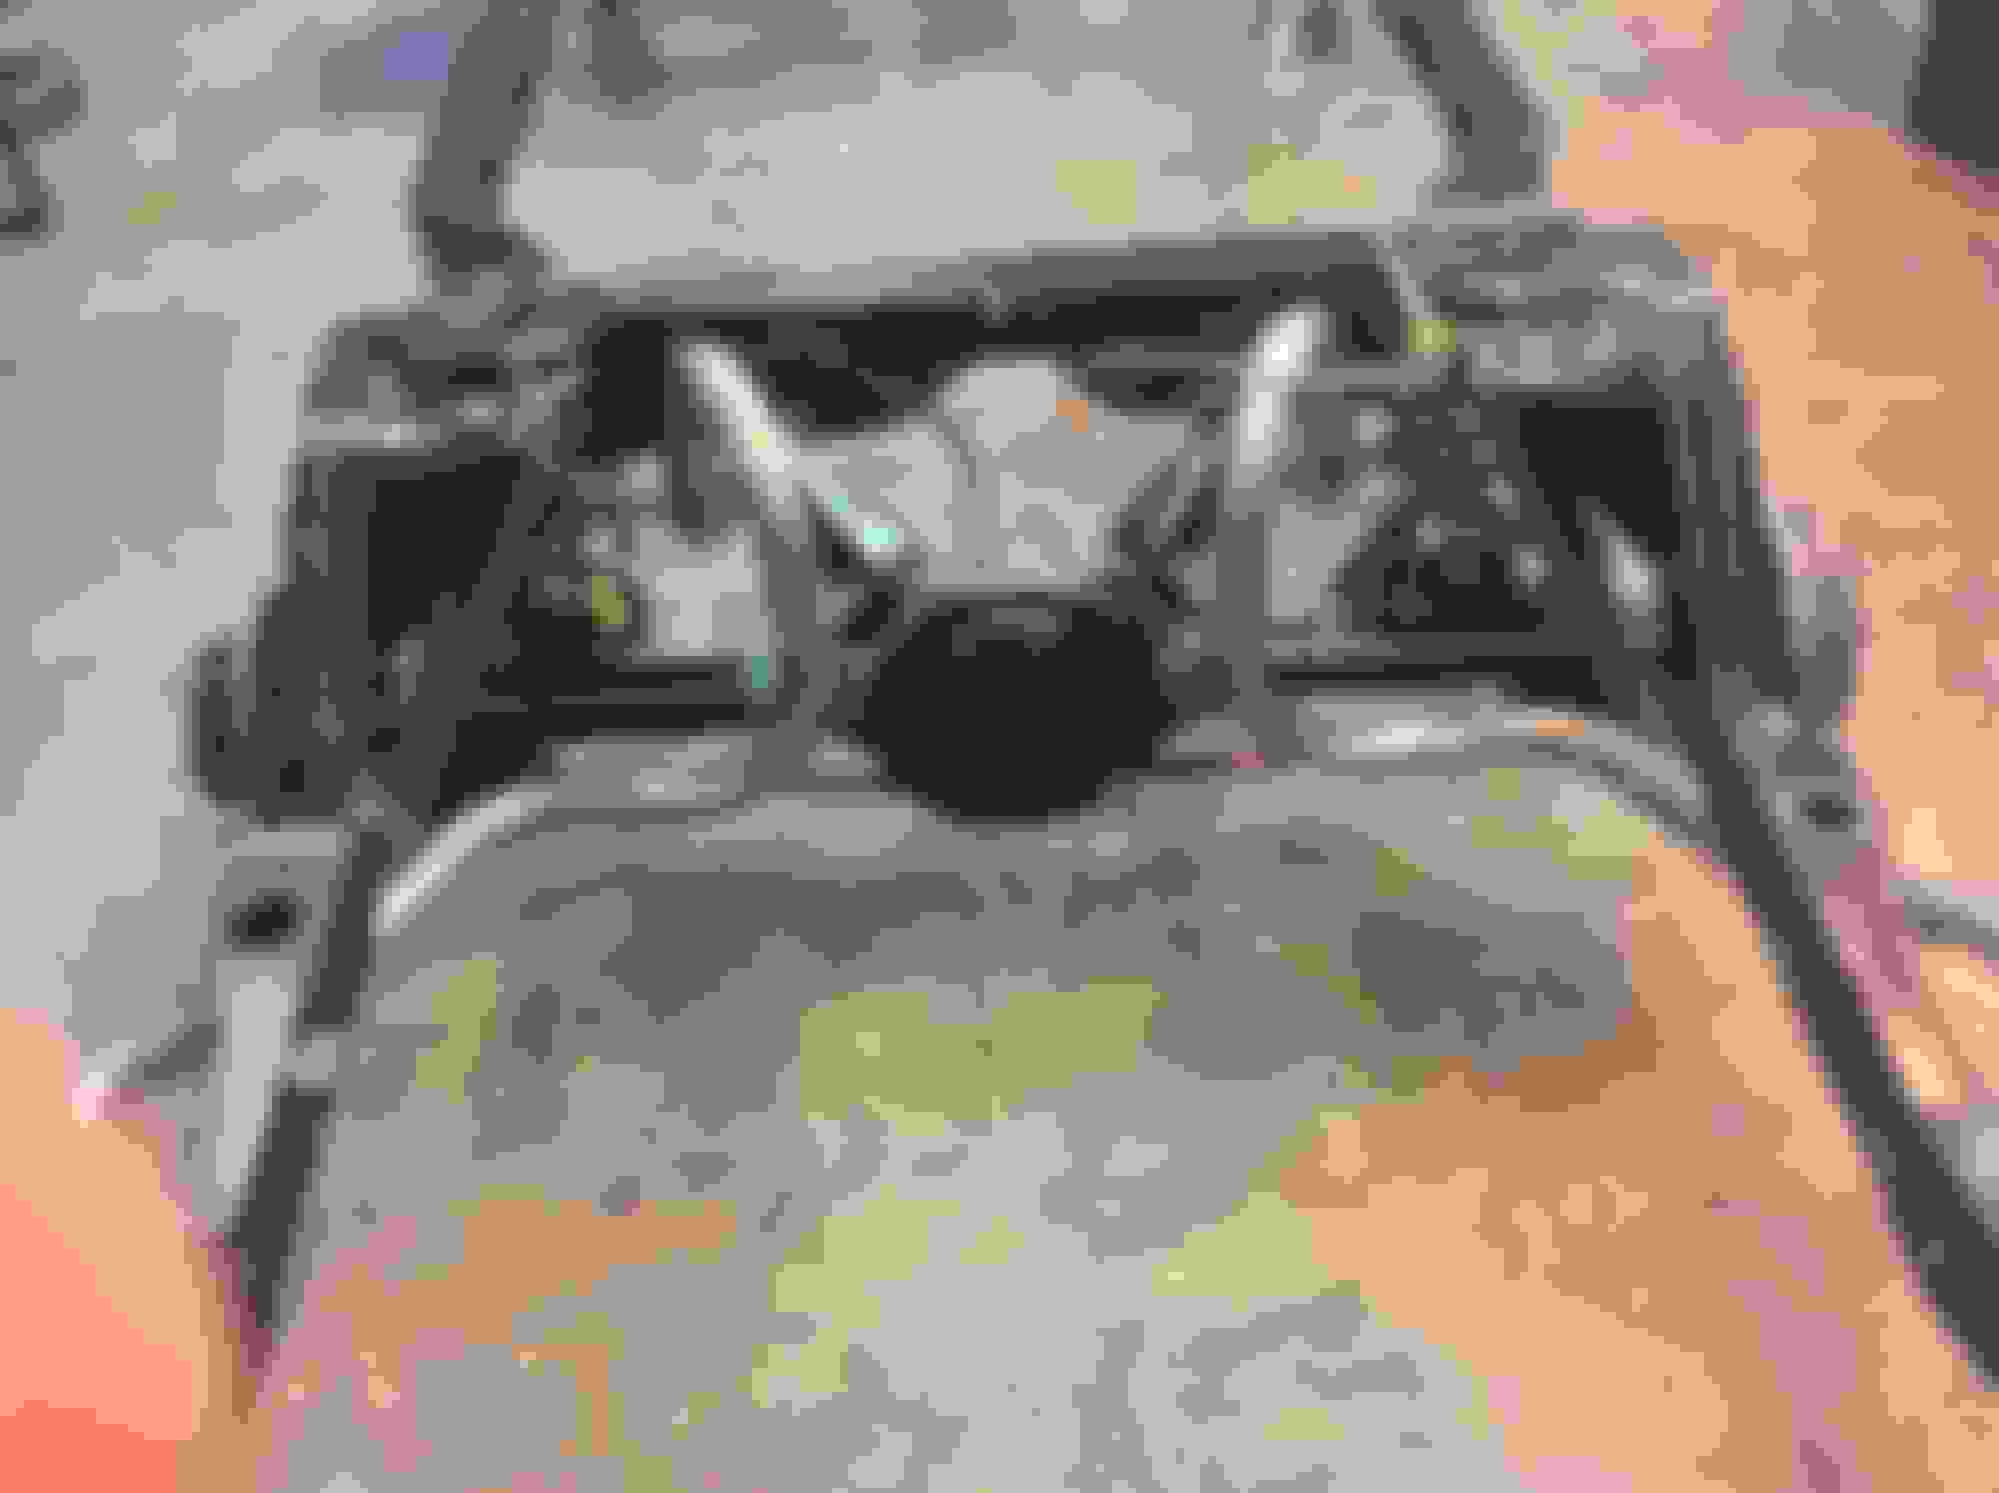
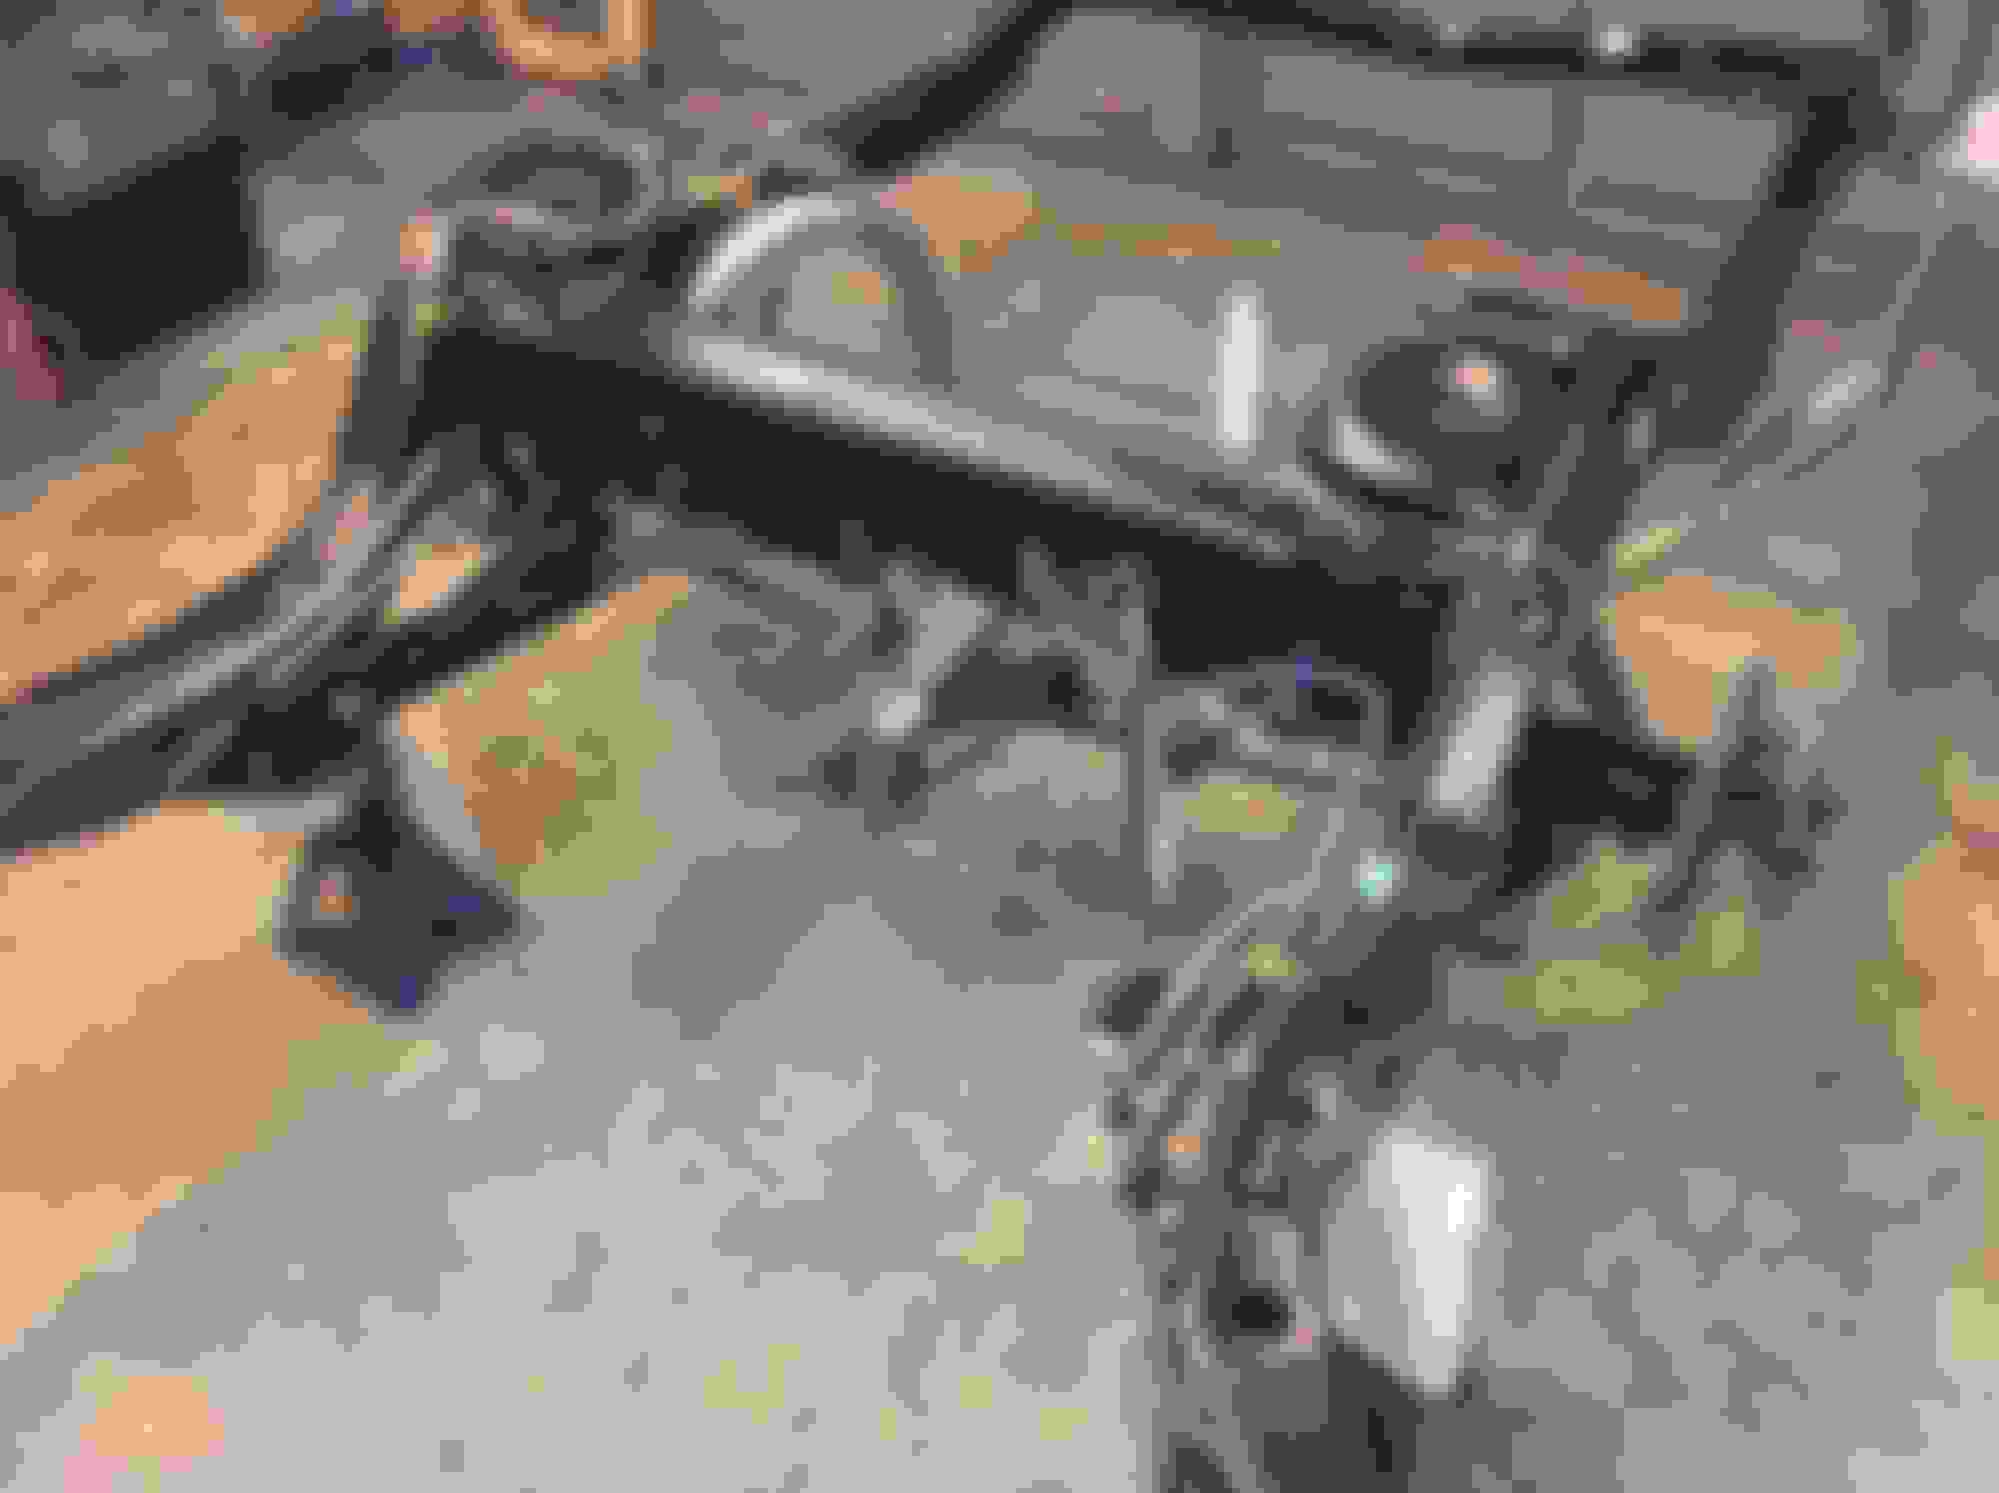
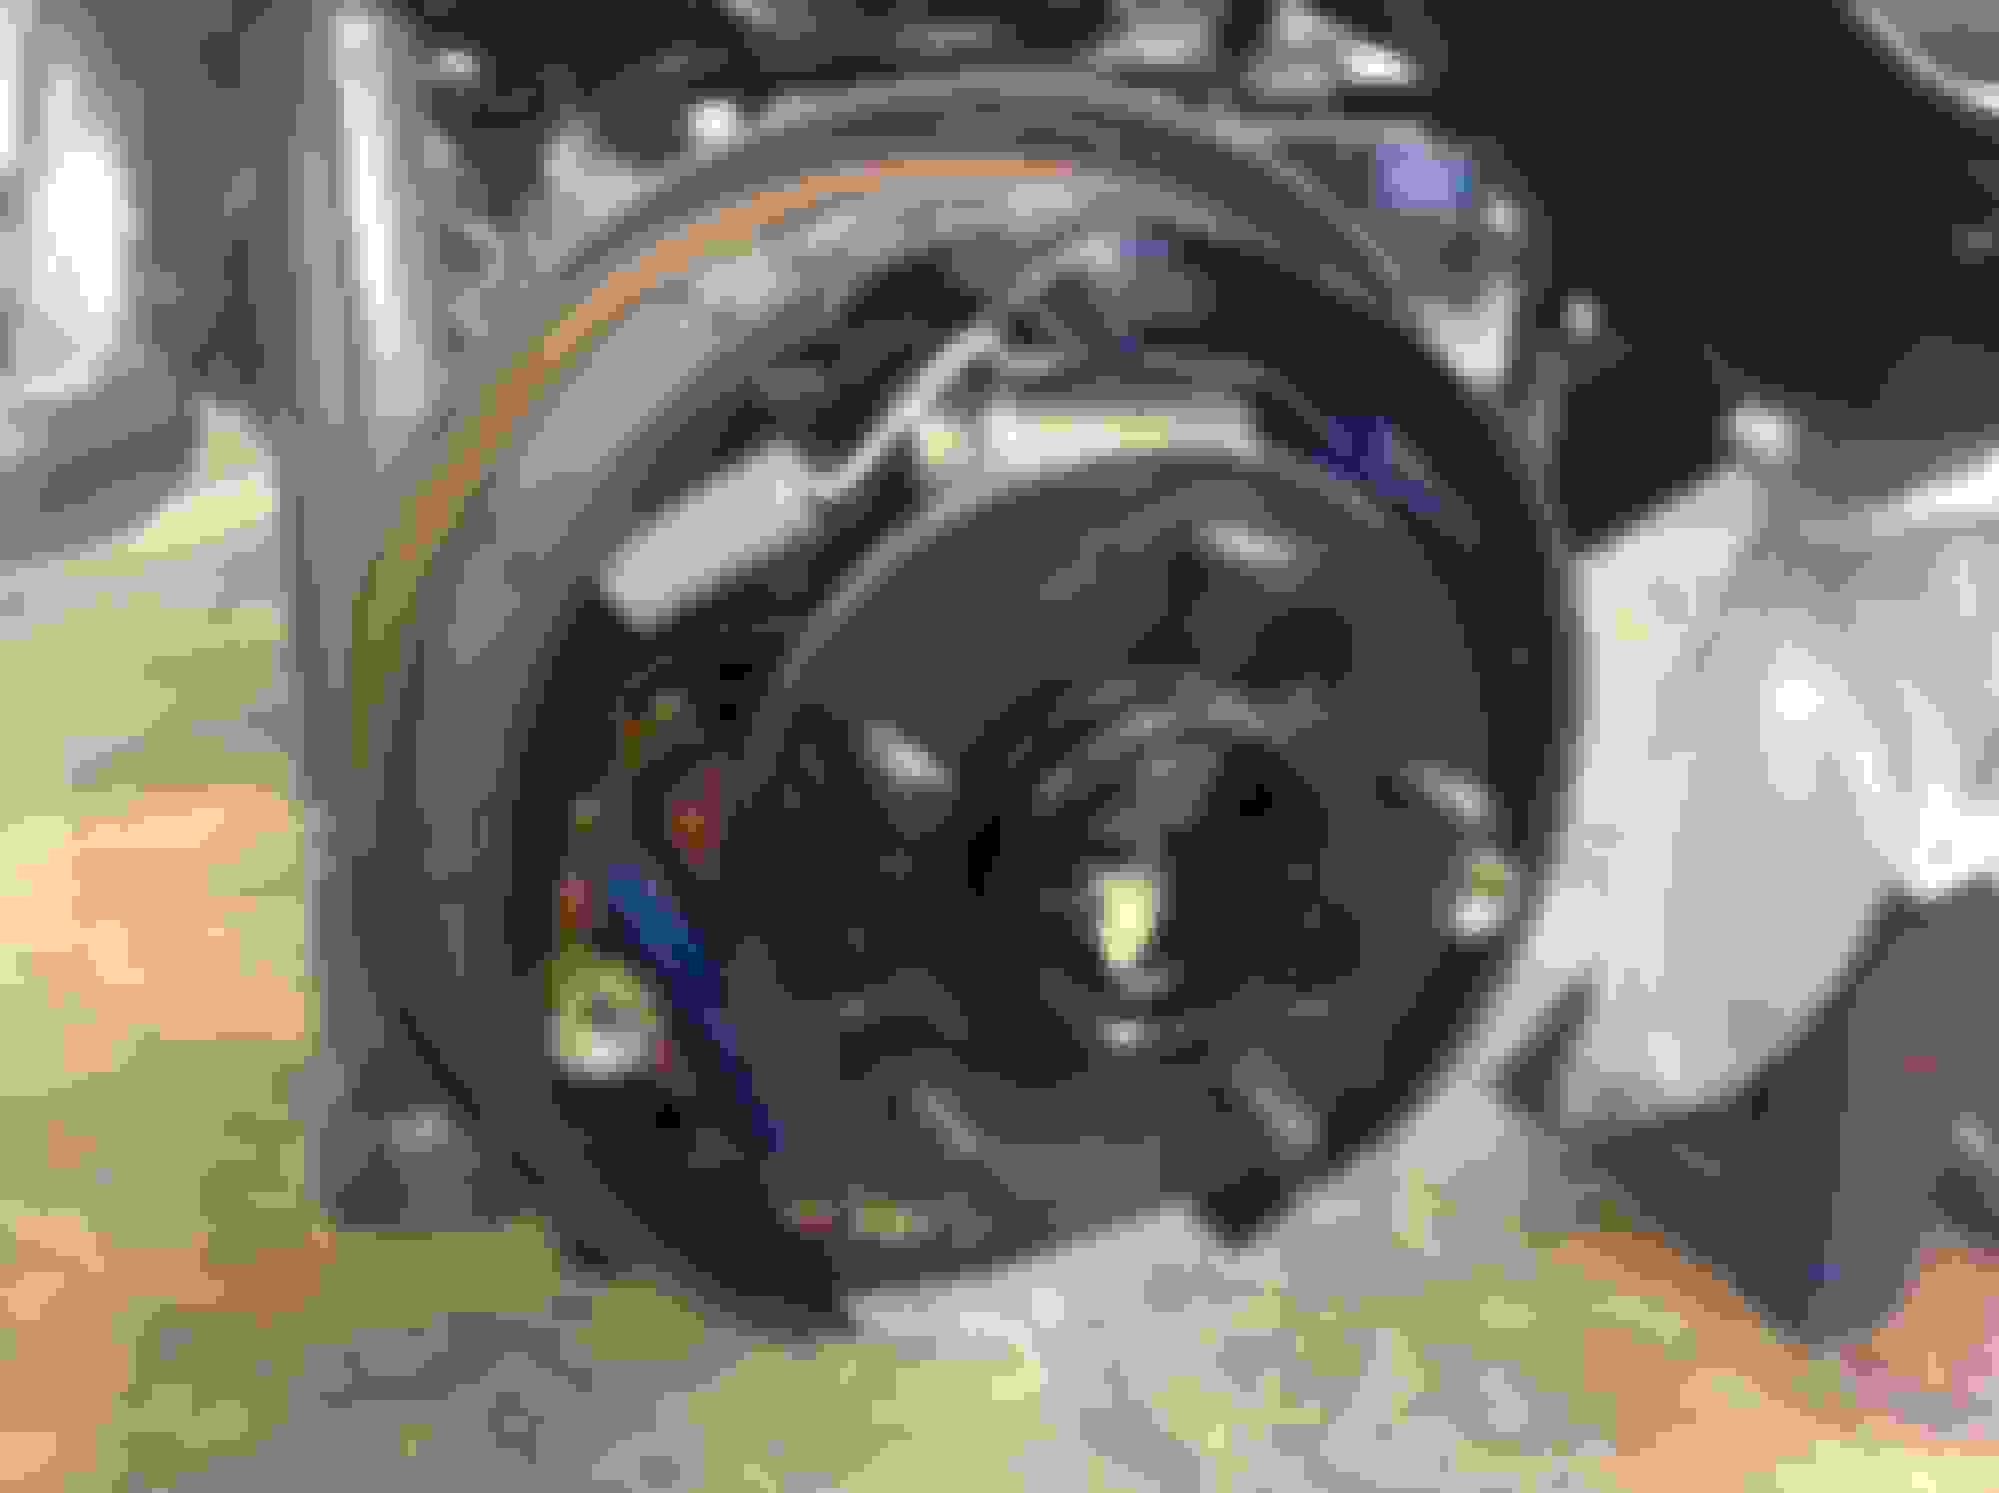
Yesterday I finally got the rear brakes finished up (thanks Adam). No matter how many times I do this, I still can't remember where everything goes so first one takes an hour, the second 5 minutes. Also tilted the doing with the posi additive and old fashioned 80W-90. Prices have gotten insane for the synthetics.
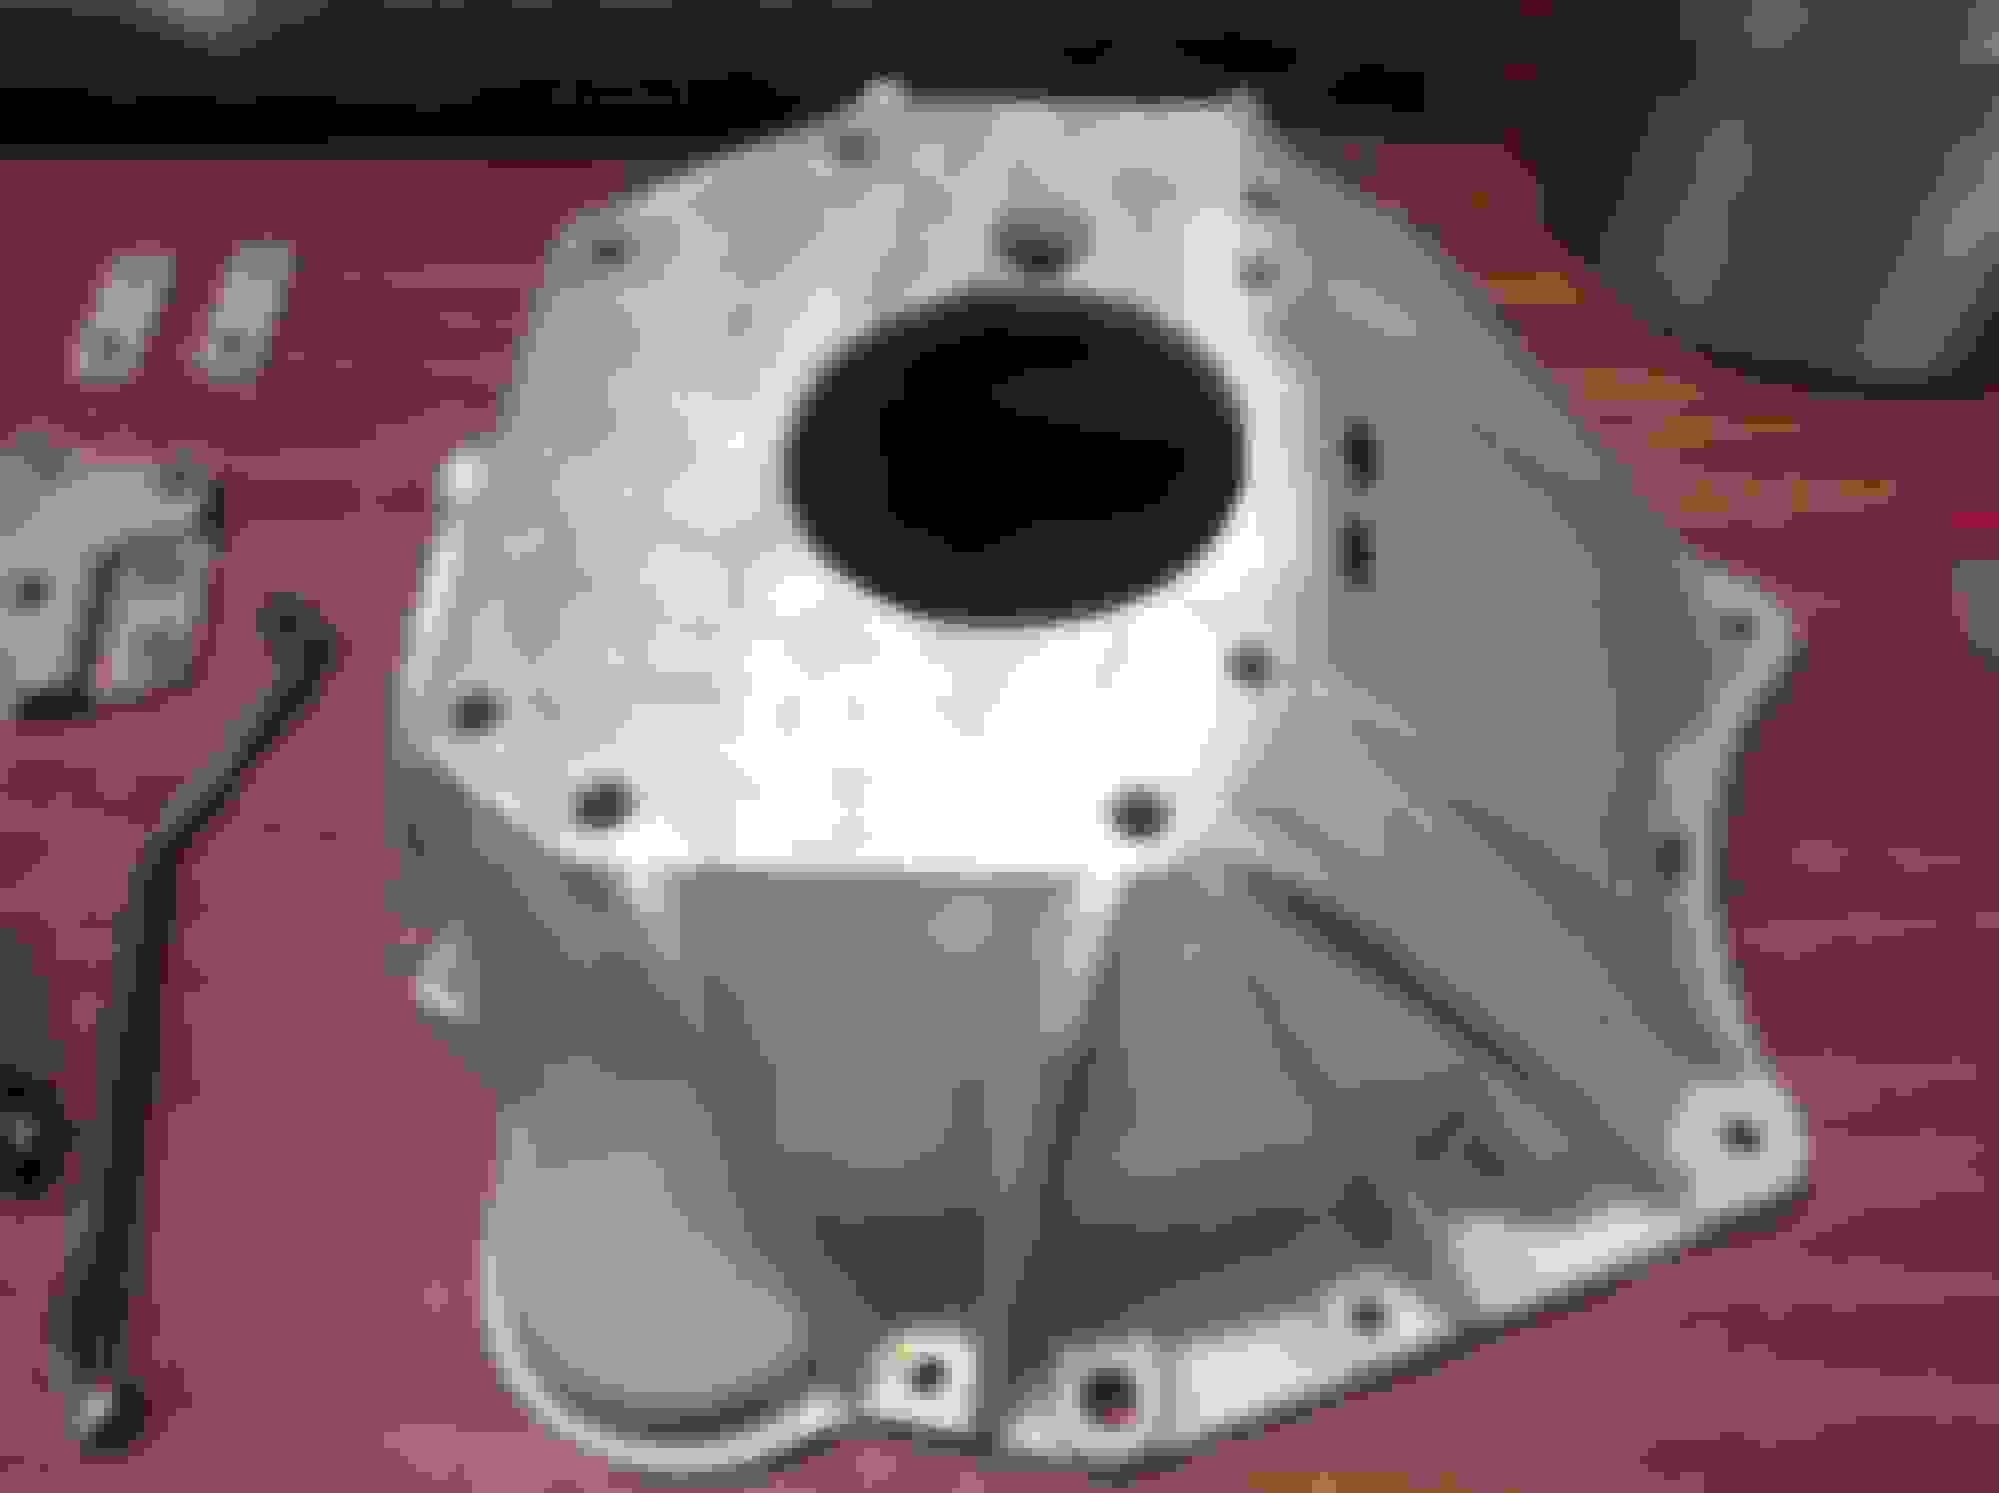
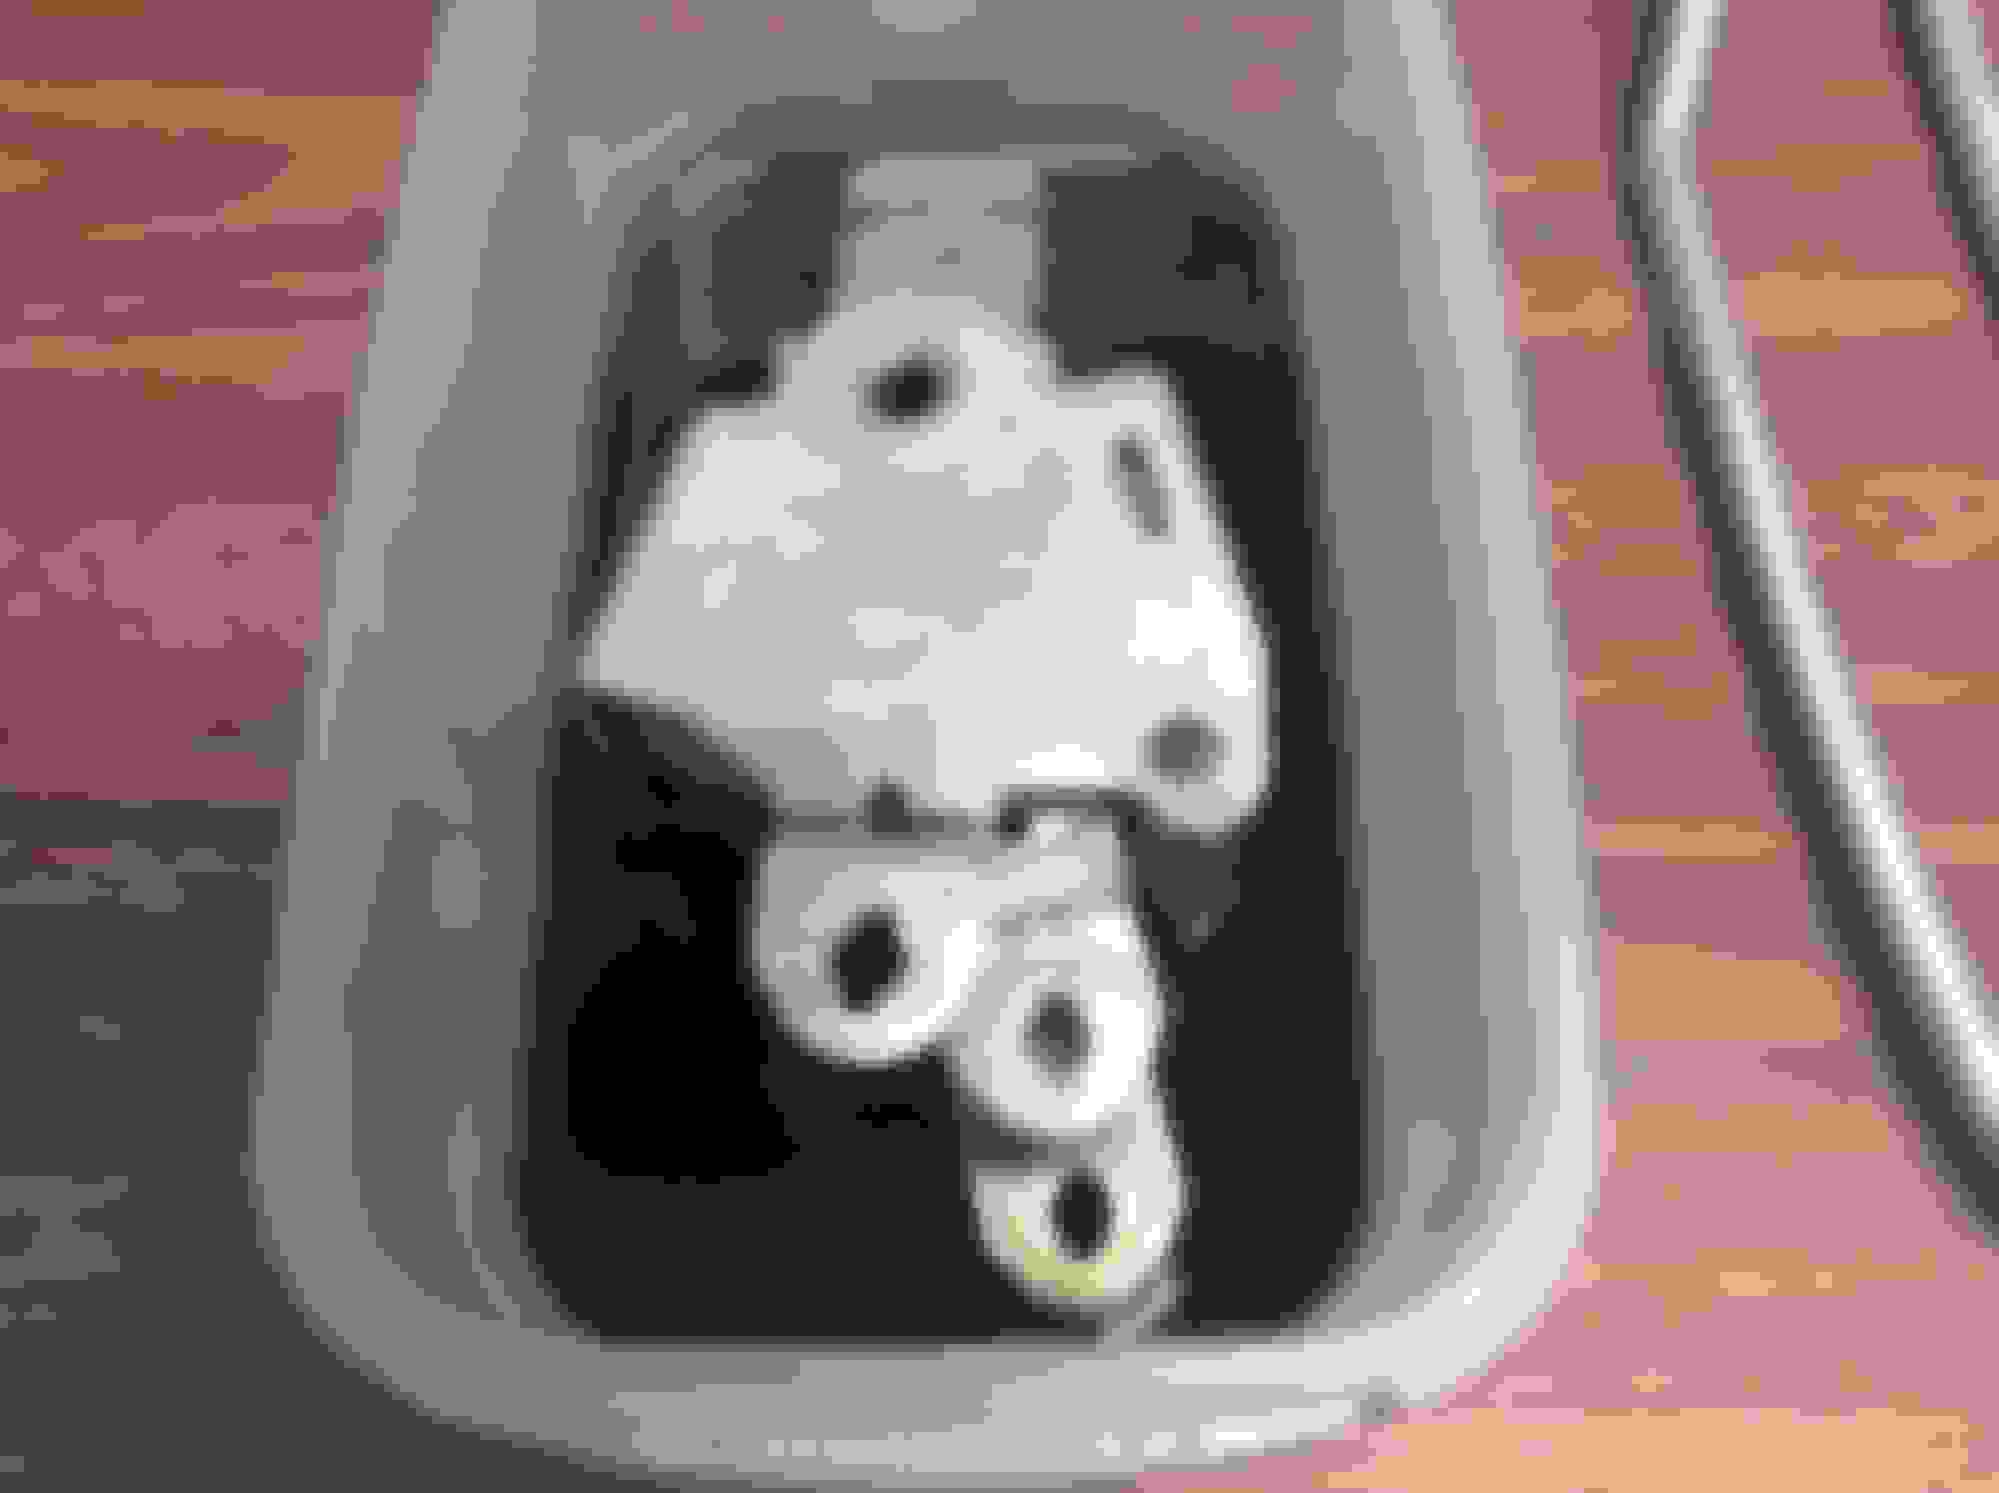
Today was getting things ready for tranny install. Had to do the bell housing and miscellaneous rods and hardware. I've detailed several times now how I do them, so here's just the pictures. The bell housing on this car has been put away wet - often - but I think it will be OK.
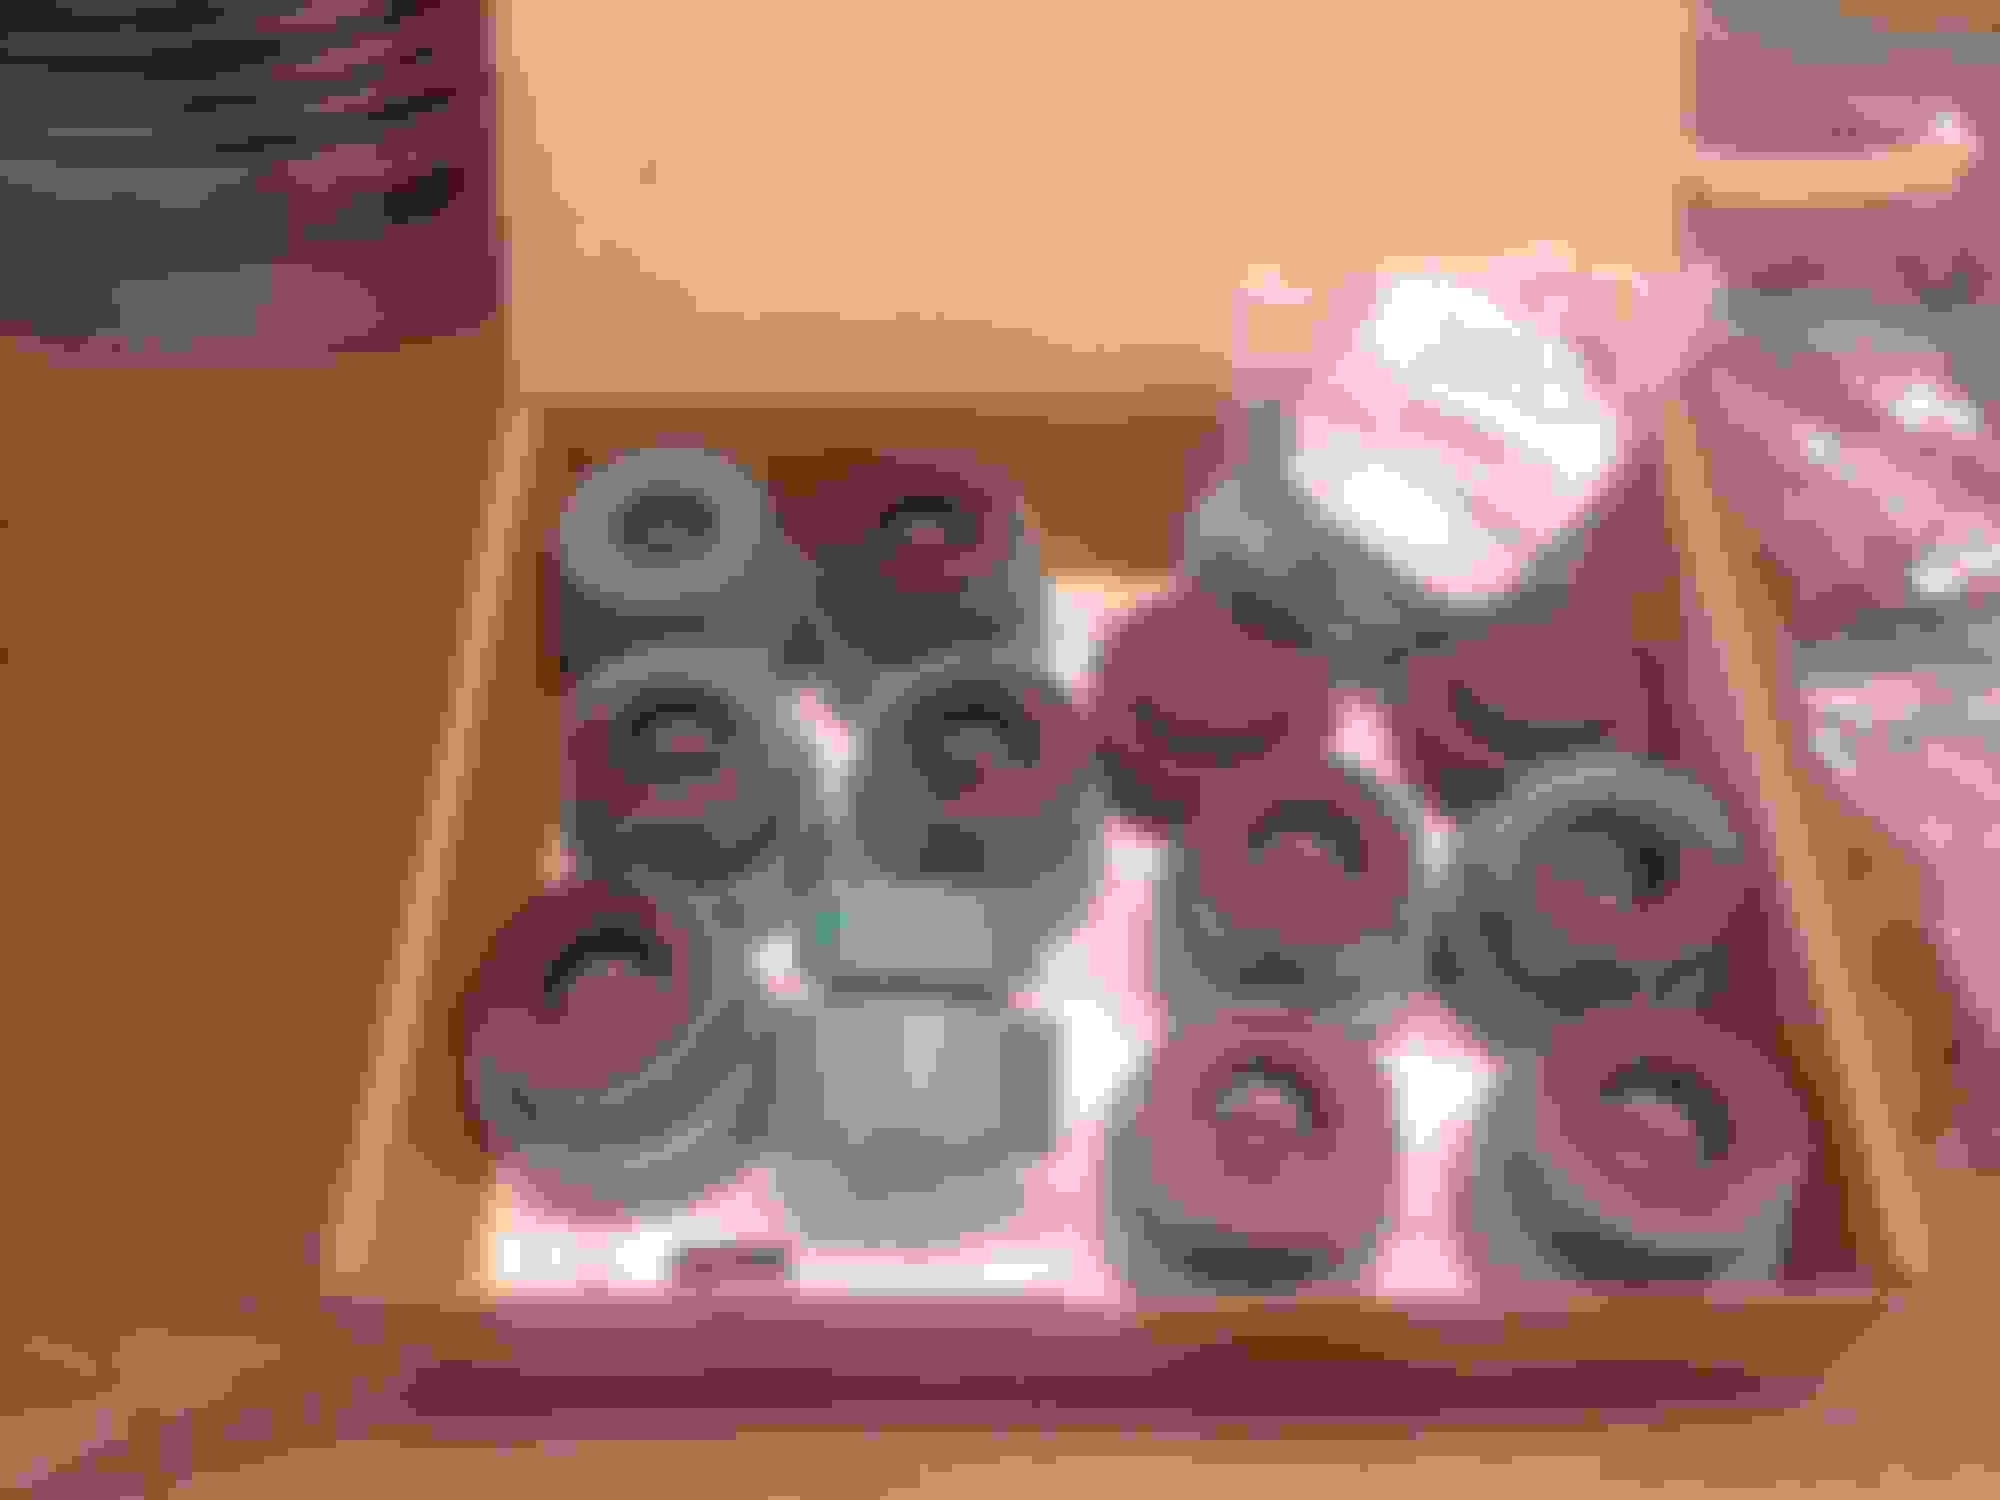
Pic of the original shifter marinating in Berryman's B-12 and lastly got the ILT bushing kit in a few days ago. Still had some left over paint from the W30, so I gave them a quick once over. Will paint the white stripe on the core support bushings when they arrive.
Last edited by costpenn; Aug 18, 2018 at 02:40 PM.
Educate me on the frame decal. I see it's placed upside down which I recall reading somewhere was the correct approach. Was that because of how the frame went down the line?
The frames started om the assembly line upside down and were loaded from the bottom. I'm not sure at what point they were turned right side up but that would be interesting to hear about. When I did my car, I couldn't quite bring myself to put the tag on upside down. I wish U had and I will do the next one that way.
Keeping the hours logged ( 9 hours approx 4 Friday, Sat., one today)
Since the frame is going to be on hold for a while from going to the painter, I'm going forward with doing some misc. parts that won't pollute the atmosphere and get dust and crap all over everything till David brings me over a car cover. Pics enclosed of various intake manifold jewelry, Z bar, throttle and speedo cable (speedo cable is new), marker brackets, manifold stove, and finished driveshaft. I know the red is wrong, but the purples I tried look like butt.
Next is to start engine reassembly next week. Want to get the motor and trans in since we now have some time.
Also got in the Classic Air rebuilt evap., exp. & POA valves.
Painted the gray stripe on the POA and changed out the charging port caps for the correct ones I had in my stash. It is all set up for R-12 since
David has a stash.
Last edited by costpenn; Aug 26, 2018 at 02:03 PM.
Nice detailing as usual Joe!! I just redid my a/c on my '68 because one of the big o-ring seals failed on the compressor case. It made a huge mess,took the paint off the back of the compressor,part of the frame & the control arm! I had to rip it all out & refinish everything! Went back to R12 thanks to my neighbors stash, what a difference, 36 degrees at the vents!! plus the R12/mineral oil doesn't hurt the paint!!
Nice detailing as usual Joe!! I just redid my a/c on my '68 because one of the big o-ring seals failed on the compressor case. It made a huge mess,took the paint off the back of the compressor,part of the frame & the control arm! I had to rip it all out & refinish everything! Went back to R12 thanks to my neighbors stash, what a difference, 36 degrees at the vents!! plus the R12/mineral oil doesn't hurt the paint!!
Good to hear from you Rob. 70 Post and I were just talking yesterday about how the new refrigerants just don't seem to measure up to R Twelve. Will be in touch in the future when the drag car project starts.
Got some more miscellaneous parts done today. In my never ending quest to get more efficient, I collected a pile of misc parts that came from various parts of the car. These needed to be blasted or wirewheeled, but I did not want to send out for blasting because they might get lost or damaged by the media used. Somehow all of this took 5 + hours today, but it all came out OK.
I have a buddy with a '68 442 that was converted to R134a, not that impressed. When it's 90� it's definitely better than no a/c, but the compressor doesn't cycle well at low speeds, takes awhile to kick out cold air and needs to be on high to really get the effect.
Thanks for sharing that. I've used Rustoleum Stainless Steel which I liked because it has very fine grains. However it doesn't seem to have the reflectivity like what you used.
I used the dark steel paint on a number of parts for both my last project and my current. I love the way it looks on the driveshaft especially but Joe is right. Don't plan on handling anything you use it on for at least a few days!
Since the next major assembly I have to do is the engine, I went through and identified everything engine related that yet has something to be done to it.
First off, the oil fill tube. It's the original one to the motor and has been through the ringer. At one point, I could tell it had been pulled off with a pair of Vise Grips (teeth marks on the barrel) and a hammer due to all the dents on the lower barrel. I worked it as best as I can and am going to bodywork it with bondo to see if I can get it looking OK.
Moved onto engine pullies. The crank and water pump pullies are heavily pitted, and worse the crank pulley (KC) is bent and dinged up along the front pulley's forward face. I replaced the KF with a good one I had in my stock, but I don't have a crank pulley. Will see if Chris D. has a spare in his "magic attic".
P/S pulley had a little localized pitting, but I was able to sand them out. Balancer looks to be in good shape with rubber intact. It has not slipped, so I cleaned it up and installed a seal sleeve. Also did the timing cover, P/S side support, hinges and springs and the main alternator bracket. It too is pitted but only on the lower half that you cannot see after alt. & P/S pump are in place.
Ridiculously hot today, do I thought I'd do a couple of items that involved using the hose outside. Both these parts really look better without being painted so they are at that 90% of a NOS piece threshold of appearance I used for my standard on the W30.
First was the fan shroud. Soaked it down with Simple Green and scrubbed throughly with a soft brush. Hosed it down outside, and very, very lightly polished the lower inside area with a fine scotchbrite, installed new phosphate j nuts and called it good.
Also completed the air dam. The masticated rubber was intact, so I scribbled the plastic portion with Simple Green with a stiffer brush, and rinsed off and lightly waxed the plastic portion. Went over the rubber part with a light coat of 303 and another one done.
Did a first pass on sanding down the bondo on the oil fill tube. Will need some more spot filling and final sanding, but I think it will be OK.
Speaking of hoses (2 1/2 hours)
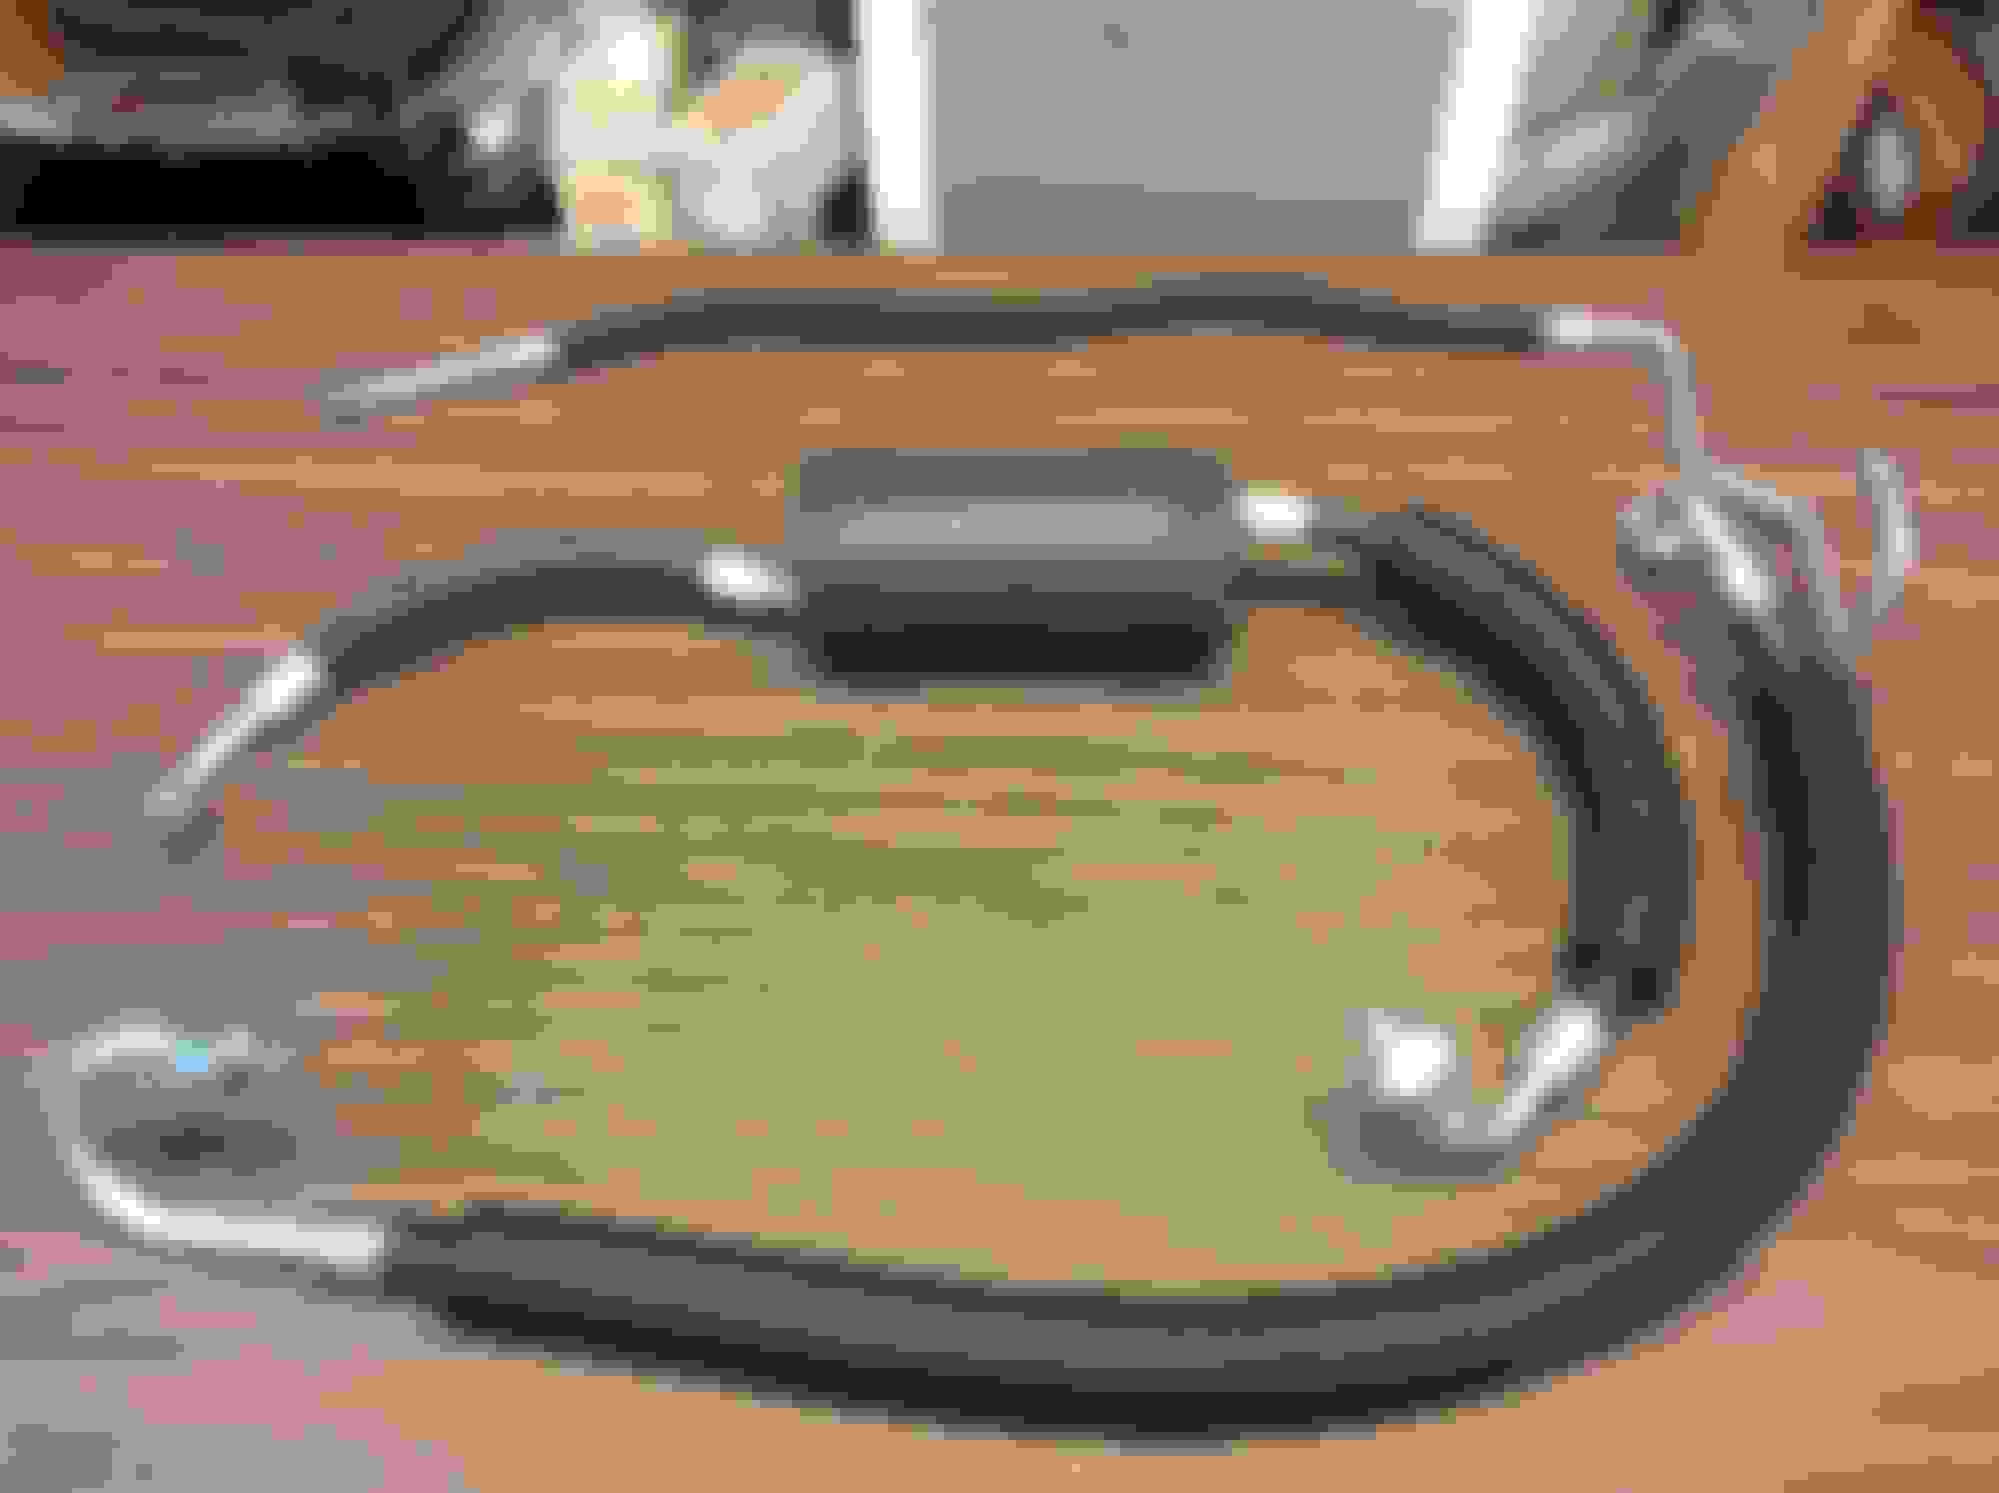
Again it is stifling hot outside, so I did something that required little physical exertion and involved water - A/C hoses fit the bill. Compared to most parts on this car, these were in rather good condition. The system was fully charged when it was diassembled, so the hoses should be OK to reuse with just a good detailling. I was careful to try to retain the original finish on the crimped ends where possible, and dulled down the finish on the tubing with a dull scotch brite after wire wheeling. On the suction line the short hose insulation was missing, so I took a piece from a junk line in my stash and replaced it. The muffler insulation and hose insulation all have one "good" side to them thankfully, so I will be turning them as required to hide the cracking where possible. I don't think any of the repos have the same look so it will be worth it to
Also a few pictures of original hose markings. Amazing these things survive.
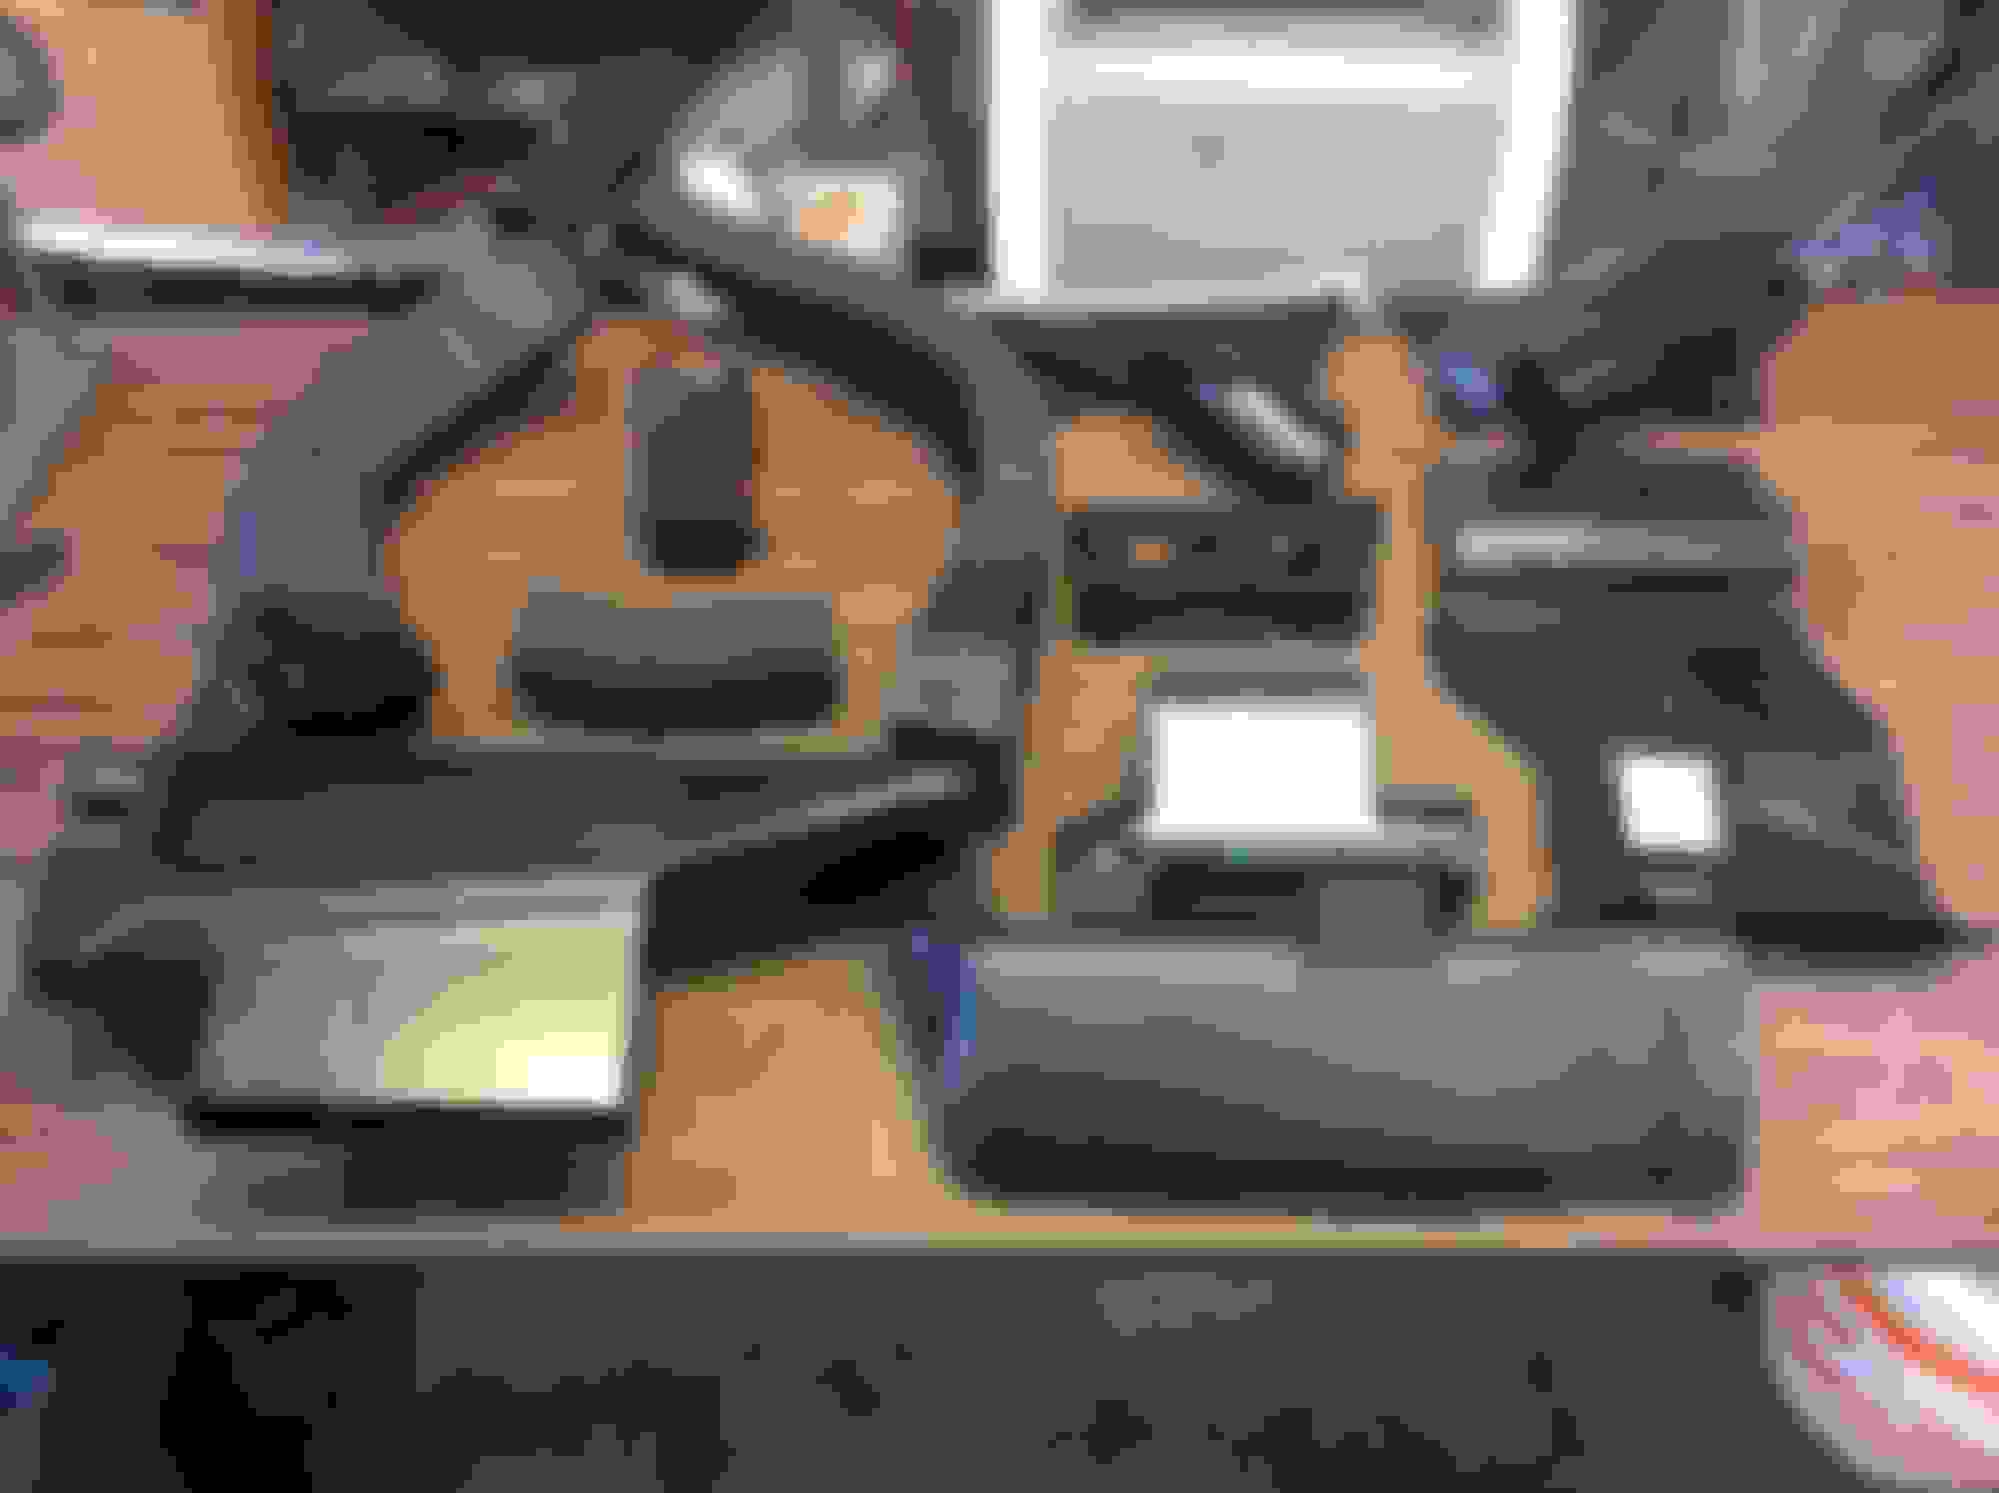
When this car was purchased what was left of the underdash HVAC ducting was in a pile the trunk. The only things still installed was the defrost ductwork, but I wish it had been removed as well (more later). Oldspackrat sent me a bunch if the missing parts, so today I attempted to see if I have everything necessary fir reassembly.
Defroster components - the diffusers themselves had never been removed from the dash. Unfortunately, at one point someone had done some sandblasting in the dash area (the inside of the windscreen showed evidence of this) and the media had caught the exposed parts of the plastic. So a simple cleaning, like I've done all my previous projects was not going to cut it because the inside of the vents is something that us easily visible - especially against a freshly redone dash and dash pad. So out cones the sandoaper at 400, 800' & 1000 grits getting the area smooth.Also the main body of the diffusers all looked nasty for reasons unknown, so as much as I didn't want to, I wound up painting them with the Krylon Fusion semi gloss paint. The two short cloth ducts are missing, but I think I might have some replacements in my stash - if I can find them. Also, the adaptor that hooks onto the heater core box has a crack I have to fix, and the finish will be OK with a light polishing and sanding.
A/C stuff - The main plenum and oval extension duct - miraculously the single screw mounting tab is intact - are serviceable. Both have a seam holding the upper and lower halves coming apart so I am using 3M plastic emblem adhesive to bond them together. Like the defroster diffusers, tthe plenum is just too far gone to not paint - but I think the duct will be OK with some further cleaning and conditioning. The RH adaptor at the dash vent is there, and I have a good RH cloth rectangle duct and adaptor at the Plenum that both need further cleaning. The LH cloth duct with adaptor stapled to the register end is missing - hope someone might have a nice one available. The two piece center vent ducting was also a mess - had to replace the one off the plenum with a decent one I had in my inventory, and the long one was OK with a good cleaning and waxing.
Also, all these pieces were cleaned on the inside passages with a variety of brushes.
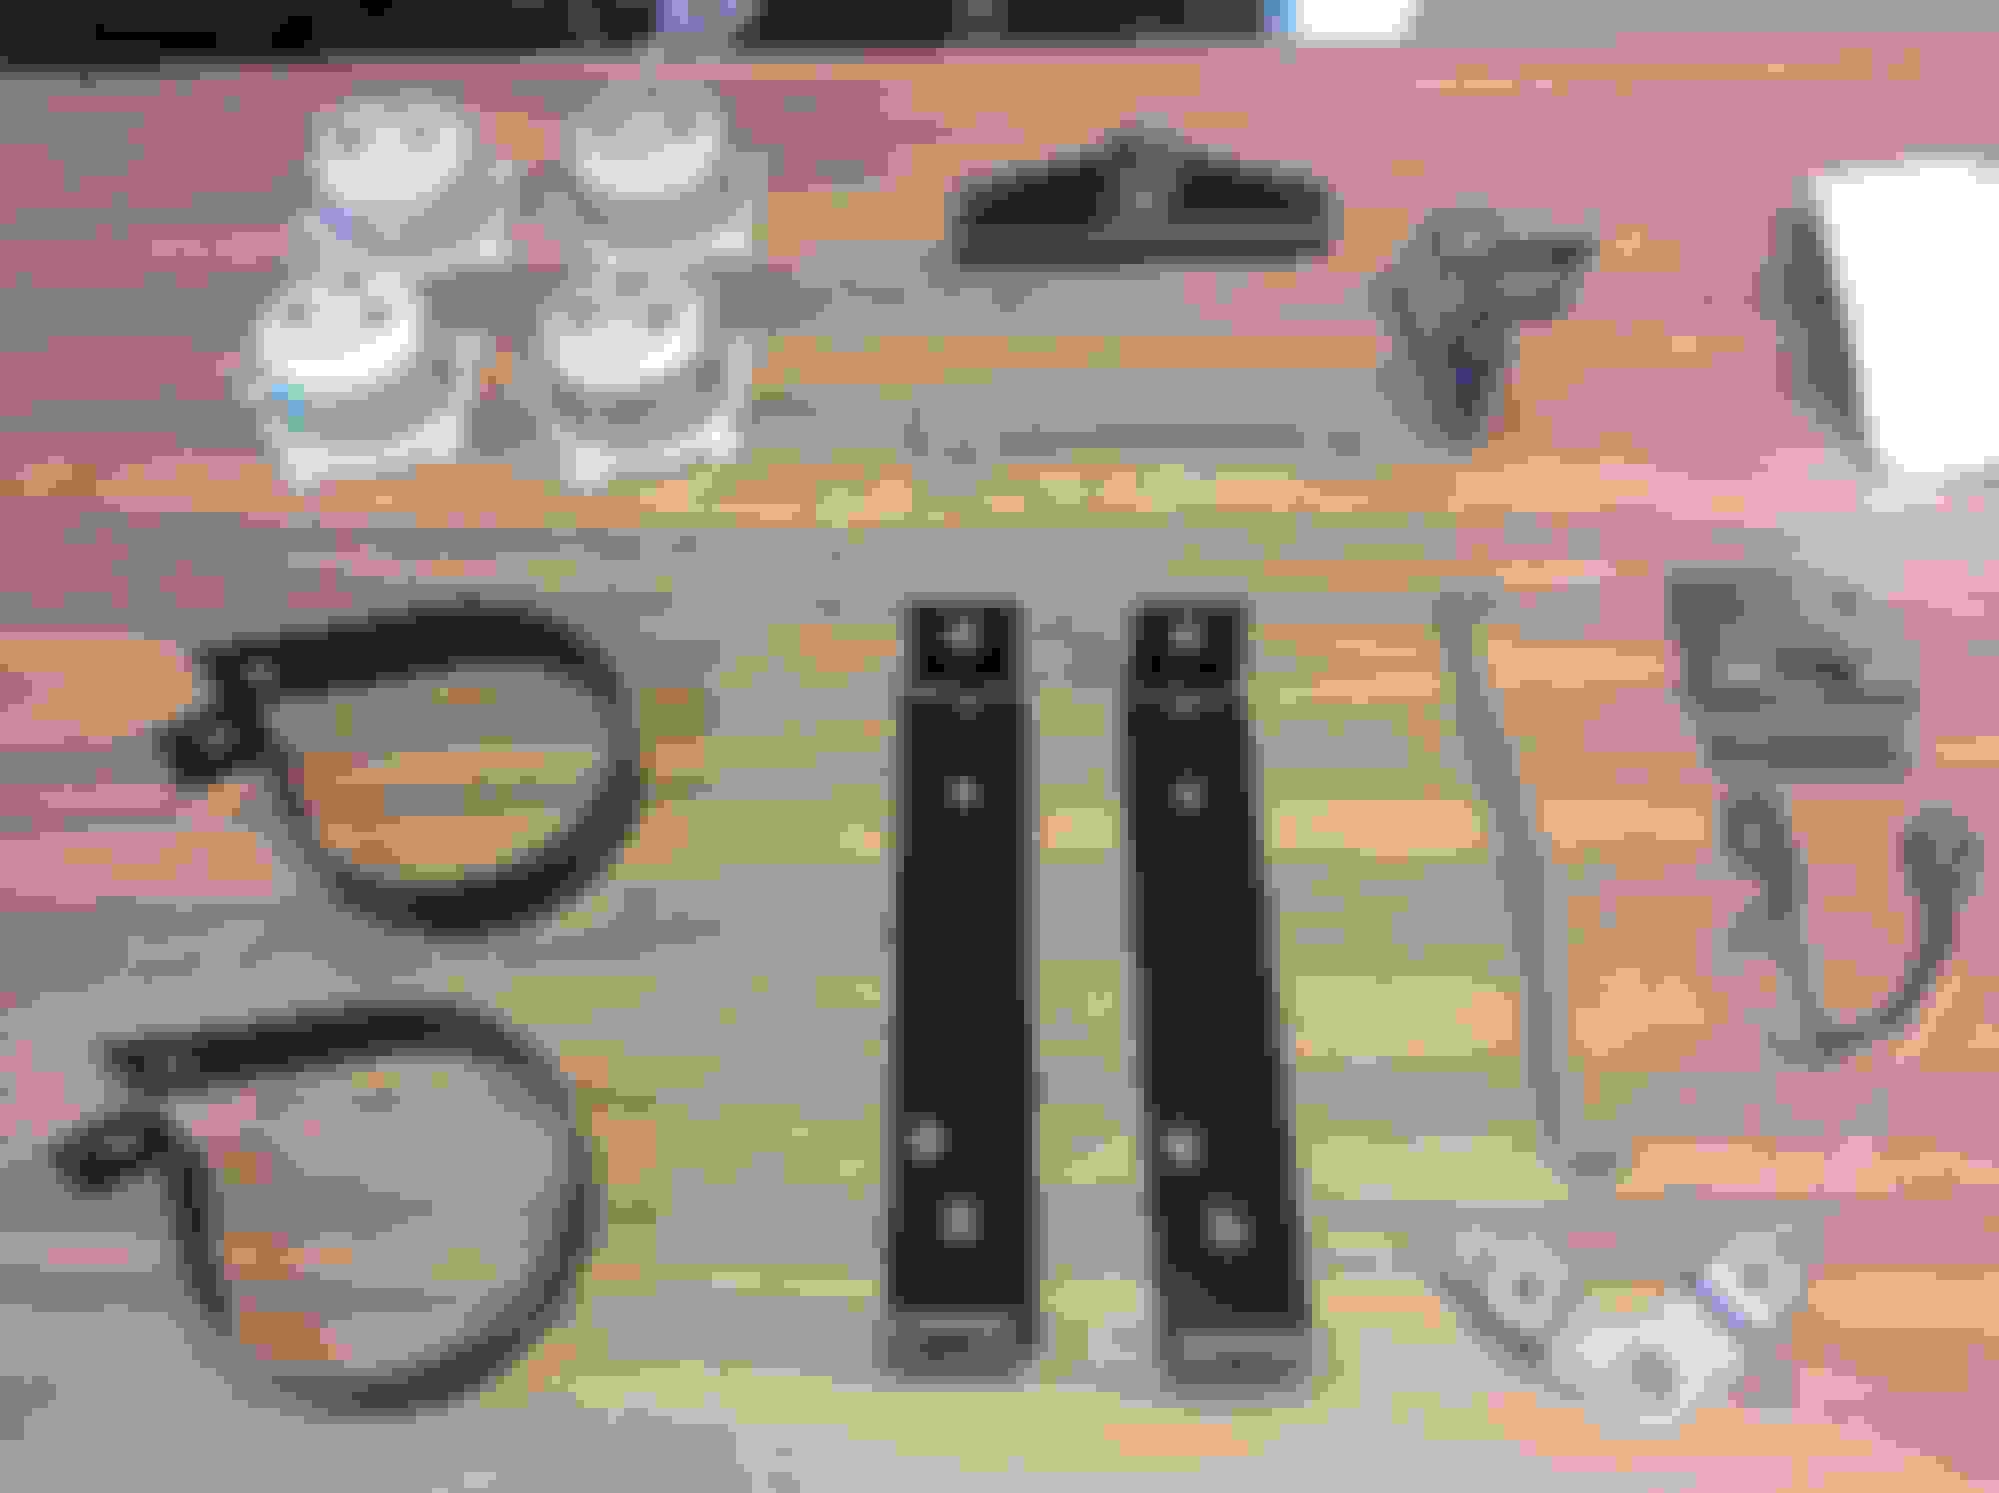
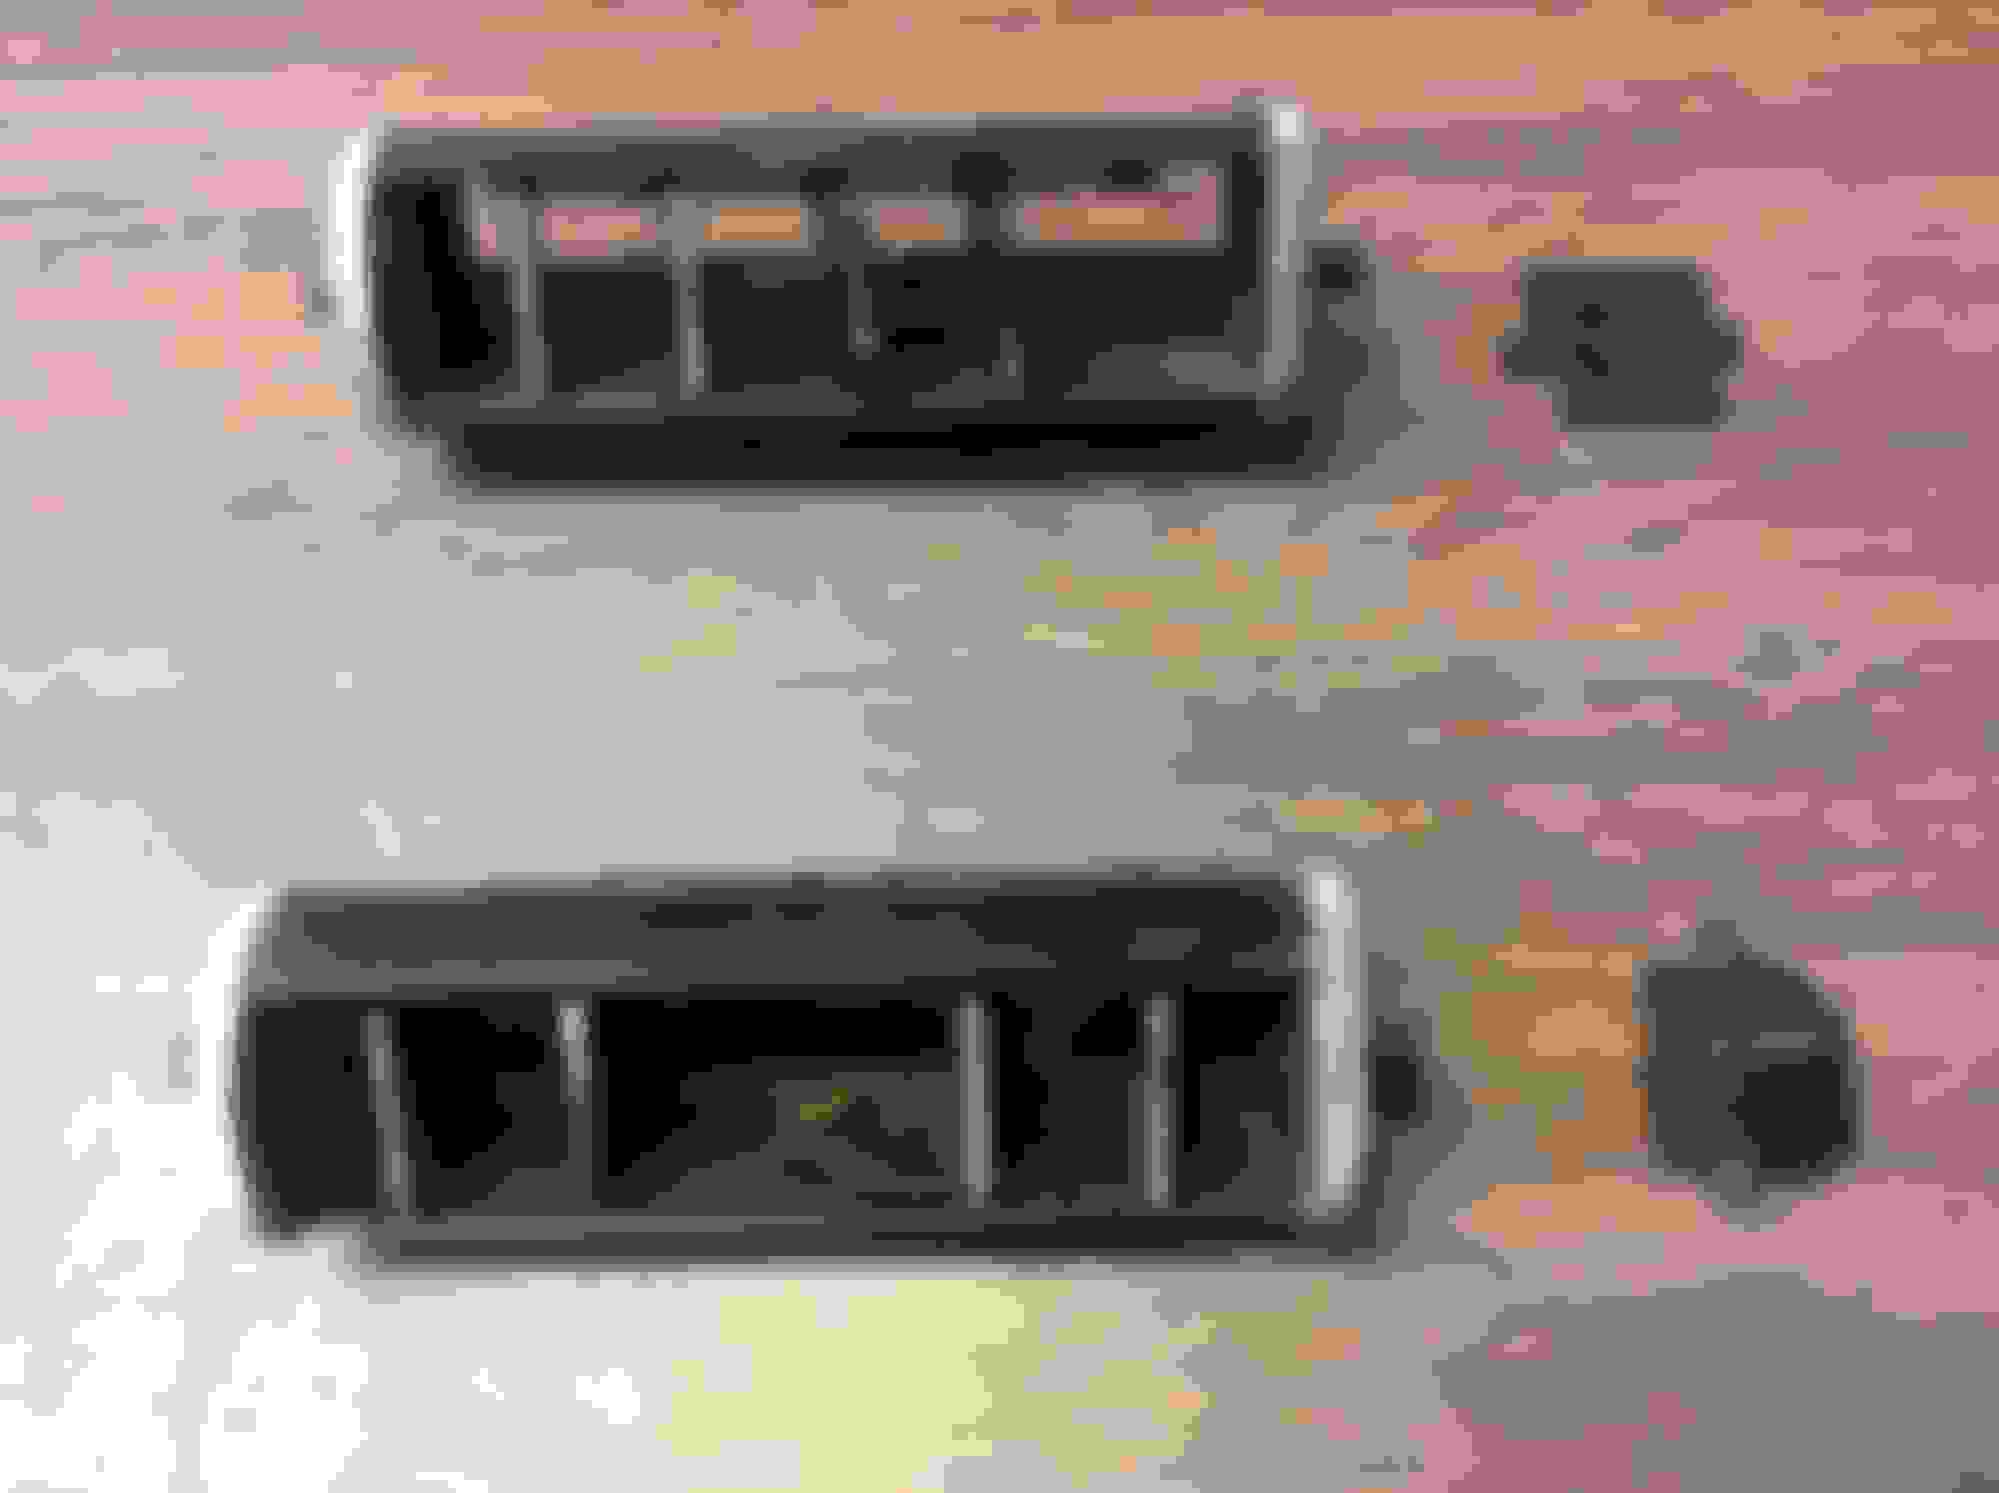
The dash registers - The L&R ones are in really good shape - even the silver parts just need a minimal amount of touch up. On the center one, I had received a pit free bezel from Scott since the one on the car was wasted - will be laying in the new paint shortly. The thumbwheels have good non flaking chrome, but two of the individual louvers have the tiny nipple that makes them swivel broken off. 70Post has a junk vent I can grab a couple of louvers out of.
Also today, got an amazing deal from a CO member - QS442 - on some SS1's with BFG's already mounted for this's car. David will also have a set of SS1's with bias ply whitewalls for judging at some point in the future.
Lastly, anyone know which is the correct heater core box lower register for cars with console? Both are in the above pic,
Going to Disney World tomorrow with the wife and kids - hope we miss all the weather going on down there.
Lastly, anyone know which is the correct heater core box lower register for cars with console? Both are in the above pic,
Hey Joe, now you have me curious. I have two 1970 A/C cars and the diffusers are different - one (442) has the two output slots while the other (SX) is the multi-row. Both are console cars made in Lansing. The car with the 2 slot diffuser is a super late build - June 1970.
Hey Joe, now you have me curious. I have two 1970 A/C cars and the diffusers are different - one (442) has the two output slots while the other (SX) is the multi-row. Both are console cars made in Lansing. The car with the 2 slot diffuser is a super late build - June 1970.
Mike, how goes it? Bud Select still available up there?
After I posted the question, I went back and looked at my thread on my 70 W30 - late Jan build dual gate with a completely original interior, and it has the two hole diffuser. Patton is checking what came off his two cars - will report back. There is supposedly a page in the PIM that notates the part number, but I believe mine is missing it.
Mike, how goes it? Bud Select still available up there?
Doing well - thanks for asking. I'm just starting in on the restoration of a '70 convertible so I'll be referencing this thread often for methods and info! Your detailed write-ups are greatly appreciated.
Bud Selects are free on me anytime you are in town again or passing through (IE: on way to MCNCN this November).
Back from the Florida, and just in time to miss all the weather wackiness happening on the East Coast. Hope all the CO'ers by the shore stay safe.
I was ready to get a lot of miscellaneous parts (mostly interior) done today, but nothing was as easy as it looked. First began by finishing up the underdash HVAC duct work. All that is now missing is one of the short plenum to defroster hoses, and the littlle small diameter hose that goes to the lap cooler.
Below is everything else attempted today
1) Center vents - the chrome on the thumbwheels came out beautifully with a very slow, low friction cleaning. Still have to get the two missing louvers installed and paint the leading edges, retaining clips and wavy washers evaporusted and ready to install.
2) End vents - was able to clean the insides without disturbing the paint, but they will need touching up. One is the original material, one has been paint penned. The original finish is so much cooler.
3) Arm rest base trim - polished on the buffing wheel - done
4) Toe kick panel - was in good shape just needing a good scrubbing followed by the wood skewer treatment down each groove to get out stuff the brush could not remove. No further conditioning necessary.
5) Lower dash column cover - took about three tries playing with different blacks to get the right sheen and rough finish on this. Compared it to an original black piece I have, it looks pretty close
6) Lower shifter boot - cleaned & conditioned with Armor All
7) Backdrive adjustment trunnion - the trunnions and big wavy washed came out OK, but the bolt was too far gone. It is a very short unusual one, so I grabbed one out of my spares.
8) HVAC control unit - this is where the time went. First, it was literally covered on the mechanical side with a goopy mix of a nicotine material mixed with blasting media. I completely diassembled the unit, cleaned it as best I could, tested the vaccuum switches (they miraculously still work), cleaned and detailled the blend door cable and all the attaching screws. I had to replace the two larger ***** with more parts from my stash because for some reason they were attached with someone driving a roll pin in place of the tiny allen head set screw. I polished them and repainted the black inset on all three. The bezel was also more pitted than I realized, so one more part removed from my spares to use. The lettering and finish on the faceplate is also better, but I'm not sure it is good enough. Will sleep on it.
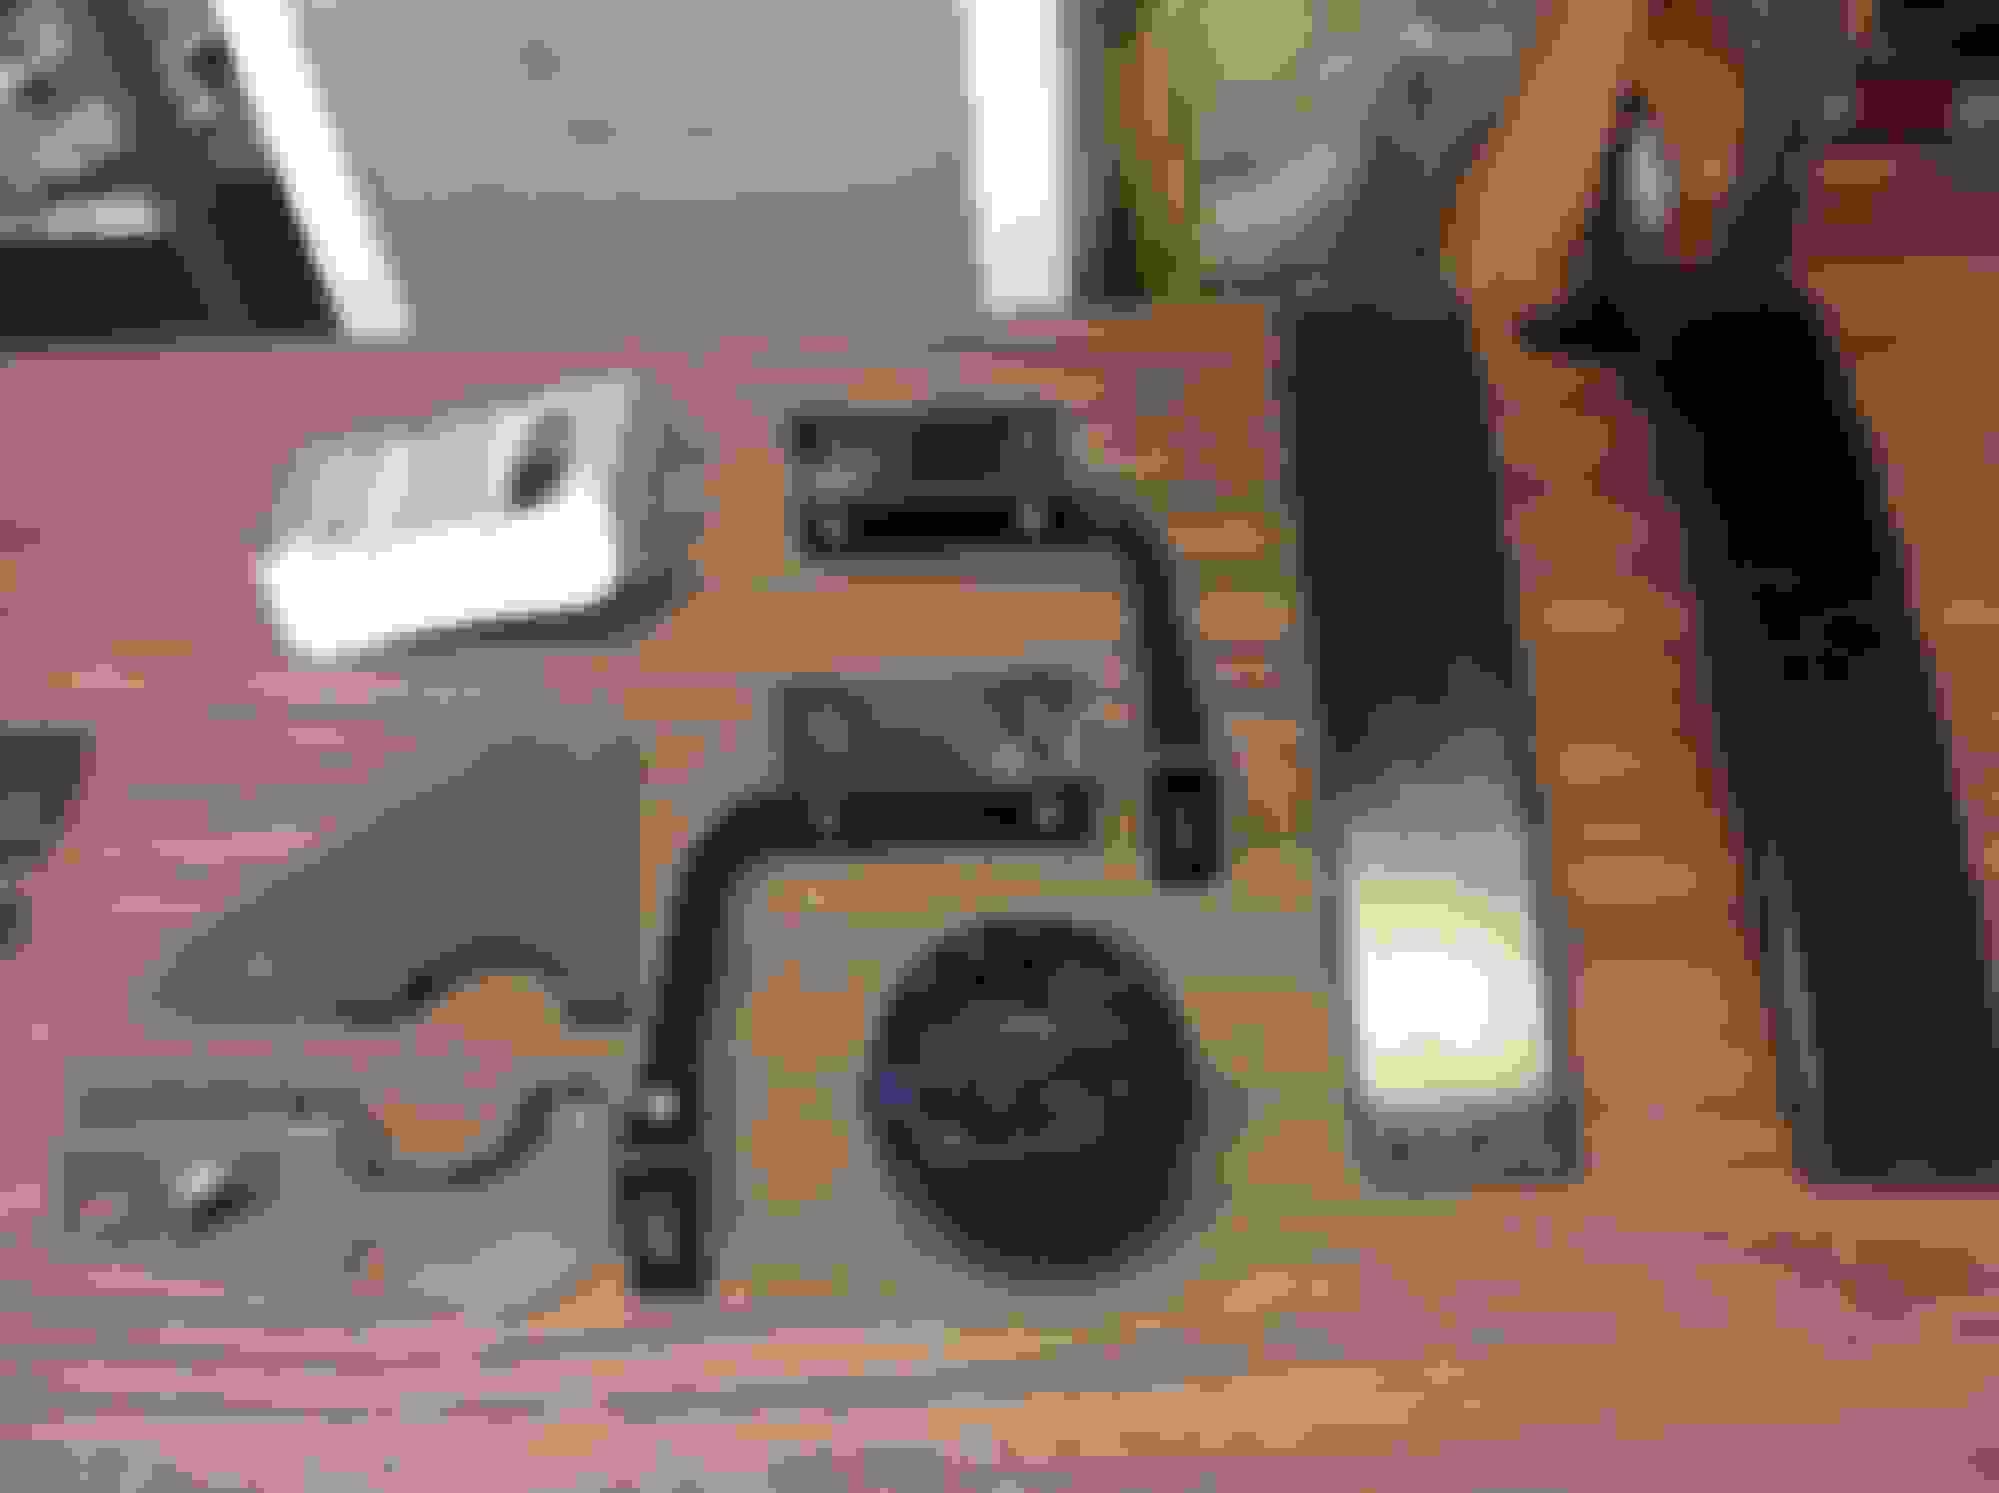
I went through a variety of switches and wires today. First, I simply just cleaned the exteriors of the headlamp, stop light, console light and windsheild wiper switches - also using a dremel wire wheel to clean all the contacts. Next moved onto the relays:
High blower - cleaned contacts and Bakelite base, used the find blue scotchbrite to get a little shine back to the body
Compressor hold in - This was missing from the car, so I got one from Oldspackrat. Cleaned the base and contacts, pulled off cover, sanded it, and then painted it with the Chrome paint followed by a dusting of Clear Zinc. I think it came out very well - it looks almost like the inside of the cover does.
Horn relay - this 882 works, but the cover was dented all to Hell. I cleaned the plastic terminal base part with Simple Green and about 100 Q-Tips to get all the junk out. It still has a yellow tint to it, but it is translucent. Did a tedious mask off and painted the metal bracket part. Not thrilled with how his this one came out, but I am getting a replated covef from 70Post that might make it all look better.
Also did the trunk release actuator. I am just guessing at the finishes on this - I have never had a car with this option.
Did the wire lead from the front light harness to the underhood light. Also getting a replanted housing for this
The glovebox light assembly was thankfully in great condition with just a cleaning - so much I don't think it came off this car originally and the radio noise suppressor (condenser) by the steering column cleaned up nicely
Last edited by costpenn; Sep 12, 2018 at 06:36 PM.
Scattershooting Various Parts (5 hours - 3 last Friday, 2 today)
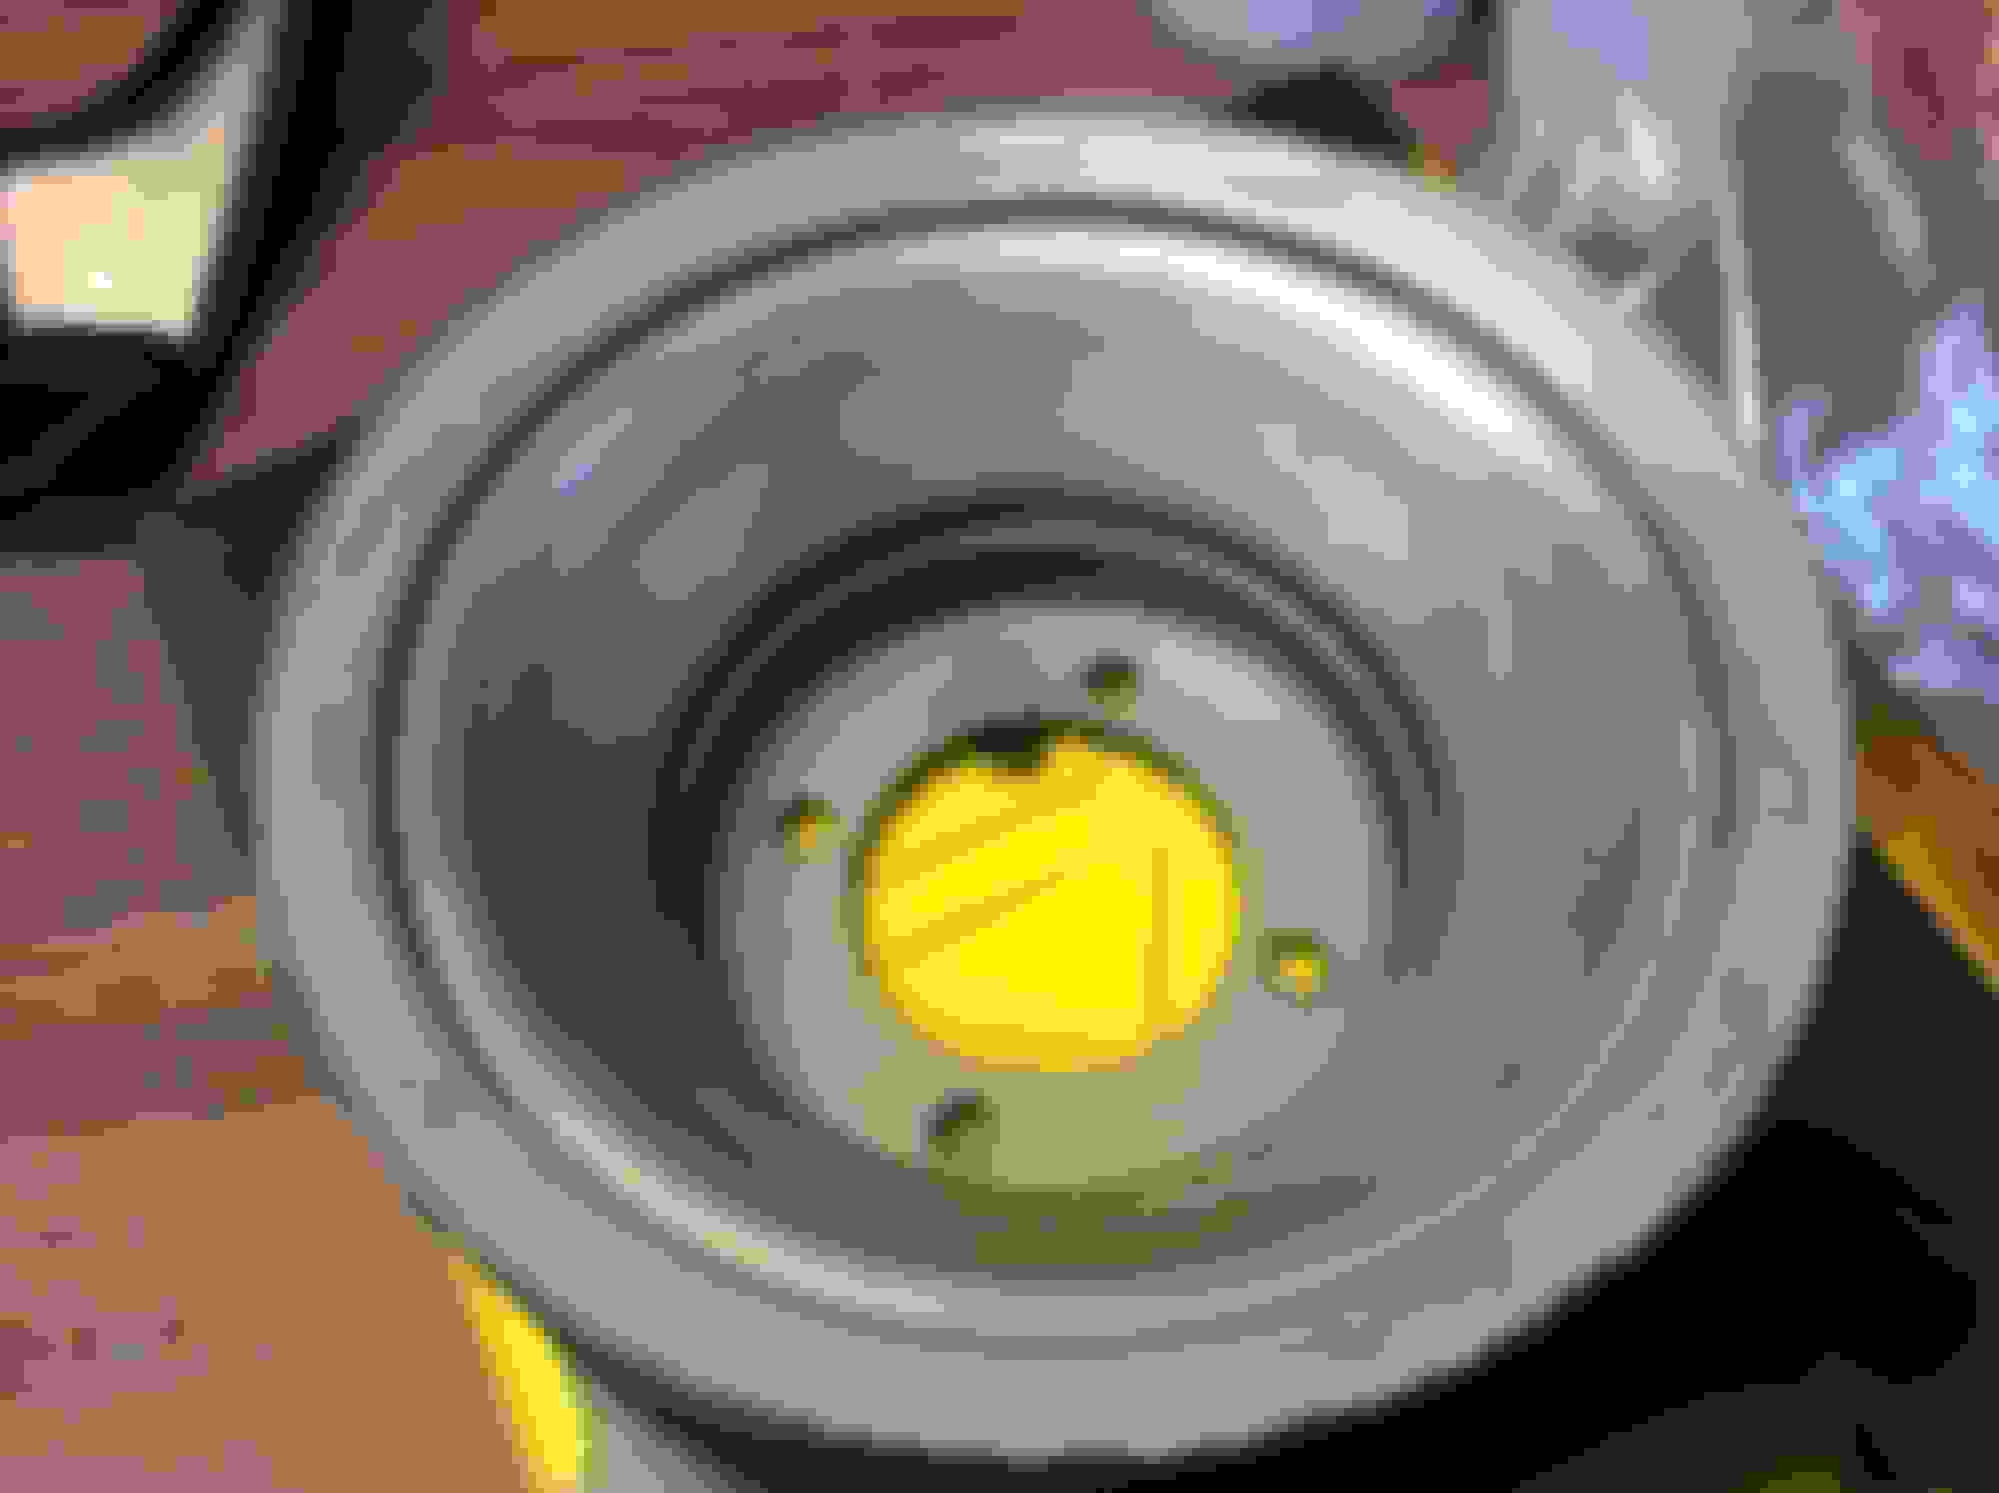
On Friday, I finished up the brake hold off valve. The Musclecar Speciaties rebuilding kit worked beautifully with the online stop by step diassembly/reassembly instructions very well written. I shot it with the Eastwood Brake Gray paint and reattached the original rubber cover.
Also began work work on the gauges. Friday I completed the speedo head. It just needed to have the black lens bezel repainted, the face dusted and the lens replaced. Changed the peanut bulbs, cleaned the contacts and am declaring victory.
Next moved onto the tach and gauges. The tach was not as nice needing to have the lens polished, the red tach hash marks and yellow tach pointer be repainted due to fading, and some black paint touch up work done around the sides of the face. Bulbs were changed along with the contacts being cleaned. Side note - the Tach Man in 2006 converted it to work with electronic ignition. I called him and he stated that it will work with points as well. Very interesting phone call.
On the gauges, this is a mess. Will need to have the face changed out. I already ordered one from TPP - thanks to Scott W. (Oldspackrat) for help with the disassembly tips.
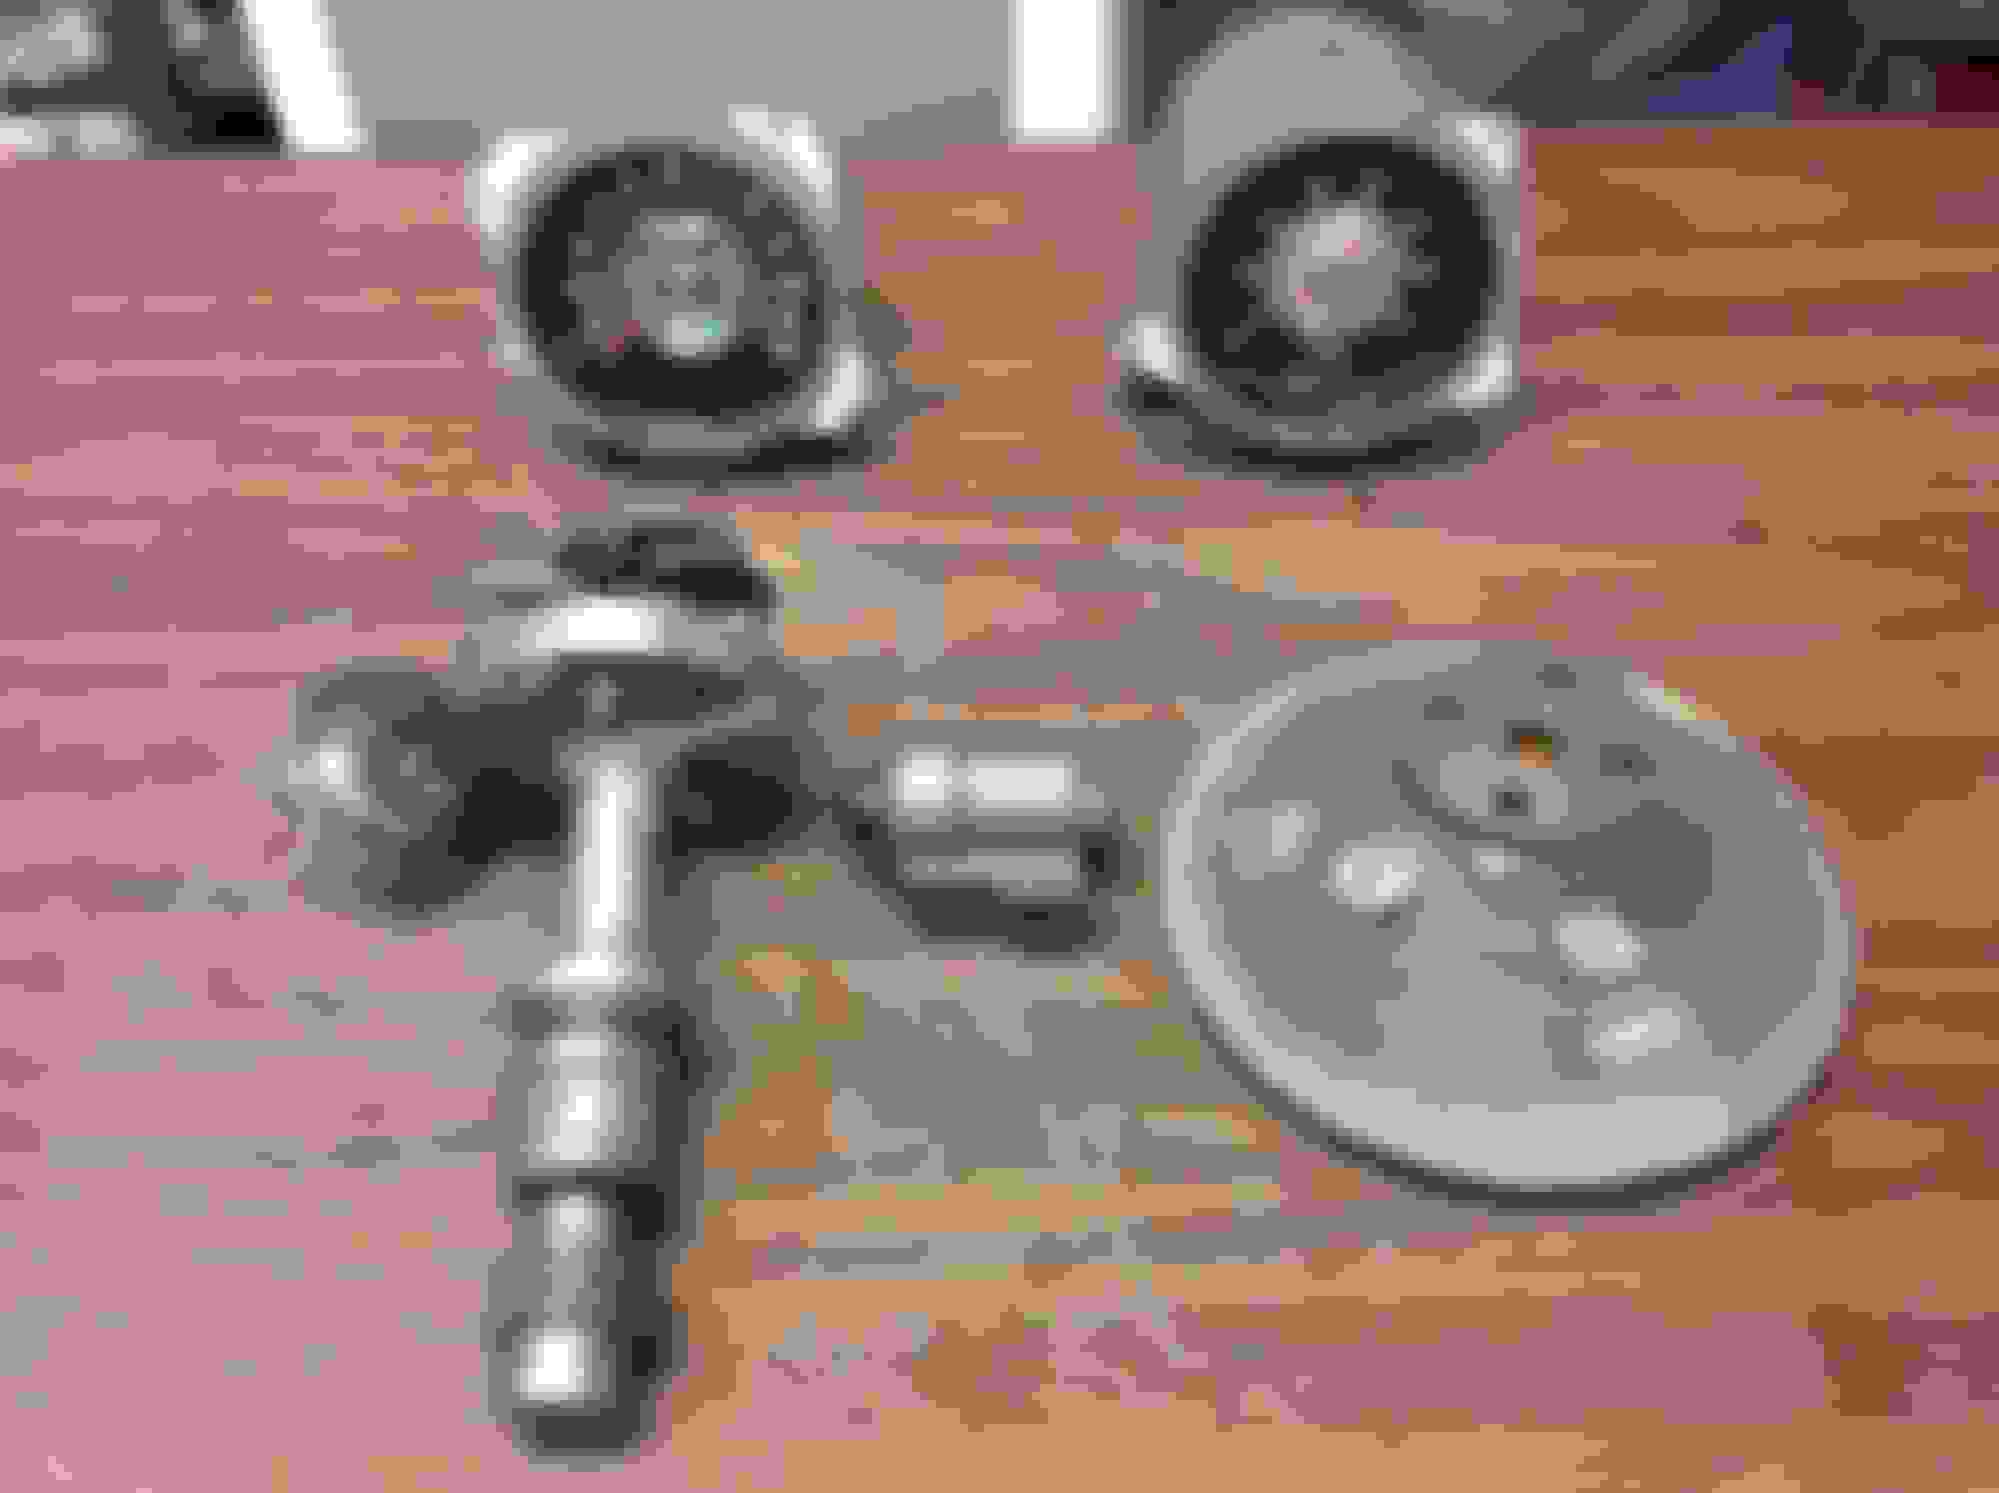
I convinced David to buy a OS NOS fan clutch since all the aftermarket units sound like a F600 Ford truck all the time. Over time, a lot of gunk had gotten in between the ribs of the clutch so I cleaned them out with a stiff brush and carefully shot a little aluminum cleaner on the back surface to "wake up" the finish a little. Ladtly, I dipped the hub only in EvapoRust to remove some light surface corrosion.
David had also bought this 1111977 distributor. Most likely a restamp, (especially since it had some bronze engine paint around housing) but it supposedly has been rebuilt to the right specs. The advance can on it was an aftermarket part with, very interestingly, a 90 degree bend on the vac. nipple but in the wrong direction. I had a working 427 can in my stuff, do I wirewheeled it and swapped it out.
I'm still hunting down a W LH manifold, but today I found a perfect sized tub to do a EvapoRust soaking on the Z. I'll leave it in there at least through the weekend, wipe it down and do another overnight soak.
A few few more items done today:
Completed the KC crank pulley - the unit I got from Nick was in excellent condition, so I just stripped, sanded and painted with the Duplicolor Ford Semi Gloss Black.
Door windlaces - these repos are some of the nicest pieces on the car. Just cleaned and ready for install.
Jack Mech - I have to confirm if this is the right unit for the car. I'm out (again) of Federal gray so I shot with a "smoke gray" color I have. I think it is a little too dark.
Jack staff - The one Oldspackrat sent me was pit free, but had a lot of surface corrosion. A lot of hand sanding later, a coat of Eastwood Clear Zinc followed by Silver Cad has it looking acceptable.
Lastly, the sunvisors at first looked OK, but upon further review just won't do. The body of the visor looks fair, butthe sewn seam strip looks awful and the metal pinch pieces are badly pitted.
Last edited by costpenn; Sep 17, 2018 at 08:23 PM.
I was looking for a pretty good sized tub for soaking larger parts in Evaporust as well. Went to Home Depot and got a heavy black plastic tub with a bright yellow lid probably a little bigger than what you have. I ordered two 3.5 gal buckets of Evapo and filled it just about to the point that I could fully submerge the strainer basket that comes in the gallon pails.It works perfectly. It's big enough that I can put most large parts in it but I can still use the strainer insert for small stuff. I had some concern about the plastic's ability to stand up to the Evaporust without springing a leak but after about a year, I have had no issues at all. I do keep a pretty good layer of cardboard around the container as getting parts out makes kind if a mess and it helps keep the floor cleaner. It was kind of pricey but I am using it now on the second car so it has been well worth it.
I was looking for a pretty good sized tub for soaking larger parts in Evaporust as well. Went to Home Depot and got a heavy black plastic tub with a bright yellow lid probably a little bigger than what you have. I ordered two 3.5 gal buckets of Evapo and filled it just about to the point that I could fully submerge the strainer basket that comes in the gallon pails.It works perfectly. It's big enough that I can put most large parts in it but I can still use the strainer insert for small stuff. I had some concern about the plastic's ability to stand up to the Evaporust without springing a leak but after about a year, I have had no issues at all. I do keep a pretty good layer of cardboard around the container as getting parts out makes kind if a mess and it helps keep the floor cleaner. It was kind of pricey but I am using it now on the second car so it has been well worth it.
Randy thanks for the tip about the absorbing cardboard "mat" you set up around your tank. Patton had a good idea that I am going to do someday to make a vessel out of plastic piping long enough to hold a driveshaft and big enough to hold a axle shaft with one end permanently closed with maybe a drain valve in the end cap, and a screw on cap on the other. You can put jack staffs, rear control arms, steering shafts, etc in there using the Evapo in an efficient manner.