When you click on links to various merchants on this site and make a purchase, this can result in this site earning a commission. Affiliate programs and affiliations include, but are not limited to, the eBay Partner Network.
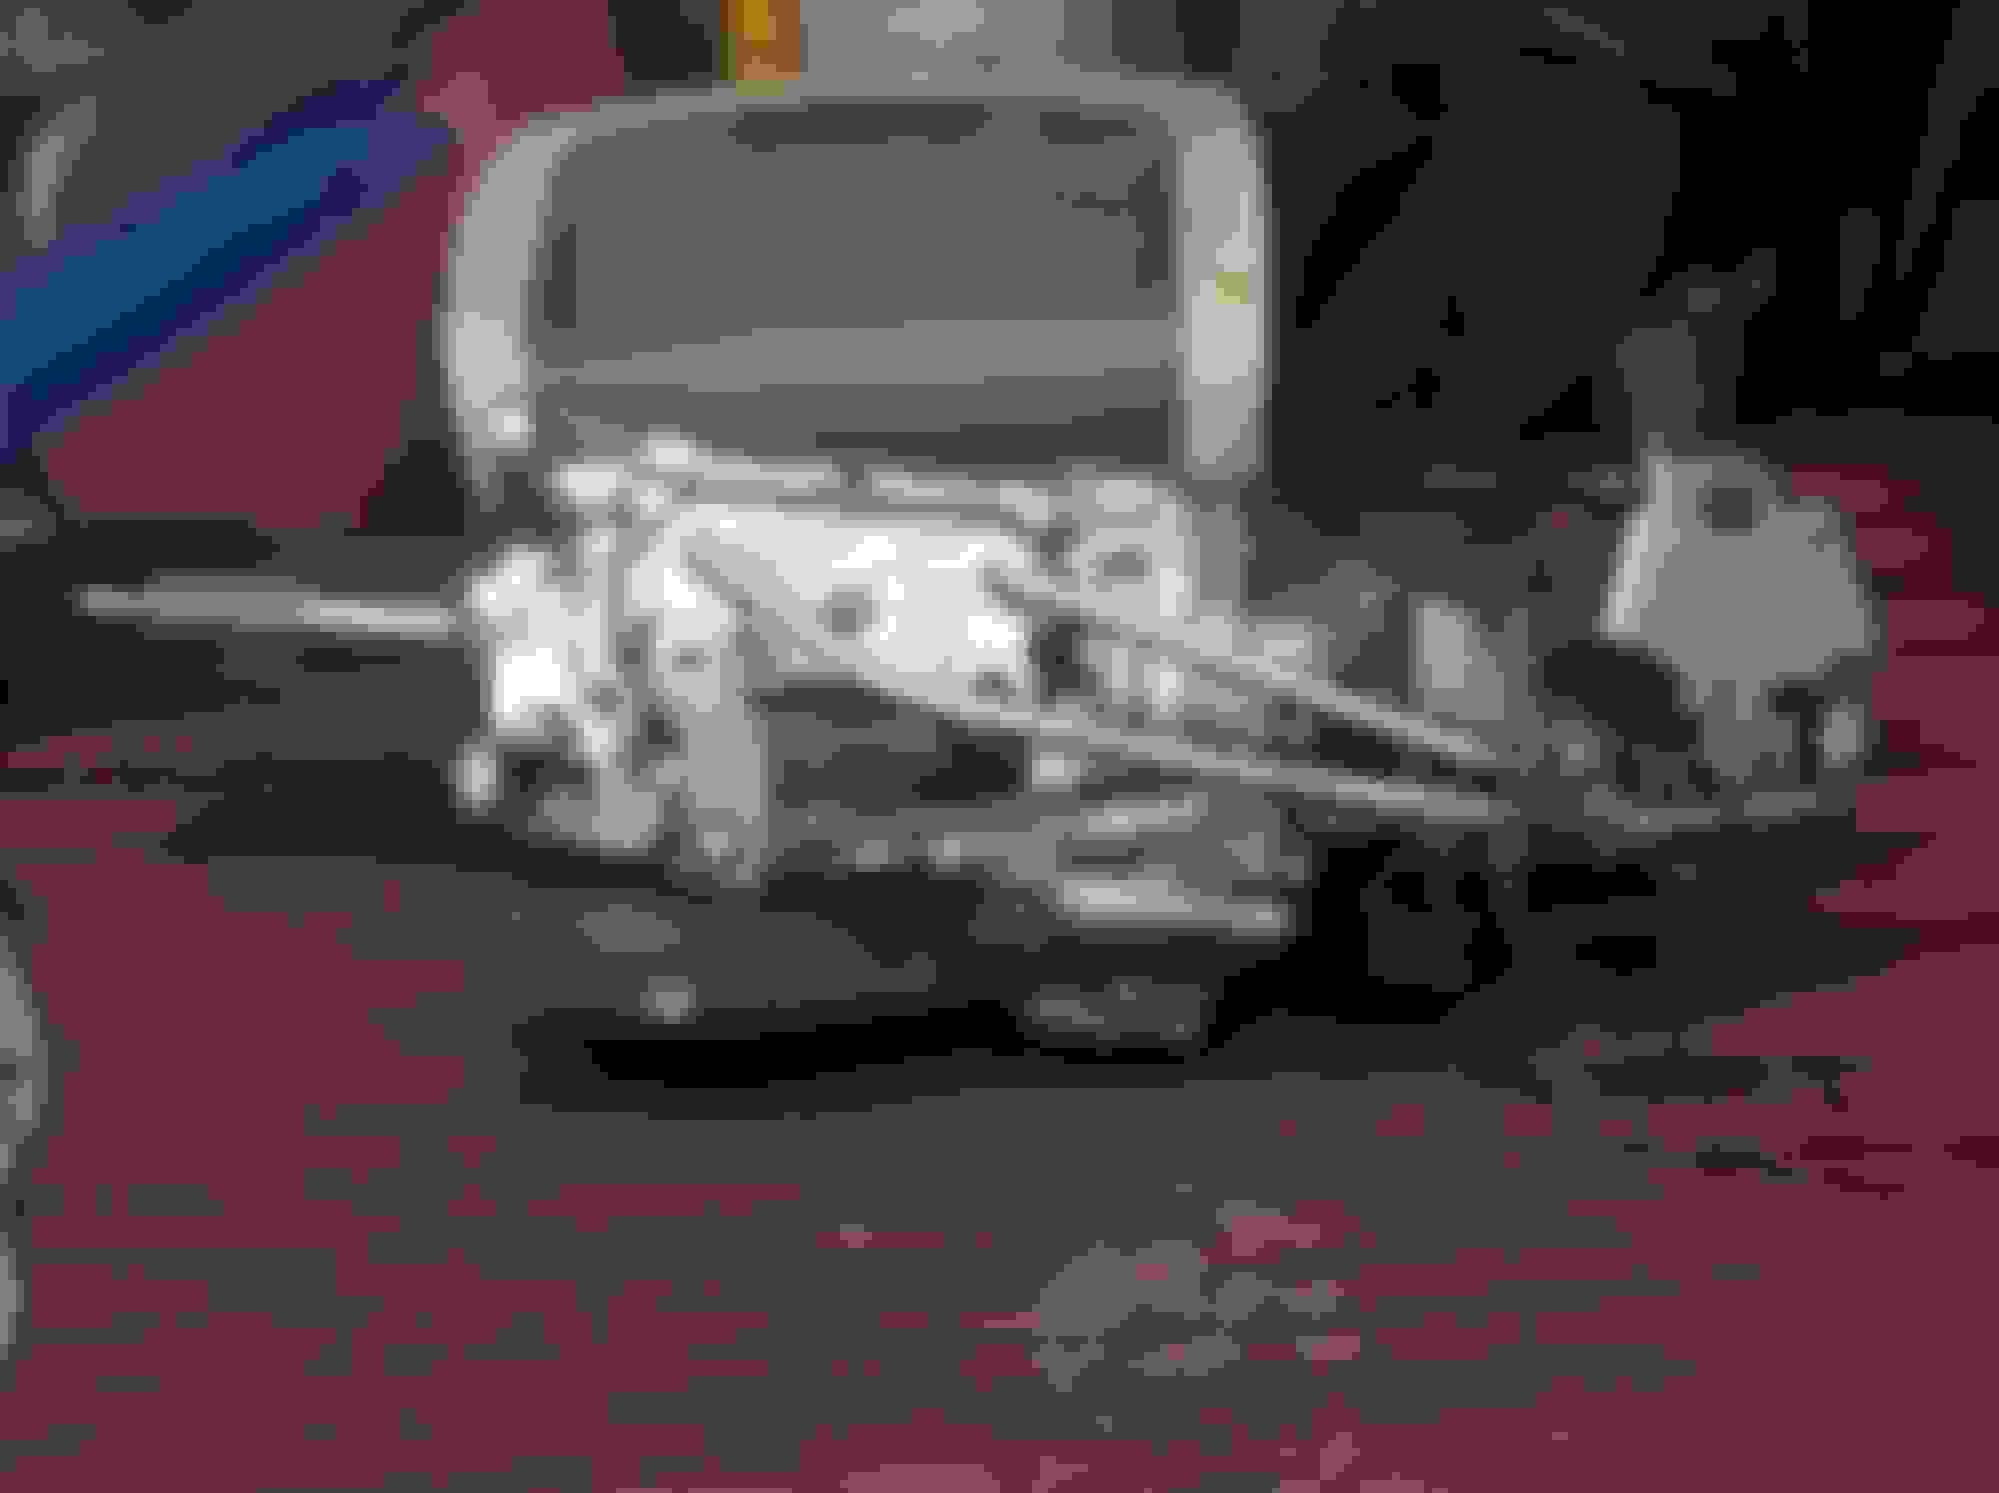
The transmission was completely rebuilt at Plano Transmissons. It needed a lot of internal parts replaced, but since it is the original one for the car it is worth it. The tranny cases were cleaned but not painted leaving them with that whitish dull outer layer. Carefully went over it with a small handheld wire brush which removed most the crust and gave the finish some life. Next removed the original case bolts and evapoed and painted with the Zinc Phosphate paint. Added the tranny case stencil, and trimmed off all of the excess sealer and gasket paper hanging out of the case joints.
This afternoon, I added the shifter mount plate, the shifter, shifter rods and tabs along with the backdrive equipment. All of the back drive mech was missing, so I had to piece the whole thing together from misc pieces I had on hand. This will be my 3rd MT resto, and I still need the PIM to remember where the flat washers go, where do the wavy ones go etc.
Did an inventory of everything I will need to drop in the engine and trans. Somehow forgot to get some replacement flywheel bolts, and had not done anything to replace the worn clutch fork. Dug through my spares and found an excellent used one - if is marinating in evaporust. Everything else looks good to go.
Thought this was going to be the day I finished up on the project before the chassis goes into storage, but alas.
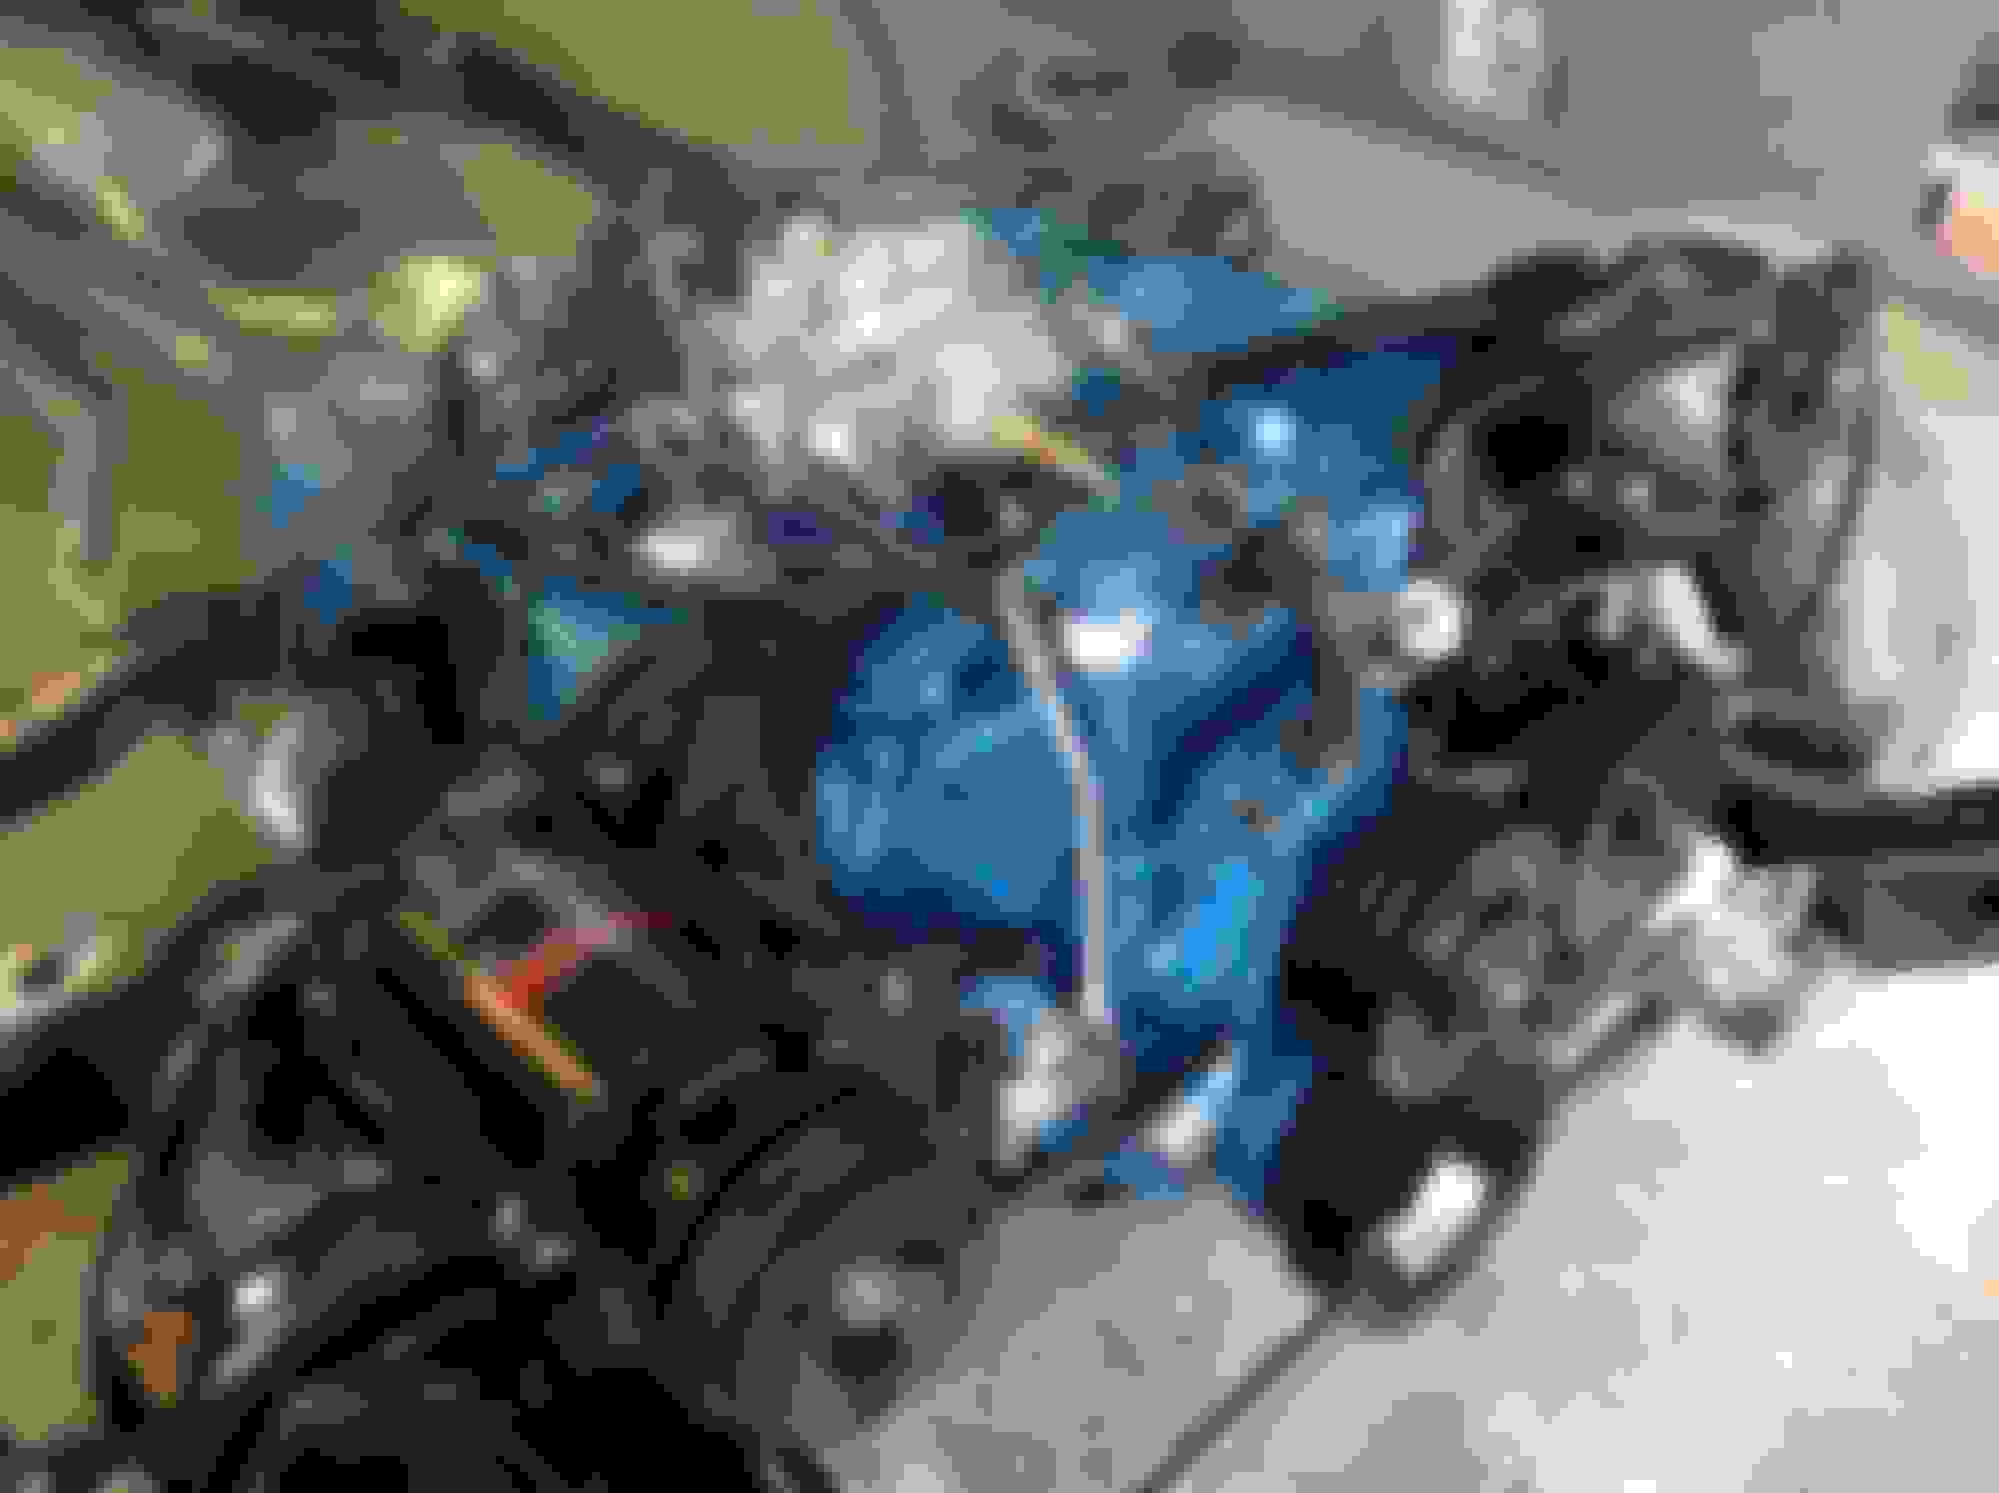
Got the hoist out, engine up and tranny installed. Everything was looking good until a song started playing - the title of I Got Them 455 Motor Mount Blues....
Have posted a thread about it - hopefully I can just put the 350 mounts in it otherwise getting those pads out will suck so bad after the control arms are reinstalled
Use a universal socket/long extension through the frame to loosen the frame mounts liberally, loosen the block mounts the same. (Loosey goosey). Patiently bolt the mounts together and THEN hammer all of the mounts down. Try to resist the urge to relieve the holes, it can be done without metal removal. Patience is key for this project, don't have a set timeframe.
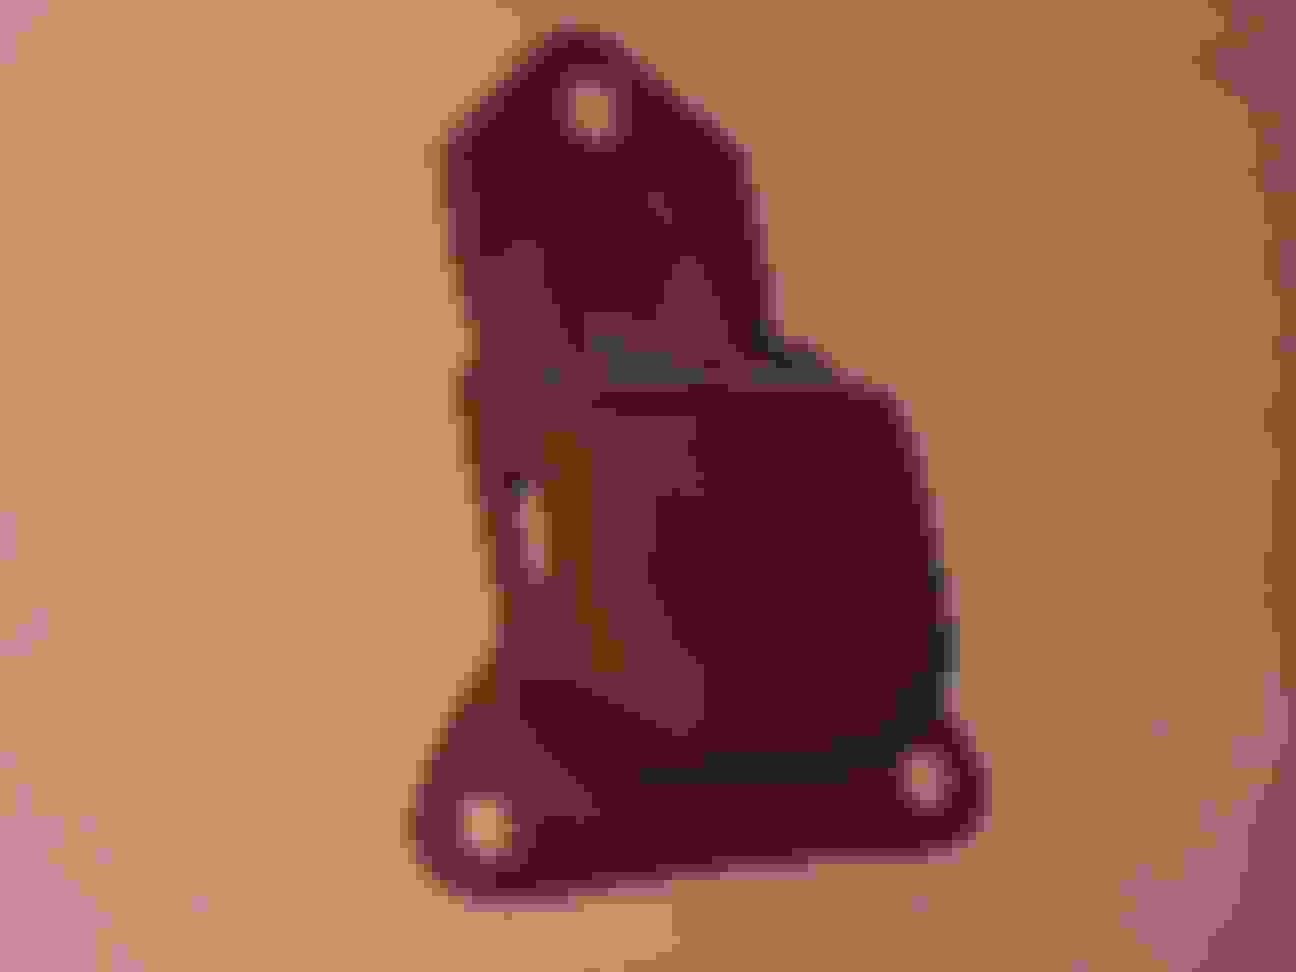
Joe - I may be wrong but those DO LOOK LIKE big block frame pads on the car. Pic below is of a 350 frame pad (from a '70 Cutlass).
Take a look inside the oval holes where the long motor mount bolts pass through....if there is a sleeve inside then those are big block pads IMO.
Edit: Oooops! - your frame pads sure look odd......they are not the same shape as the original big block frame pads in my '70 W30. And they also look completely different than the 350 frame pads as I already mentioned. I added a second pic showing an original '70 455 442, etc frame pad...note the raised "pad" surface is square on mine....yours is rectangular. Also - yours has a sloped/angled "dropoff" on the wall that drops off the bottom of the raised pad. Mine drops off at a 90 degree angle.
Joe - I may be wrong but those DO LOOK LIKE big block frame pads on the car. Pic below is of a 350 frame pad (from a '70 Cutlass).
Take a look inside the oval holes where the long motor mount bolts pass through....if there is a sleeve inside then those are big block pads IMO.
Edit: Oooops! - your frame pads sure look odd......they are not the same shape as the original big block frame pads in my '70 W30. And they also look completely different than the 350 frame pads as I already mentioned.
Well, I was wrong, but it is even weirder. I looked again at Joe P's thread and the frame pads on the car is actually the Type 1 (as he references it) 64-69 A body version. It fits both small blocks (330, 350) from 64-69, and big (400, 455) blocks from 65-68. How these got on the car is anyone's guess. The good news is the 2261 motor mount is the companion to these pads. I already have a set ready to pick up tomorrow AM at O'Reilly's. Thanks Patton & Heath!
I got the motor mount issue solved with switching to the 2261 - big sigh of relief there.
Got the following list of items done yesterday & today
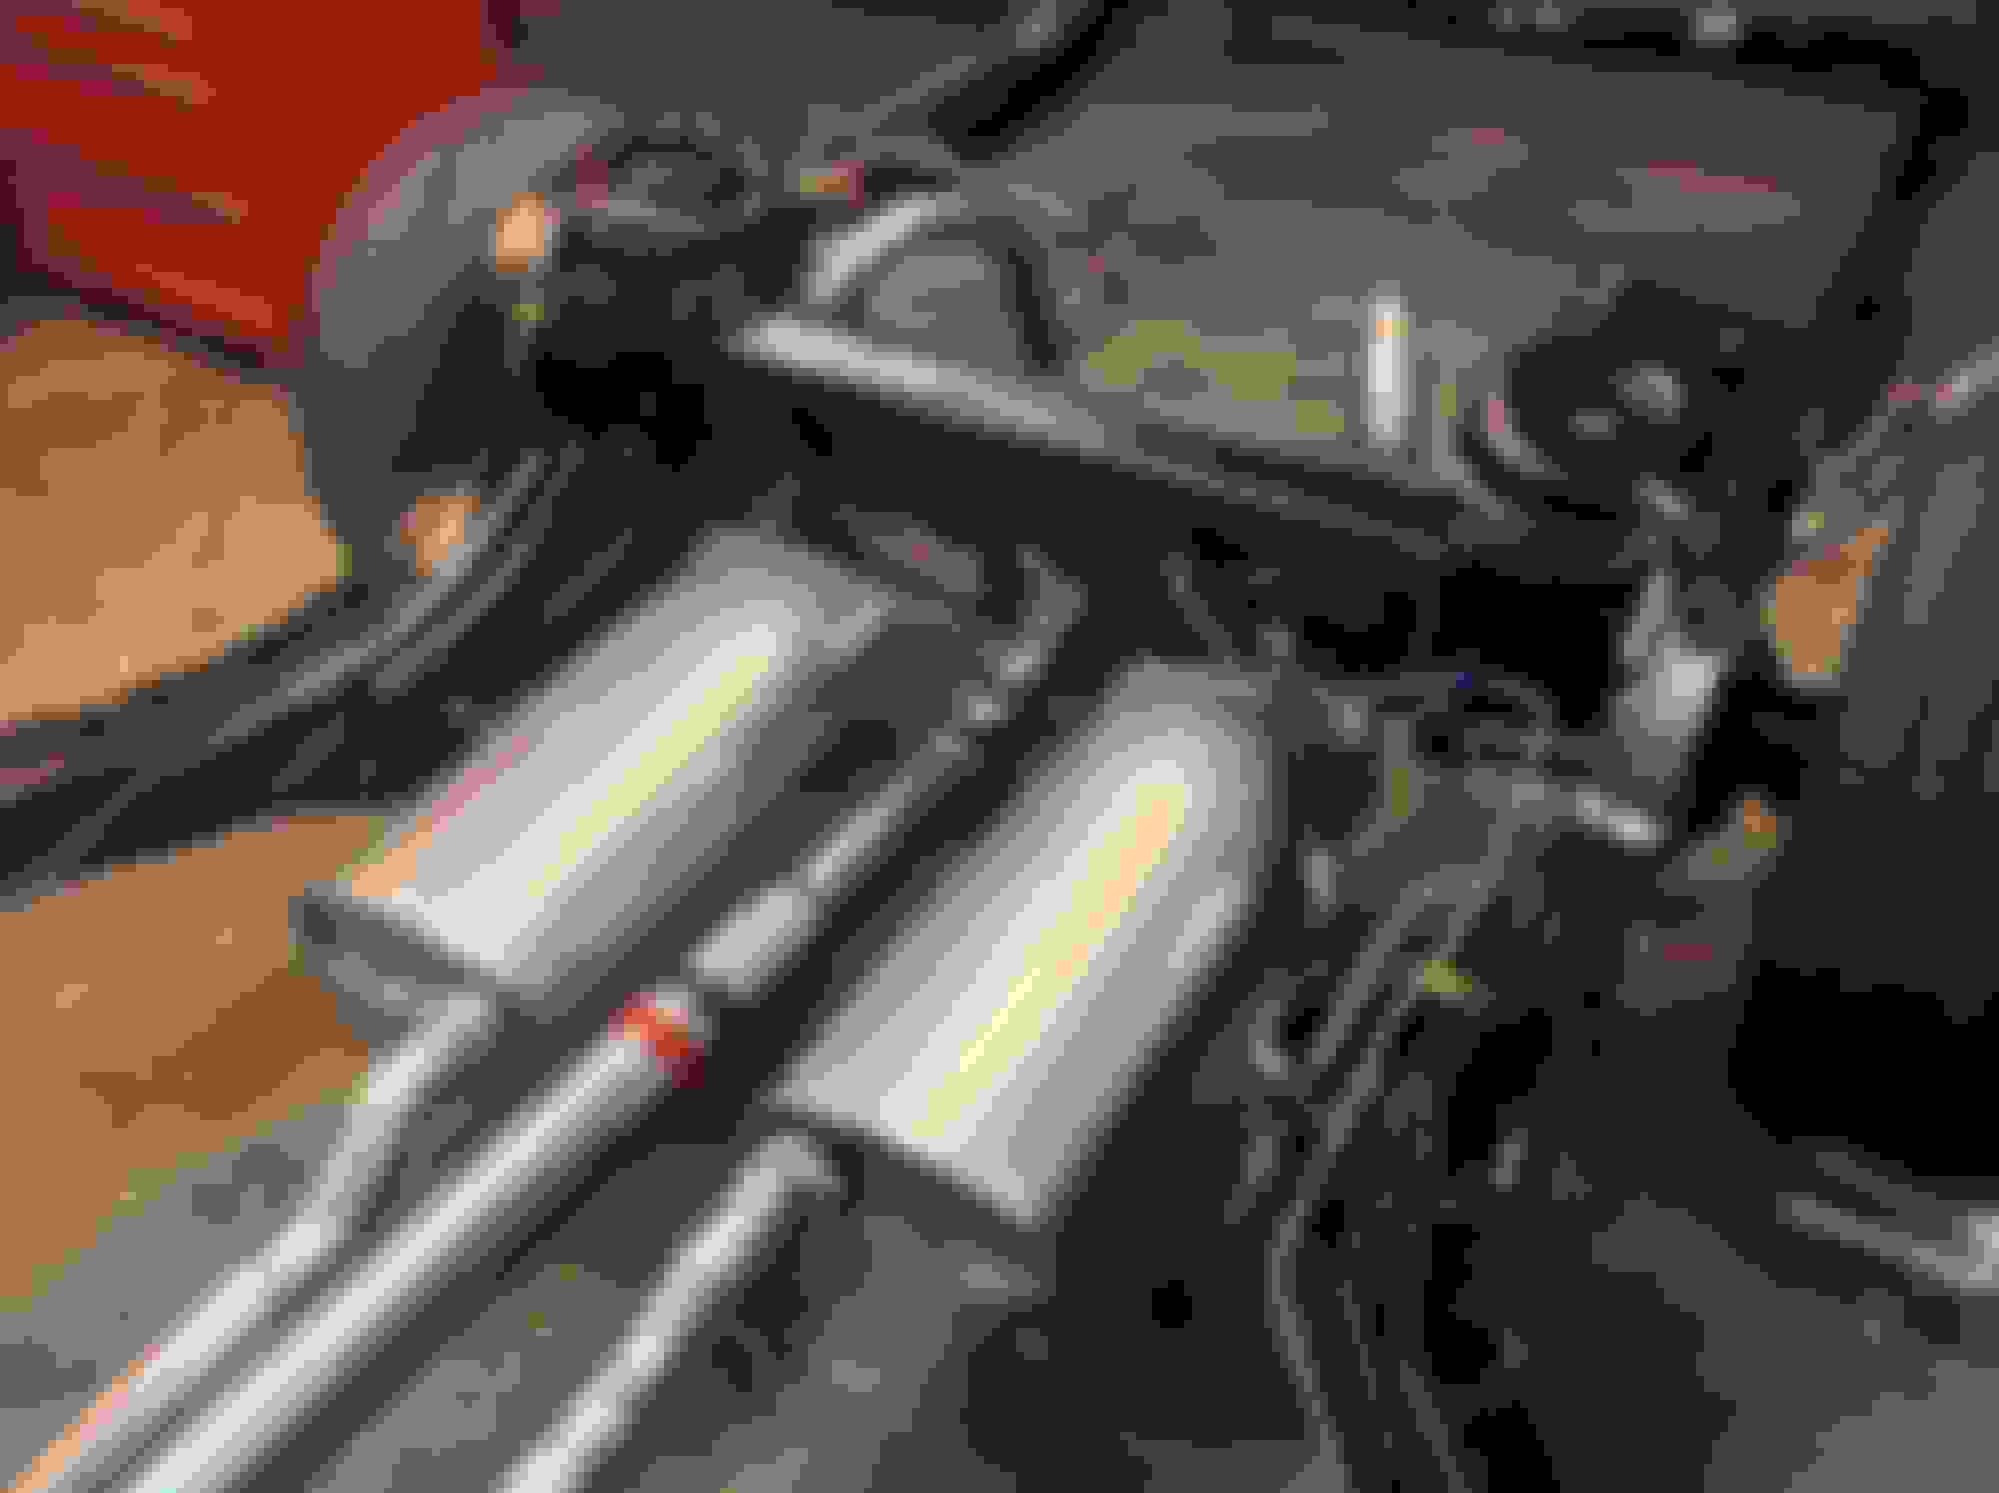
1) Installed fuel lines
2) Installed P/S lines
3) Installed the balance of the exhaust system (again - Gardner - it fit perfectly!)
4) Installed lower back drive, clutch Z bar
5) Filled transmission
6) Installed driveshaft
7) Trimmed and installed bell housing cover
8) Lubed all fittings
9) Added various paint marks
Last item was to install the AC compressor. We bought a reman at O'Reilly's but the clutch hub looked different from the OE style. Since the old compressor was engaing well, I removed the old hub off it, cleaned it, and then painted with the spray on black Plasti-Kote stuff you use to coat plier handes with. Repainted the compressor with my trusty Ford semi gloss, and added the decal. Had lots of trouble again with fasteners because I mistakenly reconditioned all the ones that came off the brackets that were on the car - forgetting all those brackets would be changed because they were all wrong. Still need to find the correct upper front compressor to bracket bolt - did not have this unusual length bolt in my inventory.
So with this, the rolling chassis is going in short term storage until the body is ready for installation. I will be working on getting my Hurst cleaned up for the MCACN show coming up in few weeks. I will then finish up the Ford Truck I have been working on. Thanks to everyone again for following along - I'll be back in a couple of months to finish the reassembly.
Those battery tubes look like the real Phenolic tubing. I looked into it but was pretty pricey to get a custom size.
"Read back on this thread a while. There is a discussion about the distribution block bracket being unusual (how it is attached to the block) and so far only finding Oldsmobiles use this style on cars assembled in Linden."
That is the same distribution block I have on my 70 Cutlass with JL2 option. I'll post pic when I get a chance. Hopefully will help verify this is correct for these NJ built cars. My car had lots of original markings still there. As stated some times guys get carried away with what was right when there were lots of suppliers and different people on the lines putting these cars together. Not to mention shift and plant differences too.
I must say luv all the attention to details! Looks great!
Yes that is the correct phenolic tubing for the batteries. I reproduce all the tubes for 65 through 72 automatic and four speed in the correct material sizes and dimensions. $55 each shipped to your door.
It has been a very difficult month for me personally with losing my Dad and other family health problems. I'm still not back to normal but had to do something to get my mind off things, so to the garage for a while.
RocketmanV269 sold us a pretty nice dash bezel, so today I cleaned it, prepped with Bulldog Adhesive promoter, and painted with the SEM Landau Black (did same for the glovebox). Did the silver paint pen for the raised ribs, installed the wood grain using the 3M trim and emblem adhesive, installed new glove box lock and emblem, and installed some of the refurbished items like lighter, light diffusers, and wiper switch/bezel. The riveted metal "roof" of the bezel had rust so I removed it for refinishing. I painted it with Eastwood's - have to buy a pop rivet tool to reinstall.
Ford truck is due to dropped off Thursday for me to begin reassembly. I will try to get the lamp assemblies finished before then.
Thanks to Luke, Lamont, Ali & Linda, Paul, Terry, Joe S., Eric, Jason and the rest of the CO guys for being so supportive at MCACN. Special thanks to David, Chris & Patton for dragging the Hurst up there and back.
Last edited by costpenn; Nov 25, 2018 at 08:47 PM.
Nice work Joe,
Its a little late now in this case but looking at the dash I notice the all too familiar signs of warpage around the environmental controls. Apparently 50 yrs of heat cycles shows. Do you have any plans or info on how to straighten? I was thinking applying a little heat to the area with a heat gun and clamping a straight edge or two might work but Id hate to make it worse also?
Last edited by scrappie; Nov 26, 2018 at 04:28 AM.
Thanks to Luke, Lamont, Ali & Linda, Paul, Terry, Joe S., Eric, Jason and the rest of the CO guys for being so supportive at MCACN. Special thanks to David, Chris & Patton for dragging the Hurst up there and back.
It was a pleasure to meet you in person finally and a joy to spend time going over your H/O during the judging process. What a magnificent car. I love following your progress in these threads - makes me wish my mechanical talents and confidence matched my musical ones. My cars would be a lot nicer!
Nice work Joe,
Its a little late now in this case but looking at the dash I notice the all too familiar signs of warpage around the environmental controls. Apparently 50 yrs of heat cycles shows. Do you have any plans or info on how to straighten? I was thinking applying a little heat to the area with a heat gun and clamping a straight edge or two might work but Id hate to make it worse also?
Scrappie, on another of my cars, the bezel was warped considerably worse than this one. I used some washers as "shims" on and around that anchoring post to push it back out a bit. It helped a lot, but is still noticeable. This bezel is a lot better, so I'm hoping the shim trick will make the waviness almost imperceptable. I haven't tried heating it because I know I would just make it worse.
Joe,
I've been following along like a book you can't put down. Your craftsmanship is nothing short of spectacular!
I saw in an earlier post that you don't mind using gaskets between the exhaust and block. Do you use a gasket between the manifold and the exhaust pipes or leave un-gasketed - not sure that's a word (like it came originally)? One more question -if I may - where did you get the label for the A/C compressor?
Joe,
I've been following along like a book you can't put down. Your craftsmanship is nothing short of spectacular!'
I saw in an earlier post that you don't mind using gaskets between the exhaust and block. Do you use a gasket between the manifold and the exhaust pipes or leave un-gasketed - not sure that's a word (like it came originally)? One more question -if I may - where did you get the label for the A/C compressor?
Thanks
Phil
Phil, thanks for the kind words. I don't use a "donut" gasket at the manifold to head pipe connection. Olds did not use one, and unless there is heavy damage or erosion to the manifold mounting "cone" or head pipe, it should not leak if properly tightened.
The compressor decal is available at Fusick and The Parts Place.
Joe,
Thanks for the response - I see there are concours date coded accessory belts available at concourse prices (somewhere around 25-30 bucks each). Do you have any suppliers for v-belts without the concours price if I don't need the date codes but still want original V style and not the newer cog style belts? PM me if you need to.
Phil
Phil, unfortunately I do not know of anyone selling the smooth style belts. I think that ILT currently has the best price on them at 22.00 each, or if you know the length, check eBay to see if anyone has some old Dayco/Gates/Goodyear inventory. Good luck.
A few points of light (7 hours over the last week approx)
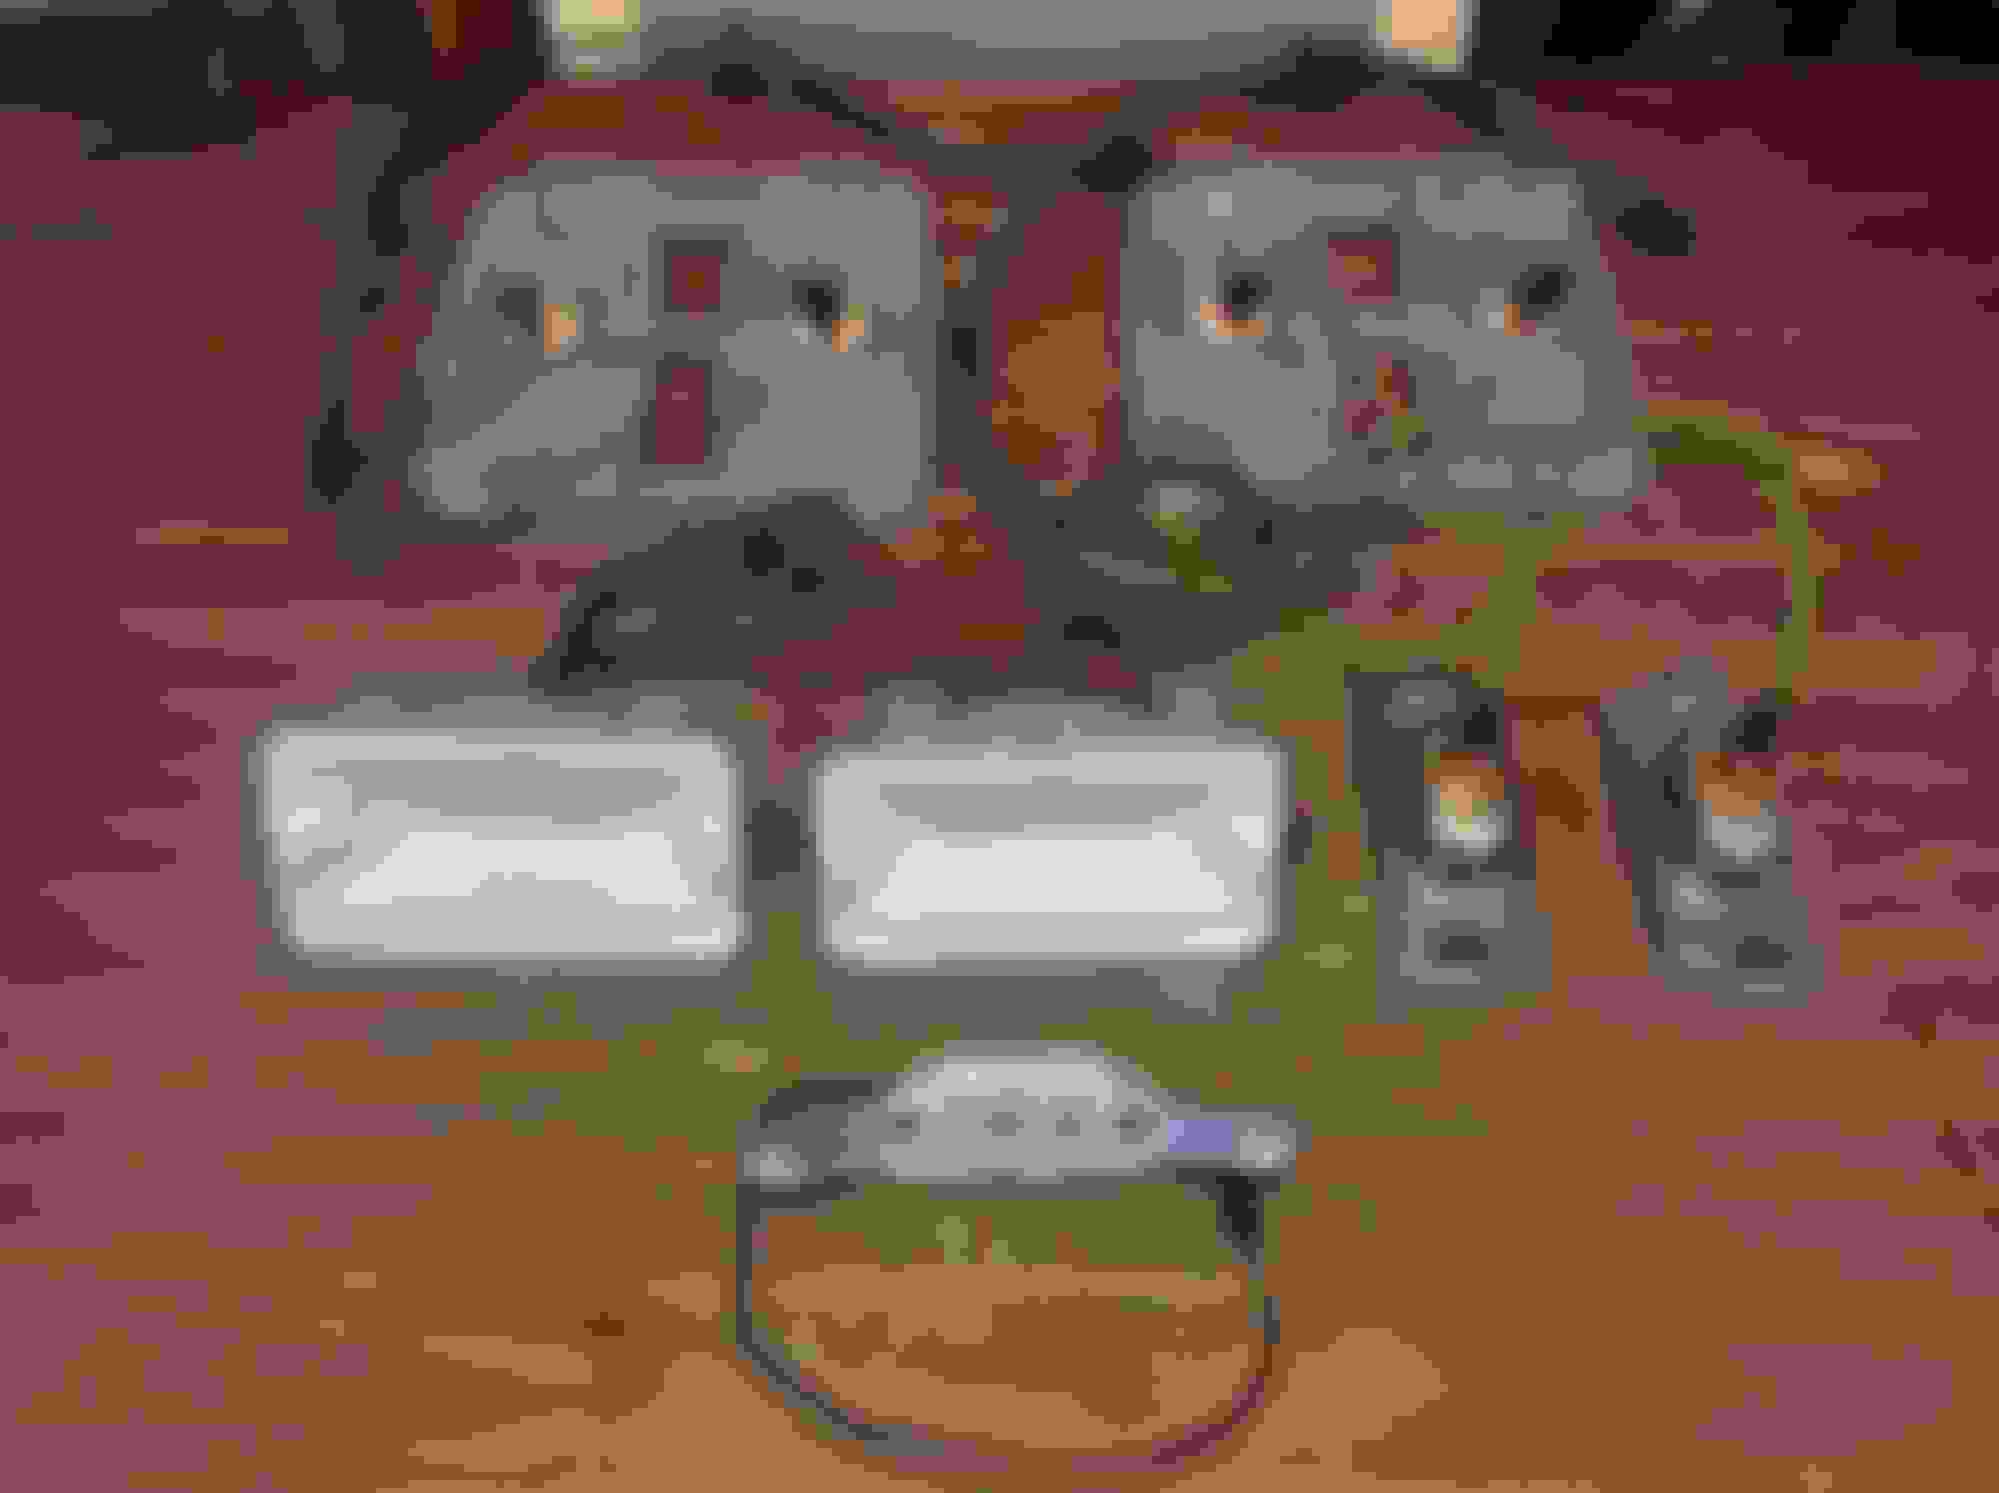
Slowly getting back to a routine. Today I finished up the external lamps. Stripped off the crappy paint that had sprayed on the housings, cleaned the wires, detailed the connectors etc. The sockets in the tail and reverse lamps were packed full of grease and bead blasting media that I had to clean out so the wires could move because the springs were not able to load the terminal against the bulb base.
Learned something new - the 71-72 tail lamp housings are painted white on the surface facing rearwards, but 70 is bare die cast - thanks Patton.
Also this week finished up the wiper transmission, glove box hinge. Now, for real, onto the Ford Truck for awhile.
There are no Fred Mandricks, Patton Glades, Eric Jensen, etc... doing a 73-79 Ford Truck restoration back to exact OE standards. The vast majority of these trucks are resto modded - it has been quite a learning experience.
Awesome job on the F250 Joe!!!!!. Thanks for the link to the ford truck site,another beautiful resto! Sure brings back memories for me. My first job was at a small Ford dealer(Harold Bass Ford Ransomeville NY) starting in '78 when I was still in high school. It was a special deal thru my shop class(remember those!) I went to school 1/2 a day & then to the dealer for the other half. I was working towards my mechanics apprenticeship & was hired full time when I graduated. I did plenty of dealer preps on the '79s when they were new. They were & are still my favorite trucks!
Back from Ontonagon MI. What bautiful country up there on the Keeweenaw Peninsula.
First went to pick up the cylinder heads from the machine shop. The exhaust mounting surface was way too pitted, and I didn't like the assembled valve heights varying .020 from low to high. Took them the Mondello tool and valve tip to tool clearance is now .008-011 across all the valves.
I've been following along on this build as I did on your W30 restoration, always in awe of your commitment to detail and correctness. A question for you on this Mondello tool. I have one as well but never had a chance to use it, but I will this winter. Is it the exact copy of the GM tool indicated in the service manual? I am confused as to what the ideal valve stem height is suppose to be. Is the valve suppose to touch the post of the gauge or is there suppose to be a spec as you used of .008 - ,011 between the gauge and the stem tip? If there is a specific clearance between the two, why is this and wouldn't it be more accurate to have the tool designed so the valve stem tip actually just touches the tool's post? Wouldn't that be simpler and more accurate? Do you know Mondello's intent with their tool? Hope you can follow my thoughts. Thanks for enlightening me on this question, and don't spend too much time on that Ford. Ha.
Hello up there (and when did you move from Halifax to Economy?)
I really do not know if the Mondello tool is in anyway a derivative of the GM tool. I called the guys at Mondello myself since the tool did not come with any specs and they told me all 455's should have .010 clearance betwen the valve and the tip of the tool. Interestingly, 350's should the .035 - don't know if maybe the tool is also designed for other engines (307's etc) that have other assembled heights and that is why the tool does not touch the 455 engine tips.
Awesome job on the F250 Joe!!!!!. Thanks for the link to the ford truck site,another beautiful resto! Sure brings back memories for me. My first job was at a small Ford dealer(Harold Bass Ford Ransomeville NY) starting in '78 when I was still in high school. It was a special deal thru my shop class(remember those!) I went to school 1/2 a day & then to the dealer for the other half. I was working towards my mechanics apprenticeship & was hired full time when I graduated. I did plenty of dealer preps on the '79s when they were new. They were & are still my favorite trucks!
Too cool that you drove them when new. One if my first jobs was working for UHaul from 1980-1982 - we had all kinds of Ford parts in the warehouse to fix the series of trucks ( then brand new) that were based on the Ford pick up. I wish I could have known how much of that NOS stuff I would need now!