When you click on links to various merchants on this site and make a purchase, this can result in this site earning a commission. Affiliate programs and affiliations include, but are not limited to, the eBay Partner Network.
Today I took some of the items I had recently Evaporusted and finished them.
Wire wheeled T-stat housing, choke tube, oil slinger, lift hook, since they will be painted, and sprayed stain clear on TCS switch bracket. Painted the throttle dash pot bracket with a mix of different paints, and tried to mimic the galvanized finish on the coil bracket with little success. Painted the brake hold off valve bracket and the Z-bar frame bracket with the Eastwood's Gray Phosphate. Painted the dash light diffusers with ultra flat high heat black.
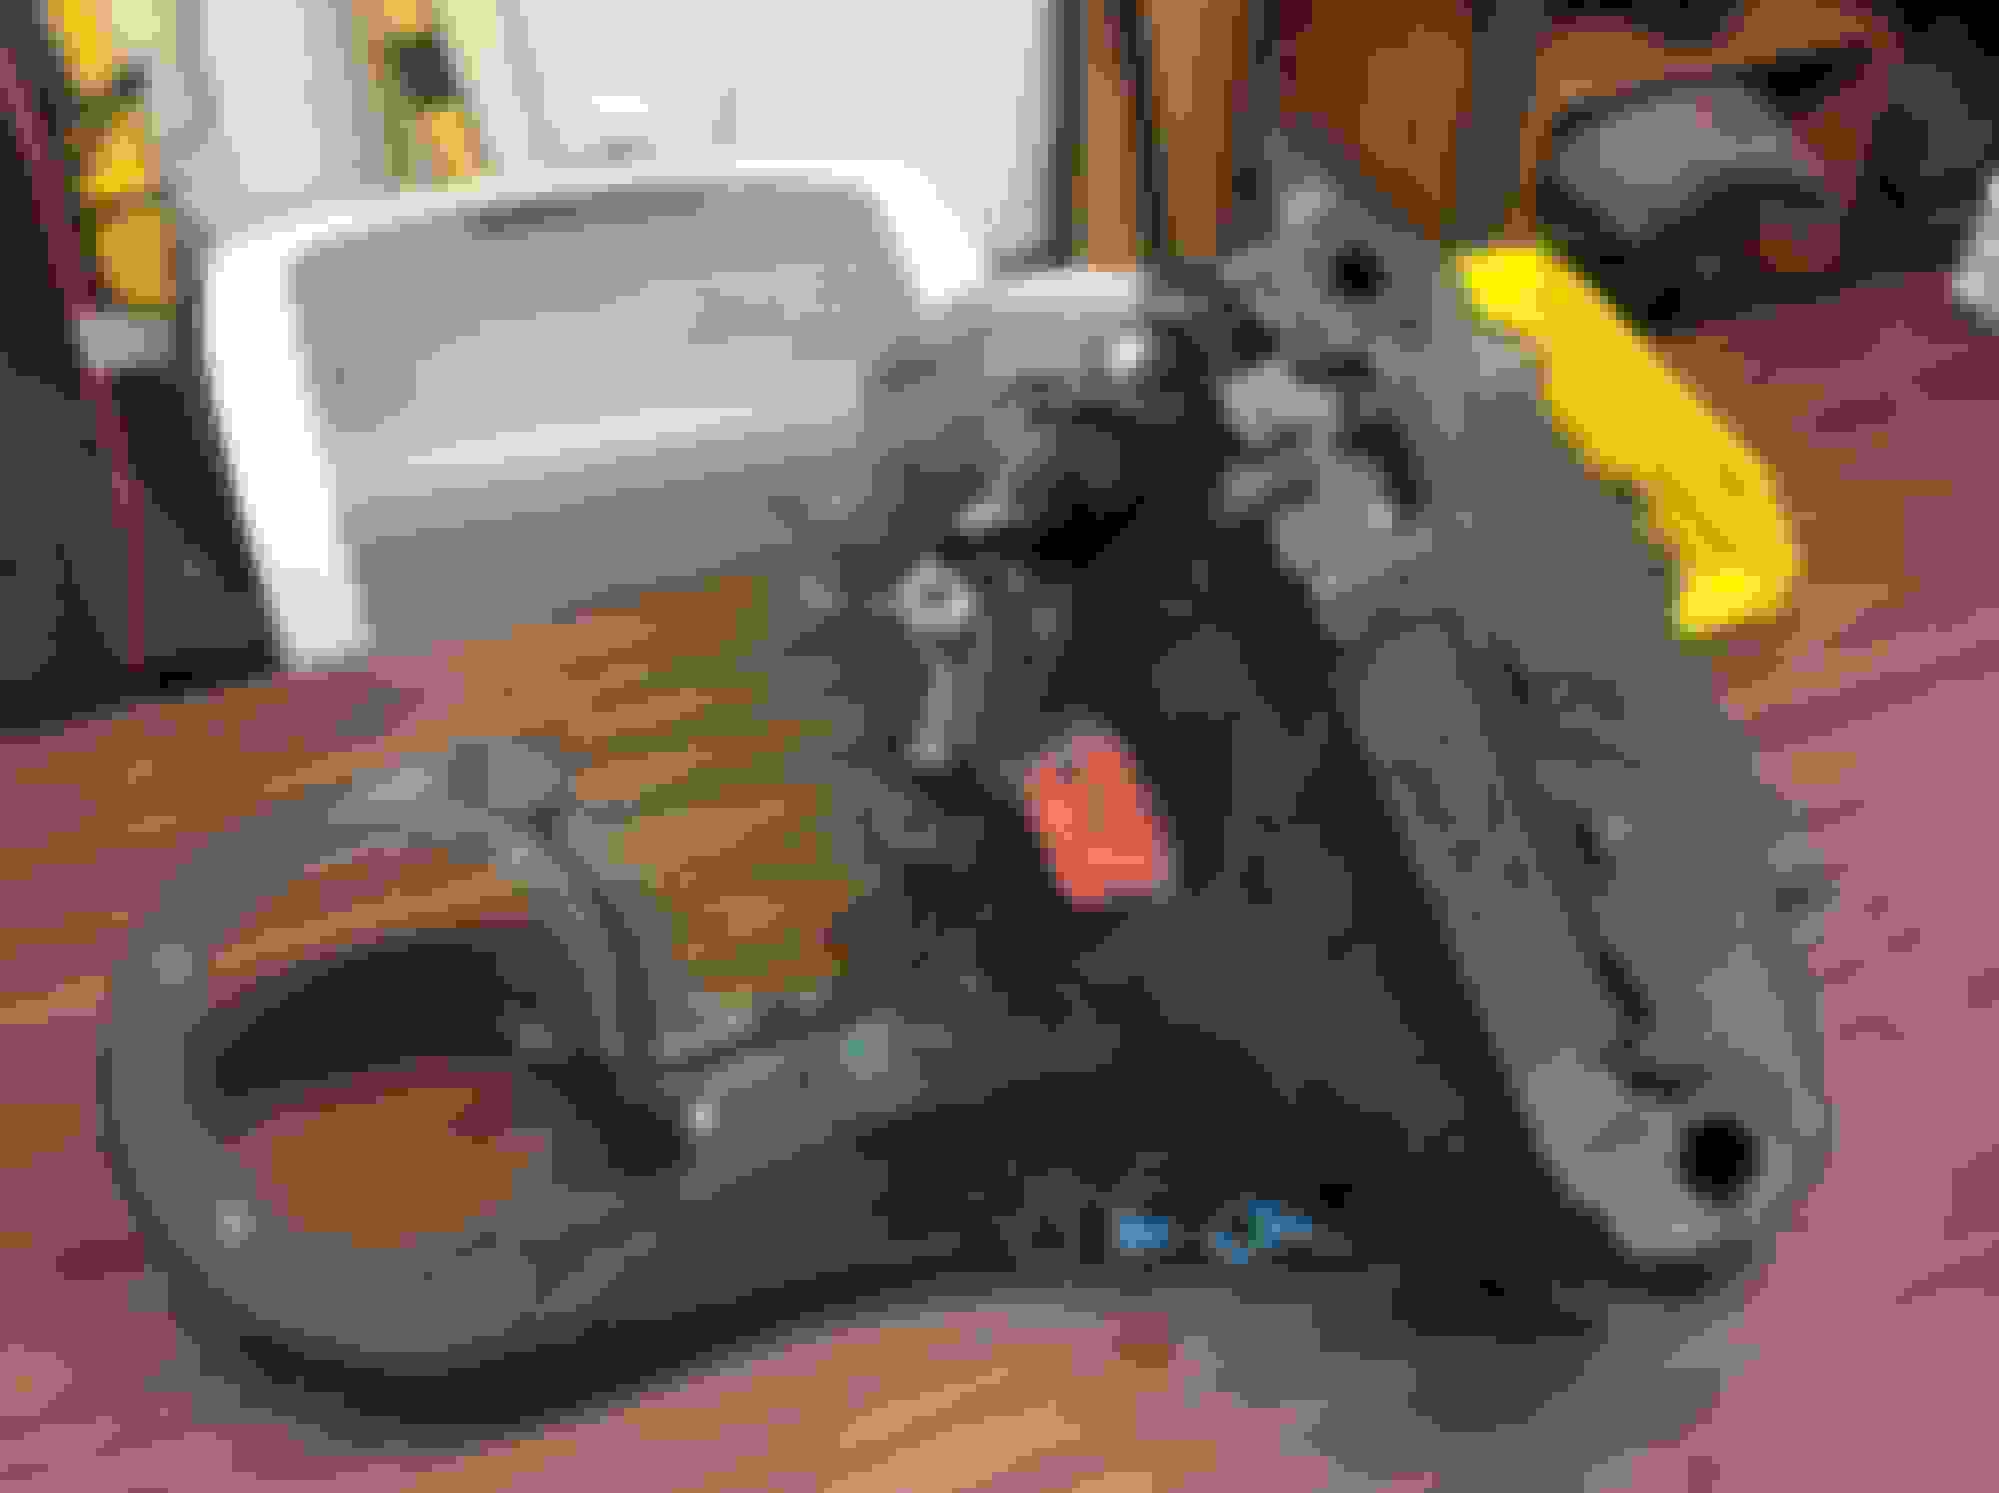
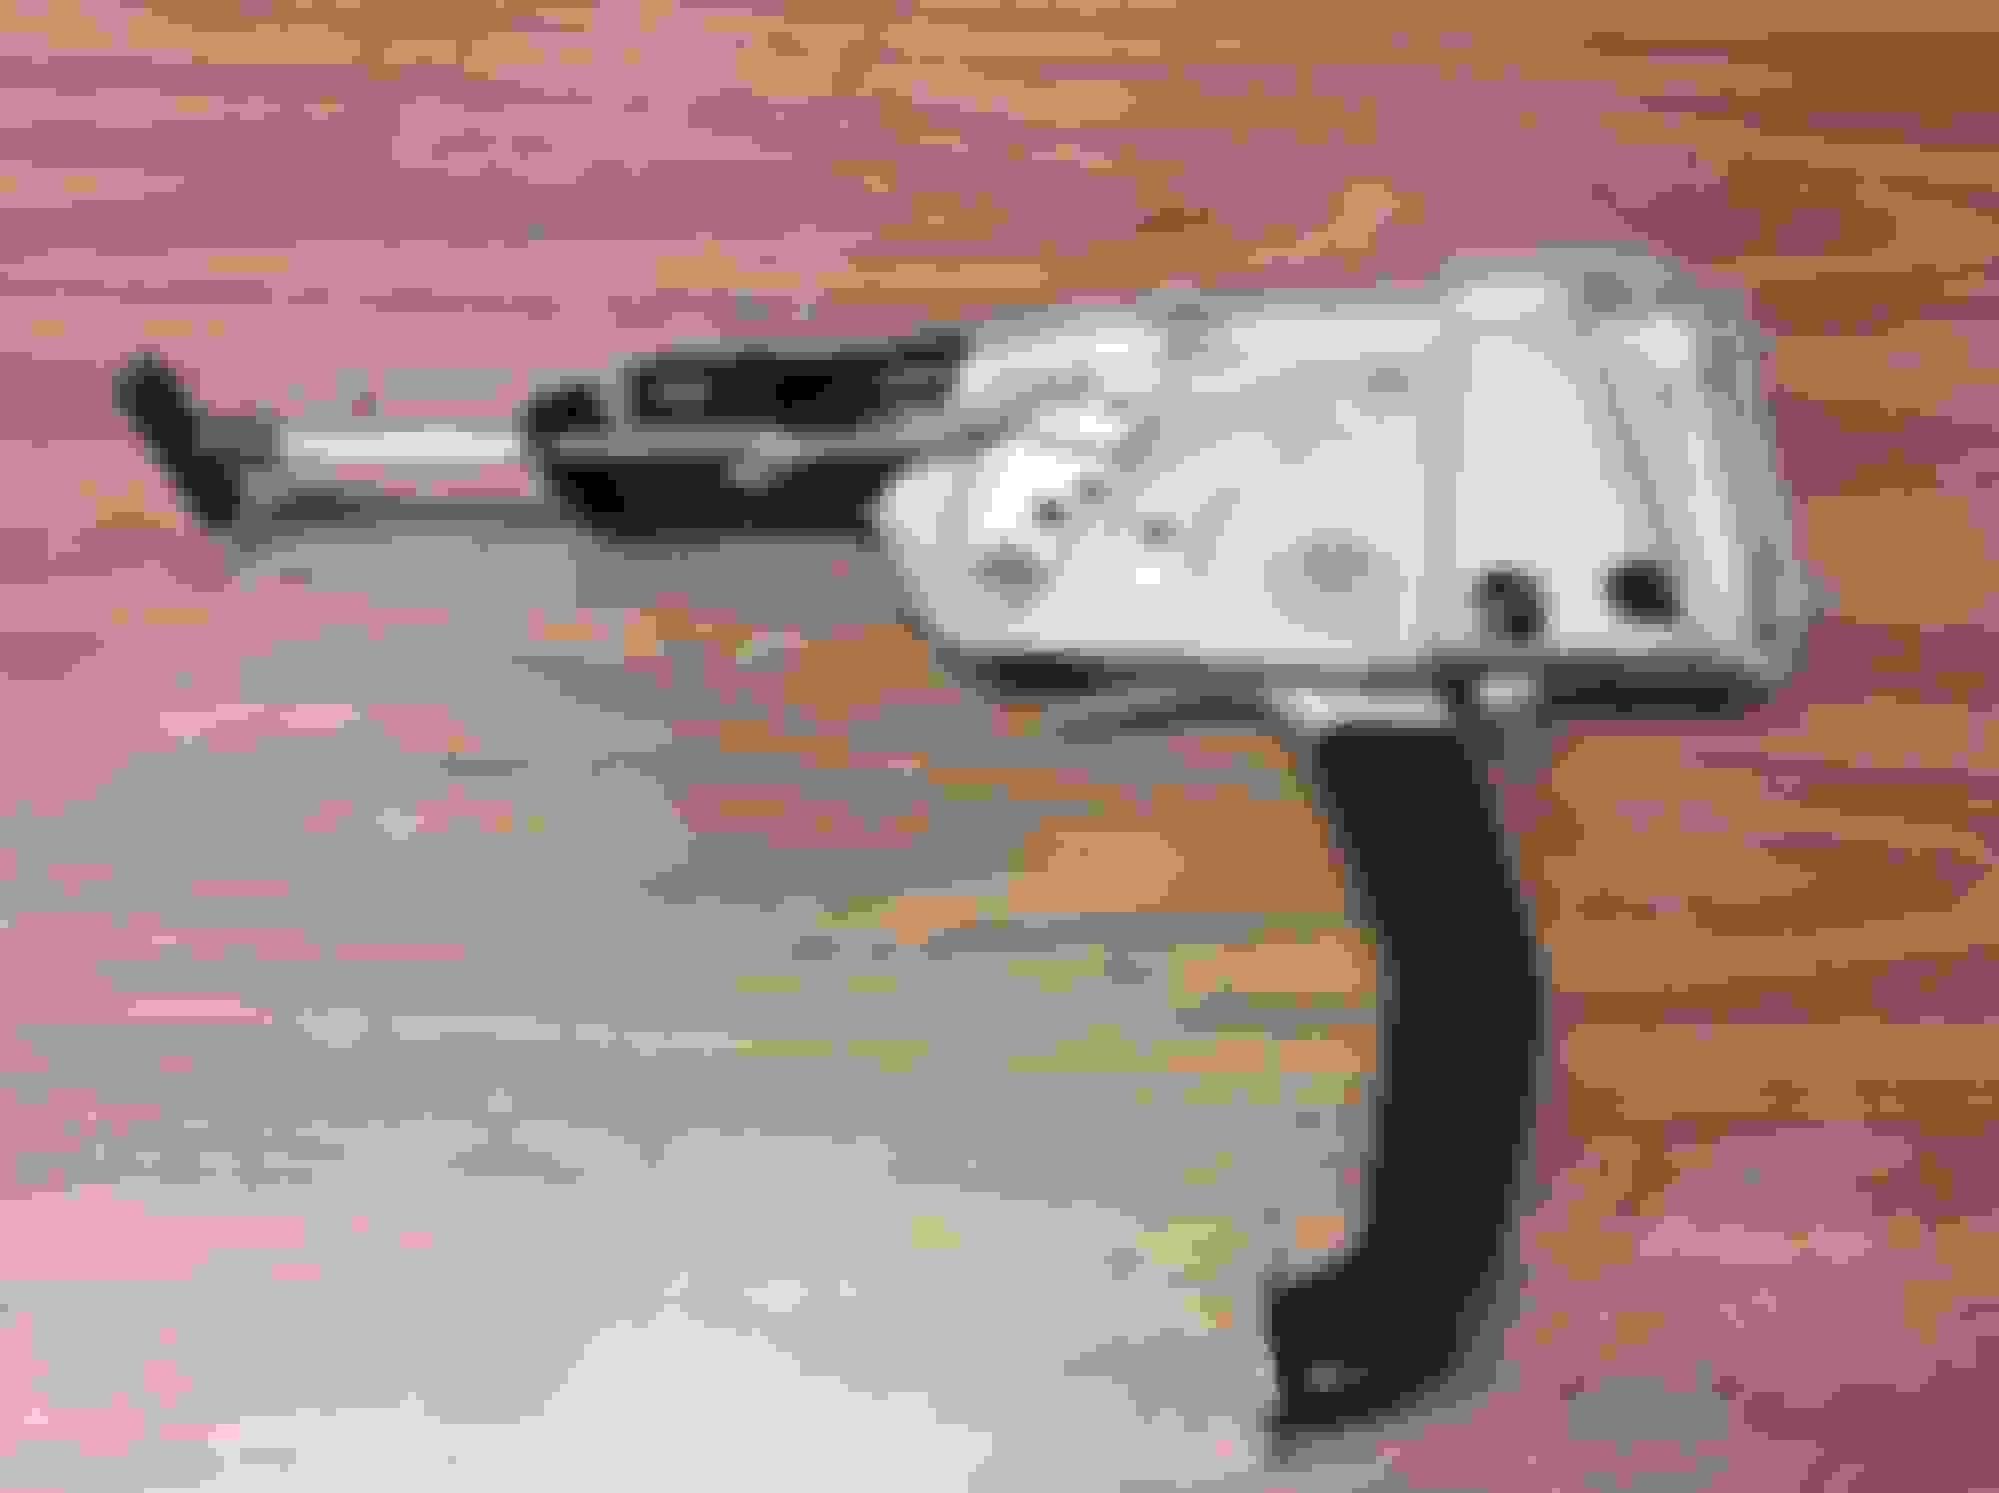
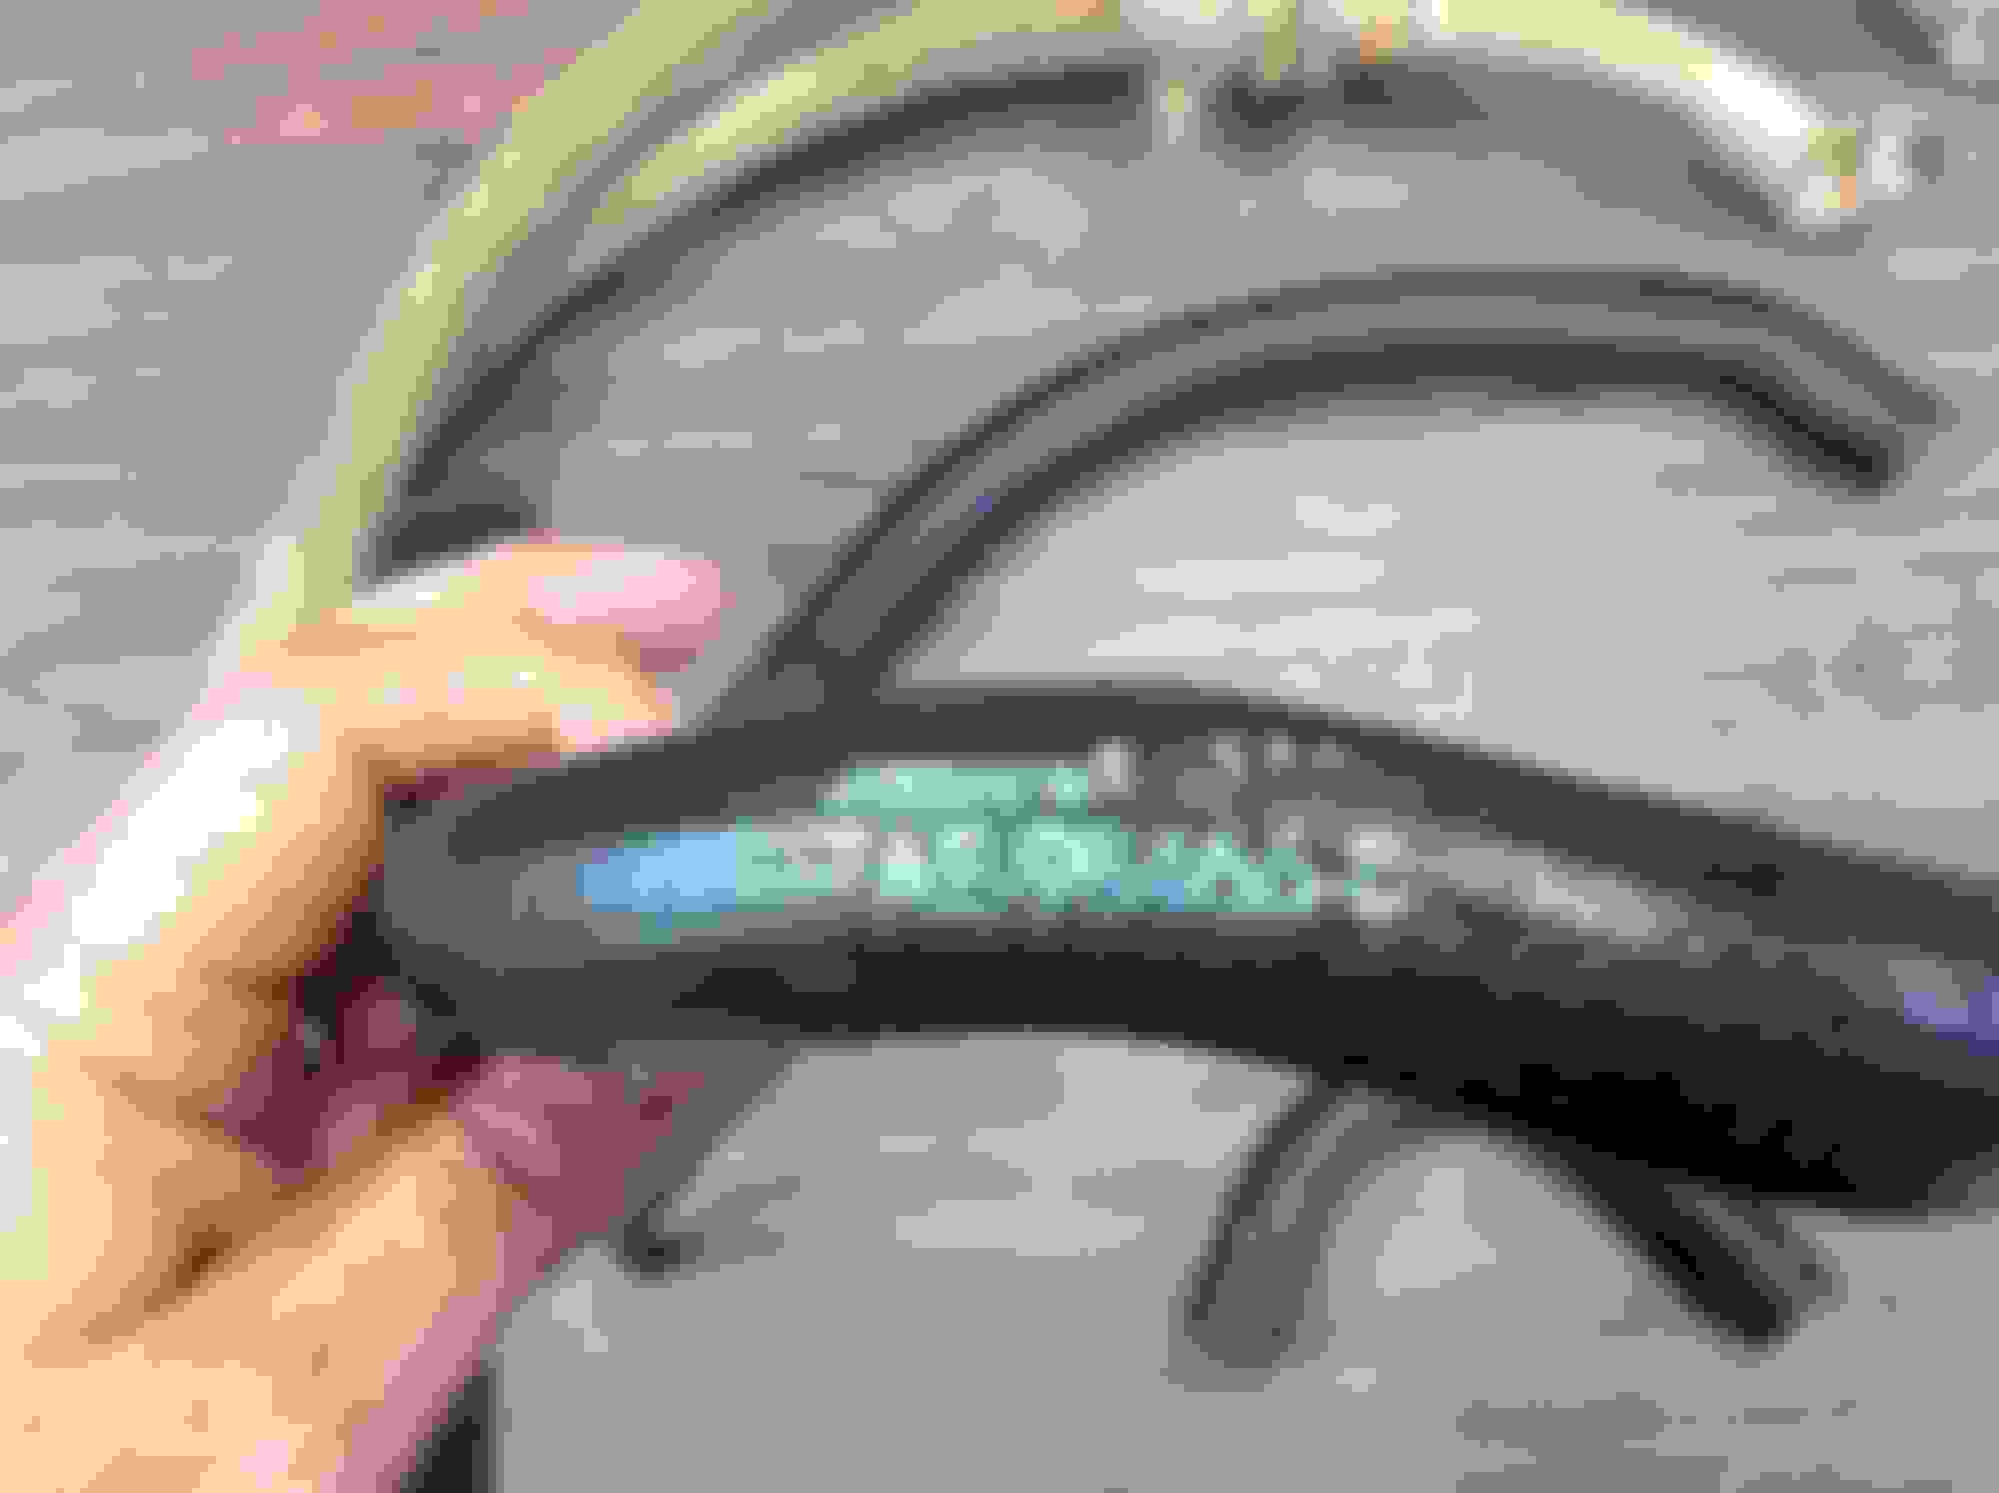
Next moved onto the E brake control.
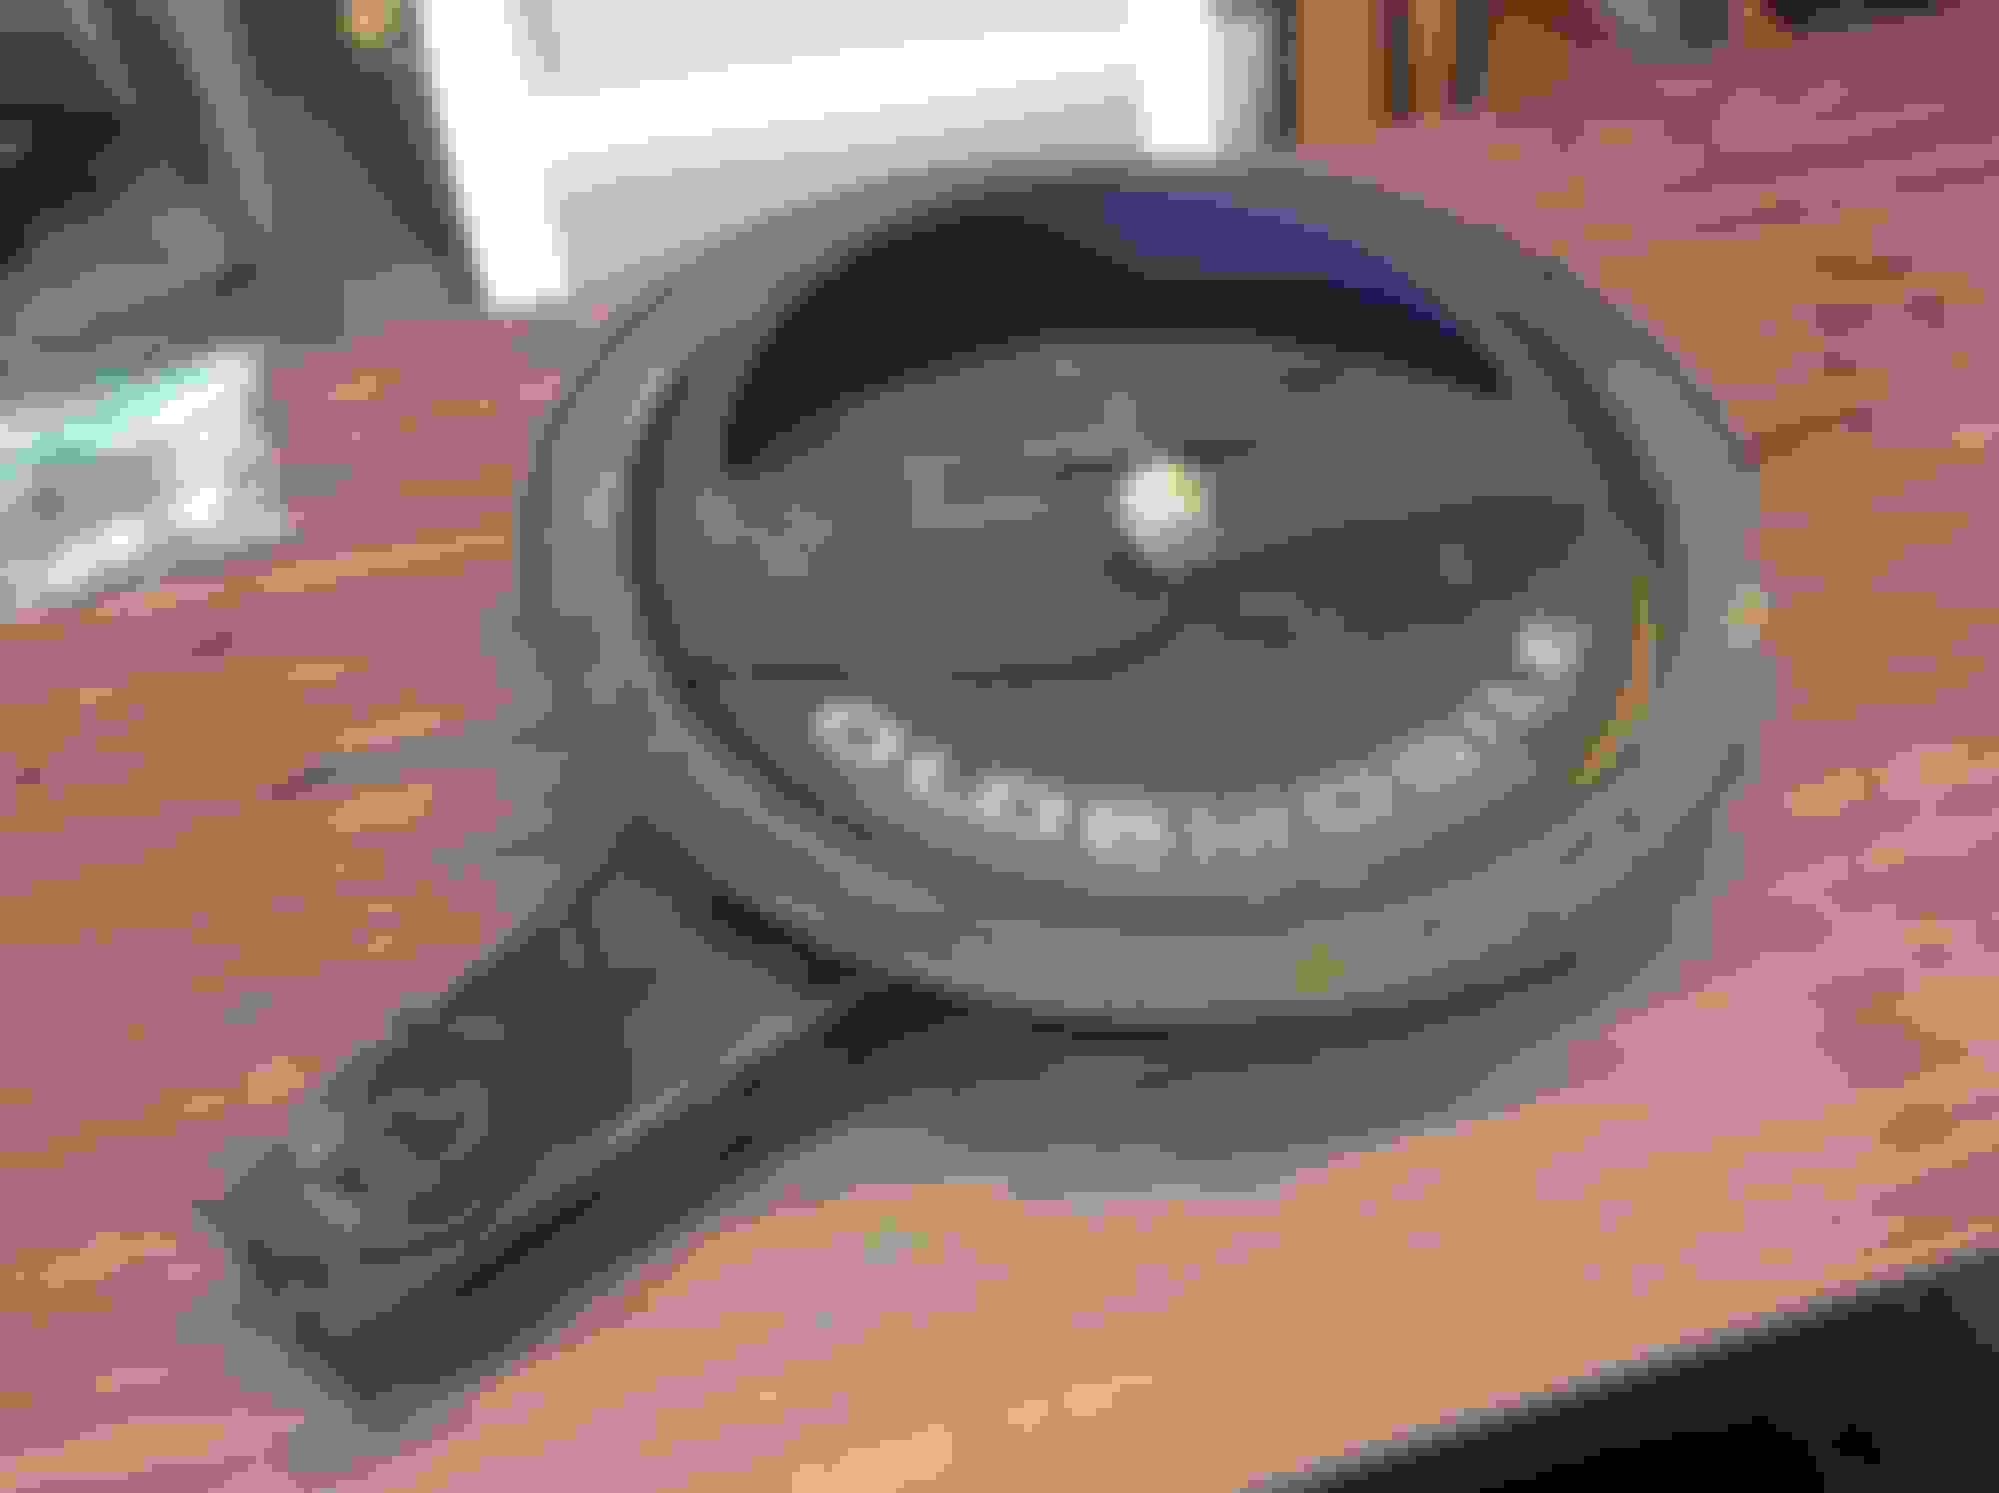
After evaporusting the whole thing, I used a tiny wirewheel on the dremel tool to polish various parts. I then shot the satin clear over the whole thing to prevent rust. Then masked off the unit to paint the parts in Ford SemiGloss Black along the original dip lines. After letting it dry, I polished the original handle and redid the white lettering by spraying with semi gloss white interior paint, then wiping straight across the face with paint thinner. The face has a couple of minor scrapes, but I still prefer it to the repro handle you can get because the font is so wrong (letters are way too big).
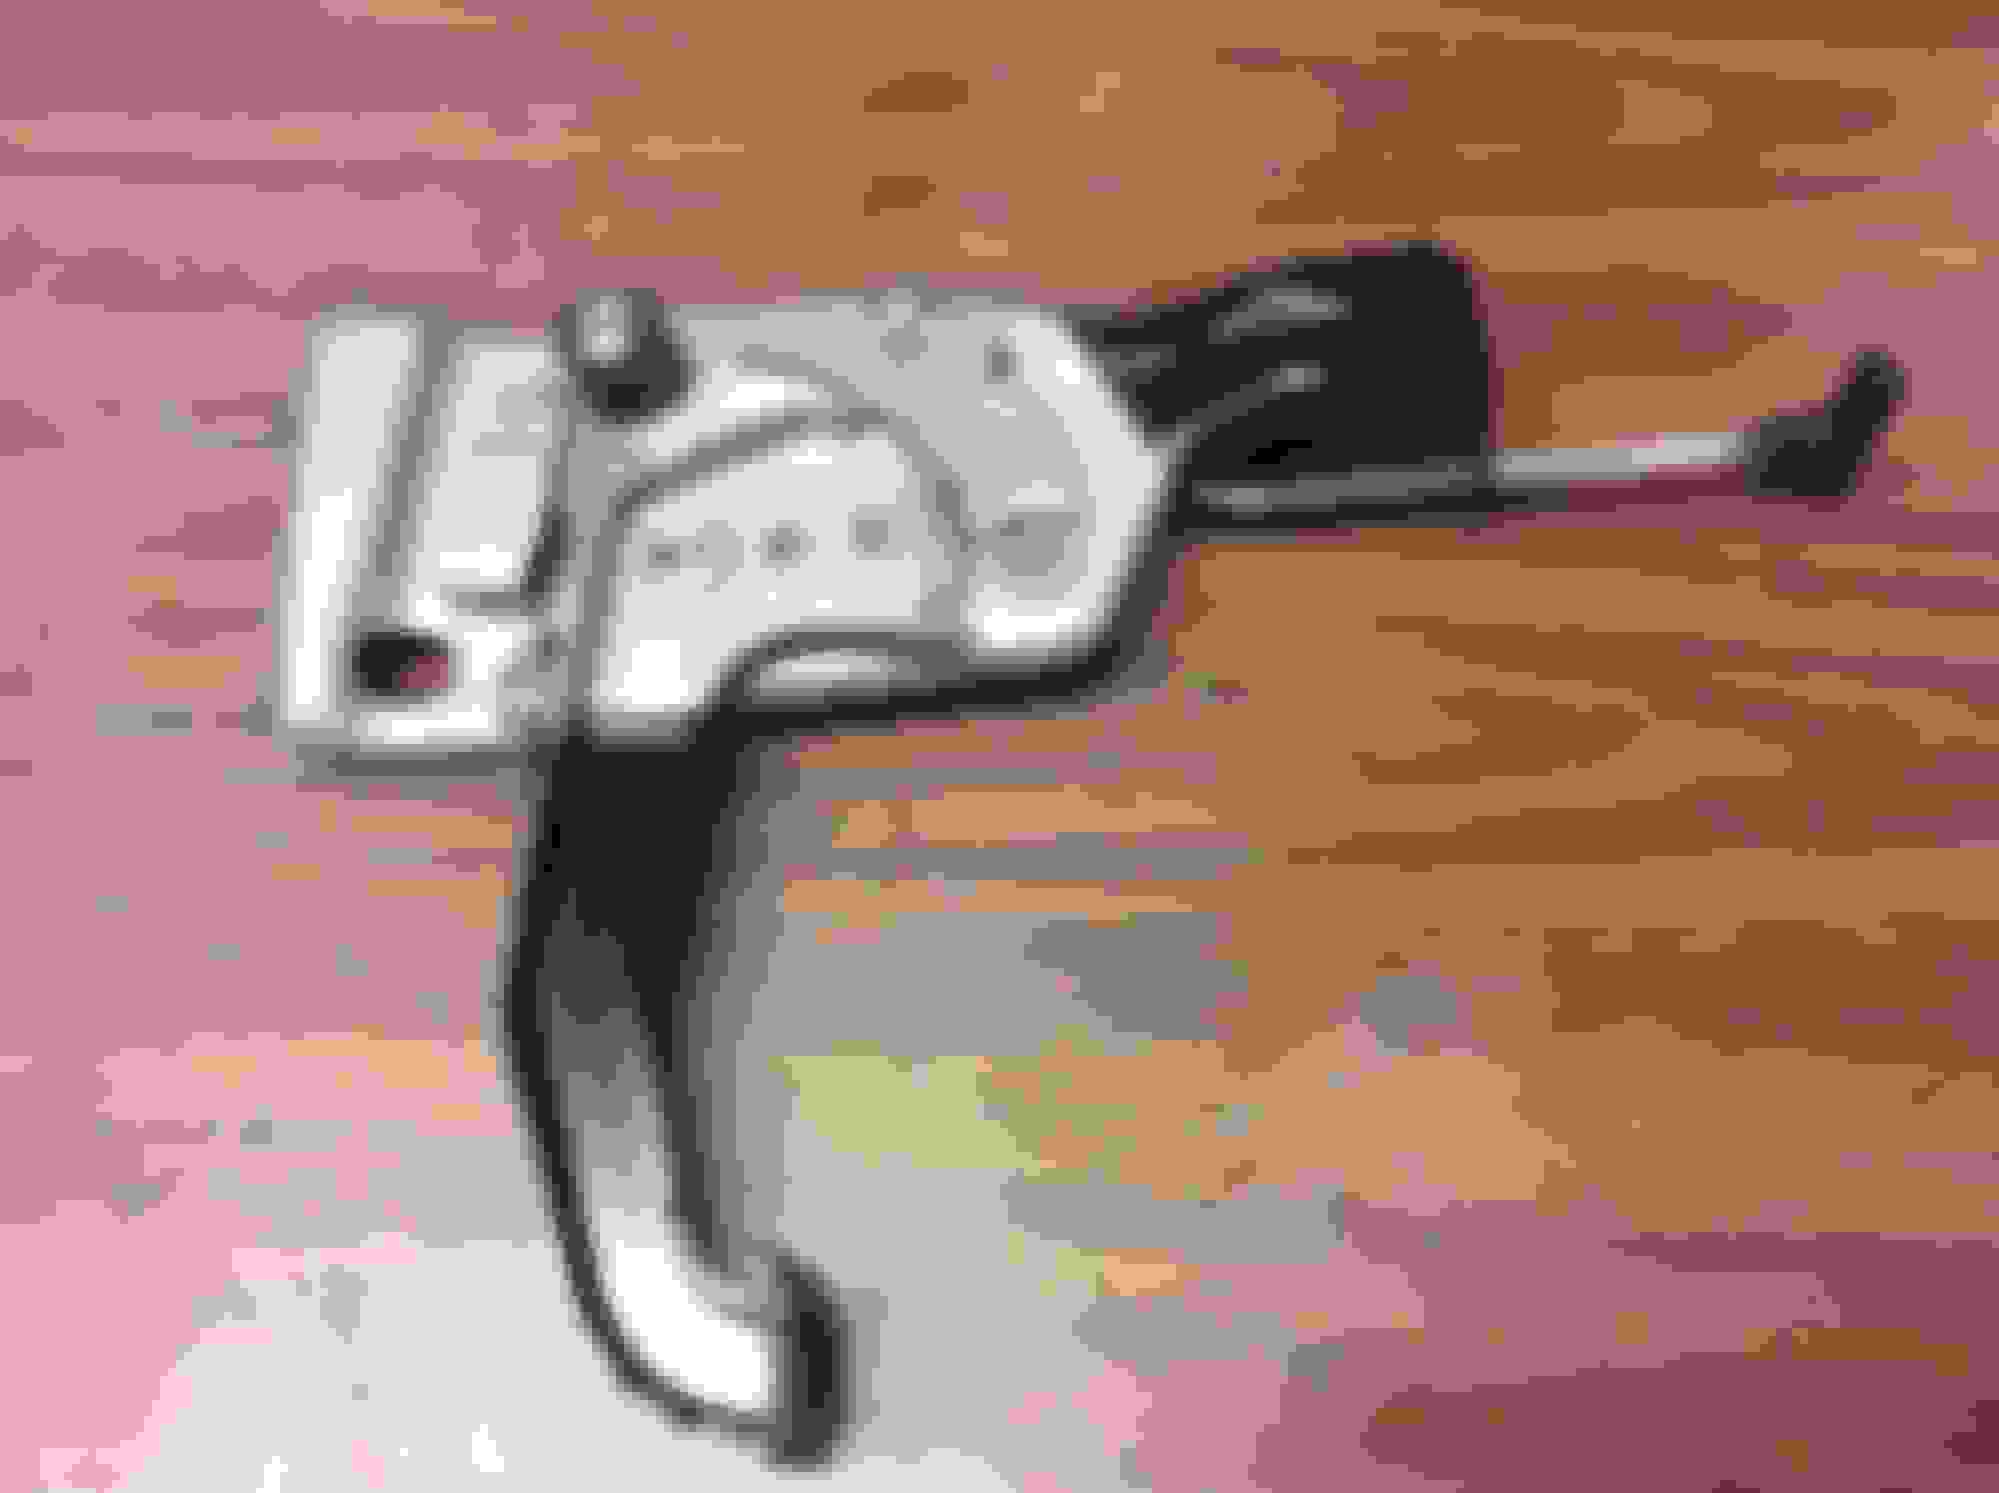
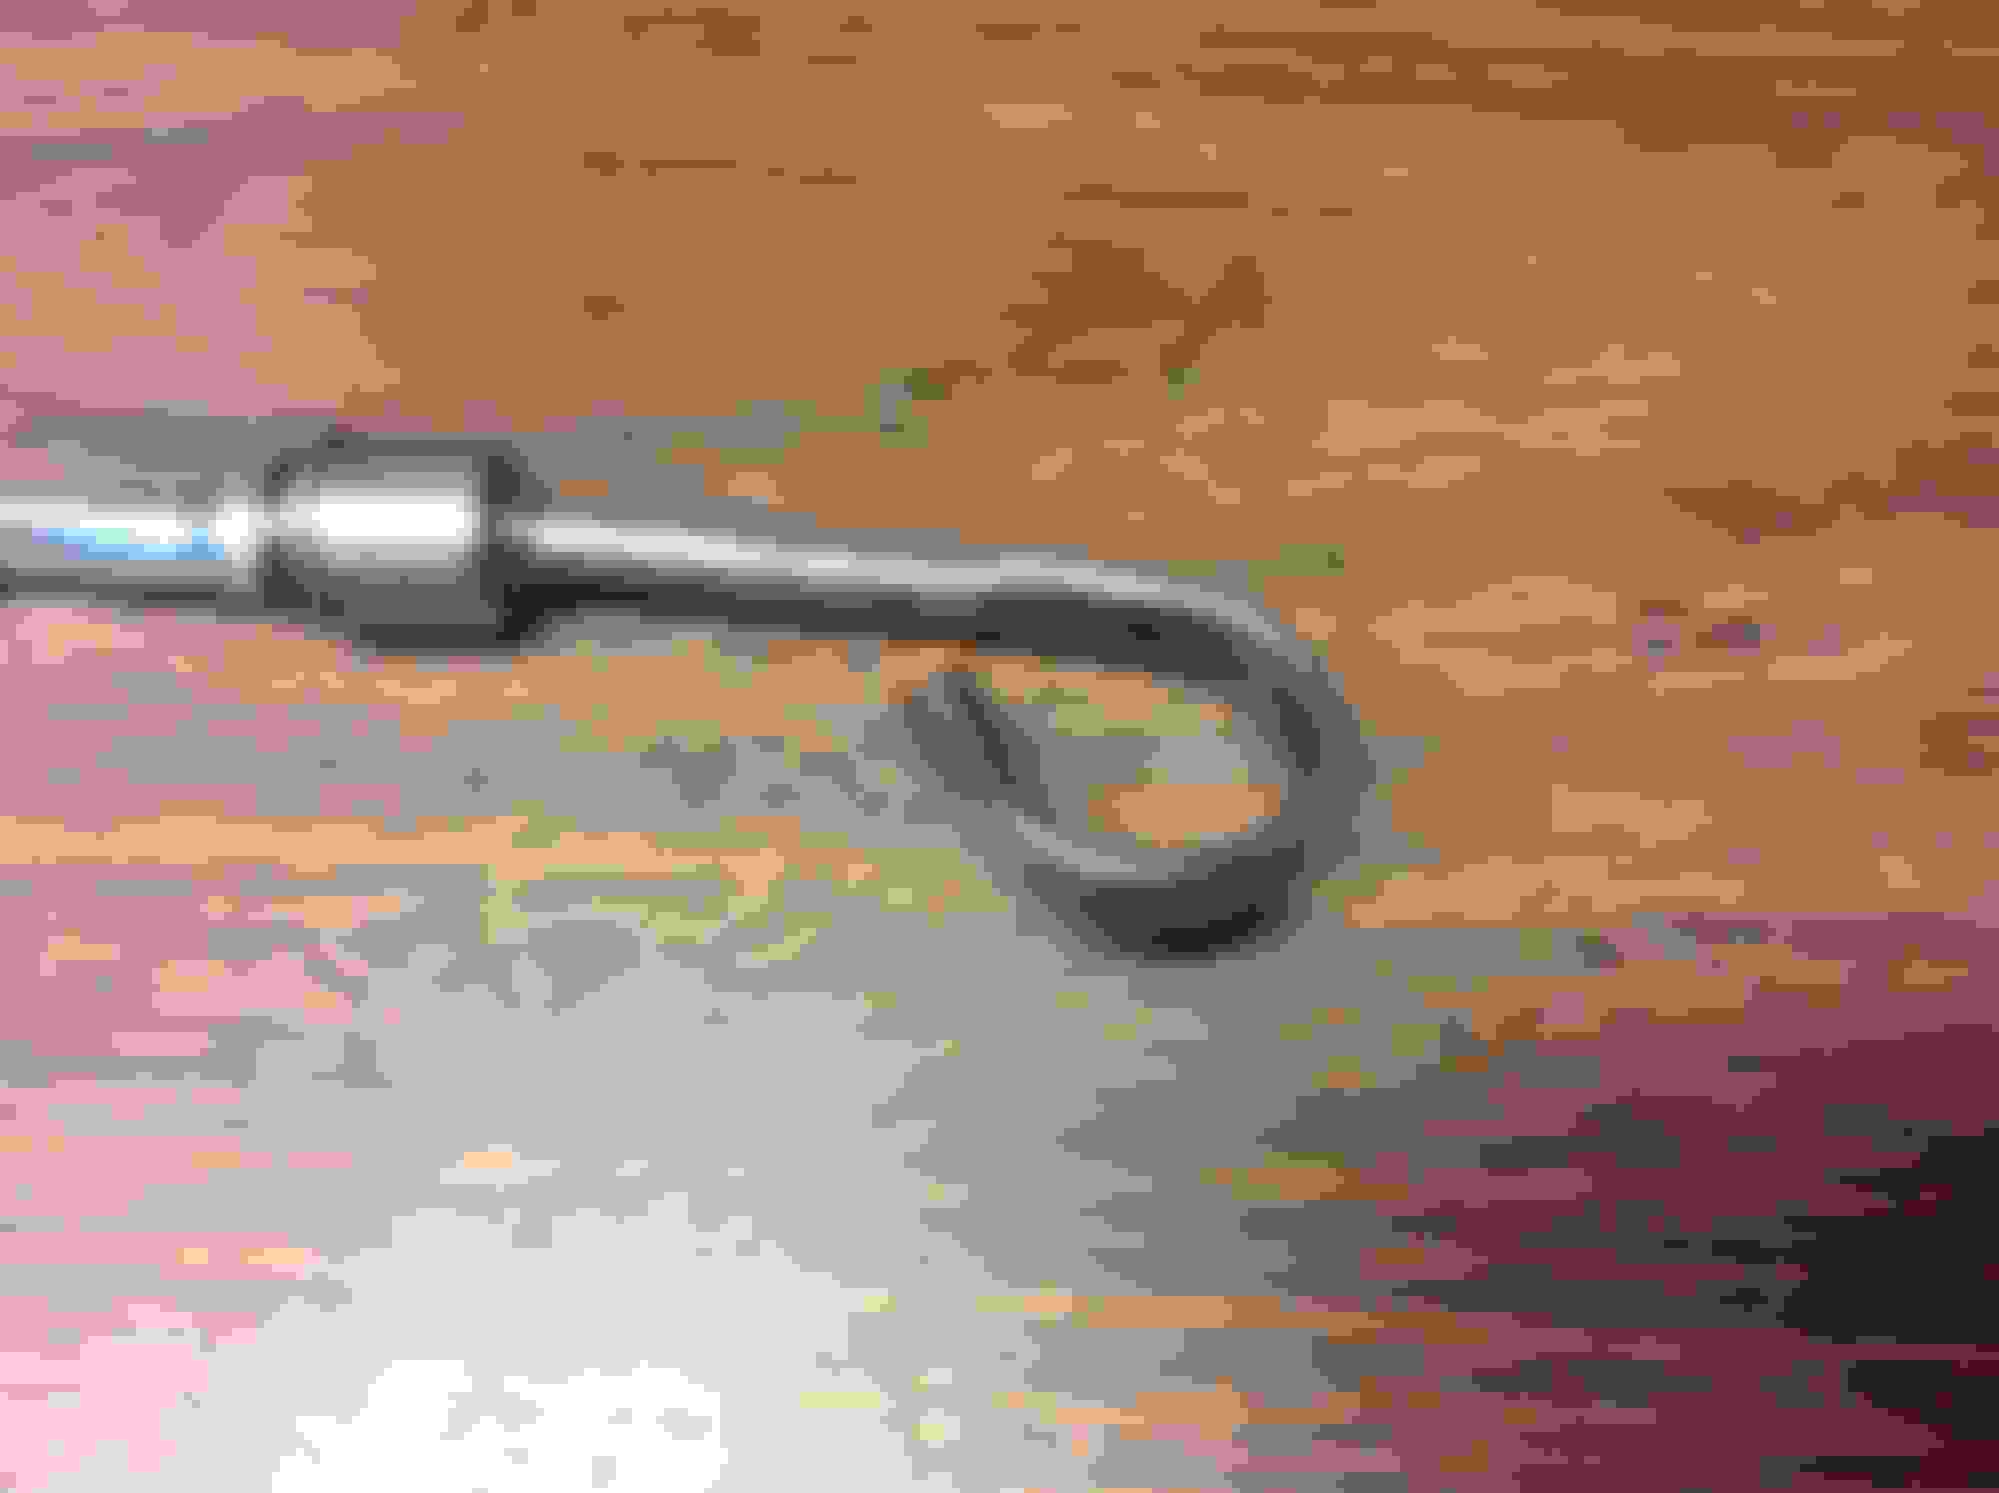
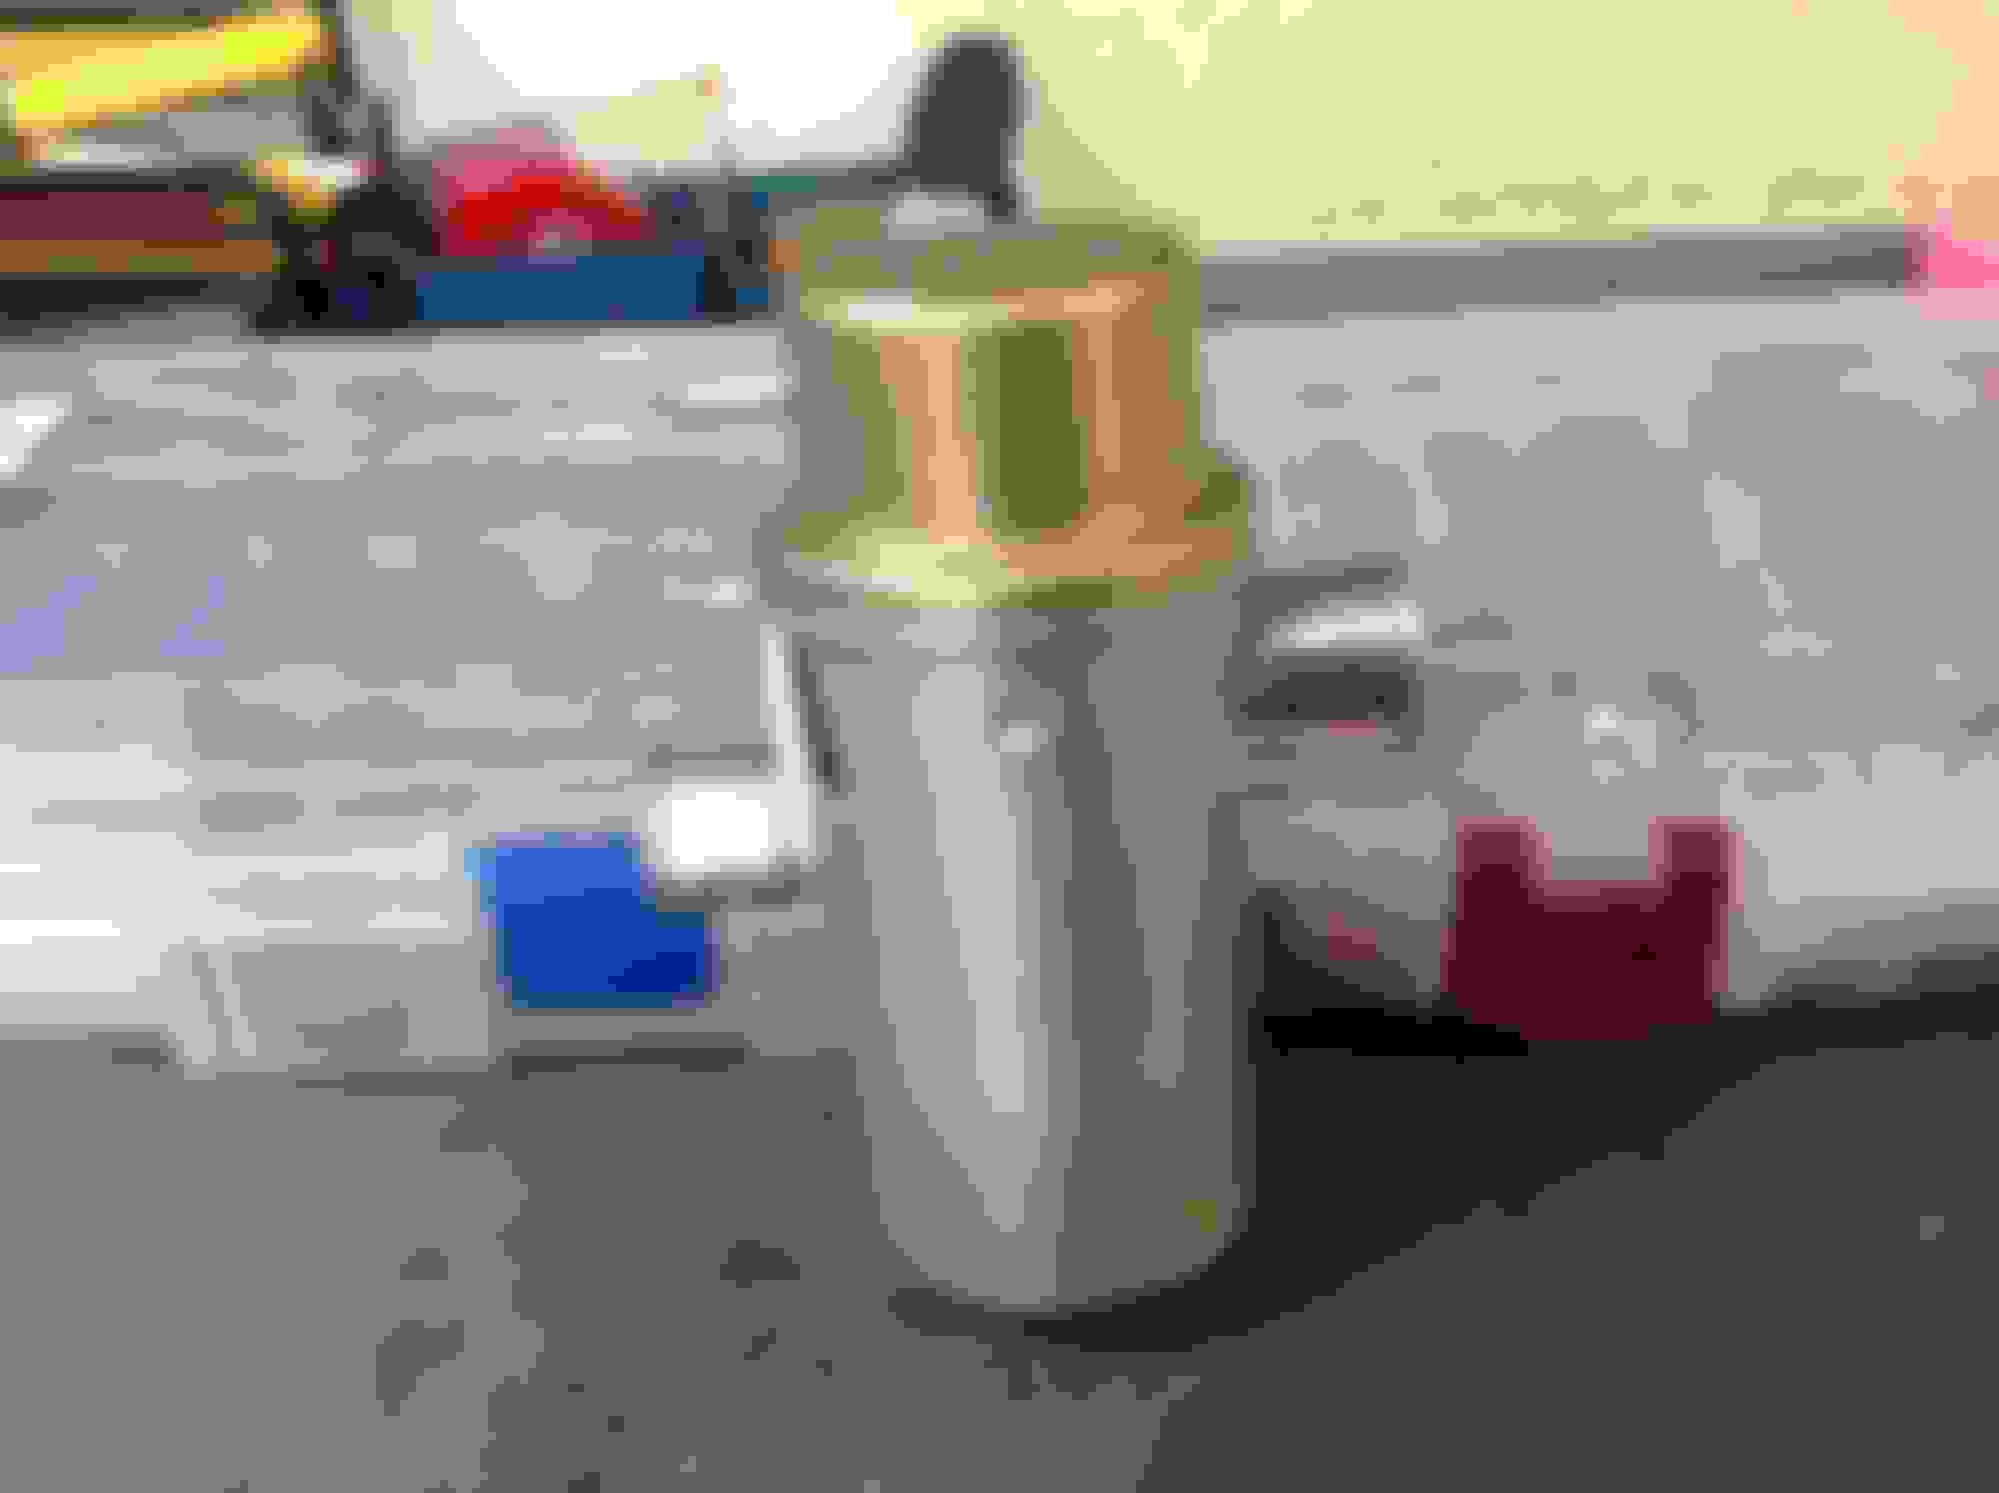
Lastly did the engine dipstick
This thing was in exceedingly poor shape. I wirewheeled the Hell out of it and managed to not mess up the orange nylon plug in the handle. The dipstick tube is toast, so I substituted a repro one I had in my inventory.
I did screw up one part - the rear license plate holder. The metal tab that bends up to hold the spring pivot rod in place broke as soon as I tried to bend it. Maybe I should have heated it - or just left it alone. Another call to Scott...
Finally spent a couple of hours cleaning ridiculously small fasteners like thread cutting nuts to add to my stock. I should have enough to do this car and a couple of others afterwards.
Last edited by costpenn; February 19th, 2018 at 06:42 PM.
Spent today checking in the AMK order. For this car, I ordered a bunch of kits I know will fit: (in no particular order with the AMK part number)
Rear sway bar bolts and nuts - G5600
Idler Arm - G4265
Ball joint & tie rod/center link castle nuts & cotter pins - G5858 (note: castle nuts are Zinc - not Phosphate)
Front Upper Shock Absorber Hardware - G4836
Front Lower Shock Absorber Hardware - G4586
Rear Shock Absorber Hardware - G5483
Front Bumper hardware (note:frame to bumper bracket bolts are not carriage style) - G7190
Rear Bumper hardware (note:frame to bumper bracket bolts are not carriage style) - G4218
MT shifter rod trunnion clips and jam nuts - G4780
Wiper tranny bolts - G5423
Sun visor bracket screws - G5377
Kick panel screws - G6646
Bucket Seat track to floor bolts and nuts - G6653
Evaporator case to firewall - G5776 (note: mostly right)
Evaporator case hardware - G6304 (note is just the screws holding the halves together)
Upper control arms to frame hardware - G4627
Engine mount pads to frame - G5876
Gas Tank Mounting - G5734
Core Support to Frame Kit - G5746 (includes shims, but bolt heads are flanged)
Wheel cylinder caps - G6578
I also bought for my stock - in bulk - thread cutting nuts, control arm lock nuts, phosphate washers in various sizes, phosphate coarse nuts in various sizes, phosphate lock washers in various sizes, wavy shifter linkage washers, coarse phosphate bolts in 1/4, 5/16, 3/8 sizes and more.
I went through and took all the kits and doubled checked them against the old hardware in the labled baggies. Replaced, and now have a bunch more of fasteners to recondition. I'm now ready to begin fastener work for all the old hardware I will be reusing.
Hopefully tomorrow the car will be going off to paint, then I'm going to the Caymans to be a best man at a good friend's wedding. Will also have to take a break for a while from the Olds stuff to work on the chassis of the 79 Ford F-250 truck I'm doing a resto on. Pictures of various parts I've done on it along with the truck itself at Vastine's
And lastly, waiting in the wings - the Legend will live again!
Today the car went off to paint and frame repair. Before it got loaded up, I marked the obvious visible problems that need to be address, as well as marking all the non OE firewall holes to be filled that have been host to all kinds of aftermarket dodadds throughtout the years.
The body shop is going to pull the body off the frame, so the title of this thread is now a lie. Is there anyway to modify it?
Also, the body shop told us in the preliminary walkaround that it will cost more to fix the old core support than to get a repo - does anyone out there have experiences with the repop? Or anyone have a good used one somewhere close by?
Picture of David (the owner) with the car on the hauler.
I have also done some miscellaneous parts such as the OE bumper bracket to frame carriage bolts, correct "Anchor" sway bar bracket to frame bolts and a couple of other very specialized fasteners. Finished up the accelerator pedal pivot hardware, brake booster clevis and hardware, and prepared the dash ashtray for refinishing.
Last edited by costpenn; March 2nd, 2018 at 03:59 PM.
Your project is really looking good. For some reason, My eyes went directly to the upper control arm shafts in this picture. I am just curious is that amount of aft shimming normal?
I can see that the separate nose piece/center grill support is pushed in (those are fixable) BUT what exactly is the damage you have circled up where the hood lock bolts onto the top surface of the rad support?? Just bent down a bit? If so, how far back is the bend? Those should be a reasonably easy fix if it's "gently" bent down some.
Or is there some other larger damage on the rad support?
Your project is really looking good. For some reason, My eyes went directly to the upper control arm shafts in this picture. I am just curious is that amount of aft shimming normal?
Jim, I believe is is very unusual. We are going to have the frame checked For truness and have a few cracks welded up.
I can see that the separate nose piece/center grill support is pushed in (those are fixable) BUT what exactly is the damage you have circled up where the hood lock bolts onto the top surface of the rad support?? Just bent down a bit? If so, how far back is the bend? Those should be a reasonably easy fix if it's "gently" bent down some.
Or is there some other larger damage on the rad support?
Patton, the more I disassembled the core support, the more rust was revealed not only under the battery tray, but in the same location on the RH side as well. The area around the hood latch looks like a golfball with lots of dents up and down like someone tried to crudely straighten it at one time.
Got a full day since I'll be out most if next week in Upper Peninsula MI. helping a friend work on his cottage he's building on the lakeshore in the middle of nowhere. Of course, there might be beer involved....
Began today with looking at the OAI adaptor and air cleaner base. I did not pay any attention to this thing when I first pulled the car in and, well - Houston we have a couple of problems.
1. The snout on the base looked wrong. I am posting pictures here for 70Post to confirm, but it looks like a non OAI base.
2. The adaptor looked OK from 10 feet, but on closer inspection it was painted at some point. The paint is more like a rubberized coating that took me a couple of hours to remove along with the obligatory white paint on the letters. I never even got to the exterior sides - it is slow going. The only thing that gets that coating off is carb cleaner, and it works by removing the bond between the surface and the paint. Very strange. The results are mixed, but a couple of further polishing and wax applications and the plastic will be acceptable, but when I removed the foam, found that the assembly has a chunk missing. Not sure at this point whether it is worth trying to fix - that missing flange is pretty noticeable. The OAI motor itself is a repop in pretty good shape, but missing the thin white stripe hose and I'll need to get all the right breather tubes and elbows.
Turned next to fasteners. Finished up the various items pictured below. I could not exchange out of my stock the following because I did not have any ( time to find some extras) To compound, I had to wirewheel and phosphate paint - not just EvapoRust them because they have been primered and painted black in a past Restoration:
Air deflector screws
Condenser brackets to core support bolts and locknuts
Lastly, used my "super chrome" paint on an ashtray I had previosly Evaporusred and sanded. It kind of mimics the Zinc look of the original finish, and this way I don't have to jack with the slides being messed up in trying to remove them for plating the tray.
Maybe these pics will help some Joe. This is the breather from my 70. It was missing the topper but I got one from beenthere a few yrs. ago. If you happen to find a doner for your topper, I would be interested in a piece that was broken and lost for mine.
Joe - Air cleaner base appears to be the correct style - big snorkel end, etc and it looks to be manageable, repair-wise.
Same base as an OAI other than the holes.
Same thing on the OAI flapper top.....IMO it's fixable with a bit of tedious work. I'll try to source some donor black plastic strips and I can weld plastic here. No paint required on the repaired area. Looks like an interesting challenge if you guys are up for it. 90% of the repair will be hidden/covered (foam seal and underside of seal mount area).
Adam - If I find new black plastic donor material I will have plenty of extra and can make a patch piece for yours. You do have to wonder if anyone has a REAL JUNKY flapper top. Even reasonably junky tops can be cut out and used for a "full flow" topper so I'm thinking it would take one that's been broken apart and missing major portions of the perimeter/foam seal "step" area.
Then again, if there are enough folks with missing perimeter pieces then a somewhat "rough"/broken flapper top might be sacrificed for a greater cause....all the other "small missing pieces" brethren flappers.
You can queue up that Monte Python scene now...."It's only a FLESH WOUND!!!"
Last edited by 70Post; March 3rd, 2018 at 09:35 PM.
Maybe these pics will help some Joe. This is the breather from my 70. It was missing the topper but I got one from beenthere a few yrs. ago. If you happen to find a doner for your topper, I would be interested in a piece that was broken and lost for mine.
Joe - Air cleaner base appears to be the correct style - big snorkel end, etc and it looks to be manageable, repair-wise.
Same base as an OAI other than the holes.
Same thing on the OAI flapper top.....IMO it's fixable with a bit of tedious work. I'll try to source some donor black plastic strips and I can weld plastic here. No paint required on the repaired area. Looks like an interesting challenge if you guys are up for it. 90% of the repair will be hidden/covered (foam seal and underside of seal mount area).
Adam - If I find new black plastic donor material I will have plenty of extra and can make a patch piece for yours. You do have to wonder if anyone has a REAL JUNKY flapper top. Even reasonably junky tops can be cut out and used for a "full flow" topper so I'm thinking it would take one that's been broken apart and missing major portions of the perimeter/foam seal "step" area.
Then again, if there are enough folks with missing perimeter pieces then a somewhat "rough"/broken flapper top might be sacrificed for a greater cause....all the other "small missing pieces" brethren flappers.
You can queue up that Monte Python scene now...."It's only a FLESH WOUND!!!"
10-4 on the repair - it looks like you might need a trailer to take all the parts heading back to Austin.
Your project is really looking good. For some reason, My eyes went directly to the upper control arm shafts in this picture. I am just curious is that amount of aft shimming normal?
Originally Posted by costpenn
Jim, I believe is is very unusual. We are going to have the frame checked For truness and have a few cracks welded up.
My experience has been that whatever the budget target is, add 30-50% more because of the "hidden" issues all these old cars have.
A good paint job today is at least $7-8k without extensive bodywork.
A decent engine rebuild is $5-6k
Transmission/drivetrain rebuild is $2-3k
Suspension rebuild is $1k
Interior is $3-4K
Electrical is $1k
Add in another $3-4k for tires, exhaust, brakes, etc.
Glass replacement is another $1k
Bumpers/Exterior trim is another $2-3k
The $$$ add up quick, and you can easily drop $35-40k into a car EASY.
40K is about right for this type of project, but the breakdown by type of work is very different for me. I've kept records on the last three cars I have done, and paint & body is at least 40% of the total cost (with obviously the owner doing the majority of work them self)
Finished up a fair amount more of miscellaneous interior pieces and the final bunch of bolts I had to recondition rather than replace or swap out from my stock:
An unusual problem came up in one of the items I worked on. The horn button (sport wheel) had the emblem badly cracked along the center line. On my convertible, I had no trouble changing out the emblem by drilling out the rivets, prying the plastic off the metal frame and installing the new one. On this one, the plastic is almost completely hardened. I was able to pry it off (bending the metal frame in the process) and damaging the back of the rubber part. It won't show when reinstalled, but I am pretty sure there is no way the rubber will "give" enough to install the new emblem. Anyone ever had this problem and is there a way to remoisturize and soften the rubber? I'm thinking about either sticking it in the microwave or using a hot air blow dryer.
I loaded a bunch more items in the EvapoRust to soak for a few days while I'm away such as the dashboard ground straps, window and regulator hardware, cigarette lighter housing, and a rear ashtray.
Thanks. Is there any real advantage for doing this? Both LH & RH have exactly the same amount of shims loaded.
Yes, it has to do with handling.
Positive Caster vs Negative Caster. Think of the front forks on a bicycle. They are angled so that the front axle is further forward (Positive Caster). If you are riding your bike and take your hands off the handle bars, the bicycle will continue to go straight - assuming you don't lose your balance. If those same forks were bent backwards (Negative Caster), and you took your hands off the handlebars the bicycle would want to turn left or right.
Just like the bicycle, a car with negative caster (lower ball joint behind upper ball joint) will turn easier, a car with positive caster (lower ball joint forward of upper ball joint) will want to stay straight. Before power steering, cars were designed with negative caster to ease turning. It took decades after power steering was introduced before cars were designed with positive caster. Cars with positive caster usually feel better and handle better.
The car you are working on came from the factory with negative caster by design. Thus all those shims (move lower ball joint in front of upper ball joint) to try and get positive caster. Most aftermarket performance suspension kits are designed to have positive caster.
[QUOTE=70Post;1079407]...........If I find new black plastic donor material I will have plenty of extra and can make a patch piece for yours.........../QUOTE]
Have you considered 3D printing a small section to fit the missing chunk?
not going there....any 3D printed material I have seen is a hard and somewhat brittle ABS-like plastic. Need to make sure to make the patches out of whatever material the flapper top is made of and it's not ABS.
Then you have the whole deal with the 3D person saying "Well, we have to design a piece using a CAD program, yada, yada, yada". Before you know it you'll be fee'd to death with all the separate costs.
If I can buy some strips or a small sheet of the correct material I would likely have the patches rough cut in less time than it takes to deal with the "design" person, etc. Not worth the trouble.
No work really, but progress nonetheless (0 hours)
Finally thawed out from my trip up North, and time to get going. Had a fun day Saturday with David (this car's owner) 70Post, 65Starfire, and other GM resto guys talking and swapping parts - thanks to all who came and who knew grown men could spend hours talking about OE fasteners?
I turned over to Patton the following for his "magic touch"
1. Four speed console - needs hinge work, bezel tags repaired, front chunk broken off, and general refinishing.
2. Alternator - correct winding refinishing, installation of six spoke open face front casting, replacing fan & blade with more correct components
3. Dash Pad - refinishing
4. Air Cleaner Base, Lid & OAI Adaptor - see above posts
5. Radiator Top Plate - pit filling
6. Front Fender Coves - getting the correct finish
7. Front Fender Wells - refinishing and new flap installation (note - Preliminary stripping of paint reveals too much finish damage - we're going repo)
Also we determined to use TPP HVAC & wiper control appliqu� overlays on the bezels - wiper lettering is a little too far gone, and the HVAC control had some weird damage under the blower switch ****. Was also coached to try to save the blue dash lenses (very fragile with the usual crack across the screwhole) by using the thick superglue and being very careful on installation.
From point #7 above, I'd be really interested in hearing your thoughts on the repop inner fenders when you get them. I bought a pair from The Parts Place for my convertible and they were horrible. They looked like they had been vacuum formed. I chose them because they bragged in their listing about what great new molds they had. Unless I got a set from their old molds I was very unhappy. They did take them back but of course I had to pay freight in both directions. It was really frustrating. I wound up spending a ton of time redoing the ones that came with the car.
Randy/Joe - That is what I read somewhere...that the repro wells are NOT injection molded like the originals were but instead some type of one-sided form/mold is used. Maybe a large sheet of black polypropylene is laid over it, heated up and formed over the mold....or maybe done in reverse since the engine compartment side has the square and round bosses and a lip where the A-arm opening is.
A buddy of mine went to TPP a few years back and looked at them...his comments were similar to yours Randy. One side (can't remember if it was the topside or underside) had a really bad look to it. We ended up working over his originals which were in pretty nice condition.
Don't know of any GOOD pics on the web that show a clear pic of what they really look like in terms of surface finish, etc.
TPP's pics of their RED wells on ebay are real crappy, out-of-focus pics....likely for a reason.
I ordered them today from Rock Auto after speaking with Chris Dreiling on the Goodmark branded wells he bought from RA for his '68. He says they are not quite as crisp as the OE's but dimensionally everything seems to line up and the material looks and feels accurate. If worst comes to worst, I'll paint David's original ones with the SEM paint, but I want to avoid that at all costs if possible. We'll see.....
Last edited by costpenn; March 13th, 2018 at 09:50 PM.
My wondering is about the "look" of the topside surface as opposed to definition/crispness of features. Still, at least they're the same type plastic and bare.....a better look compared to painted. It'll be interesting to hear what you think once you get them in your hands.
The air cleaner snorkel is looking real nice again.
Body/Exterior Fasteners Almost Done (4 hours yesterday, 6 hours today)
Have gone through and completed refurbing or changing out from my stock almost all the exterior fasteners
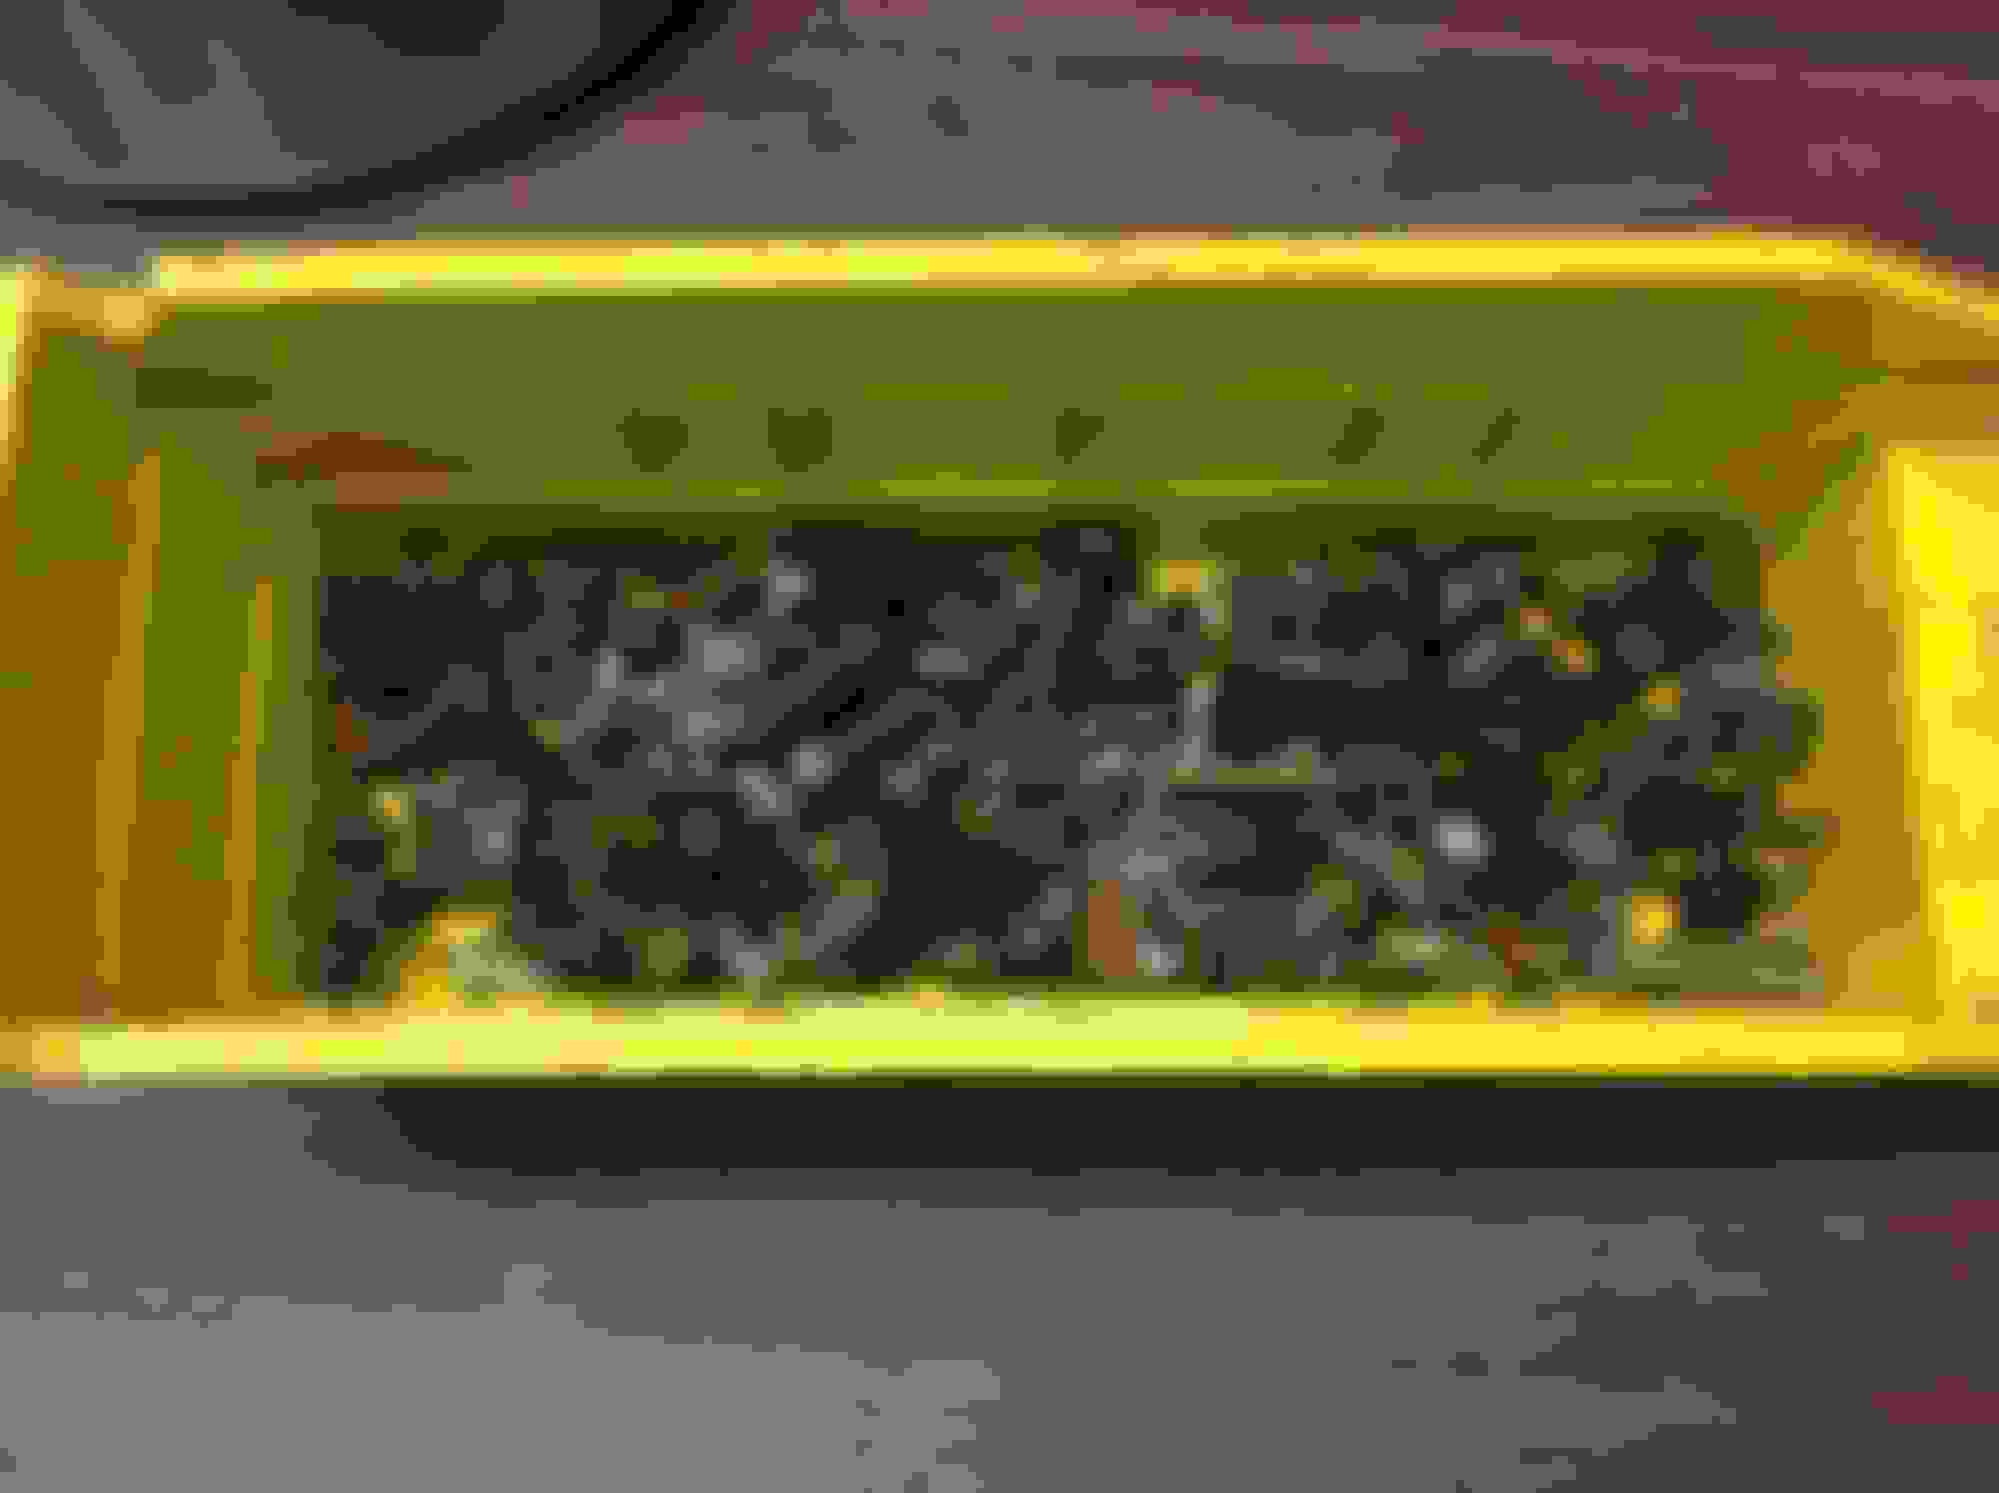
Lots of bolts had at one point been changed out for generic el cheapo Zinc hardware store fasteners that were already beginning to discolor. Also, some OE fasteners were found being used for the wrong application. Here a pic of the bolts replaced just today. Some may be salvagable, but most are junk
I wish I had saved into this bin everything I have already replaced with the AMK kits to see the total changed out.
Also completed yesterday all the window hardware that has been in the Evapo for a week. It is pretty tedious and will never show, but it really has to be done - a lot of it was heavily oxidized.
So, 3 body baggies are left to do - this is a snapshot of what goes into the process:
1) Trunk lock mounting hardware. Have already lightly wirewheeled the unfinished portion of the lock, buffed out on the buffer using the white rouge the Stainless face of the lock. Wirewheeled, and the painted the extension rod with the gold base color, then fogged with the clear Zinc paint. Completely stripped the lock retainer, then painted with the VHT flat black epoxy paint. Need to either buy or make the retainer gasket, and the two fasteners holding the plate to the trunk were way wrong, so I found two in my stash that needed to be evapoed overnight
2) Headlamp retainer screws - these VERY unique screws were almost all wrong (10 out 12) I had 8 correct ones, heavily corroded, so I had to Evapo them. Also found two very close to correct screws to use to complete the set.
3) SSI retainer bolts. Four bolts were wrong, and four are correct but heavily corroded. I lightly wirebrushed them and into Evapo they went. I had exactly four correct ready to go bolts in inventory to complete the requirement. (Just remembered - will need two more for the spare)
Also, no matter how much you plan, you always need more parts. A sampling of the list from yesterday & today
Missing stuff:
1) Trunk retainer gasket
2) Antenna lead to firewall mounting gasket
3) Two hood latch sliding retaining clips
4) One rear ashtray assembly
Too damaged to refurbish:
1) Two of the wide long felt covered glass slides
2) One quarter window roller
3) One weird window retainer nut
4) Shifter ball. Thought I could save it. Shot some white paint on it to fill in the pattern, but there's a fair amount of scratches and gouges on it. It won't do at all on the reconditioned console and rechromed handle.
One item that I had not yet ordered that cleaned up well - the sport mirror gaskets. Every little bit helps!
That is hard core OE recovery effort. This is a look into a true "nut and bolt restoration". I for one am gaining a better appreciation for those that will go the extra mile to do a 100% correct resto. I am also truly enjoying your updates and your commentary. It makes the pictures even more engaging. Thanks for bringing us along on this journey of restoring the car. I sure hope the owner appreciates your efforts too, he is getting his money's worth.
That is hard core OE recovery effort. This is a look into a true "nut and bolt restoration". I for one am gaining a better appreciation for those that will go the extra mile to do a 100% correct resto. I am also truly enjoying your updates and your commentary. It makes the pictures even more engaging. Thanks for bringing us along on this journey of restoring the car. I sure hope the owner appreciates your efforts too, he is getting his money's worth.
Thank you for your kind words. I really enjoy doing this. Let me know if you have any questions anytime on something you might be working on.
I had six baggies I could not complete without further evaporusting due to not having anymore of these in my stock:
1) Correct spring steel cowl molding to cowl fasteners (14 needed - I had only seven in inventory and some were rusty)
2) Condenser bracket isolator lock nuts (rusty, none in stock)
3) Receiver dryer brackets to condenser mounting bracket J nuts - (rusty & painted - none in stock and the only place on the car these are used)
4) Condenser brackets to condenser core hex head screws (rusty, none in stock)
5) Blower motor to case hex head screws (rusty, not enough in stock)
6) Horns to fire support bolts (rusty, none in stock - hard to find item)
To make sure I don't mix up what is soaking, I take the baggies for whatever is in the tank and use a magnet to hang them above whatever is in each bucket
The bin of misfit, damaged, or fasteners needing rework continues to grow:
Lastly, 70Post has provided an excellent used evaporator case to replace the incorrect one the car had on it. I added a few more items to it - looks very OE.
Last edited by costpenn; March 16th, 2018 at 09:08 PM.
Also, will order some more special fasteners from AMK for hockey stick to hood screws (14 Needed) and cowl screen to cowl screws. Need some more 5/16 1 inch bolts, more washers, more everything!!

 February 19th, 2018, 06:03 PM


 MAW...Keep up the good work Joe.