When you click on links to various merchants on this site and make a purchase, this can result in this site earning a commission. Affiliate programs and affiliations include, but are not limited to, the eBay Partner Network.
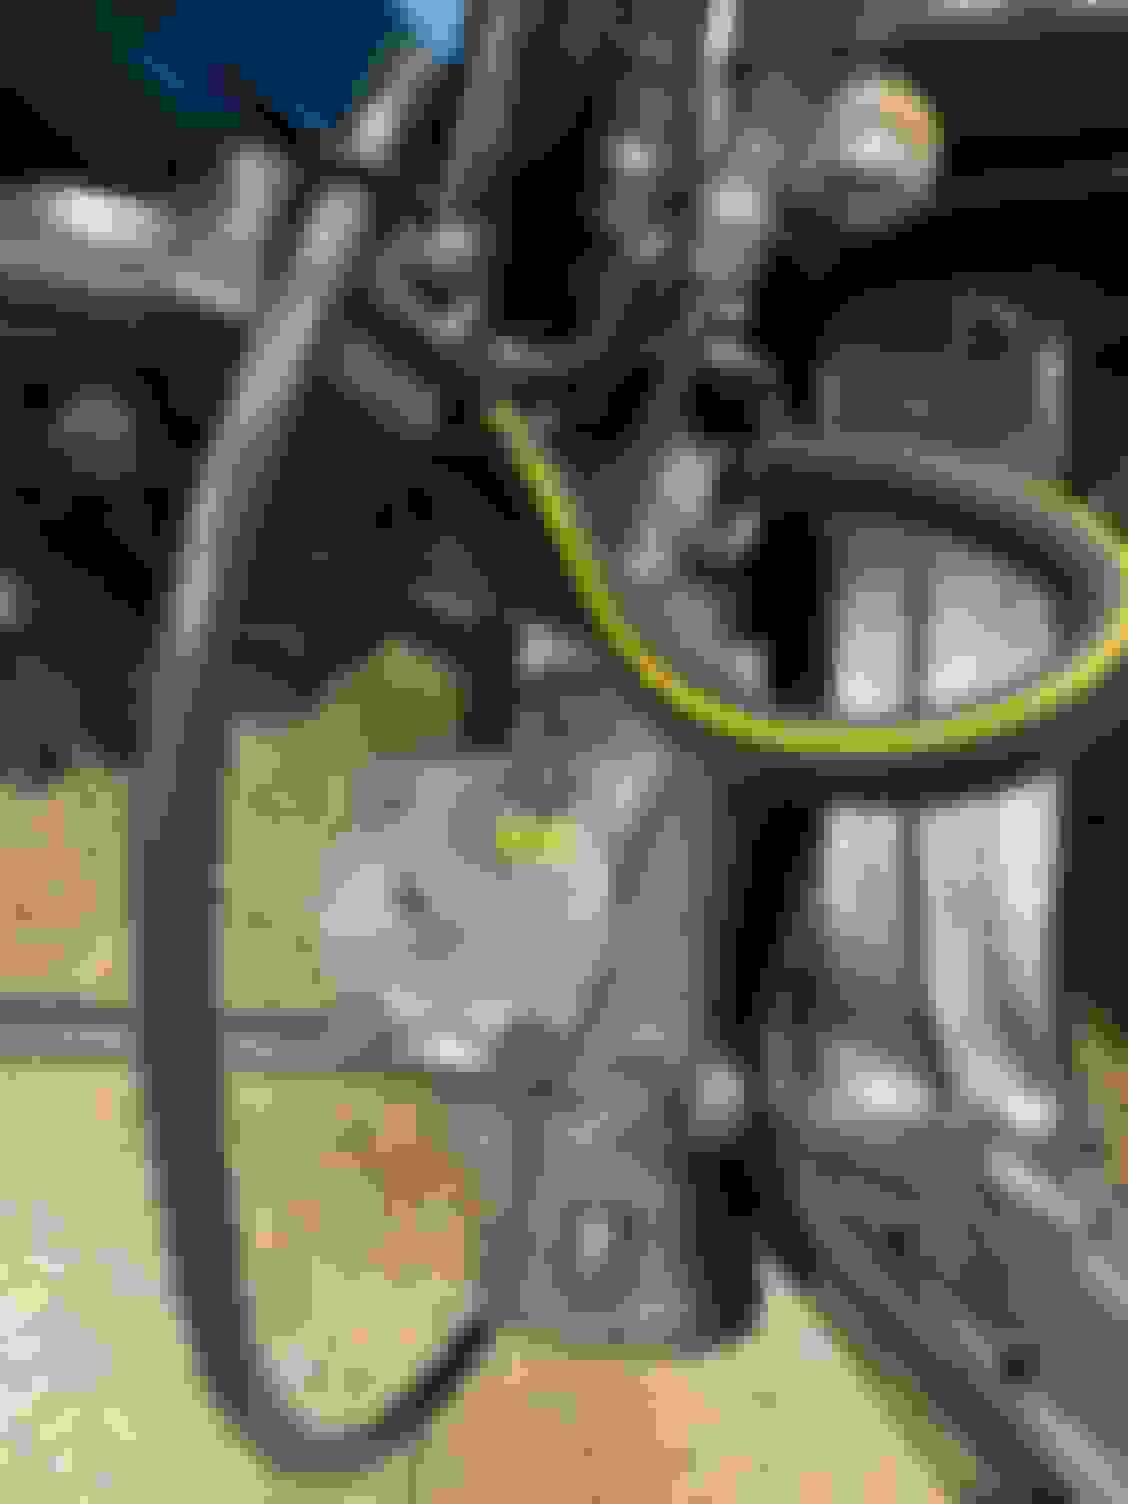
Been working on dressing the front of the engine. Restored the original alternator and installed onto the engine. Next, moved on installing the power steering pump assembly. All of the components are original including the brackets, hoses and pump. Cleaned the brackets and pump and repainted them. The low pressure hose had weakened at the end to the pump so I replaced it. Since it had a yellow line, I painted the new hose to mirror the original. The high pressure line was solid so I decided to reuse it. The original GM part number and white line are still visible. I got my protractor out to set the orientation, 30 degree for the high pressure line and 45 degree (per the PIM). I decided to reuse the original push clamps (Hope this won�t bite me in the butt but they were in solid condition). Thanks to all the CO members who have documented their restorations before me so I knew to install the battery ground to the block before installing the power steering assembly! Would have been impossible after the fact!!
Jim
Original Alternator on the right, Aftermarket on the left Front of original Alternator before restoration Original components, rectifier, diodes, voltage regulator and capacitor Painting the case Finished components Finished Alternator rear view Finished Alternator front view Original date codes Alternator installed Fuel lines with Swan Gas stamps Lower power steering bracket with original spacers Complete power steering front bracket Painted low pressure line to replicate original Original high pressure line line with GM part number Secured battery ground
I wish I had seen this before installing my power steering.
Thanks to all the CO members who have documented their restorations before me so I knew to install the battery ground to the block before installing the power steering assembly! Would have been impossible after the fact!!
Thanks tkcutlass and Ralley Kid! The chassis is almost complete. Installed the power steering pulley (had to file the slot for the key before it would slide on smoothly). Installed the restored date correct starter. Next up the Gardner Exhaust System.
Ralley Kid, the engine paint is from Thornton Reproductions:
Work on dressing the motor came to a halt when I couldn�t find the new, larger lower radiator brackets for a new four core aluminum radiator. I haven�t misplaced many parts in the last 9 years but after looking in every box and shelf, I finally had to admit defeat and order some new ones! So I decided to shift focus to working on the interior. I had ordered some aftermarket seat backs and headrests but when I attempted to assemble them, they did not fit properly. Decided to re-dye my originals that fit like a glove. Came out great. Next, I moved onto the 8 track player. Re-dyed the housing dark blue and reassembled. Also, drilled out the rivets on the horn assembly to access the rubber center that needed to be dyed dark blue as well. Took apart the faceplate to the AM/FM Stereo Radio to repaint in flat black. Think it turned out great. Next moved to the dash pad to install the chrome bead. Thanks go out to Andy for documenting his installation. Really helped! Have to admit I needed to pour a glass of wine before I started drilling 1/8� holes in a pristine dash pad! While a bit challenging to straighten a very curved bead, I finally came out victorious! Felt great to have it done. My car was built the first week of October 1969, and my bead was glued to the dash pad. The glue had yellowed after 50 years, and looked messy. The pressed in tabs secure the bead in a much cleaner finish. Next, onto the reassembling instrument panel and dash pad.
Jim Original seat backs and headrests Dying the 8 track housing Finished product Dyed center in dark blue Taping Radio faceplate for paint Finished faceplate Chrome bead installed!
Looks great Jim. Sorry I missed your call yesterday. I am over in London. I know I hated to drill more holes in the dash pad also , but the barbs hold the bead much better than the glue. And you don�t have to worry about seeing the glue residue. Coming along nicely.
Thanks all for the kind words. It is nice to feel like I’m getting closer to the finish line. The detail work is time consuming but worth it in my opinion. Just like the chrome bead with sloppy yellowed glue had bothered me for years, so would a radio faceplate with sloppy Testers brushed on paint would continue to be the first thing I would see! I’m using Kolor Korrect interior dye/paint with Bulldog Adhesive Promoter. I’ve been very pleased with the color based on my trim code. So nice to see all the shades of blue come together. Jimmy, thanks for pointing out the 8 track tape faceplate being a 71-72! Now I’m on the hunt for a 70 faceplate!
Back at it working on the Dash. Reassembled the instrument panel to the dash pad. Cleaned up the headlight, wiper and convertible top switches for installation. Made sure all the grounding strips were back in place to ward off any electrical gremlins. Cleaned and installed the map and courtesy light harness. Cleaned up the main dash harness/fuse panel and repositioned the the pins in connector block to accommodate a rally gauge from idiot lights. Love seeing the original GM harness part number label.
Jim All grounding strips in place with map/courtesy light harness Cleaning up main dash/fuse block harness Original GM label Idiot gauge pin out Repositioned pin out for Rally gauge Pin out documentation from ClassicOlds Sticky
Started to install components on the firewall (antenna wire, front speaker, ductwork, etc) in anticipation of installing the completed Dash this week. Made the mistake of rolling up the quarter and door windows and found them to be out of alignment. Spent the next couple of hours getting them adjusted (as well as can be done without the pillar and convertible moldings in place) but think the fit is pretty nice. Today, mocked up and welded new radiator support brackets to accommodate an aluminum 4 core radiator. Ironically, pulling the original radiator that probably could have been re-cored started this project! Plan to install the radiator support this week and test run the engine before putting the body back on the chassis.
Jim Passenger side alignment Driver side alignment Radiator mock up for bracket position Good alignment Lower Brackets installed and painted
Continued to ready the engine for break in. Installed the radiator support with help from my wife (definitely a two person job to balance and get the bushing/bolts installed). The mockup of the radiator in the support placed the new welded brackets in the correct position. The radiator and side molding went in smoothly. The new transmission cooling lines required some persuasion to fit but turned out nice. Decided to use the engine harness to start the engine for break in. Cleaned and re-wrapped the harness and installed to the starter noting the spades for starter solenoid (purple) and ignition (black) for connection to engine stand. With the harness in place, moved on to the Gardner exhaust. Can�t say enough about how nice the Gardner Exhaust system is. The fitment is perfect and labeling and instructions are great. In the instructions, the process suggests placing marks (2�) for sliding the muffler into the exhaust manifold pipe. I decided to use old radiator clamps around the marks to keep the muffler up against the mark. Worked well. Did the same for the tail pipe into the muffler. I did not tighten the clamps. Will wait for the body and bumper to be back on the frame to make sure the beautiful chrome tips are positioned precisely in the bumper cutouts. Next, used some clamps to temporarily hold down the heater core on the radiator support at about the same height as it would be if it was installed at the firewall. Decided it would be easier to include the heater core in the engine test/break in than it would be to find a 5/8� to 3/4� adapter to bypass the heater core! I guess the good news is that I can make sure the core doesn�t leak before installation in the firewall! Getting excited to hear the 455 come to life after all these years! Break in tomorrow! Fingers crossed! 🤞
Jim Radiator support installed along with new trans cooler lines Had to manipulate these lines to fit and clear oil filter and each other Break-in oil NOS AC Delco plugs Beautiful Gardner Exhaust Great fitment and awesome chrome tips. If you look closely you can see the heater core clamped on the passenger side radiator support
VERY Cool! I've been living vicariously through your project, and just love watching it all come together. Fantastic work, and great eye - and dedication! - for level of detail!! Awesome!
Success! After a short 9 year hiatus since I actually pulled the engine 😀, it lives! Was a great feeling to hear it roar! Was temperamental at first but the carb had been tested at sea level and was rich at 8600 feet. After leaning it a bit, adjusting the choke and setting the timing, it took off! A huge milestone in the journey! Was nice to test and break in the engine while the body was off in case of any issues. Didn�t find any leaks except for a small drip from the thermostat housing onto the intake manifold. Seems like no matter how much sealant you put on the thermostat housing it leaks under pressure! Only a minor issue that is easy to fix! All in all, a great day! Will dial in the carb tomorrow and then mate the body to the chassis!
Jim
Well, was going to upload an 18 second video of the engine running but apparently the 32.8M file exceeded the 20M limit! Oh well, take my word for it, the engine sounds great!
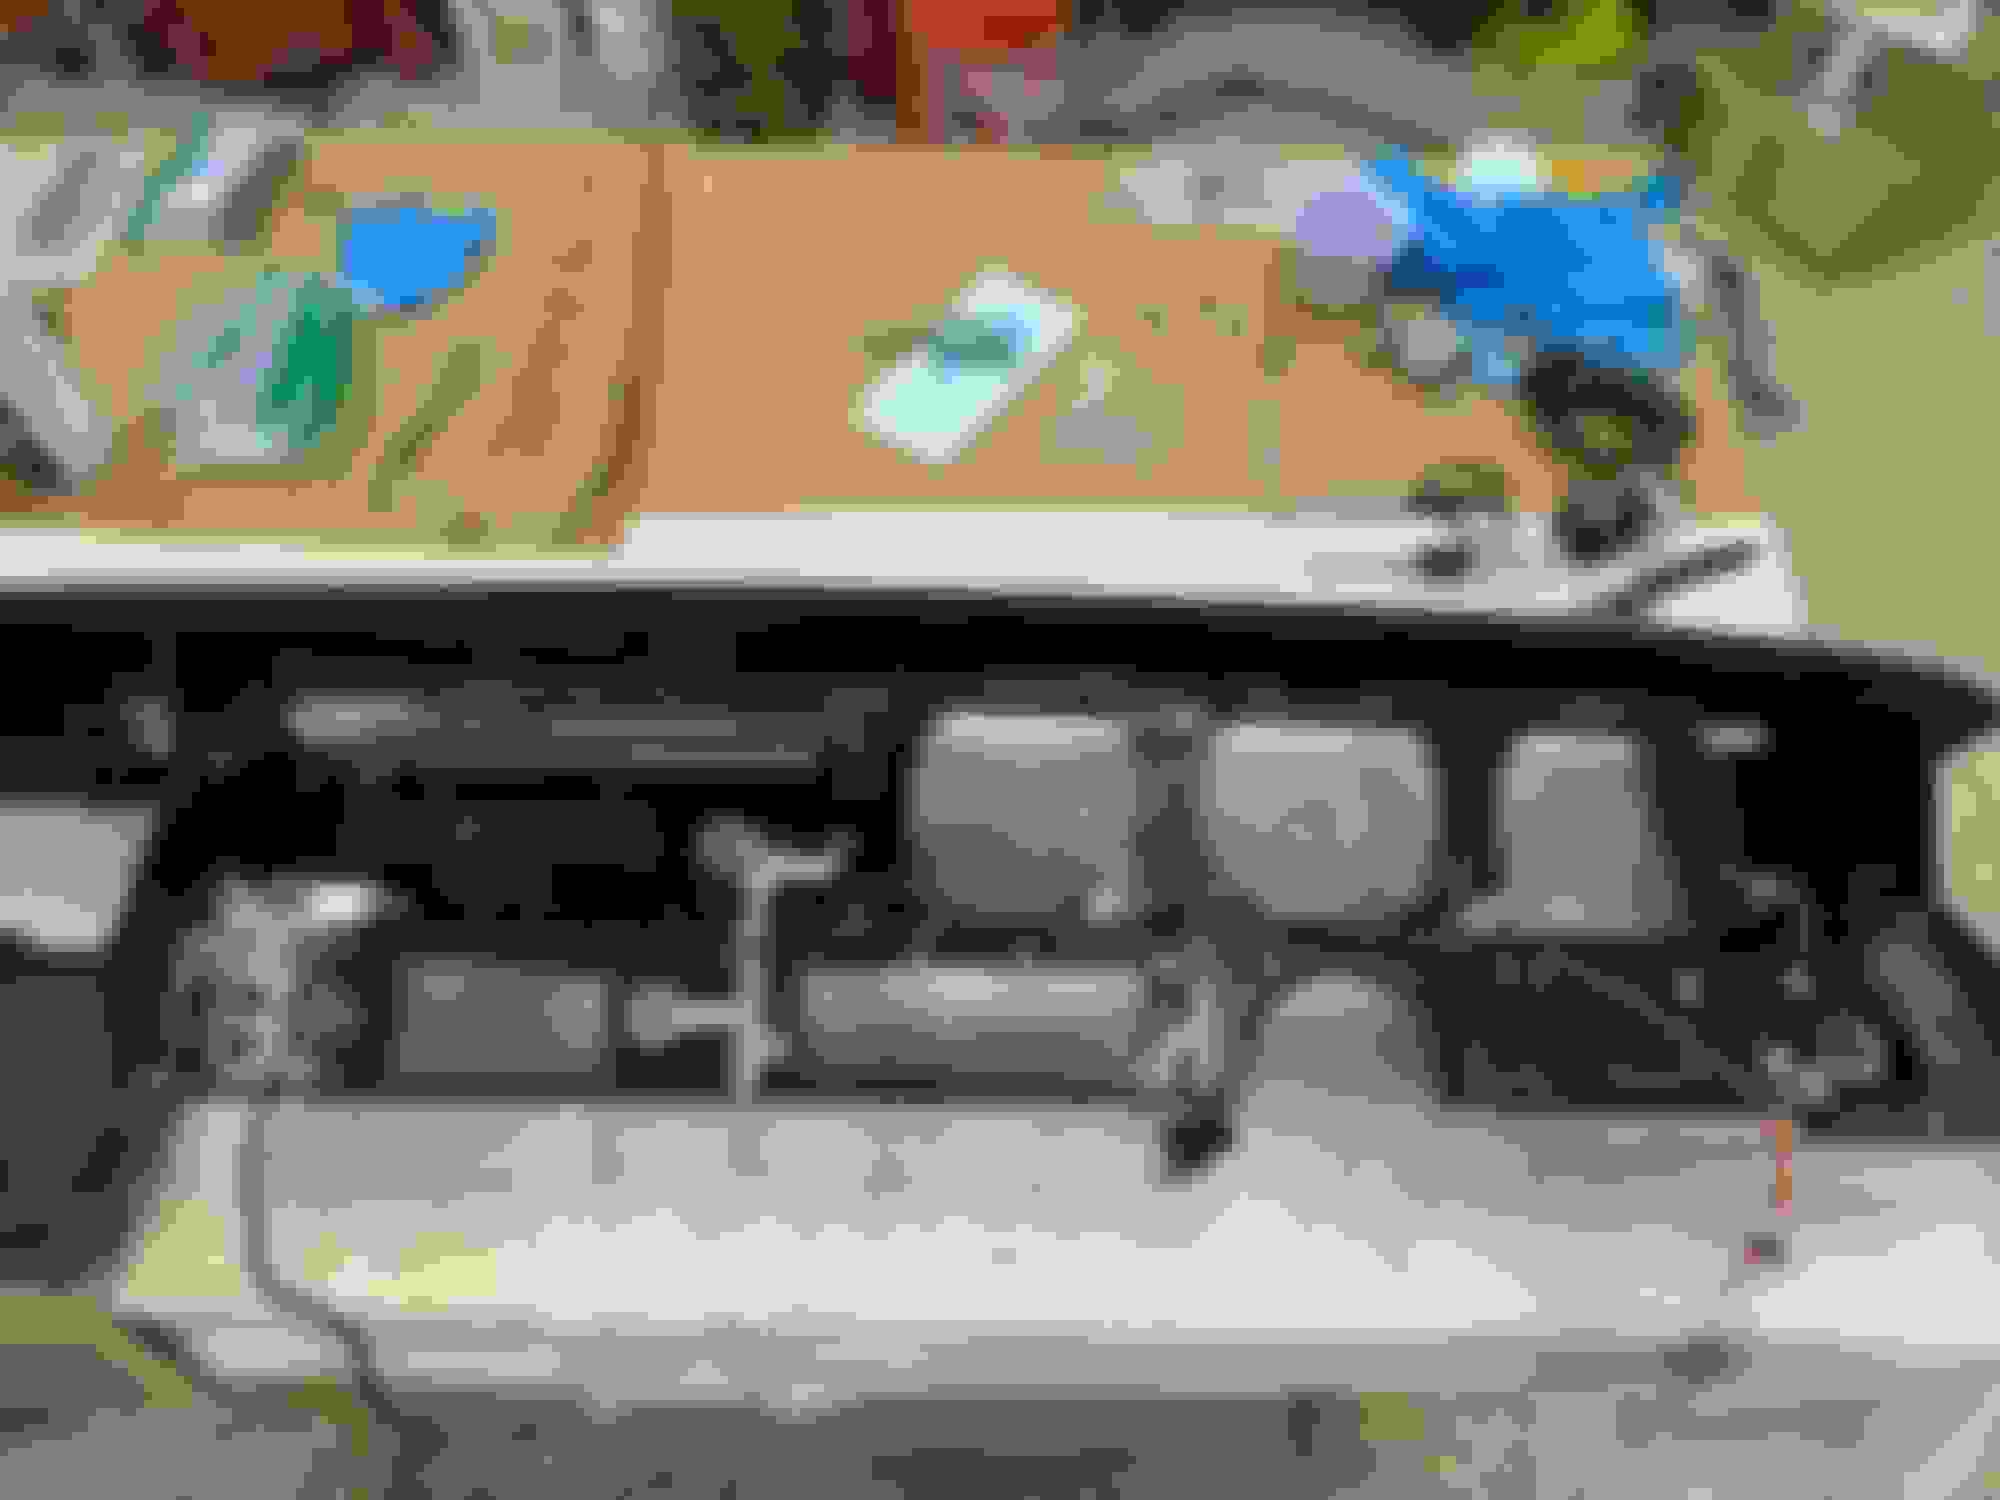
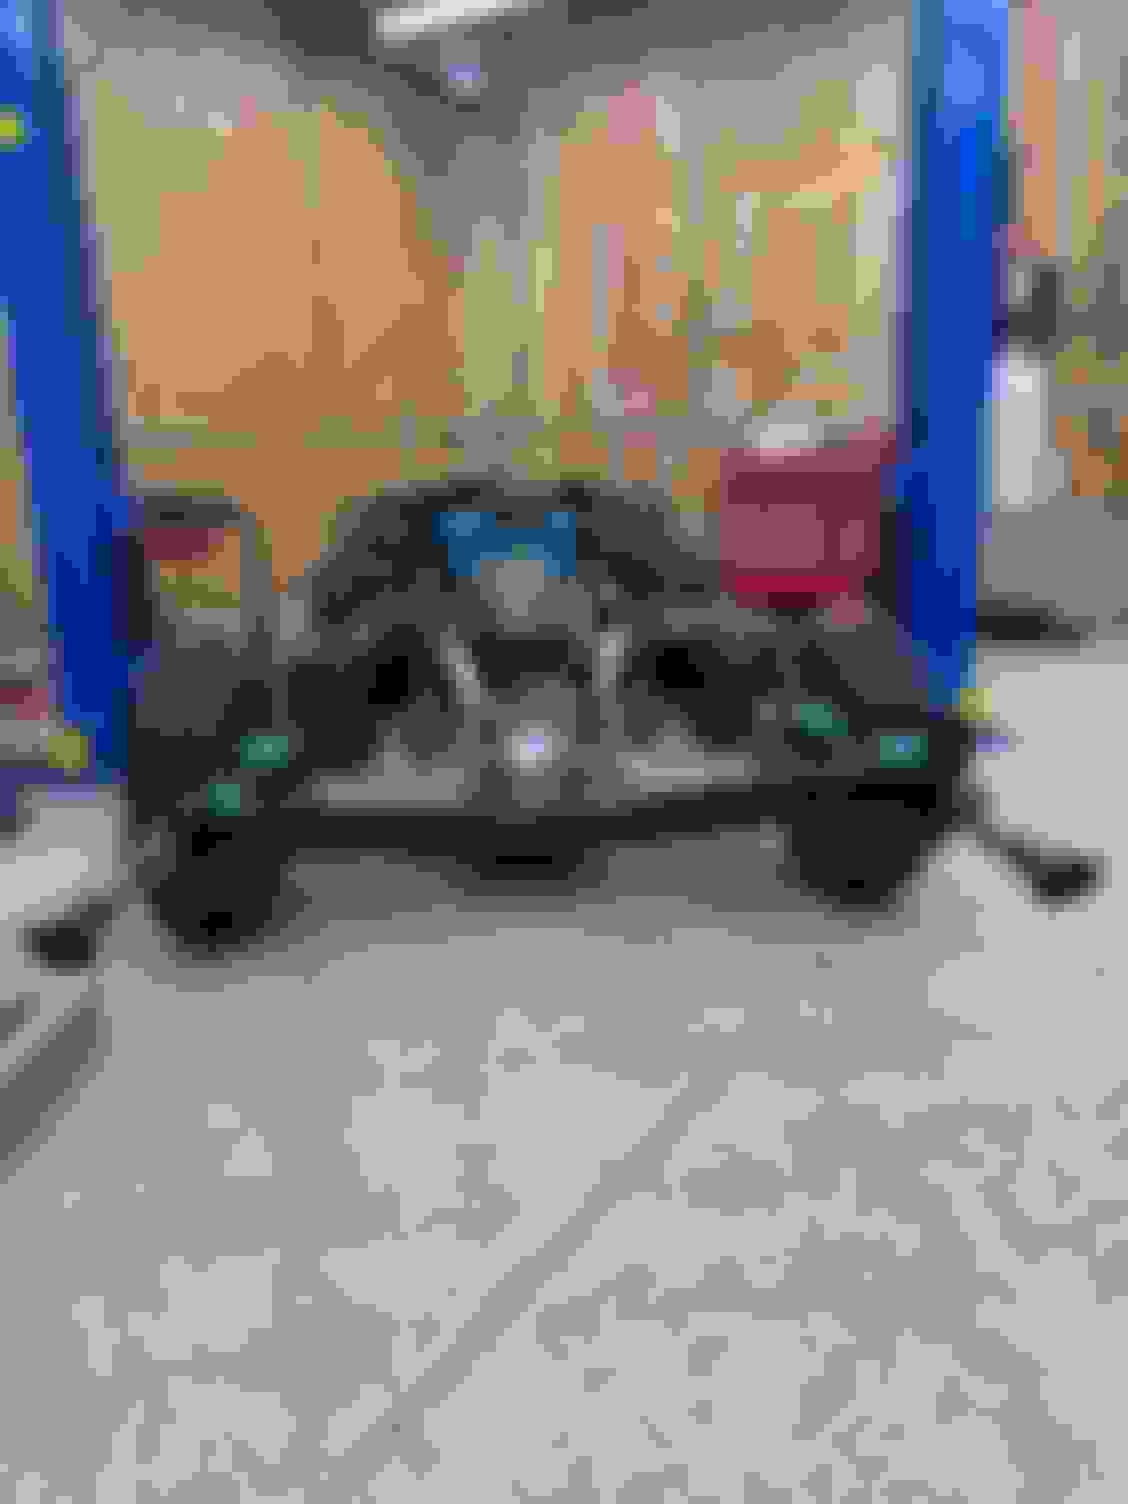
Here are a few pics of the test set up.
Test Stand: oil pressure and water temperature did not require battery power. I used the factory engine harness and battery cables with the horn relay as a connection point to supply power to the starter solenoid and coil. Heater core included in the cooling system test and 5 Gallon gas can provided fuel to the fuel pump
Checked the plugs after break-in and they were very black. Decided to pull the carburetor to check primary metering jets for size and re-jet. Was expecting 70/1000 jets and found 71�s. I had the carburetor rebuilt/restored many years ago and I expect the builder increased the jet to 71�s for the current fuel at sea level which makes the mixture pretty rich at 8600 feet. Put in 69�s and restarted the engine. Fired up immediately and seemed much happier. Will pull a plug tomorrow and check again. Was difficult to adjust idle mixture because the engine seemed pretty hot which could mean it�s running a little lean. Could need 70�s but will continue to tune.
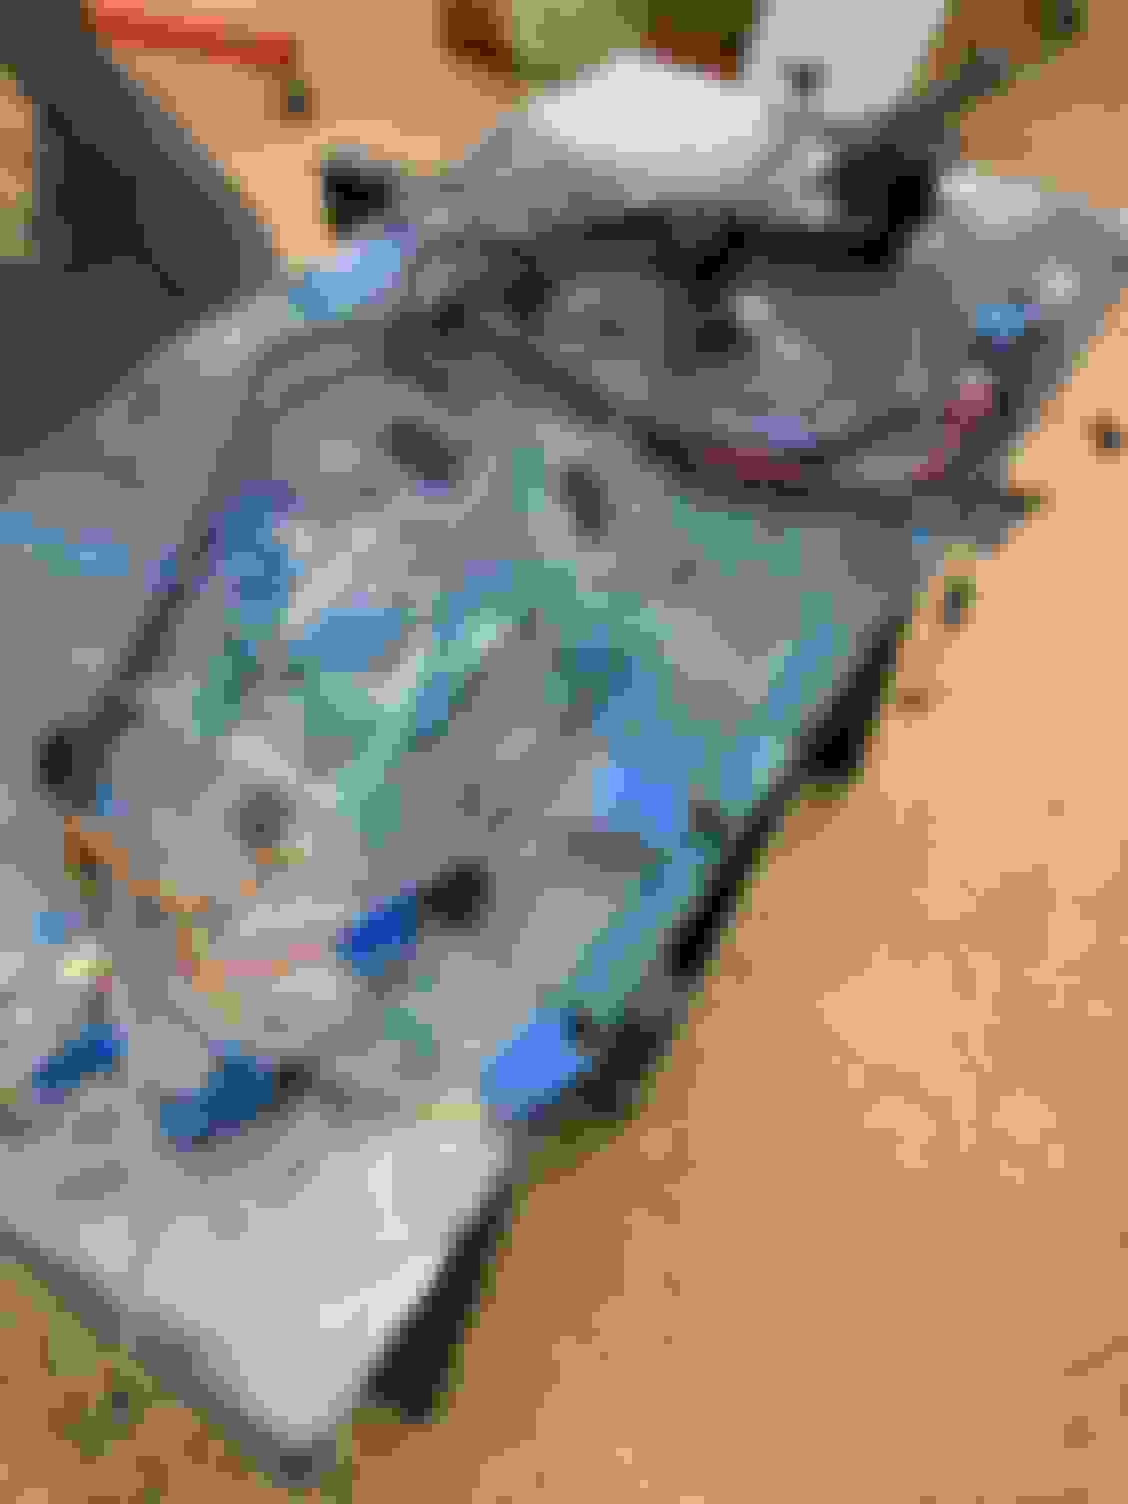
While I had the carburetor off, it was a good time to pull the thermostat housing that was weeping through the gasket. I posted separately about this issue but the fix was to Emory cloth the housing smooth on a flat surface and using Permatex Thermostat and Water Pump Gasket Maker without a paper gasket. Worked like a champ. Since the cure time is 24 hours, I shifted gears to the interior and installed sound deadening to the floor. Bought a kit from Flatline. Fit pretty well but had to make quite a few cuts to accommodate wiring. Think it came out nice.
Jim
After initial break-in time, plugs showed overly rich mixture. Initial 71/1000� jets New 69/1000� jets Emory smooth thermostat housing Flatline sound deadening front Flatline sound deadening back seat
Awesome Jim. Funny story about a thermostat leak. I had just got a car running and had a small leak at the housing. Put a new gasket in, filed the housing flat and still leaked. Then had an epiphany and cranked the hose clamp a turn. Sealed up. The damn hose clamp was loose. Always check the simple solution first. Silly me!
Andy, had a similar experience on my 69 Buick Skylark! Changed the water pump gasket 3 times (including breaking a bolt into the block through the water pump and having to drill it out and re-tap the hole) before I released that the drip was from the lower radiator hose! Tightened the clamp and no leak! Ugh, I felt pretty dumb and swore I’d take this secret to my grave but it’s too funny to not share!😀
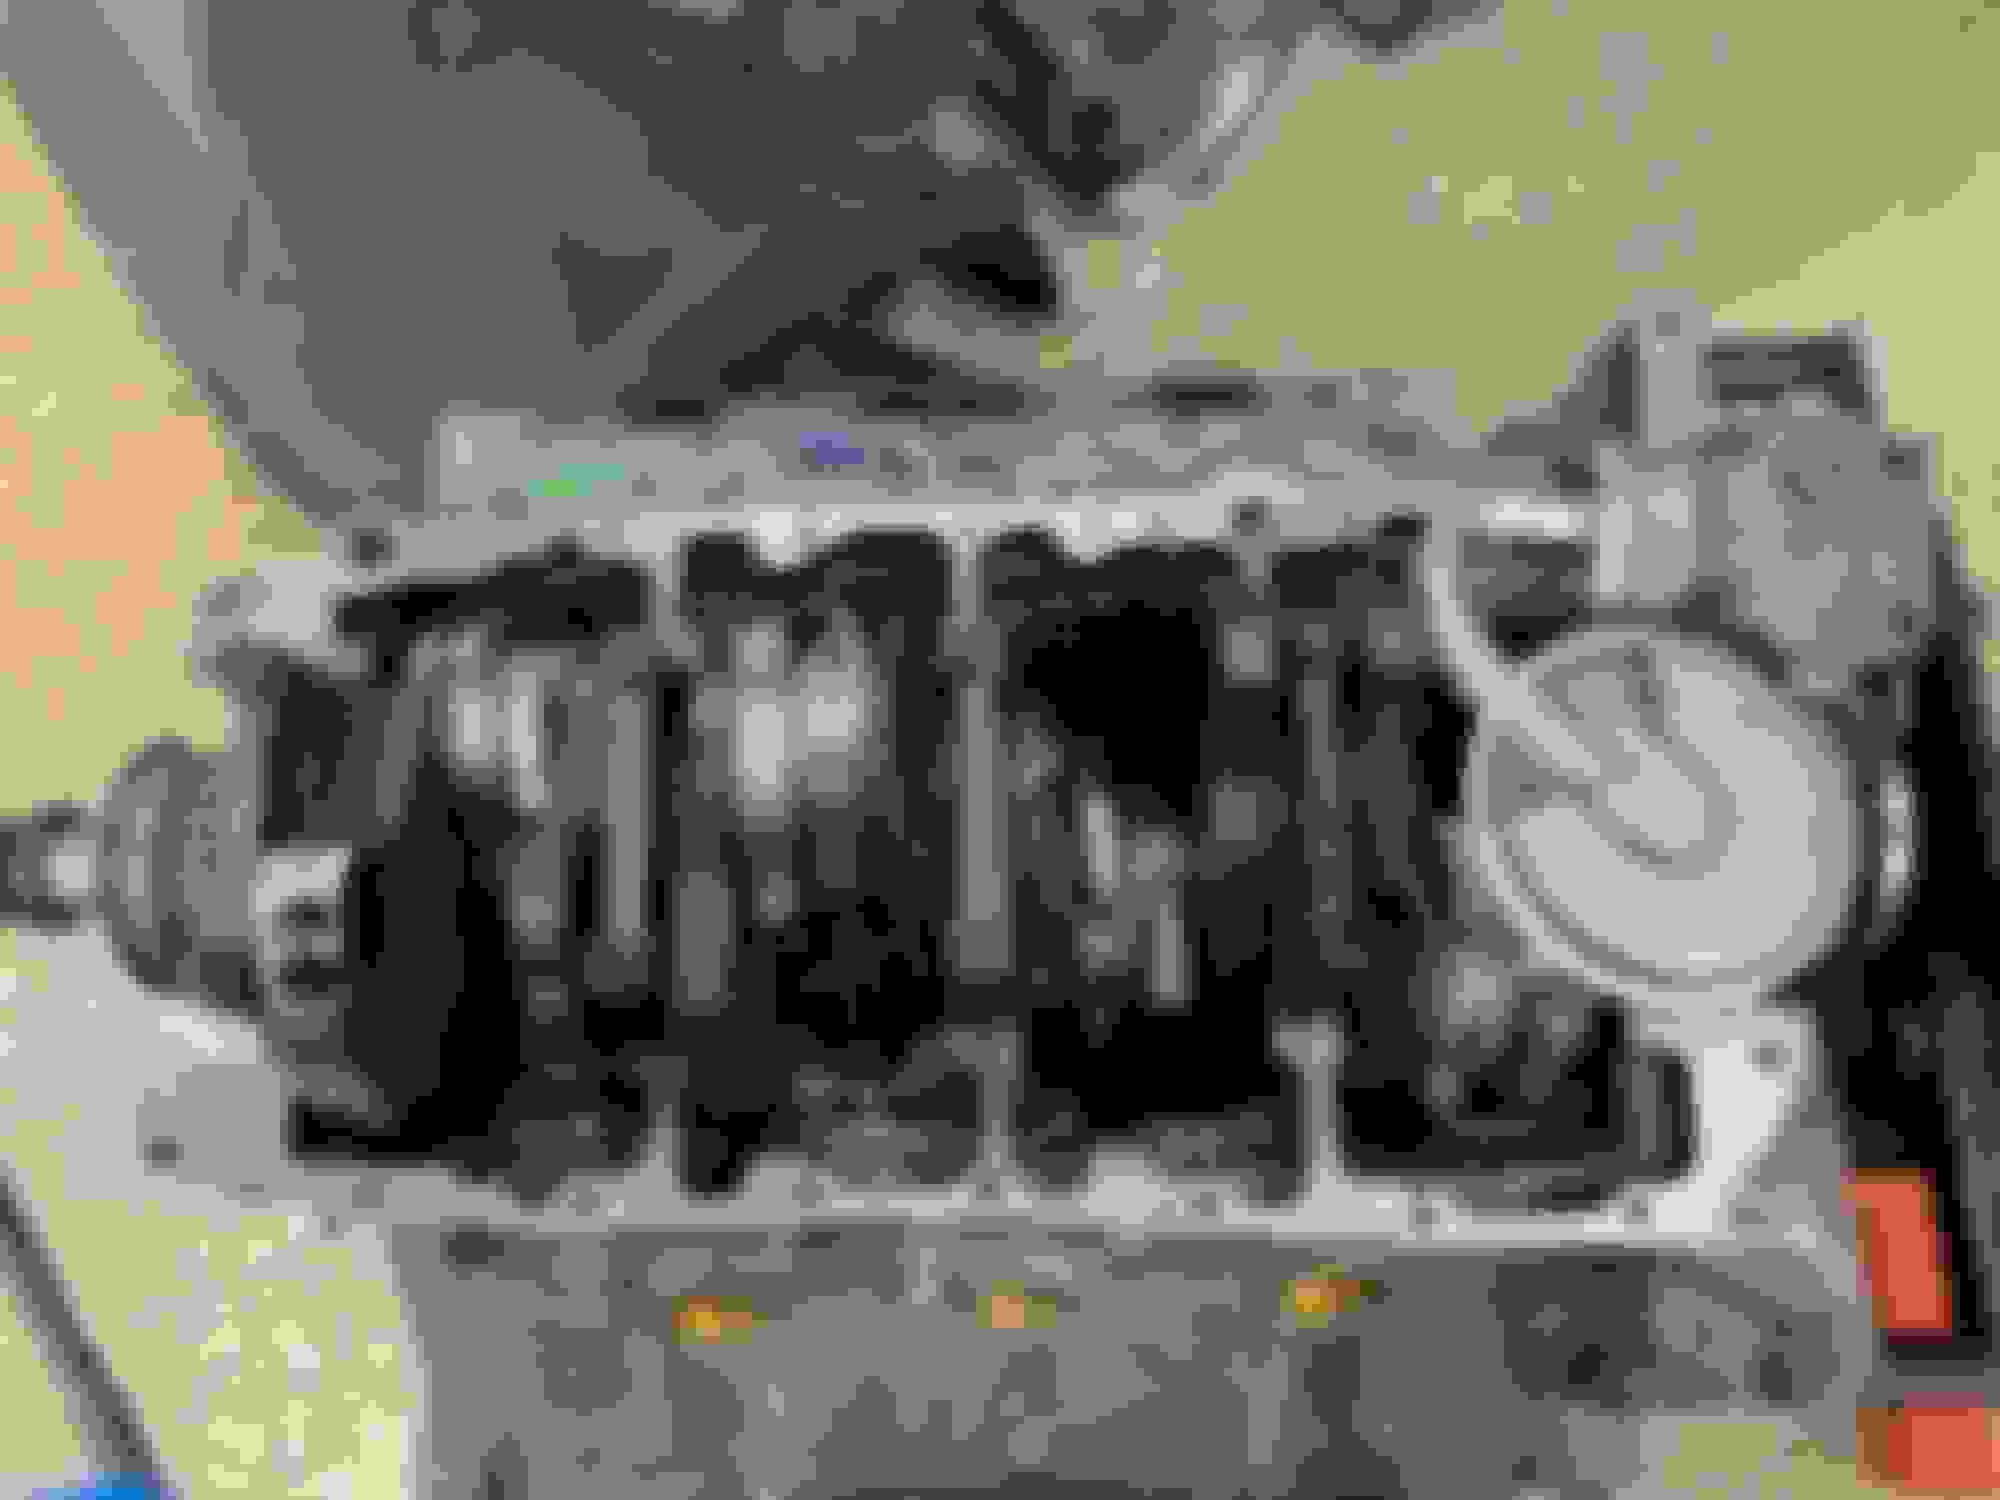
Been quite a long time since my last post. Our annual migration to Florida for the Winter in October, returning in June limits garage time in Colorado on the 442. But I shut down work at the end of September because I just wasn�t happy with the Mondello JM 20/22 cam I used in my build thinking it was an upgrade over the factory cam. To be honest, the thought of having to tear down the engine test stand and top end of the engine to replace the cam was a downer. But, to add insult to injury, when I tried to removed the distributor, it wouldn�t pull out of the block. I tried to wiggle it a bit and finally it came out but it pulled the oil pump rod out with it! For anyone who�s assembled a 455 on an engine stand knows there is a retaining clip that keeps the oil pump rod from falling out the bottom of the block when the engine is upside down. Ugh! This was enough for me to close up the garage until my return from Florida!
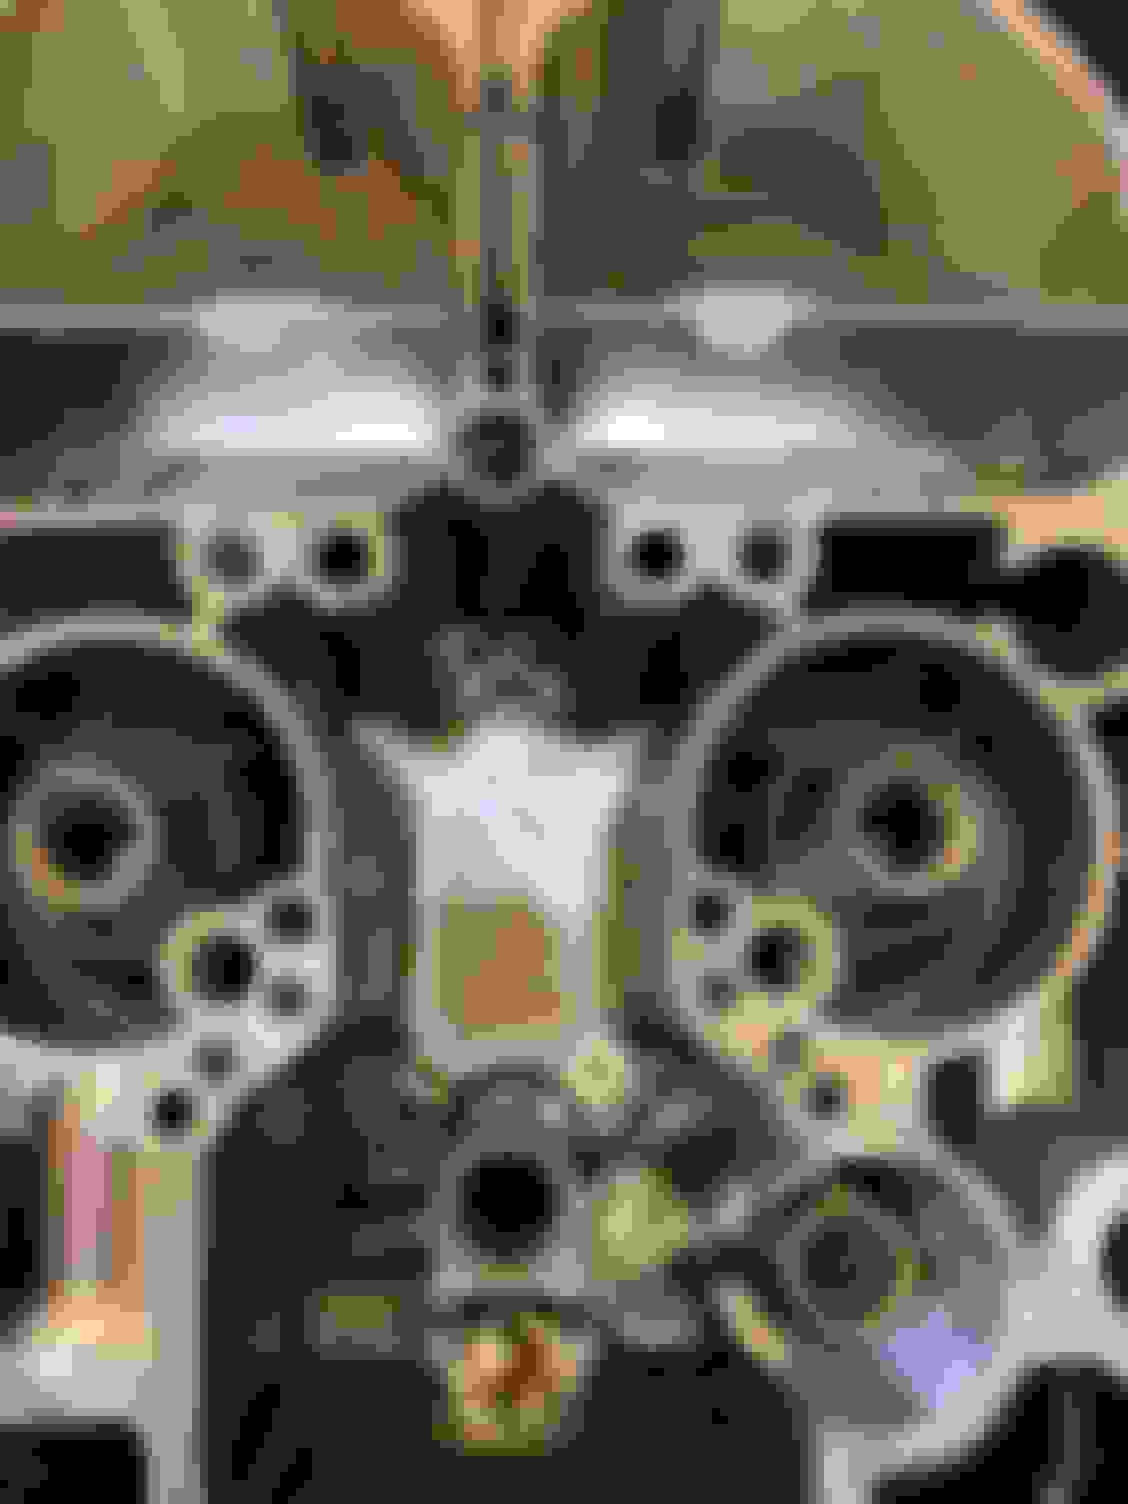
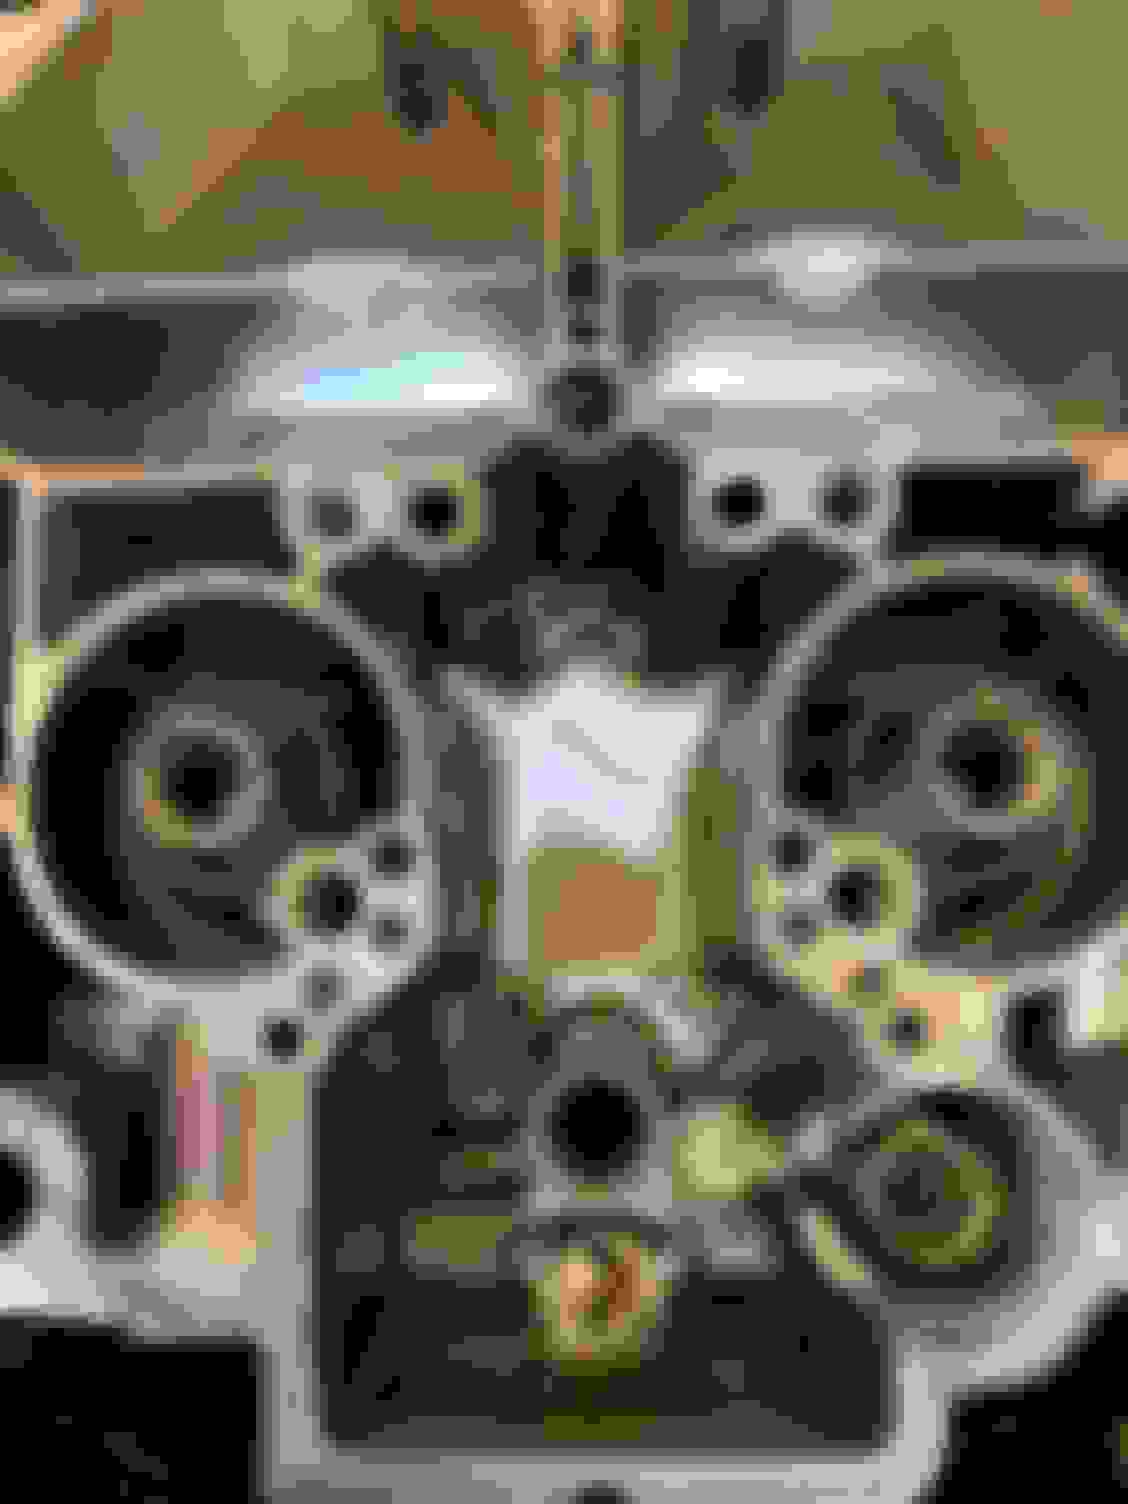
Rejuvenated from my time in Florida, I jumped back in the garage and went to work. After much prying, I was able to get the valve covers, intake and timing cover off. That Permatex really makes it difficult to break things apart! The Mondello cam came out without any trouble. I bought a factory NOS GM cam (#400165) for a 70 455 AT on eBay still in its original box when it was manufactured back in 1985. Pretty cool to see the dealer�s part order and date! Installed and degreed it. Dead nuts on! (intake lobe centerline at 118.5 degrees and exhaust at 110.5). Was excited to be putting things back together but still was worried about the missing retaining clip somewhere in the engine. Decided to get a magnetic flex rod from Harbour Freight and go fishing from the front of the engine through the open timing cover. After about 5 minutes, I heard a click! Fish on! When I pulled the flex rod out, the missing clip was attached! This was great news! However, it was missing a couple of tiny teeth. I continued to fish for them but no luck. Flushed oil through the distributor hole a couple of times hoping to find them after straining the oil but no luck. Going to roll the dice. Don�t think they will make it through the filter.
Spent several hours carefully removing valve cover and intake gaskets and mocked up the intake manifold gaskets after cutting holes for exhaust crossover blocking plates. Plan to install the intake tomorrow. Hopefully, the engine build is heading in the right direction! 😀
Jim
Mondello cam removed Missing oil pump rod retainer with missing teeth NOS GM #400165 AT cam Dealer order date 10/30/85 NOS GM cam installed NOS GM cam Mocked up intake manifold gaskets with crossover blocking plates
Those teeth are likely in the oil pan. Unless you can determine that those teeth couldn't pass through the pickup screen, I'd be pulling the oil pan. Not all of the oil always passes through the filter.
Thanks Alain and Maxi426. Maxi426, you got me wondering about those teeth so I decided to break one off the retainer and see if it would pass through the oil pick up screen. I had the original that I removed and replaced with a Melling (M22FHV). The tooth would not pass through the original oil pick up screen. It’s an assumption but if the replacement Melling screen meets the specification of the original, then the tooth shouldn’t be able to pass through the screen. Here are pictures of the original and Melling replacement.
Jim Factory original oil pump screen Melling oil pump screen
Back from the Keys after lobstering for a couple of weeks. After braving tropical storm/hurricane Debbie, was a successful hunt.
Cranked up the 455 on Monday. Fired right up and after setting the timing, was smooth as butter! Ran the engine for 30 minutes at about 1900 rpm to break in the Cam. Dialed in the carburetor adjusting the idle mixture screws maximizing manifold vacuum and set the idle rpm at 750. Thrilled with the NOS GM factory original Cam. Well worth the time and effort to tear down the engine top end to replace the aftermarket Cam. Next up, dropping the body back on the chassis!
Jim
Was going to attach a video of the engine start up but exceeded the 20M data limit! Oh well! Take my word for it, was awesome! Nothing like the Olds rumble!
Great work Jim. Looking great. Love when the new engines roar to life.
Location: Colorado Springs Colorado/Thousand Oaks Ca
Posts: 1,722
Originally Posted by jimlabo
Hi Folks:
Back from the Keys after lobstering for a couple of weeks. After braving tropical storm/hurricane Debbie, was a successful hunt.
Cranked up the 455 on Monday. Fired right up and after setting the timing, was smooth as butter! Ran the engine for 30 minutes at about 1900 rpm to break in the Cam. Dialed in the carburetor adjusting the idle mixture screws maximizing manifold vacuum and set the idle rpm at 750. Thrilled with the NOS GM factory original Cam. Well worth the time and effort to tear down the engine top end to replace the aftermarket Cam. Next up, dropping the body back on the chassis!
Jim
Was going to attach a video of the engine start up but exceeded the 20M data limit! Oh well! Take my word for it, was awesome! Nothing like the Olds rumble!
Let's be clear about the cam, the original cam you installed was not recommended by me. In fact I tried to steer you to into a mild grind seeing the altitude and all.
Great to hear from you! How have you been? Are you enjoying Texas? Yes, you cautioned me about the cam and in fact I bought a cam from Spiro at Red Line Racing cams along with Eaton lifters but when I degreed the cam, it was off by 6 degrees on the exhaust. I degreed the Mondello cam and it was as advertised so I installed it. Was my decision at the time and in hindsight probably a poor choice, given what I researched after the fact about the Mondello but live and learn. I decided to install a NOS GM factory original cam (400165) that I found on eBay and was glad I did. I reduced the jets in the Rochester by 2/1000’s (71’s to 69’s) for the altitude prior to changing the cam and was able to adjust the idle mixture screws to maximize the vacuum. Unfortunately, with the Mondello cam, the vacuum was not strong enough to pull the metering rods into the jets so the idle mixture screws were ineffective. Guess I could have changed the spring but decided to go back to factory. Turns out that even though it was extra work, I was able to correct a weeping water pump. Also, not sure if it was the sharp rise in the Mondello cam or the Eaton lifters, but the engine sounded like a loud sewing machine at the lifters. I replaced them with Johnson Hylift lifters when I changed the cam back to factory and the 455 purrs like a kitten. Very pleased with the outcome. Your machine work was exacting and precise and eliminated any concern for tolerances! Thanks again for all your help and insight!
I used a Be Cool Aluminum Radiator that was specified for the 442. It’s a 3 core so I had to change the brackets on the radiator support and top plate. The radiator comes powder coated in black to replicate the factory original look. Dissipates heat very well which is important to me since the factory radiator overheating was the reason for the start of this project 10 years ago!😀
With the engine complete, I�ve been focused on the interior. But before starting on the interior, I finished up the radiator support with the restored grills, light buckets, bezels and new bulbs. Next, I focused on replacing the hand cranks with power windows. Required testing the new wiring and regulators before modifying the body and doors to accommodate the wiring. I used a hole saw (2 1/4�) from under the inside of the dash and a 2� bit with a 90 degree drill for the doors. Was nice to make the holes without pulling the doors! I have to admit that I was anxious drilling holes into beautifully painted jambs but came out great. Fished the wiring and hung the crossover wiring in the factory routing position. Next, removed and replaced the regulators. Much easier to do when you have already aligned the glass. Just mark the positions of the stops and you are done. I pulled the glass, then loosened and moved the center post, and the regulator came right out. I positioned the new electric regulator at 80 degrees so I could easily access the three nuts to reattach the window glass. I connected power to move the window upwards to reinstall the stops and tighten the nuts. Tomorrow, I�ll work on the 1/4 glass in the rear.
Jim Restored grills, buckets, bezels and new bulbs Wiring tested out correctly Holes drilled on right Holes drilled on left Factory boot right Factory boot right Fished wire left Fished wire left Crossover factory wiring position Rear wiring routed along factory position


 June 29th, 2023, 07:46 PM


 AWESOME restoration