When you click on links to various merchants on this site and make a purchase, this can result in this site earning a commission. Affiliate programs and affiliations include, but are not limited to, the eBay Partner Network.
Got the fuel pump installed after a couple days of mucking about with it. Thanks to Bernard Mondello for reaching out and confirming I could safely remove some material from the head (and confirming it with ultrasound). It's a tight fit but it fits. A rotary tool with a carbide bit worked best for the job. The pump body can be rotated to any orientation which sure did help.
The current project is installing the Hydratech brake boost system, fabricating a bracket to mount the combination valve and line lock then making and organizing all the plumbing to clear everything else. We fit up a fender today and caught a glimpse of something that looks like a car. The firewall needed some minor modifications for the hydraulic clutch master cylinder and had to open the hole a bit for the booster to slide in properly. It's all still in mockup and a bit of work ahead before final assembly.
...and yes, the inner fenders will be well cleaned before I'm done!
The aforementioned bracket to mount the line lock and combination valve under the master cylinder will be finished this weekend, after a tin mockup seemed to do the job nicely.
In the meantime, I've got the car back on the lift for the first time since the body went back on the frame. Next up will be the gas tank and rear bumper before sending it out for the exhaust installation. The first thing we noticed, however, was that there was little to no clearance between the tunnel and the rear section of the transmission. So much for a straight installation with no tunnel modifications! The contact area was small though, so I cut out a section of tunnel and will fabricate a piece to stick back in to close things up with better clearance.
Still plugging along but kind of feeling like the project is in the doldrums with not a lot of obvious progress. In reality, a lot is now ready for final assembly and moving forward. Along the way, I learned I had the wrong core support mounts and found a few other parts I needed, so I wound up buying the mounts, new rearview mirror, back of fender trim, bumper bolt set (apparently I only needed one set...), assembly manual (reprint, but better than what I didn't have!) , mini starter and a quick ratio steering box (from Hector at Carhex).
I also decided to get new firewall and underdash insulation, which I got from OPGI. Overall it looks ok, but I'm not too pleased with how easily the backing separated from the pieces that were rolled for shipping. Seems pretty sketchy to me.
Another part I'm really not happy with is the new cowl screen, also from OPGI. I think I would have been better off getting the three piece plastic Chevelle one that seems to be a common offering. This replacement screen, labelled as fitting "1968-72 GTO/Temp/LeMans/Cutlass & 69-72 GP" is nothing like the original. It's at least an inch wider and the end profiles are way off. None of the holes seem to line up. Add to that the mesh is a weaved screen door type of mesh which doesn't match the original material (not that I'm worried about originality in this build). If you want to talk about "Parts that don't work", this is one of them. Being in Canada, it would likely cost me more to return it than to just keep that damned thing. So I'll see if I can cut it to work. And paint it.
Gas tank is installed, I used a pickup from RobbMc which needed a bit of the flange on the tank to be removed. Just need to put the ends in the fuel lines for those connections. Rear bumper is in and just about adjusted to where I want it. The old white headliner was in overall good condition except for a parting seam at the back which I restitched. Going with the black interior, I wanted the headliner black as well, so I used some vinyl/fabric paint to paint it. As a bonus, this makes my amateur seamstress job difficult to spot!
Loaded the car on the trailer yesterday for a 45 minute drive up to a friend's shop for exhaust installation. They got it done quickly and looking great (who can go wrong with a place called "Two Old Farts Garage" run by a couple of hot rodders? Seeing the exhaust hanging under the car and the tailpipes under the bumper is an unexpected morale boost. A major step towards BO Day (Burn Out Day). My unofficial, written in sand goal has been to drive the car by the end of June. I'm not sure that is going to happen but I'm still trying. It helps being retired even if I seem to be busier now than when I was working.
Unfortunately (or fortunately I guess), we did notice a couple spots where the headers were touching the frame so we'll have to take a step backwards to remove and reshape the pipes before we can continue the reassembly. Frustrating, but now's the best time to find and resolve stuff like that.
Wow, can't believe it's been 3 months since my last update. Summer activities and commitments certainly slowed the work down but things did get done. Most of them seem fairly small in the grand scope of things and to external appearances there hasn't been much change in the car's looks. But...
- Gas tank installed and fuel lines completed
- Steering column torn apart and rebuilt (https://classicoldsmobile.com/forums...manual-179814/) (https://classicoldsmobile.com/forums...-shaft-180641/)
- Hydraboost, Master cylinder, Combination valve, Line lock and brake lines installed. This all took much longer than it probably should have. Too much time looking for fittings that don't seem to exist, bending brake line, not liking it, bending it again. Replacing lines I wasn't happy with. Finally getting happy and discovering the brake line interfered with inner fender positon. Replacing the brake line.
- Under dash and firewall insulation installed
- Third pedal and hydraulic clutch installed
- Heater core and box cleaned/painted/reinstalled
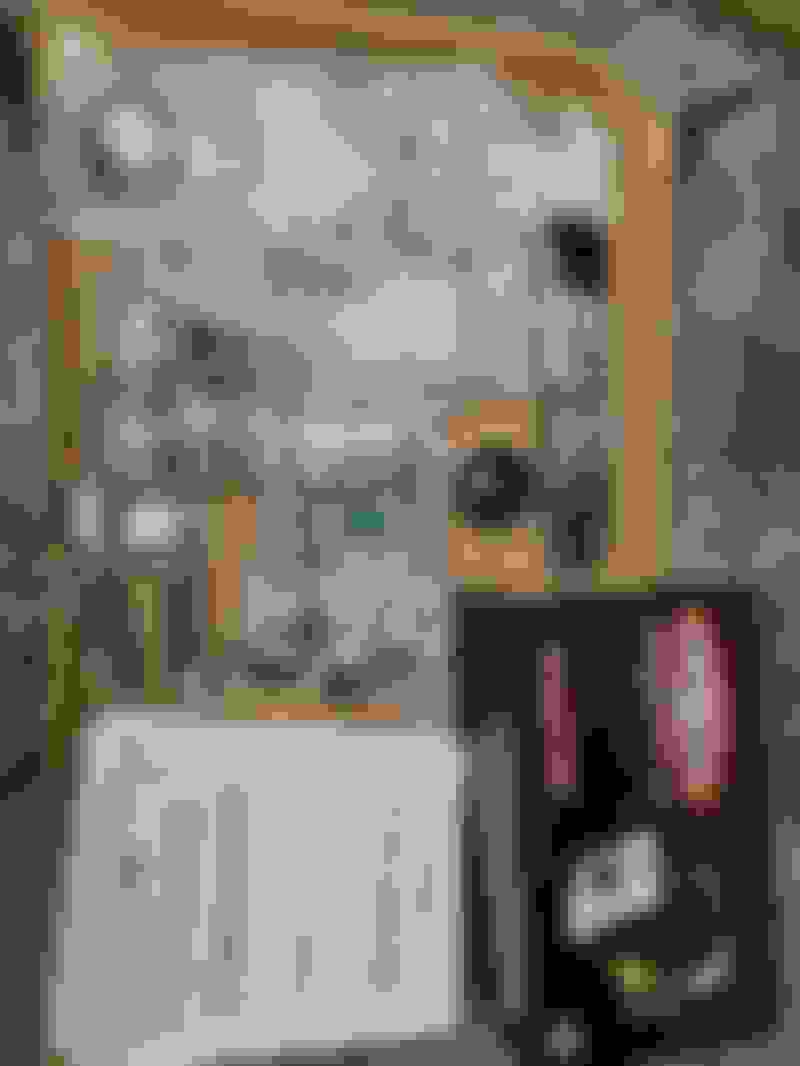
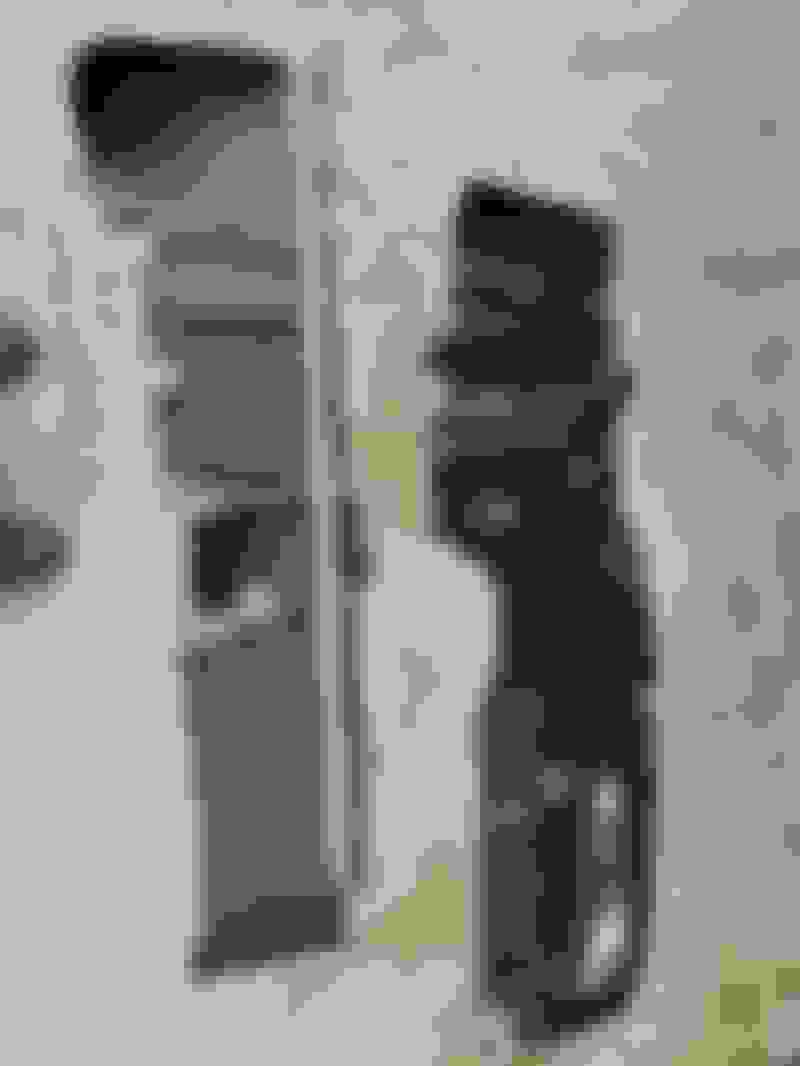
I'll go into more detail in subsequent posts, but here's a couple photos for now...
I have the seat covers from Legendary now, ordered them at the end of December so their wait times are improving. I now have everything from that order (visors, padding, covers, door panels, installation kits). We'll be fitting up the fenders very soon and I'm sure looking forward to have it look more like a complete car once again. Still have the BeCool radiator module to install, new gauges and wiring, the stereo (of course) and a myriad of other tasks yet.
Well, looks like it's been another hot minute since my last update and I still need to post some detail about the other work that's been done. I'm very fortunate to have a friend who loves doing wiring (a little sick, I know, but I'm sure grateful!) so he's been working on the engine bay and front end wiring, incorporating all the accessories (cut out switches, O2 sensor, line lock, electric fans, etc) into the harness while eliminating unused wiring to wind up with a very tidy installation. He's now working under the dash and about to start the stereo installation (another of his favorite things).
We've learned that the way forward is going backwards...some days it feels like one step forwards, two steps back. Fenders on, fenders off. heater box on, heater box off. Repeat ad nauseum.
I decided to use DOT 5 brake fluid as it's easy on paint if it spills, and I'm very glad now that I opted for that. Although we thought we had confirmed all fittings were snugged up properly, we were wrong and soon started finding the leaks. The biggest offender was the line lock (Hurst Roll Control unit) which calls for NPT fittings, not inverted flare. I couldn't find the fittings I needed separately and wound up buying a line lock installation kit to get the 2 I needed so we could progress. Then started moving through the system and located one flare which needed to be redone and a couple other loose fittings. The system finally appears to be leak free with good pedal.
I used preformed lines from Inline Tube which all seemed to fit well, rear flex line from Rock Auto (can't remember the brand now, maybe AC Delco) and made the lines to extend the front to back line and from the line lock to a T on the frame for the front wheels. Wilwood disc brake conversion called for special fittings and lines from Wilwood.
I had wanted to keep the brake components close together in as compact a space as possible. Aesthetically I think I achieved my goal but it loses points for practicality as accessing the oil dipstick and #7 plug is very tight even with the fender off. I may rework this in the future and reposition things to gain a bit of access room but for now I'm going to run with it and see how things work out. I've already spent way too much time on this part of the build. Some time was wasted chasing down fittings that apparently don't exist (not knowing what's available or not makes these things a little more challenging). A prime example, the main line from the proportioning valve to the rear brakes as a fitting the threads nicely into the proportioning valve. I needed to extend that line to the new valve's location but could I find a union coupler in that size? Heck no...except for a stainless marine fitting at $50 a pop. Eventually I cut the stock one off and used a different thread size to match the unions I could find. Other set backs included thinking I had a line nicely formed to the front left wheel only to learn later that it didn't play well with the fender liner. Fortunately that was discovered before we bled the system.
I fabricated a bracket which mounted on the master cylinder bolts, on which the combination valve and line lock module would also mount. Bending the brake lines was a bit of a challenge (I'm no expert on that, at least not when I began) and some of the lines had to be redone a few times before I was happy with them. Symmetry (or lack thereof) and a bit of OCD can create challenges. You can see the end result in the photos of my previous post.
I'm finally getting to a point where I can pay attention to some finer details that are more aesthetic rather than essentials. I would have preferred the correct Olds 455 blue for my engine but too many parts were showing up red so I decided to embrace my not so favorite colour and lean into it. I opted to paint the valve covers black to match the block and used an orbital sander to expose the ridges and lettering. I didn't want a highly polished finish and found the lustre left by the 400 grit was a good match for what I wanted.
Now I just need to pick up the right shade of red paint and I'll dab some into the recesses of the rocket cast in the covers to match the breather stickers and bolt the plug wire looms back into place.
Sometimes it's the seemingly insignificant things that can bring a smile to one's face or even make your day. Things like testing the first electrical component of the car as the wiring progresses...the blower fan worked and we grinned, sort of felt like the car was coming back to life. We also tested the cutouts and ran into what turned out to be a minor hurdle as only one was functioning.
So...Doug's Headers Electric Cutouts. They look good, and are apparently superior due to the slice style action as opposed to the butterfly which are prone to leakage...but it turns out that they are seemingly prone to various failures of their own. I pre-emptively looked for replacement motors and saw that Summit has "more than 10" in stock. Hmmmm...high stock = high demand? I did see numerous references to the motors failing. I also saw plenty of comments about the sluice getting jammed due to carbon buildup. In the end, mine turned out that the cover screws were too tight...loosened them off which restored function, tightened them back up and all seems fine. I suspect an annual removal/clean/rebuild maintenance routine may be in my future.
Moving on to installing my BeCool radiator module (that's what they call it...aluminum radiator with dual fans), my first challenge is that the big block rad doesn't fit in the small block rad's saddles. My initial thought was to cut the front uprights from the saddles and use a piece of angle iron to clamp the radiator against the rest of the saddle. That seemed to be a fine approach until I lowered the BeCool radiator in place to discover the drain pitot is exactly beside the saddle preventing it from turning. Back to the drawing board. I originally debated bending a piece of flat stock into a U to form the saddle, but thinking I'll be bolting it to the radiator support and didn't want the weight of the rad riding on those bolts even with padding in place. Current plan is a two piece saddle...but everything is still fluid there. Even typing this out other ideas are coming to mind. Fluid. See what I did there? ::
Today we fitted up the driver side fender and got the inner fenders in both sides...it's feeling like a car again, and an attainable goal to drive once again. Fenders still need all the tweaking for alignment and we'll see how crappy the aftermarket OAI hood fits as well.
Gauges are in and energized! Still a little way from firing the beast up though, working on mounting the BeCool 4 core radiator and a few other odds and ends.
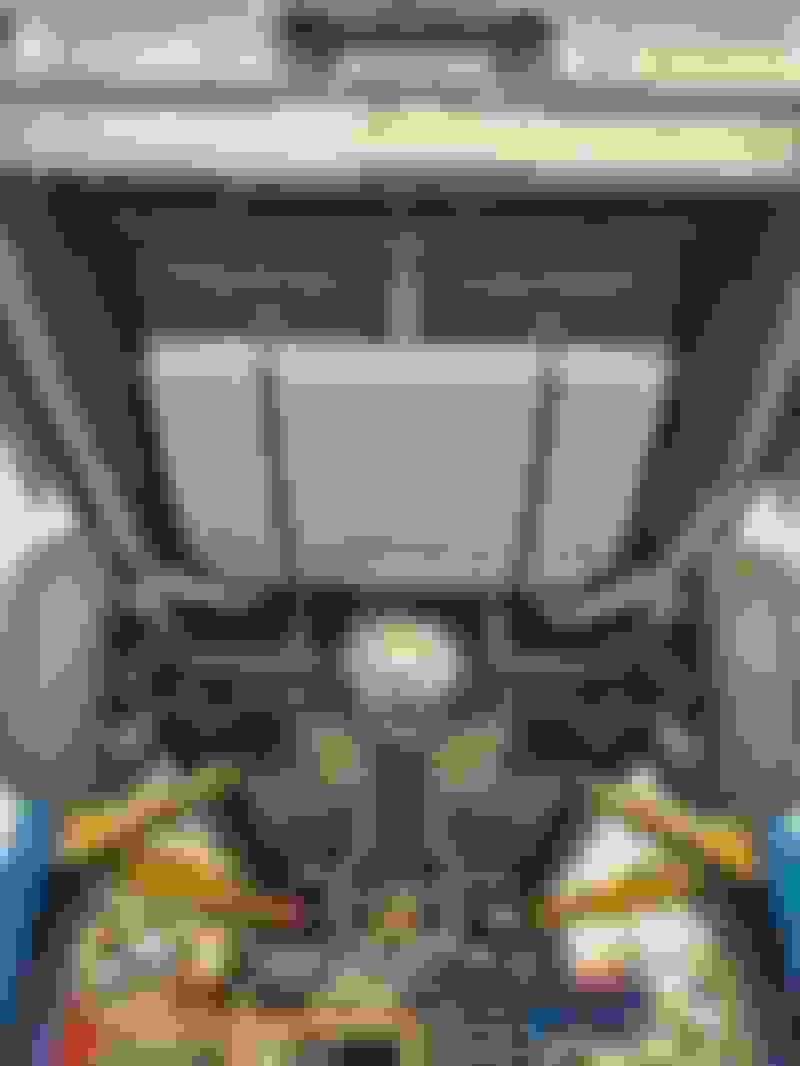
The red light at the right is the Parking Brake warning light. Just below it is a rocker switch for the cutouts. Far right is an AEM AFR gauge, line lock light between that and the tach.
We fired her up today! First time since the engine came off the dyno 14 months ago. Still plenty to do before I can hit the road with her, but felt damned good to hear the roar! And not 5 minutes after I commented that "I just need a driveshaft now", the shop called to tell me my new driveshaft is ready.
Picked up my new driveshaft today. Certainly hefty! Looks like a great job by a highly regarded local shop. Couple more things to do and we should be moving under our own power at last!
that looks stout Clay, and that engine sounds great im assuming thats through the exhaust already. didnt sound like it was open exhaust
Western Driveline up in Nanaimo put it together for me...great people.
Yes, most of the video was through the exhaust (dual Walker Quiet Flow, no crossover) but there's a bit right near the end where I open the cutouts and let her roar. I need to make a shorter video next time!
We've been plugging away slowly and the "to do" list seems to be shrinking a bit. At least when I don't find more items to add when I stroke some off! I've got the car entered in a Father's Day show about a 90 minute drive north of me so I'm aiming to get roadworthy in May for breakin and shakedown cruises to get the early bugs out of the way and build some confidence in the car.
I wanted to refresh the paint on my taillight lenses and headlight surrounds but learned that the recommended Krylon Dull Aluminium isn't available in my area and appears to have been discontinued. And I'm not prepared to pay nearly $70 Cdn to buy a can off Amazon. Since I'm not doing a stock restoration I only needed something close in appearance rather than an exact match. I used Rustoleum Metallic Aluminum which dries to a bright glossy finish, then covered it with Rustoleum Semi-Gloss Clear. The Clear dulled the brilliance of the paint adding a bit of a grey tone and reduced the shine nicely. Unfortunately I don't think I have any good original paint parts to compare against at the moment. A flat clear may provide something closer to a factory appearance with less shine.
Top has been clear coated, bottom is the Metallic Aluminum as sprayed:
Meanwhile my buddy Steve has been progressing the installation of the stereo. After revising the amplifier mounting position multiple times due to it's awkward shape he convinced me to go with two amps (4 channel with a mono channel for the bass). He's doing a bang up job with the cabinetry work and the final product will see the trunk fully lined with carped and side panels for appearance. Hopefully the stereo will be making loud music later next week!
Finally, here's some rumbling engine noises. There had been a lot of smoke produced during startups which turned out to be due to warming up with the choke fully closed. We wired the choke open and everything was much happier. The video starts with the exhaust cutouts open then later on they're closed.


") :
:


