When you click on links to various merchants on this site and make a purchase, this can result in this site earning a commission. Affiliate programs and affiliations include, but are not limited to, the eBay Partner Network.
They make a curved vixen file , just for this purpose .
It's always awesome to have the right tools! Back when I did this leading I was on a budget and I knew nothing of Eastwood. They probably advertised in Hemmings, which I subscribed to and read religiously back then, but I just bought my supplies from the local body shop supply house and nobody there had any real experience in lead filler. They sold the stuff to me and I was on my own.
The vixen file I bought uses a handle like the one below, so you can adjust the amount of bow in the blade. I actually got a fair amount of use out of it working with plastic filler. Before I was clued in by professionals, I was using Bondo brand body filler and that stuff is horrible. As you likely know, it hardens with a sticky film on top that instantly clogs any sandpaper. The vixen file does a good job of knocking that goo off so you can sand proper. I now will only use professional grade body filler that doesn't leave that sticky layer and also feathers better.
Cheap bastard, broke **** me in my past bought the Bondo brand at Pep Boys because it was cheap. The more modern educated and better funded me will never use that crap again for automotive bodywork.
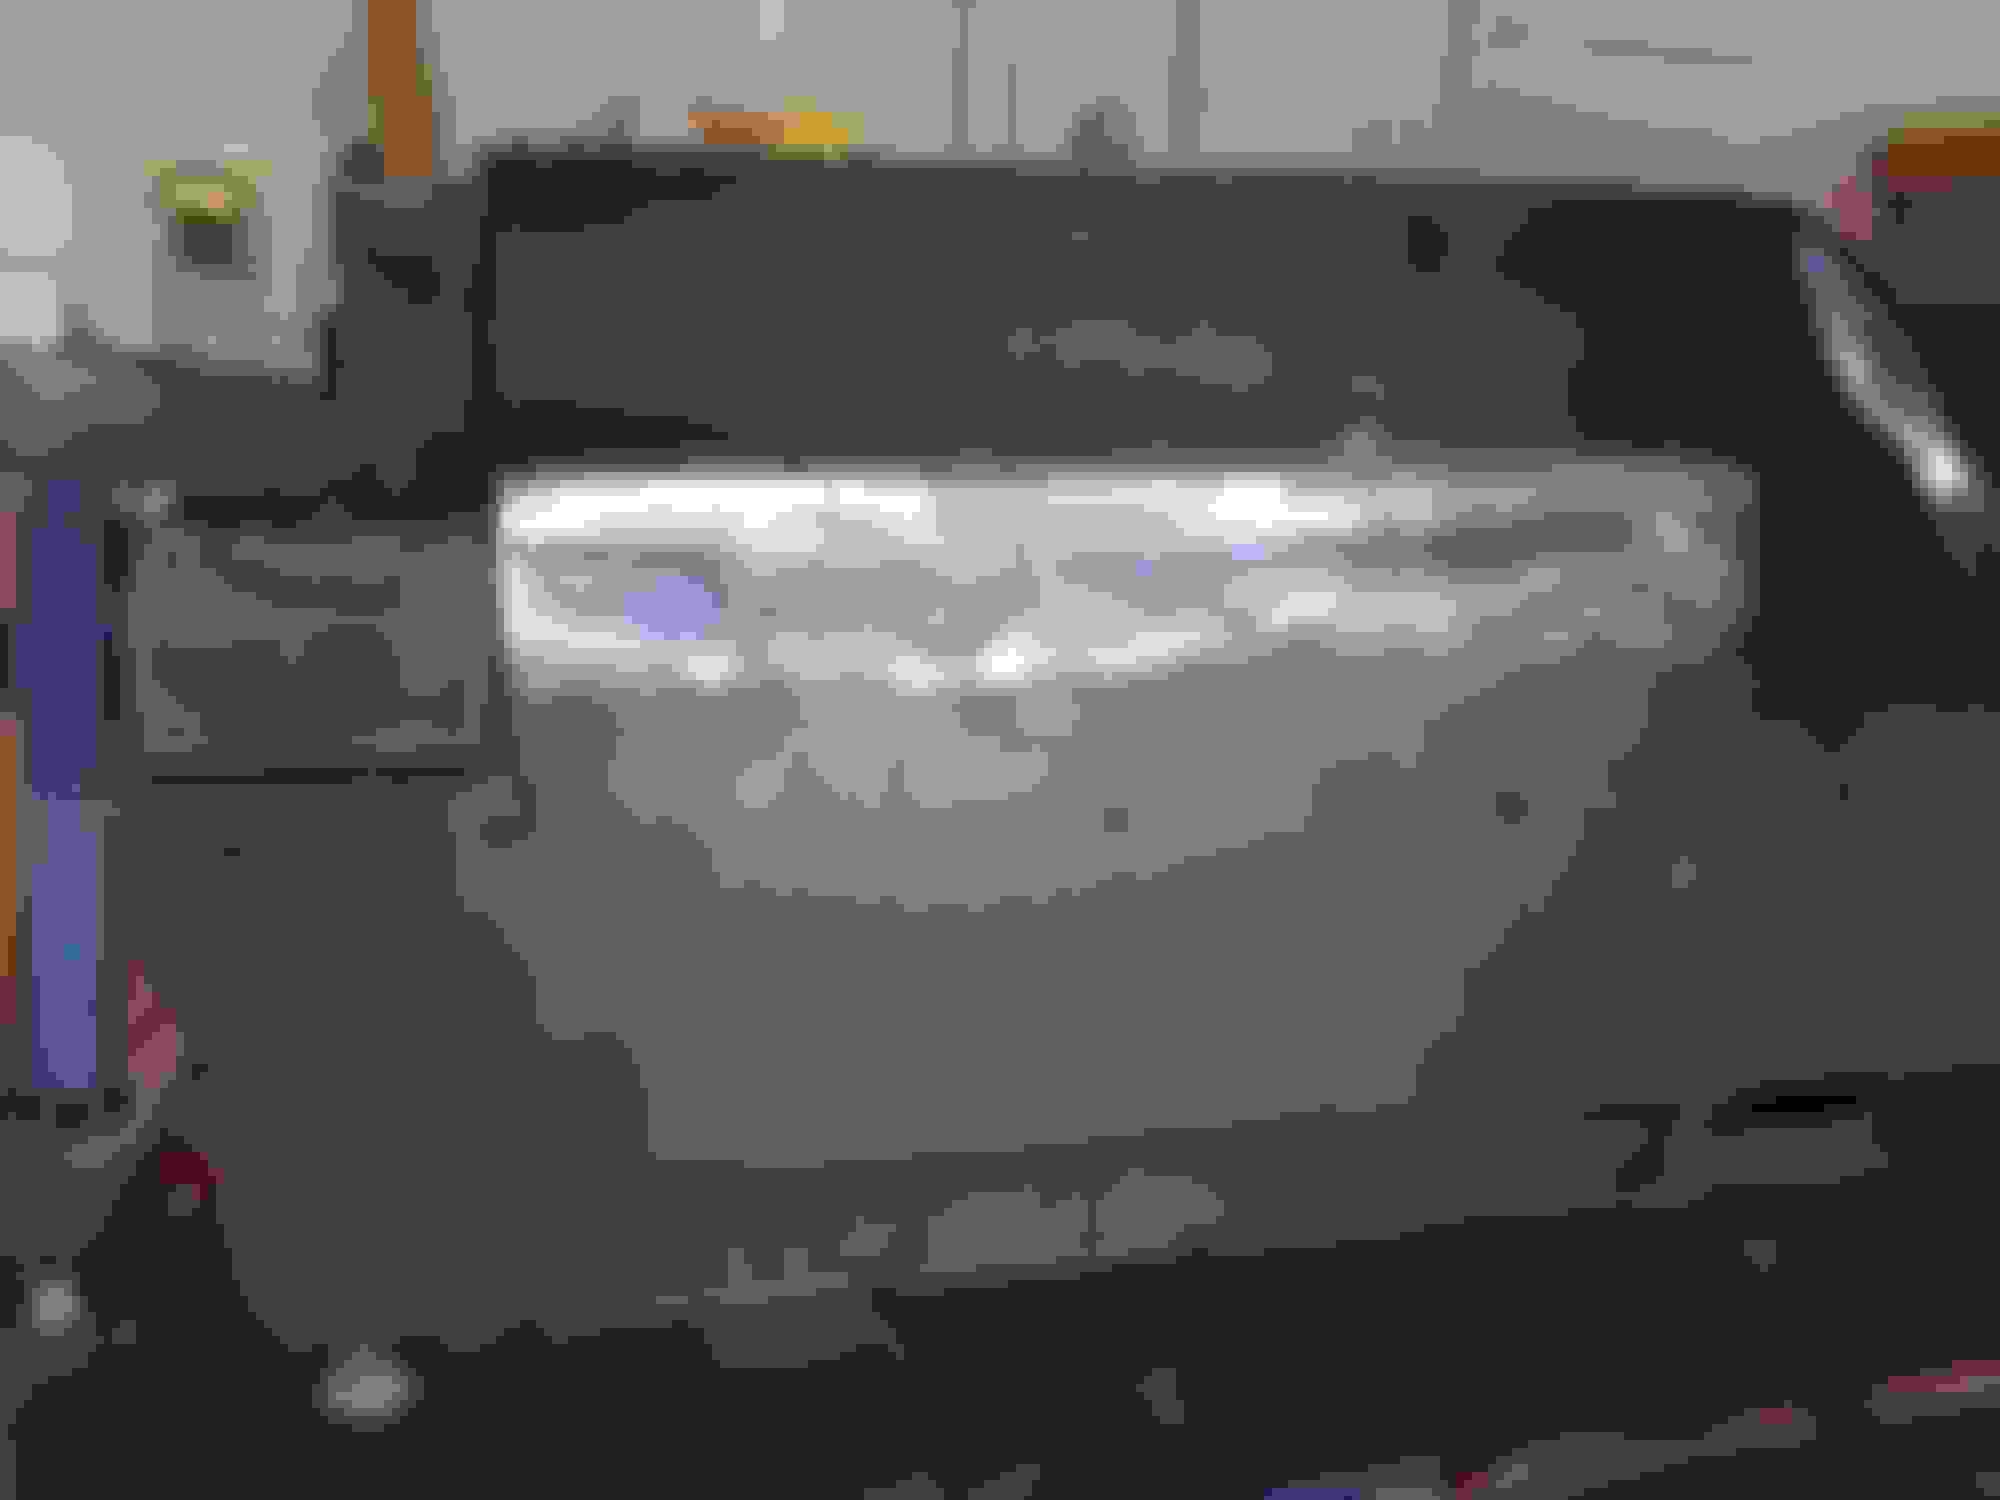
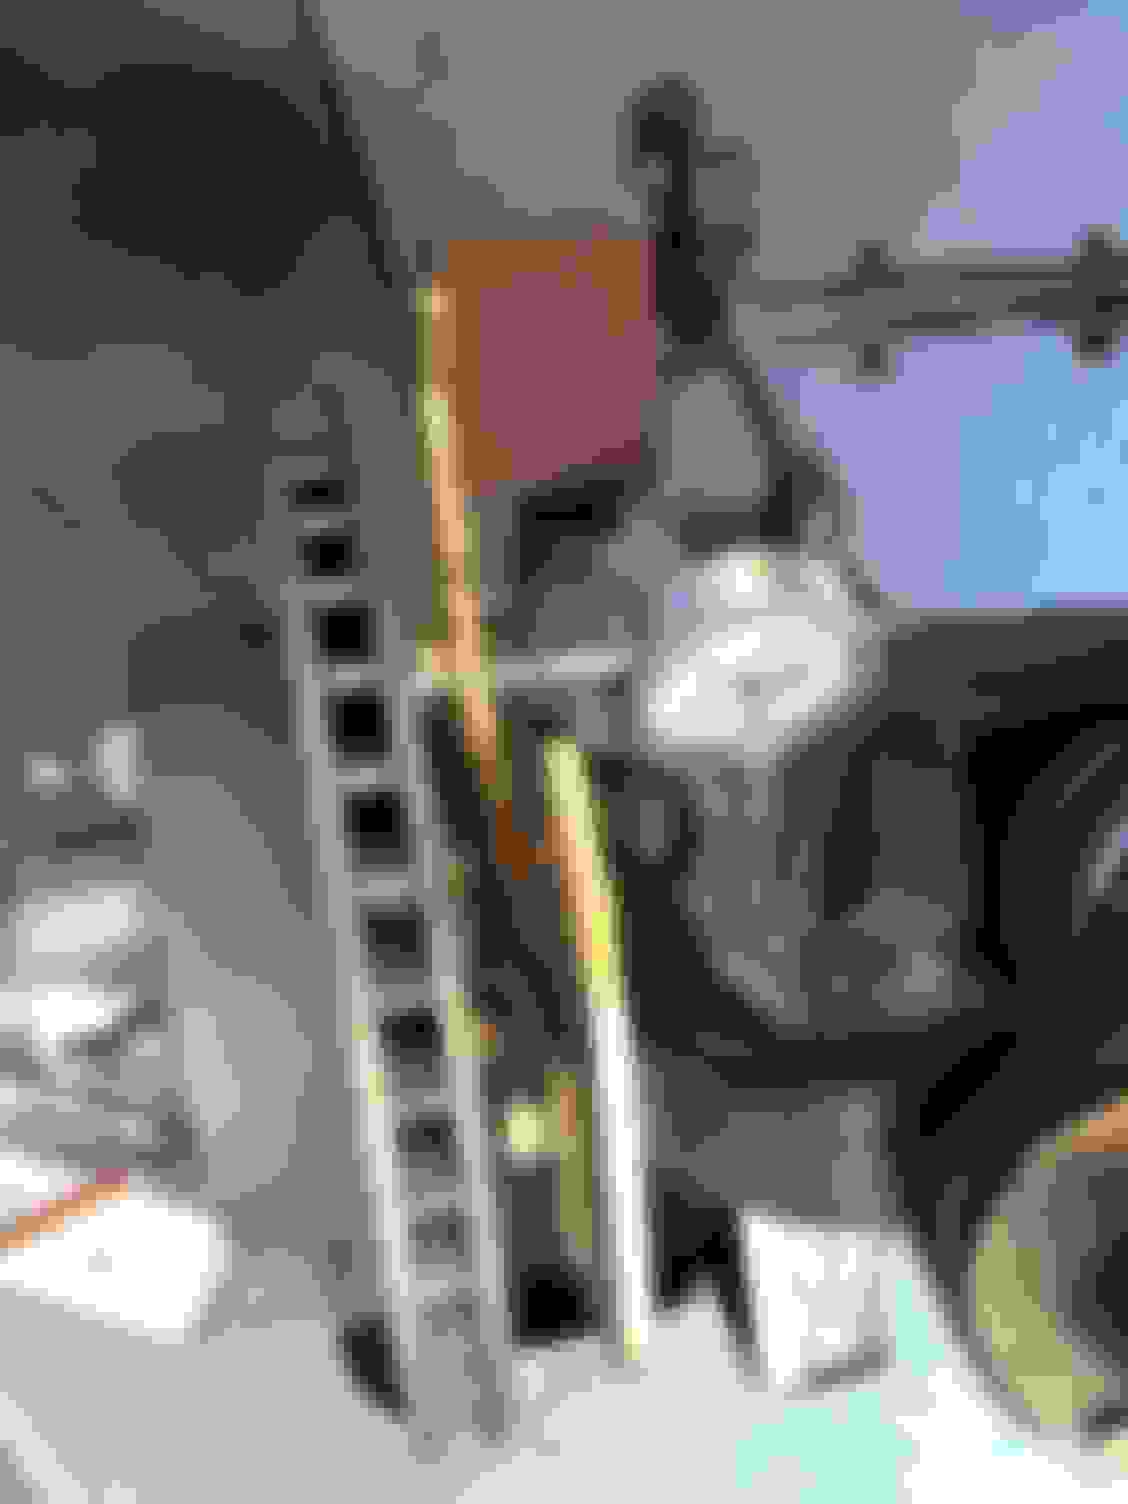
My left rear quarter panel had a deep crease in it .
I wire brushed all the paint off the area ;
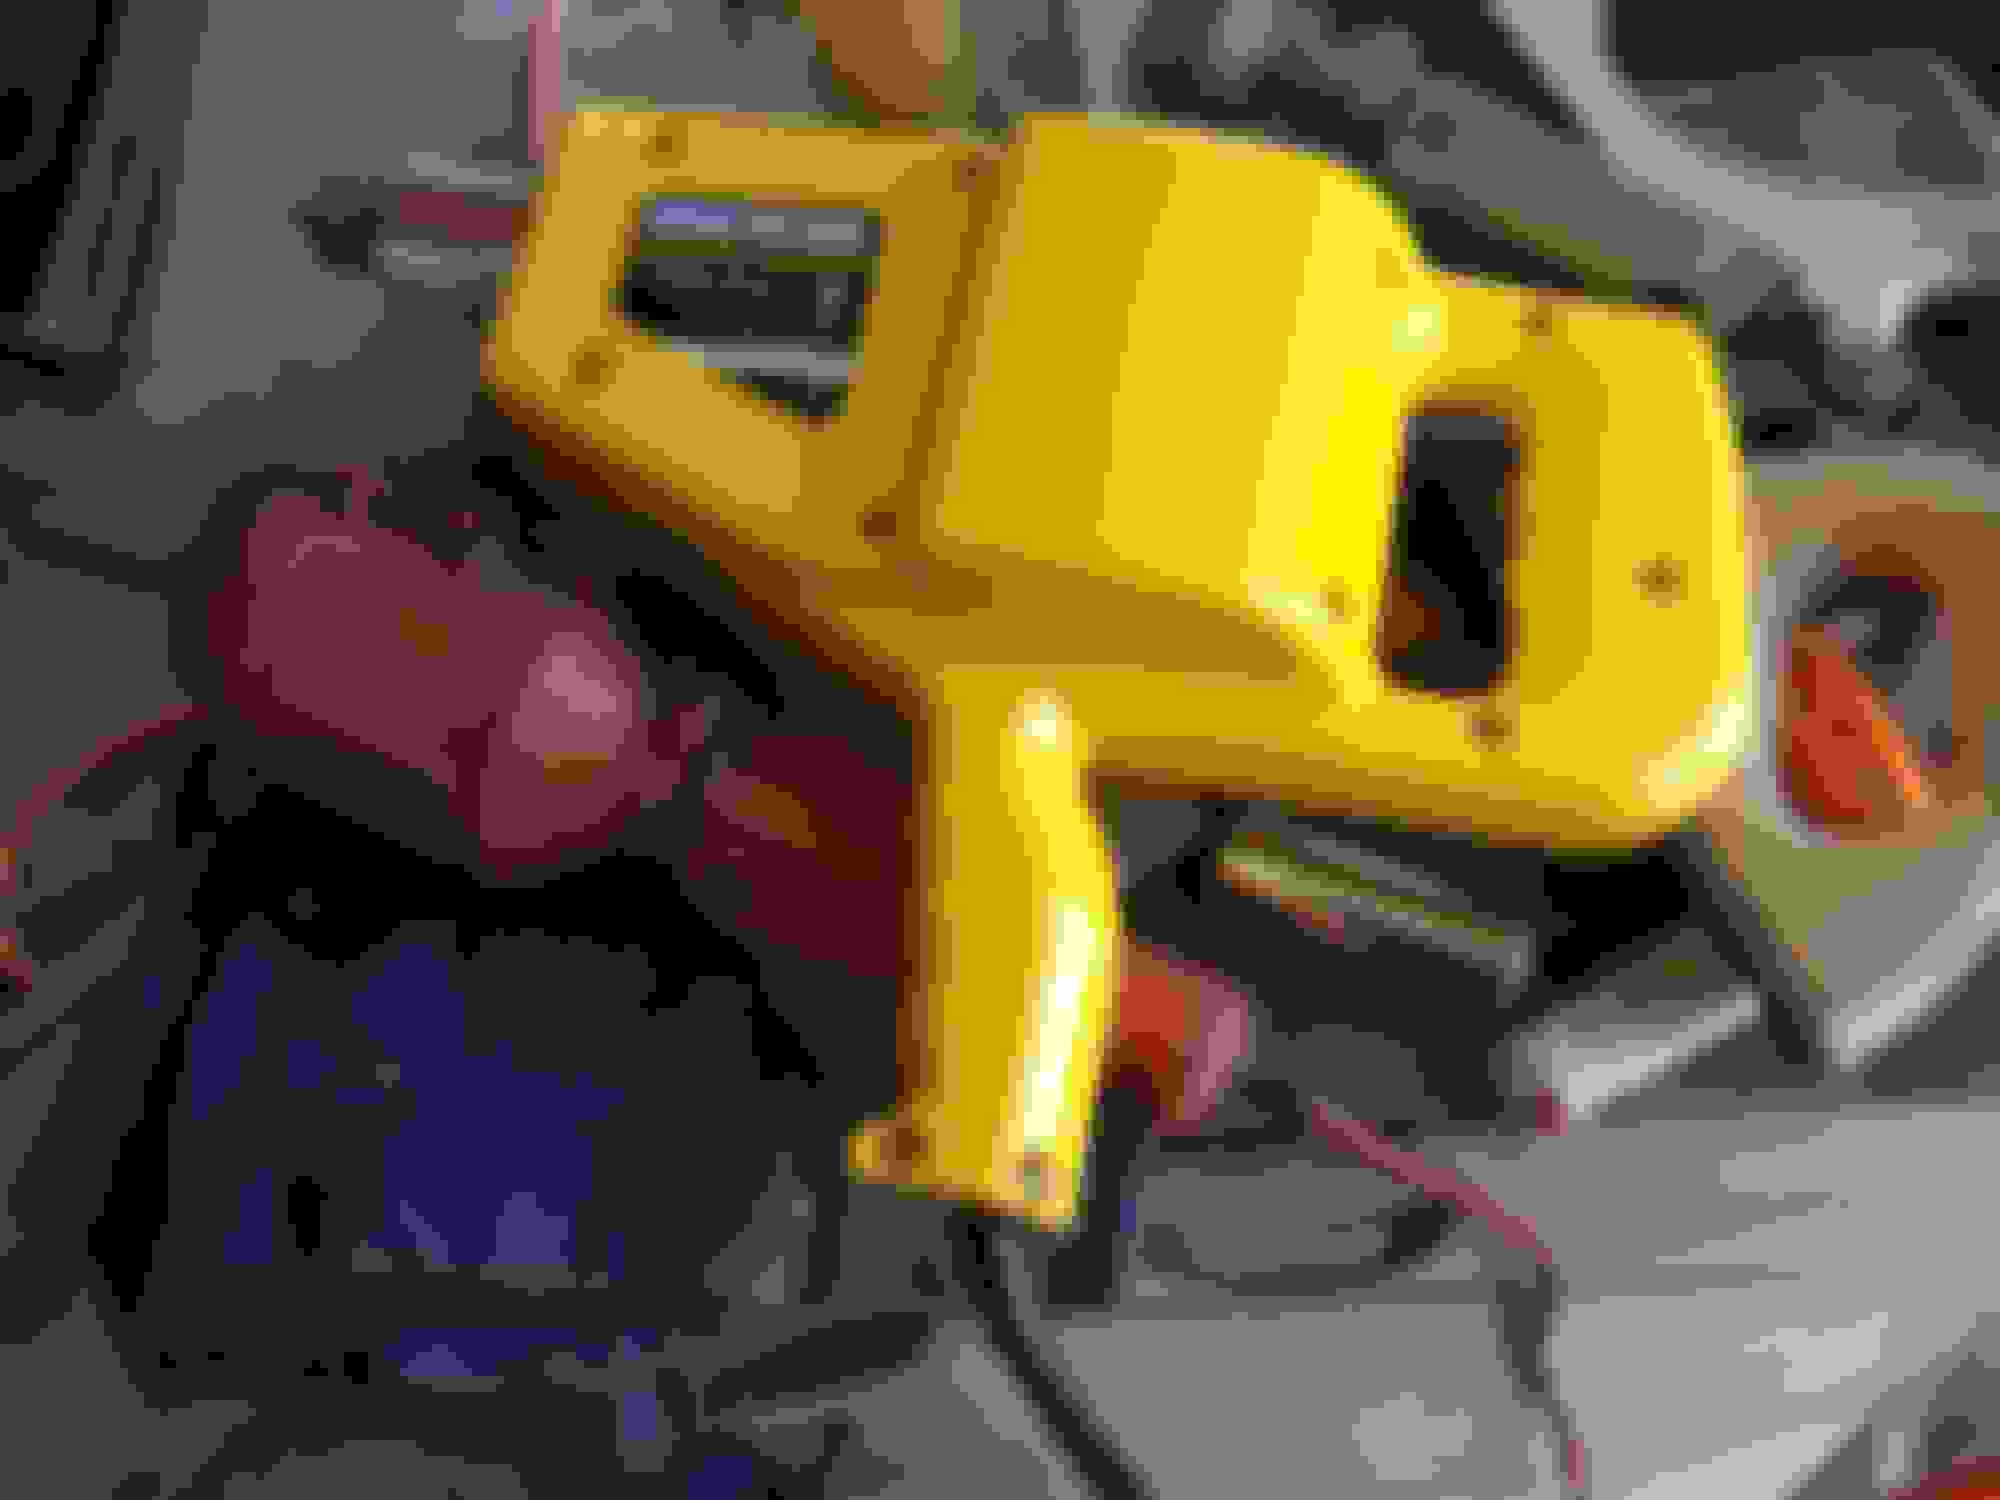
I bought a stud welder from Harbor Freight ;
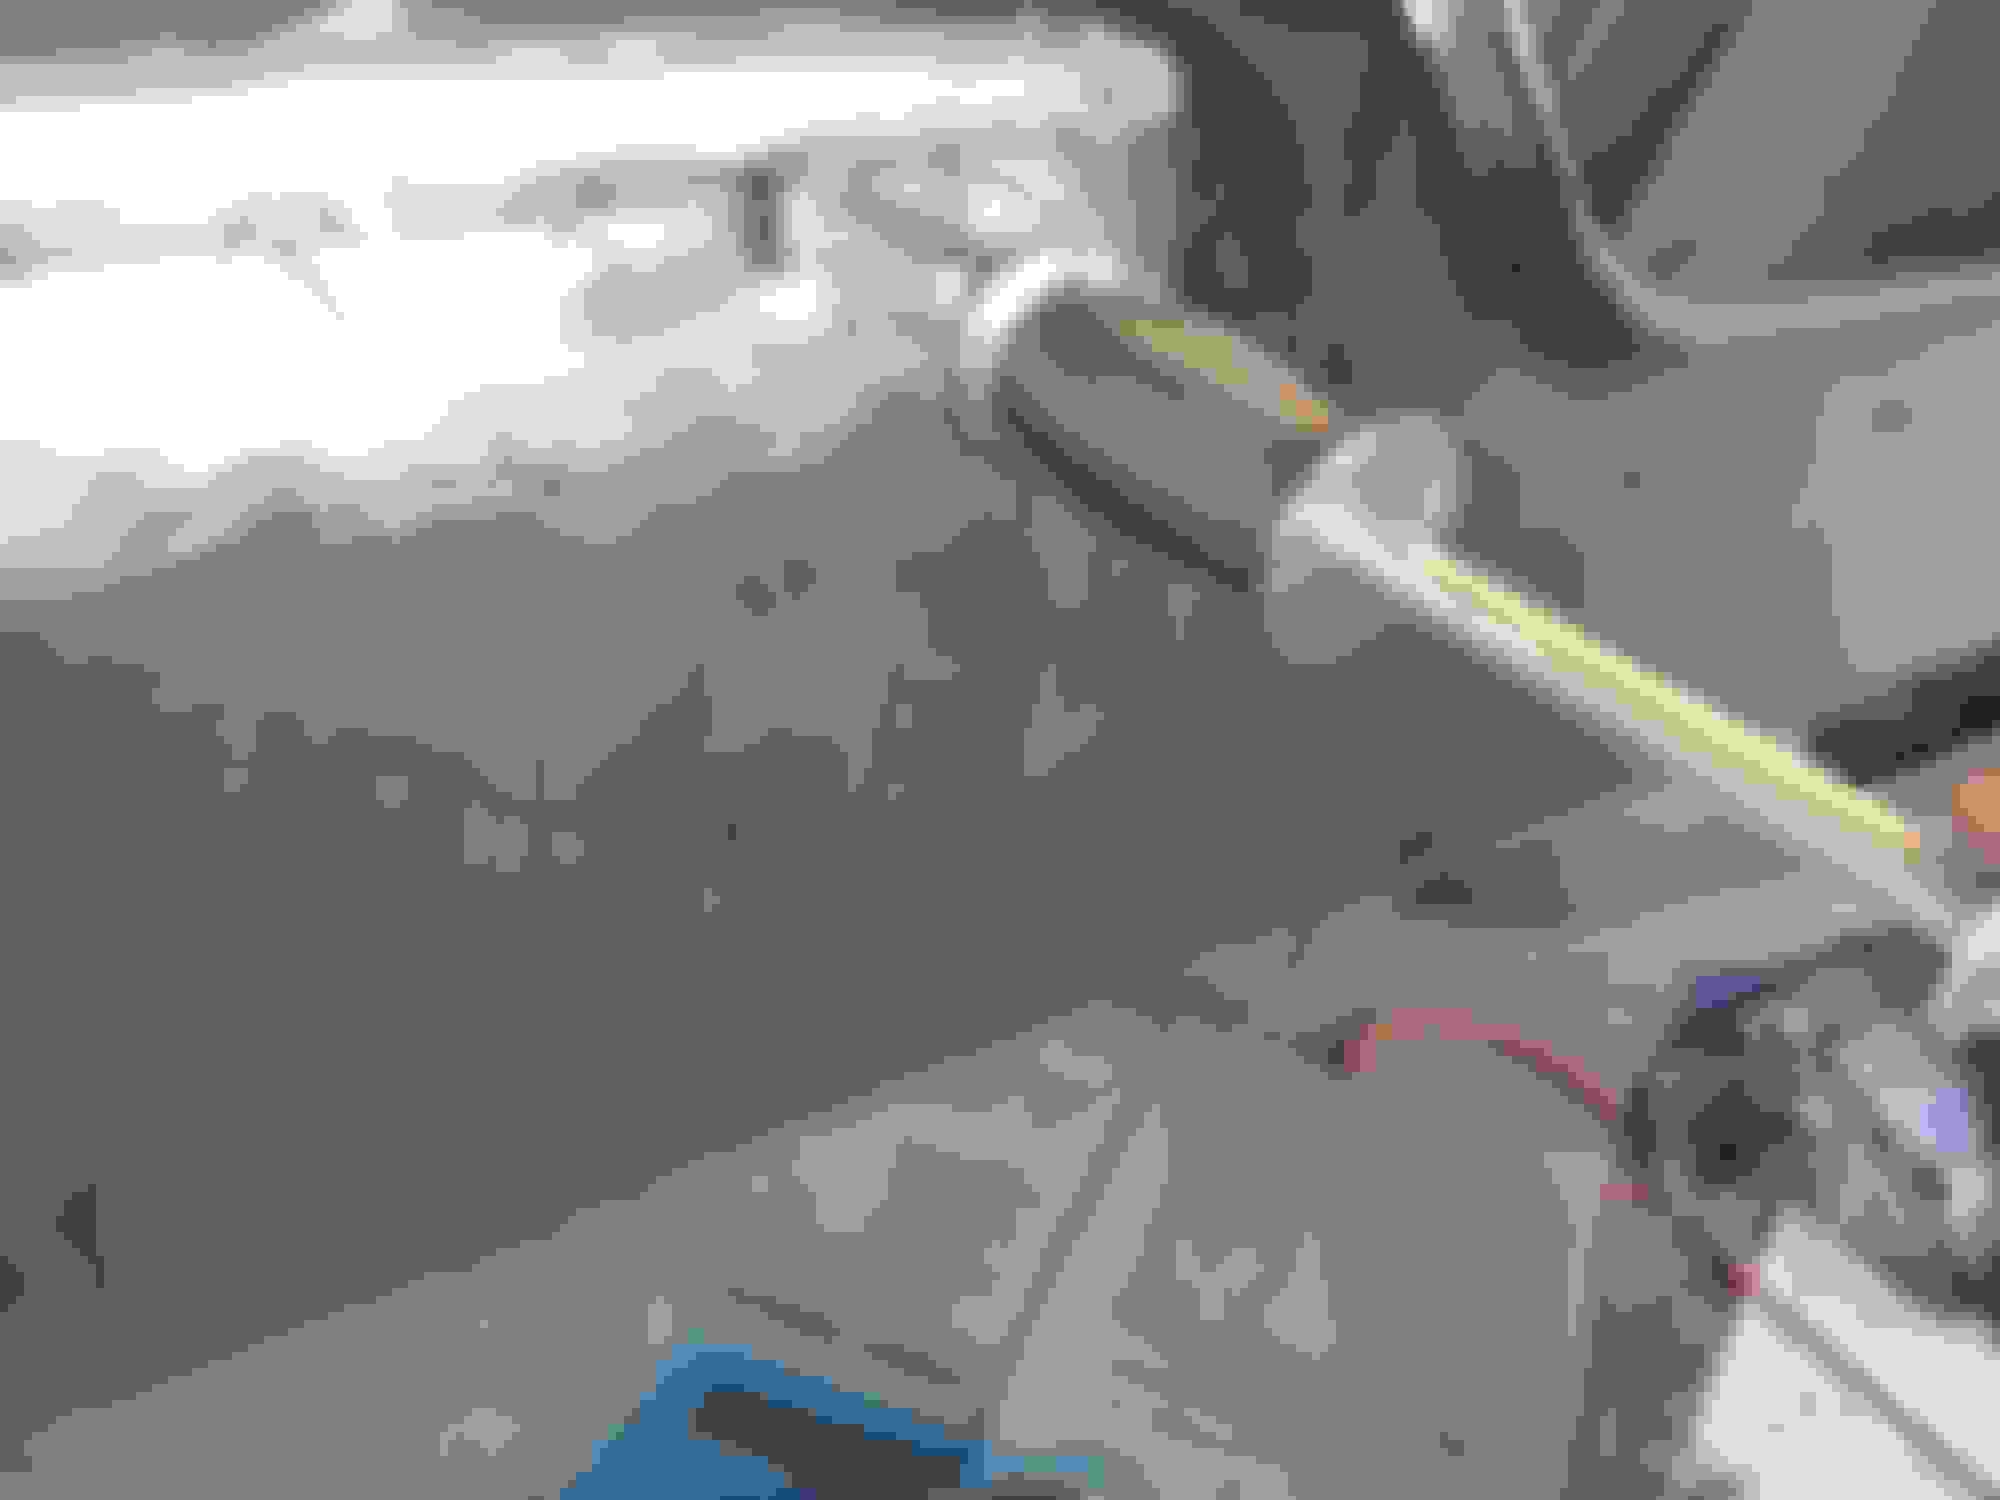
I welded studs along the crease every couple of inches ;
Next , a slide hammer was used to pull the crease out ;
The studs pulled the sheetmetal back in to shape and reduced the thickness of the filler needed to repair the area .
Other studs were welded between the others , to pull up more low spots .
Pretty soon , the panel started to look like a porcupine ;
The pulling process was checked by a straight edge ;
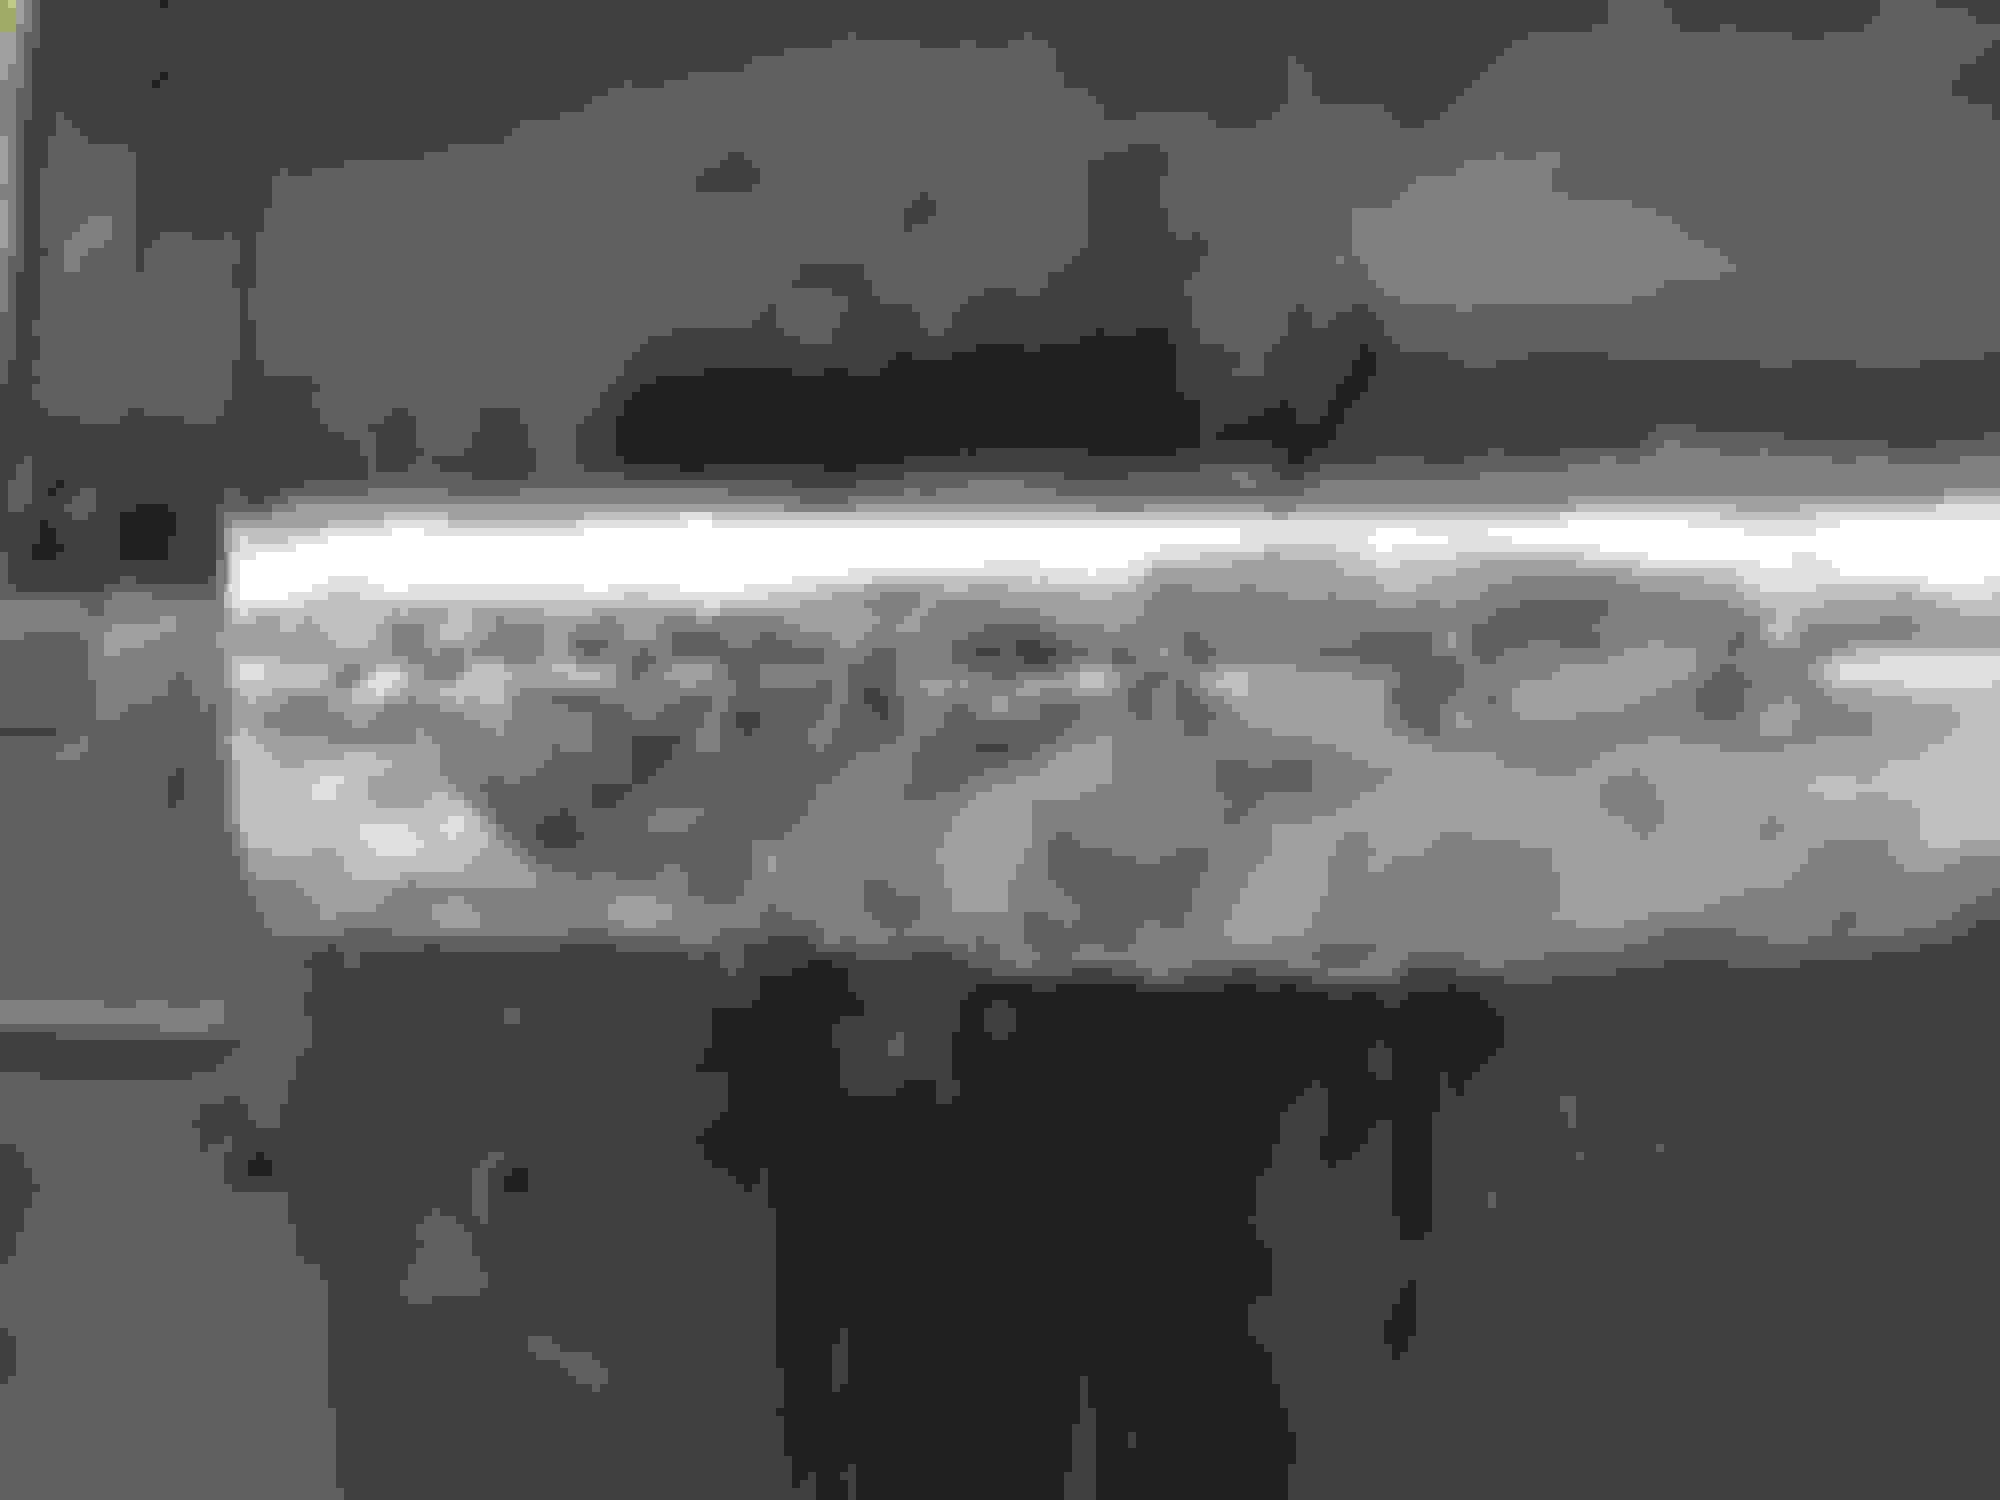
Then the studs were ground off , leaving only shallow low spots which can easily be filled with a thin layer of lead .
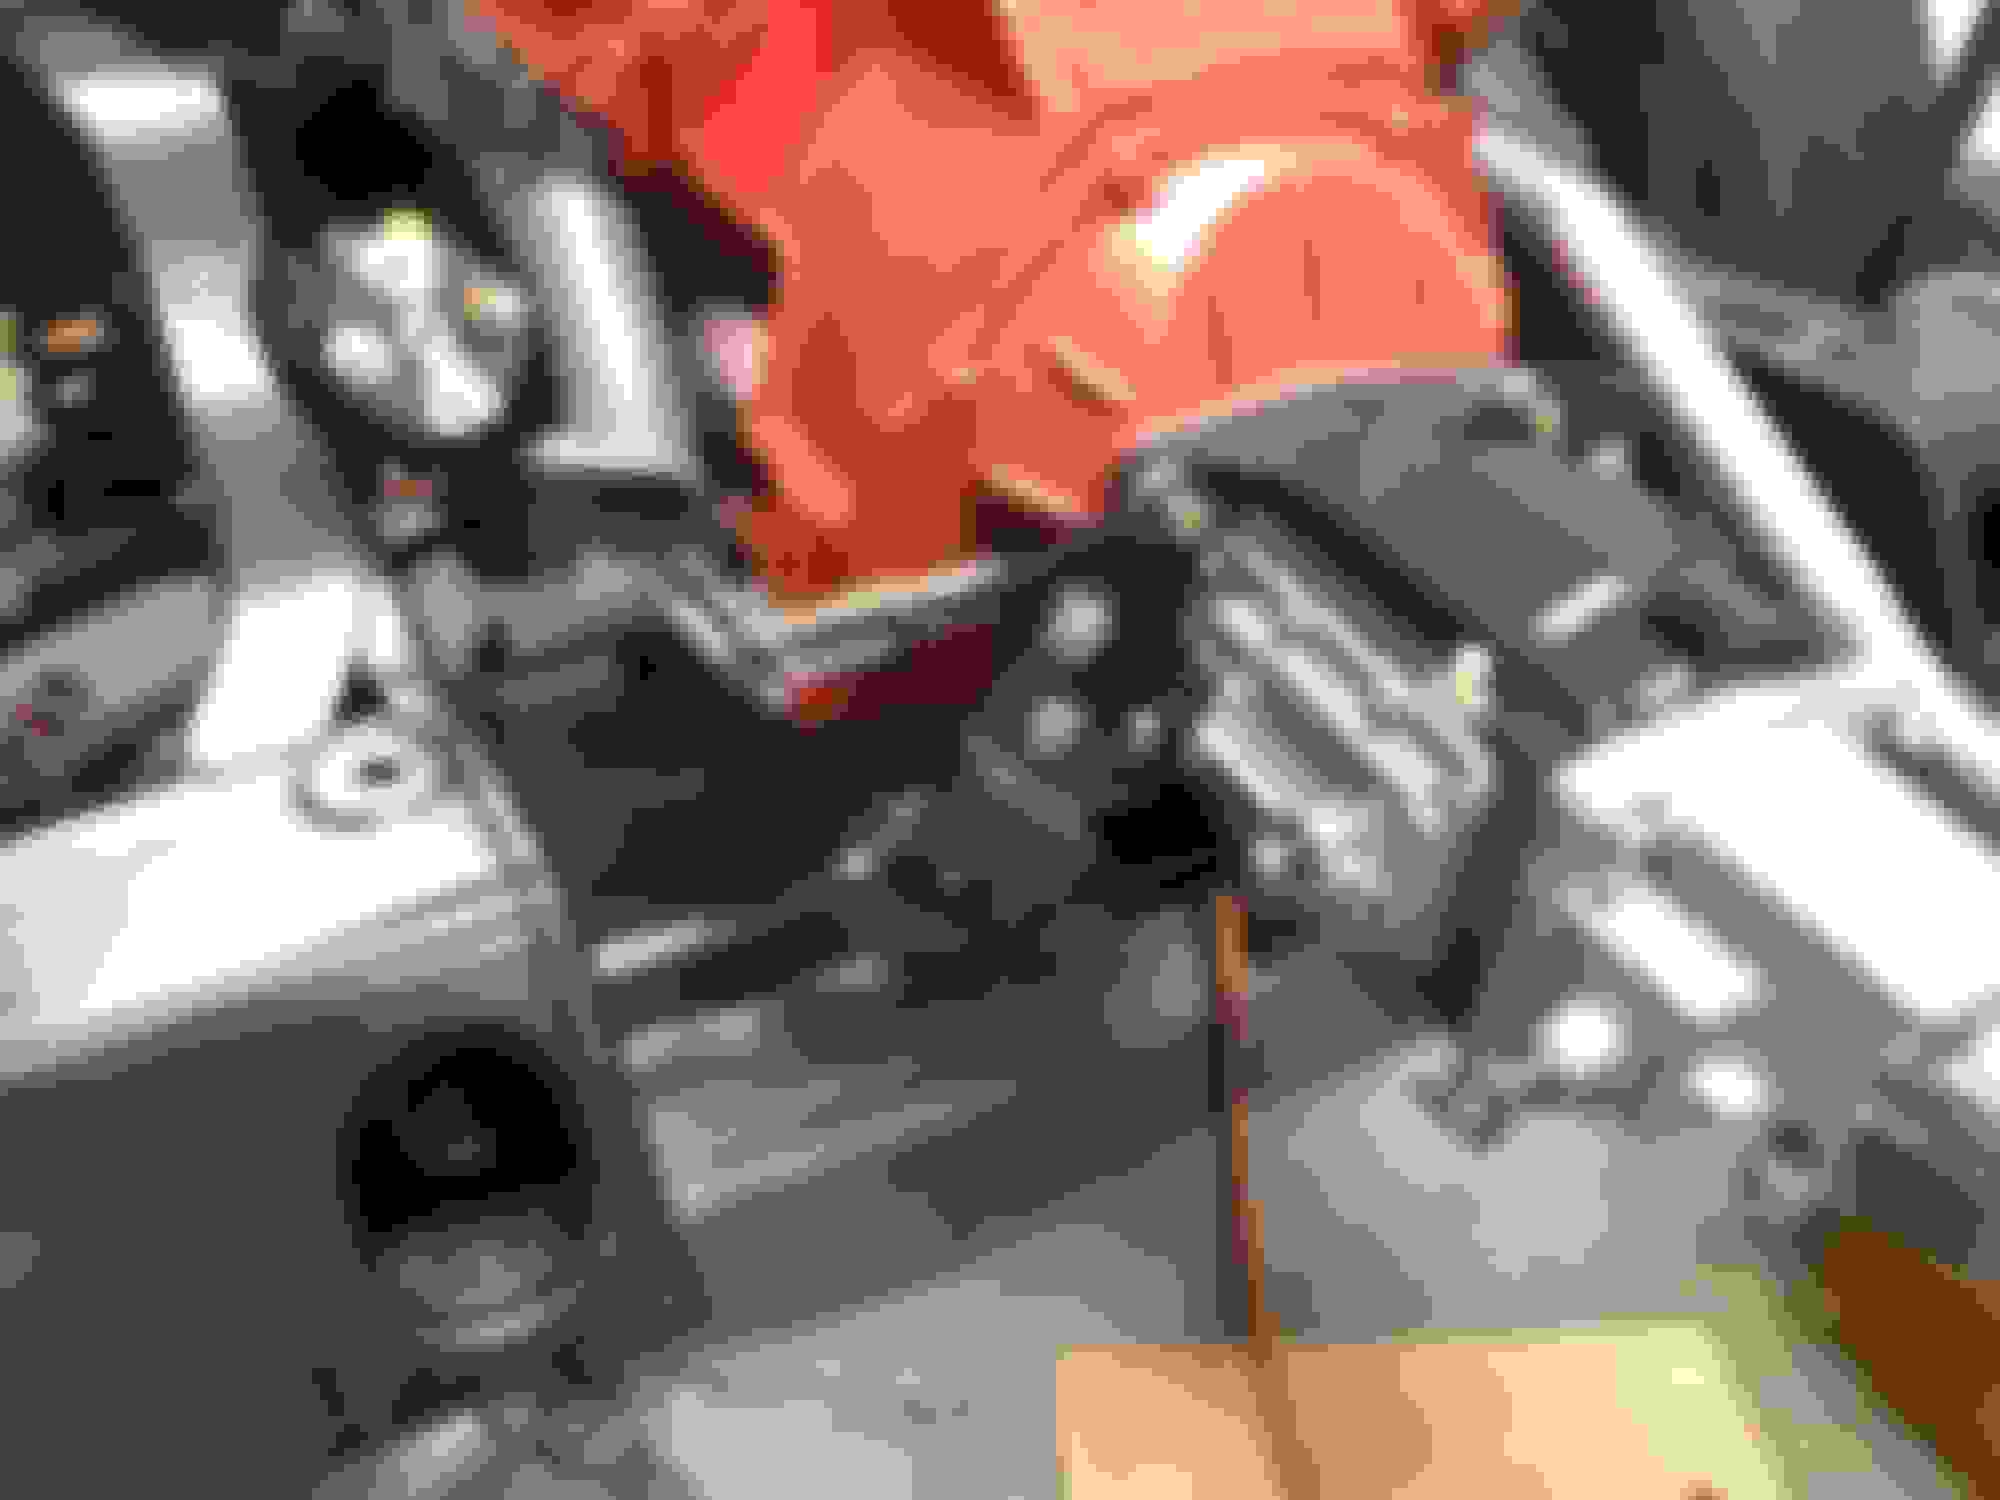
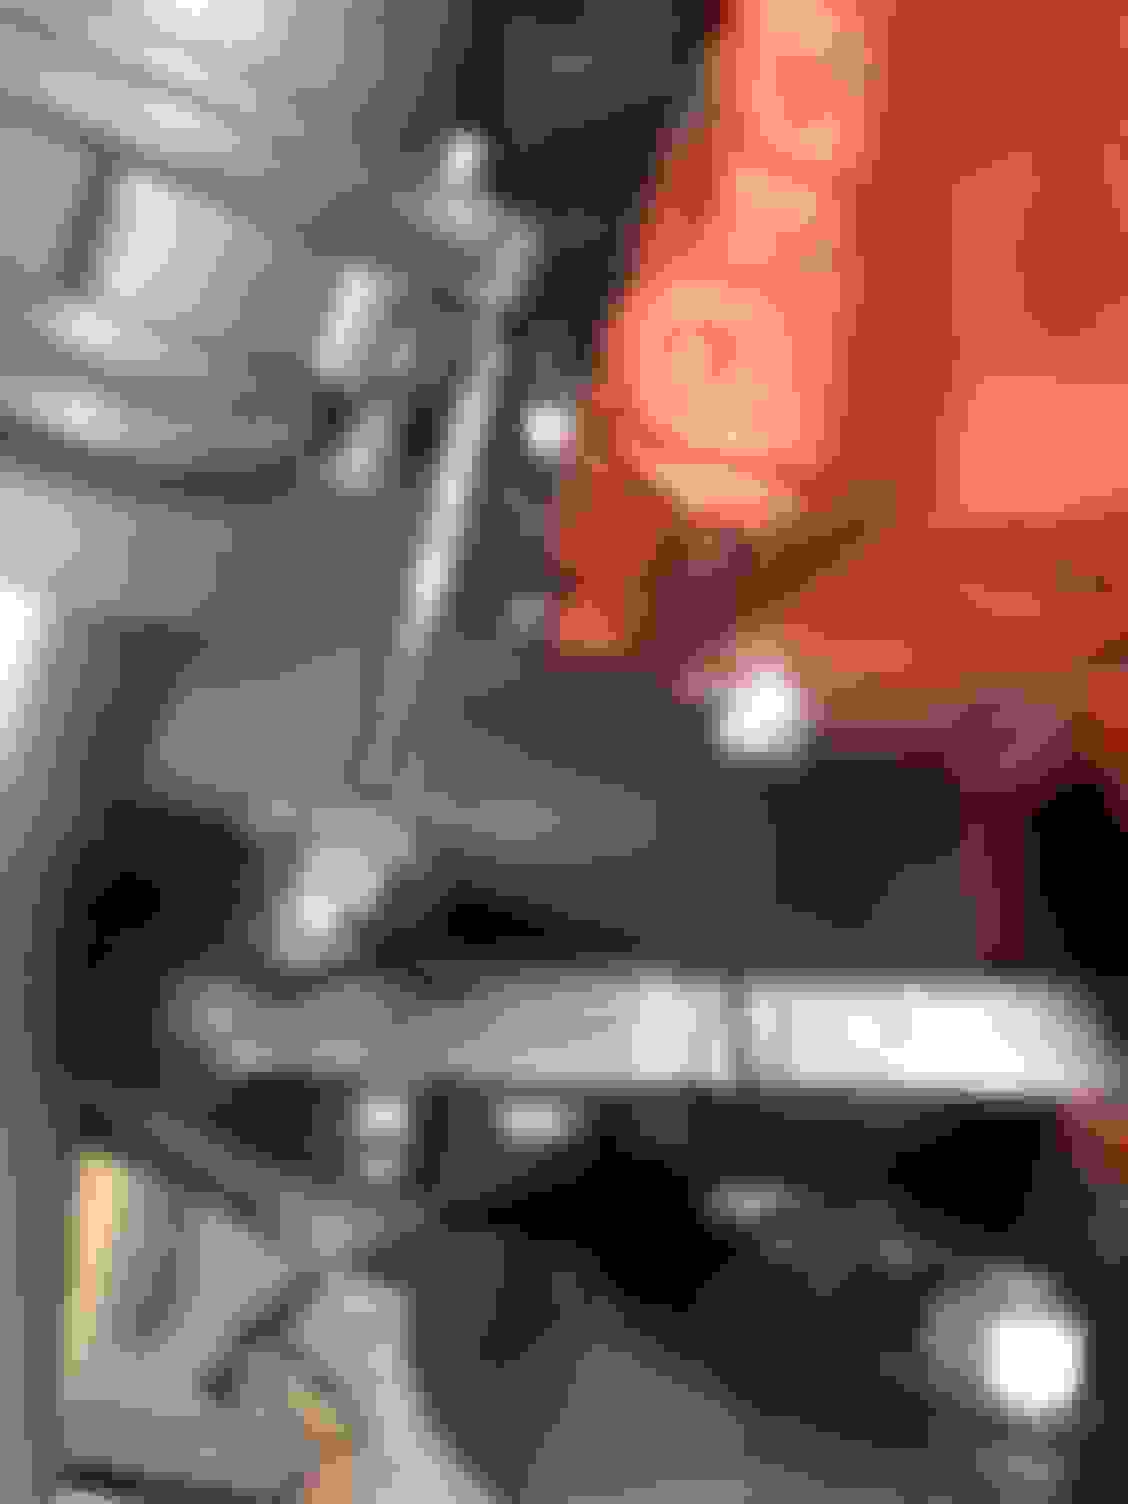
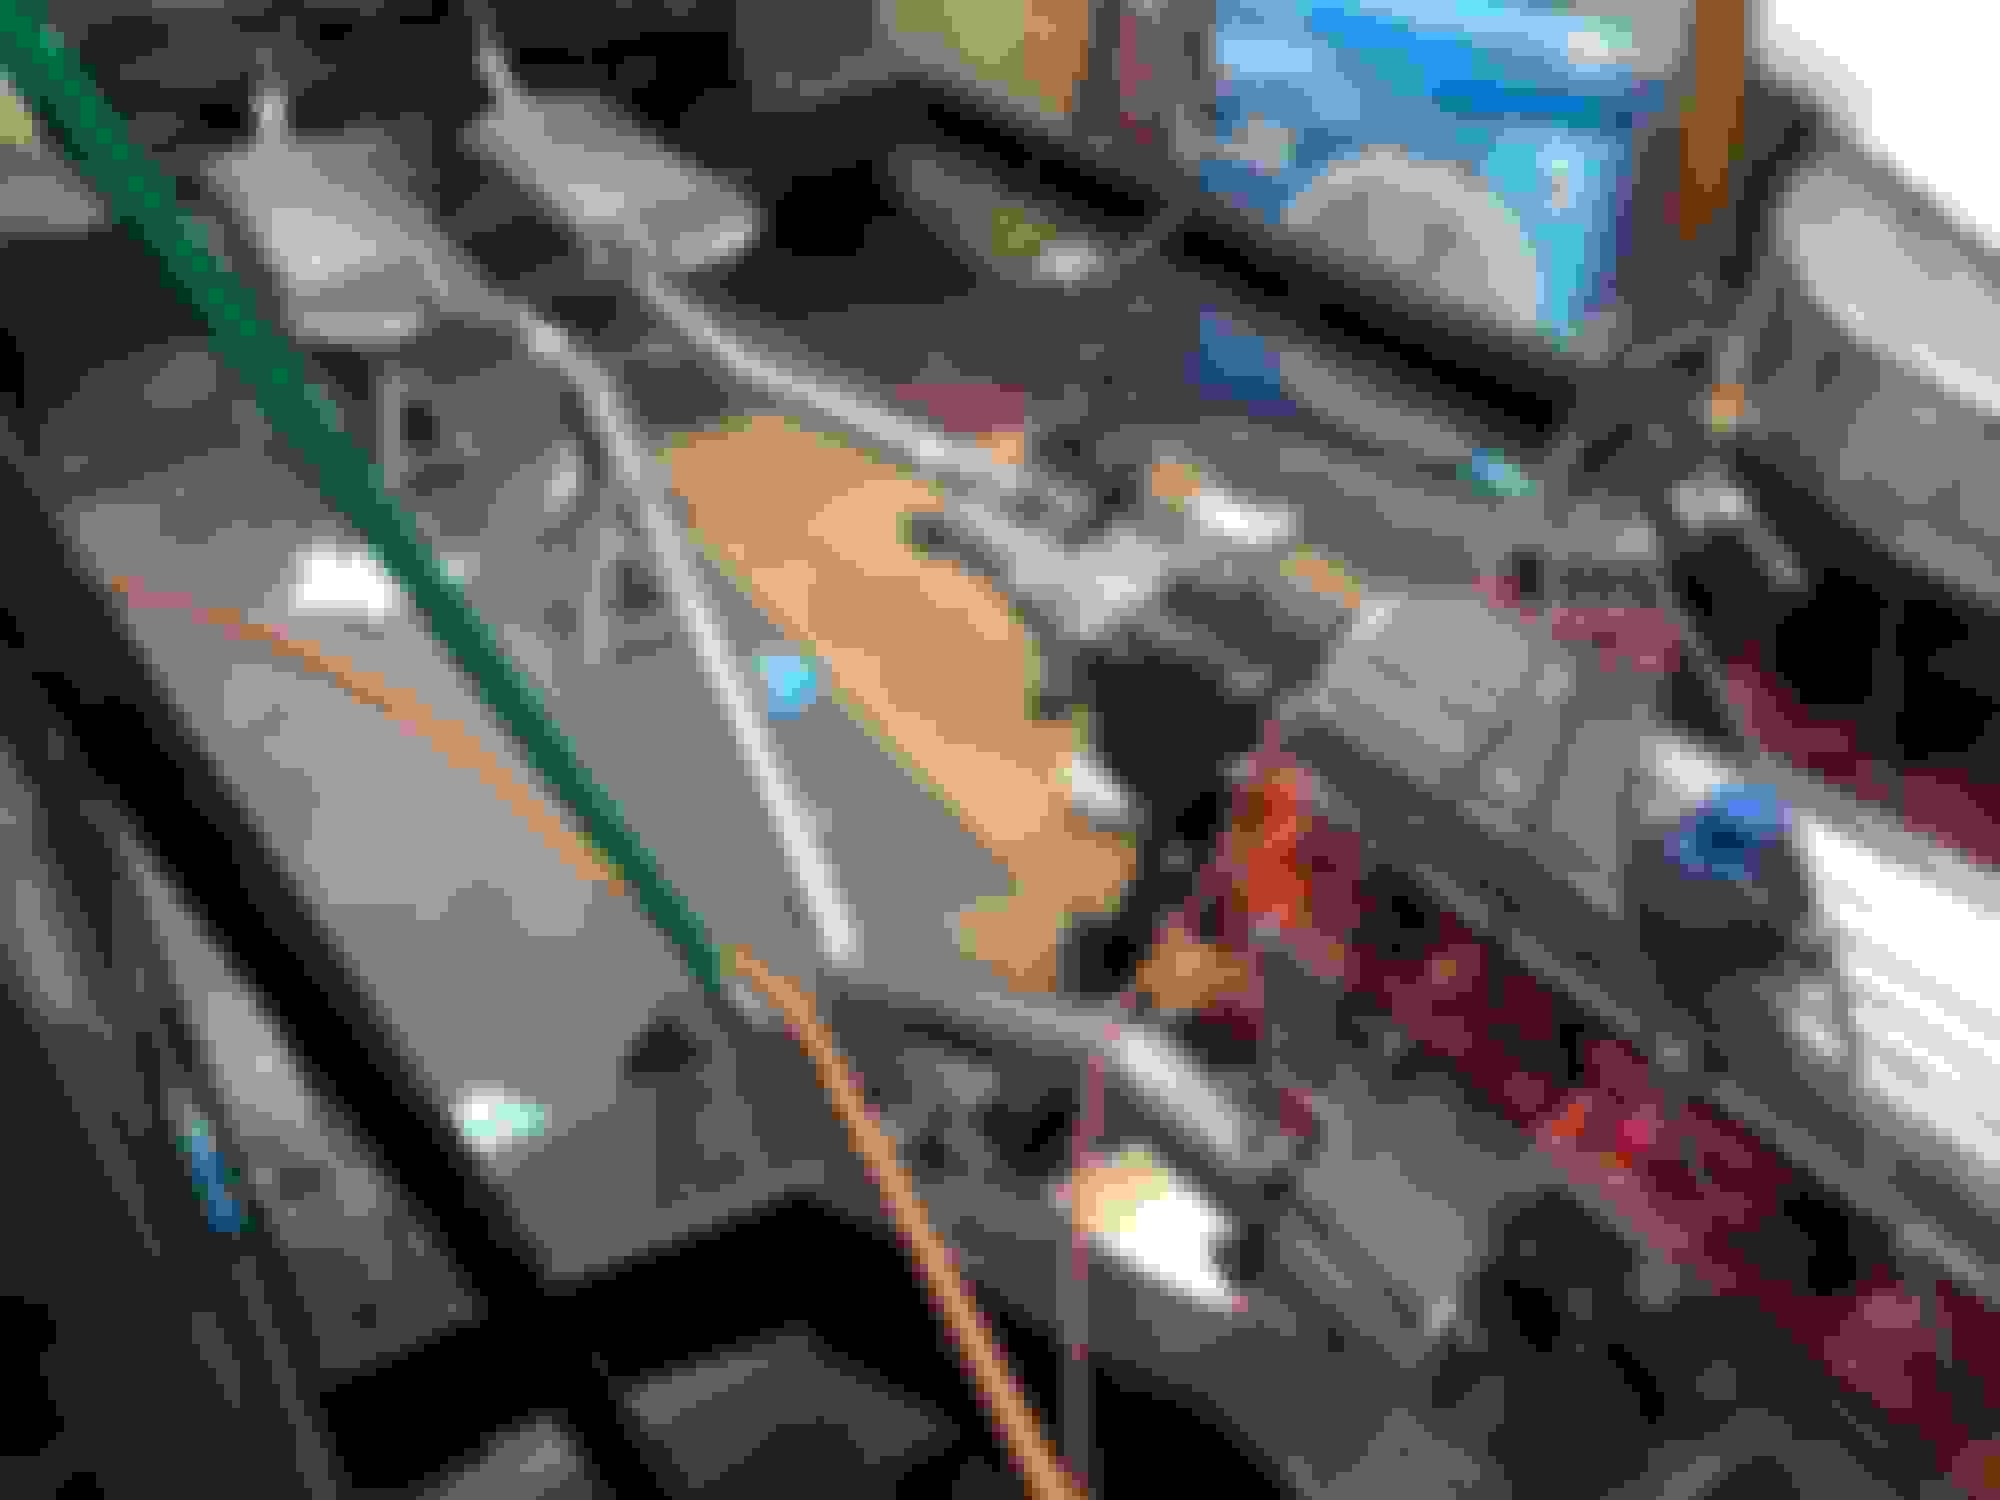
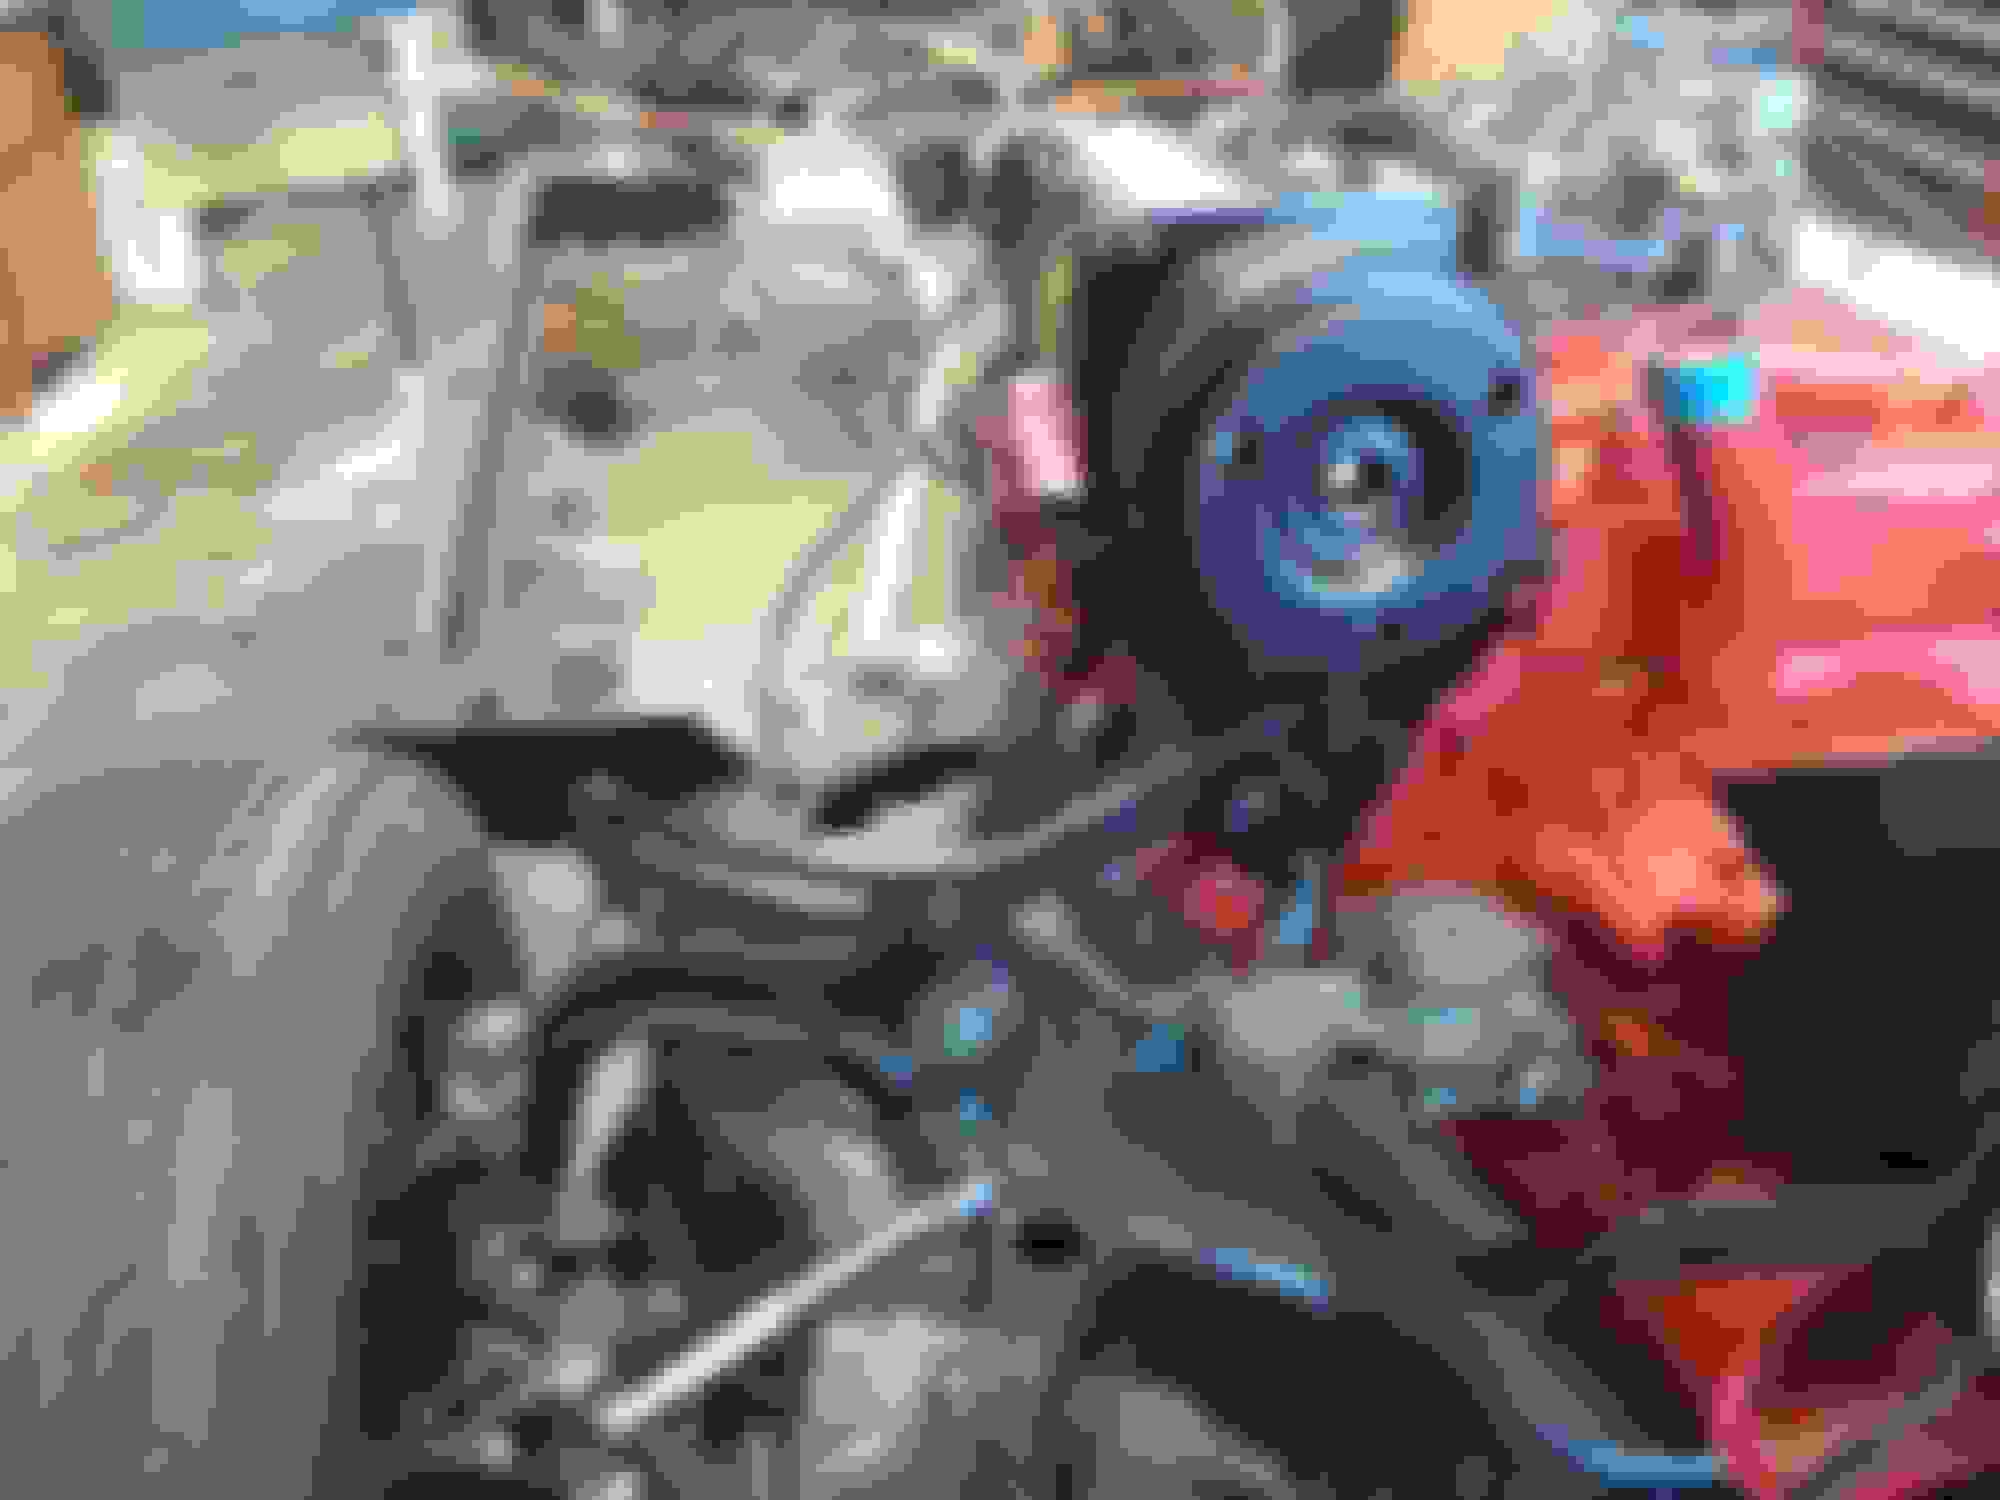
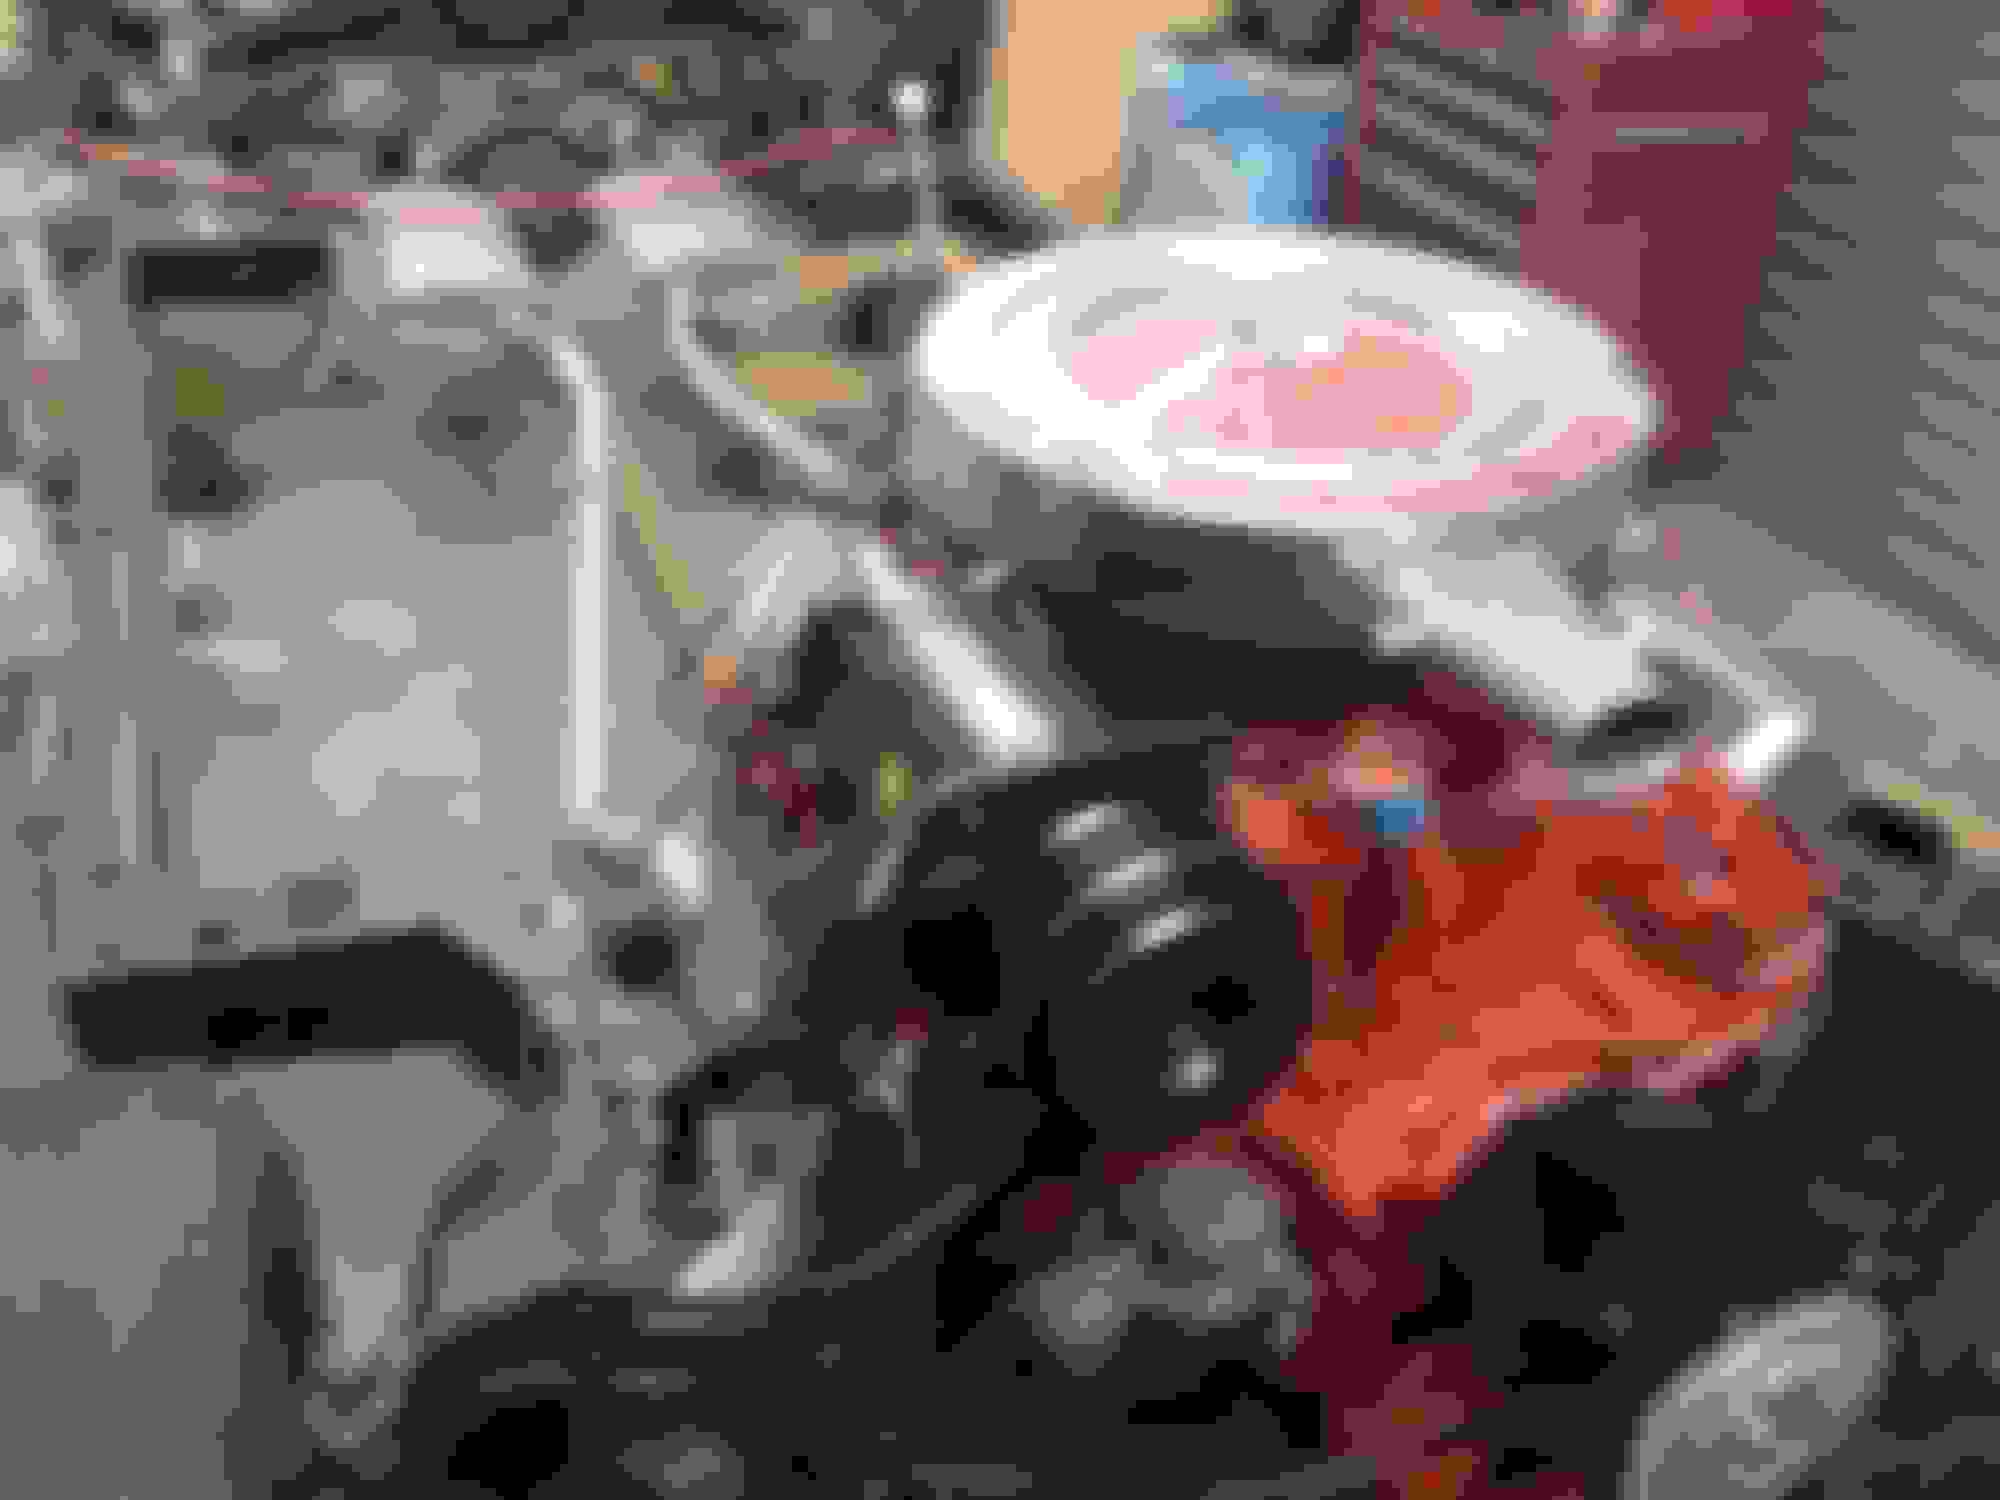
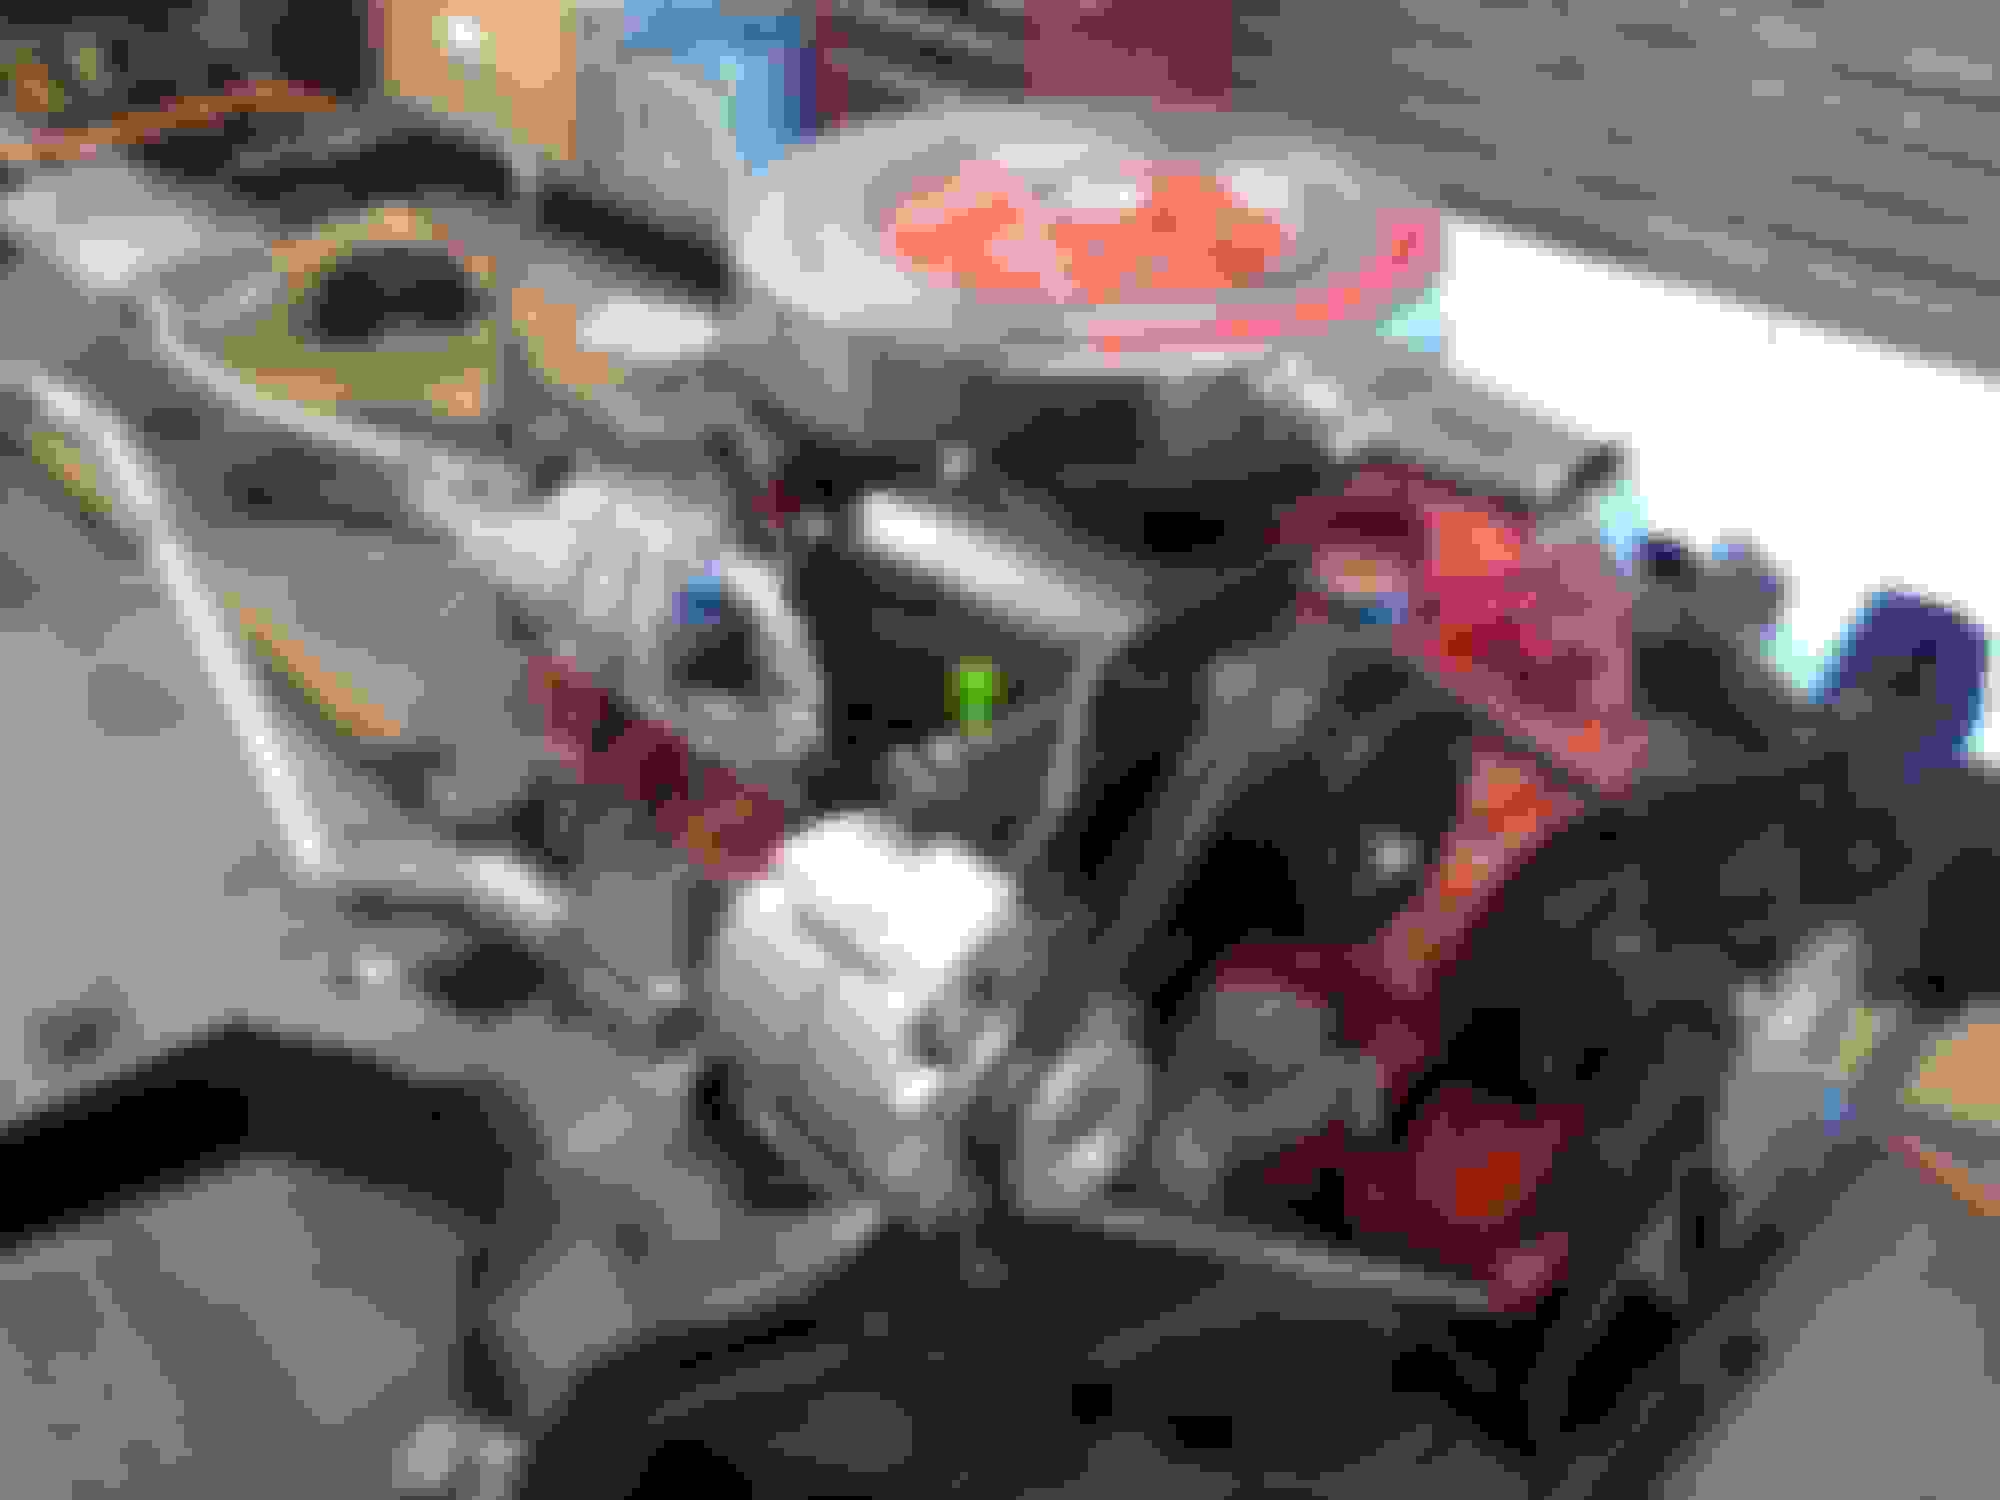
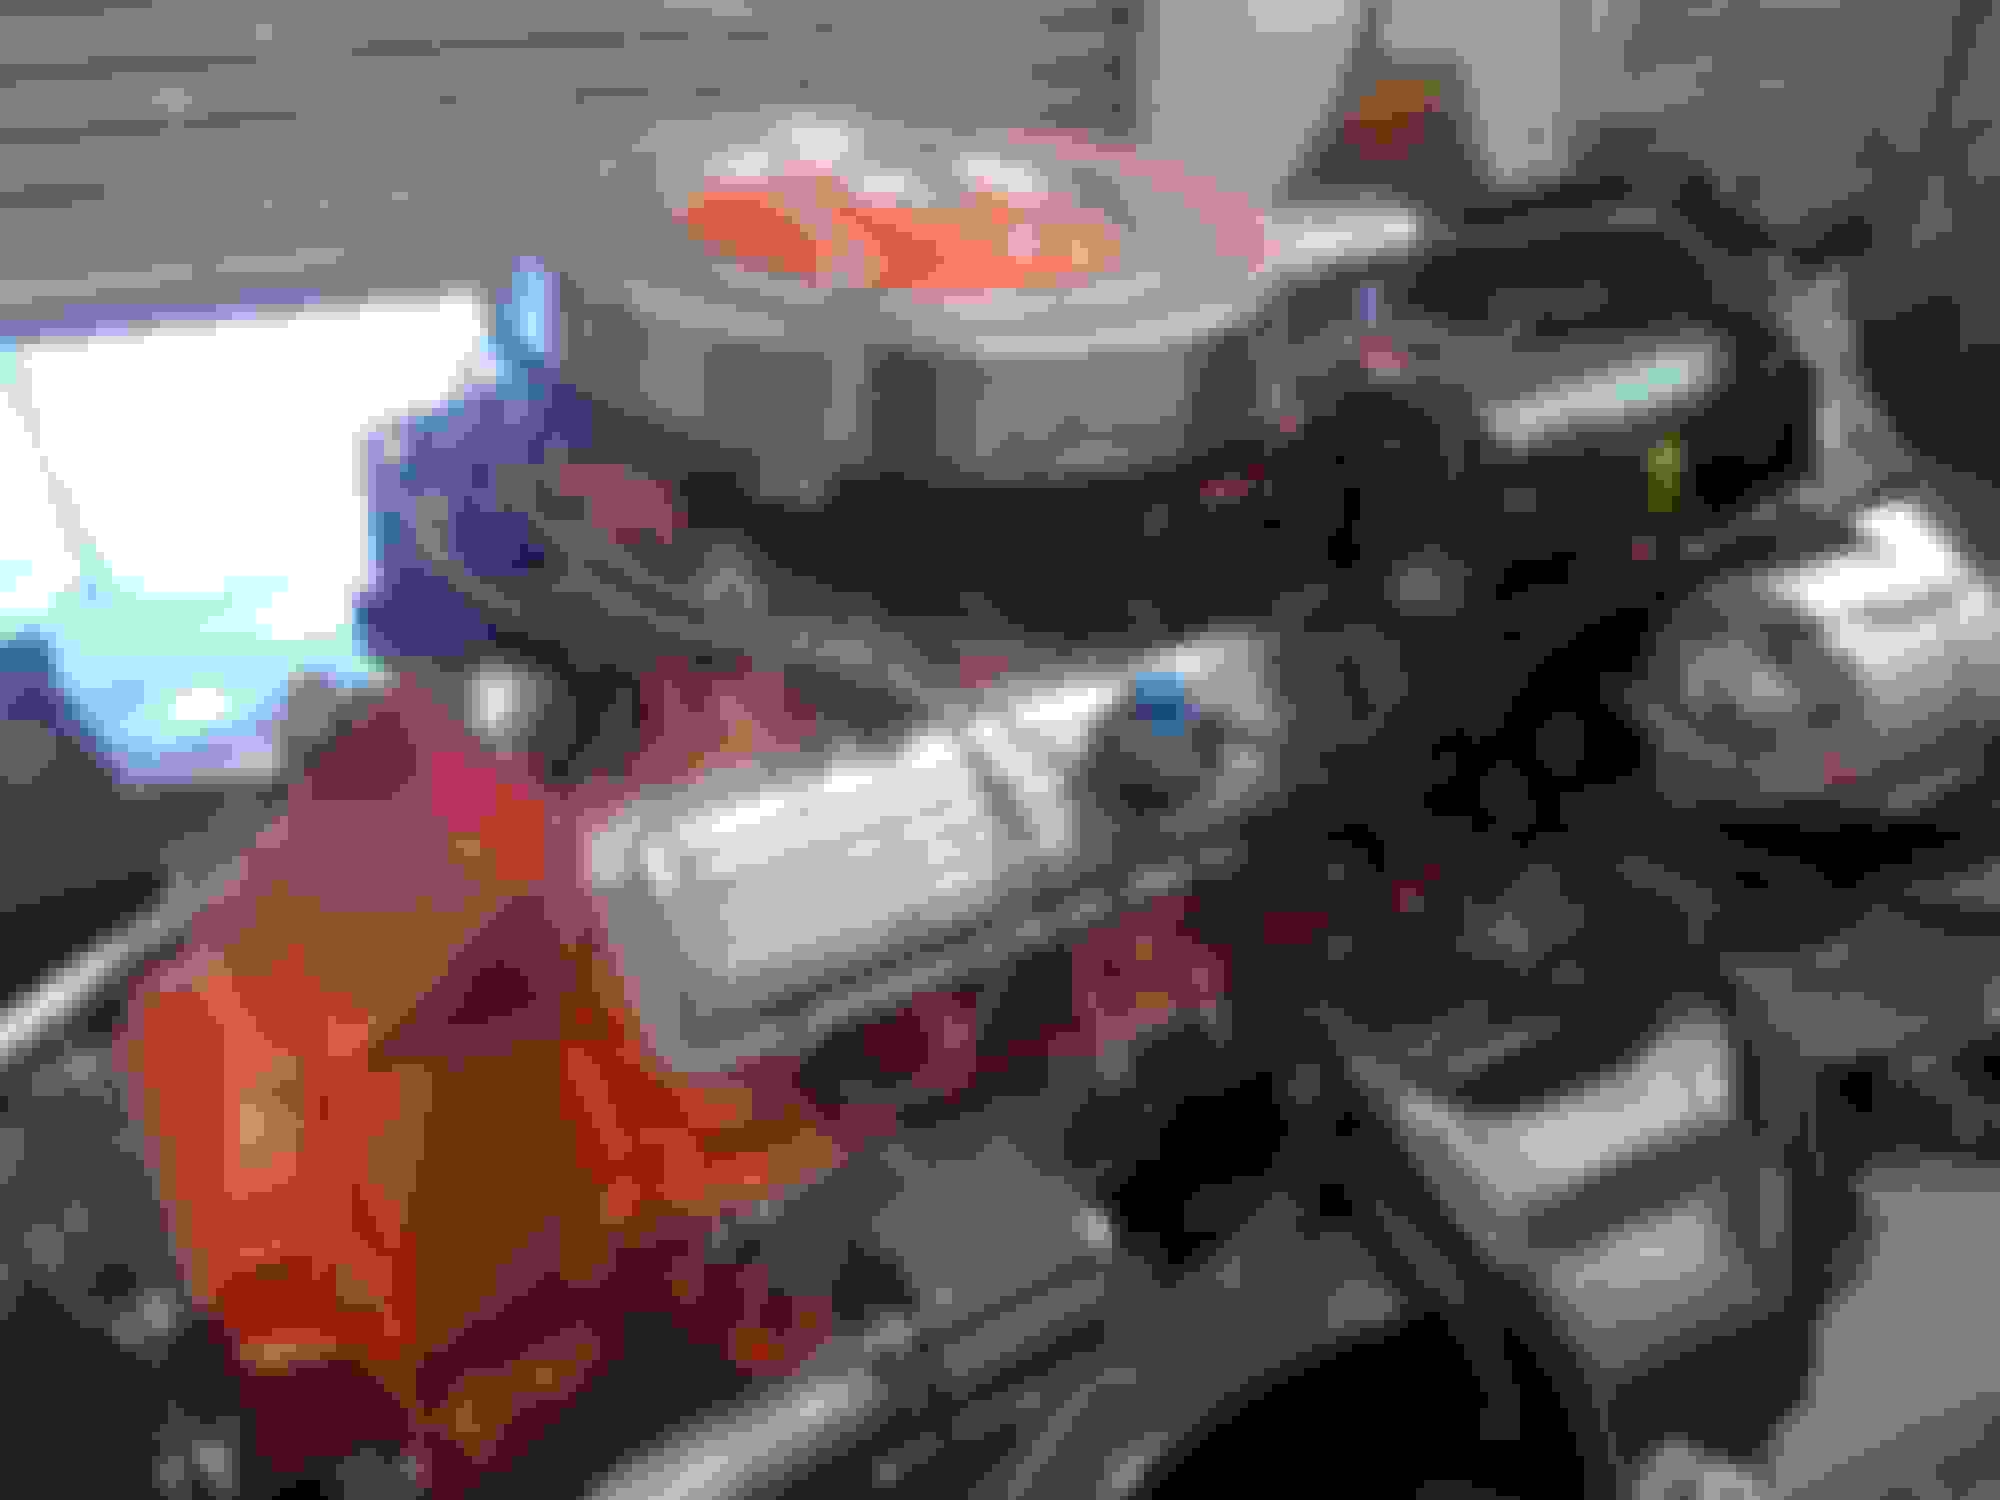
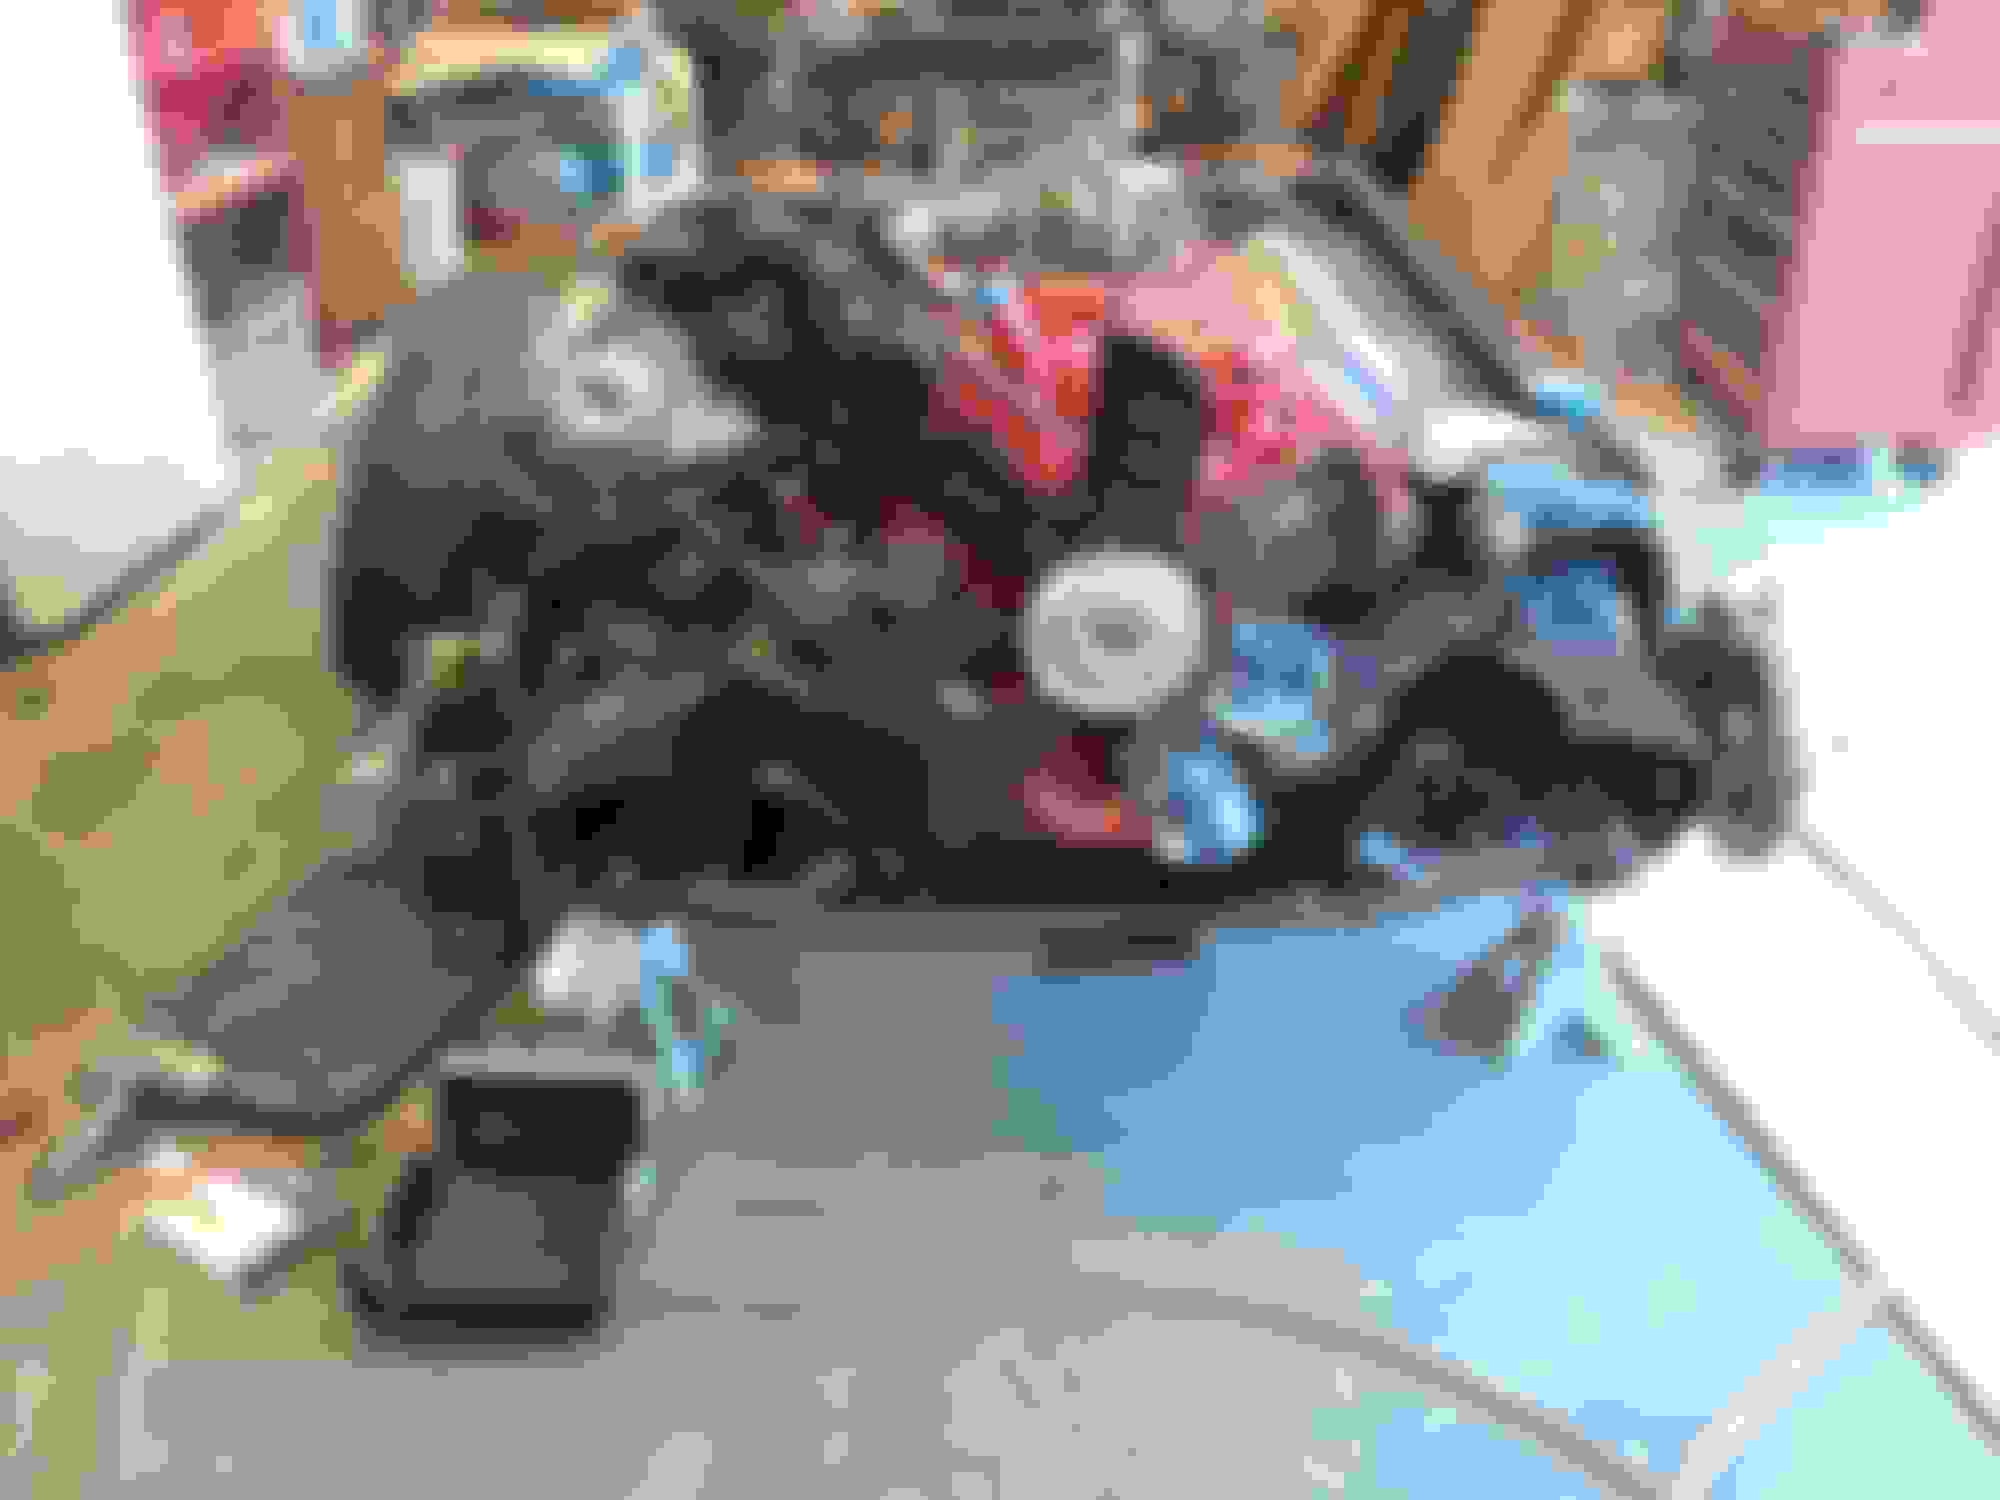
I got my rear engine mounts finalized , and mounted my engine solidly into the frame ;
The clutch linkage is a combination of Olds and Chevy parts . Clutch linkage was NOS .
Some guy ordered all the parts to change a '61 Olds over to stick , many years ago .
He got most of the parts but was missing a brake pedal . The conversion never got done , and the parts sat in an old
chicken coop for over 50 years .
Last edited by Charlie Jones; February 20th, 2020 at 08:36 PM.
Just finished reading the thread from the beginning. It was enjoyable and impressive to have the descriptions along with the photos of all the efforts you have been putting into your project. Thanks for sharing the details and ideas. Enjoy
Thanks , It has been a pleasurable experience so far .
When it isn't fun , I lay off from it for a while occasionally .
The chassis is pretty much complete now . So the hard part , the bodywork , is ahead of me yet .
But , I'll keep slugging away at it . Because I can't wait to drive it .
I forgot to mention in my last reply, Thank you for your service to our country. I was born in 62 and was raised wondering if I was going to go fight when I was older, the hardest part about the thought of going to fight was, my brother being a year older than me and him having to go first, wondering if I would ever see him again. Things a person of 5 and 6 years of age should not have to think about but we did.
Again Thank You.
Keith
Thank you for the recognition .
I was faced with a choice when I was 18 .
I could be drafted into the Army and spend two years in the infantry .
Or I could enlist for four years in the Air Force and turn wrenches on fighter jets .
It was a " no brainer " to me .
Well , here's another update .
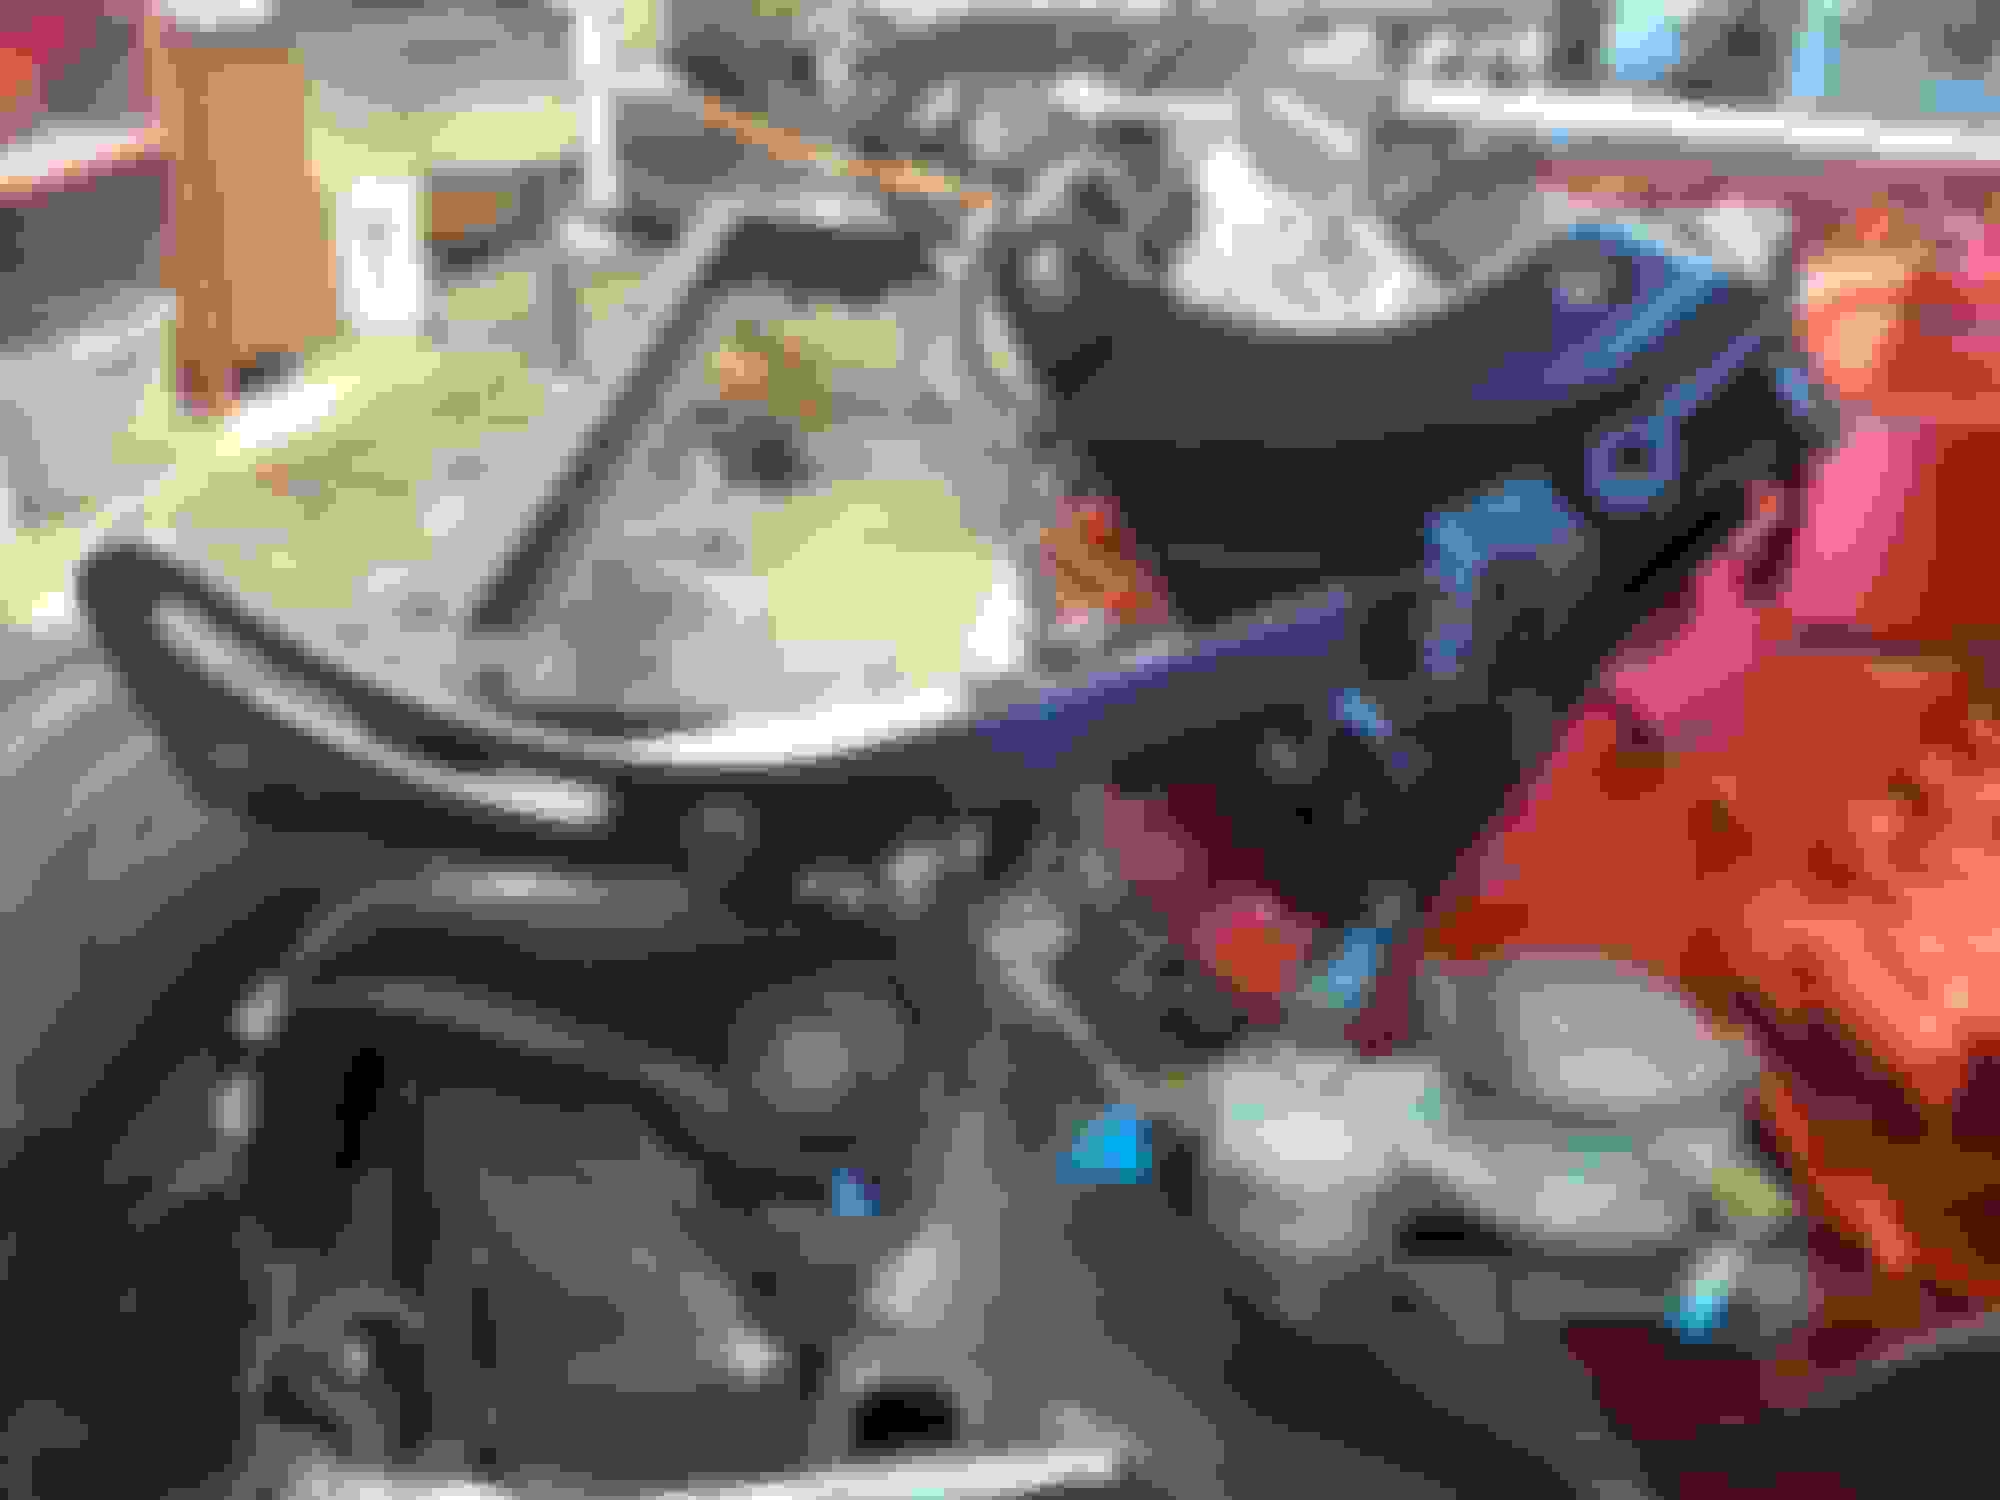
The clutch linkage looked like it was going to work well , until I installed the left exhaust pipe and heat riser .
No clearance Clarence !
So I made another part (the fourth one now ) .
This allowed the clutch rod to offset the " ball " and clear the exhaust .
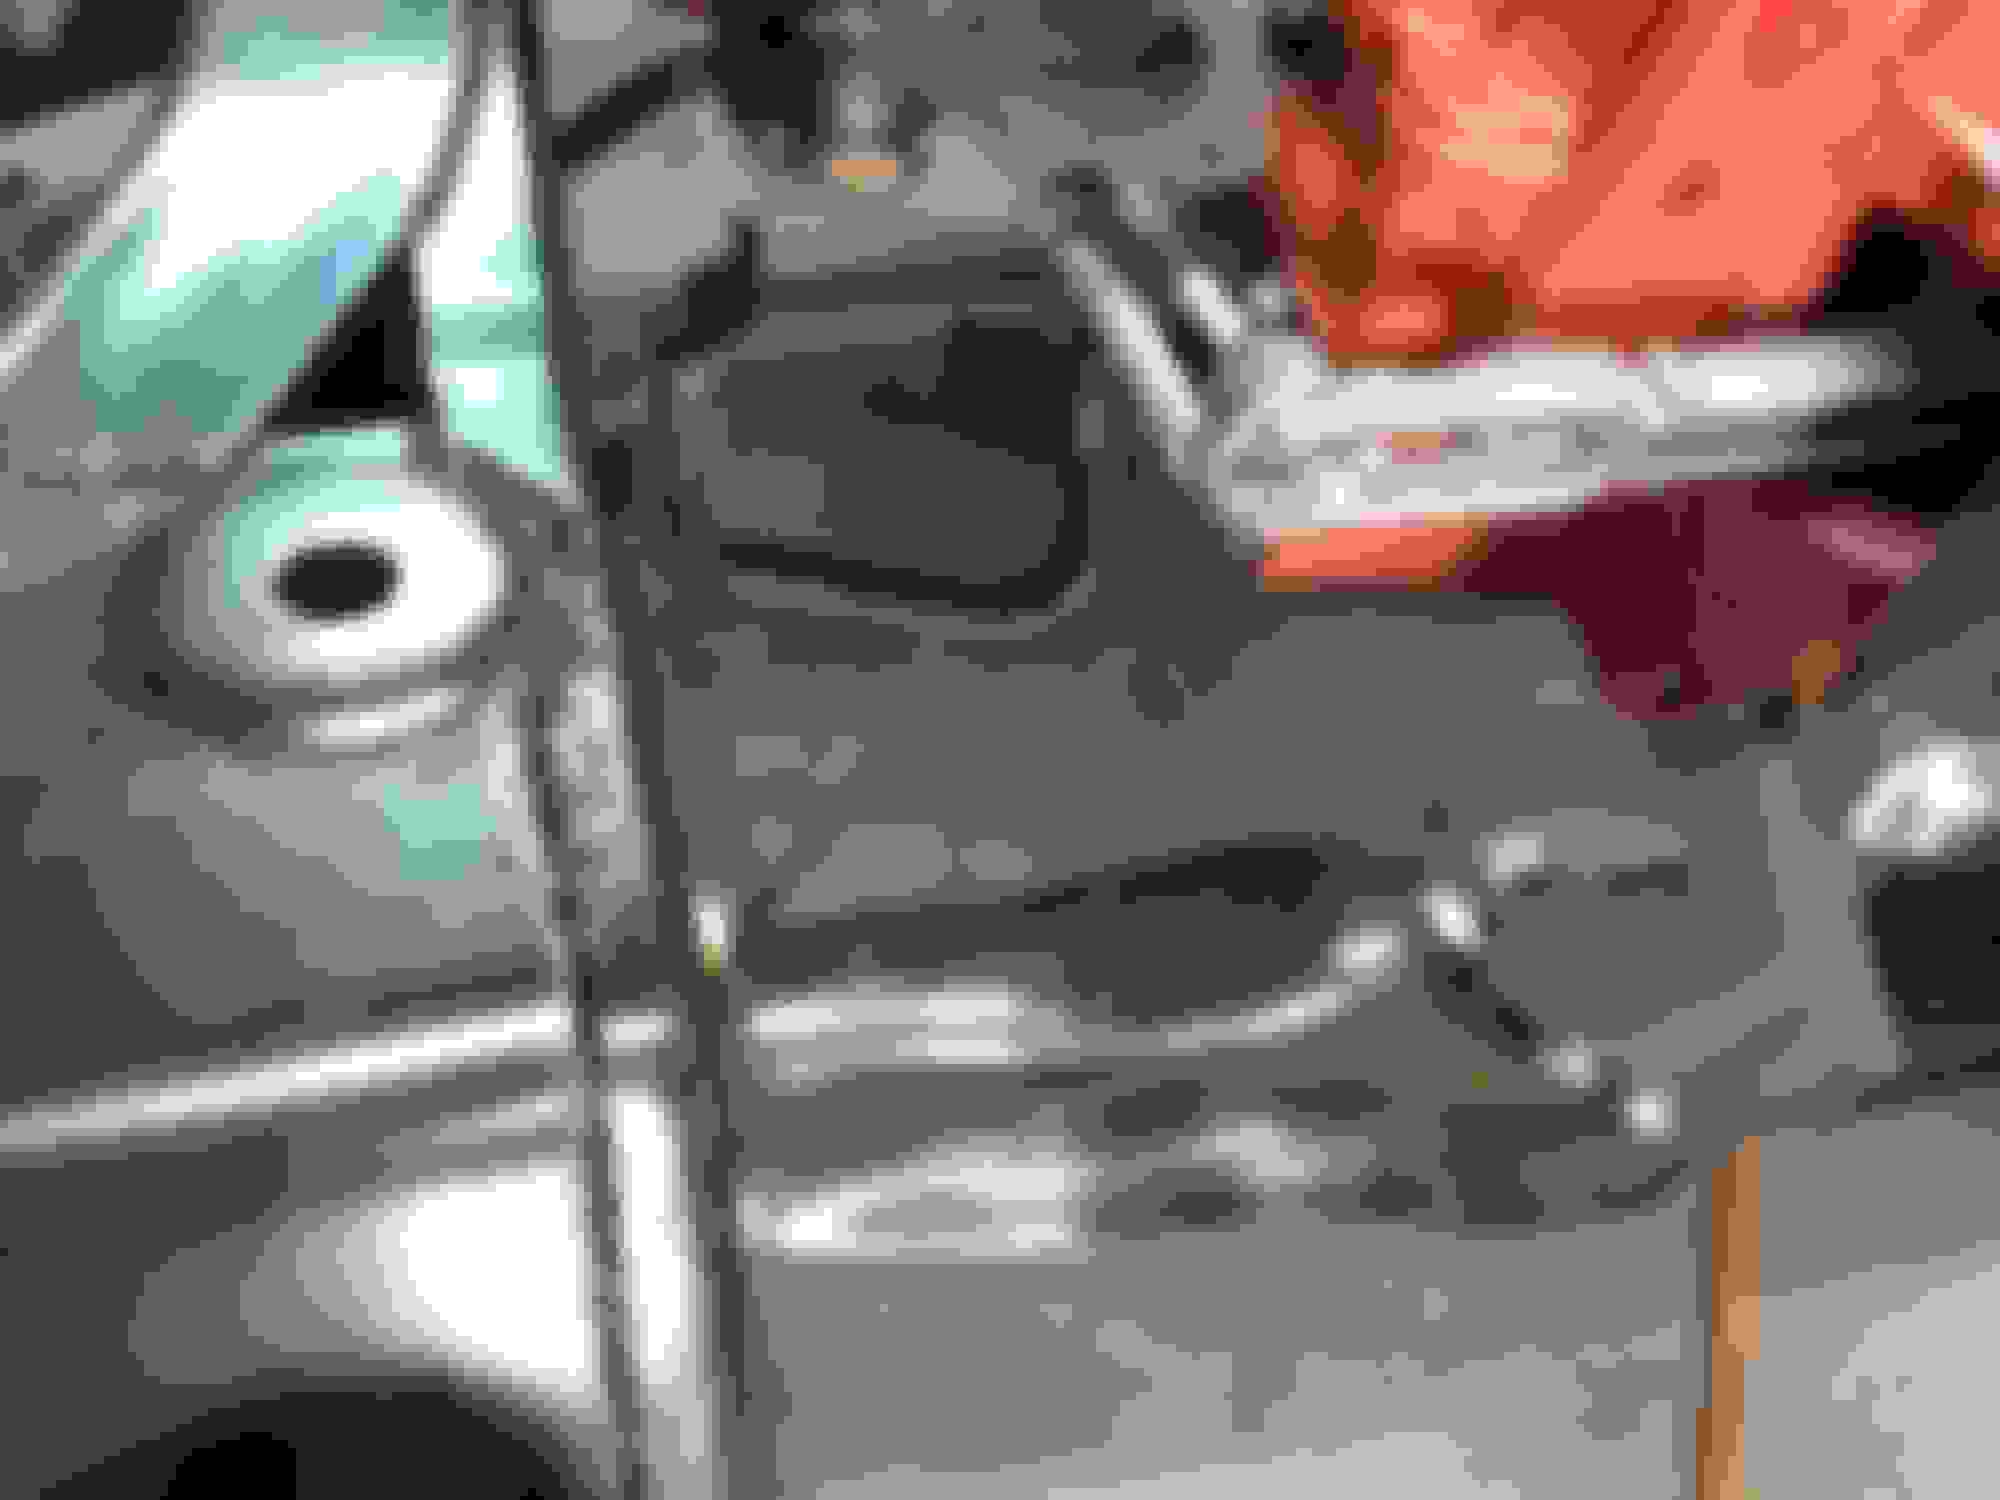
Try putting a string on each ear of the yoke between rear end and rear of tranny. You can measure the width between the strings to give you a diameter. Do you know what I mean ? It might give you an idea of the "path" the driveshaft will follow when the body is added.
Last edited by OLDSter Ralph; March 19th, 2020 at 09:26 PM.
Try putting a string on each ear of the yoke between rear end and rear of tranny. You can measure the width between the strings to give you a diameter. Do you know what I mean ? It might give you an idea of the "path" the driveshaft will follow when the body is added.
Good idea Ralph .
I'm probably going to shift the exhaust around some to make sure it clears the body once I get that on .
The driveshaft will be the last piece I put on the car . The driveline man told me to completely assemble the car and then measure for the driveshaft length .
Yes , glass beads . Then painted with some " silver cadmium " paint .
I wonder if it's possible to blast them and then have them actually cadmium plated? I suppose it might stick the cable. I wonder what people do besides just leave them be, or paint them like you did? I looked in Hemmings and googled but couldn't find any cable restoration services.
I wonder if it's possible to blast them and then have them actually cadmium plated? I suppose it might stick the cable. I wonder what people do besides just leave them be, or paint them like you did? I looked in Hemmings and googled but couldn't find any cable restoration services.
Cadmium has been banned for many years. The closest you might get is zinc plating and some polishing.......or paint.
Bright Cad was more for appearance than protection. Unbright cad was more resistant to corrosion,but not very pretty.I think the paint is probably a better idea. Zinc will not likely shine as much as "bright Cadmium" plating.
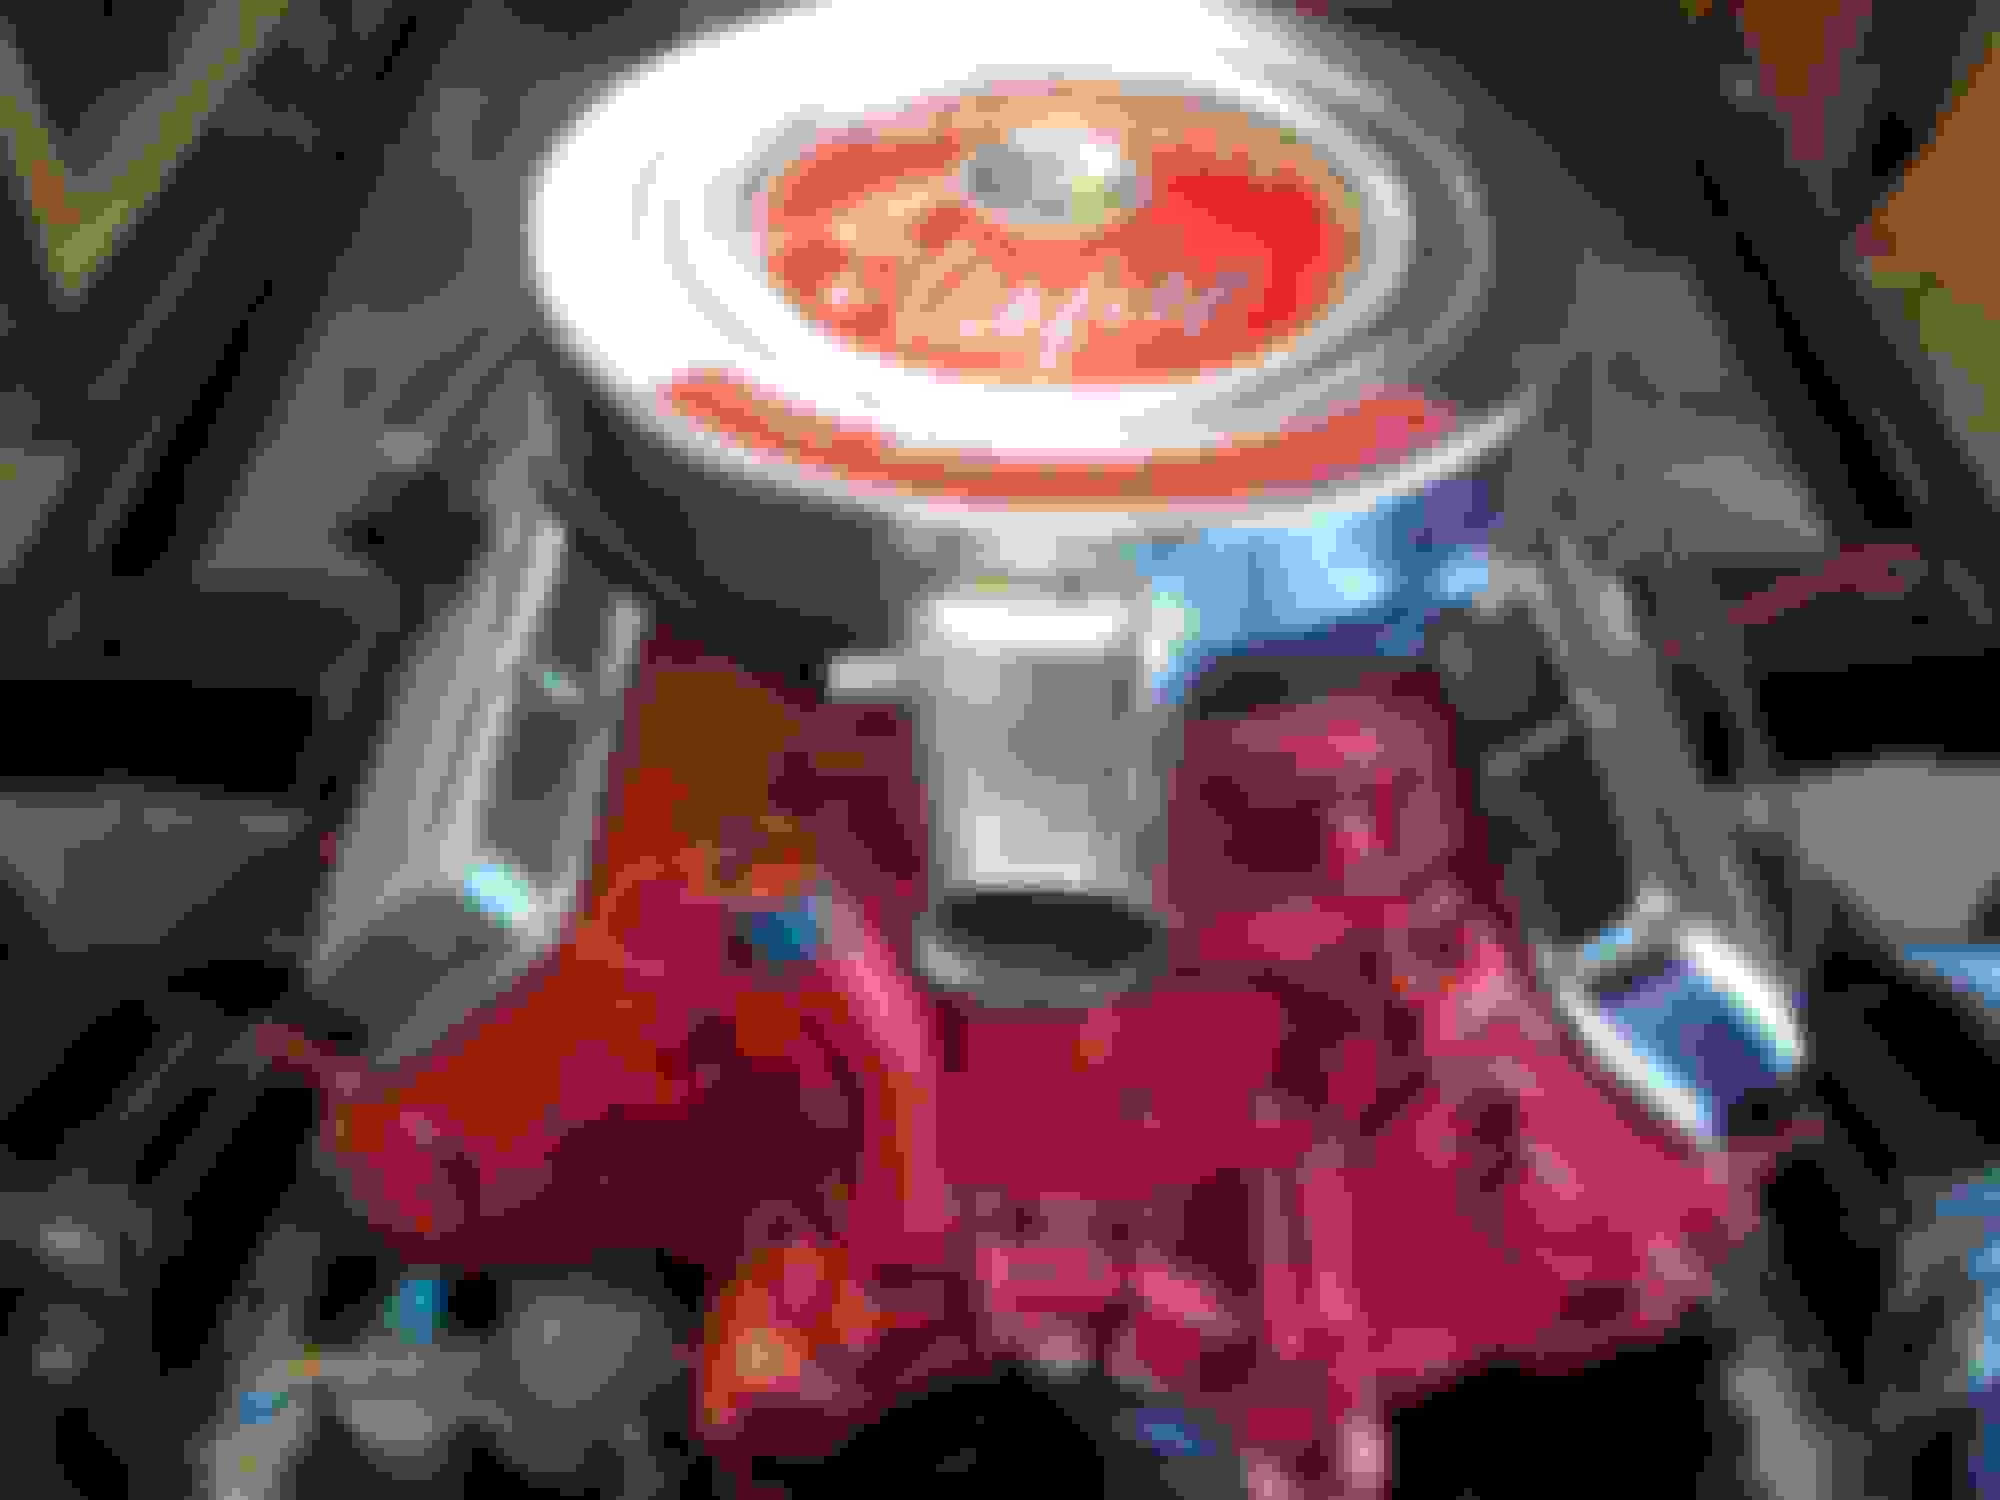
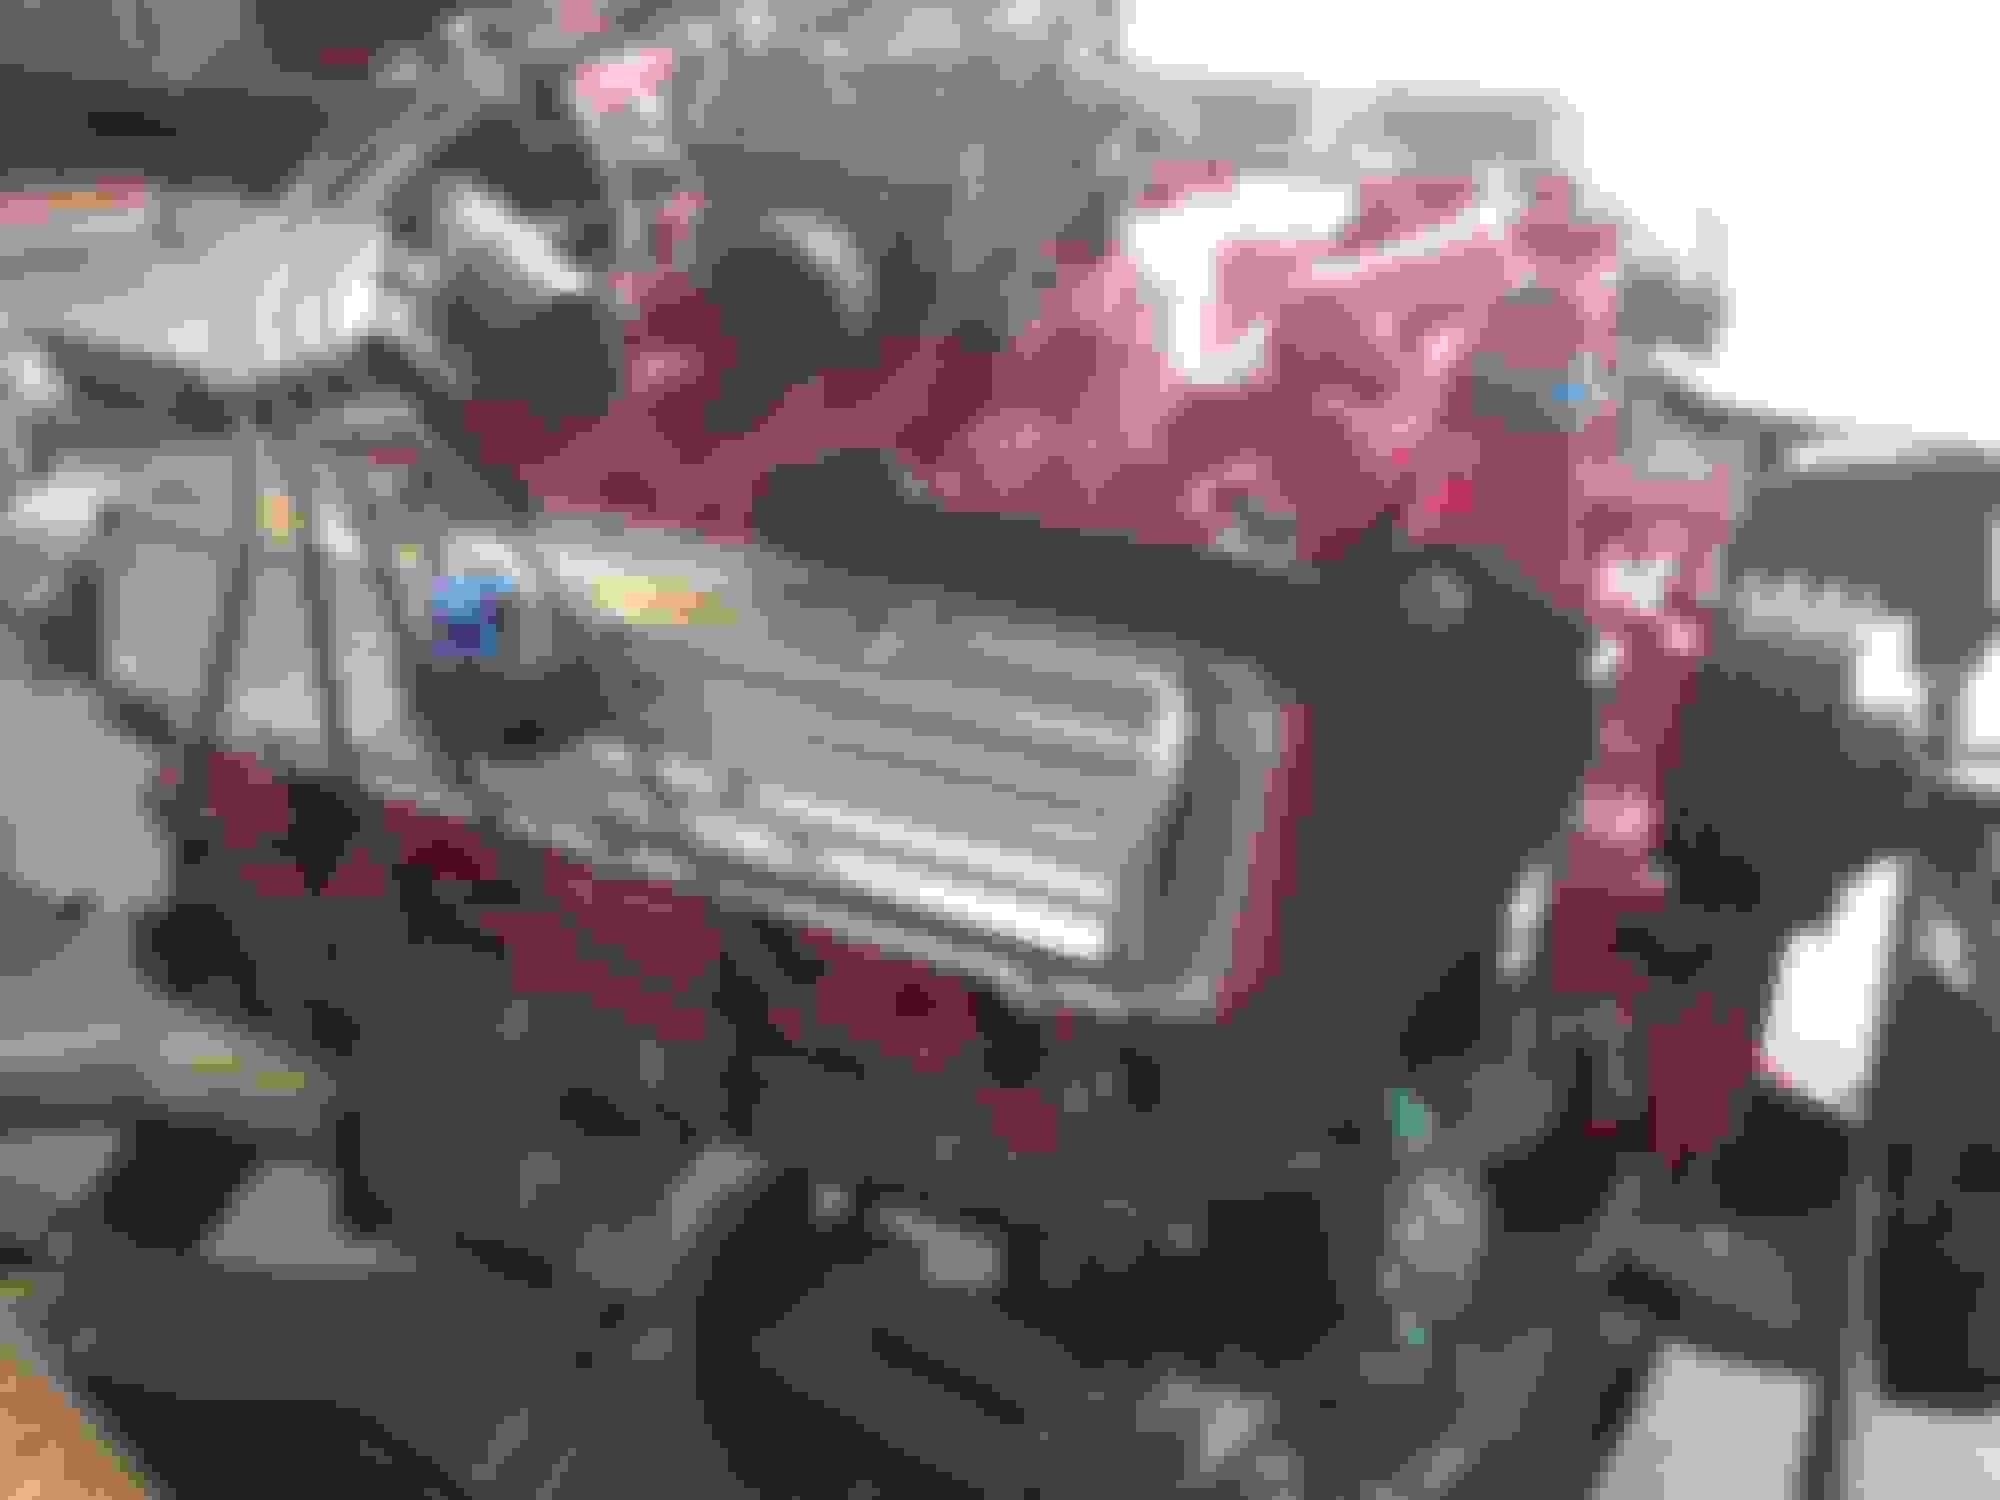
I used to wonder why an A/C car was over 300 lbs. heavier .
There's a total of ten brackets for the A/C and alternator , some of them made of cast iron .
Last edited by Charlie Jones; June 18th, 2020 at 07:24 PM.
I " threw in the towel " on bodywork .
I'm just not good enough at it to satisfy my OCD .
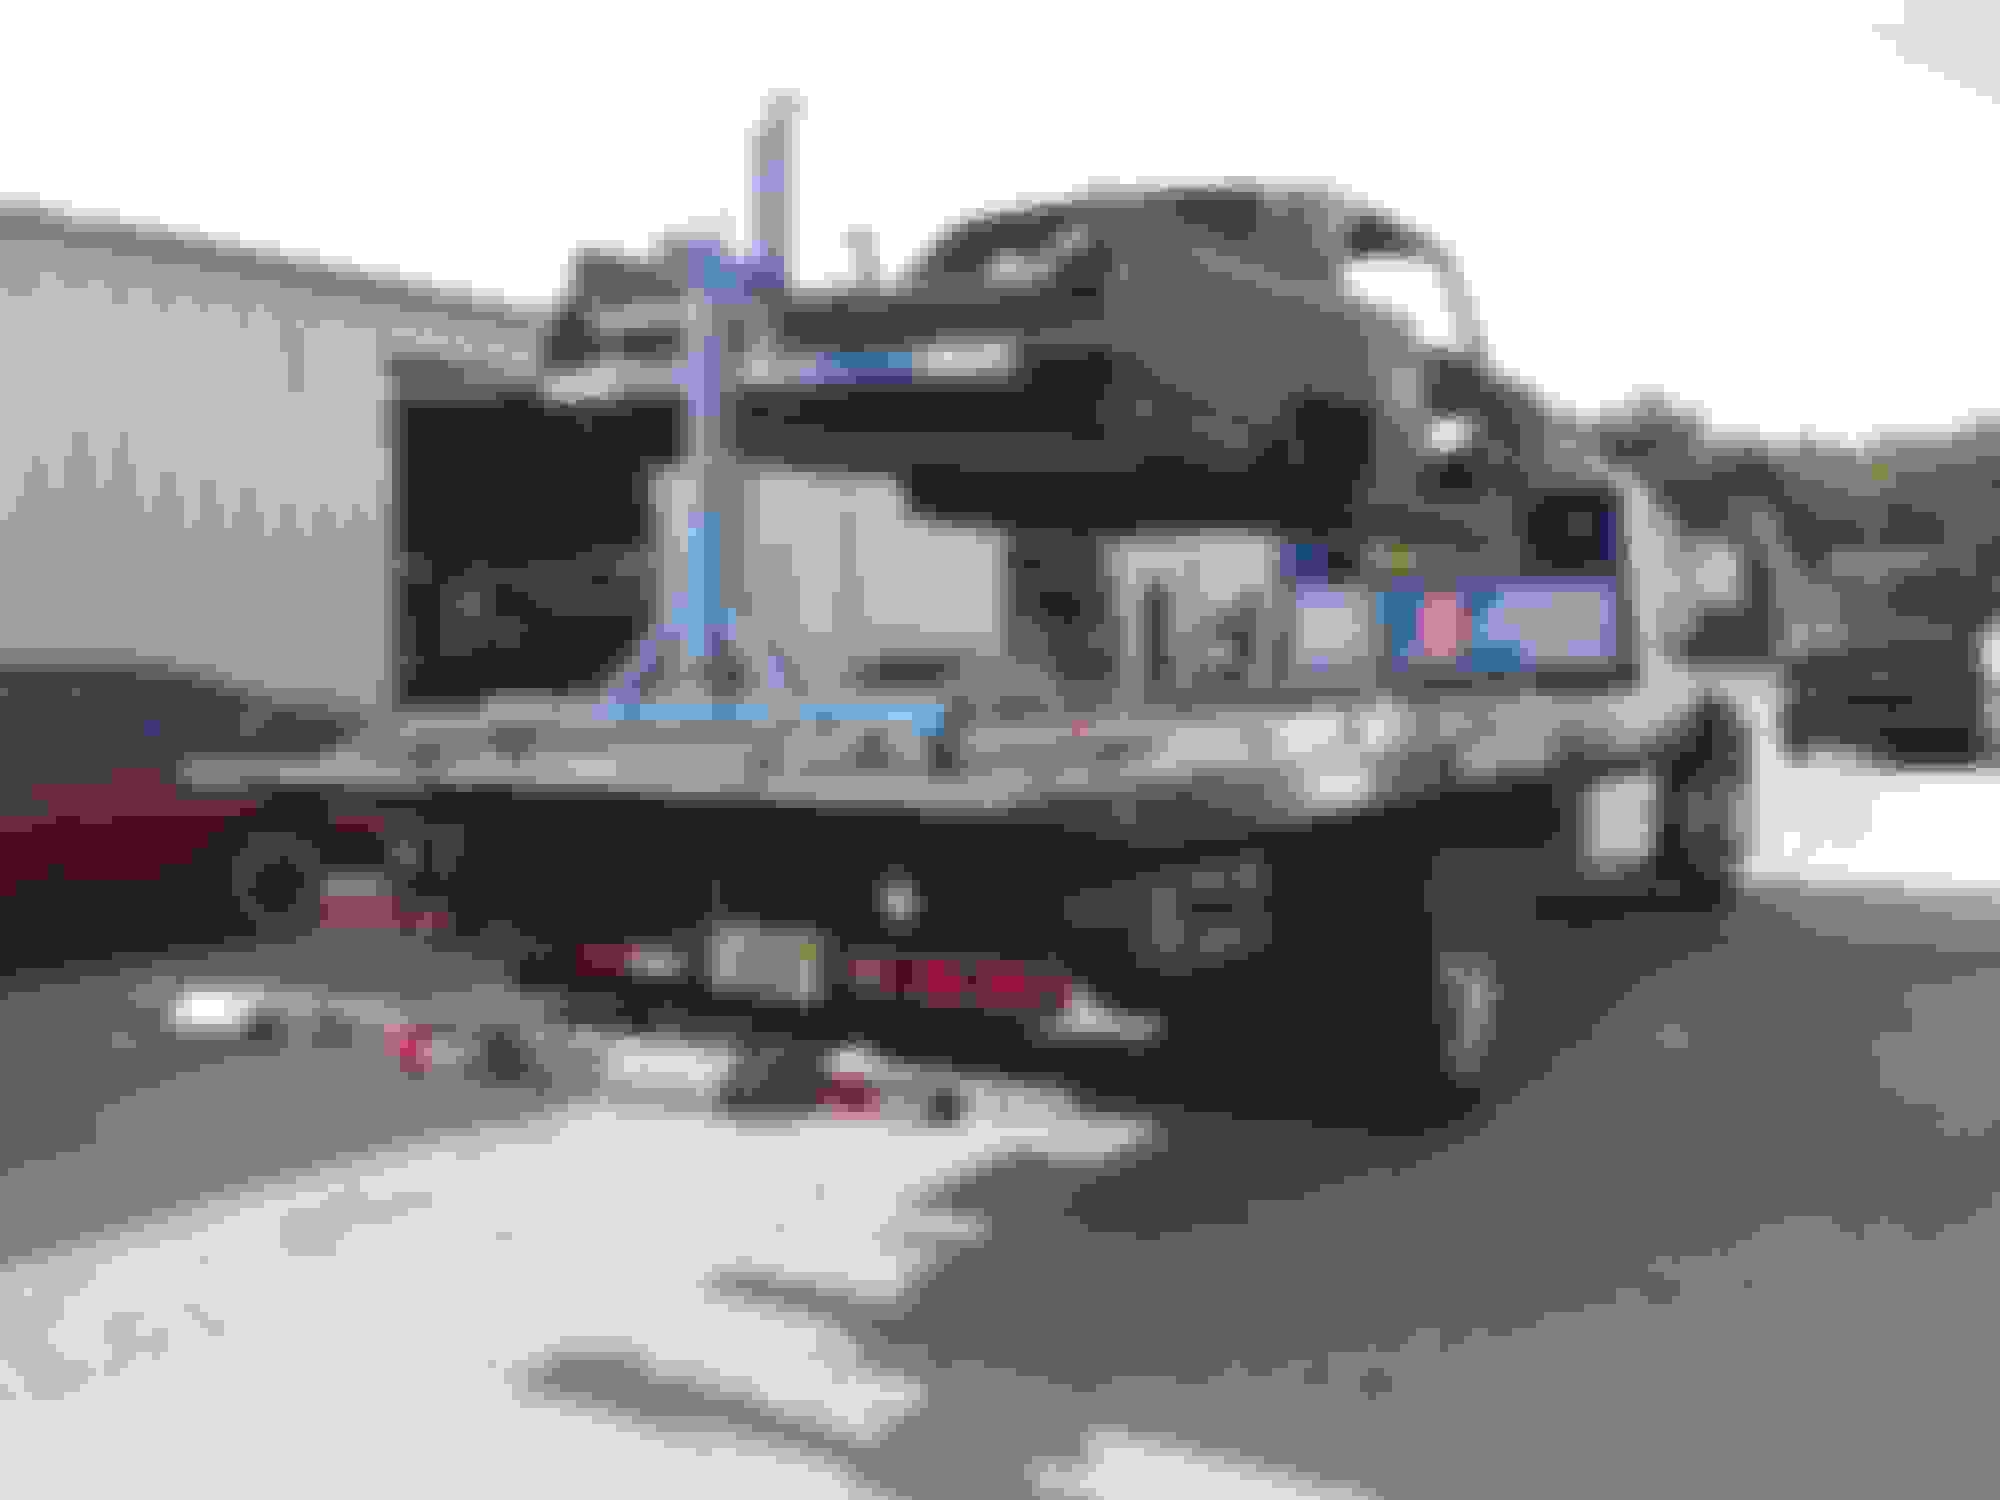
Hopefully the body shop I sent it to will get it done by the time I get all the rest of the things done .
I " threw in the towel " on bodywork .
I'm just not good enough at it to satisfy my OCD .
Hopefully the body shop I sent it to will get it done by the time I get all the rest of the things done .
I don't blame you one bit. We all want to live long enough to see these projects through as it is. Sometimes throwing money at the problem is the way to go. Body work does go on and on. Was it a hassle to get that rotisserie up on the flatbed?
 October 8th, 2019, 04:53 PM