When you click on links to various merchants on this site and make a purchase, this can result in this site earning a commission. Affiliate programs and affiliations include, but are not limited to, the eBay Partner Network.
So I guess I will post this to share some work I am doing on the air cleaner housing off the '72 Vista Cruiser. Short background, owned less than a month, new to me. Previous owner did some things on it I don't like, one is that he hammered out a relief on the bottom of the air cleaner housing to clear the HEI distributor he installed. I didn't take a picture of it in that condition and wish that I did but anyway I am "fixing" it this way because I don't want to go the hot rod look with an aftermarket chrome housing. Also, he installed headers so the heat pipe on the passenger side was gone so the thermistor and and valve in the snorkel wasn't doing anything.
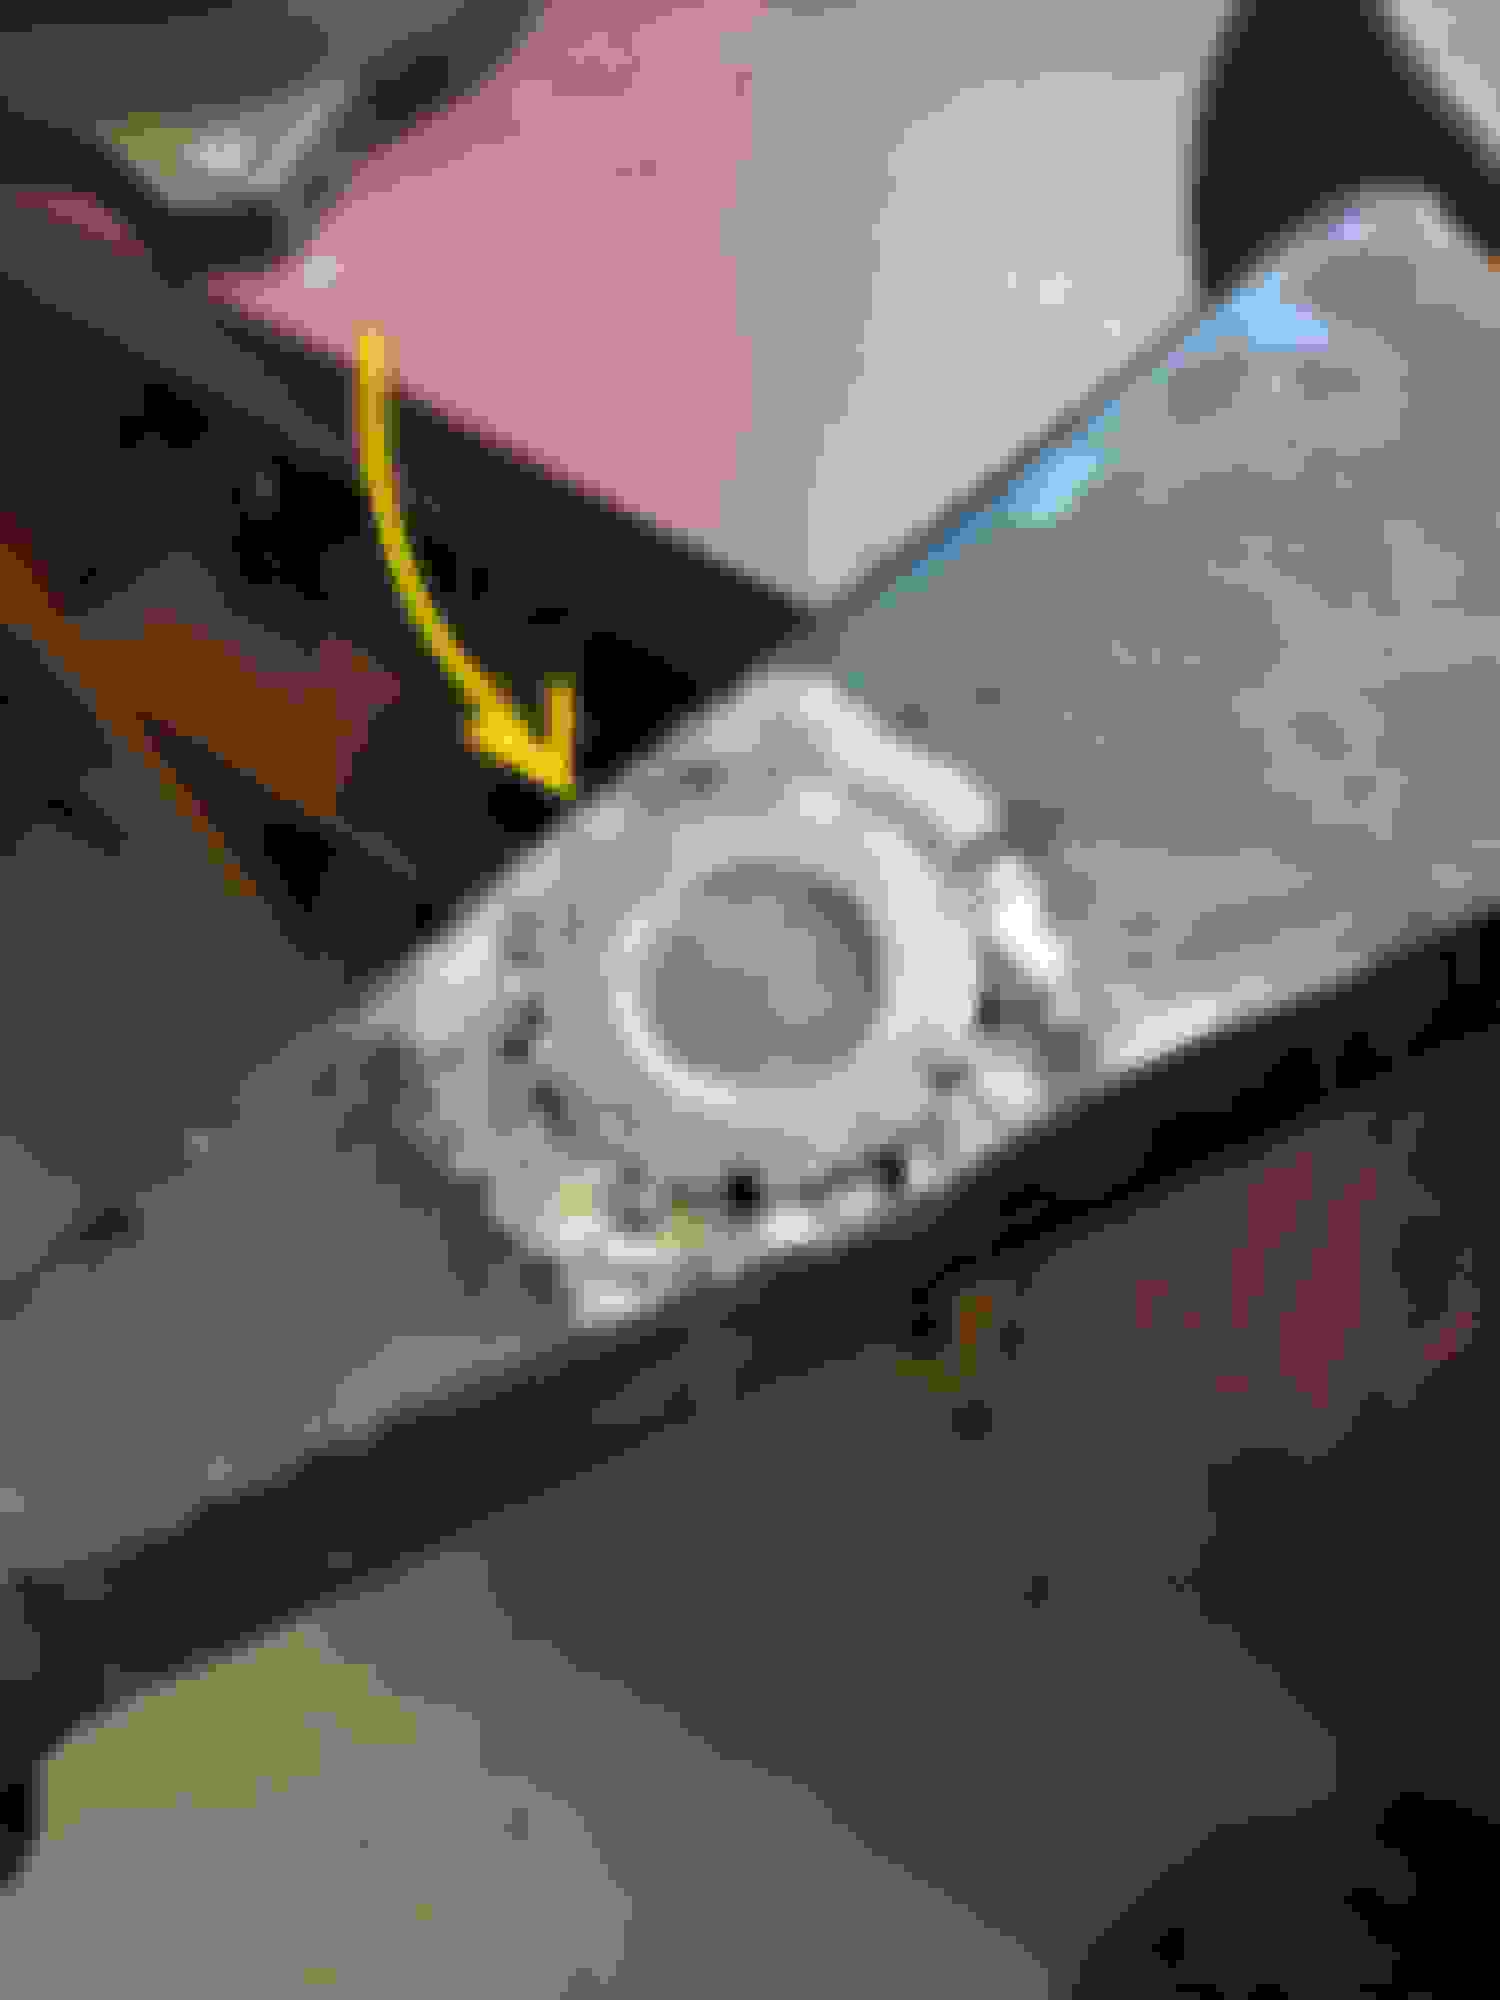
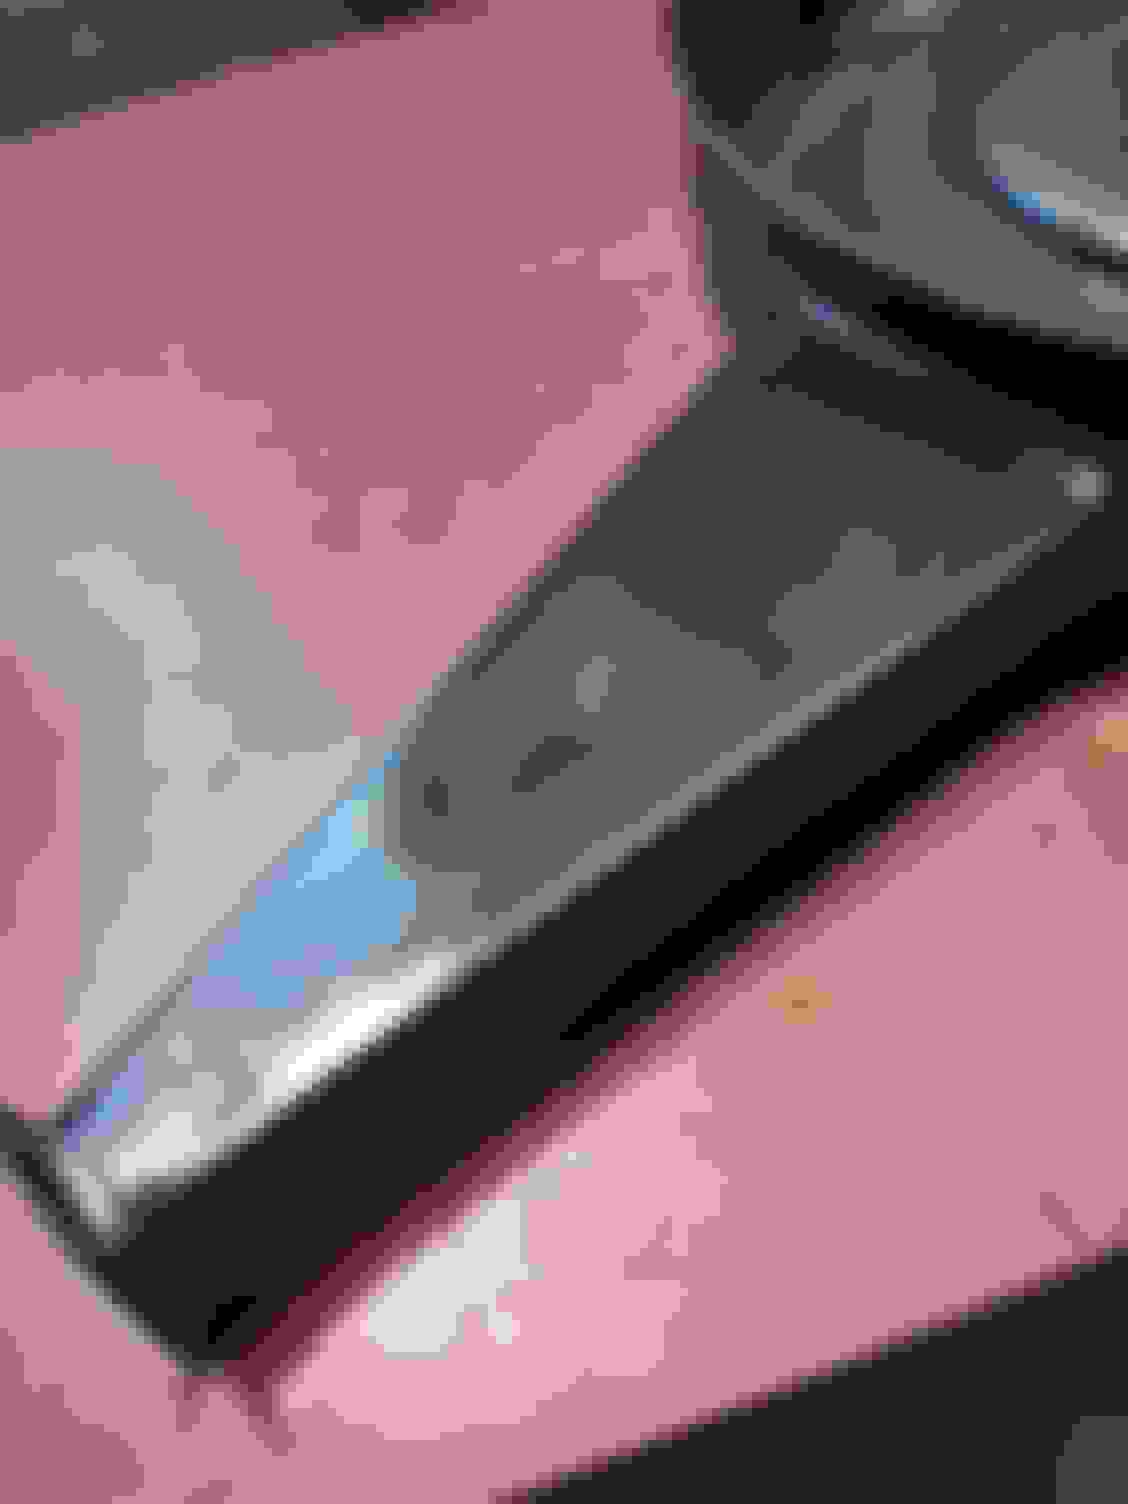
bottom of snorkel hole welded up
You can see that I blew through quite a few holes but was able to get it welded in solid. I am sure a lot of people can weld much better than me but that stuff is so thin and I had the power turned down way low and was still blowing through, I tried using a big chunk of metal as a backing to absorb some of the heat and prevent the blow through but it still happened sometimes. Anyway you will see what I have done to overcome that in a few posts.
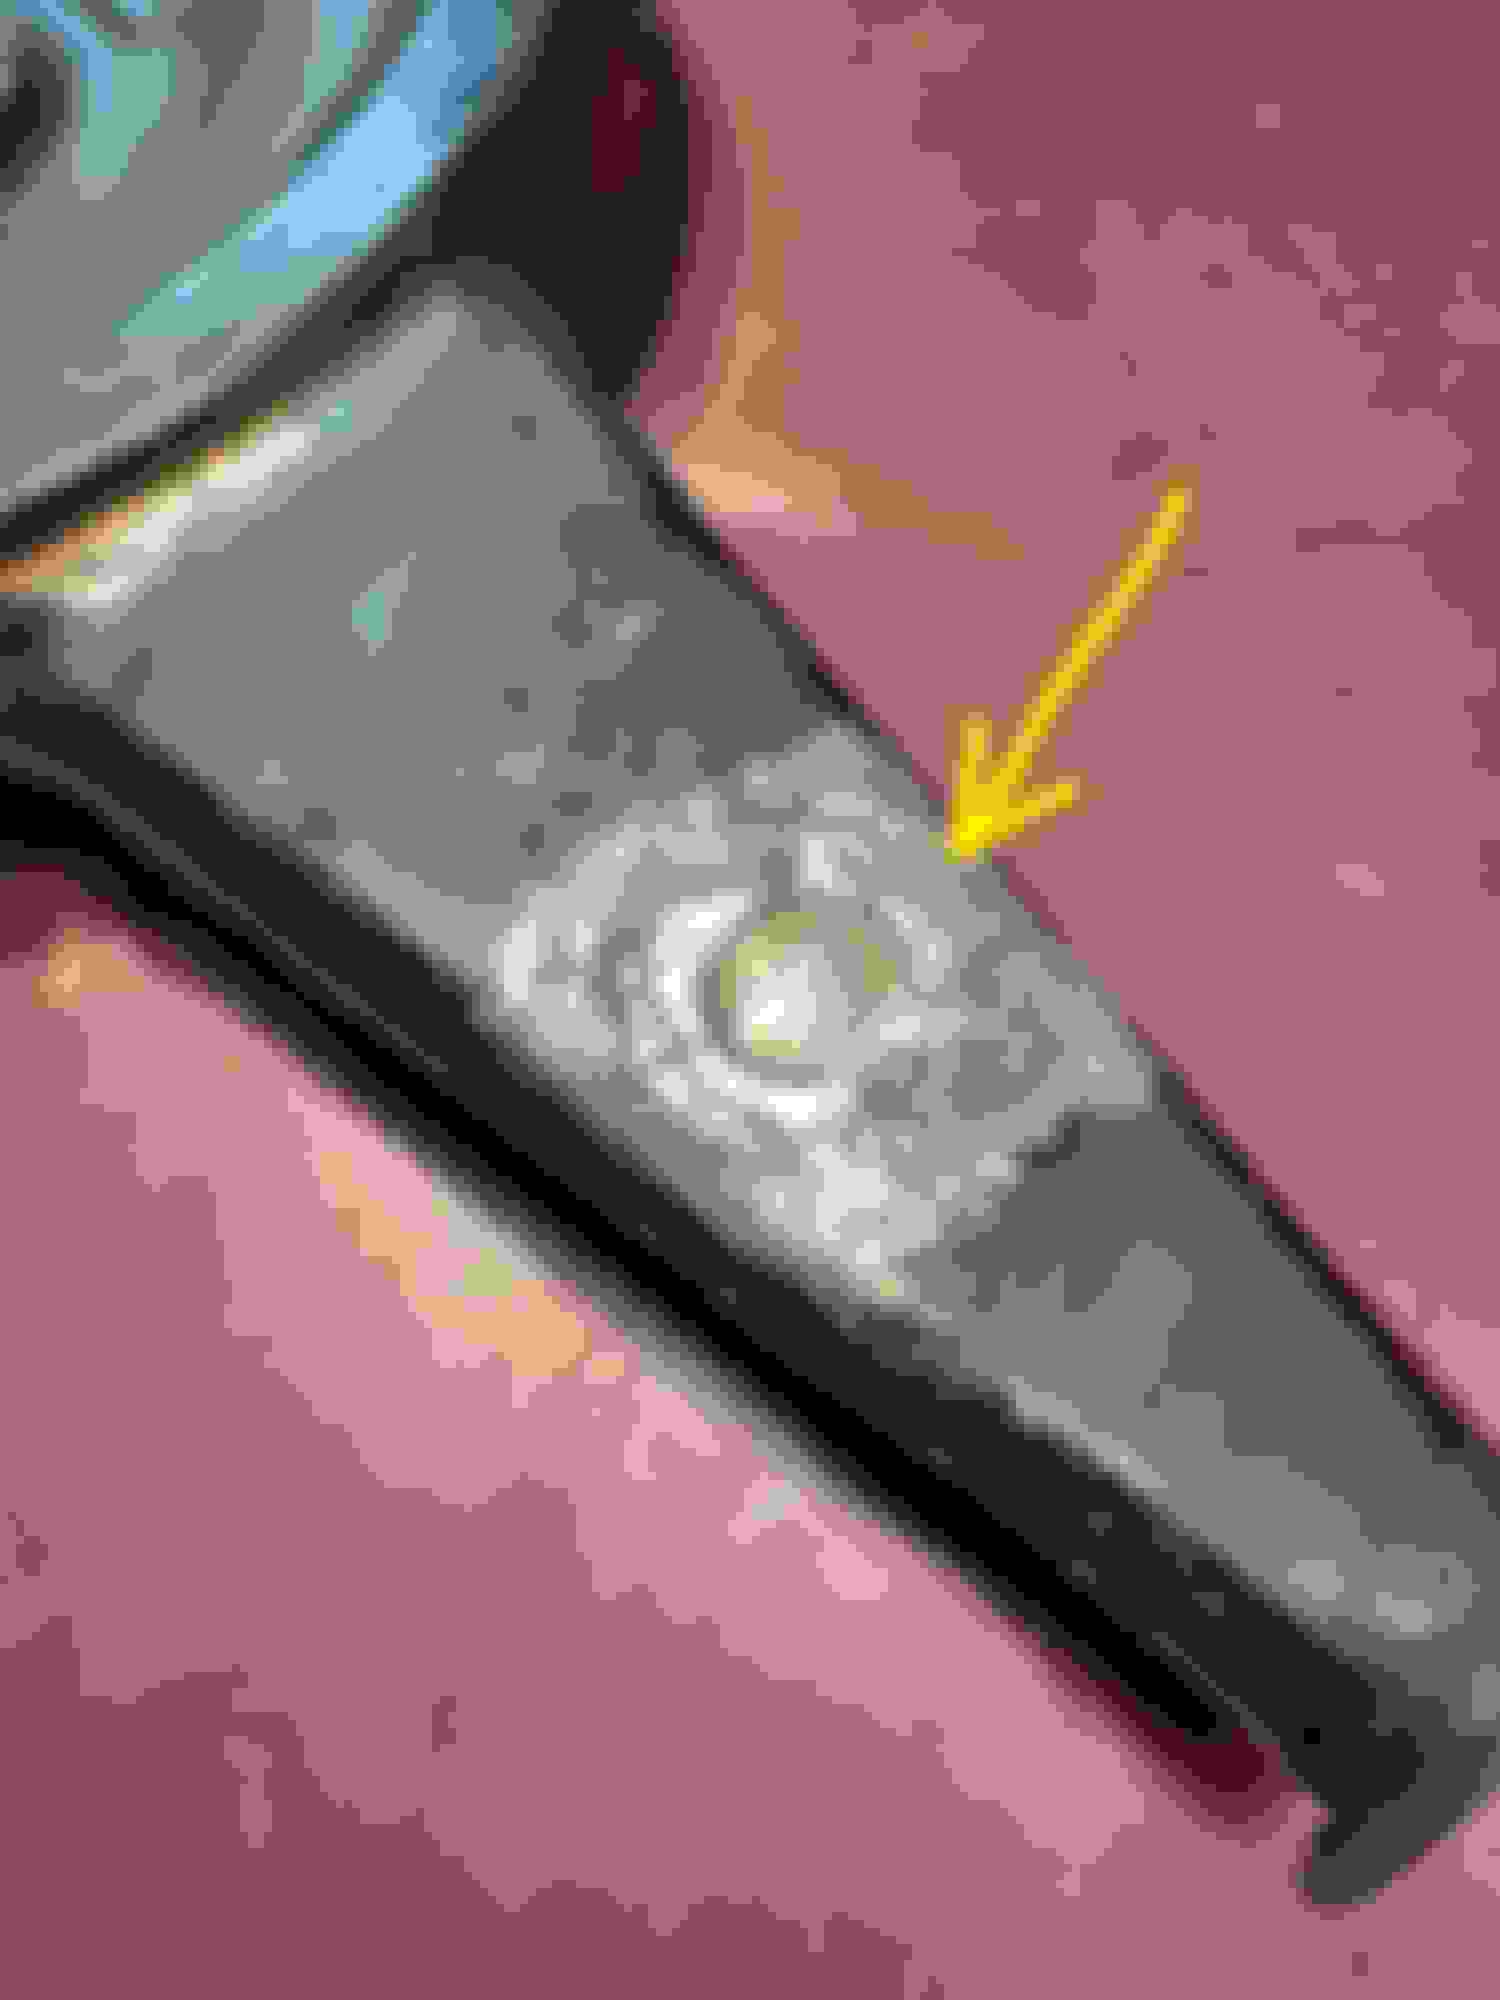
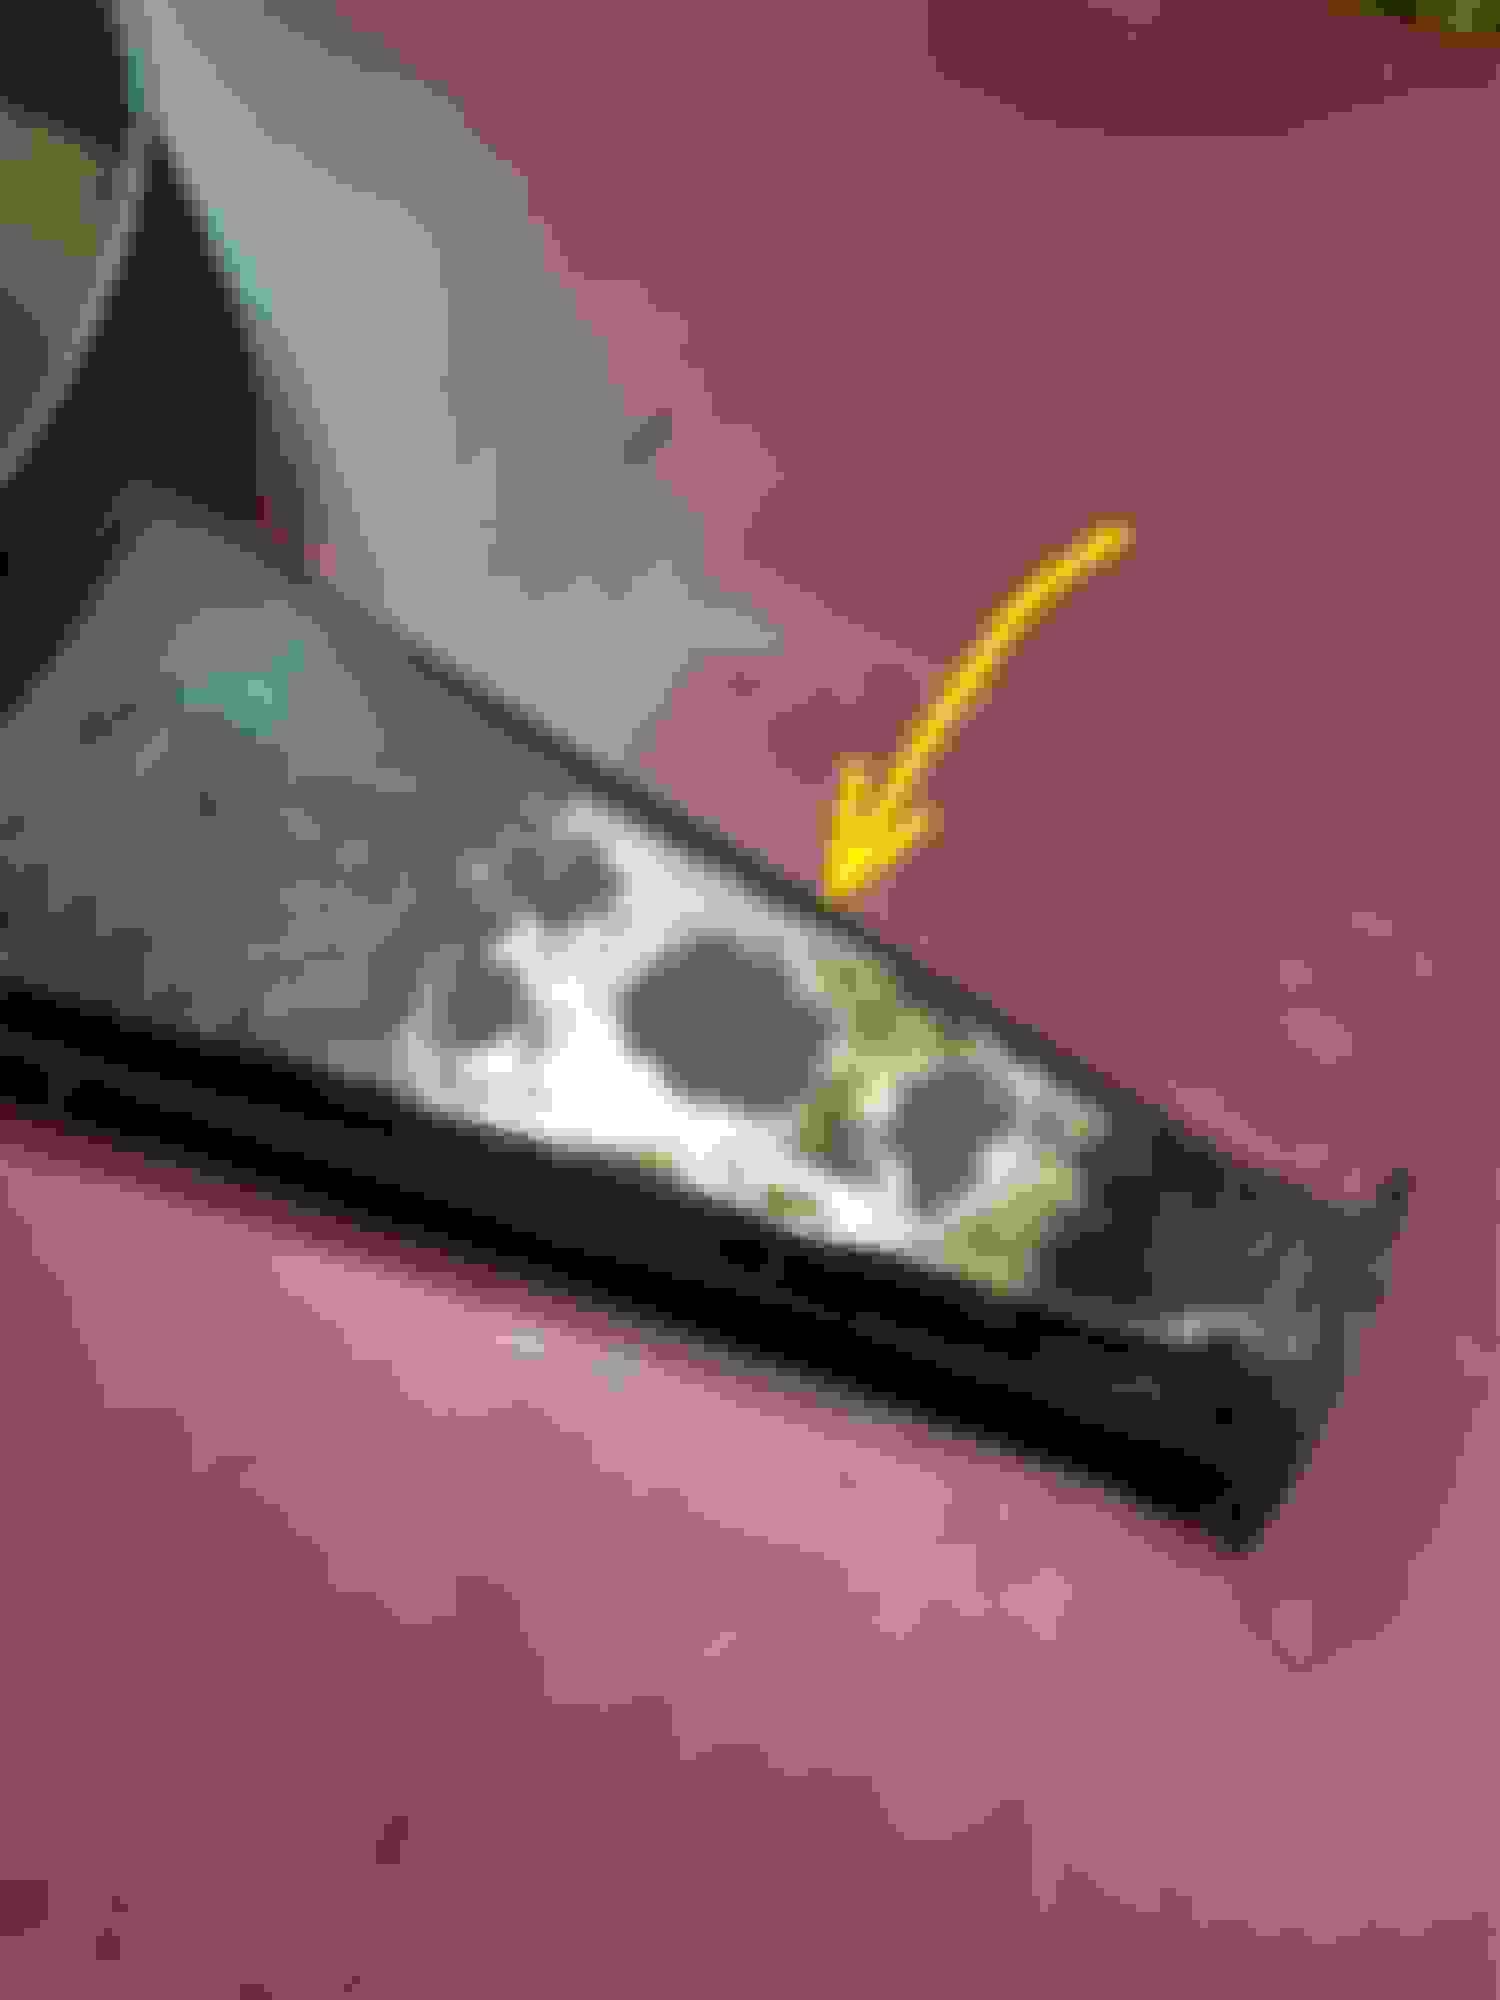
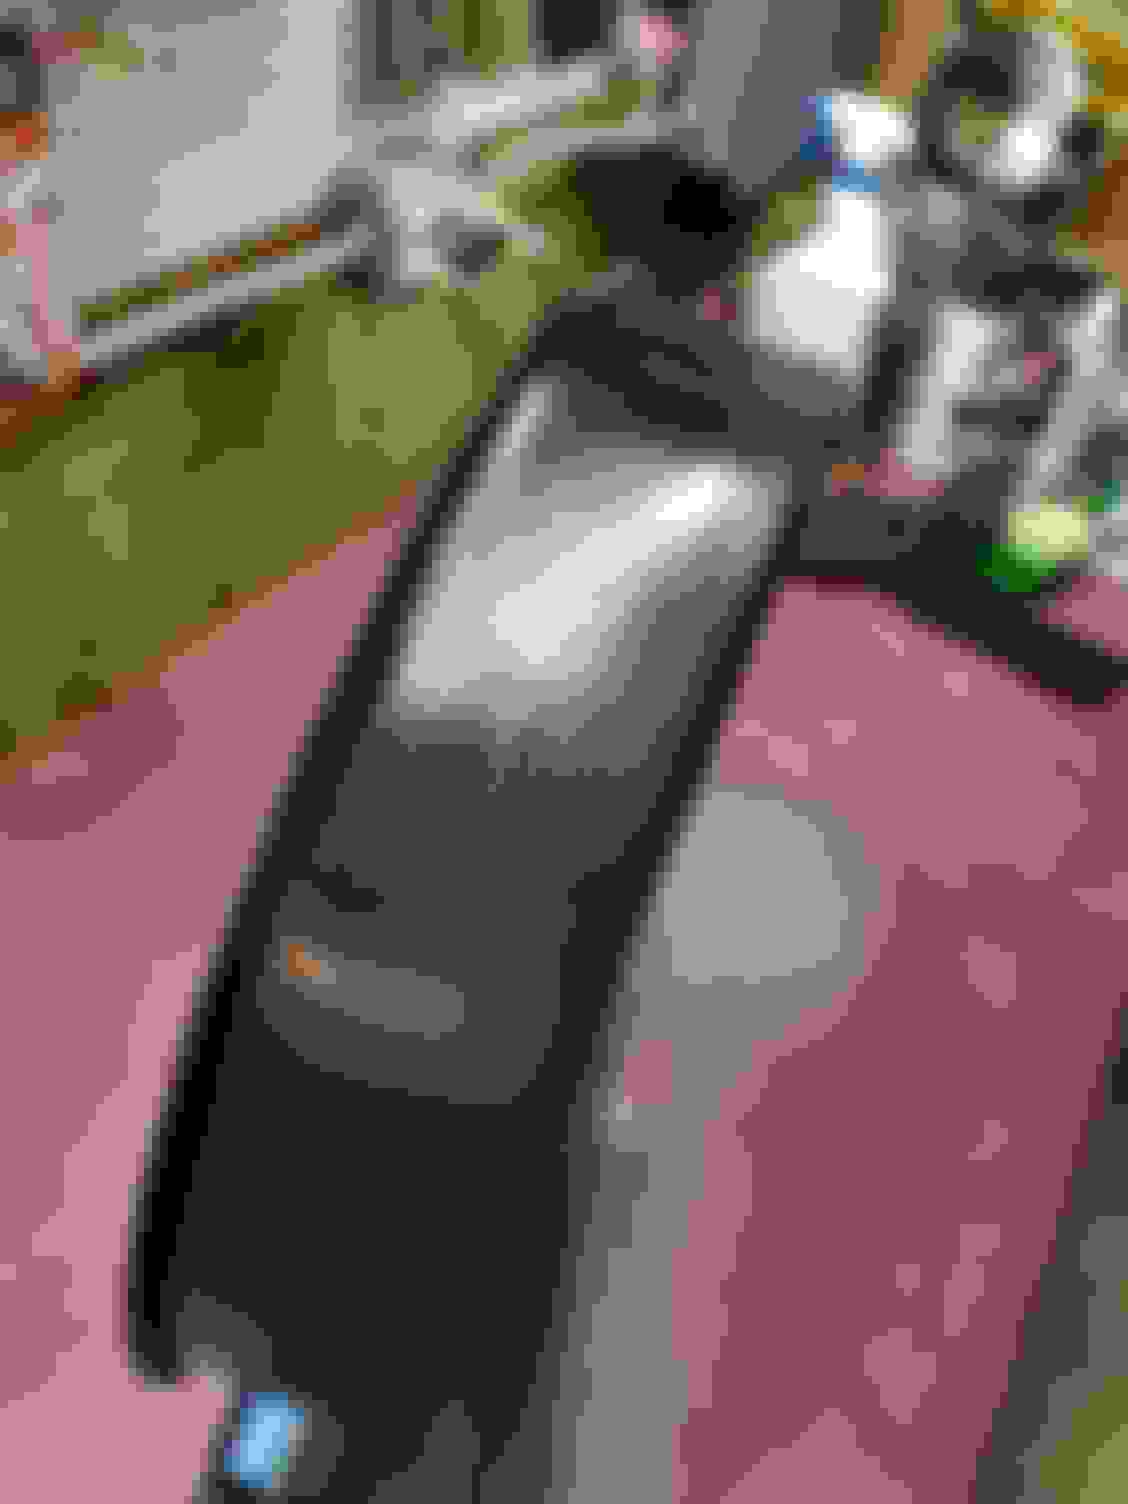
Oops I guess I showed you that I like JB weld, it's my friend. Here are some more pics of how I used it to "fix" the holes and imperfections. I ain't no fabricator or sheet metal man that's for sure. Before filling in the holes
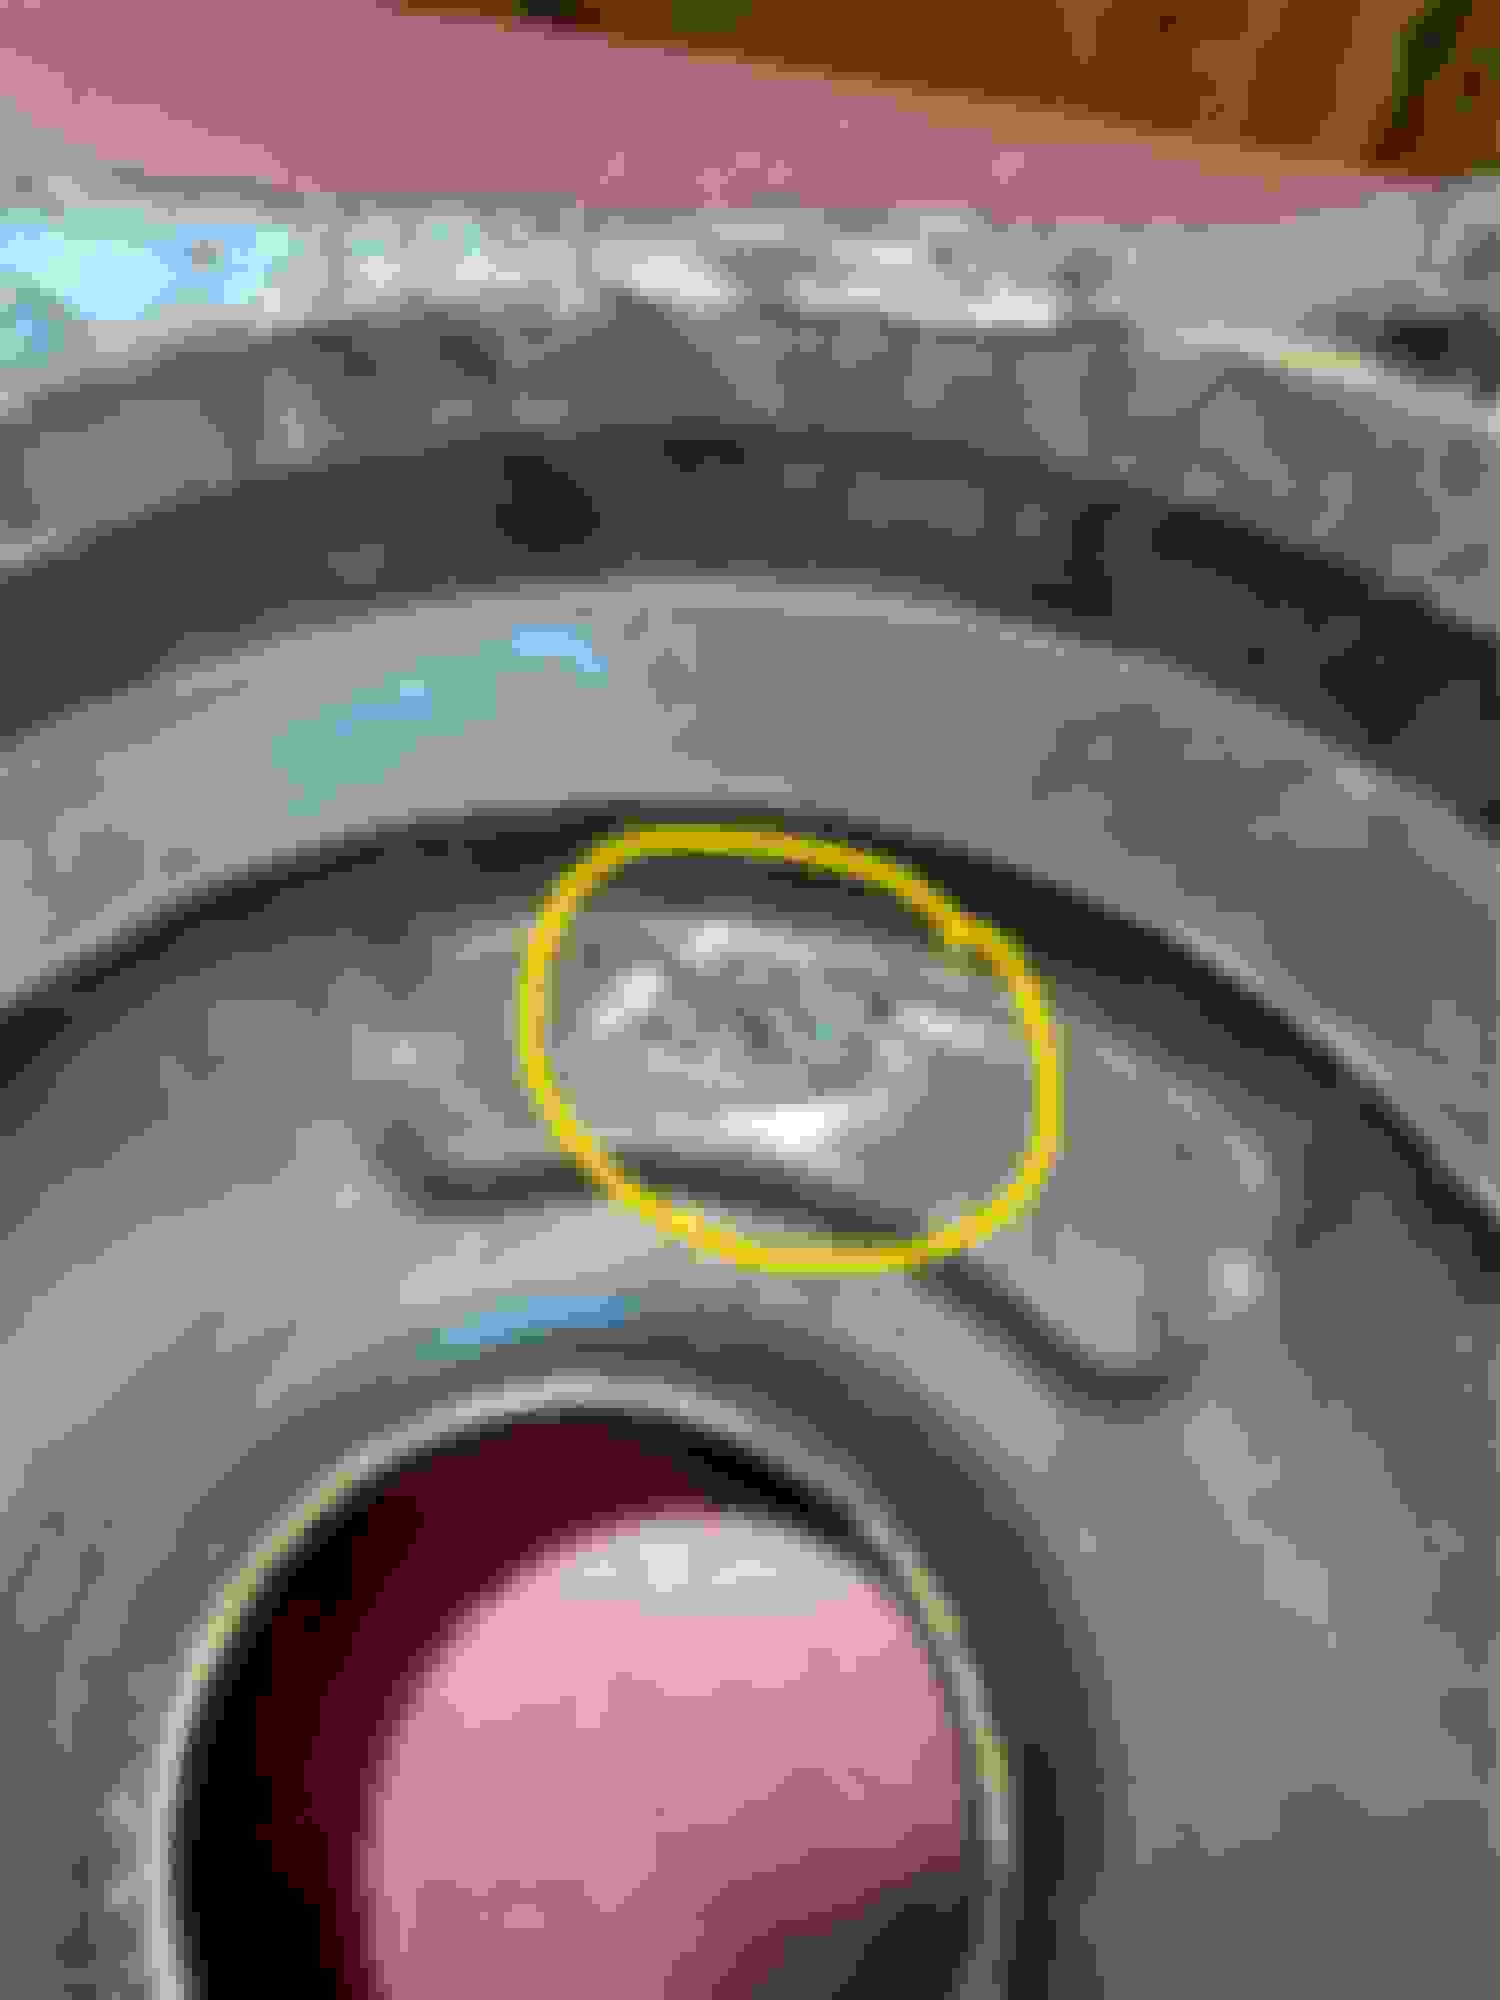
At this point I have filed, sanded, roto-tooled down lots of high spots and imperfections trying to make things look decent and have added another application of JB Weld to the low spots. Waiting for those to cure and then I will sand some more. I am going to try to get a look on the air cleaner housing that doesn't scream "I have been re-painted!" but want to get a sort of original aged look since I am not going to re-paint the top since the decal on it is in good shape. I don't know if it will work but will give it a try and will continue to post progress.
Get a few pieces of copper pipe, flatten one end, and use that as a backing plate when welding thin metal. If you clamp it solid to the back of whatever you are welding, it�s almost impossible to blow thru the metal.
I have a couple chunks of 1/2 aluminum plates I use to weld closed holes in transmission spacer plates. Clamp the plate solid, it keeps the plates from warping.
JB Weld is great!! It ain�t broke if you can fix it with JBWeld
In the process of adding coats and coats of paint to try and get something that looks half decent. Sheet metal just doesn't seem to restore well, I don't know how body guys do it. I think there are four coats of paint and I don't think it is going to get any better so I may call it done soon. Will post a finished pic but doubt if it will look any good.
Ok, so I am finished with this little project for now. I admit that my workmanship is not as good as I would like or as good as it used to but I think the thing looks better than it did with all that extra useless hardware hanging on it, or with the holes where that useless hardware used to be after I removed it. Wish I had taken a before picture. Anyway here are the finished photos. I haven't put it on the car yet because I am waiting for two more belts to arrive and the radiator, shroud, are out of the car now.

 July 26th, 2022, 10:23 AM