When you click on links to various merchants on this site and make a purchase, this can result in this site earning a commission. Affiliate programs and affiliations include, but are not limited to, the eBay Partner Network.
I'm reassembling my power seat tracks after giving them a good cleaning, but as I test the motor it's weak enough to stop spinning with a hard thumb press in either direction. It spins freely, it just doesn't have enough guts to move the armature, much less the seat or the seat with someone in it. Is there any way to get the power back to a weak motor like this?
I disassembled the 4wd engagement motor in my truck. (4wd would not engage)
When i did i found the armature? where the brushes ride was dirty and wouldnt allow the brushes to make good contact I just cleaned that area up nice and never had another problem w it many times a dissassembly and good inspection / cleaning will get stuff like this going again
That's what I'm wondering. I know the windings are right up front and they aren't big. Maybe some fine sandpaper to buff them clean again. I'm sure it needs a greasing as well, but what kind would I use? As it runs now, I can spray the shaft with some spray lube and it doubles in speed - but I can't get the torque I need to get the belts moving, even with that. The only issue I see is the plastic pulley - it's pressed in place and is pretty stuck. If I break it I'm up a creek.
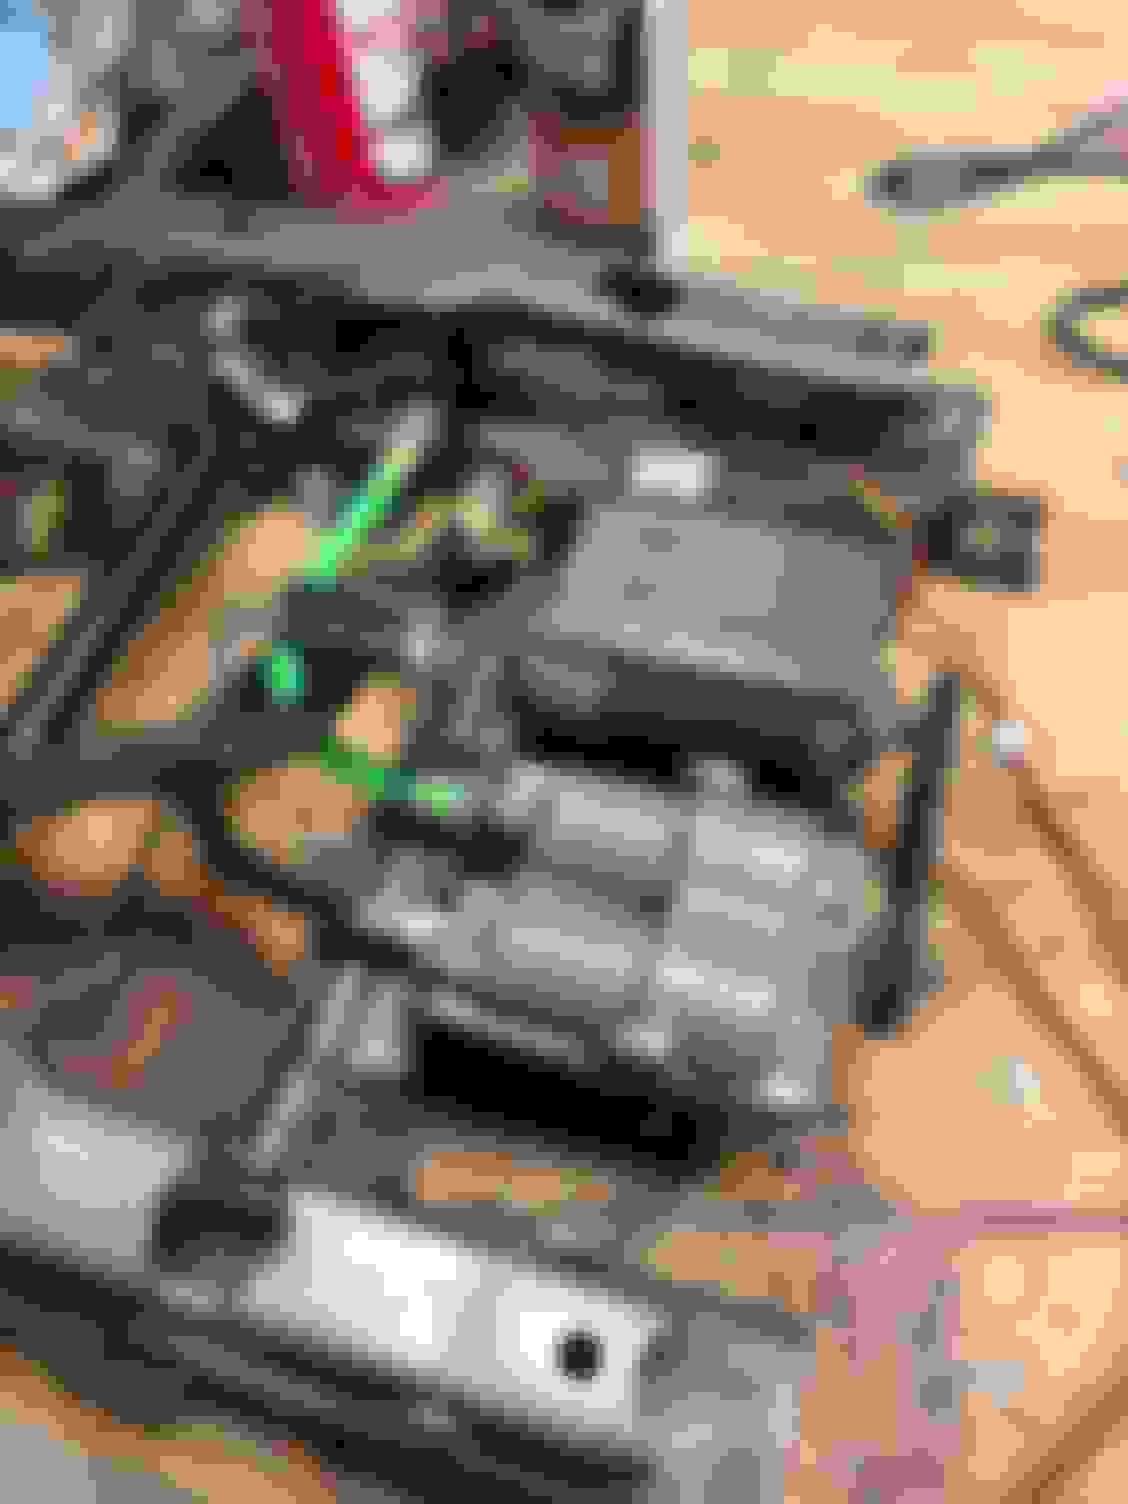
Here is the same motor with a different center shaft than I have. It looks to be fairly easy to clean up the contacts points and the brushes. But again, I need to figure a good way to get the plastic pulley off mine.
OK, so I learned a bit this morning. The pics above are the BACK side of the motor, and removing the two long bolts lets this cover drop off. The copper on the center shaft was black, so I used electronics cleaner and 1000 grit sandpaper to clean it up. I also made a little file and sanded the bottom of the brushes and cleaned them. Then some new lube on the end of the center shaft and reassembled it. All for nothing. The motor doesn't run any better or any stronger than it was. I can jump it and it runs smoothly - and faster than it did when I got it - but nowhere near enough strength to turn the pulleys and the drive gears for the seat. I also noticed my relay rattles and doesn't seem to send enough power to the motor - when jumping the wires to the motor directly, it runs smoothly. When running power through the relay, it's intermittent, and the motor won't turn.
Dirty contact points - center shaft and brushes Glued sandpaper to a sliver of a paint stick Cleaned the brushes and the center - then Q-tipped the areas with electronics cleaner Clean as I could get it Reassembled and nothing works :/
Last edited by BSiegPaint; November 20th, 2019 at 06:54 AM.
you can take apart and clean the relay in the same manner as well. Good job on the motor, the only caution i would not sand the armature its only copper and will quickly get worn or grooved 1000 probably wont damage it but just FYI.
If spraying the shaft helps you may need to clean that up as well not sure if its bushed or greased maybe just needs a clean.
I would clean the 'points like" contact seen in the case as well
Last edited by RetroRanger; November 20th, 2019 at 04:07 PM.
you can take apart and clean the relay in the same manner as well. Good job on the motor, the only caution i would not sand the armature its only copper and will quickly get worn or grooved 1000 probably wont damage it but just FYI.
If spraying the shaft helps you may need to clean that up as well not sure if its bushed or greased maybe just needs a clean.
I would clean the 'points like" contact seen in the case as well
Really good info, thanks. It just seems odd that this little motor doesn't have any power at all. At one time it could move a seat with a person in it, and now it can't turn against finger pressure. I think the opposite end of the case is more of a permanent seal. It looks like the metal is stamped to keep that end closed. I'd like to be able to take the whole thing apart and clean it fully.
Is the ground good?
Are the brushes stuck in the brush rigs?
Ohm the brushs.
The case ground under the contacts looks bad.
Ohm the stator leads then the leads to ground. Shouldn't be a path to ground. Same for the rotor. Shouldn't be a path to ground, internal shorts etc....
I dont see excessive commutator wear nor any mica proud of the contact surfaces. But clean any carbon in between the commutator contact areas.
Does the rotor spin freely? Bearings do look dry.
If the connections are all good start digging.
Measure the AMP draw. If it's excessive there's a problem with the brushes stator or rotor(armature).
It needs to come apart and each subsystem needs to be tested independently, You are looking for shorts to ground or shorth between fields.
Try the Googler for some how toos...
If this sounds out of your wheelhouse find a good motor shop to test and repair as needed or find remanned, new or used.
Drolds, I can do about half the things you list above. I think I'll spend a little time this morning reaching out to some electric repair shops locally and give this to a professional before I screw anything up.
I can tell you the ground to the power source is good and the motor runs well when jumped on the bench or on the frame assembly. It fails when the power runs through the relay (and it has no strength at any time). The brushes are moving freely and they are clean. The rotor spins freely as far as I can tell - that doesn't mean there isn't an inherent drag on the shaft that I can't feel. I can't spin the rotor and have it continue spinning like a top on a table. I think the biggest problem I see is the pulley end of the case is stamped shut, not bolted. It's a pretty stout case and I don't see an easy way to get it apart.
[QUOTE=BSiegPaint;1210726]
It fails when the power runs through the relay (and it has no strength at any time).
Then I'd be concentrating on that and what's downstream. Have you verified the mechanism isn't binding...i.e. all the parts after the motor?
It fails when the power runs through the relay (and it has no strength at any time).
Then I'd be concentrating on that and what's downstream. Have you verified the mechanism isn't binding...i.e. all the parts after the motor?
For sure the seat assembly moves smoothly when hooked up to a drill - up, down, back and forth. But even with the seat transmission unhooked, the motor doesn't have enough power to turn the pulleys over.
OK!!! Thanks to Drolds I went back and tore it apart further. Figured out how to disassemble it a little more (it�s just a snug fit in the case, and the pulley comes off with a little chisel persuasion)... There were several layers of filth on the windings which I cleaned. And I lubed the bearings better. Then I popped the relay open and cleaned the contacts.
Once it was back together and assembled, I realized how important the ground wire is. The factory wire is a heavy gauge for a reason. I had an 18g test ground wire extension as I ran the unit outside the car, and it melted (and the motor ran slowly). Connected the factory ground wire after pulling the seat, and the motor runs like a champ - plenty of power and speed. I�m sure that was part of my bench test frustration. Anyway, now I need to get the interior partway out to run the power wire and get this installed!!! Thanks to everyone who responded here
Last edited by BSiegPaint; November 23rd, 2019 at 02:17 PM.
Thanks for the great write up Bob! I just followed these steps to get my weak motor moving again. In my case my motor was turning but the seat wasn’t moving. Once I had the unit on the bench I could see my belt was slipping. I took the motor apart and cleaned and inspected it, filed the contacts and lubed the bushings. I also pulled the transmission apart and dug out the old dried up grease and replaced with new white lithium grease. I lubed the cables and and the tracks and reassembled everything. After I reconnected the power and ground I ran the motor, which sounded a lot faster and stronger but the belt broke. I found replacements online for $15-$20. I measured the old one and found a 413 o-ring is the same size, 3” ID 1/4” width. I bought a pack of five on Amazon for less then $10 with free next day delivery. I just popped one on and it fits perfect and the seat works great in all directions.
Thanks for the great write up Bob! I just followed these steps to get my weak motor moving again. In my case my motor was turning but the seat wasn�t moving. Once I had the unit on the bench I could see my belt was slipping. I took the motor apart and cleaned and inspected it, filed the contacts and lubed the bushings. I also pulled the transmission apart and dug out the old dried up grease and replaced with new white lithium grease. I lubed the cables and and the tracks and reassembled everything. After I reconnected the power and ground I ran the motor, which sounded a lot faster and stronger but the belt broke. I found replacements online for $15-$20. I measured the old one and found a 413 o-ring is the same size, 3� ID 1/4� width. I bought a pack of five on Amazon for less then $10 with free next day delivery. I just popped one on and it fits perfect and the seat works great in all directions.
Love it! This was so frustrating for me, but once done very satisfying. And my seat is still working without a hitch two years later.
 November 19th, 2019, 06:25 PM