When you click on links to various merchants on this site and make a purchase, this can result in this site earning a commission. Affiliate programs and affiliations include, but are not limited to, the eBay Partner Network.
I have had this car for a little over a month and had nothing but issues with the electrical. I bought the car in NC and drove it back to GA. During that drive I had a wire burn up. Yesterday, it burned at the solder connection I did to patch it and today it burned at the other end of the patch. I am replacing these connectors with better connectors but am struggling to figure out if it is wired correctly. The wire in question is coming from the alternator. It runs over to a stud on the fire wall where there are three other wires with eyelets and they are all bolted to that stud. Is this �distribution stud� factory? If so, what are the four wires supposed to go to? I want to make sure everything is connected to the correct places on that stud.
tge engine was replaced and while it is the factory wiring harness, it has been required a bit under the hood when the engine was swapped.
and direction on where these wires are supposed to go and if this is correct would be greatly helpful!
You need the original OEM Oldsmobile factory Chassis Service Manual which contains not only everything you need to know about your vehicle, but includes an original color wiring diagram. The Product Information Manual (PIM) sometimes known as the Factory Assembly Manual will add tons of additional information for you.
Obviously, you have an electrical issue (I know you know this) if you've burnt up the same (I guess) wire twice. At the absolute basics, you need to trace that wire from beginning to end and examine it for any exposure. You have any aftermarket accessories which are (could be) drawing significant amperage - bass power booster, radio power amplifier, etc.? Often times a PO will have added aftermarket "stuff" - which may or may not have been wired correctly. Review the wiring diagram, trace the wiring and begin to make dome detailed notes you can follow. There isn't anything magic about it, just takes leg work. Use a multi-meter and/or a test light while tracing wires.
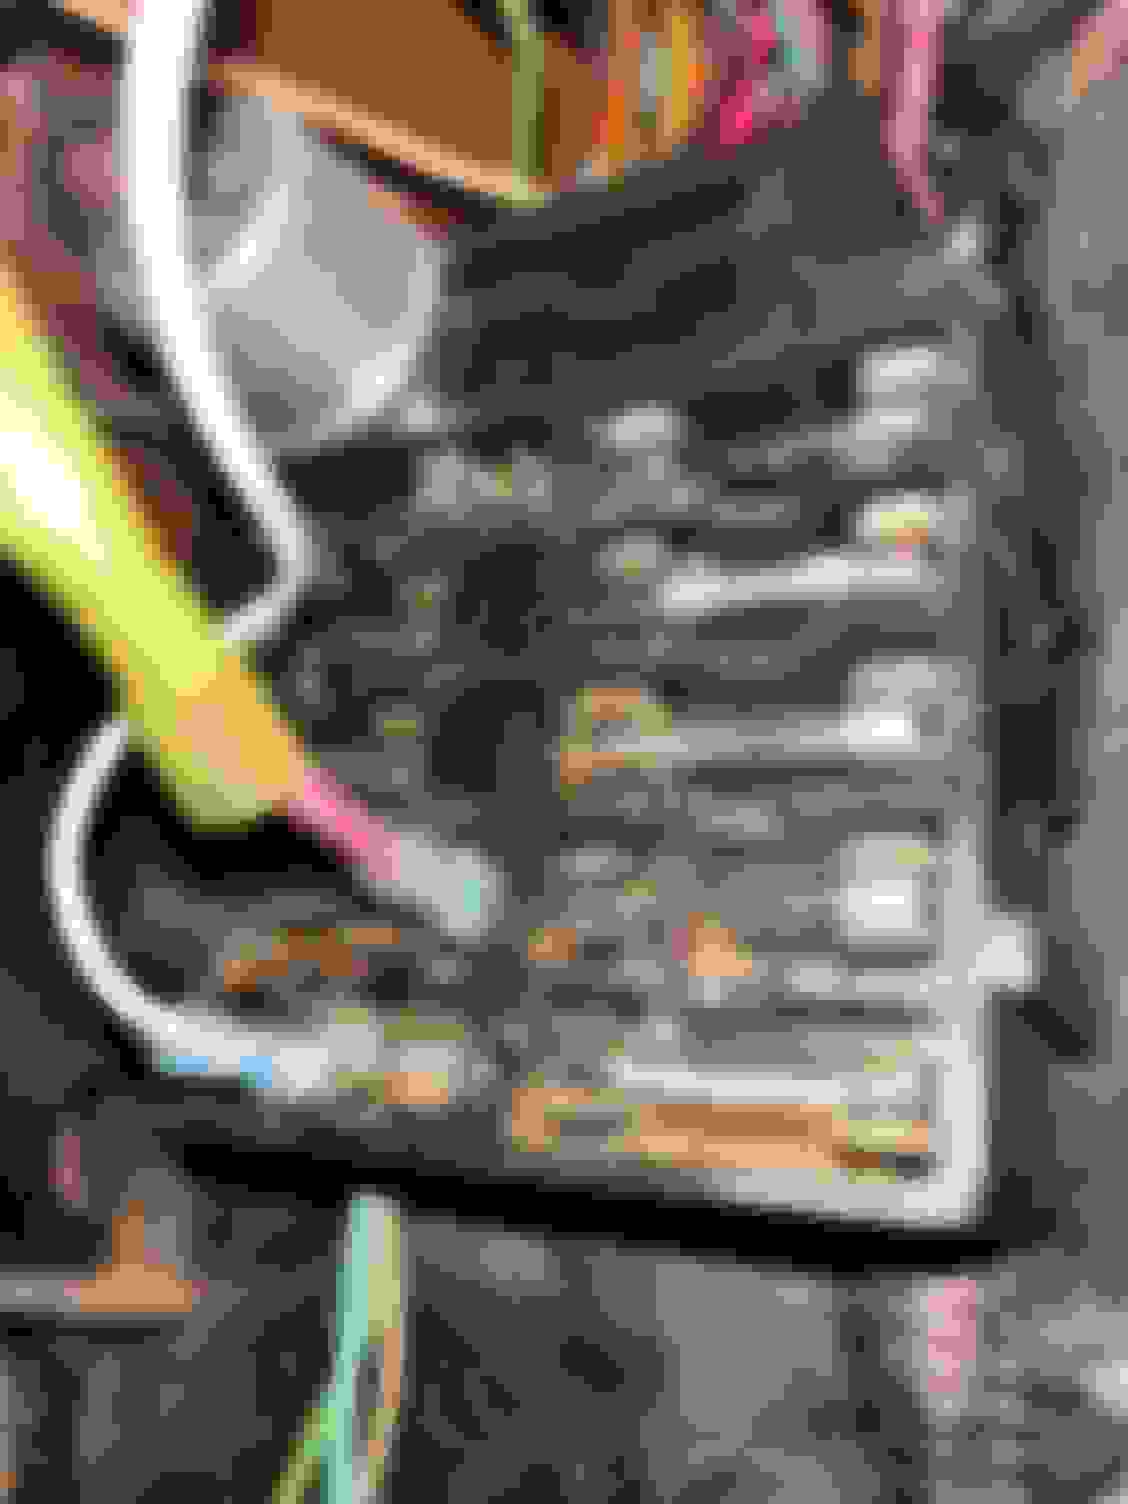
"If' by any chance, someone did perform some electrical voodoo on that wire you're holding, notice it's black and red. The only wire which has a black wire connected to a red wire is the fusible link wire.
Note in the wiring diagram (which I have zoomed in on for you) the location of the fusible link. I have no idea if that's what you are holding in your hand. A PO may have instead used a different color for the same wire &/or circuit. You have some tracing to do.
I read a couple of your previous threads. I do hope you are creating a very detailed/thorough wiring schematic based upon some of the modifications to your vehicle. You're going to need to create a very detailed wiring diagram you can resort to at any time. Obviously, it appears there are departures from OEM wiring - be thorough. Nothing worse than watching a car burn to the ground.
Note in the wiring diagram (which I have zoomed in on for you) the location of the fusible link. I have no idea if that's what you are holding in your hand. A PO may have instead used a different color for the same wire &/or circuit. You have some tracing to do.
I have seen this diagram before but it shows an external regulator. My alternator has an internal regulator and I understood that it had an internal from the factory.
Let me guess - that's a Chevy motor that you're carefully not showing us? Otherwise there shouldn't have been a lot of rewiring needed to the stock harness. That break you're showing us isn't a factory splice, so all bets are off on the non-stock wiring and the workmanship used to do it. Not knowing exactly what changes were done to the harness makes it difficult to provide useful answers.
From another thread (yes, with a wiring issue) the OP states his 72 Cutlass has an Olds 403 engine.
Well, then there shouldn't have been a need to muck with the stock harness. In any case, since the "stock" harness is no longer stock, it's difficult to provide useful info without more details and photos.
Well, then there shouldn't have been a need to muck with the stock harness. In any case, since the "stock" harness is no longer stock, it's difficult to provide useful info without more details and photos.
If that's the wire from the alternator to the distribution block (as the OP mentions) isn't it a little small in gauge to carry the whole car's electrical load? Especially true if that distribution point connects to a weak battery. It's difficult to tell from the photo, but the original wiring at that point was at least a 10 gauge.
If that's the wire from the alternator to the distribution block (as the OP mentions) isn't it a little small in gauge to carry the whole car's electrical load? Especially true if that distribution point connects to a weak battery. It's difficult to tell from the photo, but the original wiring at that point was at least a 10 gauge.
I know 1971 it was a 12GA. 1972 it became a 10GA. "If" that's the wire from ALT>distribution (Power Takeoff/junction) box. OP was supplied w/ the 1972 wiring diagram.
Alright guys, I believe I have found the problem. I traced and labels all wires under hood and everything looked good (after repairs) and is wired correctly per the diagram above. I went under the dash next and pulled the fuse box. Tha back I�d the fuse box is a wreck. P.O. put a crimp connector on it that only had 4-5 wires in it. It�s covered in rust and corrosion. I am fairly confident this is the root of my issues.
that said, I am going to replace the fuse box and wires connected to it. I would love to have an OEM fuse box in there if possible. Can anybody recommend a fuse box to me? Pics of front and back below.
No reason for me to say YIKES but you have at least several wires which are scorched; and, I'd say the PO was clueless on their wiring capabilities. At any rate, to address your issue(s):
(1) The front of the fuse box does not look terribly bad - I've seen far worse. You have oxidation/rust on the metal but it appears to be fairly minimal (again, I've seen far worse). The metal doesn't look fatigued but hard to tell. Metal CAN be cleaned up - wire brush, scrubbing, etc. - it can be done;
(2) I'm not aware of manufacturers who sell an identical OEM fuse box/panel - they may exist, I haven't researched them for your fuse box other than trying to help out several others who may or may not have picked up a previously used fuse box. I'd consider posting an ad in the Parts Wanted section of this forum indicating you're looking for a 1972 (compatible) fuse box. Lots of guys on here selling parts and I've seen them on here before - someone may well have an A-Body fuse box;
(3) The back of the fuse box doesn't look terribly bad. Yes, the wires leading into the back of the fuse box are shoddy, poor connectors, bad wiring yes - but, you can fix that with correct wires, correct splices etc. These fuse boxes aren't plug & play like newer vehicles chances are you might be some time finding a really good used fox box. Again, post an ad Parts Wanted.
If you're good at cleaning things up properly, wire brush, solvent, scrubbing, etc. - if it were me I'd go this way, and in order:
(1) Mark the current color of each wire and where each wire goes to. Remove ANY unnecessary wires which do no follow or belong in the wiring diagram since the PO most likely butchered it up anyways. Use painters tape (or whatever) and mark every wire with a label;
(2) Cut each wire from the fuse box after you label them;
(3) Remove the fuse box and thoroughly clean the fuse box. You're be very surprised what some thorough cleaning can do to remove the oxidation/rust showing on that fuse box;
(4) Once you have the fuse box cleaned up, set it on a bench, install the fuses, hook up a 12V battery and check each metal fuse holder for continuity. Good chance that metal is going to be good after a thorough cleaning.
Might look like a PITA, but honestly it is what it is and that's all there is to it. Either dig in and get it done, or don't. If you can't clean it up, then find something to replace it.
In all cases be METICULOUS & METHODICAL about making a good drawing of your wiring. I've done quite a number of rewiring, etc. Many will/might stated it doesn't matter what the wire color is, but it is ALWAYS the BEST & CORRECT choice to use the correct color wiring. You can purchase ANY color wiring of ANY gauge from many, many wiring supply houses. Use the correct color and correct gauge. You already know you have some leg work cut out, just dive in and be methodical about it so you can ALWAYS convince yourself you did it the correct way.
BTW, oddly (or not so oddly) enough they do sell the metal holding spades for the fuses. I've found them, pretty sure Joe knows where to find them. Look, that fuse box is NOT that bad - I've seen them cracked in half, corners busted out, etc.
That is another option. I've seen numerous folks perform same. Don't forget the Search function located on each page of the site. A key to using the Search function is to enclose a key word 'string' in apostrophes (include the apostrophes). As and example:
"wiring harness" will specifically yield both words together e.g. wiring harness
If you were not to use the apostrophes, you would return all searches with either the word wiring or the word harness and both wiring and harness individually but not as a 'string'
Thank you to all those who have helped and given suggestions. I am hoping to do the work this weekend (if I can get the harness in by the ) so I will update with how it turned out.
New dash harness = smart move -- I installed an M&H dash harness about 6 years ago not long after acquiring my car - it had never been butchered but I chose to do so simply due to being 40+ years old -- hardest part was removing old one from dash due to the way the factory installed them but I labeled everything on it as I disconnected it so new install was a comparative breeze.
You can also easily install a new courtesy lamp harness (which connects to and sits directly underneath it behind the dash) while you have everything apart.
yeah, I'm just ready to be done with the trouble so gonna do it right. Going with an OEM replica harness instead of a universal harness so all wires are factory color. It's more expensive but will be better for down the road and possible next owner.
Be aware that you can get the parts to fix this harness properly from AuVeCo catalog.
You want to look for Packard 56 wiring terminals (both male & female), buy them in quantity and get whatever plastic shells that may have melted from previous “wiring projects”. Packard 56 is the name of the system that GM used for decades before going, I believe, to Metripack in the 80’s
The best way I’ve found to do this is to pull the whole harness and look at the whole thing on your bench or garage floor, then compare it against the factory design and put blue tape on all the problem areas. Usually the problems are burnt insulation, broken wires, melted insulation, snapped or about-to-snap
connectors.
Also once the harness is out of the car, you can pop the factory terminals out of their shells and deoxidize them for best conductivity.
Going with an OEM replica harness instead of a universal harness so all wires are factory color. It's more expensive but will be better for down the road and possible next owner.
Good choice. Sometimes the universal replacement wiring harnesses come with the 530433 add-on accessory:
Alright gentlemen, my OEM replacement harness is here and I am tearing into it on Friday. I expected the harness to be labeled or to come with a diagram sheet but it had neither. I reached out to the manufacturer and was told to use an OEM service manual because it is an OEM replacement. They said to call if I had trouble determining where a wire plugs in because they have manufacturing diagrams for their harnesses but he said I cannot have a copy of said diagram... well that stinks lol. That being said, does anybody have a PDF of the 72 Cutlass service manual or a high resolution of the wiring diagram? A diagram/ labeling of the dash harness would be ideal but a full car diagram will work. I know there was a picture posted above but it is hard to read some of the labeling. Any help would be greatly appreciated. Thanks guys.
I'm praying that replacing this harness will be the end of this adventure lol. I'll update after I get her installed.
It's not difficult - simply wrap painter's tape and mark each connection around each wire component coming off your original harness with what it came off of as you unplug it from the dash - then you have a road map for the new one going in.
removing the old is the hardest part - but assuming it hadn't been previously modified with additional splices / add-ons, the new one should go back in easily.
^^^This. Also note that most of the connectors are designed so that they only go to one place to minimize the chances of mistakes on the assembly line.