When you click on links to various merchants on this site and make a purchase, this can result in this site earning a commission. Affiliate programs and affiliations include, but are not limited to, the eBay Partner Network.
1. You may not need to drain the radiator if you’ve bypassed like I did, if not then it’s a good idea.
2. Disconnect the negative battery cable (you don't really need to actually, just unfasten the connections to the glove box light)
3. From the inside of the car, remove the glove box and glove box door
4. Directly behind the glovebox is an AC distributor and is held in by 3 nuts. First remove the duct tubes from both sides of it (one leading to the passenger side “crotch vent” and the other to the driver side)
the thing on the left is the lower outlet, the thing on the right is the ac manifold
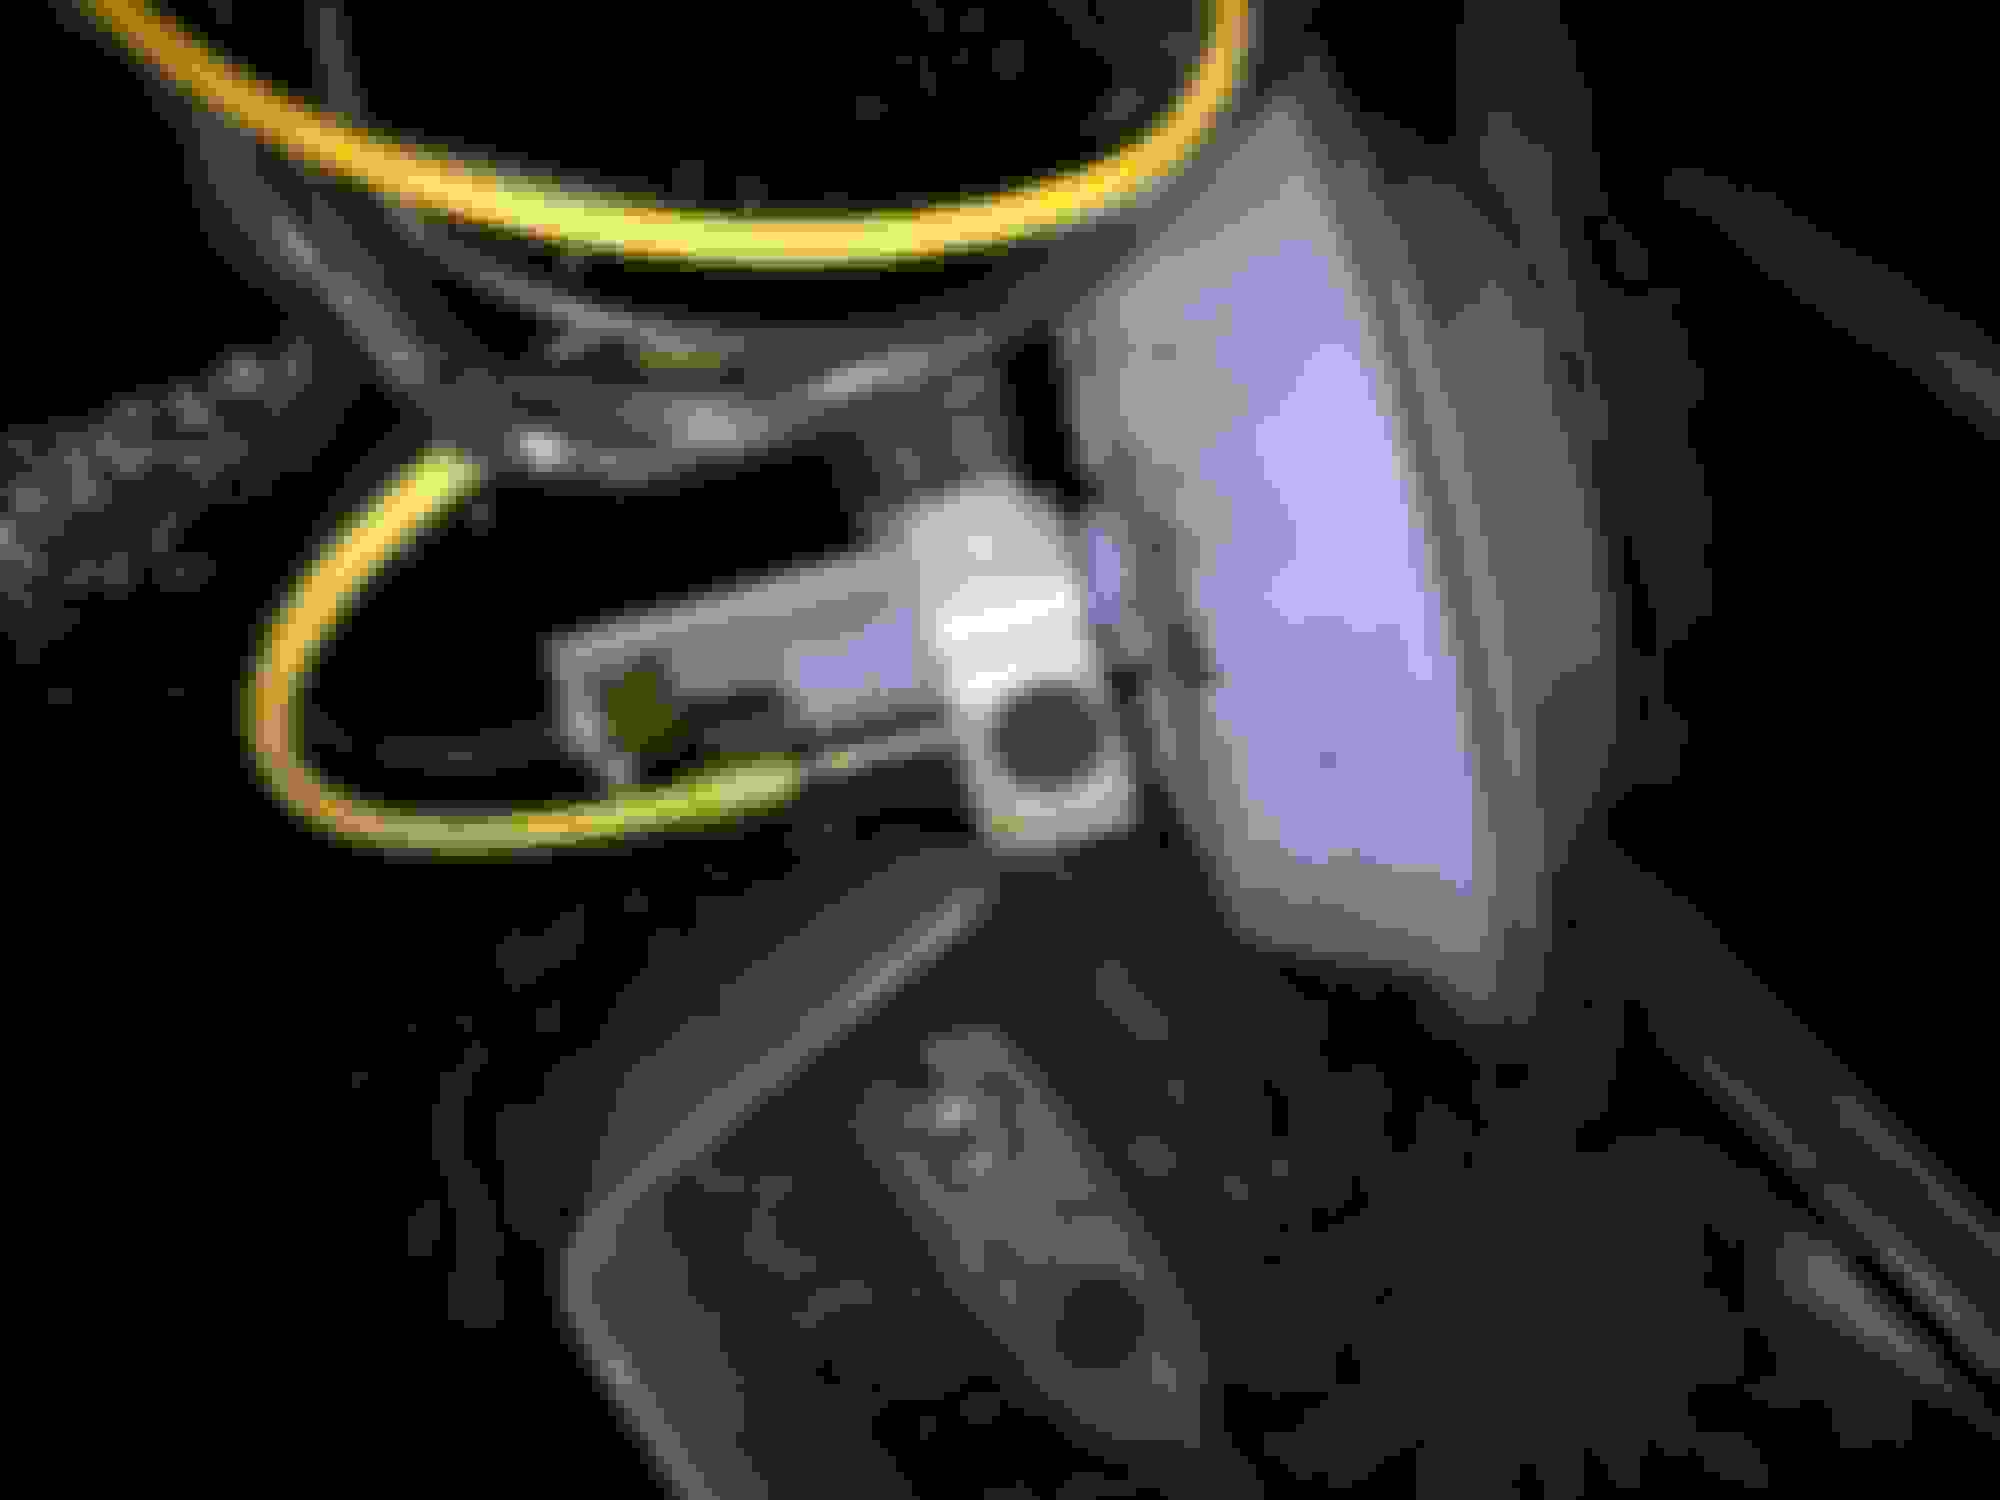
5. Go back out to the engine side and remove the resistor assembly and shine a light down in, you’ll see a nut on a stud, remove the nut (ratchet and socket was easiest)
the resistor assembly is a diamond shaped thing with a plug. It is held by 2 5/16" bolts
6. Remove two more nuts from the upper and lower evaporator case half (one on the top which is hidden by a bunch of wires,be careful, and one directly below it)
7. One more nut by the core tubes, right by the transmission dipstick.
bolt is already removed
8. Go back to the inside of the car, remove a nut on the lower right hand corner of the heater assembly.
9. Remove the lower outlet on the left side
the thing on the left is the lower outlet, the thing on the right is the ac manifold
10. Directly above the outlet is one last nut which bolts on to the defroster duct. Remove the nut.
11. Disconnect the vacuum connections on the diaphragm on the left side
12. Disconnect the temperature control cable (play around with the temperature dial to see which mechanism moves). A small nut secures the cable, take off the nut and slip off the cable
13. The case is now ready to be removed. Work it to the rear until all the studs (on the engine side) clear their holes.
14. With the case out there are two more vacuum lines that need to be disconnected.
15. 3 nuts hold the core assembly in the case, remove them and slide the assembly from the case.
16. There are two different kinds of brackets on each side of the core, each held on by two nuts, remove them.
17. The core can now be separated
INSTALLATION IS REVERSE OF REMOVAL; IT IS A PAIN TO REINSTALL THE ASSEMBLY TO THE FIREWALL.
Tip: Have a helper help line up the core tubes to the entrance. If the defroster duct isnt lined up dont fret. You should try to get all the studs in at the same time along with the tubes (if it came out, it can go back in)
TAPE ANY TORN PADDING
Also when reconnecting the temperature control cable it make sure that the vent door (if you peek through the resistor opening you'll see the door either exposing the heater core or hiding it) is corresponding to the temperature you have selected. For example, if you are on cold then the door should hide the heater core and if you're on hot it should expose it.
Thanks to @76olds for guiding me through!
Last edited by 77ricbaez; Jun 22, 2016 at 07:36 PM.
Am in the process of pulling my heater core with the help of this awesome pictured guide!
Only thing i would add be to remove your front seats/bench, and console. I am a bigger guy and can lay on my back lookin up under the dash to get to that heater control cable by the d/s vacuum line disconnect. Did you do any refurbishment? I am seeing a lot of decayed foam on the two doors.
Like the silver 77 supreme pic on your thumbnail/profile 7ricbaez
In response to #1 on the first post...The only thing I'll add from a preventive maintenance standpoint is that you're in there, the cooling system is opened up, might-as-well flush the system, then rinse it out.
Suck out the rinse water with a shop vac. Swap the core, then refill the system.
The heater core is the farthest component from the pump, which is why it is usually the first thing to fail from the crud built up. Most don't think about disconnecting the core during a service flush and give it its own flush n suck.
Bottom line is, I'll bet the rest of the system could use a flush and fresh coolant. We don't realize how fast time flies by. The next thing you know, it's been 20 years since the coolant was flushed.
I don't think it's wise to push old, contaminated, or unknown coolant into a shiny new core.
Lastly, along with seat removal, I will remove the fender, or at a minimum, the wheel well. More access and it turns it into a one-person job...at least it does for me.


 1973-77 Cutlass heater core removal guide WITH AC