When you click on links to various merchants on this site and make a purchase, this can result in this site earning a commission. Affiliate programs and affiliations include, but are not limited to, the eBay Partner Network.
Hi! Can anyone help with advice as to how to install my parking brake cables in my 1972 cutlass? I think I have everything as shown in the assembly manual but I can't get one side or the other to reach the connector with the brake drum cable. What am I doing wrong? Thanks!
Chris
Hard to tell without seeing the car. You may have the hooks in the wrong holes?
Did you have cables before or is this a new installation. You may have the wrong cables.
Chris, the cables should be identical.
Start by hooking up the rear cables to the parking brake cables.
Now make sure you have the S hooks properly positioned and thread the cable through them and across to the adjuster.
You can adjust the tension or looseness of the cable by tightening up that assembly.
How much are you out on the connection?
Also make sure your e brake pedal in the car is fully up.
Thank you Allen. I will try that tomorrow. I tried to connect the back first so maybe that's the problem. I was about an inch out at the drivers side with everything else connected and the adjustment all the way out. Am I correct that the hole on the cross member is at the top of th cross member almost above the driveshaft? It seems a little different than what the assembly manual shows but maybe not? Could it have anything to do with the fact that the drum brakes are all brand new and I have not adjusted them yet? And I did have the e brake pedal all the way up but it was very loose and didn't feel connected to anything. Thanks!
Chris
Ok. Thanks Joe. And it appears from the assembly manual that the two aft located hooks are "s" hooks where as the one attached to the crossmember looks like a squared off "c". I don't have this squared off c but rather another "s". Could that be my problem? Is the "c" similar in size to the "s"? All mine are about the same size.
Thanks!
Chris
Yes, that's exactly your problem. The hook on the crossmember is significantly longer than the two "s" hooks.
Okee dokee, I posted thinking you had all the right hardware. As far as the drum brakes? Nope, I did all new drums at the back and had no problem reconnecting my cables. I also bag and tag everything that comes out of my car, and take pictures of it before hand so I know how it was installed originally.
Thanks Allan! Yeah, I put 99% of my parts in small clear glass jars (not a good idea because they can break , and have) or yogurt containers. The jars and yogurt containers were all labeled,
as well as the boxes they were stored in along with a master computer list and printout of where every part was placed... problem was that the jars where I used grease pencils or China markers all wiped off from handling them. That was a hard lesson to learn. All the ones where I used a sharpie were fine. So anyone getting into a new project like this do as Allan says and use baggies. And sometimes I wind up finding a part after I already bought a new one.
Chris
Yeah ok. There's my extra inch and a half I need! And where are those locket mouse shaped fasteners used? Thanks so much!
Chris
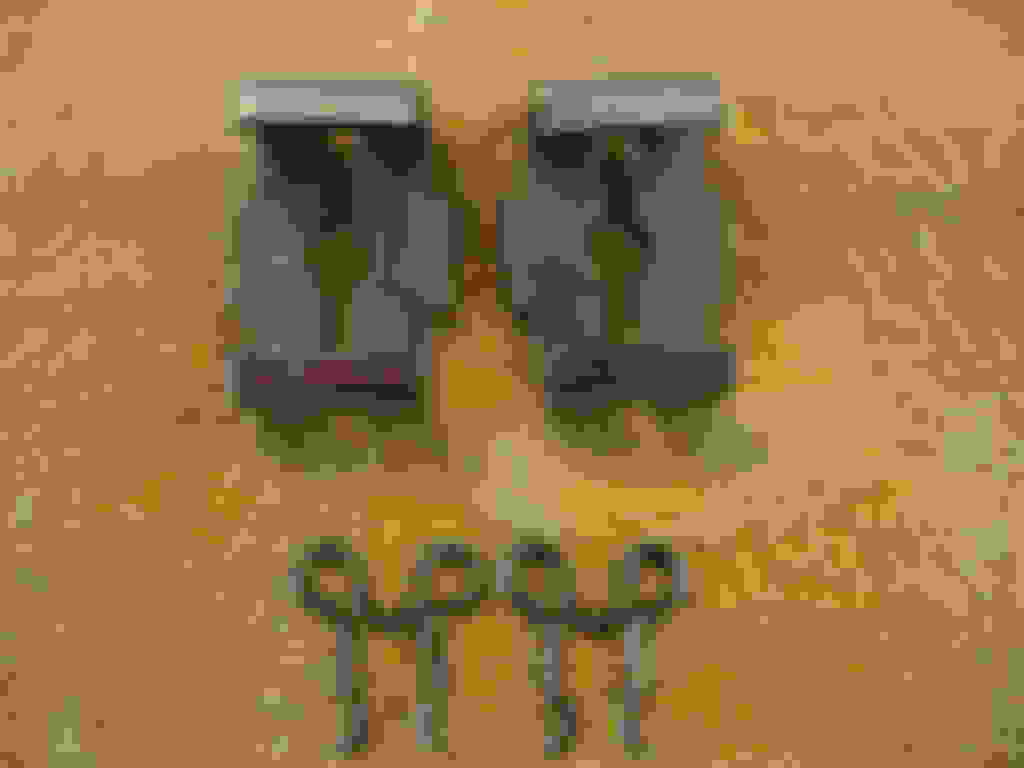
"Locket mouse"???
I assume you mean the three wire spring clips. Those retain the e-brake cable sheaths to the brackets on the chassis. Note "View B" in the lower RH corner below.
So I found my large "c" bracket for the middle of the cable to the crossmember. I forgot that I had it powdercoated so it was in a different box. However I can only find one of the Mickey Mouse spring clips. Perhaps the others broke upon taking them off. I have one more place to look through. If I can't find them does anyone have 2-3 extras?
Thanks!
Chris
However I can only find one of the Mickey Mouse spring clips.
Somewhere on my property there is a massive pile of all the missing parts and tools I've lost over the years. I suspect there is also a large quantity of mis-matched socks along with them.
Ha Joe. I'm glad to know I'm not the only one who loses parts despite trying to be organized! So approximately how far down the thread is a good starting point for the nut to be for adjustment? And how do I know that I'm tight enough but not too tight?
Thanks
chris
Ha Joe. I'm glad to know I'm not the only one who loses parts despite trying to be organized! So approximately how far down the thread is a good starting point for the nut to be for adjustment? And how do I know that I'm tight enough but not too tight?
Thanks
chris
When you have the cable installed, it should be snug but not tight. I had my car up on jack stands when I did all this so my process was to tighten the adjuster just enough so there was no drag on the rear wheel. Then apply park brake and see if the wheel was solidly locked when turning forward on the wheel. If it would turn even a bit, it's too loose and more tightening would be required. Keep in mind the park brake isn't meant to be a stopping brake, just for parking.
The process is nicely detailed in your 72 CSM on pages 5-8 to 5-10
Yes. After you install the cable, you then test whether your equalizer needs to be tweaked. Play the tension by eye and feel, then tighten the lock nut on the equalizer. Apply the park brake pedal fully. If the wheel will drag but turn backwards, but locks in forward, it's properly set. As per the CSM instructions. I forgot to ask you if you have the 72 CSM Chris, but I thought you do?
Hi Allan! Thank you very much! Yes I do have the CSM. completely neglected to lol at that. I've been focusing so much on the assembly manual. Your instructions are very much appreciated!
Chris