When you click on links to various merchants on this site and make a purchase, this can result in this site earning a commission. Affiliate programs and affiliations include, but are not limited to, the eBay Partner Network.
No idea on the manufacturer .
I'll take a SWAG , (scientific wild @$$ guess ) that the 280 refers to 280 degrees advertised duration . And the 108 refers to a 108 degree lobe separation . But then I could be all wrong .
These don't need an oil passage in the middle of the pushrods?
Nope , this ain't a Chevy .
The rocker arms get their oil from the hollow rocker shafts . Which get the oil through passages drilled in the heads and block
There is a very good drawing of this system in the chassis service manual .
Nice to see your car has been converted to a Jetaway transission, a much more rugged and fun to drive unit then the slim-jim which was original equipment. We used to see this conversion a lot more then seen today, it made a sense then and now as a bolt-in improvement at modest cost.
I agree the push rods with cups are not Oldsmobile stock stuff, looks like Ford to me as has been suggested. The supplier would not know if you have aftermarket rockers of some type with ball fulcrums unless you advised them. Watch the lifter pre-load with a .020 mill on heads and non-standard push rods and potentially other changed valve train pieces. Valve stem contact pattern, lifter pre-load, oiling ring exposure on bottom side of lifter boss with a re-ground cam and reduced base circle, and push rod clearance through the head casting holes at max lift must be verified with these changes.
Nice to see your car has been converted to a Jetaway transission, a much more rugged and fun to drive unit then the slim-jim which was original equipment. We used to see this conversion a lot more then seen today, it made a sense then and now as a bolt-in improvement at modest cost.
Am I to understand that a Jetaway will bolt up without a need to modify the floor pan (hump)? If so which year Jetaway is used in this swap?
Post #41, the picture of his transmission, it is a Jetaway, perhaps a Pontiac example with a Oldsmobile bell housing. In 1963-64 floor clearance is tight, but since the engine mounting is moved forward for those years, there is a bit more room, although I'm pretty sure some clearance around rear pump location is needed anyway. 1959-60 394 is the trans assembly to use, although somehow I recall Oldsmobile assemblies after 1958 (at some point) no longer have the rear pump tail shaft casting, but I would have to look at some transmissions to clear that up. I don't think flywheel balance is a issue for stock 394 engines 1959 to 1964, but 1957(?)-60 371's flywheel may not work for swapping to a later 394. I also recall guys moved the rear cross member down with new frame holes for more clearance without chopping up the floor, one of my cars had this modification. One other thing I don't recall now is if there is a need to adapt in a earlier two piece driveshaft on a 61-64 car with the swap, perhaps this guy can report if his car has a one-piece driveshaft now.
With some time to think more about it I might add more or correct any errata.
So looks like the red paint on the heads isn't the same as what I had used previously. I'm thinking I might have used this color originally but I'm not sure. The heads were painted with this color which doesn't match.
I have seen that on my engine too .
The paint will appear more orangeish when first applied .
It should turn more reddish when it cures longer .
Was it paint from the same can ?
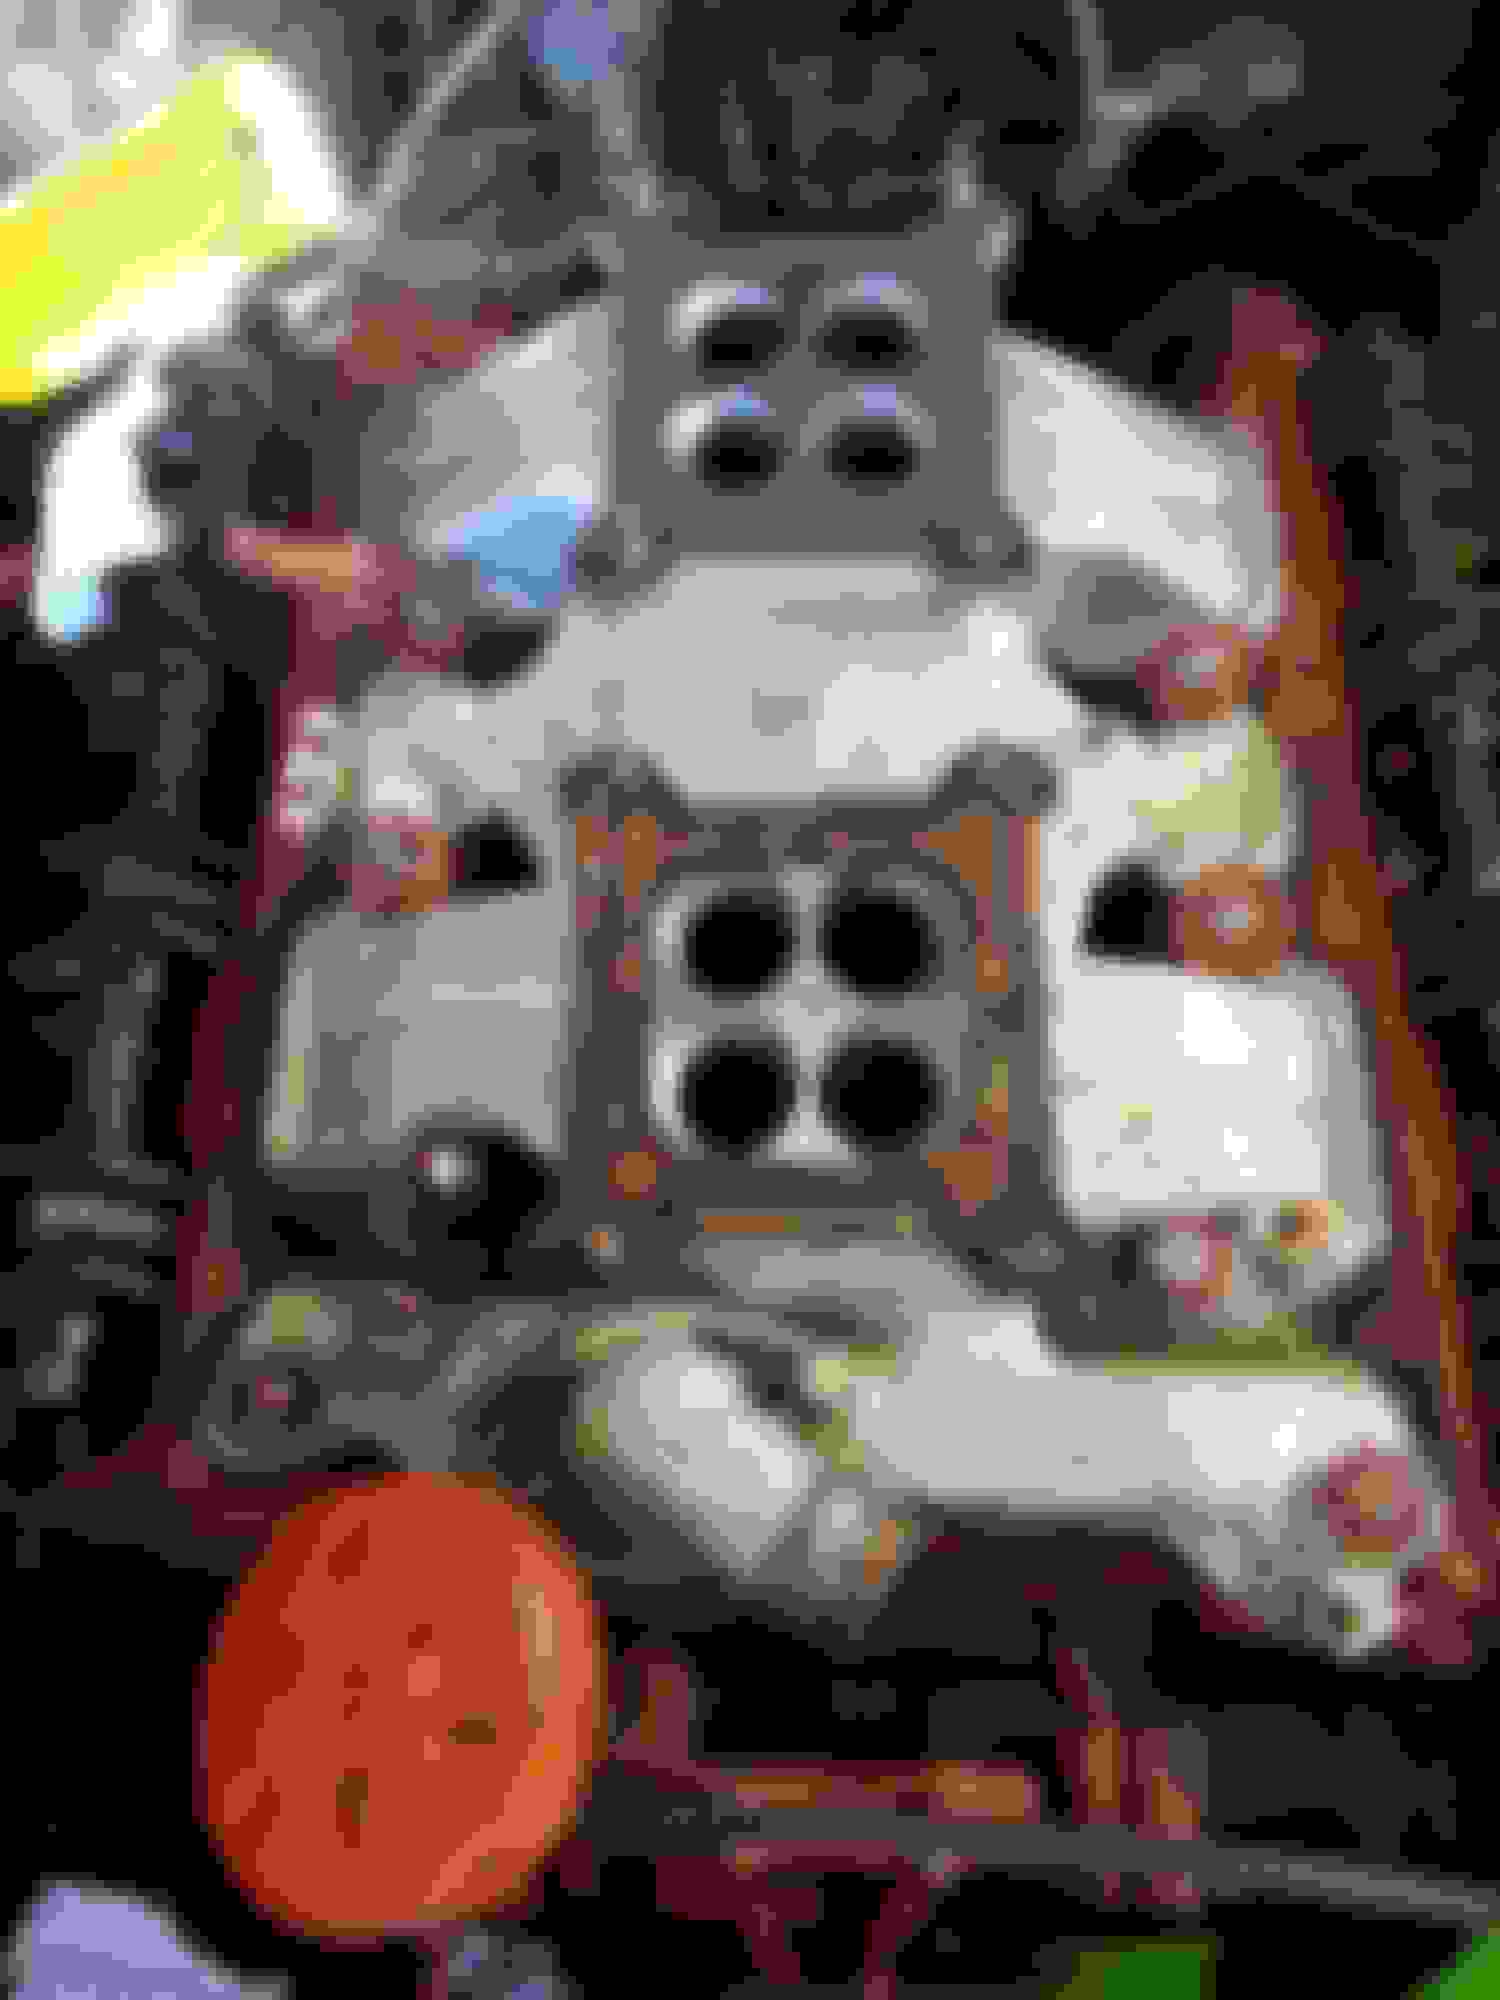
I finally got the engine out of storage and in my garage.
At first I was looking at the carbs and the engine stand thinking it was leaning way forward. But looking at the heads it's not that bad. Any idea how much this beast weighs? This engine stand is rated for 1000 lbs. The 394 has been on here for about 4 years. See the second picture. I'm afraid it might break.
The engine weighs about 750 pounds , fourty pounds more than a big block Chevy .
You'll be OK with a #1000 pound engine stand . But that's a minimum .
I had a #1500 pound stand , and my 394 wiggled around when tightening head bolts .
Made me nervous .
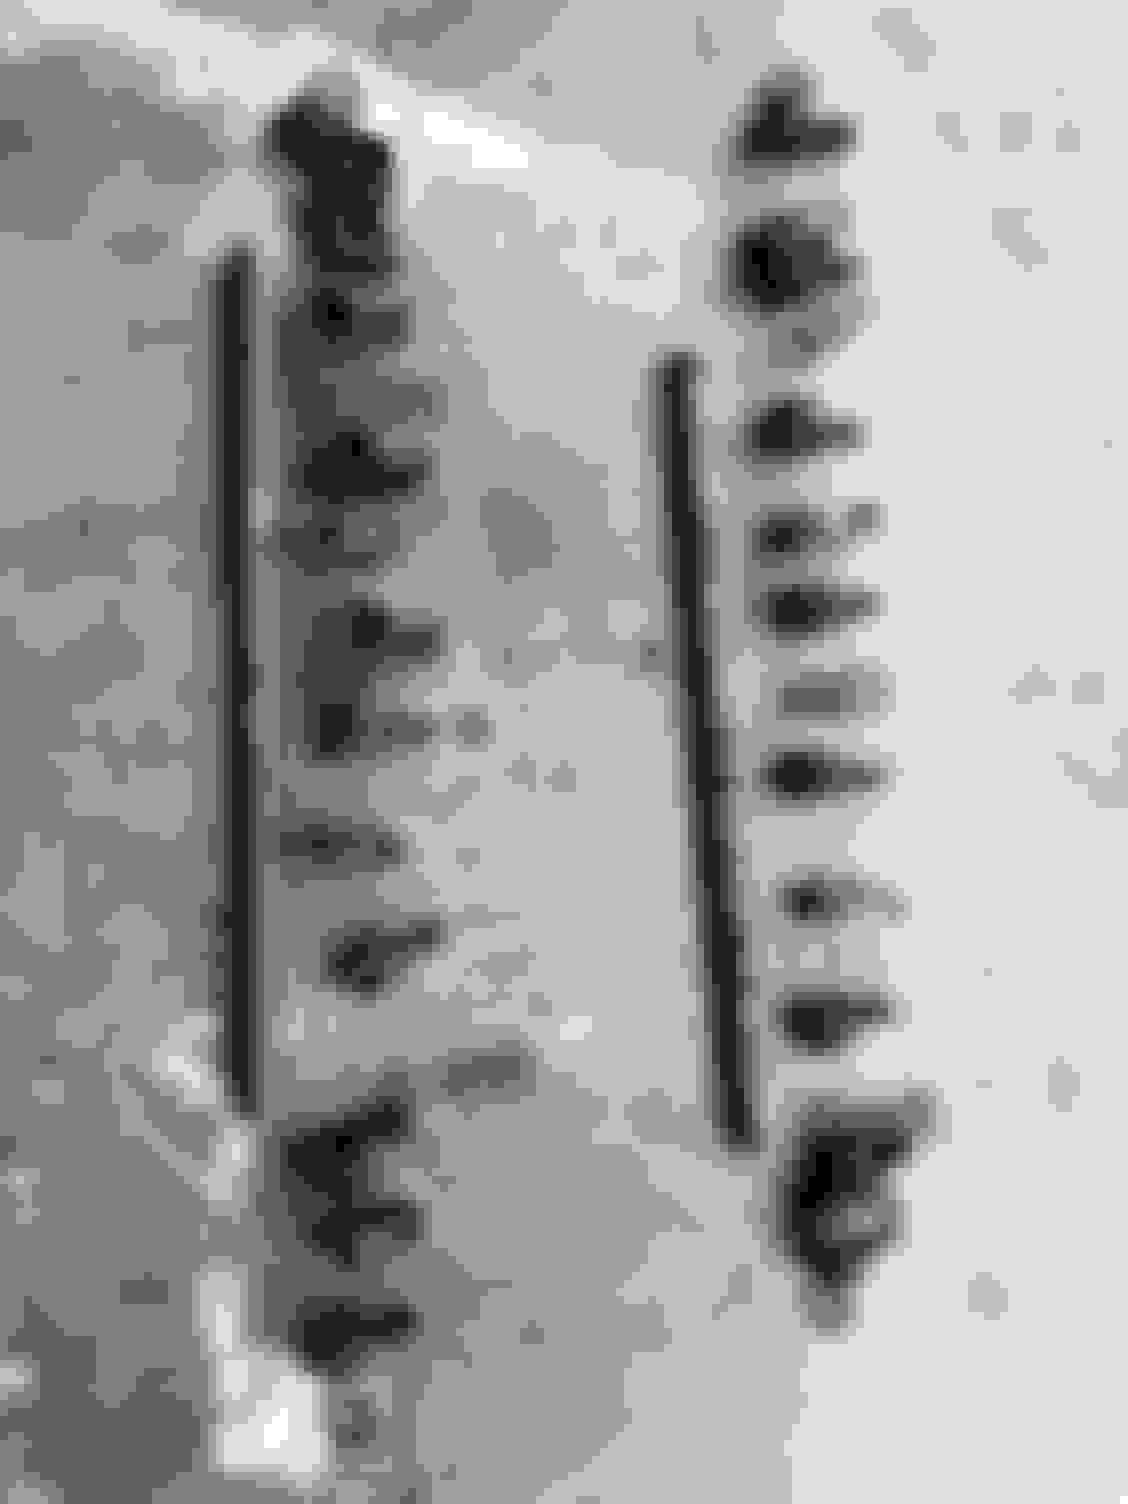
I�m about to mount the heads on. How will I know if I need to use the existing pushrods or the new ones that are slightly longer?
Are these rocker arms ok as far as wear and tear?
It's pretty hard to judge the wear on the rocker arms without complete disassembly .
Do you have a micrometer or a precision caliper ? You will need to measure both the shaft diameter and the " bore " of each rocker arm within .001 inch .
Rocker shafts and rocker arm bores that are more than .001 out of round , are cause for rejection .
Rocker shafts should probably be replaced anyway . Since they are hollow and carry oil to the rocker arms . They tend to harbor dirt and sludge , which you don't want in a " fresh " engine .
Fusick has them for about $50 each ; http://www.fusickautomotiveproducts....p?number=42013
There is also a complete " rebuilt " rocker arm assembly being offered on E-Bay ; https://www.ebay.com/itm/62-63-64-19...e/223591845059
As previously mentioned , a pair of " adjustable " pushrods should be used to determine the correct pushrod length .
The heads should be installed and torqued to spec with the new head gaskets . Install the pushrods on one cylinder and install the rocker assembly .
Bring that cylinder to the "firing" position (to make sure the lifters are on the base circle of the cam ) .
Extend the pushrods until there is no " up and down " play in the pushrods . The pushrods should not be so tight that they cannot be twirled with the fingertips , but there should be no percepitable up and down play . Measure the pushrod length , add .020 (for lifter pre-load ) and order your new set of pushrods that length .
Most cam companies will make pushrods any length you specify .
Once you have all new pushrods installed , check them by bringing each cylinder up to it's "firing" position one at a time . You should be able to twirl the pushrods for that cylinder between your thumb and forefinger easily , but there should be no up or down play .
I disassembled the rocker arm shaft assembly. Sounds like the anchor pin fell inside the rocker arm shaft at some point. So if someone was on a budget... could they pop off one of the end plugs or both and clean it out to save over $100?
Seems to me that someone removed the ends to clean them out and found a frost plug to press back in. Maybe someone else can verify that. If the pin got inside, you either have a loose hole or you didn't have the right orientation when you assembled and pushed it in. Its been many years since I saw some 394 rocker are shafts. Check the pin fit before you replace the end cap. If it slides in easy, there is a trick for solving that.
.........Just my two cents worth.
The shafts are fine from checking it with my micrometer. I have them put back together now.
I ended up using the old pushrods. When the lifter is sitting on the top of the lobe of the cam I can barely turn the push rod. I'd be afraid to add any length onto them.
I have these 1" and 1 1/2" wide washers that are 1/4" thick. Are these an Offenhauser thing or do I just need to find some of these somewhere. I have misplaced them somewhere.
The pushrods should be checked with the lifter on the base circle of the cam , not the lobe . The valves will be closed .
This will be when that particular cylinder is the firing position with the piston near the top .
Then turn the crankshaft a quarter turn and check the next cylinder in the firing order . Another quarter of a turn , and the next , and so on .
The firing order of a 394 is 1-8-7-3-6-5-4-2 . The driver side cylinders are numbered 1-3-5-7 from front to rear . And the passenger side 2-4-6-8 .
You should be able to twirl the pushrod between your thumb and forefinger , but not feel any up and down play .
If you are using the old pushrods that came out of the motor you will probably be OK .
Sometimes longer than stock pushrods were installed to compensate for a cam that was re-ground with a smaller base circle than stock .
This was a common practice " back in the day " .
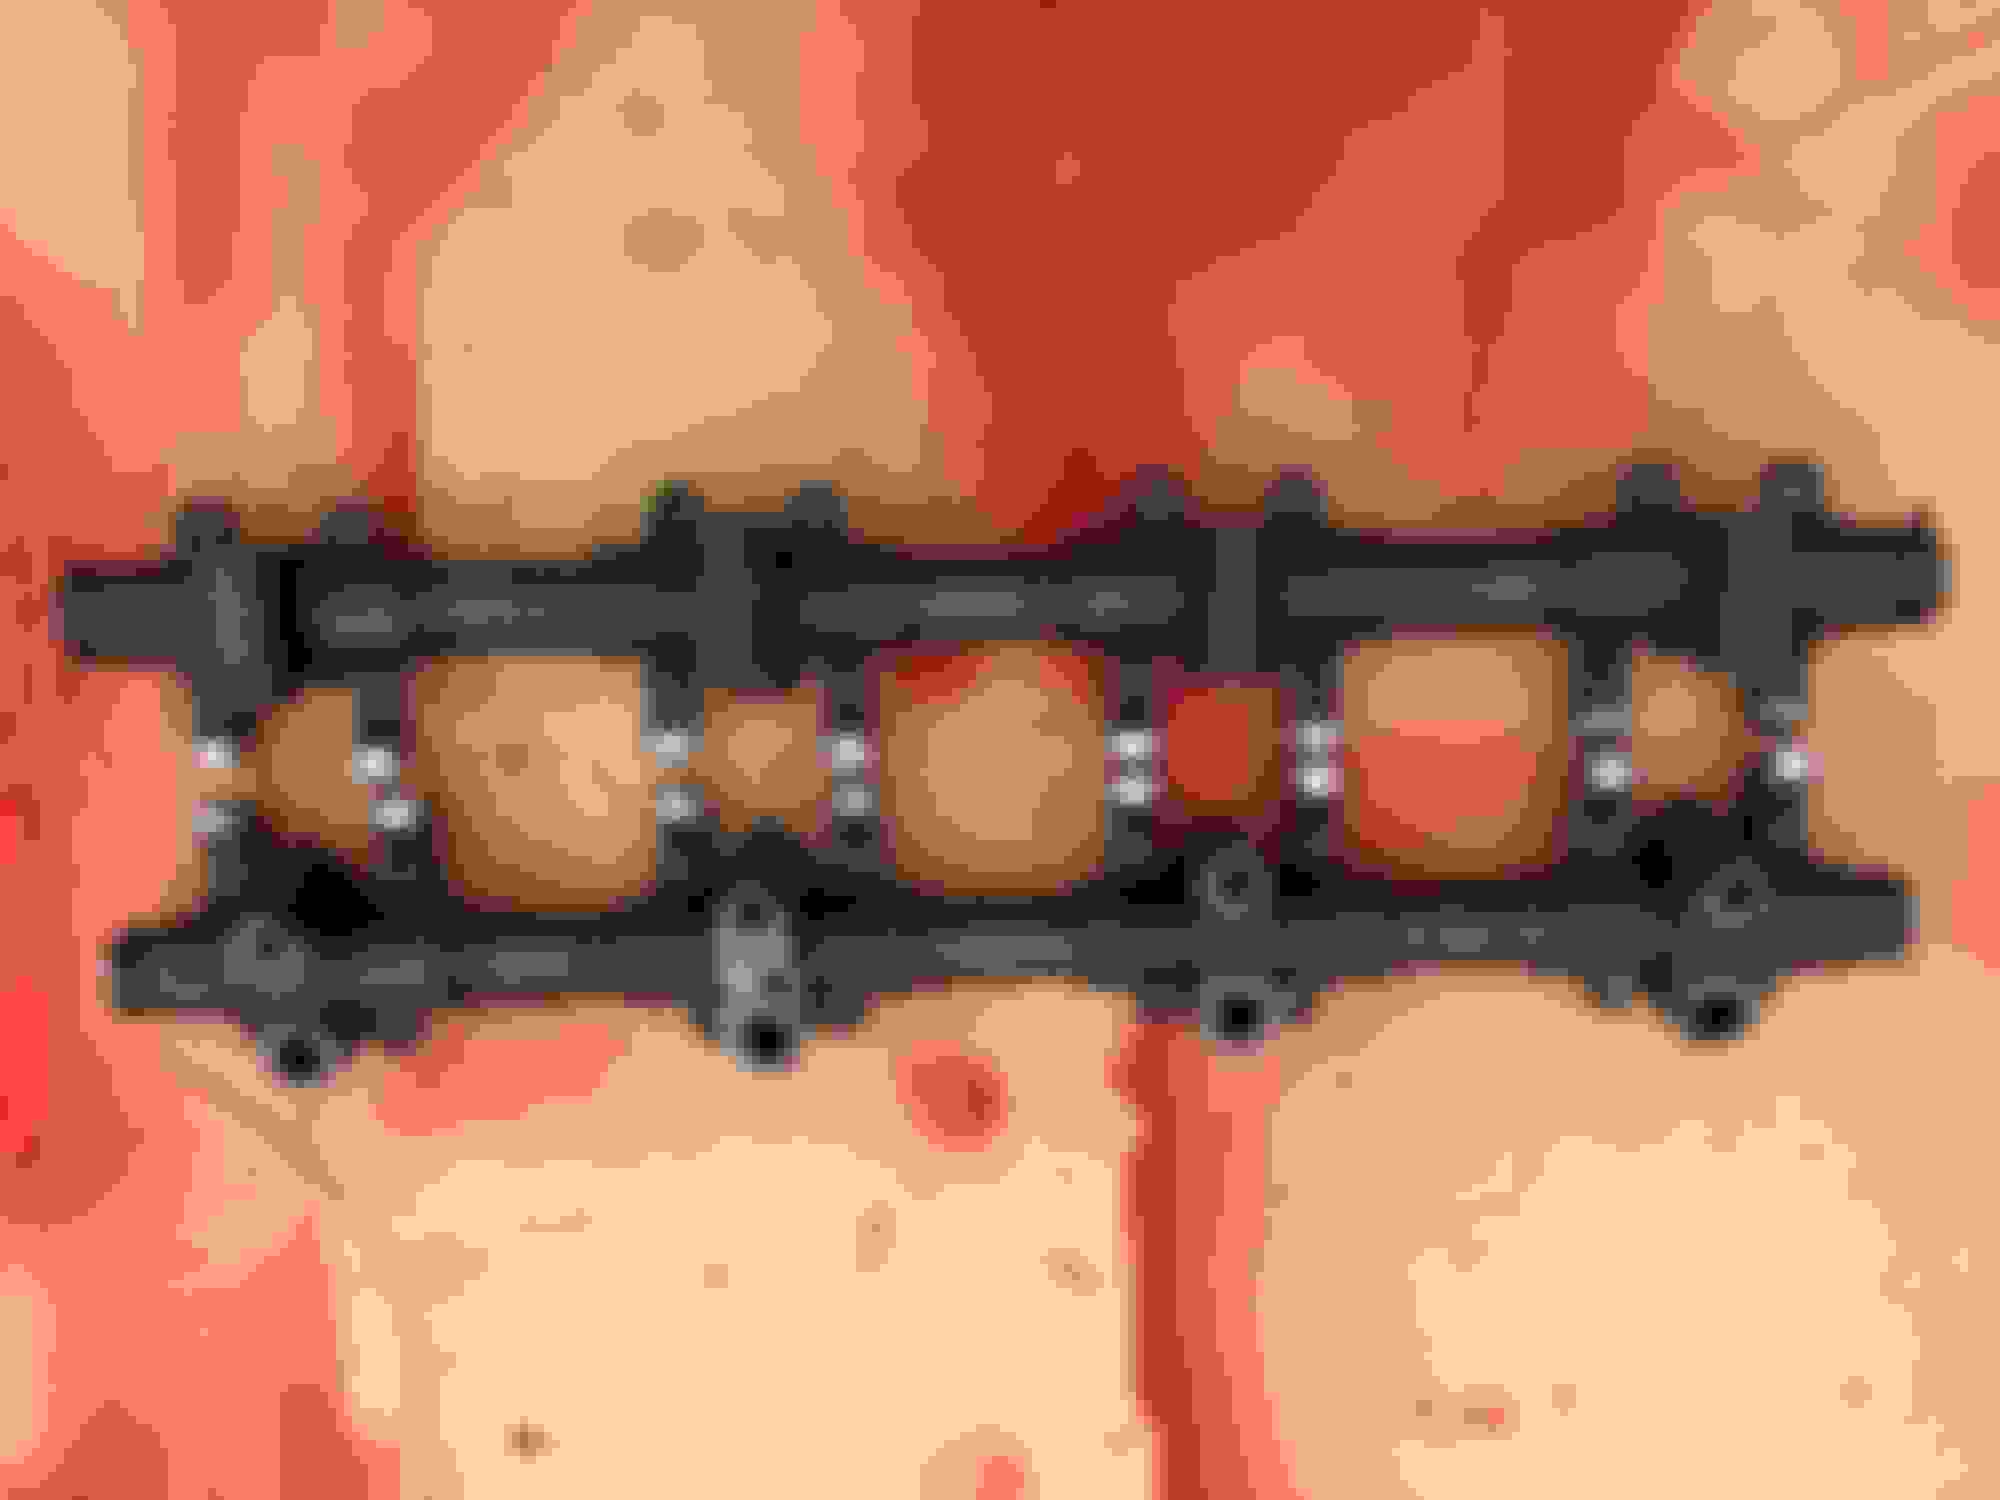
The thick washers on the manifold were an Oldsmobile part ,
You might try PM ing "deadds " or " nailhead canuck " as at one time they were both parting out 394's .
If I can't find the washers should I just double up a 1/8" thick washer? So far I'm not having much luck finding them. Just a little side note, don't get divorced while you have the car tore apart and come back a year later to pick it up.
I did just find some 1/4" thick x 1 3/8". 4 of them for $14.50. They also have 1/8" thick x 3/4". Those are sold in a set of 20 for $28.50. Fusick has these listed for a 1949 to 1960 Oldsmobile.
The pushrods should be checked with the lifter on the base circle of the cam , not the lobe . The valves will be closed .
This will be when that particular cylinder is the firing position with the piston near the top .
Then turn the crankshaft a quarter turn and check the next cylinder in the firing order . Another quarter of a turn , and the next , and so on .
The firing order of a 394 is 1-8-7-3-6-5-4-2 . The driver side cylinders are numbered 1-3-5-7 from front to rear . And the passenger side 2-4-6-8 .
You should be able to twirl the pushrod between your thumb and forefinger , but not feel any up and down play .
If you are using the old pushrods that came out of the motor you will probably be OK .
Sometimes longer than stock pushrods were installed to compensate for a cam that was re-ground with a smaller base circle than stock .
This was a common practice " back in the day " .
There was some up and down play with the original pushrods. I installed the new ones and the up and down play is gone. I have this new torque wrench that is a beast and heavy. I probably shouldn't have been using it to torque the rocker arm shaft bracket to head bolts. I snapped one of them smaller bolts off. Darn it! Luckily I was able to remove the rocker arm assembly and screw it out.
I'm waiting on more red paint to finish off the paint on the heads and small parts. I found the washers I needed on eBay. I painted the exhaust manifolds with the POR high temp paint. Looks good. I like the color so I decided to tear apart the alternator and paint it the same color. Hopefully I can get the alternator put back together.
I think I already knew the answer but I was looking into having the valve covers re chromed. I was quoted $225 each and a 6-8 month turnaround. What would be a good valve cover to purchase? The Offenhauser valve covers look nice!

 August 17th, 2017, 04:34 PM


 I'm thinking I might have used