When you click on links to various merchants on this site and make a purchase, this can result in this site earning a commission. Affiliate programs and affiliations include, but are not limited to, the eBay Partner Network.
Heath, it's good to see your progress. It looks very carefully-crafted, as usual.
A good upholstery shop can easily replicate your interior. The shop I took mine to created bucket seat covers that matched the original wagon patterns. Just an option in case SMS strings out their delivery.
Gary
I�m wrapping up the reconstruction/restoration of these original issue �70 442 grilles. I�m expecting to apply the final coat of silver before the end of the week.
Also, I�ve sourced a couple of 15x10� wide dog dish wheels from RunToRund and some 7�s from RAG to complete a set of factory issued �poverty� wheels as an alternative to the Hurst motif depending on my mood. Pics soon, Gigantic THANK YOU to Joe (Rund) and Roger (RAG). 😊👍
I�ve spent the last couple of days sorting out the wiring harnesses and matching them with M&H factory replacements. I�m very pleased to say that I�ve tagged and identified all of the wiring and will be installing the dash pad soon. I am still waiting for SMS to replicate my door panels and have ordered seat covers from Legendary as SMS decided that they were unable to create what I�d requested a year and nine months ago. I am very optimistic that I�ll be able to bring this car back to life once again within the coming months. Sorting through the wiring was a bit daunting but was able to make sense of it with my assembly manual and the service manual. It�s been a bit chilly in the mornings, so I�ve resorted to building the dashboard on our bedroom dresser. My wife always enjoys when I bring my hobby into our bedroom. 🙄😅
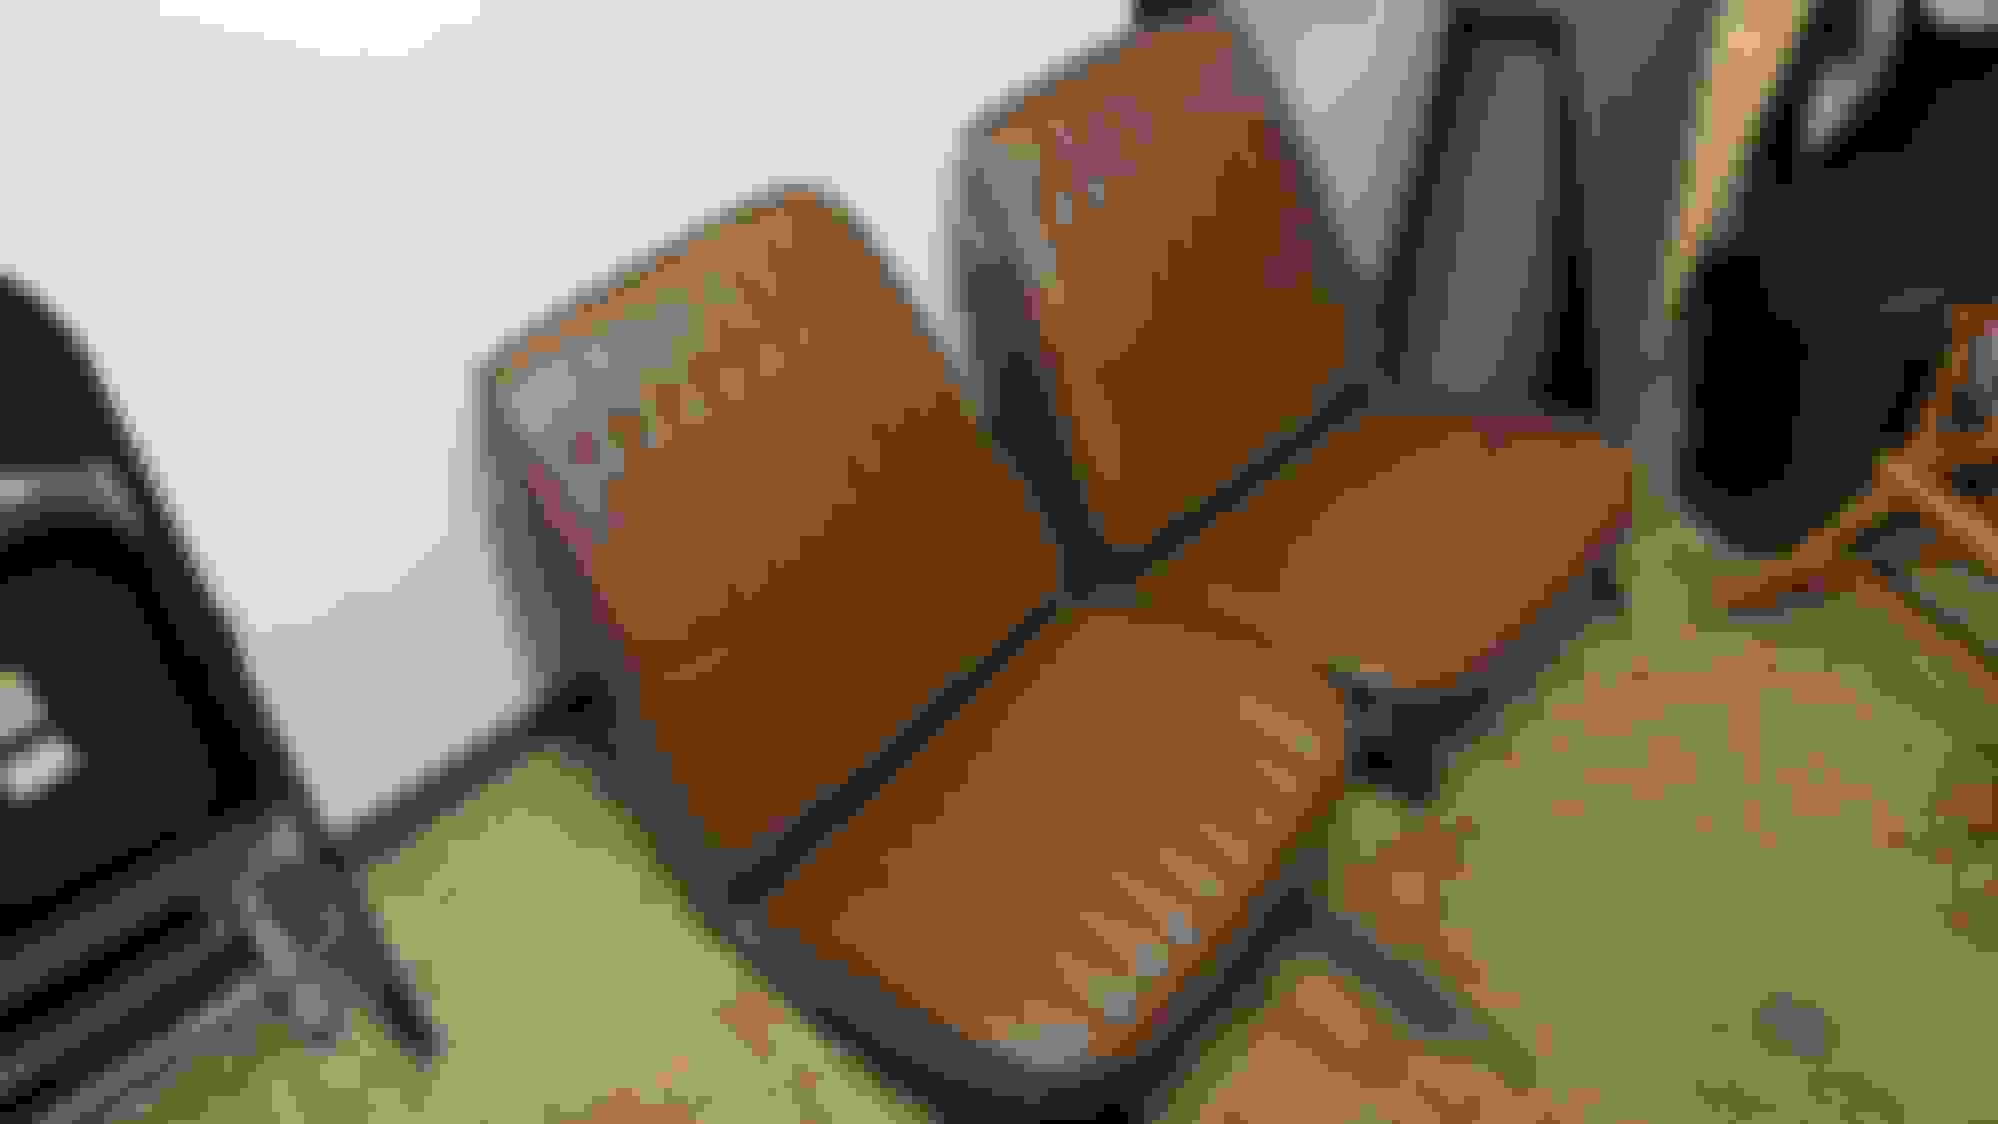
A little bit of progress�front seats upholstered with a 4 way power chassis. Covers by Legendary, piping from Ames, headrests from ShiftySydney. Still waiting on SMS door cards.. Now that things are cooling down, I�ll be back into wrapping up the dash wiring. Have decided to convert to a manual TKX five speed. I�ve been collecting parts for the conversion.
I have a 1970 Oldsmobile Station wagon. I just now learned they are referred to as "flat top". Where do you find parts for these? I can find Vista cruiser parts everywhere.
I have a 1970 Oldsmobile Station wagon. I just now learned they are referred to as "flat top". Where do you find parts for these? I can find Vista cruiser parts everywhere.
There is no definitive place to get wagon specific parts, you really just have to be diligent and patient. Chevrolet, Buick and Pontiac also did short wheelbase A body wagons and some of the parts interchange. Tailgates are typical to flattops and Vistas.
I�ve been collecting the pieces for a TKX manual conversion as I don�t really want to tear back into this once finished. My crankshaft is not machined for a pilot bearing so I�ll be using a roller adapter. I am not keen on cutting the input shaft of the new gearbox though, and decided to machine some drill guides to step drill a recess to allow clearance. Once I got started, I was shocked at how quickly I was able to drill the crankshaft. I�ve stepped up to about 5/8 diameter thus far, but will need to cut down some larger bits to accommodate my 1/2 inch chuck to attain the required 3/4 hole.
Heath, it's good to see you progressing on your beautiful wagon.
Originally Posted by Funkwagon455
My crankshaft is not machined for a pilot bearing...
When I converted to manual transmission, I had a crankshaft specialist company drill my automatic crank. When I was installing the transmission, I discovered they had tapered the recess and the roller bearing wouldn't fit. I adapted a bronze bushing by hand-fitting. I wish I'd thought of your method of getting a correct fit.
I�m in process of dialing in the bell. Also, this arrived on my doorstep today. (0.68 final ratio) I still have not received any information from SMS with regard to the door cards�3.5+ years. I�ll pacify myself with the Tremec install in the meantime. 😀
That looks very compact. It even looks compatible with your trans tunnel--except for needing a shifter opening. Good choice.
The stick is not in the Muncie position but the alternate (forward) location seems close. If you want a console, and the stick position isn't exact, let me know as I have a lot of first-hand knowledge about that situation.
Very impressive. I probably missed it, but how wide are the front wheels? 7" or 8"?. And what size tires will be on the front?, and the rear?
The Hurst replicas are 7� wide (standard) in front. Tire size is 295/50/15 rear and 245/60/15 front. I reached out to Mike Stallings just today to fabricate some 10� as well as 8� steel poverty cap 15� wheels for an alternative look. Lance Hall provided me with some NOS �70 caps. I�m very excited to see both looks. I�ll be continuing with perfecting the bell runout this weekend as well as preparing for Pate next week. 😀👍
Scattershield dialed inside .005. Gearbox mocked up on factory cross member hole allocations. I fabbed a screw in close-out riser box to create the necessary clearance for the transmission. I reached out to a good friend and Olds resource today for dimensions and photos for correct placement of the original Hurst shift lever. He quickly responded and I was able to mock it up with a temporary sheet metal bracket. I�ll start the actual heavy fabrication of the adapter bracket tomorrow. I�ve been very careful to check clearances and functionality throughout. I�m confident that there should be no major issues mechanically at this point. I�m also making a point to drop the rear of the car to measure driveshaft dimensions tomorrow. Progress is always a pleasure.😀
When measuring for the driveshaft, consider the necessary diameter. If you've not done so, check with an experienced driveshaft shop to get the required construction and diameter for your length and maximum driveshaft rpm. This will make sure your driveshaft never approaches critical speed.
I had Dennys do mine. The smallest adequate diameter I could get was 3.5". My 4.10 axle ratio raised the driveshaft speed and the extra-long wheelbase lowered the critical speed of the shaft.
When I mocked up at full axle droop (rear springs removed), I found two areas where the driveshaft would hit. And I had to modify those areas for clearance.
But, knowing you, you're probably well along that road already. Apologies if that is the case.
I just wanted to be sure you won't have any problems like one of the Vista owners on CO did. Fortunately, his failed on the chassis dyno, otherwise the damage would have been greater.
Thanks Gary, Regardless of any precautions and measurements taken, it is always wise, and less expensive to heed the first hand warnings from others with firsthand experience. I�ll certainly triple back my angles and numbers, as well as be certain to speak smartly with my driveshaft fabricator to avoid issues. Give me a call sometime, I�d enjoy sharing (commiserate) my (less frustrating) experience.😂. I hope you�re thoroughly enjoying your Vista to its fullest extent!!
Some progress this weekend. Bell has been dialed in and powdered. Gearbox in and driveshaft installed. Shifter is installed and functioning as advertised.
Now, there's something about your picture that looks familiar to me. 🤔
Well done, Heath!
When you're ready, show some pictures topside. I'd like to see how you handled your stick installation. I had some problem figuring out the weather sealing.