When you click on links to various merchants on this site and make a purchase, this can result in this site earning a commission. Affiliate programs and affiliations include, but are not limited to, the eBay Partner Network.
The wheel shells arrived today. They look nearly physically identical to my first set of wide wheels with the only exception being that these are seamless ( no weld seam perpendicular to the wheel where the hoop metal is joined. I will need to have the chrome blasted off before I start fitting the center pieces, but I am very happy that these are dimensionally correct for what I need. The vent window seals also arrived today, so I can begin the refurbishment of them as well. The car is in final primer.... Next week will be the final blocking, and ready for color. Like any restoration this is likely the biggest transformation you see in a car..very excited. Regarding the Zone Show, of course we will be coming. If this project is not done right by then, we will just bring our raggedy '40 coupe again. If it is ready, and I'll do everything I can within reason, then we will absolutely bring it. Although I thoroughly enjoy the hobby, with two young (and impressionable) boys I try to keep focus on what is really important from day to day.
I have been in Bell Helicopter 407 school for the last two weeks which has limited my garage time, the time change did not help with a lack of daylight. Regardless, I pressed, centered, tacked, checked runout and burned in two of the three 10" wide wheels today. I'll finish the third (spare), and drop them off at the powder coater tomorrow after work. My runout is better than most of the wheels that the Canadians ever assembled in 1970, so I will safely call them roadworthy. I also compared the weight to my first set of 10's assembled by Stockton back in the early 90's, 27.8# exactly for both their version as well as my version. Rather portly for a wheel, but I guess it's the price you pay for the look. Anyway, my painter has suggested that he would need the chassis pretty soon so I'd take that as a sign of forward progress....
I have been in Bell Helicopter 407 school for the last two weeks which has limited my garage time, the time change did not help with a lack of daylight. Regardless, I pressed, centered, tacked, checked runout and burned in two of the three 10" wide wheels today. I'll finish the third (spare), and drop them off at the powder coater tomorrow after work. My runout is better than most of the wheels that the Canadians ever assembled in 1970, so I will safely call them roadworthy. I also compared the weight to my first set of 10's assembled by Stockton back in the early 90's, 27.8# exactly for both their version as well as my version. Rather portly for a wheel, but I guess it's the price you pay for the look. Anyway, my painter has suggested that he would need the chassis pretty soon so I'd take that as a sign of forward progress....
I have been in Bell Helicopter 407 school for the last two weeks which has limited my garage time, the time change did not help with a lack of daylight. Regardless, I pressed, centered, tacked, checked runout and burned in two of the three 10" wide wheels today. I'll finish the third (spare), and drop them off at the powder coater tomorrow after work. My runout is better than most of the wheels that the Canadians ever assembled in 1970, so I will safely call them roadworthy. I also compared the weight to my first set of 10's assembled by Stockton back in the early 90's, 27.8# exactly for both their version as well as my version. Rather portly for a wheel, but I guess it's the price you pay for the look. Anyway, my painter has suggested that he would need the chassis pretty soon so I'd take that as a sign of forward progress....
I had ordered new seals for the vent windows previously and was able to reassemble them with polished stainless trim pieces over the last couple of days. For those who have not done these before, I'd advise not being in a rush and pace yourself. The seals require quite a bit of tedious manipulation to seat the lips of the seal into the frame track. Furthermore the frames are awkwardly large and have edges and peaks that snag everything around you while trying to work them. Regardless they are ready for reinstall and work as advertised.
AWESOME!!! Sure hope the time frame works in OUR favor, and we get to see her at the Zone Show! Hope things have settled down at the new place by now, and y'all are enjoying! And the '40 is always such a welcome treat.
I picked up the wheels from paint yesterday (again). They look identical to version 1.0 without a snap on cap snout. I apologize if It seems I am wearing this wheel project out, it was a process with multiple stages of progression. My painter has the car in the booth, and has threatened the body to be in color by the end of the week. (fingers crossed). I believe the progress will be constant once that occurs. The chassis is ready, so once he has the body painted,color sanded and buffed we will be ready for a reunion.
Into color on Tuesday, I'll stop by to socialize tomorrow after work and put my eyes on it. I am hopeful that he will ask for the chassis next week. Into color after 14+ short years.....
Sometimes you get lucky, my coworker and friend knew that I had been on the hunt for an open face alternator with a correct finned aft casing for 442 detail effect. He put out his feelers with his friends in Witchita Falls and was able to acquire an NOS aft casing for me for a realistic price. I ordered a rebuilt front half today as well to piecemeal something that will be both functional as well as look the part. Doors are hung, finishing fender alignment and laying out stripes this week.
Last edited by Funkwagon455; Jan 12, 2016 at 12:12 PM.
I had the original door handles rechromed by North Texas Quality Chrome in Gainsville. These guys do exceptional work. They arrived back to the house yesterday. The nice thing about using original pieces is the fit is generally just right, not to mention your ability to have better quality control than Chinese reproductions. The additional expense is another story.
I stopped by to verify stripe placement today after work, had several key discrepancies and will need to try again tomorrow. He asked me to install the bumpers upon completion, so I drug them out of the attic to check condition and order hardware. I had these done six years ago by Ogden based on other member's experiences, this is the second time they've been in the light since.
Heath, your flattop is going to be artwork! Just your decision to rechrome original door handles demonstrates your commitment to authentic Olds originality! I like your style..
Thanks Lance, I'm not so sure about artwork though!. I stopped by today to provide further refinement and detail to the stripe placement. I believe that we are on the same page, and he asked me to stop by again tomorrow to see these things buried in clear.
Last edited by Funkwagon455; Mar 22, 2016 at 06:51 PM.
The Monday before the Zone Show I had stopped by to put my eyes on the stripes. The car looked good but I was dissapointed with some of the detail in the striping. Some slight wavering around the wheel wells, tape stretch between the stripes causing thinning, and incorrect for/aft hood stripe distance placement. I had provided factory blue prints enlarged/laminated, as well as assembly manual detail, as well as some detailed photographs of Stewart's convertible to ensure that there would not be any dimensional issues. I had also asked him to let me look it over before the paint was applied but I think he was in a hurry to move the car out of the booth. I wrote him a letter detailing my concerns, the following Monday he had me come in to show him what I was talking about. He apologized, and told me that he would make it right. He has since sanded all of the stripes back off and is supposed to be laying them back down however, the constant rain and humidity that we've had has been a great hindrance. I have not even bothered him for several weeks because I know what he is dealing with. Weather this week should be agreeable, hopefully maybe some progress by this Friday. I did locate two of the three pieces of NOS glass in Jersey (thanks Ali) and have a source for the third in North Carolina. I'm calling tomorrow to have the last piece sent, it is excellent used condition from a '70 Chevelle wagon. I'm still moving forward as quickly as I can with small details and getting ready for summer. We've waited too long, worked too much and spent too much money to be impatient at this point
I had a set of original hood buttons that l had thought looked OK, but after looking at how the door handles turned out decided to have them restored. They arrived back to the house yesterday from rechroming.
The final piece of replacement glass arrived earlier this week from Pete Lohr at Einstyn.com in NC. Pete specializes in producing wagon specific parts that are low production and as a result have a low profit margin for him while being rather expensive to consumers compared to most A body parts. The photo is Pete's '70 Chevelle wagon with a 454 coupled to a four speed gearbox that he had driven regularly for many years. You can see in the photo that when the SUV impacted the rear of the car that the glass adhesive broke loose saving the glass as opposed to shattering. As heartbreaking as it was, I hope that he feels as though his once beautiful flattop is providing new life to ours. My painter was very sick earlier this week, he asked me to stop by Wednesday to inspect the new stripes.
I stopped by today to verify the placement on the stripes, we made a few small adjustments and all was as advertised per blue prints and assembly manual. Painting stripes tonight, clear tomorrow and into color sand,buff,polish. Hopefully we are moving into the next stage of progress.
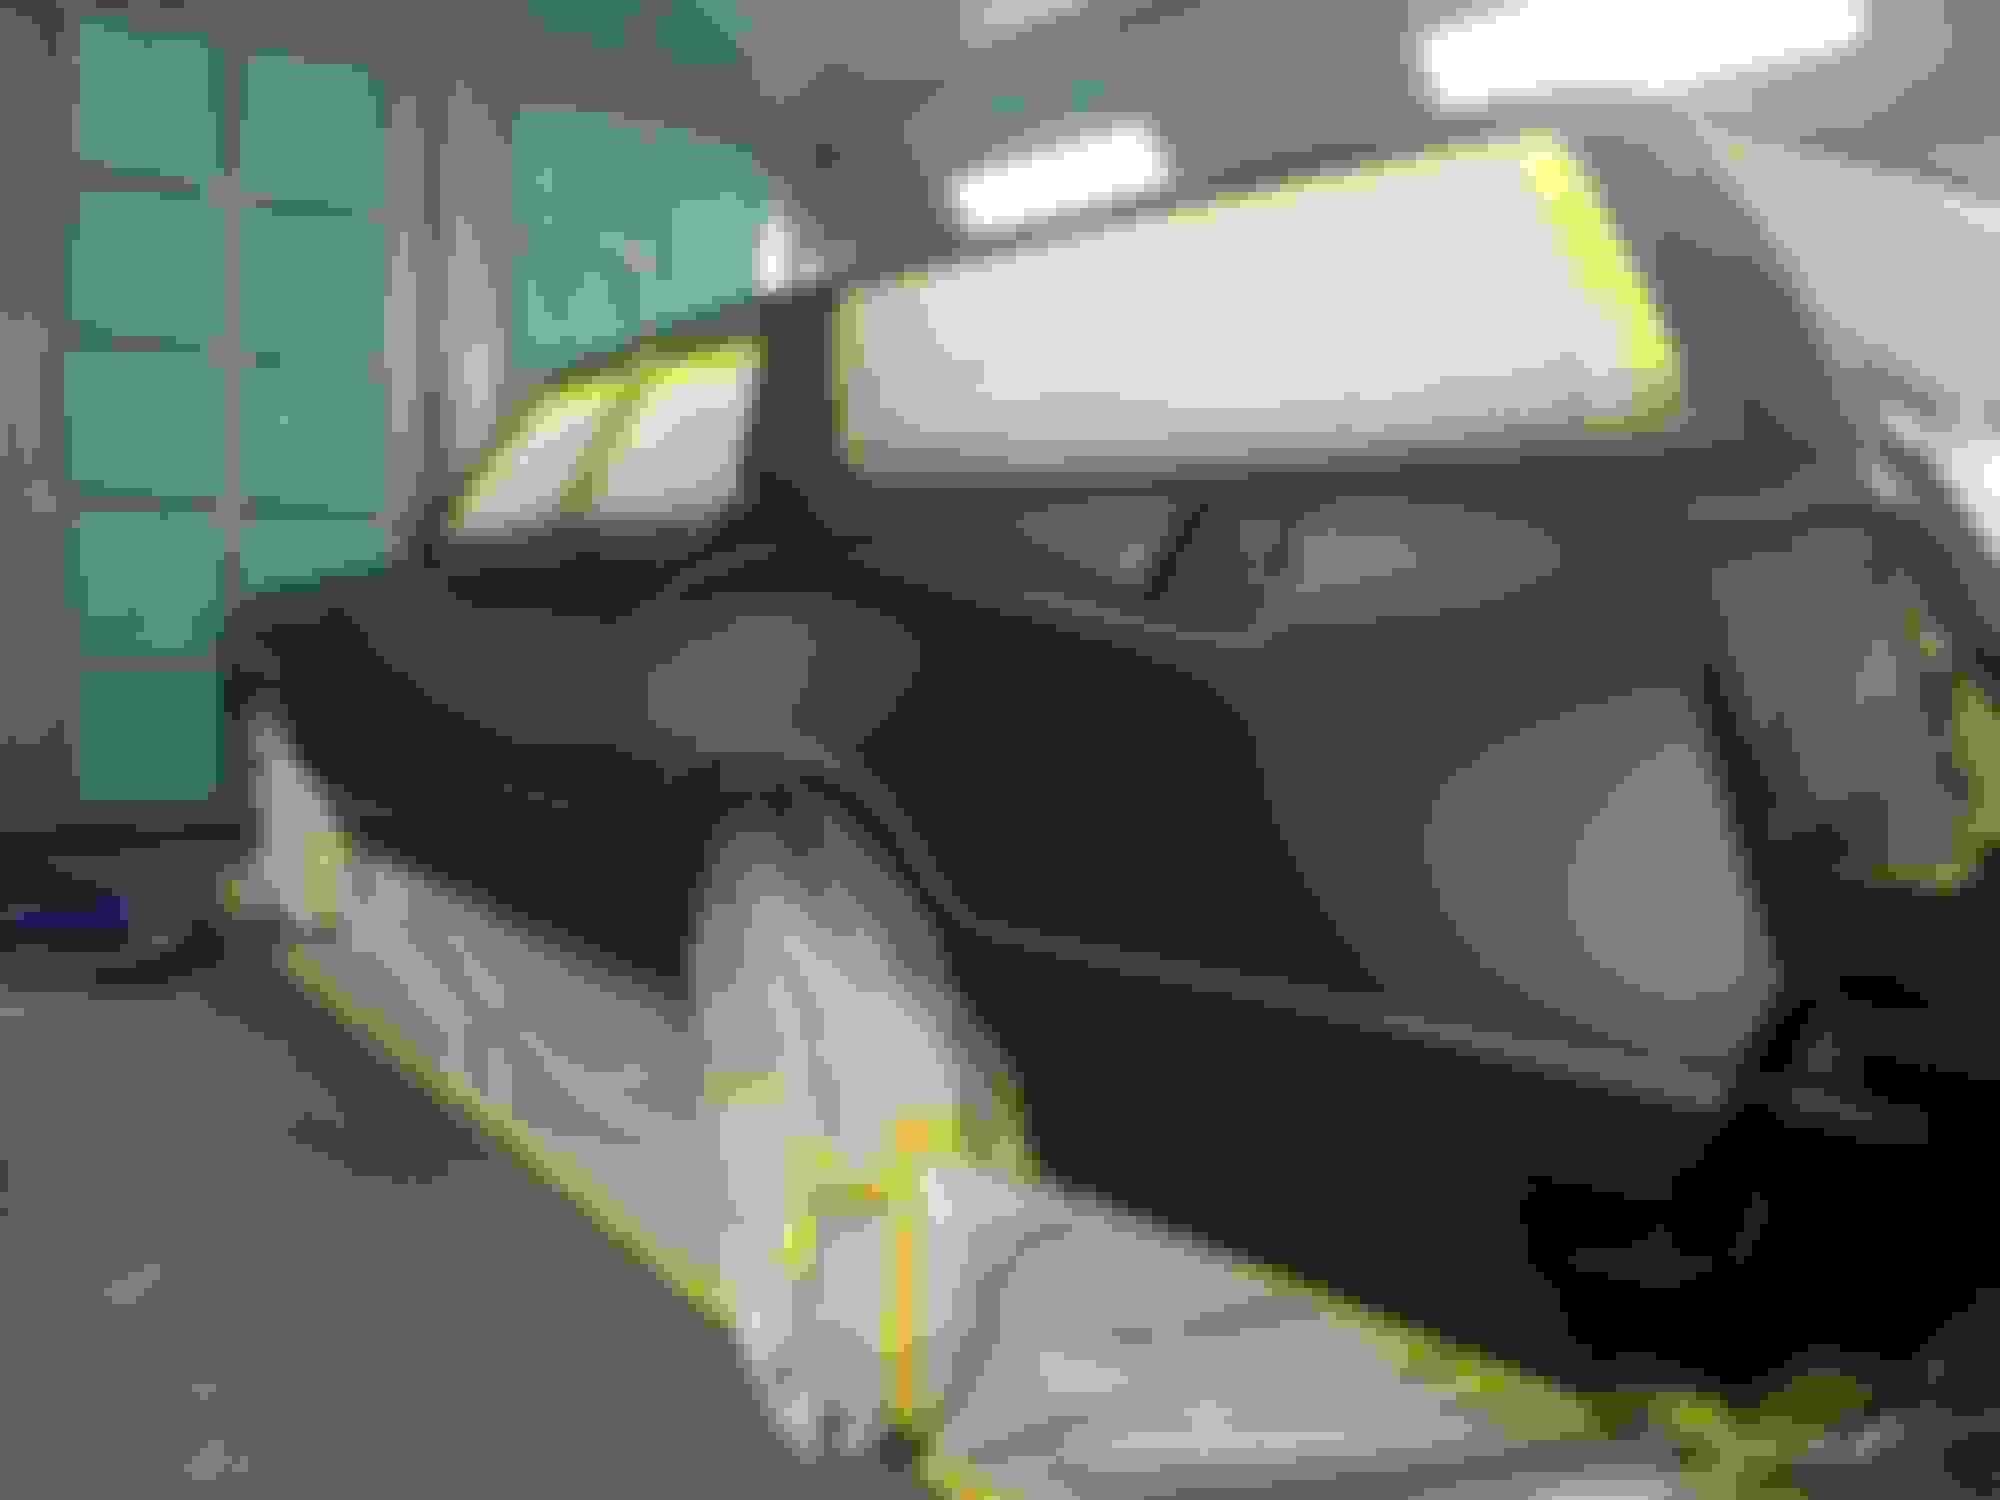
I swung by today after the first round of color sanding and polish. Jeff is still working an issue on the oai hood, but should be able to wrap that up within a week. He has asked for glass and trim for the doors, so I'll swing by before work to drop off the provisions for finalizing the doors. I am pleased with the dimensions and overall "crispness" of the stripes. Jeff went above and beyond to meet my expectations without complaint. I believe he is truly interested in making a statement of his abilities, and is hoping to let the work speak for itself when we are putting the car on display. The color we chose is VERY DARK!!!!, even when rolled out in a Texas August afternoon sun, it is still dark. It is clearly blue, but also clearly NOT twilight blue as issued. It is fun though, and that will be all that matters for me. My wife exclaimed upon seeing these photos, "That thing needs some shiny stuff on it!" We're working on that now! I will hold off on mounting new tires until we are ready for "first flight", I'd like to get maximum time life for the tires.


")
 . I stopped by today to provide further refinement and detail to the stripe placement. I believe that we are on the same page, and he asked me to stop by again tomorrow to see these things buried in clear.