When you click on links to various merchants on this site and make a purchase, this can result in this site earning a commission. Affiliate programs and affiliations include, but are not limited to, the eBay Partner Network.
I've got the whole dash cluster out and I'm finding the cruise thumbwheel gear rack, which is pitifully small and plastic, to be completely broken. I took the thumbwheel assembly apart as far as I thought I could, but don't see a way to get the plastic gear and rack out. It seems that a 3D printed or metal piece would work a lot better here, but the [art doesn't seem serviceable. Is there a way to replace the piece where the Bowden cable connects? Or do I have a "really looks nice" piece of hardware that will never function again? I'm also not sure how to lube the cable - it seems absolutely stuck in place, and I'm not sure if I did get it out of the firewall passthrough that I would ever get it back in again. If there was a means to lube is as it hangs (the dash cluster is out at this time), I would appreciate the guidance. I'm not wanting to take a long time on this project unless it really can be fixed. Currently I'm trying to figure out how to get the cable out of the thumbwheel rack, as years of gunk and mouse pee have welded it into place.
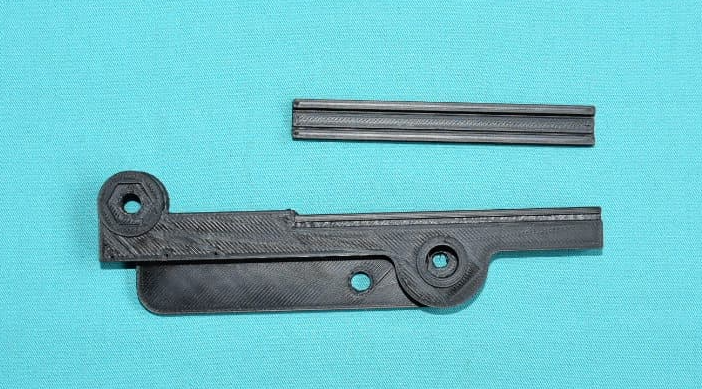
[ Can this plastic body piece be separated to service the internal rack? It appears to be permanently sealed.
This is that flimsy little rack. Mine is there, but severely cracked and ready to break. The cable would have to move like it was melted butter to not snap this piece off.
Last edited by BSiegPaint; Jun 5, 2025 at 02:20 PM.
THANK YOU! My internet searches didn't find this. I sent an email to them this morning. to see if this was still available. The thumbwheel control body seems slightly different, but I can't believe that would be an issue. Everything else looks spot on.
Hello Bob,
Yes I'm still making these parts and they are correct for your car.
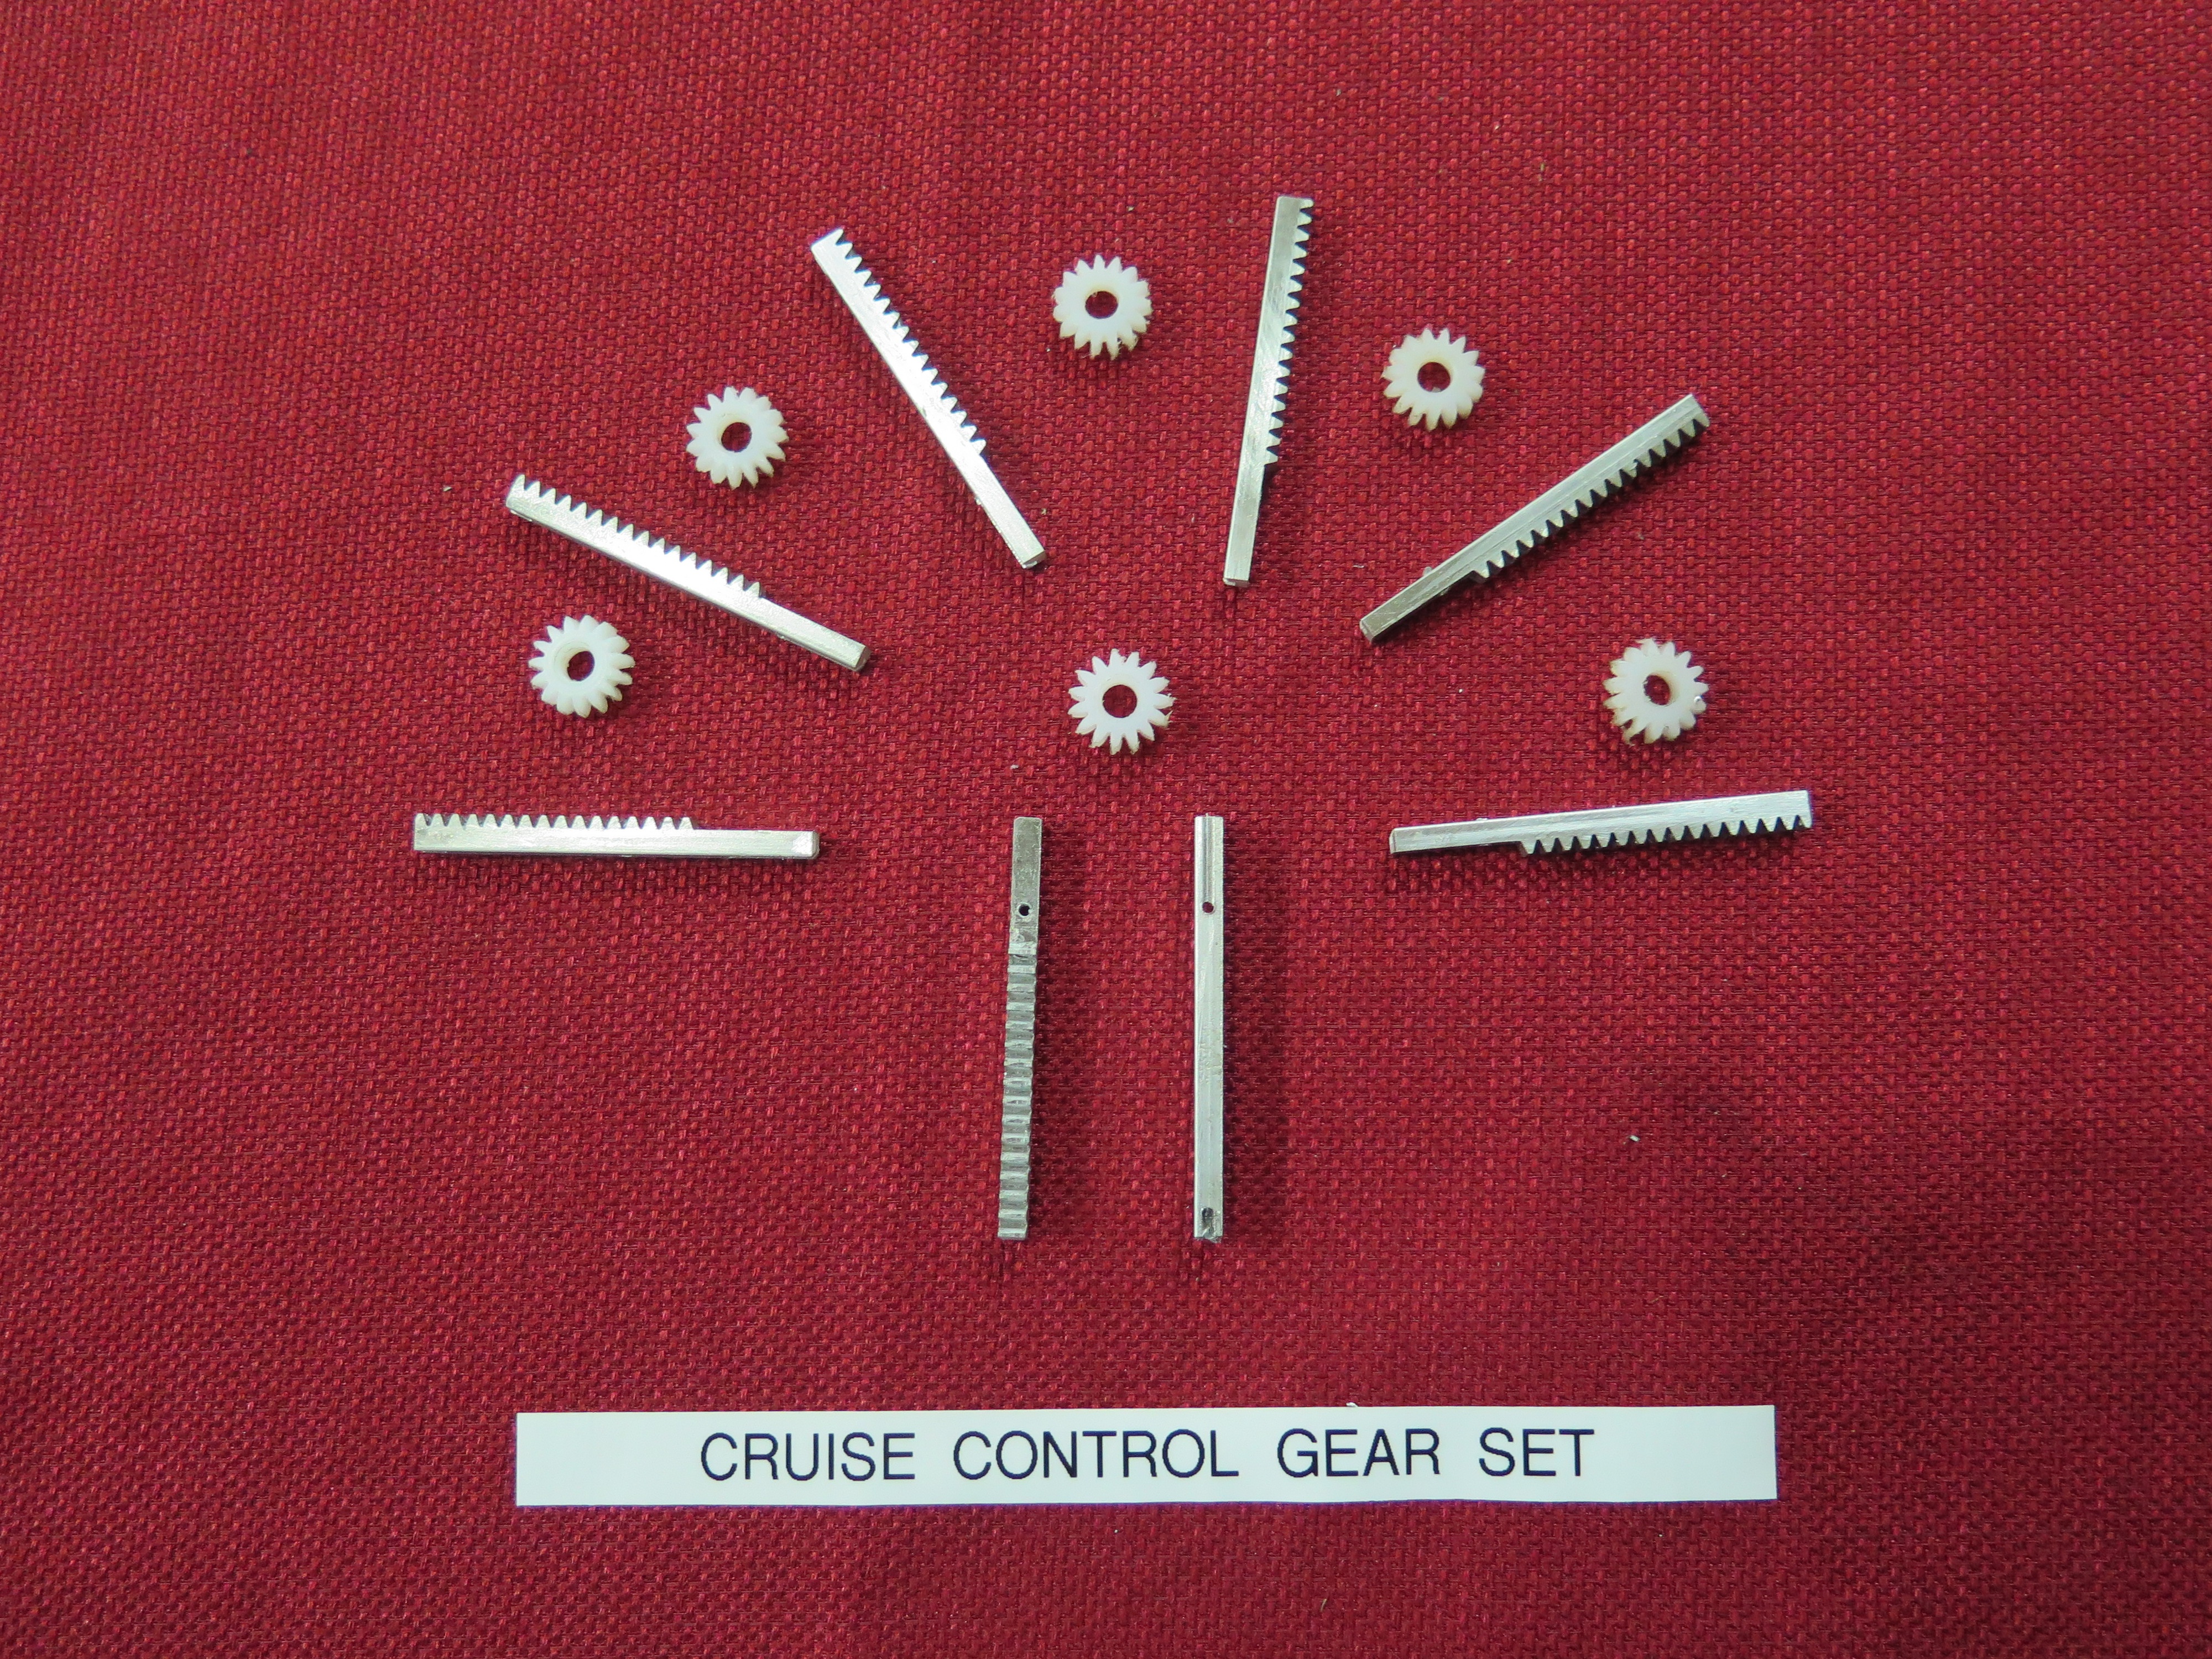
I'm 3D printing the black body to a slightly different design adding a longer gusset that can be trimmed off to fit your application. If I have a sample I can make it with the mounting holes in the correct location. Everything works correctly, rack slides and the gear is splined to fit the original shaft.
Thanks for the shout out Toro X6
Steve
I've had the gear and rack in my '62 Starfire for years. It works great. The original is meant to have a little bit of slippage at each end of travel for adjustment purposes. That is not possible with the replacement parts. Adjustment will have to be made by loosening the screw for the thumbwheel, getting it in the right place, and then tightening the screw. After that point there will be no way for thumbwheel adjustment. That's gonna be tough in a Toronado.
The new housing was probably made using the '62 housing as a pattern. Some modifications may be required to make it work on your Toronado, but it is basically the same.
My cable was also frozen. After I removed the cable from the control head, I shot each end with penetrating oil and let it soak. Then I lightly clamped one end in a vise and put a vice grip on the coiled casing at the other end and pulled gently to get the coil to separate enough to shoot penetrating oil in the little gaps. That might be a two person job. Once you get some oil in there, you may have to move up the casing a little bit at a time, but you want to be careful not to crush the casing. I was able to get mine free and with use its movement improved. Mine did not have a plastic sleeve around the cable, just the coiled casing. If you've got a plastic sleeve, I don't know if that can be removed and reinstalled.
I sure appreciate the info here. I took some pictures of my thumbwheel before disassembly and can eyeball the setting to an acceptable level for my needs, because as you say, adjustments will be next to impossible once installed. I'll start today with some penetrating oil on the cable. It's really frozen as a unit such that it can move forward or back through the firewall - maybe because of the spray goop the factory applied as a sealant on firewall holes? I can't see under the brake booster to confirm that. If I could get the whole cable out, I'd probably soak the whole thing in Evaporust for a few days. With everything being so tightly fit under the dash, I'm not sure I could get the thing reinstalled in the proper location... But more eyes on the situation and trial and error may get this figured out. And thanks so much to Oldskeeper for getting right back to me via email with the parts I need to make this work!!!
So, you've got the cable disconnected from the control head, but the cable is still in the car? I wonder if it's clamped fast somewhere. I would think you'd be able to just pull it right through the firewall. You are disconnected at the regulator, correct? I know that is a stupid question, but some of the people I deal with in the course of a day...
So, you've got the cable disconnected from the control head, but the cable is still in the car? I wonder if it's clamped fast somewhere. I would think you'd be able to just pull it right through the firewall. You are disconnected at the regulator, correct? I know that is a stupid question, but some of the people I deal with in the course of a day...
Yeah, it's loose at both ends, but won't move forward or back. I hate to push or pull too hard for risk of damaging it in some way. The heater control cable slides in and out as well as the speedo cable - but this one is stuck. Obviously it was put in place, so it must move somehow... I'll give it a few more tries this afternoon as I move forward with various tasks. If I could get my hand back behind the brake booster, that would be helpful, but sausage fingers don't fit in tight spaces lol
UPDATE - Got it to move freely - it was probably the firewall goop hardened by years of mouse pee... Got some PB Blaster on the engine side cable end and raised it to see if gravity might carry it through to the interior. The cable moved slightly and I was able to remove the thumbwheel from the cable. New parts will be here on Tuesday. If this piece will work, I think the whole system will function.
Last edited by BSiegPaint; Jun 6, 2025 at 06:10 PM.
Just wanted to give a big thank you to Oldskeeper for getting me the cruise repair pieces I needed to fix my thumbwheel. It's not a hard job to take the pieces apart and replace the broken rack.. The only issue you may have is the plastic housing upper section is melted onto the lower - I was able to snap the pieces apart with a sharp chisel and a small hammer...your mileage may vary. He also sells the replacement housing if you don't want to take the chance of breaking an old piece. Now I just need to get the cable lubed enough to move as smooth as possible, and reattach the wheel assembly to the dash.
It’s not perfect, but at least confirm where your wheel is situated with the current parts before disassembly. There is no keyway or other markings for reassembly.
Remove the press fit clip and the wavy washer and set aside.
Using a flat blade screwdriver, carefully wedge the thumb wheel off of the internal gear. It doesn’t take much effort.
I was able to remove the top “lid” and expose the rack, gear, and pressure spring. Don’t lose that!
New gear is under the new rack and in place.
Centered the spring over the rack and snapped the top piece back on.
Snapped the wheel back into its original location after setting the rack into its place and installed the washer and press clip, then attached the mounting bracket to complete. All done.
Last edited by BSiegPaint; Jun 13, 2025 at 04:22 AM.