When you click on links to various merchants on this site and make a purchase, this can result in this site earning a commission. Affiliate programs and affiliations include, but are not limited to, the eBay Partner Network.
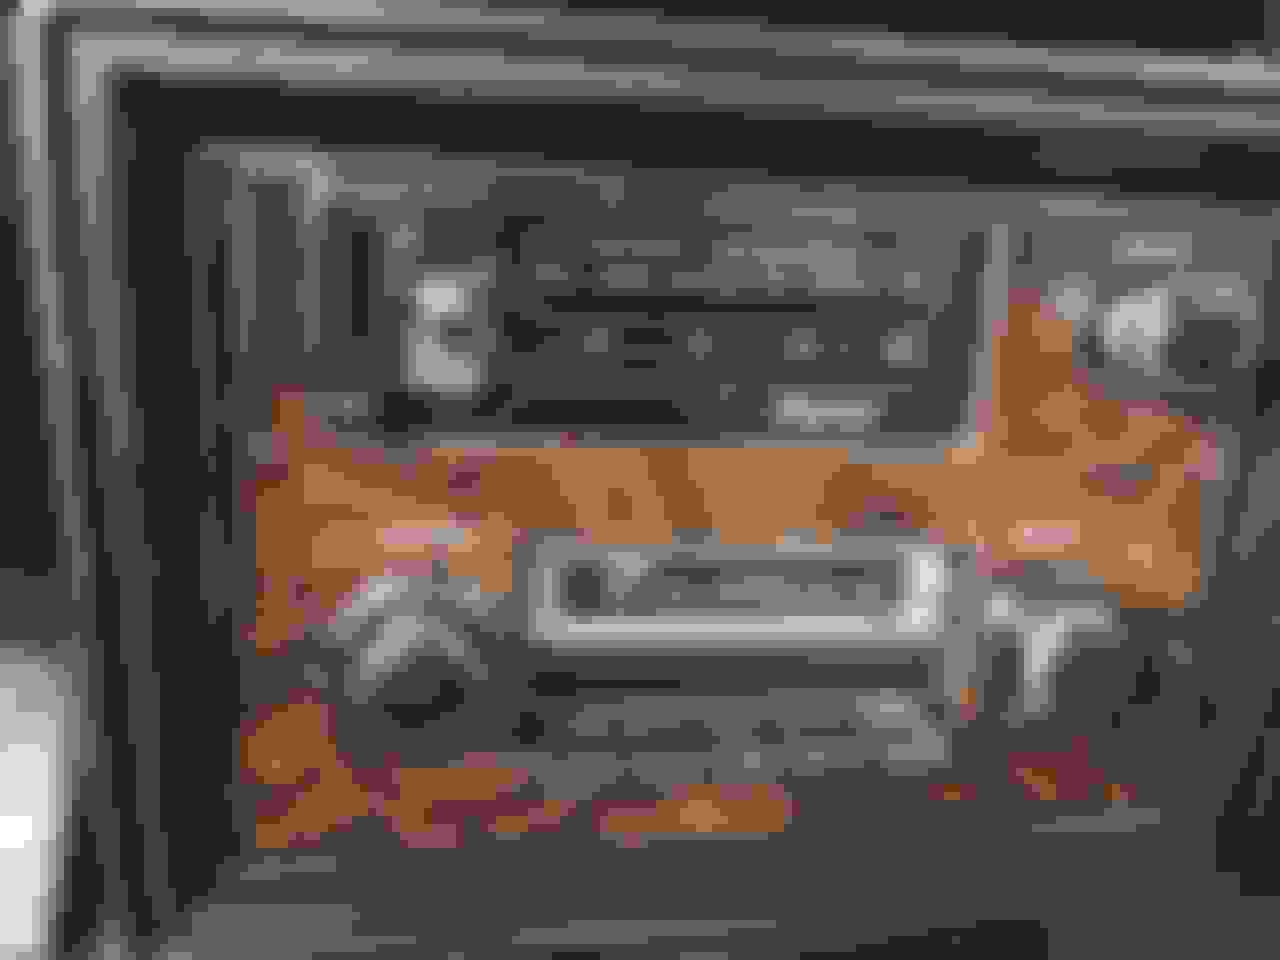
I don't know how to remove the AM radio/8 track player from my 79 cutlass supreme. Any suggestions or you tube video for this? 8 track player doesn't work so I'd like to repair it if possible.
Last edited by Dale10; June 2nd, 2020 at 09:53 AM.
I don't have a '79 chassis manual, but I do have a '78, and I'm guessing the Cutlass dash didn't change much between the two years. See the figure below. The radio comes out from the front, not from below the dash.
1. Disconnect negative battery cable.
2. Remove instrument panel lower trim cover. (I think this is just a press-fit. There are no screws to remove. It just pulls off, and then presses on to reinstall.)
3. Remove four radio mounting plate screws.
4. Remove screw from radio support bracket on lower instrument panel tie bar.
5. Pull radio outward enough to disconnect antenna lead-in and all wires from radio.
Let us know how it goes.
Last edited by jaunty75; May 28th, 2020 at 12:56 PM.
Thank you for your message and the diagram. Mine appears a little different as it has the heater/AC controls in the same panel. Do those ***** just pull off too?
Mine appears a little different as it has the heater/AC controls in the same panel.
Actually, I don't think your panel is different. The opening for the A/C controls and the cigarette lighter are shown in that diagram, but the controls themselves and the lighter itself are not. I've circled it in red below. My guess is that that control panel for the A/C is not attached to the front panel, so the ends of the A/C control levers don't need to be removed. Try taking it apart and see what happens. You're not going to know until you actually try. Just be careful and pull slowly and evenly on anything you pull on. My guess is that the front panel will just come off as shown and slide right over the lighter socket. You do want to remove the lighter head itself.
Last edited by jaunty75; June 4th, 2020 at 11:07 AM.
Actually, I don't think your panel is different. The opening for the A/C controls and the cigarette lighter are shown in that diagram, but the controls themselves and the lighter itself are not. I've circled it in red below. My guess is that that control panel for the A/C is not attached to the front panel, so the ends of the A/C control levers don't need to be removed.
That is correct. The A/C control head just shows through the hole in the outer fascia panel. You don't need to do anything to it.
Just the radio volume and select ***** have to be removed first before gently tugging the faceplate off.
It's funny, but those five steps I listed in post #2 are exactly as they appear in the chassis service manual. There is no actual written mention that the radio ***** have to be removed before the trim plate can be pulled off. I guess the authors of the manual figured it would be an obvious thing to do.
Location: Edmonton, AB. And "I am Can 'eh' jun - eh"
Posts: 24,525
Originally Posted by jaunty75
It's funny, but those five steps I listed in post #2 are exactly as they appear in the chassis service manual. There is no actual written mention that the radio ***** have to be removed before the trim plate can be pulled off. I guess the authors of the manual figured it would be an obvious thing to do.
Want to guess how many radio faceplates I've seen wrecked by people who couldn't figure that out?? I understand your point. To me it's intuitive, but others maybe not so much. Probably because they have an inherent fear of wrecking trim that is perfectly good and they've never attempted that kind of repair before. Anyway, I just thought I'd mention that.
It's funny, but those five steps I listed in post #2 are exactly as they appear in the chassis service manual. There is no actual written mention that the radio ***** have to be removed before the trim plate can be pulled off. I guess the authors of the manual figured it would be an obvious thing to do.
Those newer GM manuals typically require you to refer back to another section. For example, the radio removal instructions say "remove instrument panel lower trim cover" as one of the steps, but I'll bet there's another paragraph elsewhere that covers "Removal of lower instrument panel cover" that includes the steps to remove radio *****. That's like the various repair sections where the first step is "Remove engine".
Those newer GM manuals typically require you to refer back to another section. For example, the radio removal instructions say "remove instrument panel lower trim cover" as one of the steps, but I'll bet there's another paragraph elsewhere that covers "Removal of lower instrument panel cover" that includes the steps to remove radio *****.
You're right. On the previous page it says "remove radio *****" as the first step in removing the lower trim cover.
What's a little annoying is that these manuals sometimes will point you at that previous step. For instance, in this section on removing the radio, where it says "remove lower trim cover," how difficult would it have been to add a phrase right after this that says "see section 4.7" or "see page 8B-34" or something like this. It should tell you where to go to see the instructions for this preliminary step if they're present somewhere else in the manual. As I said, they do this sometimes, but not all the time. The problem this causes is that it can lead you to assume that, if this point-at-a-previous-section instruction is not present, it's because there isn't a previous instruction or section to look at, so you don't necessarily think to go look for it. But in this case, there is.
OK, after my little rant above, I'll turn around and say something positive about these service manuals. Because you learn that you will probably have to look in multiple places to solve just one issue, you spend a lot of time flipping through the manual looking at sections that might be related to your issue. When I do this, I end up learning some things, but, more importantly, I learn where things are. I can't count how many little bookmarks I've placed in the manual to remind me where a certain diagram or set of instructions is when it's in a place I would never think to look. Not that I need those instructions or that diagram right now, but I might need them someday, and I'll kick myself for not remembering where I saw something.
What's a little annoying is that these manuals sometimes will point you at that previous step. For instance, in this section on removing the radio, where it says "remove lower trim cover," how difficult would it have been to add a phrase right after this that says "see section 4.7" or "see page 8B-34" or something like this. It should tell you where to go to see the instructions for this preliminary step if they're present somewhere else in the manual. As I said, they do this sometimes, but not all the time. The problem this causes is that it can lead you to assume that, if this point-at-a-previous-section instruction is not present, it's because there isn't a previous instruction or section to look at, so you don't necessarily think to go look for it. But in this case, there is.
Don't get me started. The manual for my 1999 Chevy truck is FOUR volumes plus two additional "Component Overhaul" volumes for things like transmissions and rear axles. Not only do you have to search for those "subroutines" in an R&R section, but invariably they are in a different volume (ie, you're working on engine wiring and you're directed to the dash board section that's in the body volume). Worse, there is NO index or TOC for these sections, and no rhyme or reason as to which section might be in. How hard would it be to list these in the index? Oh, but the index has pages and pages of DTC code locations, despite the fact that they are printed in the manual in NUMERICAL ORDER! I mean, seriously, I've never had to turn to the index to find a DTC page. One example that constantly bothers me is the suspension vs. brakes division. Try to find the torque specs for the front wheel bearings and hubs. Typically I have to do this when servicing the front brakes. Is it in the brake section? No. I have to search suspension and steering to finally find it. And helpfully, the torque for the bolts that hold the hub to the spindle are in front suspension, but the torque for the nut on the drive axle to the hub is in the front axle section.
Even worse is the dumbing down of the manuals. The 1960s CSMs have detailed photos and explanations of how the system works so you can actually think through a problem diagnosis. The new manuals have crappy drawings that look like they were done in crayon and troubleshooting flowcharts that assume you have the full resources of the dealership service bay at your disposal. Invariably, each flowchart has a step that says "Replace computer with known good unit and test again". Oh, yeah, I've got one of those right here.
Sadly, it appears that this dumbing down started in the early 1970s. My 1972 CSM has a number of these troubleshooting flowcharts with no explanation of "why" or theory behind the system. No wonder today's "mechanics" can't diagnose their way out of a paper bag.
 May 28th, 2020, 11:04 AM


")


