The Body Stays On This One Too, 1970 442 4 Speed Refresh, has morphed to a body off!

Thread Tools
 
Search this Thread
 
Old July 23rd, 2018, 05:01 AM
  #161  
Registered User
 
rand5204's Avatar
 
Join Date: Mar 2012
Location: Merrill, WI
Posts: 787
When I did the rear end on my convertible, I found a pretty clear D8 on it. I wondered what it meant as well. Did my best to duplicate on the finished product but somehow managed to not get a very good picture of it.
Attached Images
File Type: jpg
IMG_3155.JPG (2.57 MB, 77 views)
File Type: jpg
IMG_3284 (1).JPG (2.16 MB, 66 views)
rand5204 is offline  
Old July 24th, 2018, 04:20 PM
  #162  
Registered User
Thread Starter
 
costpenn's Avatar
 
Join Date: Jun 2011
Location: Carrolllton Texas
Posts: 2,855
Originally Posted by rand5204
When I did the rear end on my convertible, I found a pretty clear D8 on it. I wondered what it meant as well. Did my best to duplicate on the finished product but somehow managed to not get a very good picture of it.
Thanks for posting the pic. I looked at the one I'm working on again - it is definitely a 4 in a yellow color which is handwritten in a very sloppy style.
costpenn is offline  
Old July 24th, 2018, 05:01 PM
  #163  
Registered User
Thread Starter
 
costpenn's Avatar
 
Join Date: Jun 2011
Location: Carrolllton Texas
Posts: 2,855
Frame is back (0 hours)

Frame came back from Quality Powder Coating in a little over two weeks after being picked up. Total cost was 1031.00 - this included blasting the frame and 40 other misc. parts, powdercoating the frame one shade of black and the individual parts another, and pick up and delivery.


Also, without being asked, as an added bonus they masked off the control arm bushing and lower ball joint mounting surfaces - saving me some Dremel time.


costpenn is offline  
Old July 25th, 2018, 05:04 AM
  #164  
Registered User
 
rand5204's Avatar
 
Join Date: Mar 2012
Location: Merrill, WI
Posts: 787
Nice work and a great price. Now I know I was overcharged when I did mine!
rand5204 is offline  
Old July 30th, 2018, 04:06 PM
  #165  
Registered User
Thread Starter
 
costpenn's Avatar
 
Join Date: Jun 2011
Location: Carrolllton Texas
Posts: 2,855
Back From A Fun Time (5 hours)

Got back from a whirlwind trip some friends and I took visiting Washington DC, Strasburg Pennsylvania, ( we slept in a Caboose!) and The Gettysburg Battlefield. History geek out!

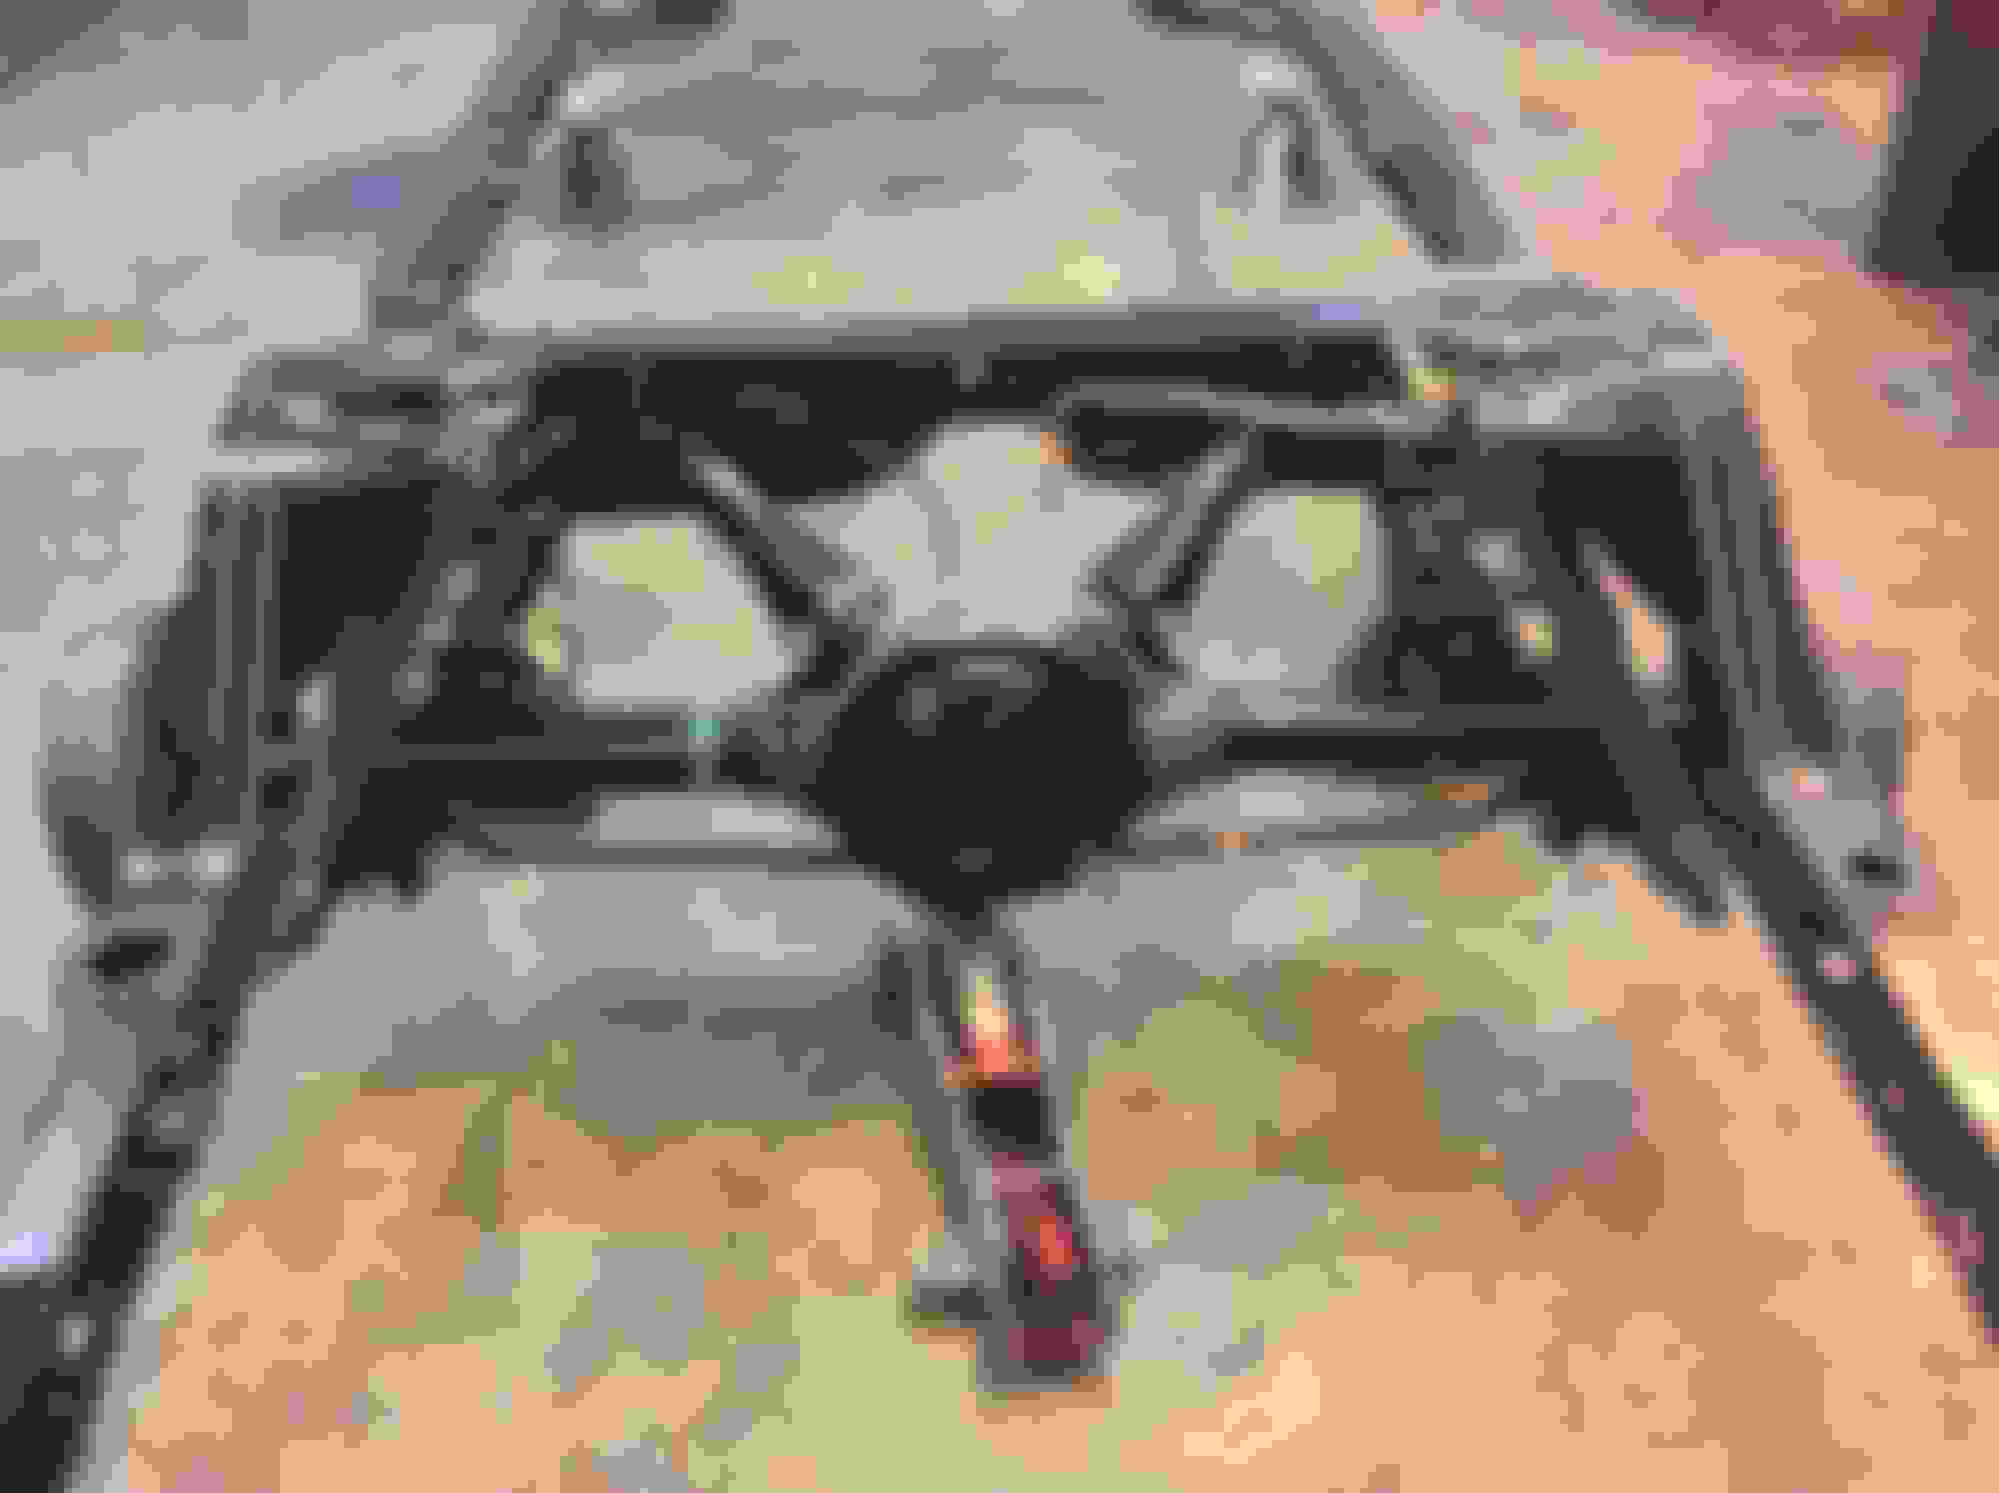
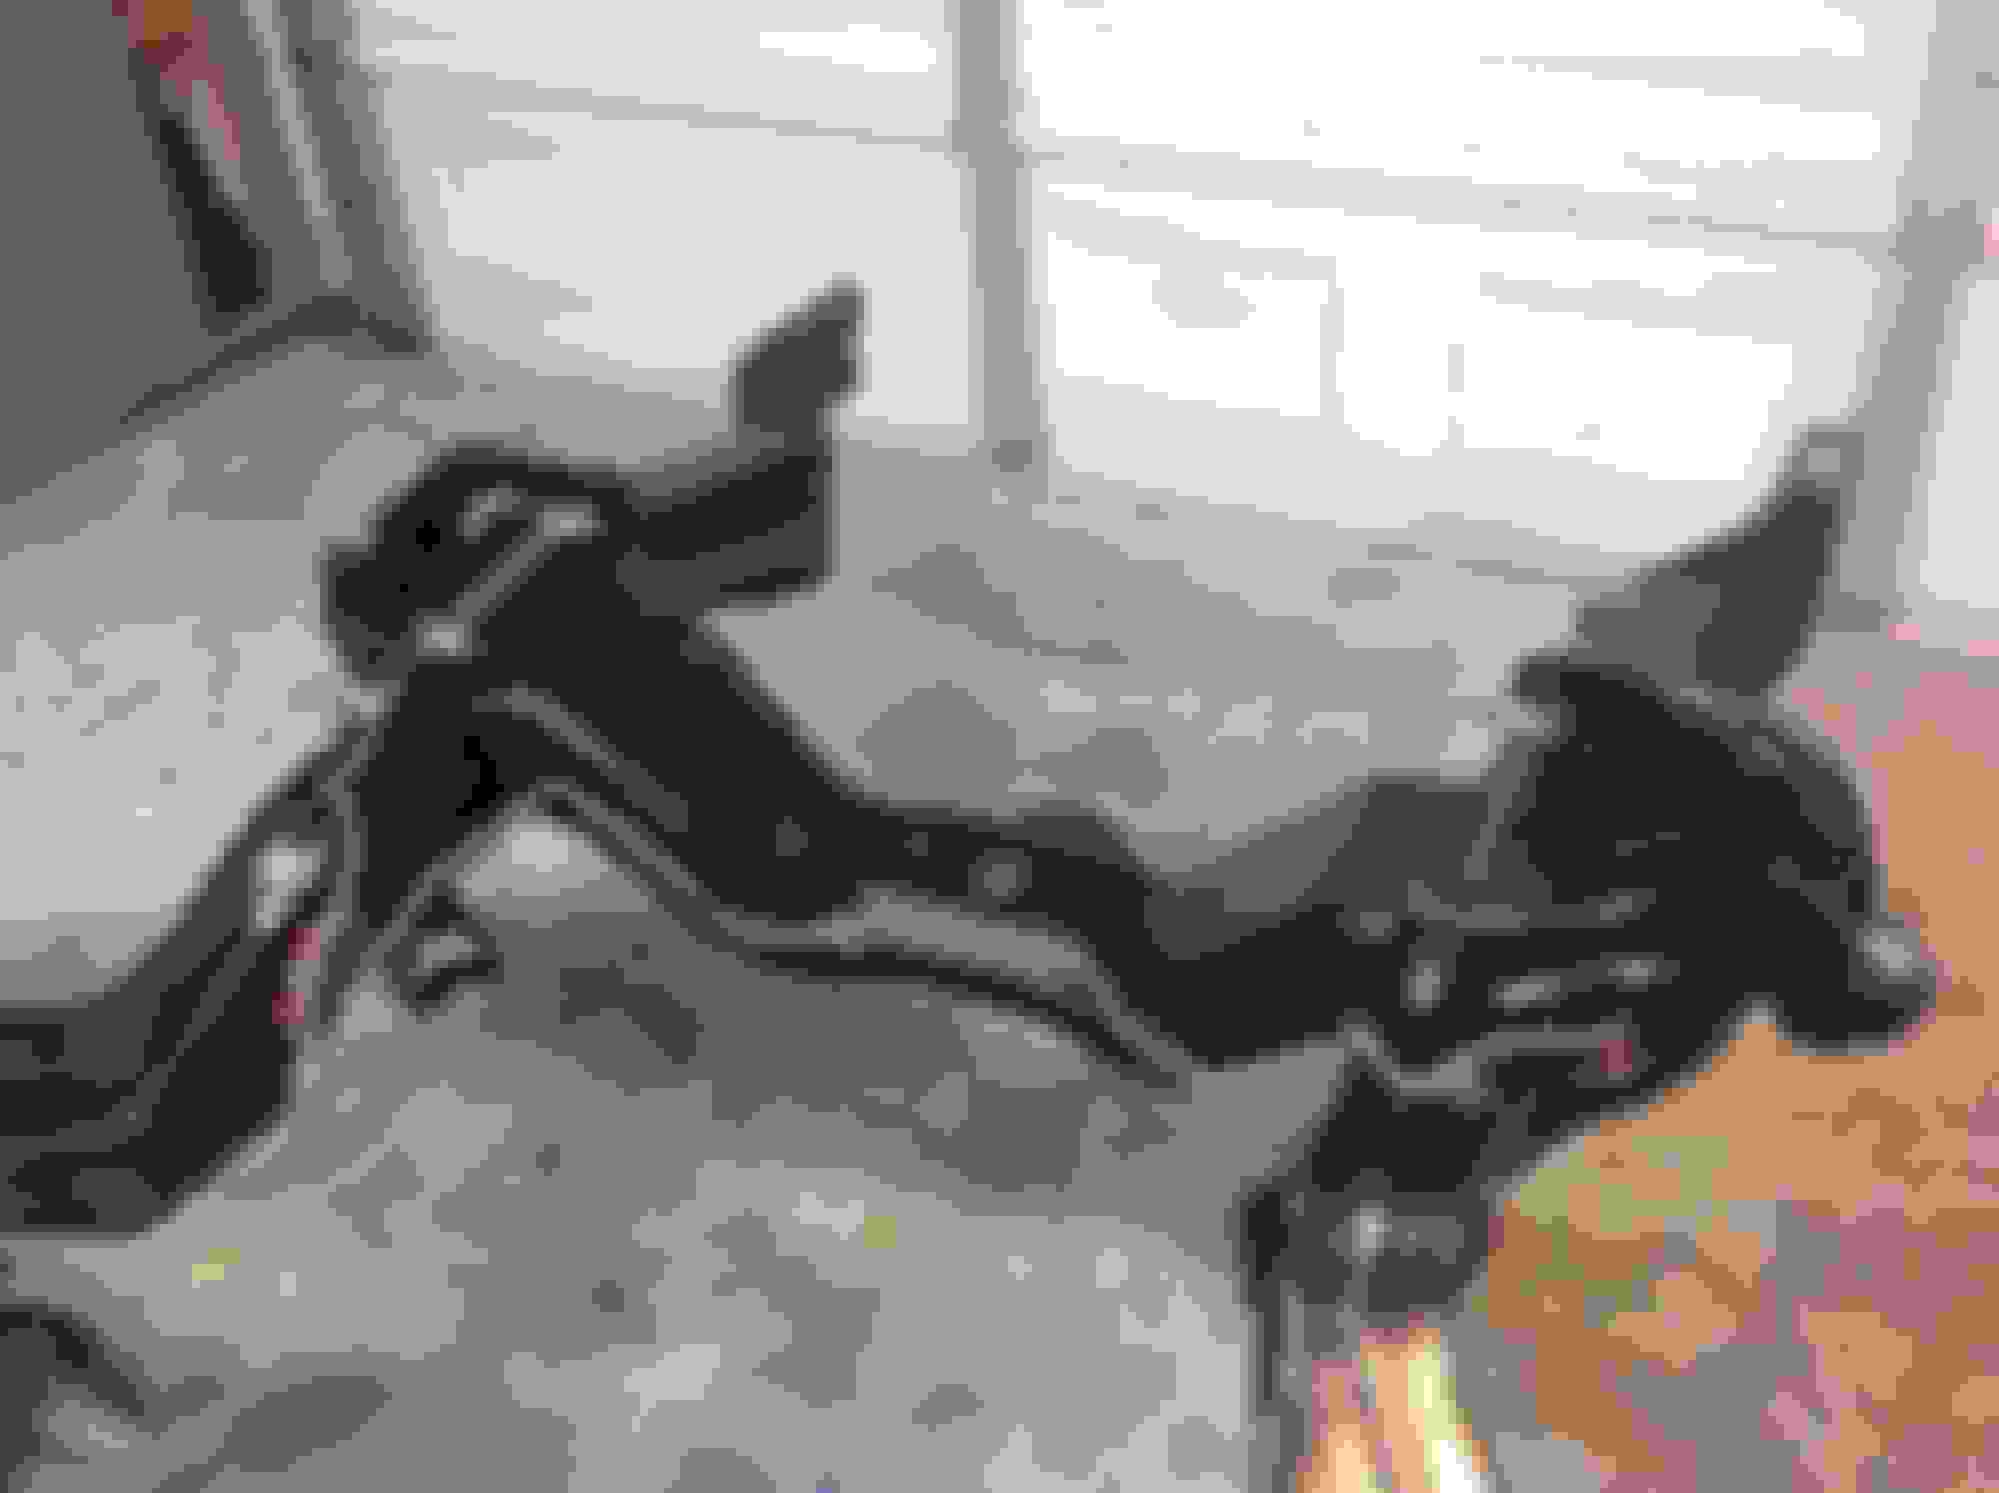
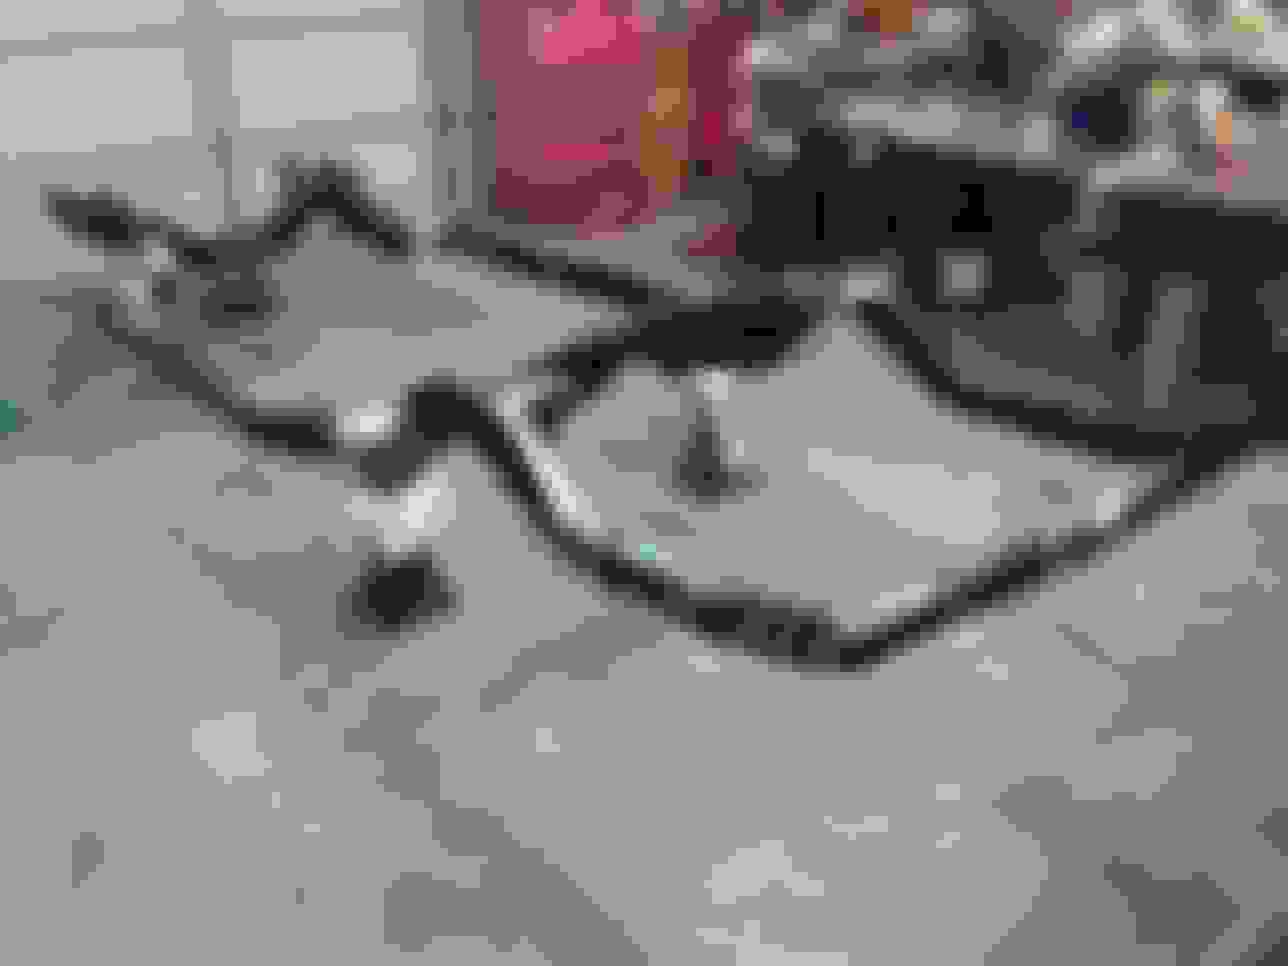
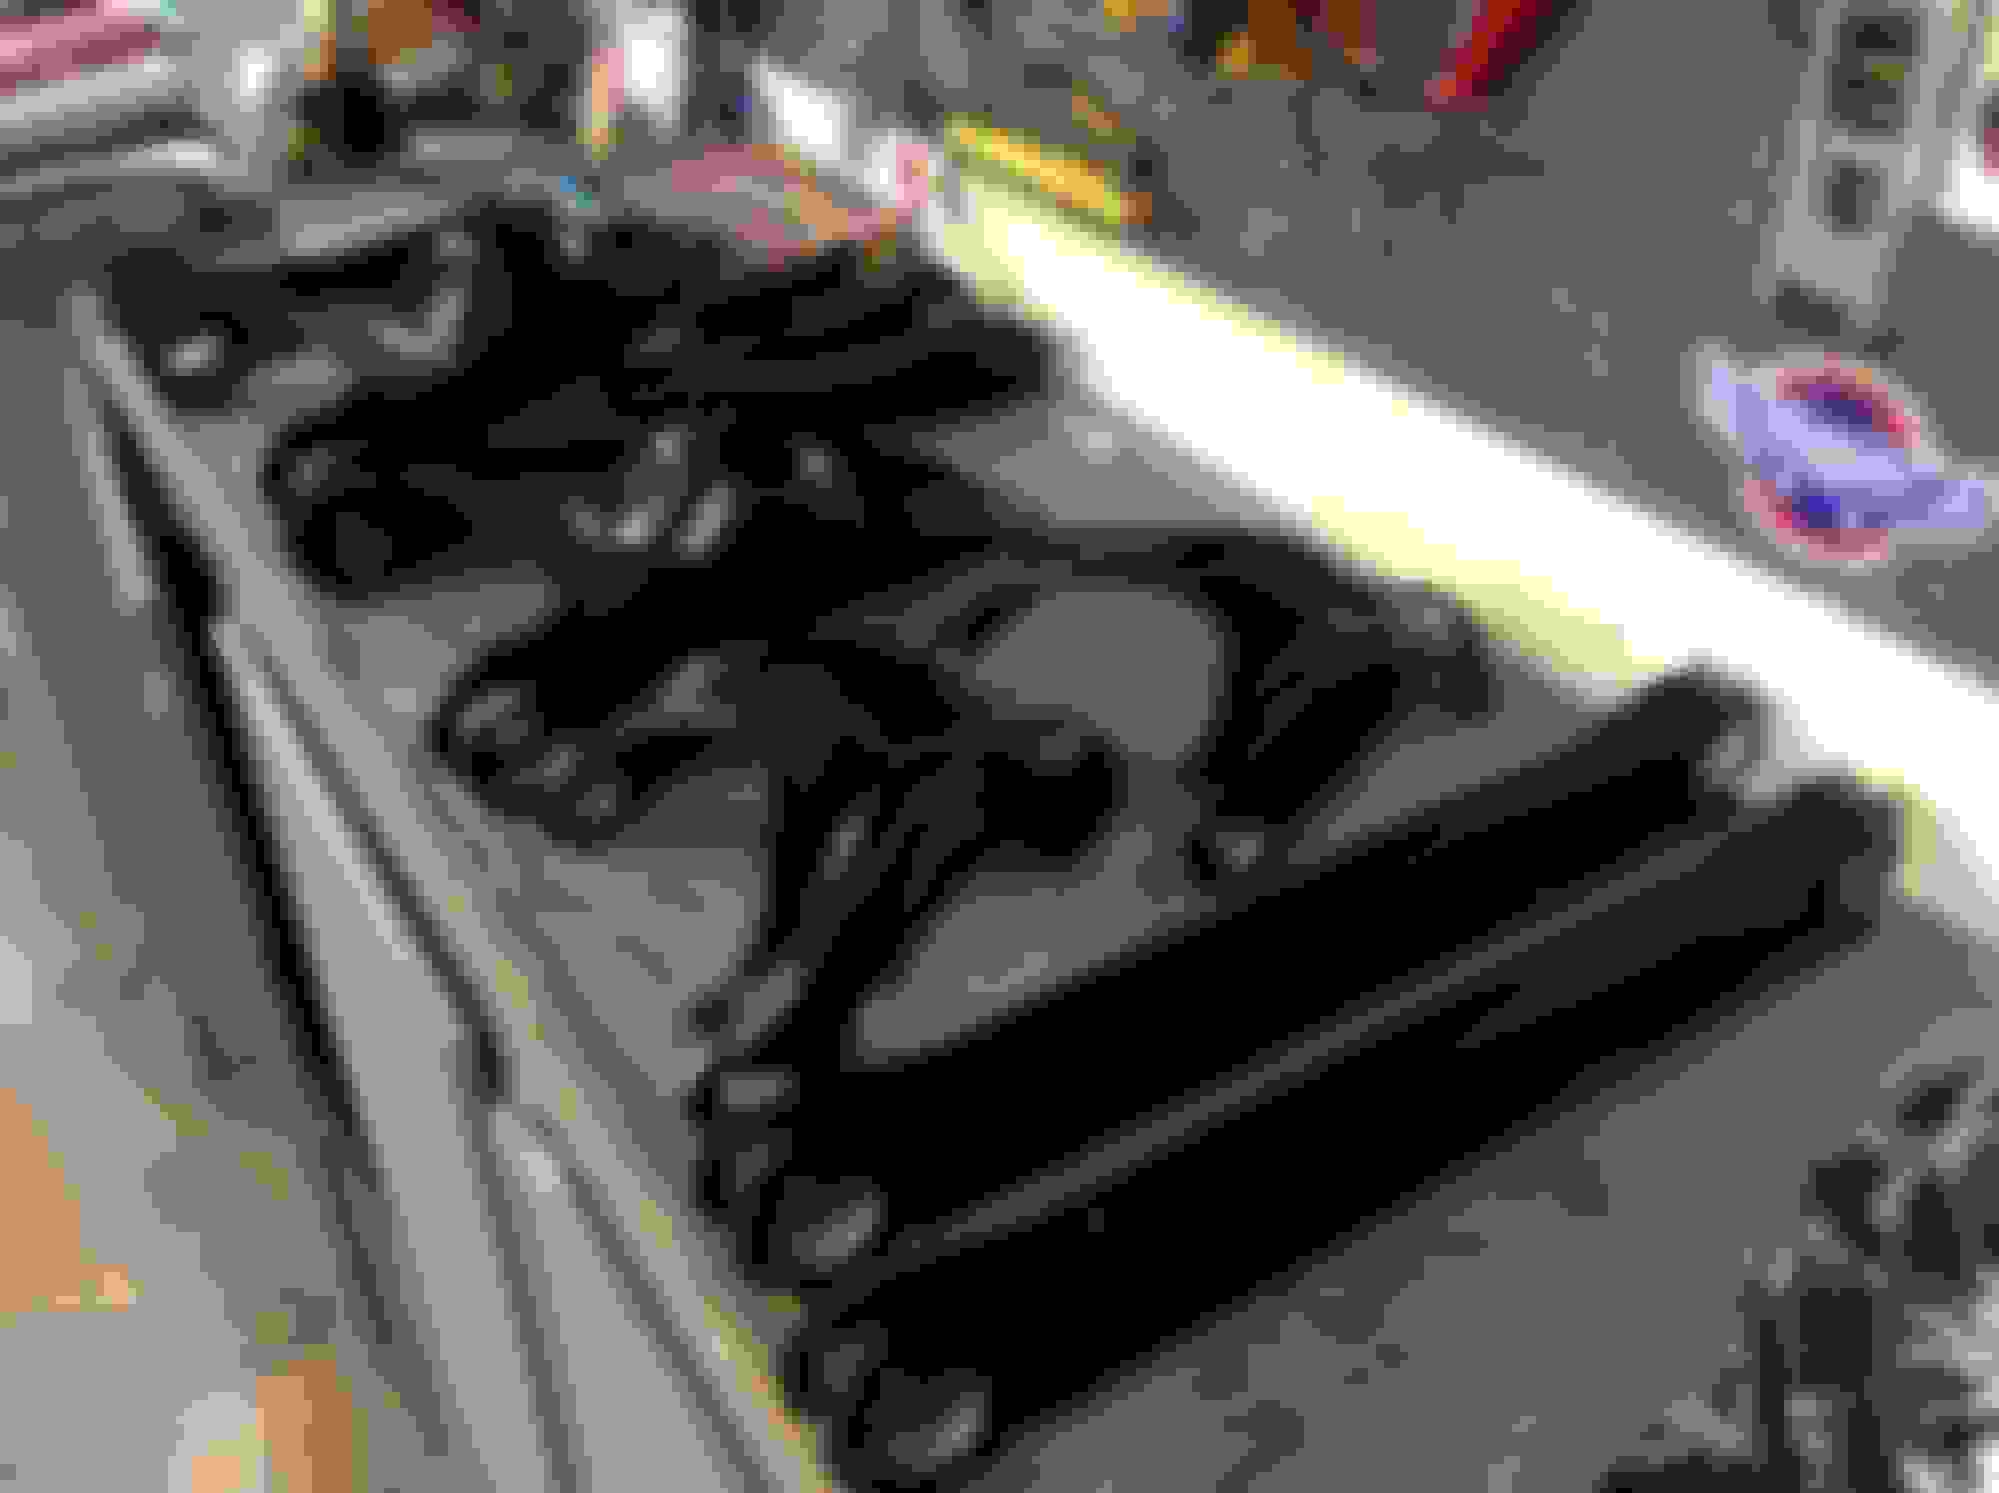
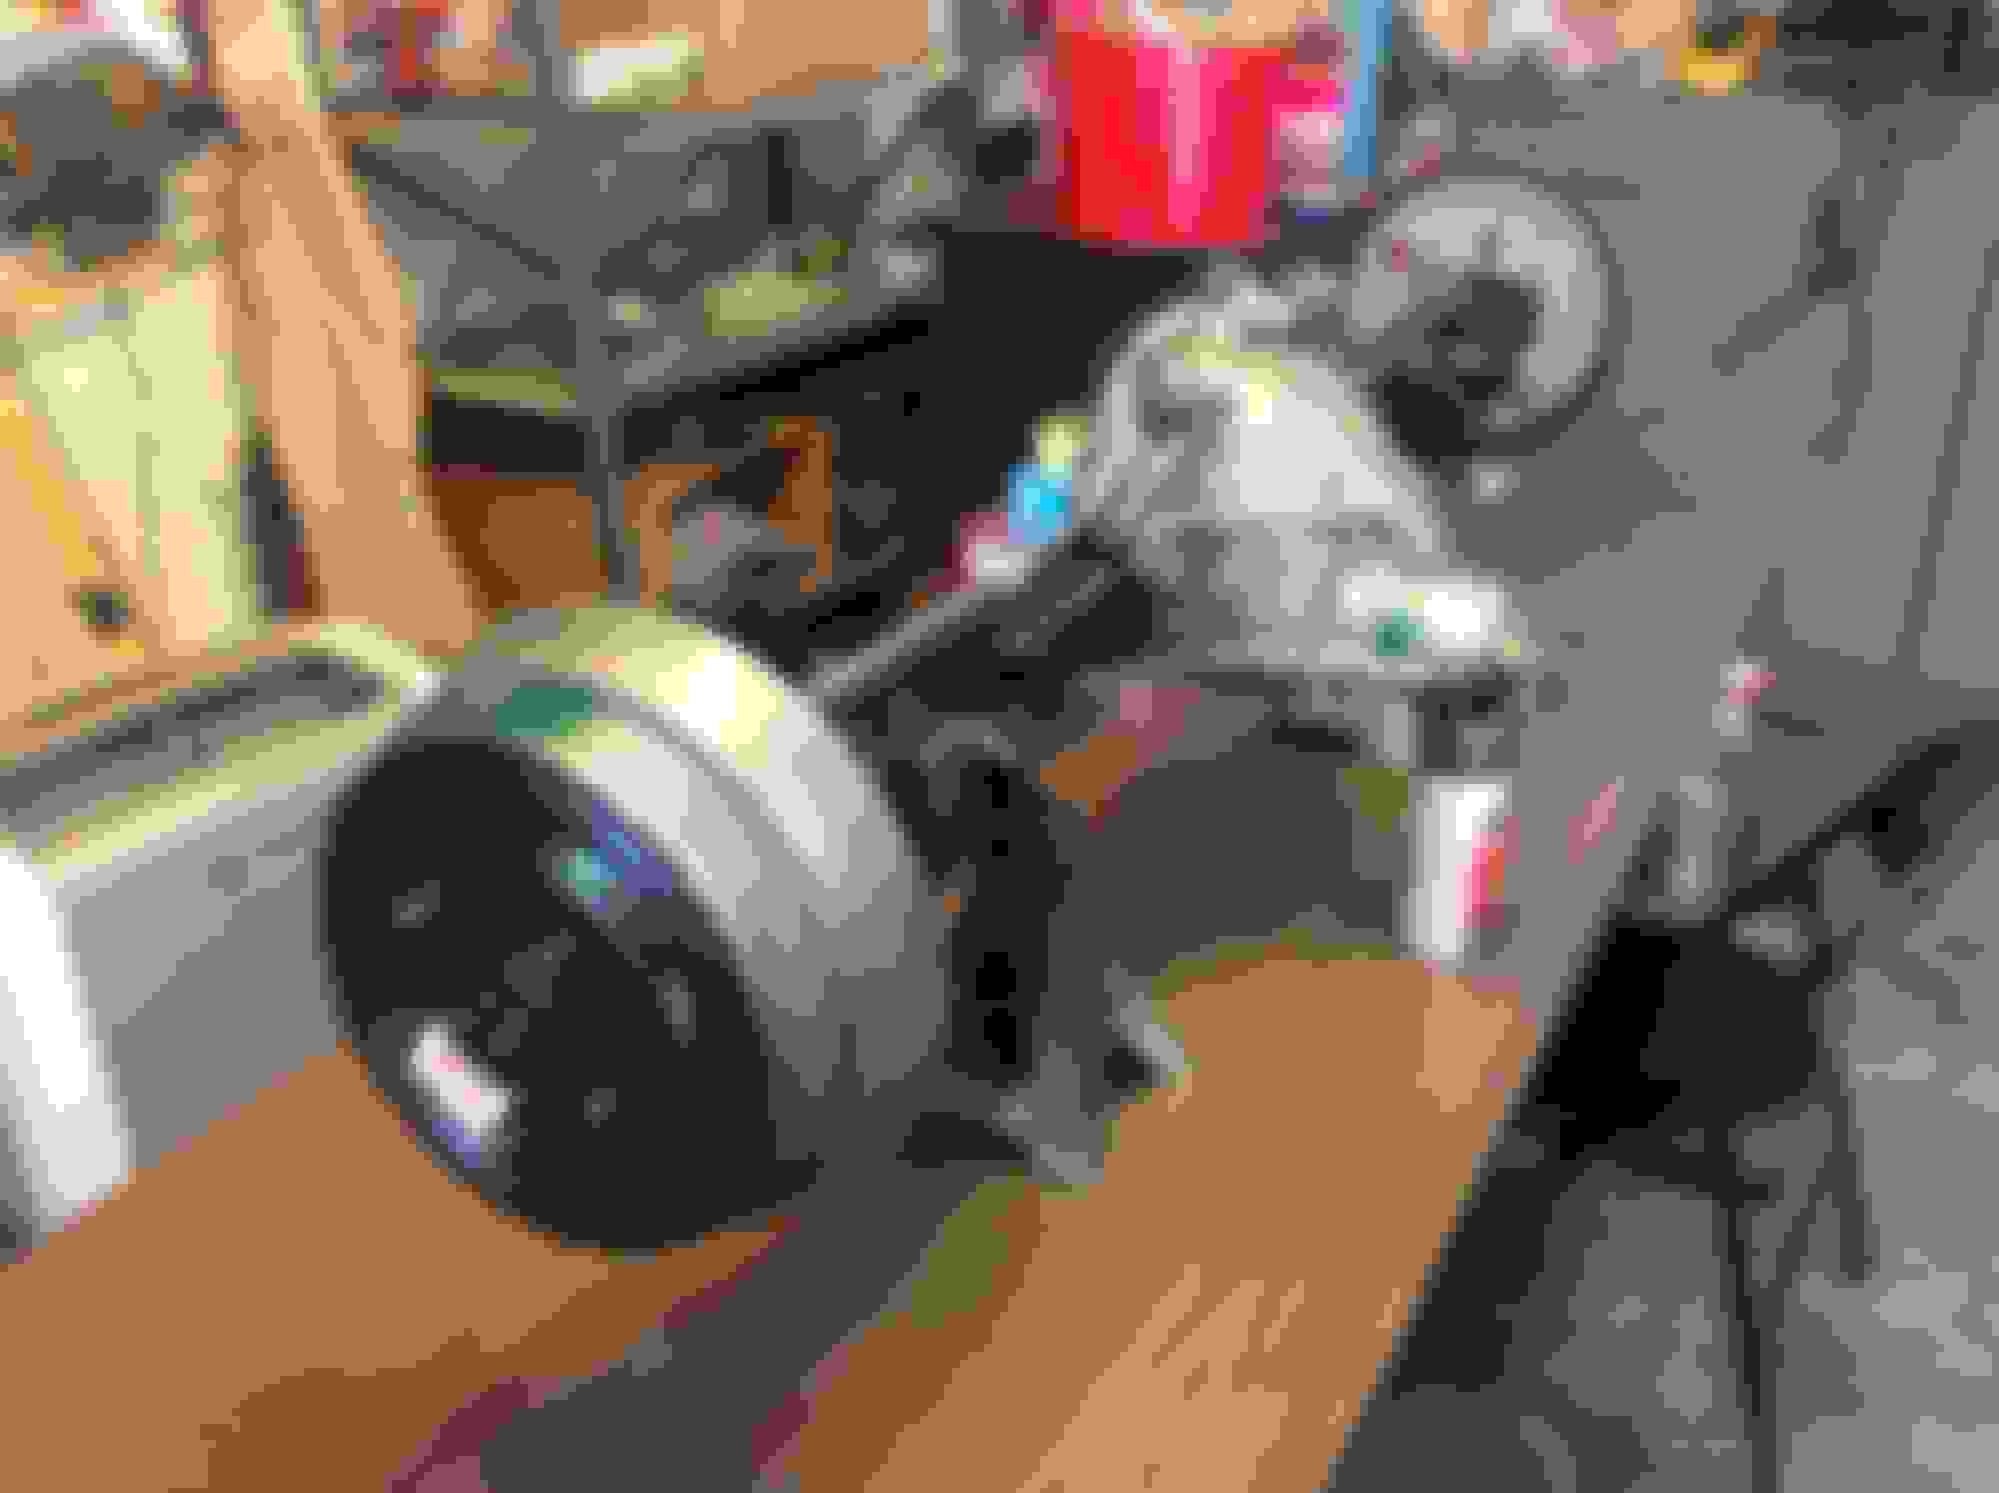
Today was devoted to reassembling the rear end. I want to get it under the frame so as to have the rear on something besides jackstands. Did all the usual detailing, and boy the ILT decal kits keep getting stranger and stranger on the part number selection.

i am a little worried. 5 of the rear wheel studs were junk, so I replaced them with Dorman P/N 610-186. The spline count is diierent from the originals. I got them in OK, but after all the trouble I have had with the Ford I'm working on, I don't want any future problems. Anyone have any experience on replacing wheel studs with aftermarket parts?


costpenn is offline  
Old July 30th, 2018, 06:24 PM
  #166  
Registered User
 
83hurstguy's Avatar
 
Join Date: Jun 2008
Location: Chicago
Posts: 1,394
I always use ARP wheel studs, then cut the lengths down b/c they come like 3 inches long.
83hurstguy is offline  
Old July 30th, 2018, 06:36 PM
  #167  
Registered User
 
dc2x4drvr's Avatar
 
Join Date: Jul 2009
Location: Jacksonville, FL
Posts: 2,659
I replaced one stud, and since the serrations in the axle were weak, I had the stud tack welded in, maybe overkill, but wanted it to withstand my impact tool. I used a stud from NAPA.
dc2x4drvr is online now  
Old July 30th, 2018, 06:37 PM
  #168  
Shoveling Snow
 
Hairy Olds's Avatar
 
Join Date: Aug 2008
Location: Yoder-Hey-Land
Posts: 2,478
Why not spend the week up there for the show?
Hairy Olds is online now  
Old July 30th, 2018, 06:59 PM
  #169  
Registered User
 
Koda's Avatar
 
Join Date: Aug 2013
Location: Evansville, IN
Posts: 10,283
That's some impressive overspray and factory ID mark replication there.
Koda is online now  
Old July 31st, 2018, 02:41 AM
  #170  
Escape From The Ordinary
 
WTHIRTY1's Avatar
 
Join Date: Oct 2014
Posts: 1,873
Great detail, Joe! What green paint and type of brush are you using for the paint daubs on the rear. Never seen the green markings on the drums like that. Nice.
WTHIRTY1 is offline  
Old July 31st, 2018, 04:18 AM
  #171  
Registered User
 
rand5204's Avatar
 
Join Date: Mar 2012
Location: Merrill, WI
Posts: 787
I was fortunate enough to find a pair of the "bell' drums for my car. The one still had a barely visible green mark on it.
Attached Images
File Type: jpg
IMG_3272.JPG (2.34 MB, 27 views)
rand5204 is offline  
Old July 31st, 2018, 01:59 PM
  #172  
Registered User
 
jensenracing77's Avatar
 
Join Date: Feb 2009
Location: Brazil Indiana
Posts: 11,503
Just wanted to say I am still following along... Thanks for making this thread like the past ones. Beautiful work. I just wish I had an assembly manual for the 62 model year.
jensenracing77 is offline  
Old July 31st, 2018, 08:10 PM
  #173  
Registered User
Thread Starter
 
costpenn's Avatar
 
Join Date: Jun 2011
Location: Carrolllton Texas
Posts: 2,855
Originally Posted by 83hurstguy
I always use ARP wheel studs, then cut the lengths down b/c they come like 3 inches long.
Thanks for the suggestion. I should have thought of that - my company is a stocking distributor of ARP.
costpenn is offline  
Old July 31st, 2018, 08:12 PM
  #174  
Registered User
Thread Starter
 
costpenn's Avatar
 
Join Date: Jun 2011
Location: Carrolllton Texas
Posts: 2,855
Originally Posted by dc2x4drvr
I replaced one stud, and since the serrations in the axle were weak, I had the stud tack welded in, maybe overkill, but wanted it to withstand my impact tool. I used a stud from NAPA.
Great idea. I'll get Chris to put a little tack on each before reassembling the brakes on it.
costpenn is offline  
Old July 31st, 2018, 08:13 PM
  #175  
Registered User
Thread Starter
 
costpenn's Avatar
 
Join Date: Jun 2011
Location: Carrolllton Texas
Posts: 2,855
Originally Posted by Hairy Olds
Why not spend the week up there for the show?
Had to get back to get ready for a return trip to the UP - looking at getting a place in Ontonagon.
costpenn is offline  
Old July 31st, 2018, 08:16 PM
  #176  
Registered User
Thread Starter
 
costpenn's Avatar
 
Join Date: Jun 2011
Location: Carrolllton Texas
Posts: 2,855
Originally Posted by Koda
That's some impressive overspray and factory ID mark replication there.
Thanks for the compliment. Like to get them right! The diff housing overspray was a mistake on my part, but I like the way it came out.
costpenn is offline  
Old July 31st, 2018, 08:21 PM
  #177  
Registered User
Thread Starter
 
costpenn's Avatar
 
Join Date: Jun 2011
Location: Carrolllton Texas
Posts: 2,855
Originally Posted by WTHIRTY1
Great detail, Joe! What green paint and type of brush are you using for the paint daubs on the rear. Never seen the green markings on the drums like that. Nice.
Thanks - here's what I used for the drum dabs:

costpenn is offline  
Old July 31st, 2018, 08:24 PM
  #178  
Registered User
Thread Starter
 
costpenn's Avatar
 
Join Date: Jun 2011
Location: Carrolllton Texas
Posts: 2,855
Originally Posted by rand5204
I was fortunate enough to find a pair of the "bell' drums for my car. The one still had a barely visible green mark on it.
Randy, the dabs on these drums were on the raised ridges outboard from where yours are. Thanks for the pic.
costpenn is offline  
Old July 31st, 2018, 08:27 PM
  #179  
Registered User
Thread Starter
 
costpenn's Avatar
 
Join Date: Jun 2011
Location: Carrolllton Texas
Posts: 2,855
Originally Posted by jensenracing77
Just wanted to say I am still following along... Thanks for making this thread like the past ones. Beautiful work. I just wish I had an assembly manual for the 62 model year.
Good to hear from you Eric. Was there never such a thing as a 62 PIM or does no one reproduce it?
costpenn is offline  
Old July 31st, 2018, 11:04 PM
  #180  
Shoveling Snow
 
Hairy Olds's Avatar
 
Join Date: Aug 2008
Location: Yoder-Hey-Land
Posts: 2,478
Originally Posted by costpenn


Good to hear from you Eric. Was there never such a thing as a 62 PIM or does no one reproduce it?
65 was the first year that I know of.
Hairy Olds is online now  
Old July 31st, 2018, 11:06 PM
  #181  
Shoveling Snow
 
Hairy Olds's Avatar
 
Join Date: Aug 2008
Location: Yoder-Hey-Land
Posts: 2,478
Originally Posted by costpenn


Had to get back to get ready for a return trip to the UP - looking at getting a place in Ontonagon.
Hell you will be only a stones throw from my house.
Hairy Olds is online now  
Old August 1st, 2018, 07:03 AM
  #182  
Jeff
 
Weezer's Avatar
 
Join Date: Jan 2018
Location: Grand Blanc, MI
Posts: 1,027
Originally Posted by costpenn


Had to get back to get ready for a return trip to the UP - looking at getting a place in Ontonagon.
Holy smokes, that's a big change from TX. Gichi-gami stays cold all summer long, so don't plan on any water sports!
Weezer is offline  
Old August 1st, 2018, 07:34 AM
  #183  
Registered User
 
jensenracing77's Avatar
 
Join Date: Feb 2009
Location: Brazil Indiana
Posts: 11,503
Originally Posted by costpenn


Good to hear from you Eric. Was there never such a thing as a 62 PIM or does no one reproduce it?
A 63 was found and it was donated to Automotive History Preservation. They posted it and now people offer them for sale on eBay now and then. I am a member so I downloaded it. They just got it free from the net and printed it. some of the 63 is the same and is useful but much of it is not.
jensenracing77 is offline  
Old August 1st, 2018, 10:48 AM
  #184  
Registered User
 
My442's Avatar
 
Join Date: Feb 2009
Posts: 2,257
Love the detail and workmanship - well done!

What I find interesting is how people try to interpret how the assembly plants actually built these cars.

I saw the assembly process as a line worker at a GM B-O-P plant in 1972 in Framingham Mass.

The attention to detail was minimal, the paint finishes were minimal, and the care to make things neat and clean were almost zero.

Cars went down the line at 1 per minute (60 per hour). There was no time for care and detailing.Quantity over quality.

I was at Scrappy's house yesterday looking at his W30 project. He commented "Boy, they did not use much paint on these cars".

If you look closely at the body joining areas, the sealer is applied very messily. Like there was no spec for application.

EVERYTHING was done by humans - welding, assembly, painting, etc. That means human discretion played a huge part in how the cars turned out.

Monday and Friday cars were typically worse in quality.

The frames were dusted with a cheap black paint, just enough to stop flash rust before delivery. Brackets and small parts were dipped in a vat of water with a thin black layer of paint floating on top.

I have a lot of stories, but if you want to be "factory correct", cut corners, be sloppy, and make it "Just good enough"
My442 is offline  
Old August 1st, 2018, 11:52 AM
  #185  
Registered User
 
anthonyP's Avatar
 
Join Date: Feb 2009
Location: Poconos, Pennsylvania
Posts: 2,029
With cars coming down the line at one a minute, how did they paint or apply decals onto the 442's, W30's, and any other cars with a stripe option?
anthonyP is online now  
Old August 1st, 2018, 11:55 AM
  #186  
Registered User
 
My442's Avatar
 
Join Date: Feb 2009
Posts: 2,257
Originally Posted by anthonyP
With cars coming down the line at one a minute, how did they paint or apply decals onto the 442's, W30's, and any other cars with a stripe option?
Decals were put on on the line.

Stencils were applied with cars off the line.

My442 is offline  
Old August 1st, 2018, 01:15 PM
  #187  
Registered User
 
anthonyP's Avatar
 
Join Date: Feb 2009
Location: Poconos, Pennsylvania
Posts: 2,029
Originally Posted by My442
Decals were put on on the line.

Stencils were applied with cars off the line.
Even applying decals on the moving line is amazing. Watched '72 hood decals applied at a shop and it took time to line them up and have them to lay properly without bubbles or wrinkles.Anthony

We're stencils used for painting the side and back stripes on the non-W30 442's in 70-72, or were they applied in a different manner?
anthonyP is online now  
Old August 1st, 2018, 01:22 PM
  #188  
Registered User
 
My442's Avatar
 
Join Date: Feb 2009
Posts: 2,257
Originally Posted by anthonyP
Even applying decals on the moving line is amazing. Watched '72 hood decals applied at a shop and it took time to line them up and have them to lay properly without bubbles or wrinkles.Anthony

We're stencils used for painting the side and back stripes on the non-W30 442's in 70-72, or were they applied in a different manner?
Depends on the type of decal.

The side stripes on 442 cars were hand painted on using a permanent tooling stencil that was attached to the body. If you look closely at original cars, there is a fair amount of variation.

Doing one car is much different than doing hundreds.

Body sealer was literally slopped on. Trunk painting as well.

I did some of the sloppy sealer jobs myself..........

My442 is offline  
Old August 6th, 2018, 05:48 PM
  #189  
Registered User
Thread Starter
 
costpenn's Avatar
 
Join Date: Jun 2011
Location: Carrolllton Texas
Posts: 2,855
It was a HOT session today (7 hours)

Upper Peninsula was wonderful - highest temp and day was 78 and the lowest was 49. Great people and beautiful countryside with Lake Superior itself being the star of the show.

Back in ole Texas, today it was 99 in the garage with my poor space AC unit doing nothing to keep the temp down. I hate sweating on my work, but I really don't have any choice. I can't wipe it off fast enough - arrrgggghhhhh.

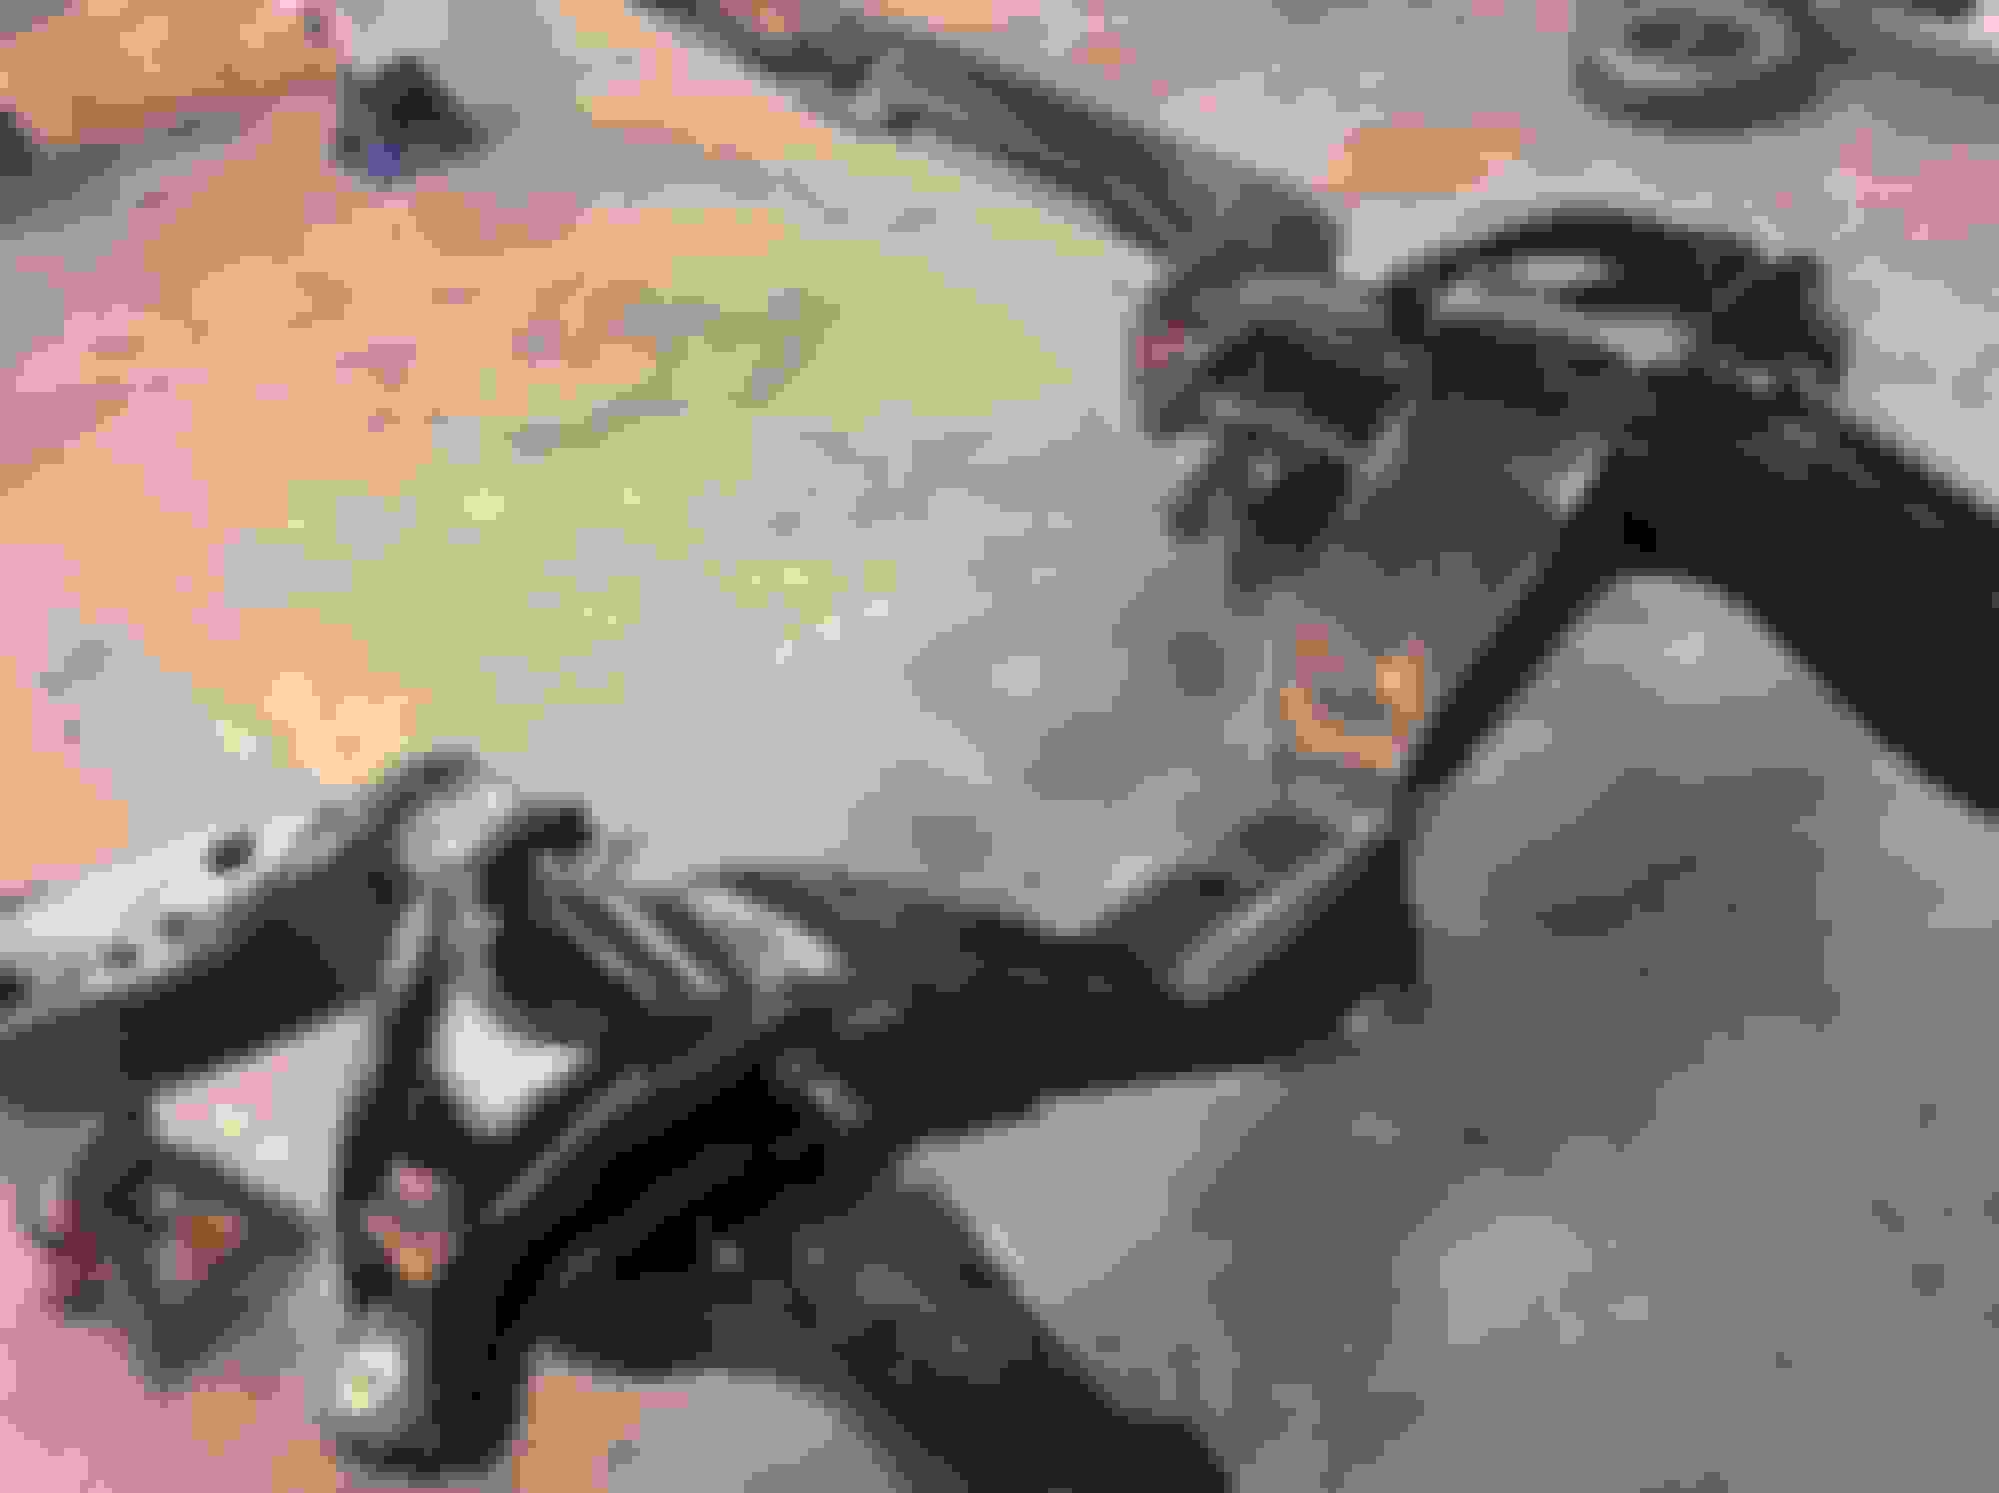
Began by installing all the rest of the control arm bushings and front upper and lower ball joints. Tried for thirty minutes to make the special UBJ bolts that look like rivets work - no dice. Used the Moog supplied bolts with regular nuts and lock washers. The OTC tools I bought for installing the upper front bushings and lower ball joints worked great - for every job there is a proper tool. Also remembered to paint the white markings inside the hub of the rear axles - confirmed thus rear end got the white ones.

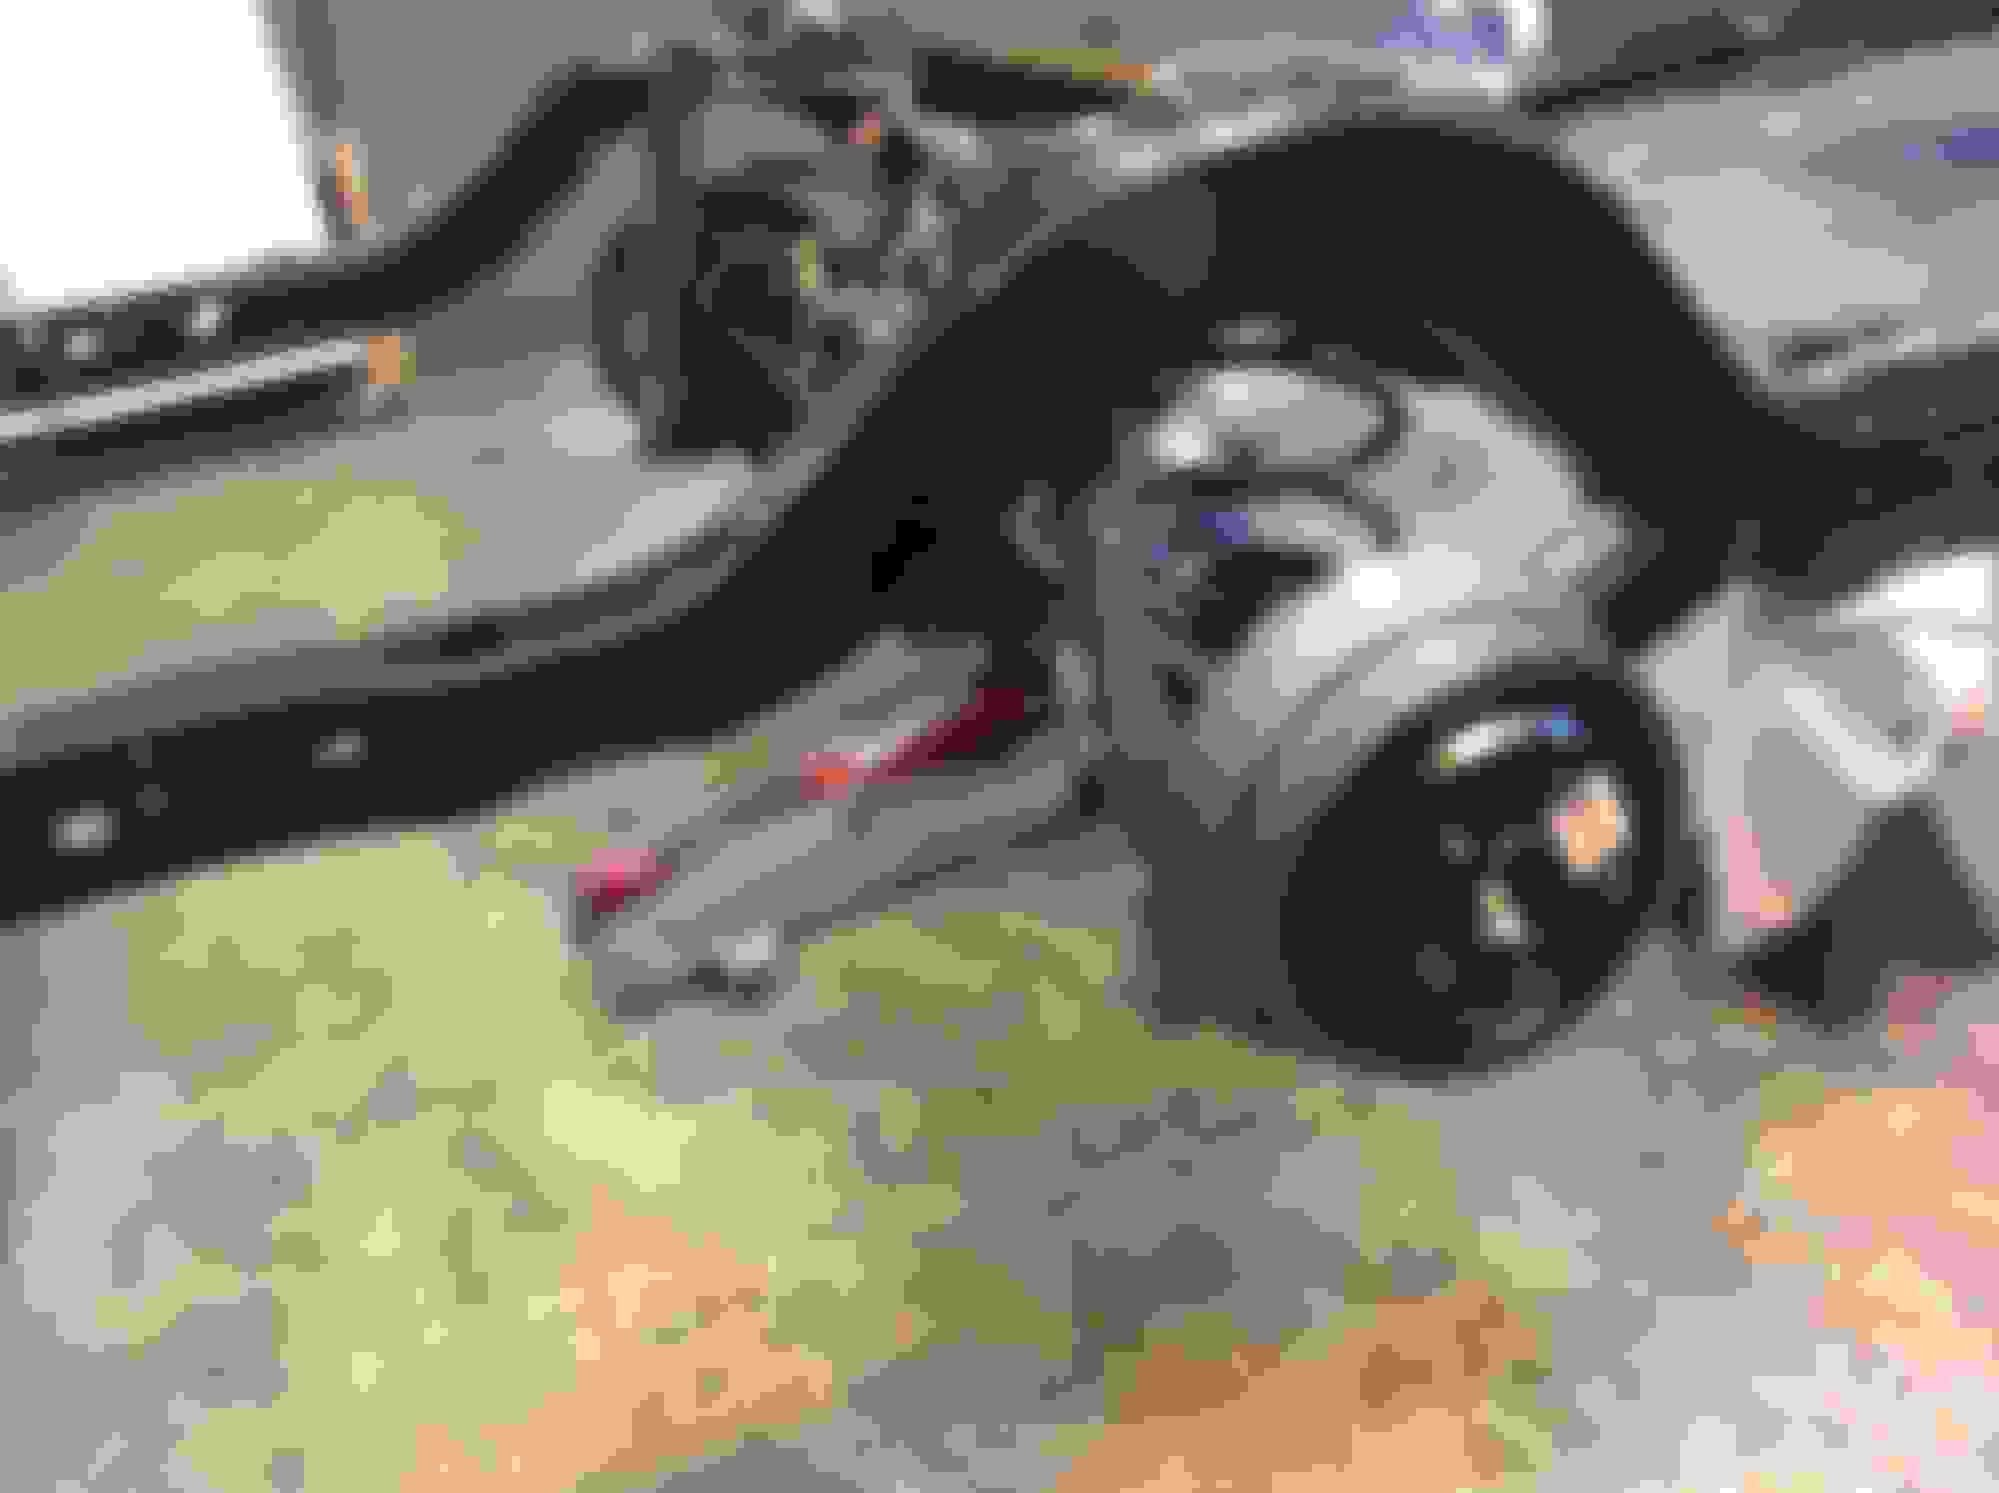
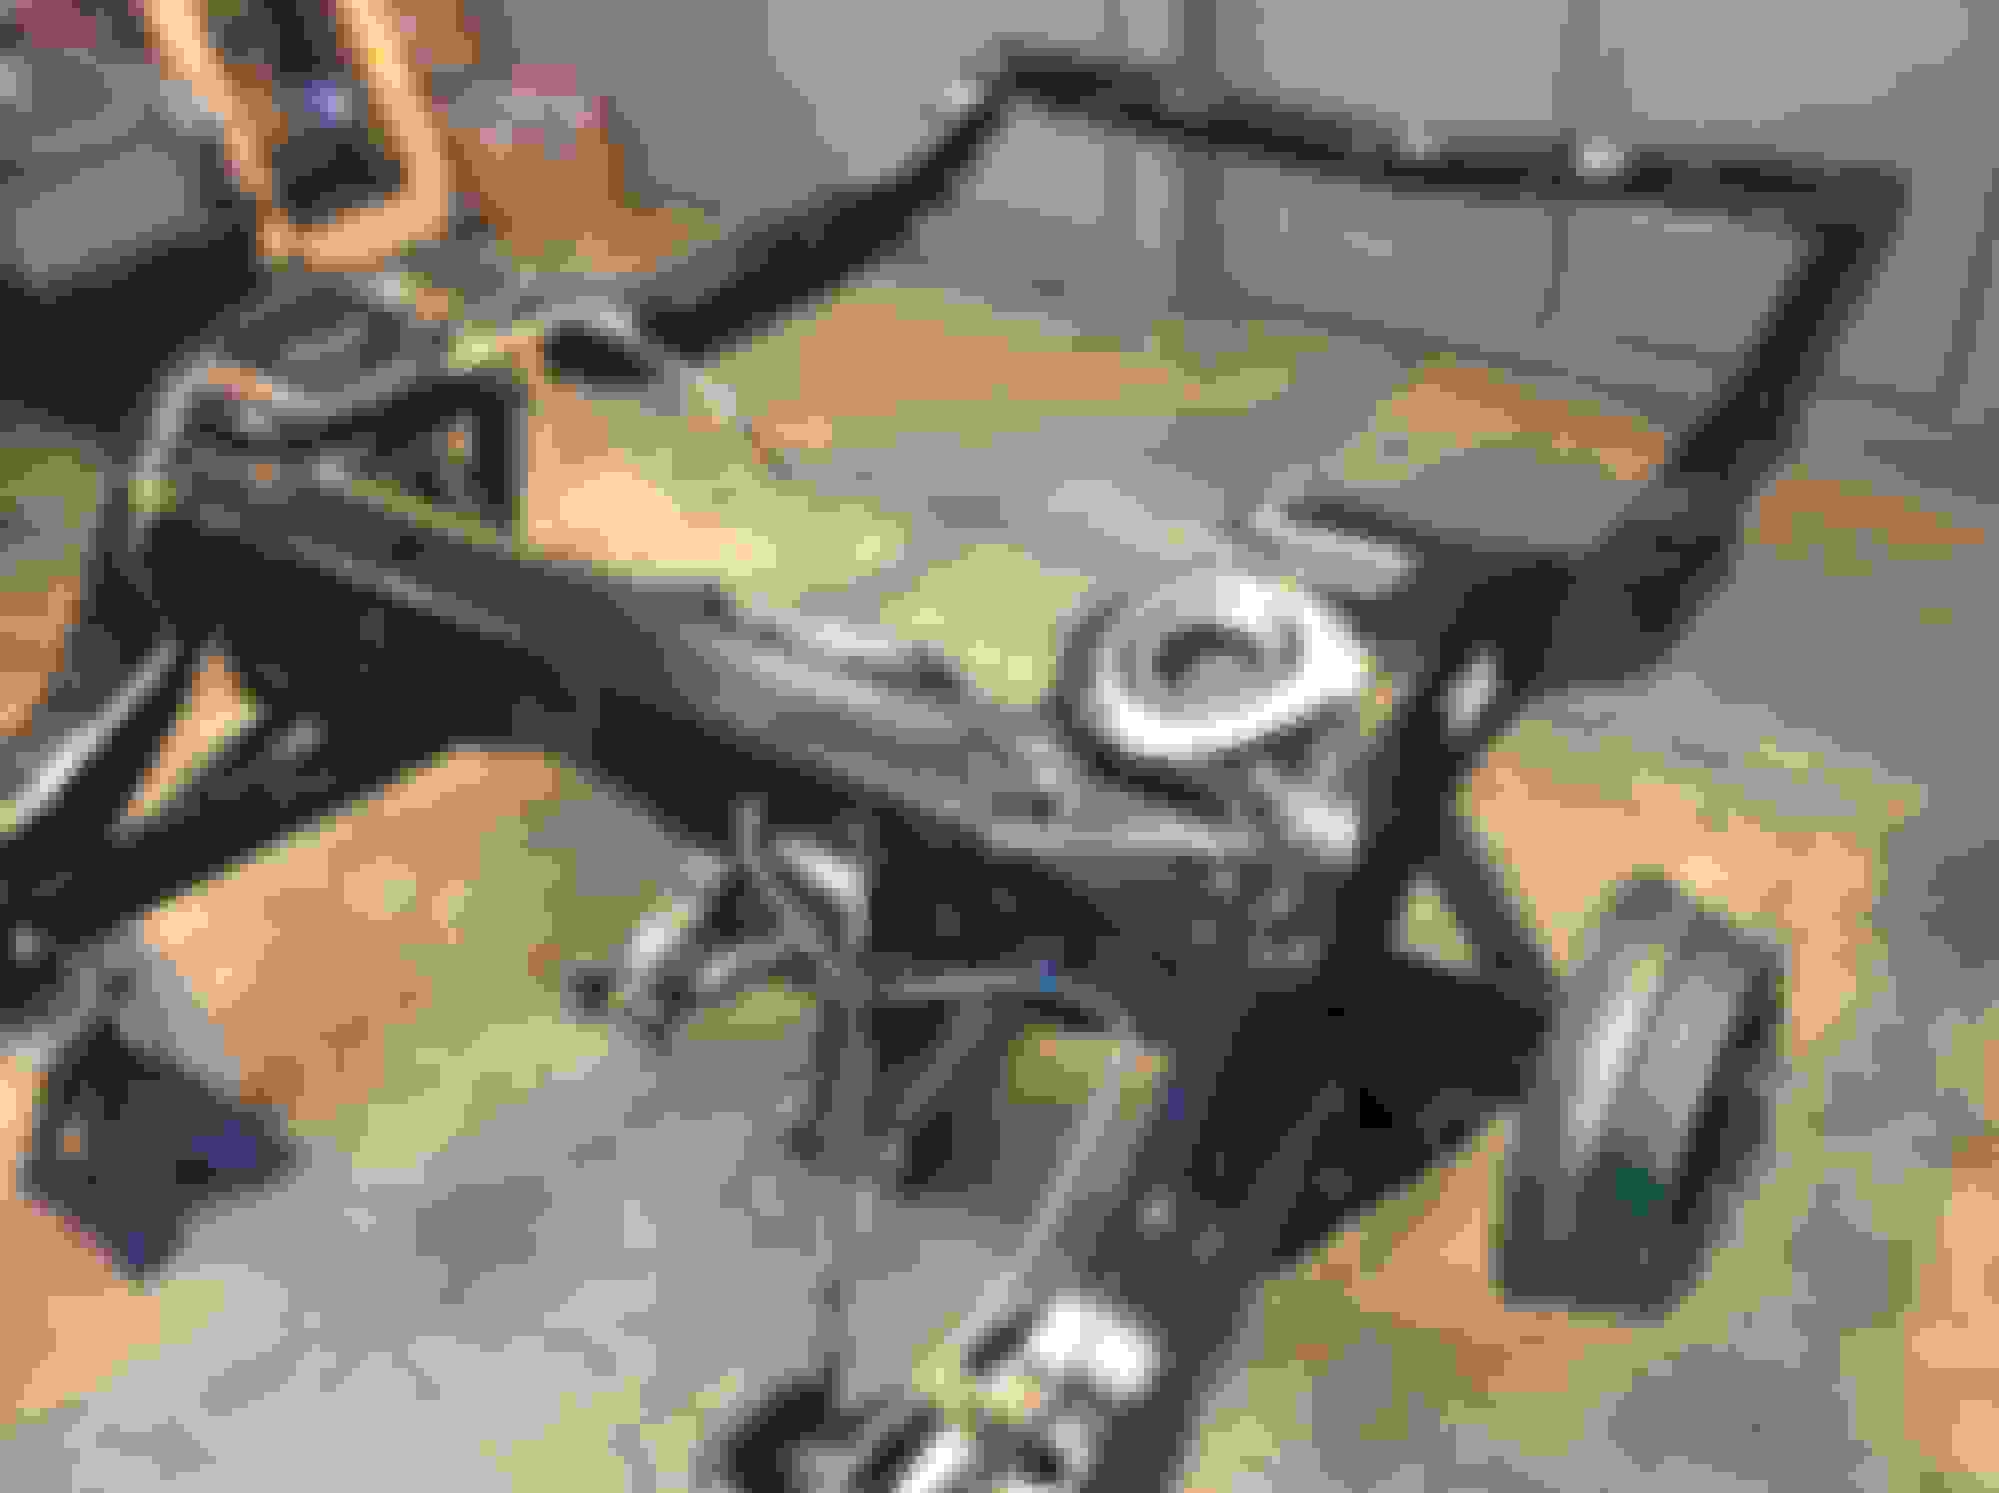
Installed the the rear end with no issues, so I pressed on to the springs and shocks (don't forget the insulators!) Next installed the rear sway bar with no shims needed at all. (First car I have done not needing any)


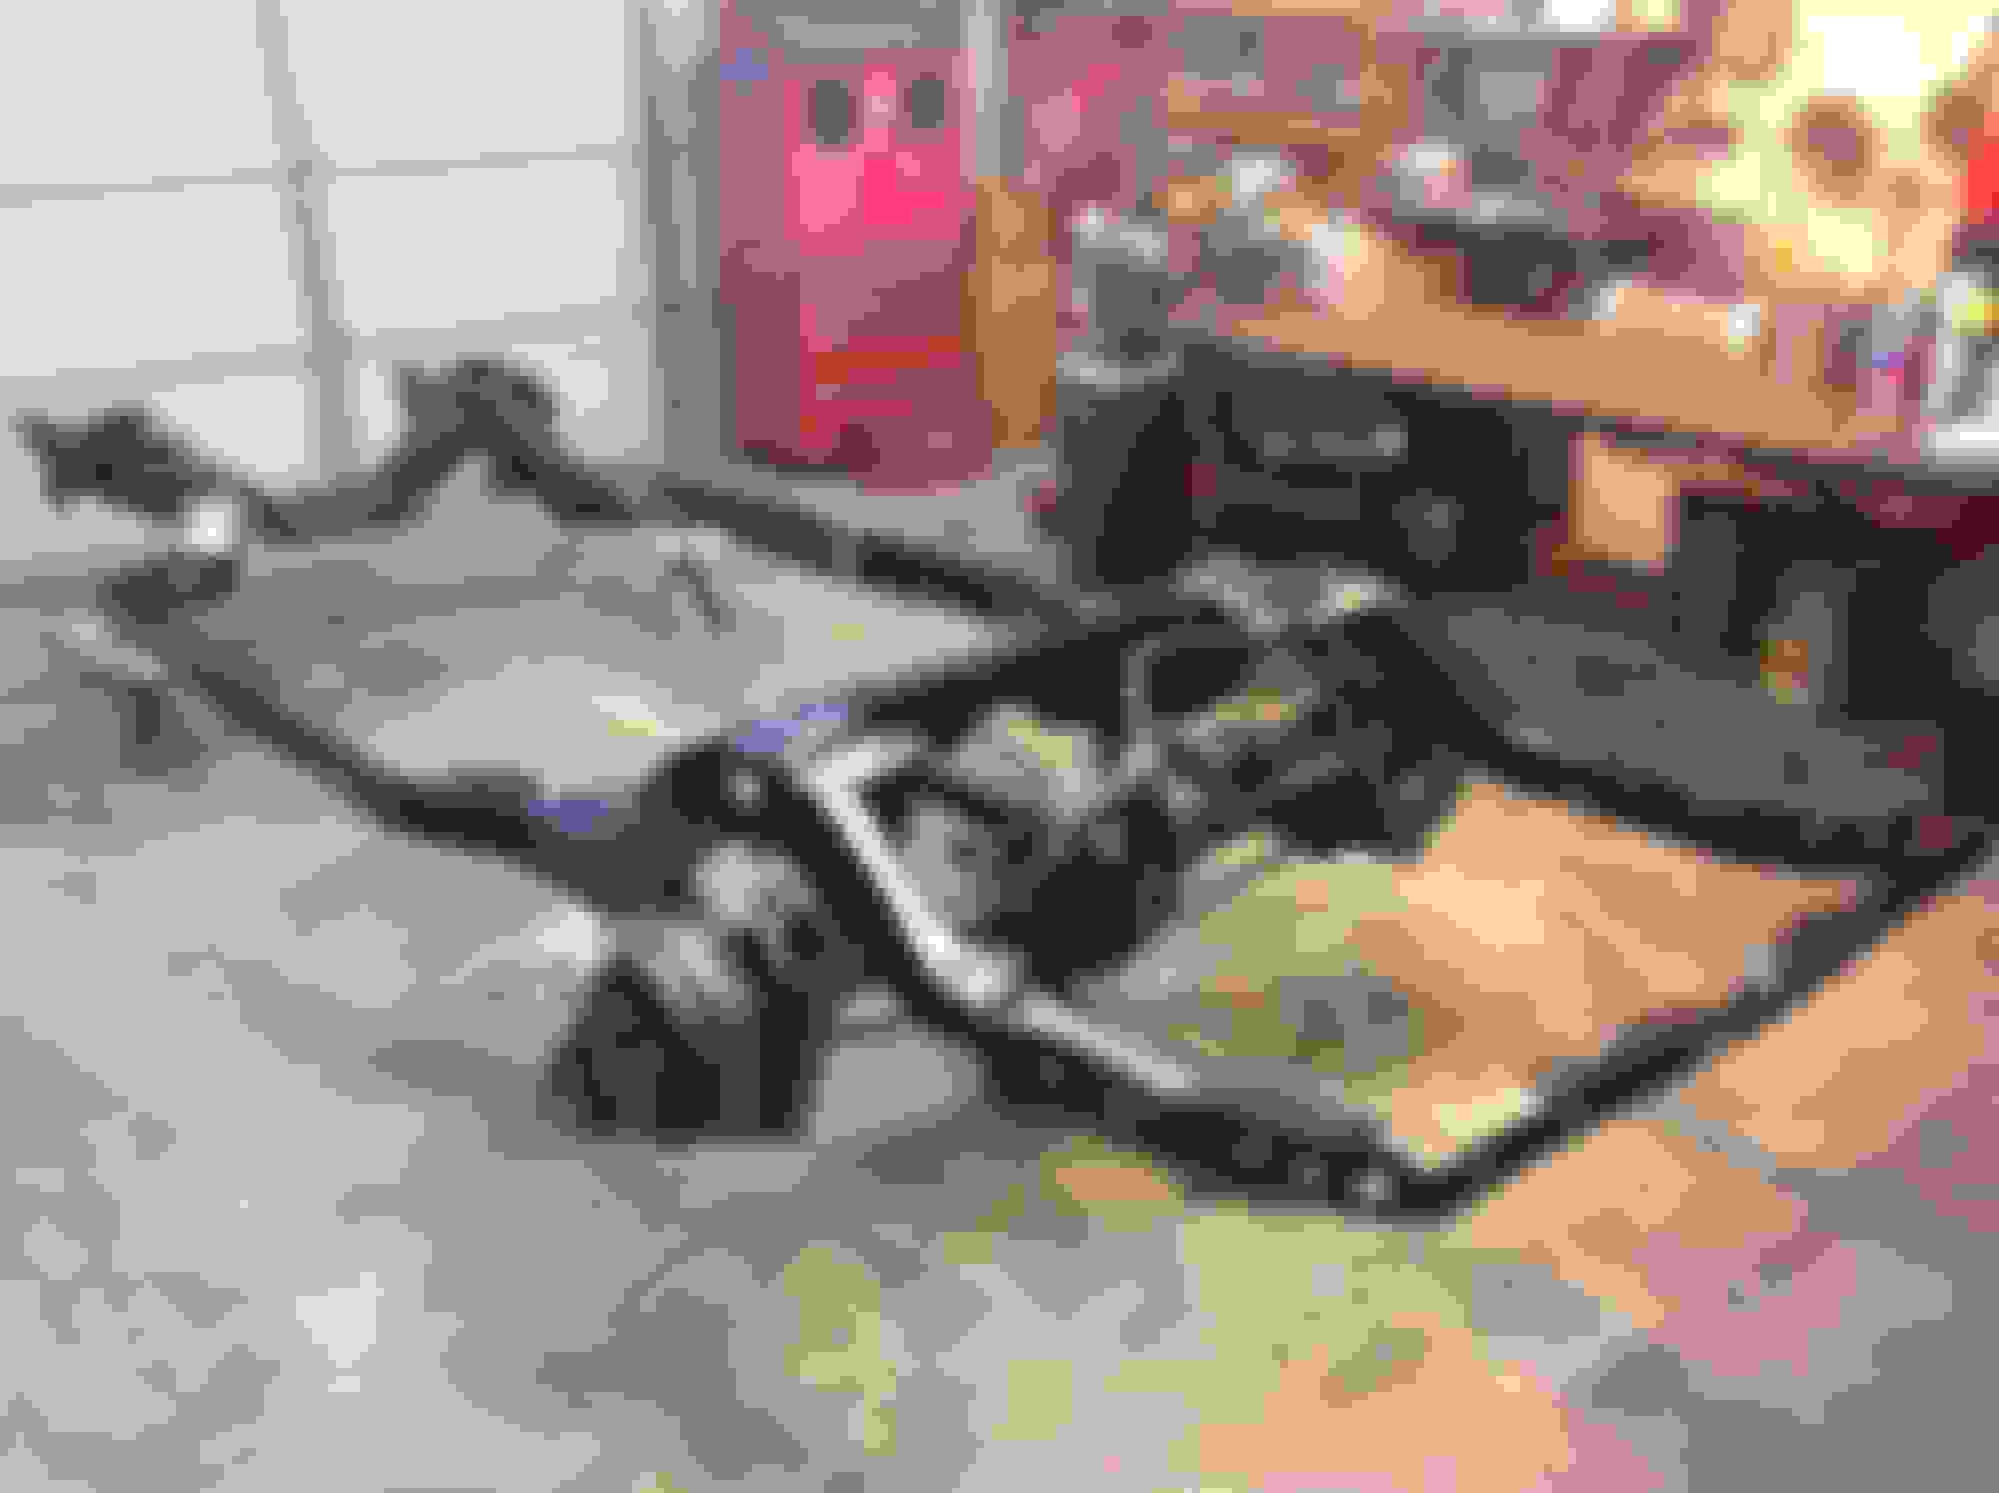
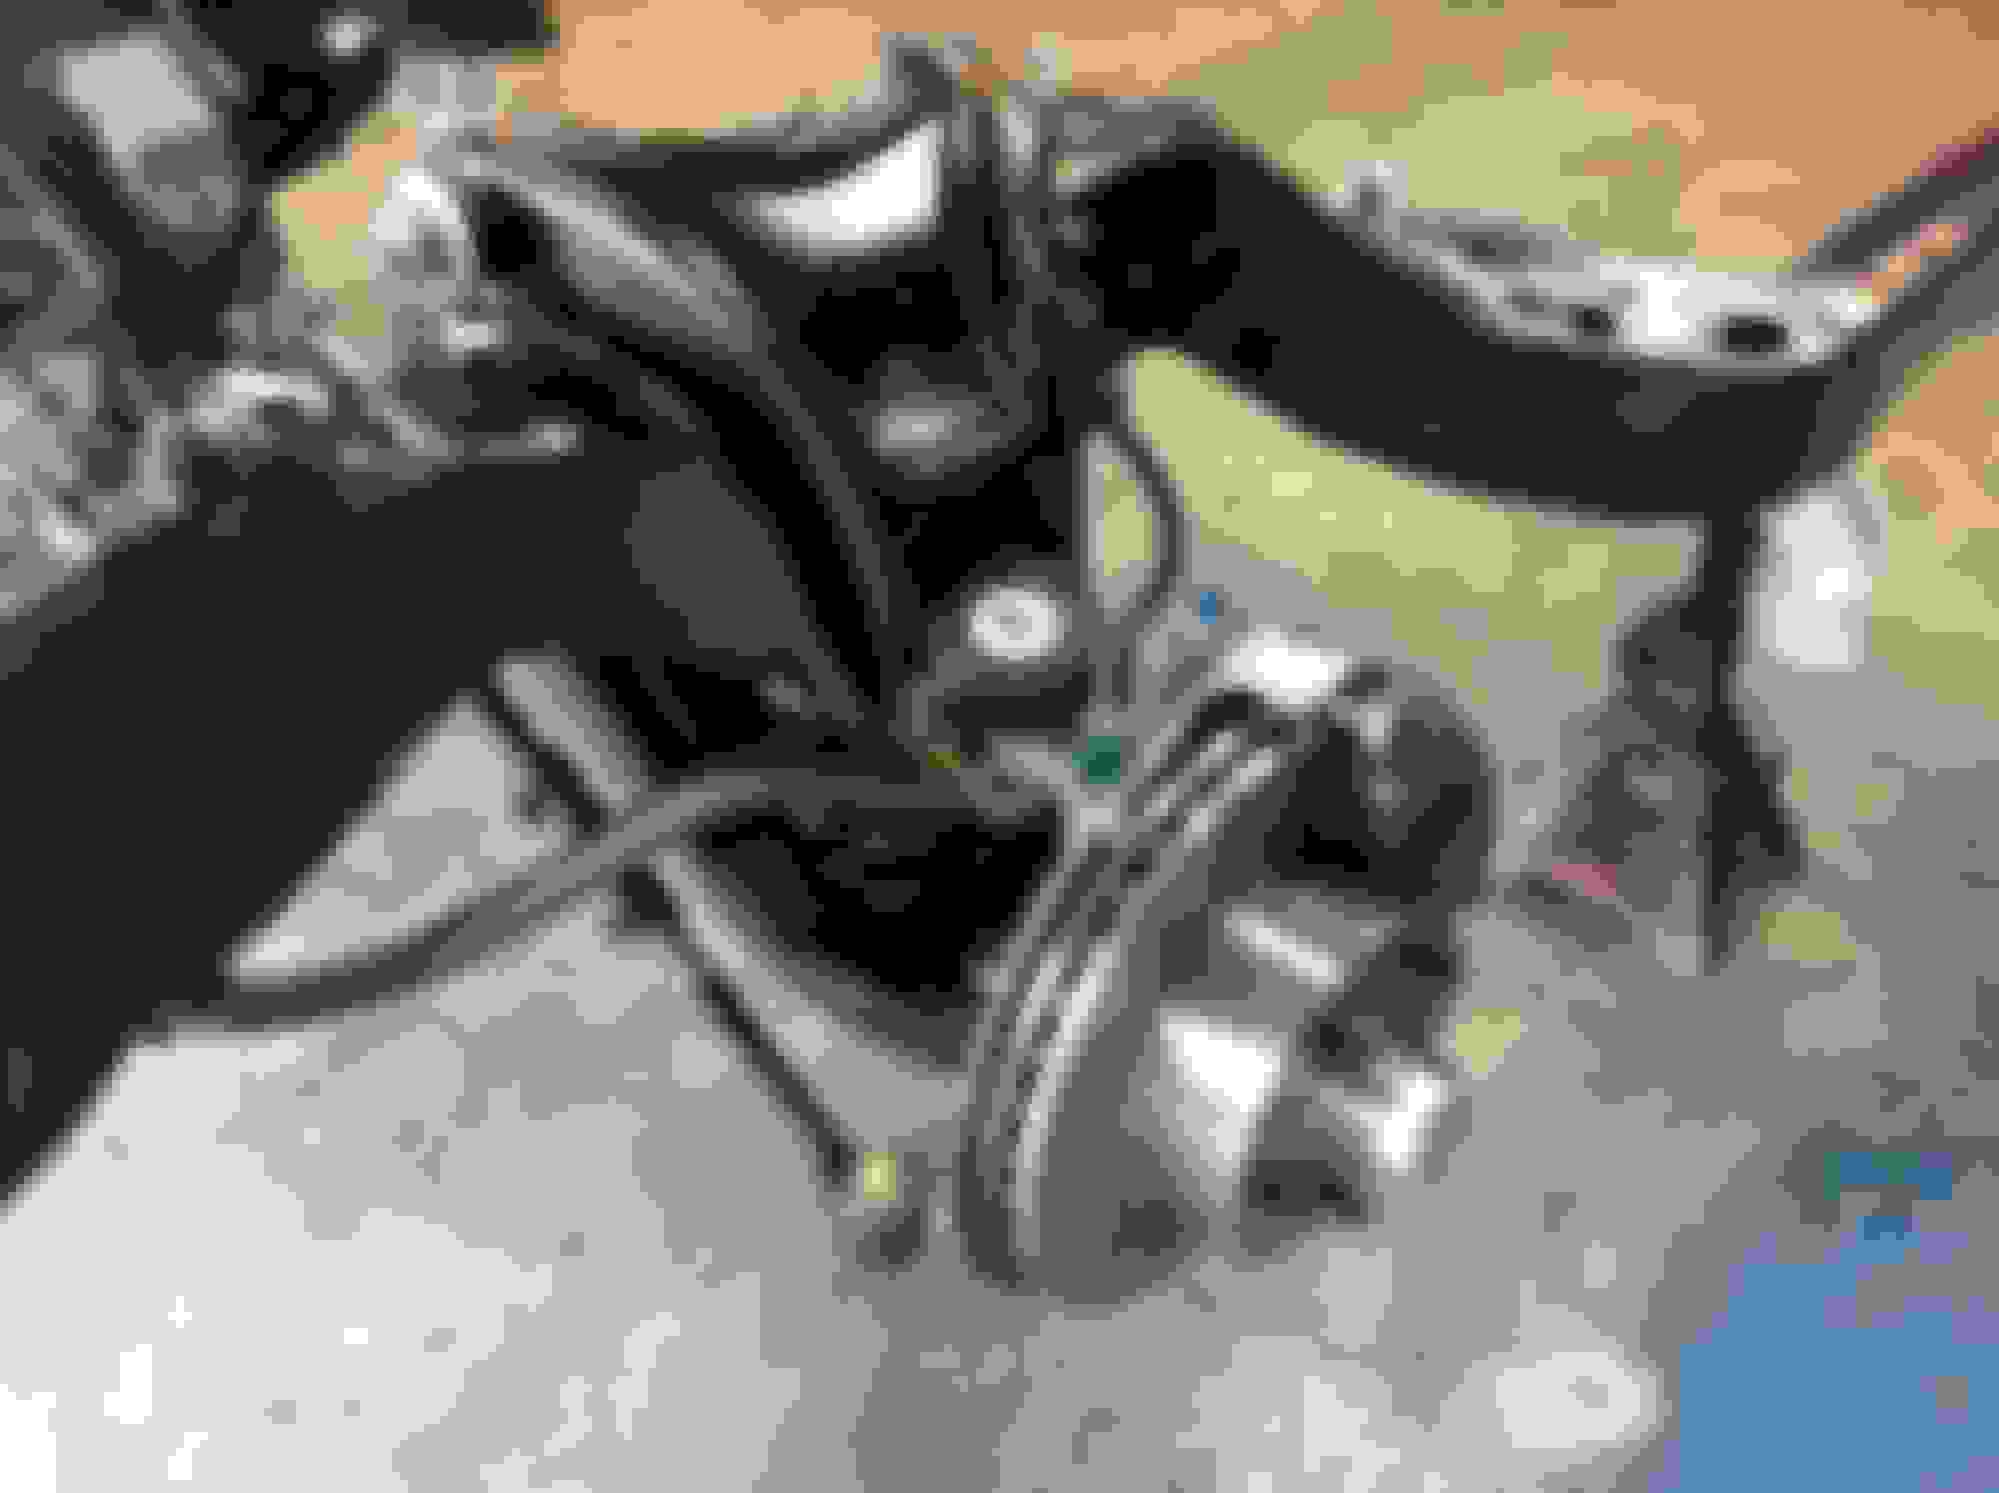
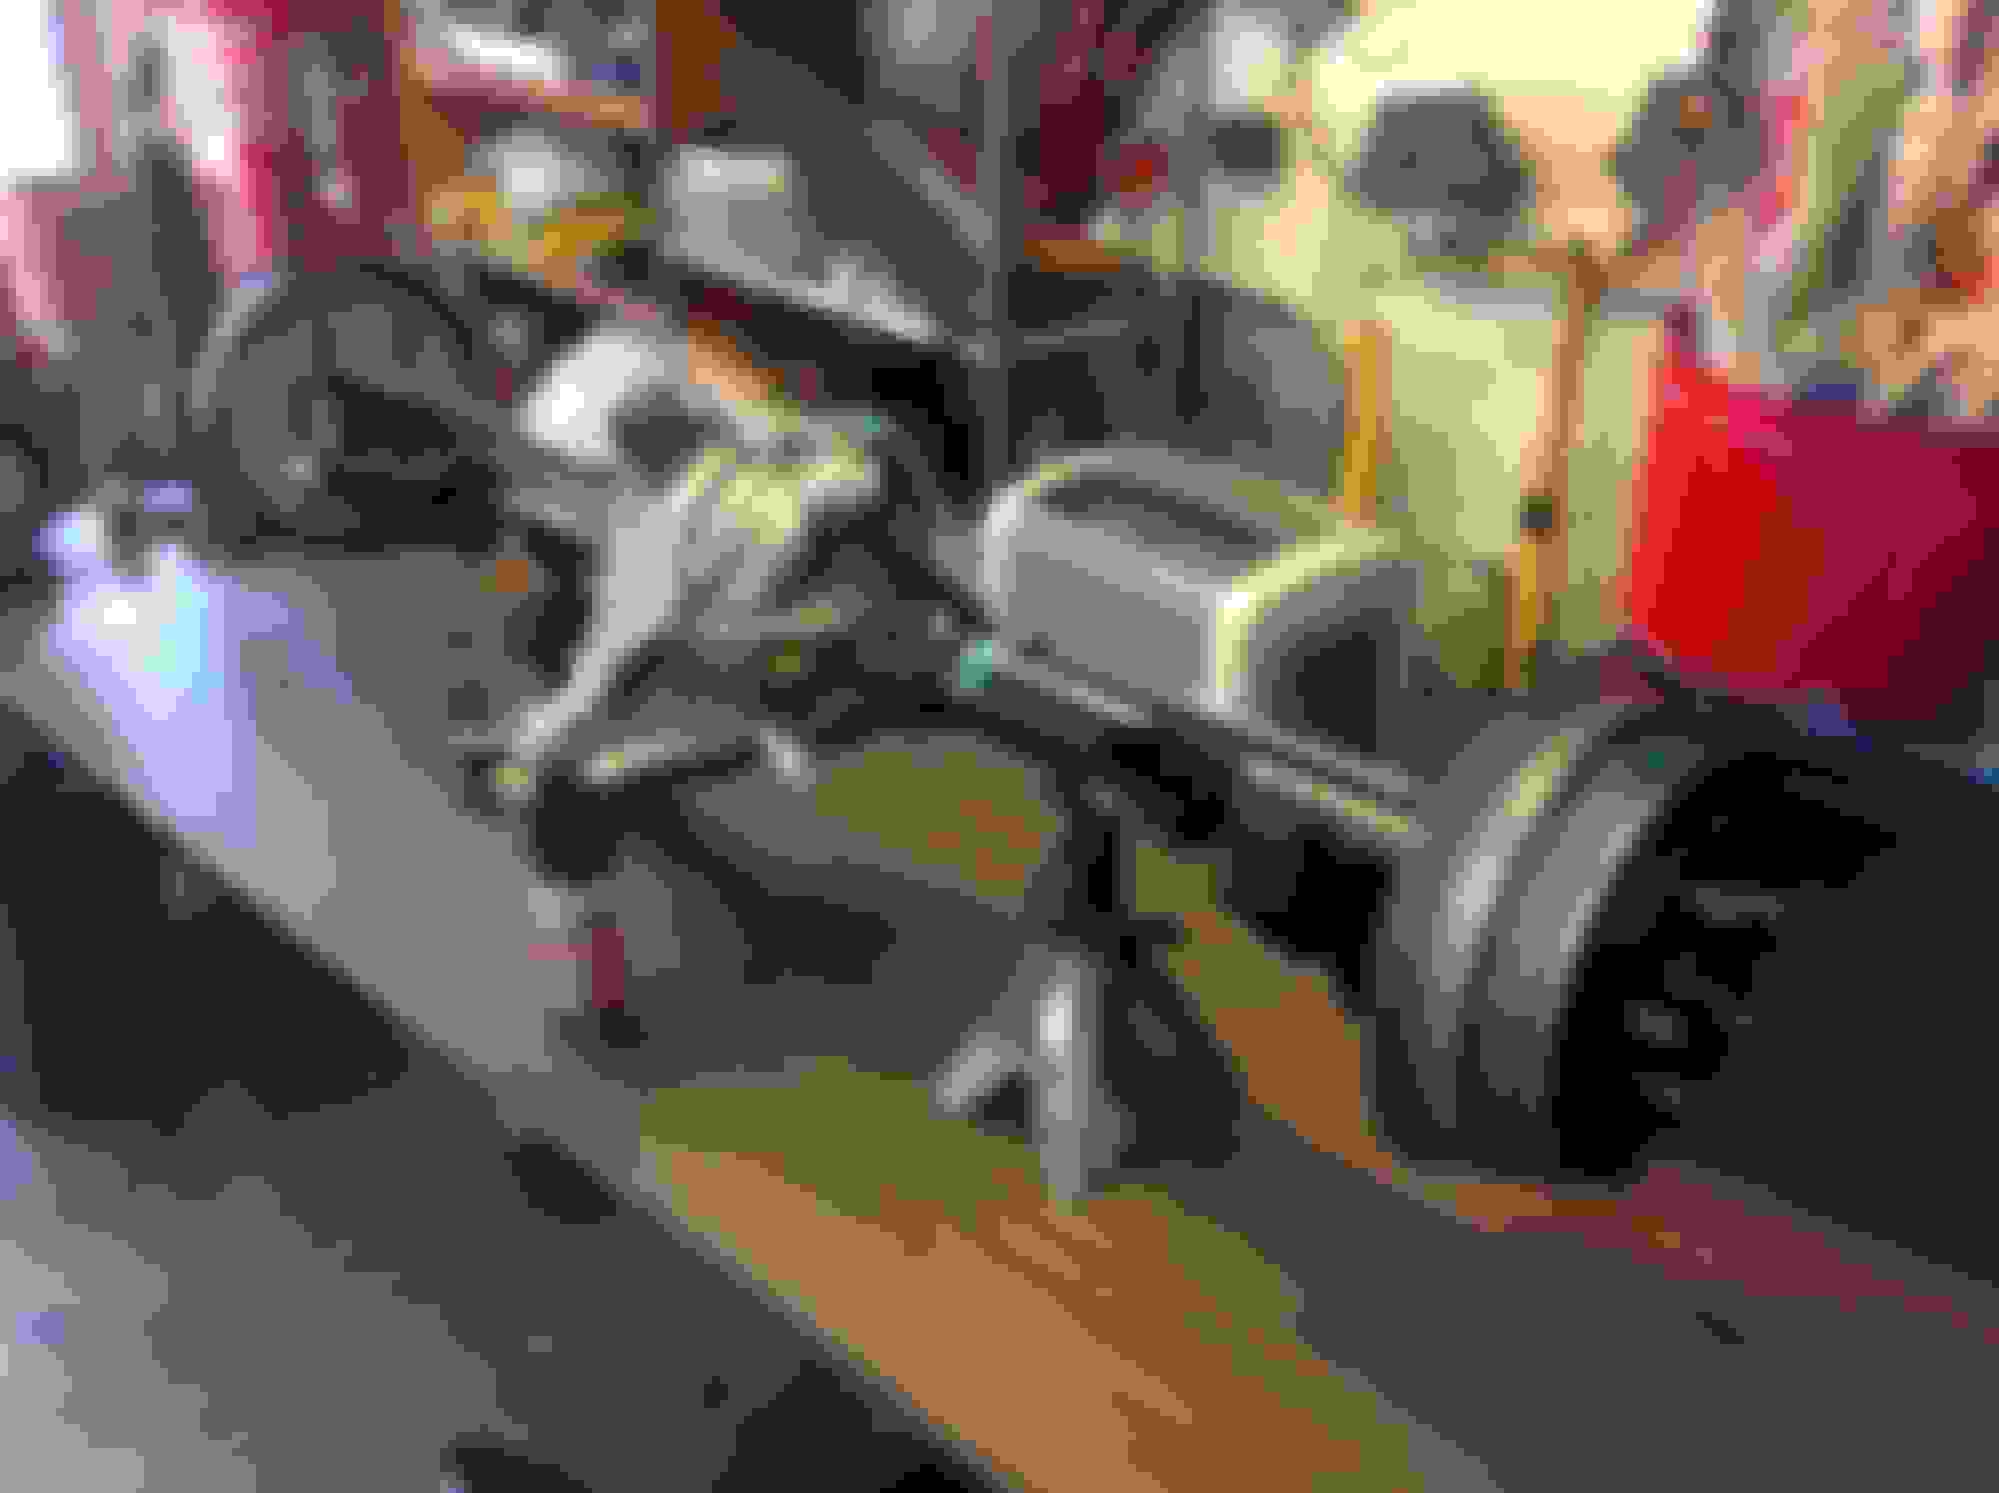
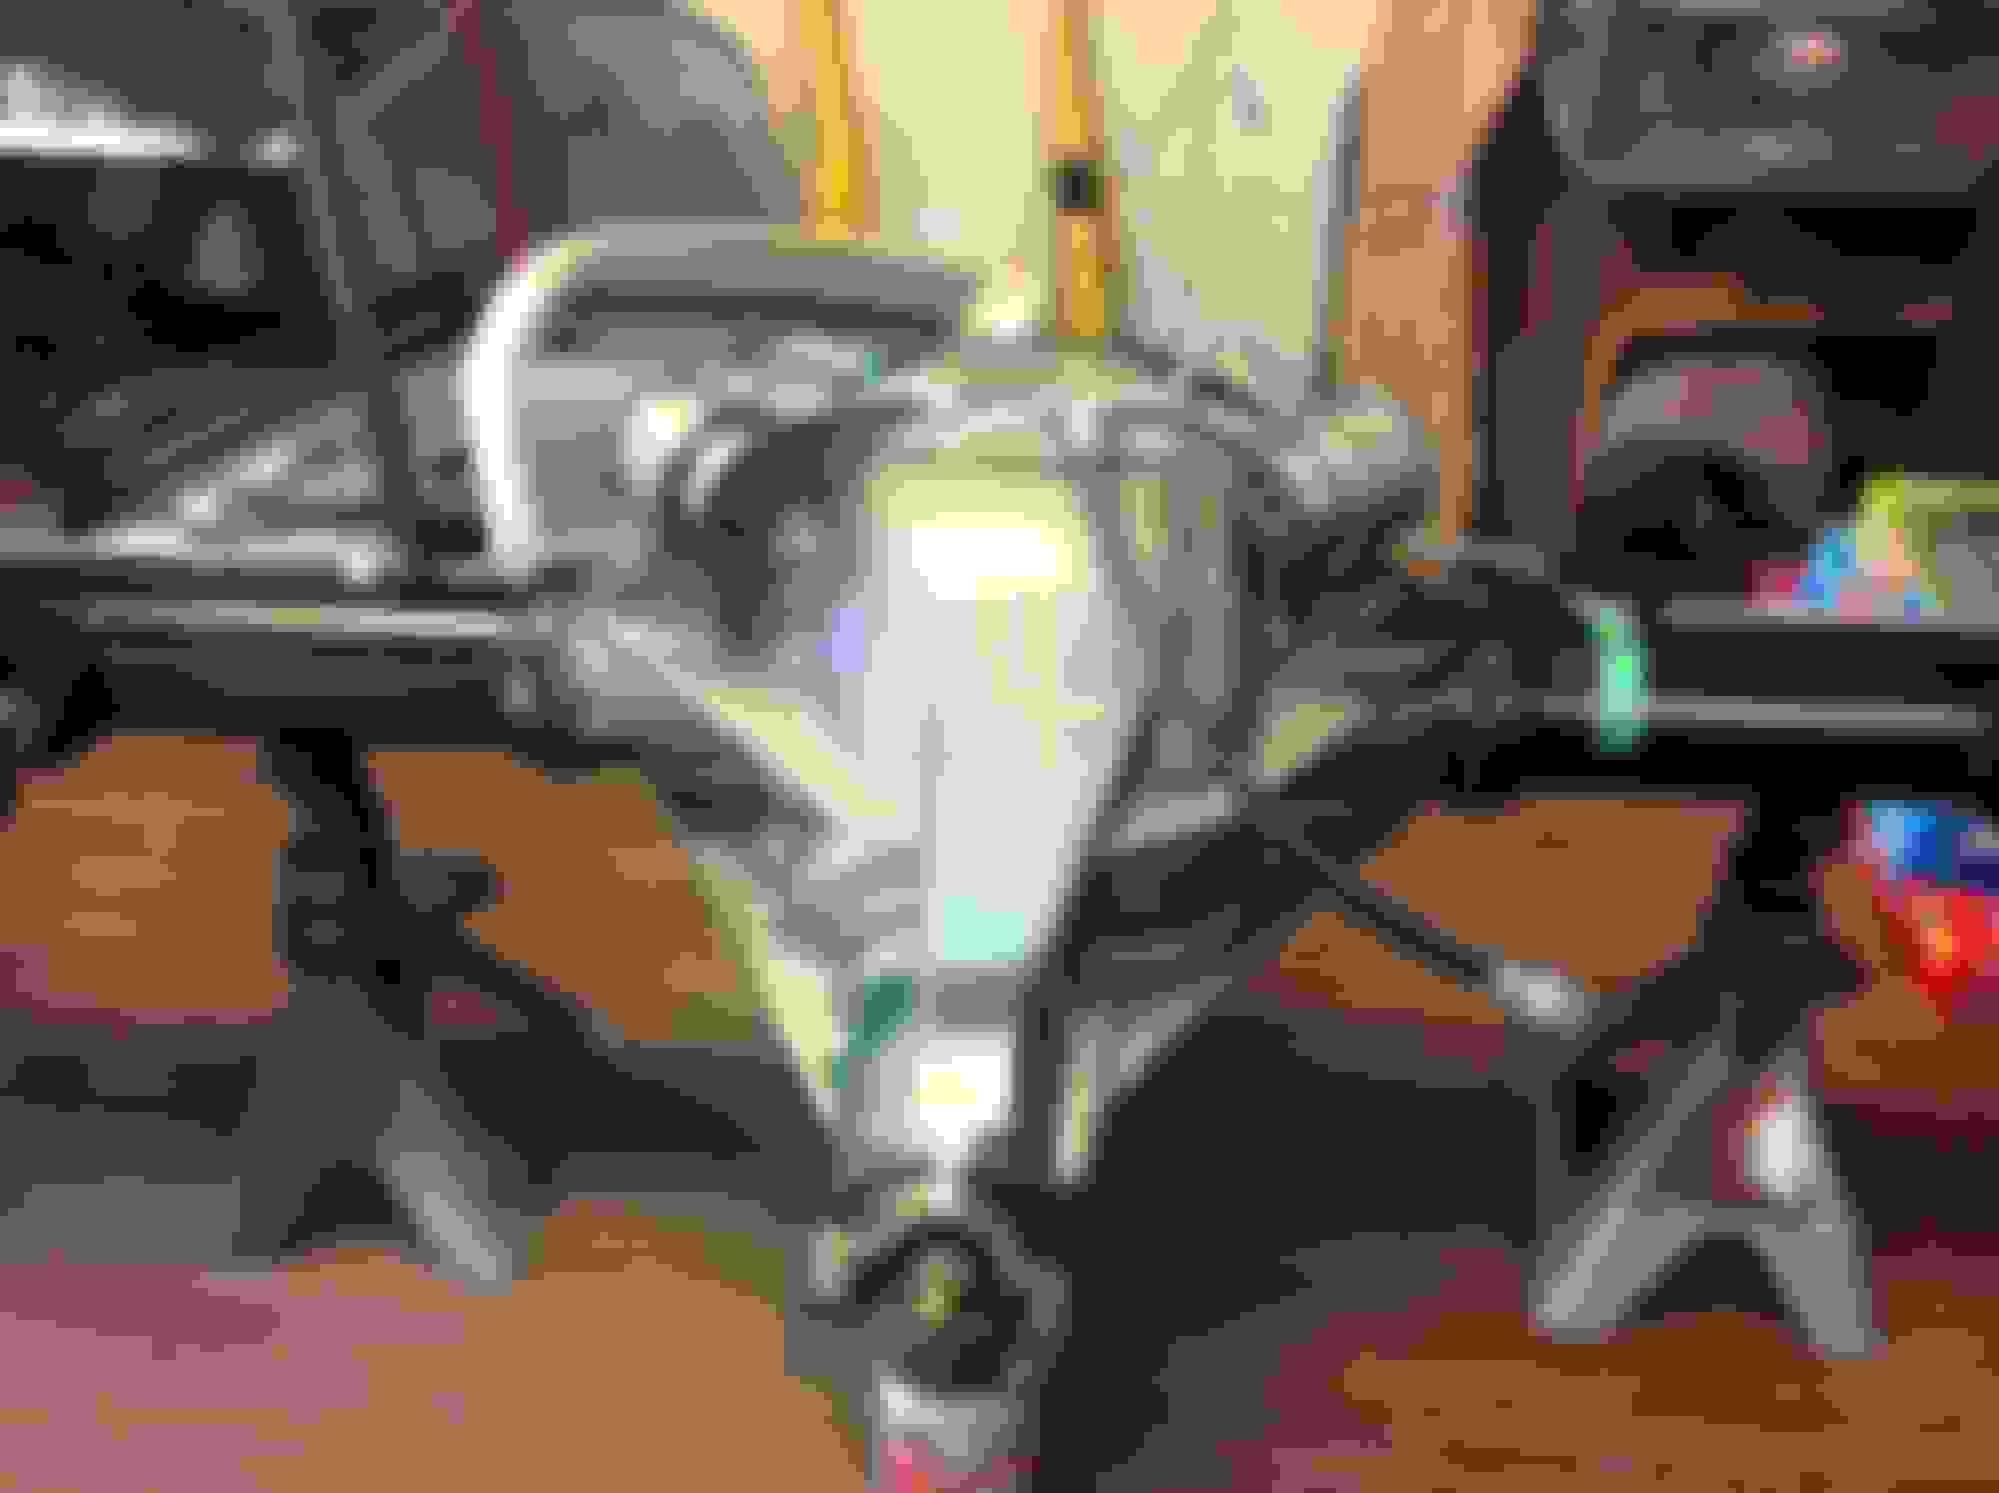
Next installed the new brake lines and reconditioned fuel lines. I took a lot of pics on how exactly they were attached (bracket orientation, clip color, fuel line stacking order) Also finished the distribution block. I wirewheeled the poop out of it and simply sprayed it down with clear, and changed out the o ring on the low pressure switch. Reinstalled the bracket and bolted this Olds Linden plant oddity back on to the car. Note : You can use a 15/16 open end wrench on the block to steady it and not bend your bracket while tightening up you brake lines, and don't forget to tighten and loosen three times before giving it the final tightening.


Also started installing the front suspension - began with the A arm snubbers and UCA to frame bolts properly driven in before beginning to torque down on the lock nuts. Installed my best guess on the A arm shims. With the frame straightening, welding and such, who knows where it will end up.


Finished with some more ILT decal installations. Crazy, crazy numbers.....


costpenn is offline  
Old August 6th, 2018, 05:57 PM
  #190  
Escape From The Ordinary
 
WTHIRTY1's Avatar
 
Join Date: Oct 2014
Posts: 1,873
I just finished reading something in the Inline catalog that states their rivet head bolts work with their ball joints and TRW but not with Moog.
WTHIRTY1 is offline  
Old August 6th, 2018, 06:30 PM
  #191  
Registered User
 
anthonyP's Avatar
 
Join Date: Feb 2009
Location: Poconos, Pennsylvania
Posts: 2,029
What exactly is this 'Olds Linden plant oddity'? What does it do and look like? Thanks
anthonyP is online now  
Old August 6th, 2018, 07:23 PM
  #192  
Registered User
Thread Starter
 
costpenn's Avatar
 
Join Date: Jun 2011
Location: Carrolllton Texas
Posts: 2,855
Originally Posted by anthonyP
What exactly is this 'Olds Linden plant oddity'? What does it do and look like? Thanks
Read back on this thread a while. There is a discussion about the distribution block bracket being unusual (how it is attached to the block) and so far only finding Oldsmobiles use this style on cars assembled in Linden.
costpenn is offline  
Old August 6th, 2018, 07:24 PM
  #193  
Registered User
Thread Starter
 
costpenn's Avatar
 
Join Date: Jun 2011
Location: Carrolllton Texas
Posts: 2,855
Originally Posted by WTHIRTY1
I just finished reading something in the Inline catalog that states their rivet head bolts work with their ball joints and TRW but not with Moog.
Thanks - must have missed that note.
costpenn is offline  
Old August 7th, 2018, 12:48 PM
  #194  
Registered User
 
stlbluesbrother's Avatar
 
Join Date: Aug 2009
Location: St. Louis, Missouri
Posts: 969
Keep up the great work, Joe.
stlbluesbrother is offline  
Old August 9th, 2018, 05:49 PM
  #195  
Registered User
Thread Starter
 
costpenn's Avatar
 
Join Date: Jun 2011
Location: Carrolllton Texas
Posts: 2,855
The funnest part of the resto process (9 hours - 7 yesterday, 2 today)

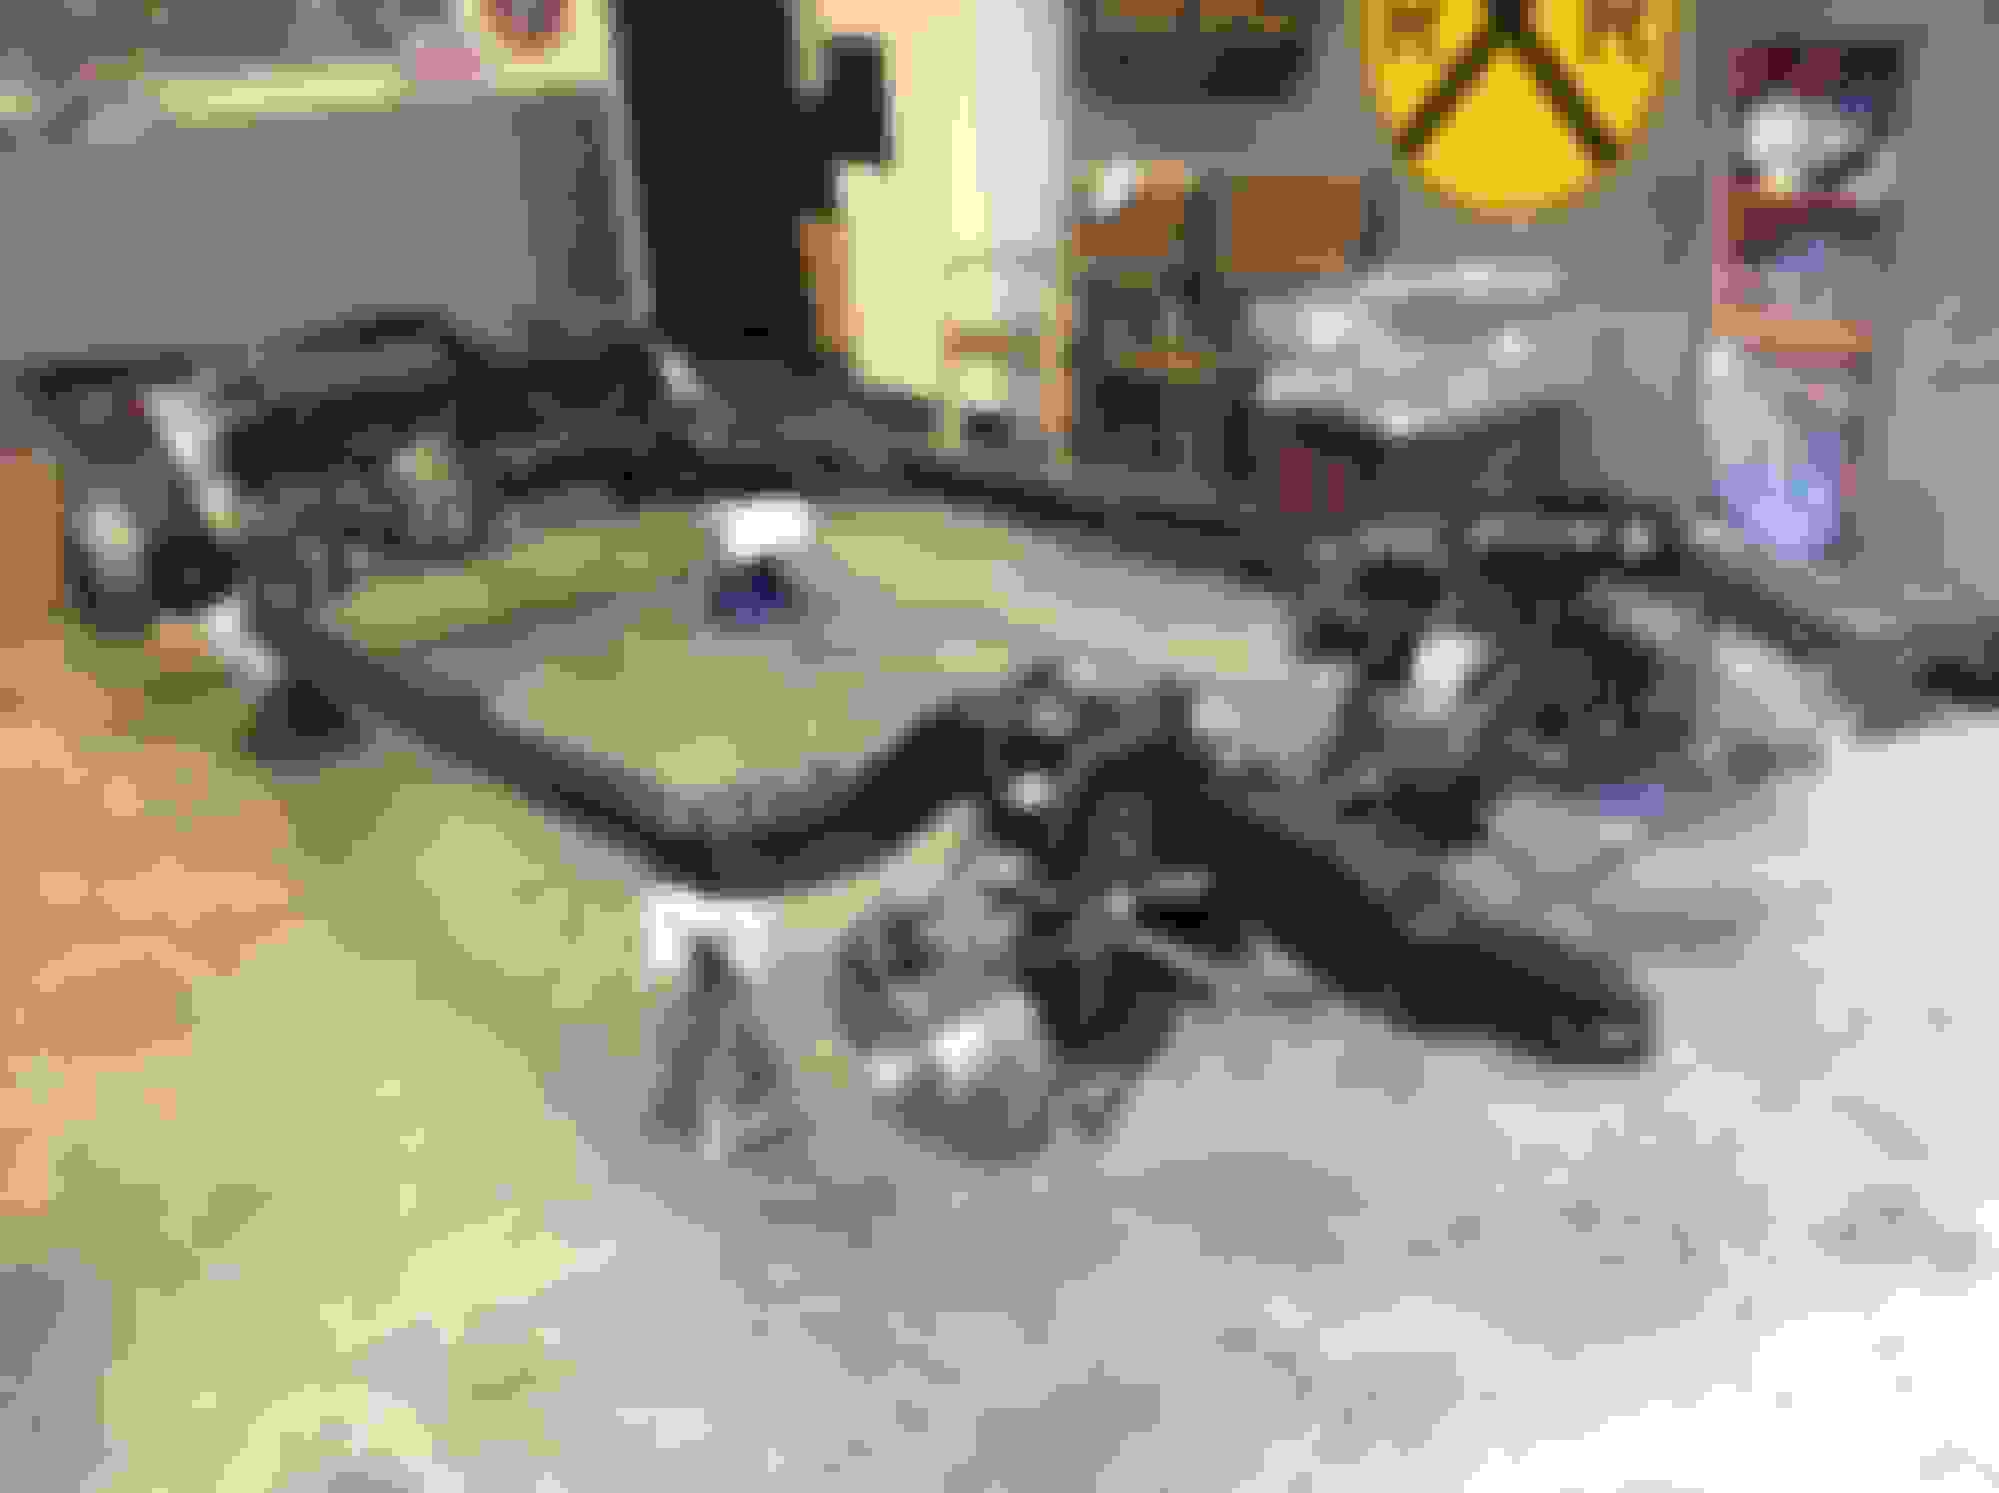
Got the front end together. All went swimmingly - even the spring compression went OK. Got all the labels and dabs done, but still need to get the right length sway bar Link bolts and spacers to button it all up. Next I will install the exhaust from the mufflers back and go ahead and do the rear brakes. It is getting to be time to go back to the Ford Truck I am doing, so the next post might be it for awhile.


costpenn is offline  
Old August 9th, 2018, 06:37 PM
  #196  
1971 442 conv
 
Texas442's Avatar
 
Join Date: Jun 2009
Location: Austin, Texas
Posts: 665
That 442 frame Looks Great!!! Also, I saw a picture of the ‘79 F250 in the paint booth yesterday. I see why your excited about that truck. Is there a build thread on that truck on another forum?

Originally Posted by costpenn
".......... It is getting to be time to go back to the Ford Truck I am doing....
Texas442 is offline  
Old August 9th, 2018, 07:36 PM
  #197  
Registered User
Thread Starter
 
costpenn's Avatar
 
Join Date: Jun 2011
Location: Carrolllton Texas
Posts: 2,855
Originally Posted by Texas442
That 442 frame Looks Great!!! Also, I saw a picture of the ‘79 F250 in the paint booth yesterday. I see why your excited about that truck. Is there a build thread on that truck on another forum?


Ali, hope all is well down your way with the Austin gang. Here's a link to the thread on Ford Truck Enthusiasts detailing that build. Also could you post that pic of the truck in the booth at Vastine's?

https://www.ford-trucks.com/forums/1...storation.html


Last edited by costpenn; August 9th, 2018 at 08:23 PM.
costpenn is offline  
Old August 10th, 2018, 06:56 AM
  #198  
1971 442 conv
 
Texas442's Avatar
 
Join Date: Jun 2009
Location: Austin, Texas
Posts: 665
Originally Posted by costpenn
...Also could you post that pic of the truck in the booth at Vastine's?
https://www.ford-trucks.com/forums/1...storation.html

You are going to make me break the CO rules and post Non-Olds material here, but this is worth it:
Texas442 is offline  
Old August 10th, 2018, 10:50 AM
  #199  
Registered User
 
Funkwagon455's Avatar
 
Join Date: Jun 2009
Location: Aledo, Texas
Posts: 2,386
Looks like code 028 twilight blue to me!
Funkwagon455 is offline  
Old August 11th, 2018, 09:47 PM
  #200  
Registered User
Thread Starter
 
costpenn's Avatar
 
Join Date: Jun 2011
Location: Carrolllton Texas
Posts: 2,855
Ali, I did not know that rule and have repeatedly broken it myself. Please delete those pics if you need to. Heath, the Ford color name for it is Dark Blue Metallic, and like on my blue car, it is shot over black primer.
costpenn is offline  


Quick Reply: The Body Stays On This One Too, 1970 442 4 Speed Refresh, has morphed to a body off!


All times are GMT -7. The time now is 11:04 AM.