When you click on links to various merchants on this site and make a purchase, this can result in this site earning a commission. Affiliate programs and affiliations include, but are not limited to, the eBay Partner Network.
Funny you guys should both mention the PVC pipe. I went to Home Depot over the weekend and bought a 5 foot section of 4 inch PVC pipe for that exact purpose. It is the perfect length and width for bare driveshafts I had ordered another two gallons of Evapo early last week (not sure yet if it will be enough).and plan on putting my first driveshaft into its "bath" tonight. I will post before and after pics when it's done
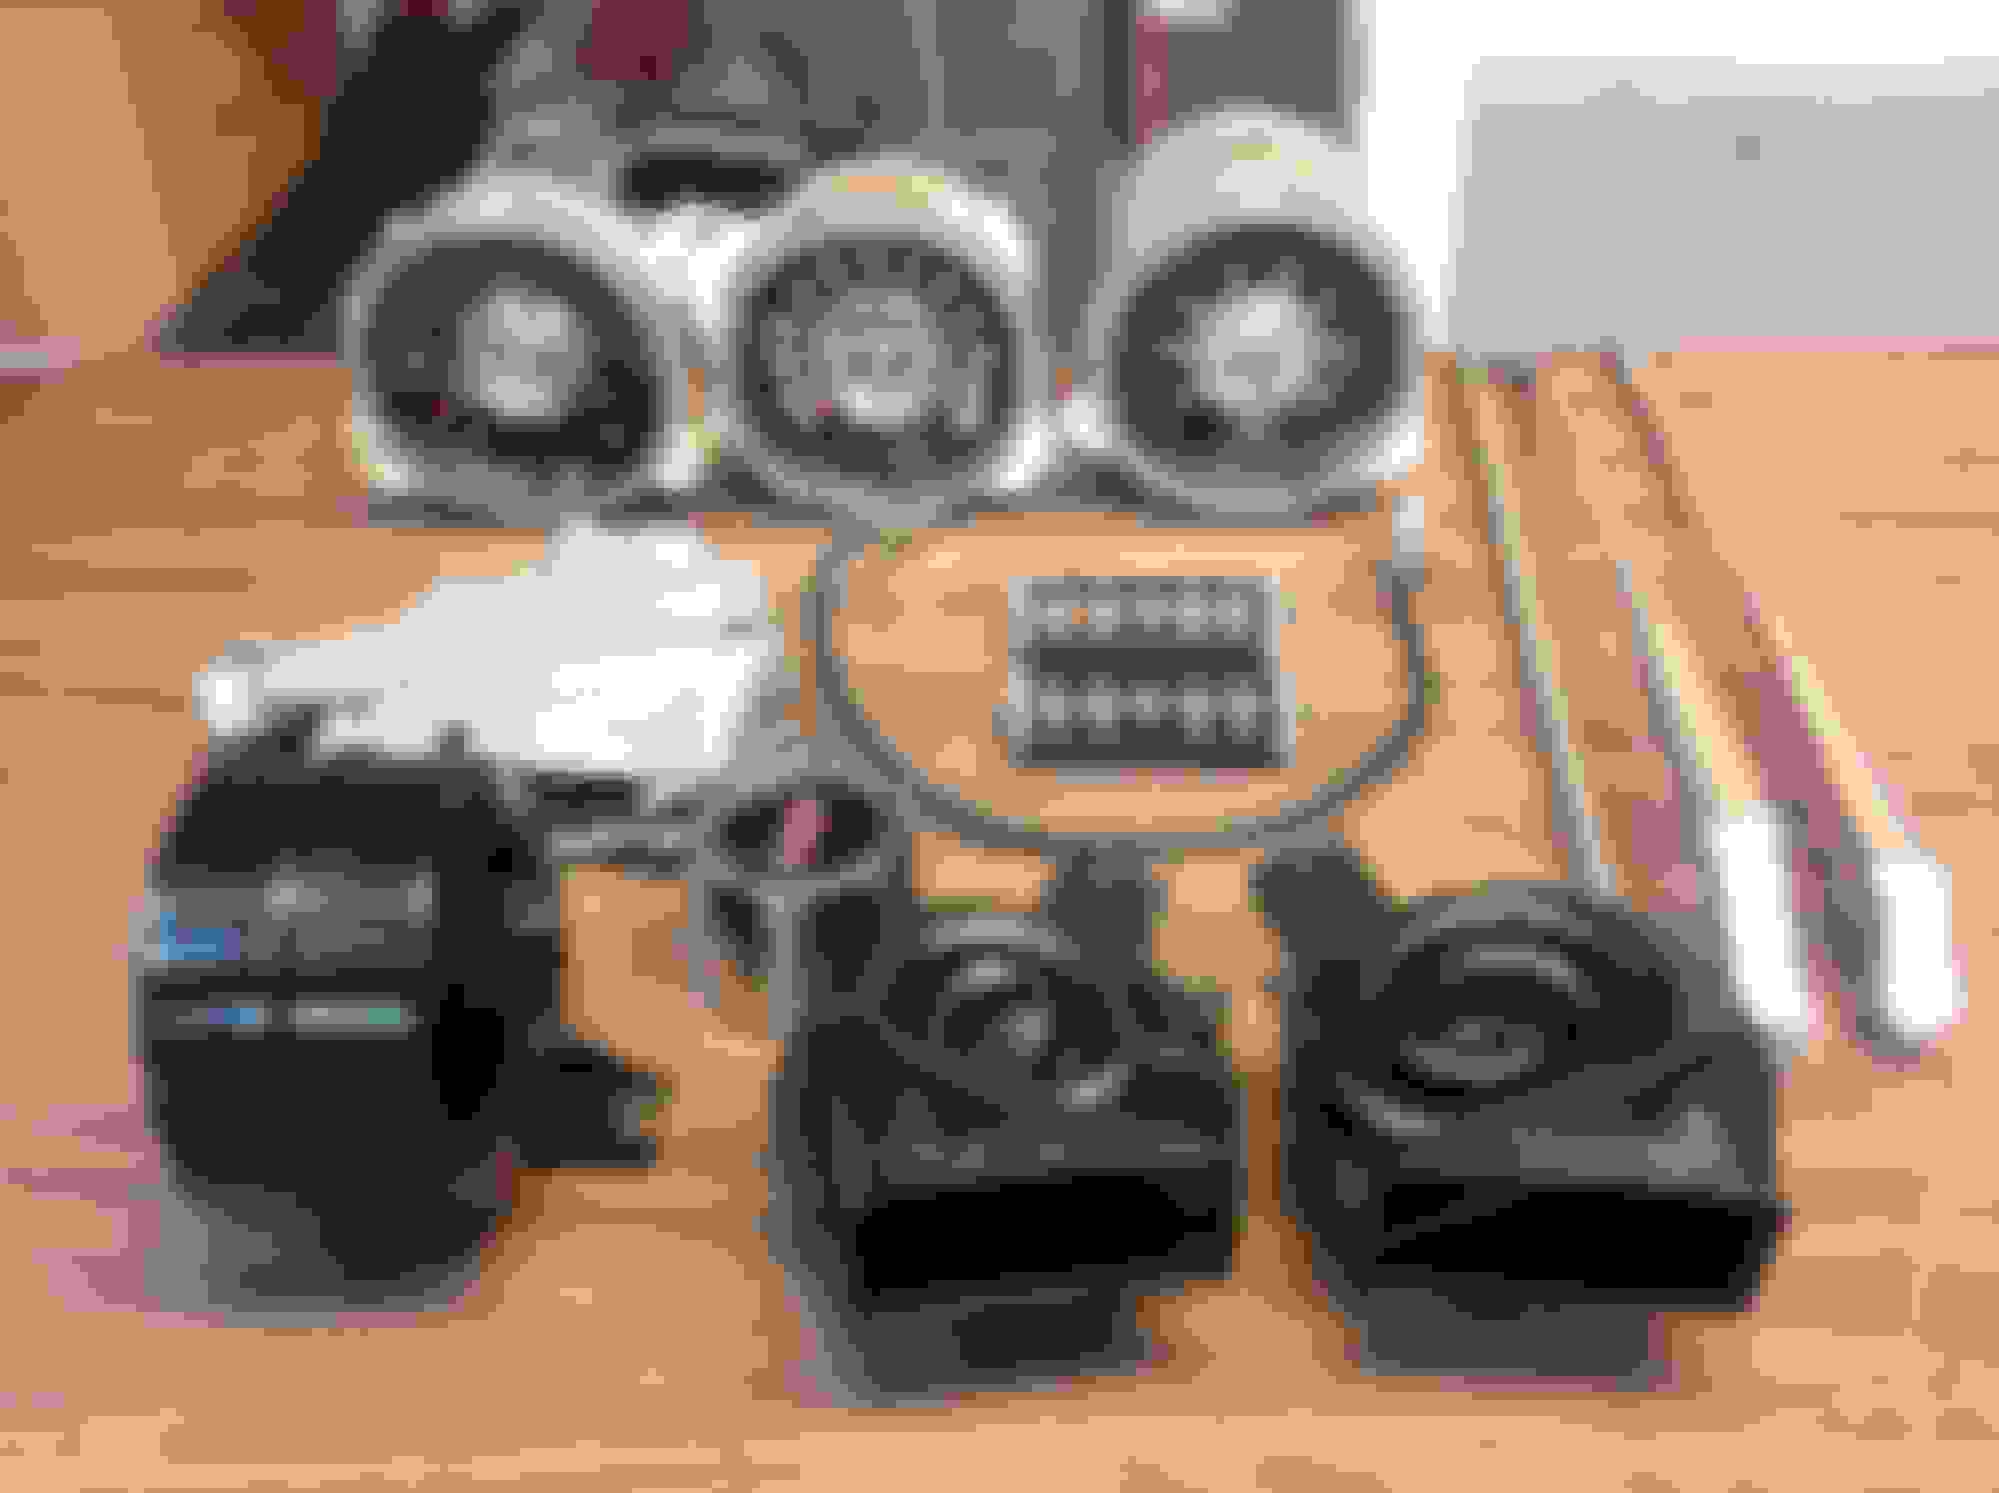
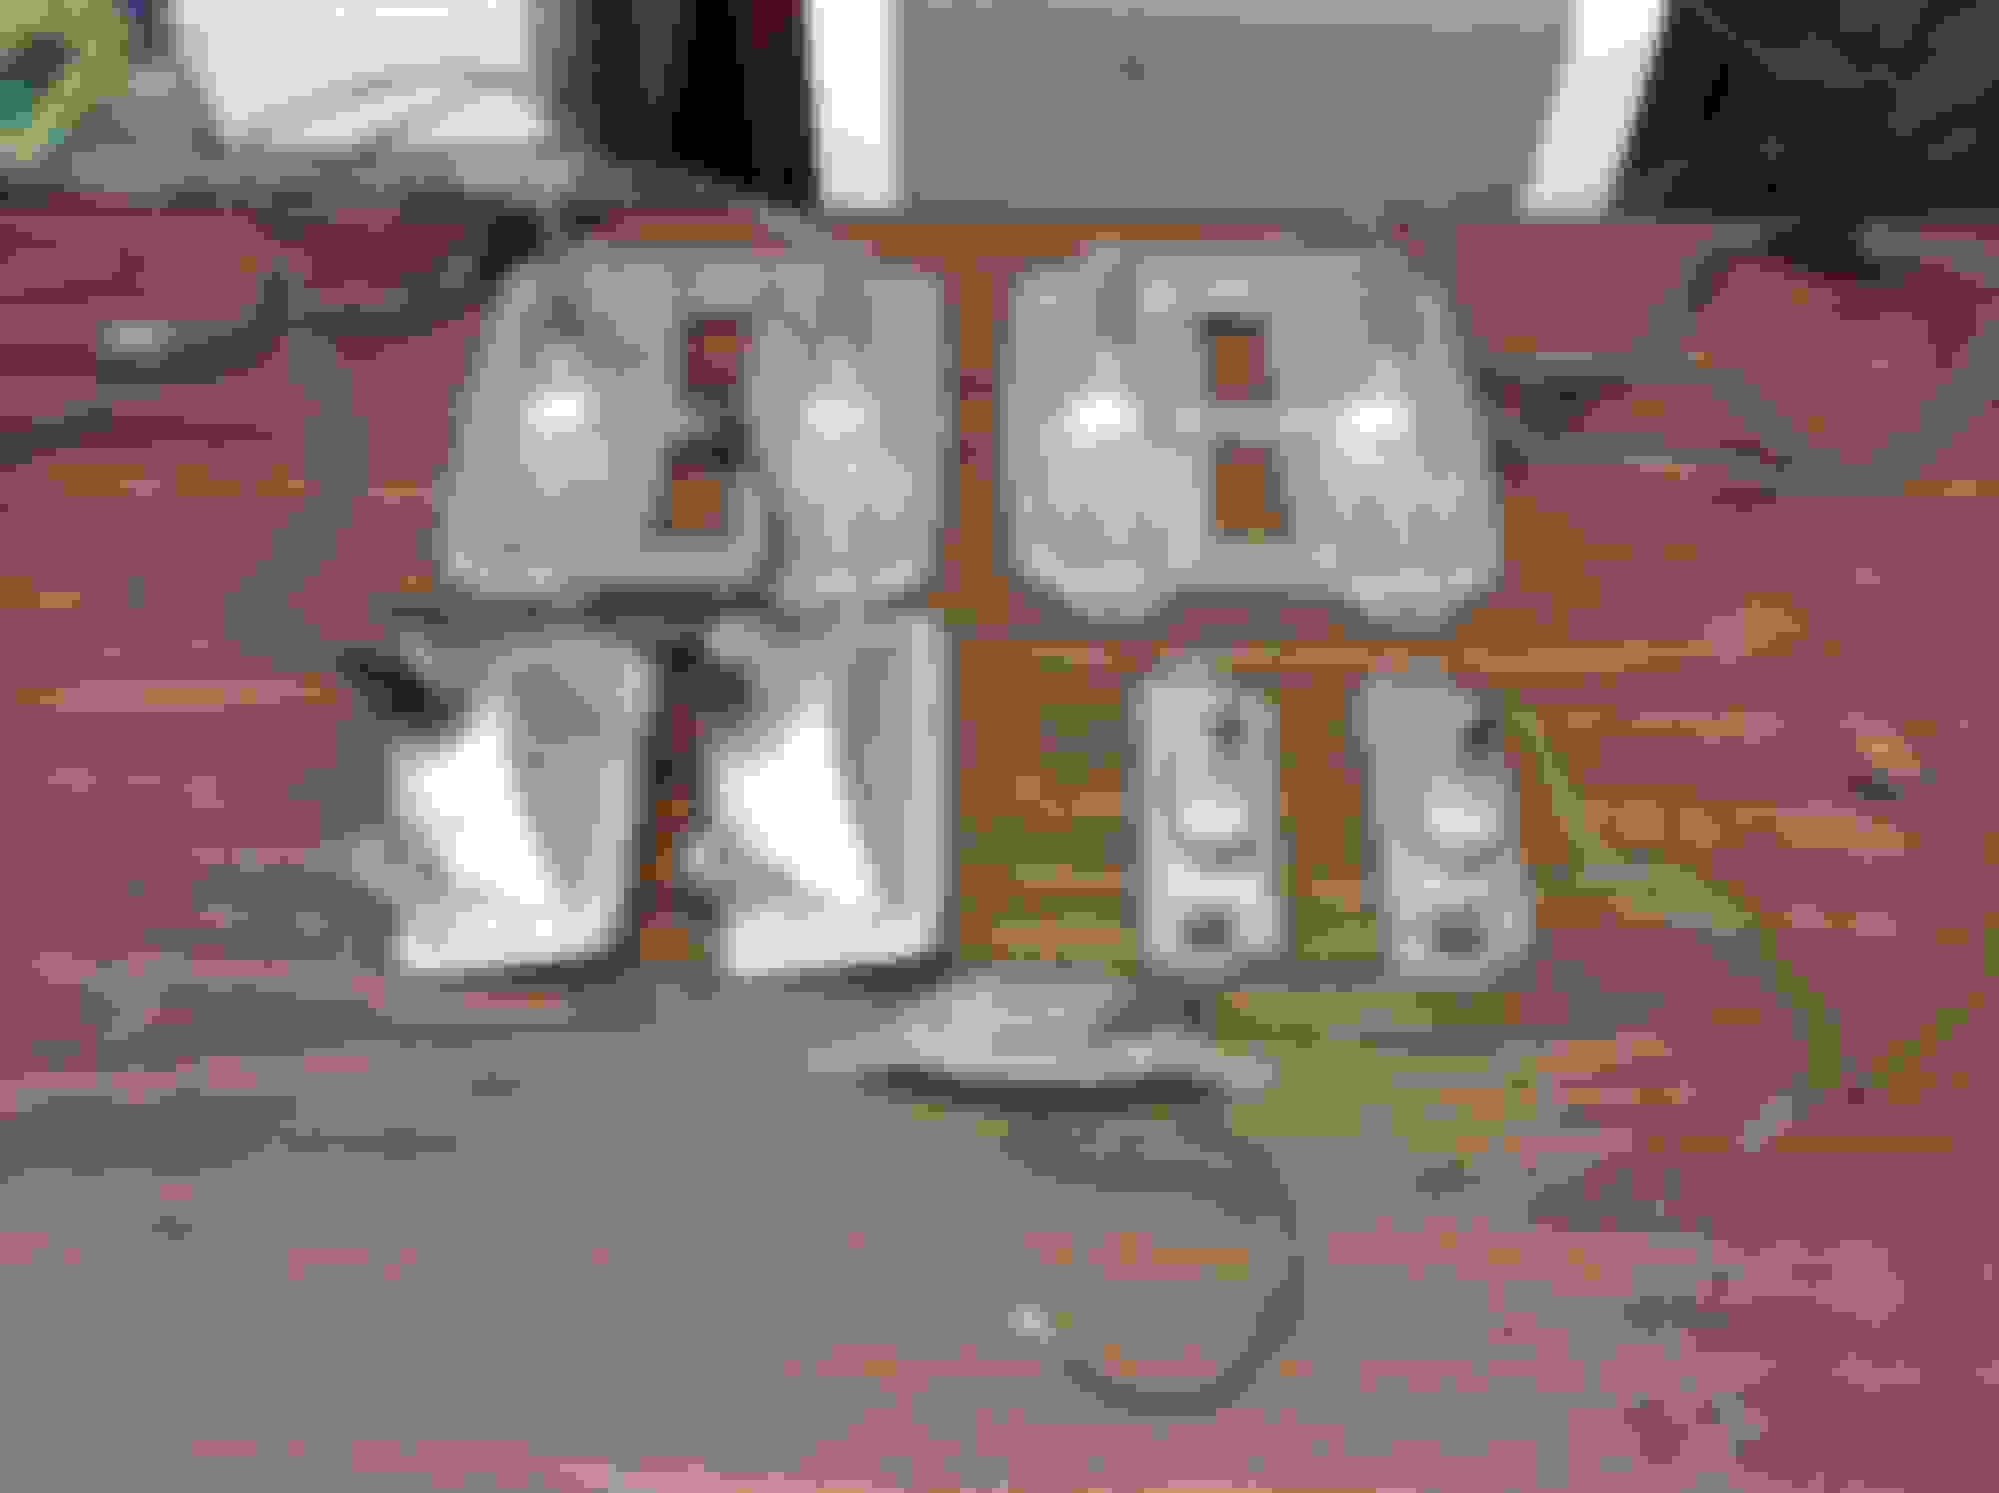
Vaccum tank - the one off the car was too badly scratched to use, so David found an excellent used one in his stash. Just cleaned with a very soft bristle brush, Q tipped the various holes, and polished a little with a clean paper shop towel.
Wiper Arms - had to replace the RH one with a good core from Oldspackrat. Used the coarse steel wool after the carb cleaner trick to get that black stuff off the top pivot of the LH one
Antenna lead - was able to save the gasket. Wire wheeled the ends and B-12 on the black wire casing. Man was that thing dirty
Center dash vents - got a few replacement louvers out of a junk unit and finished these parts.
Spare wheel center cap - thought I could save the best of the old ones for the spare since David got NOS ones for the road wheels. Polished it and put a replacement emblem in - the jury is out on it
Jack mechanism - gave it another coat of the Smoke Grey - looks OK now.
Gauge Set - finished rebuilding the gauge pack with the replacement face from TPP. All in all came out OK,
but was nerve wracking all the way through. New lenses and new bulbs on all three pods and done
Horns - tested again to make sure they work, cleaned and scuffed with 320 grit, and painted with the VHT Satin Black paint.
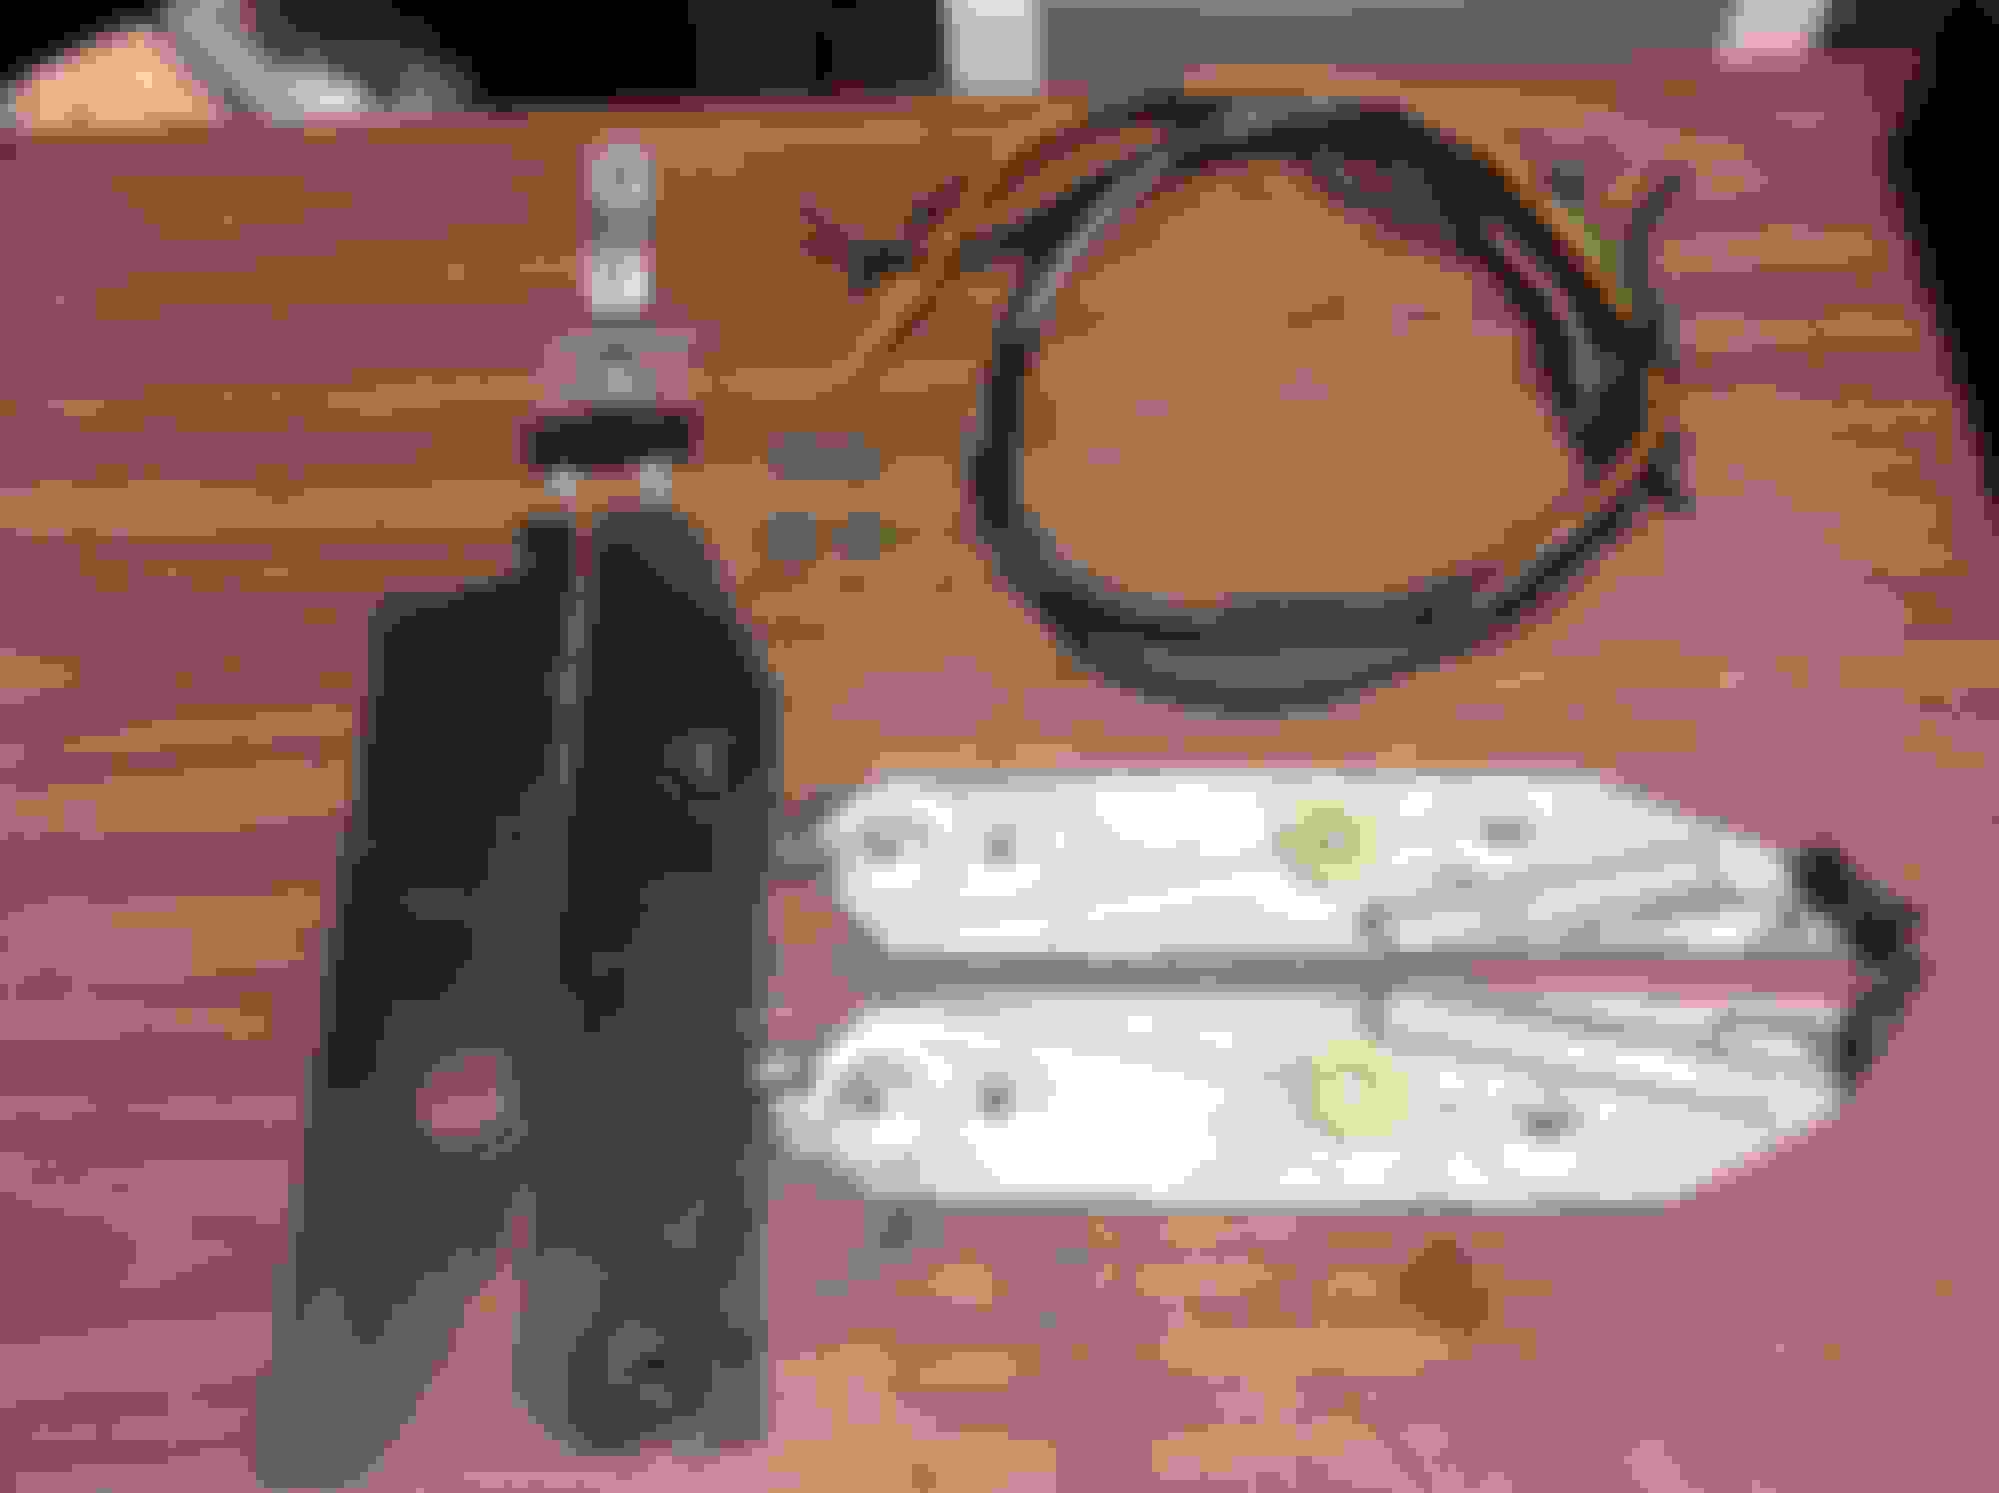
LH rearview mirror mechanism - cleaned all the components, polished the adjustment stalk, painted the groove in the ****. The mirror itself is a goner - will need to get a replacement and figure out how to reinstall it.
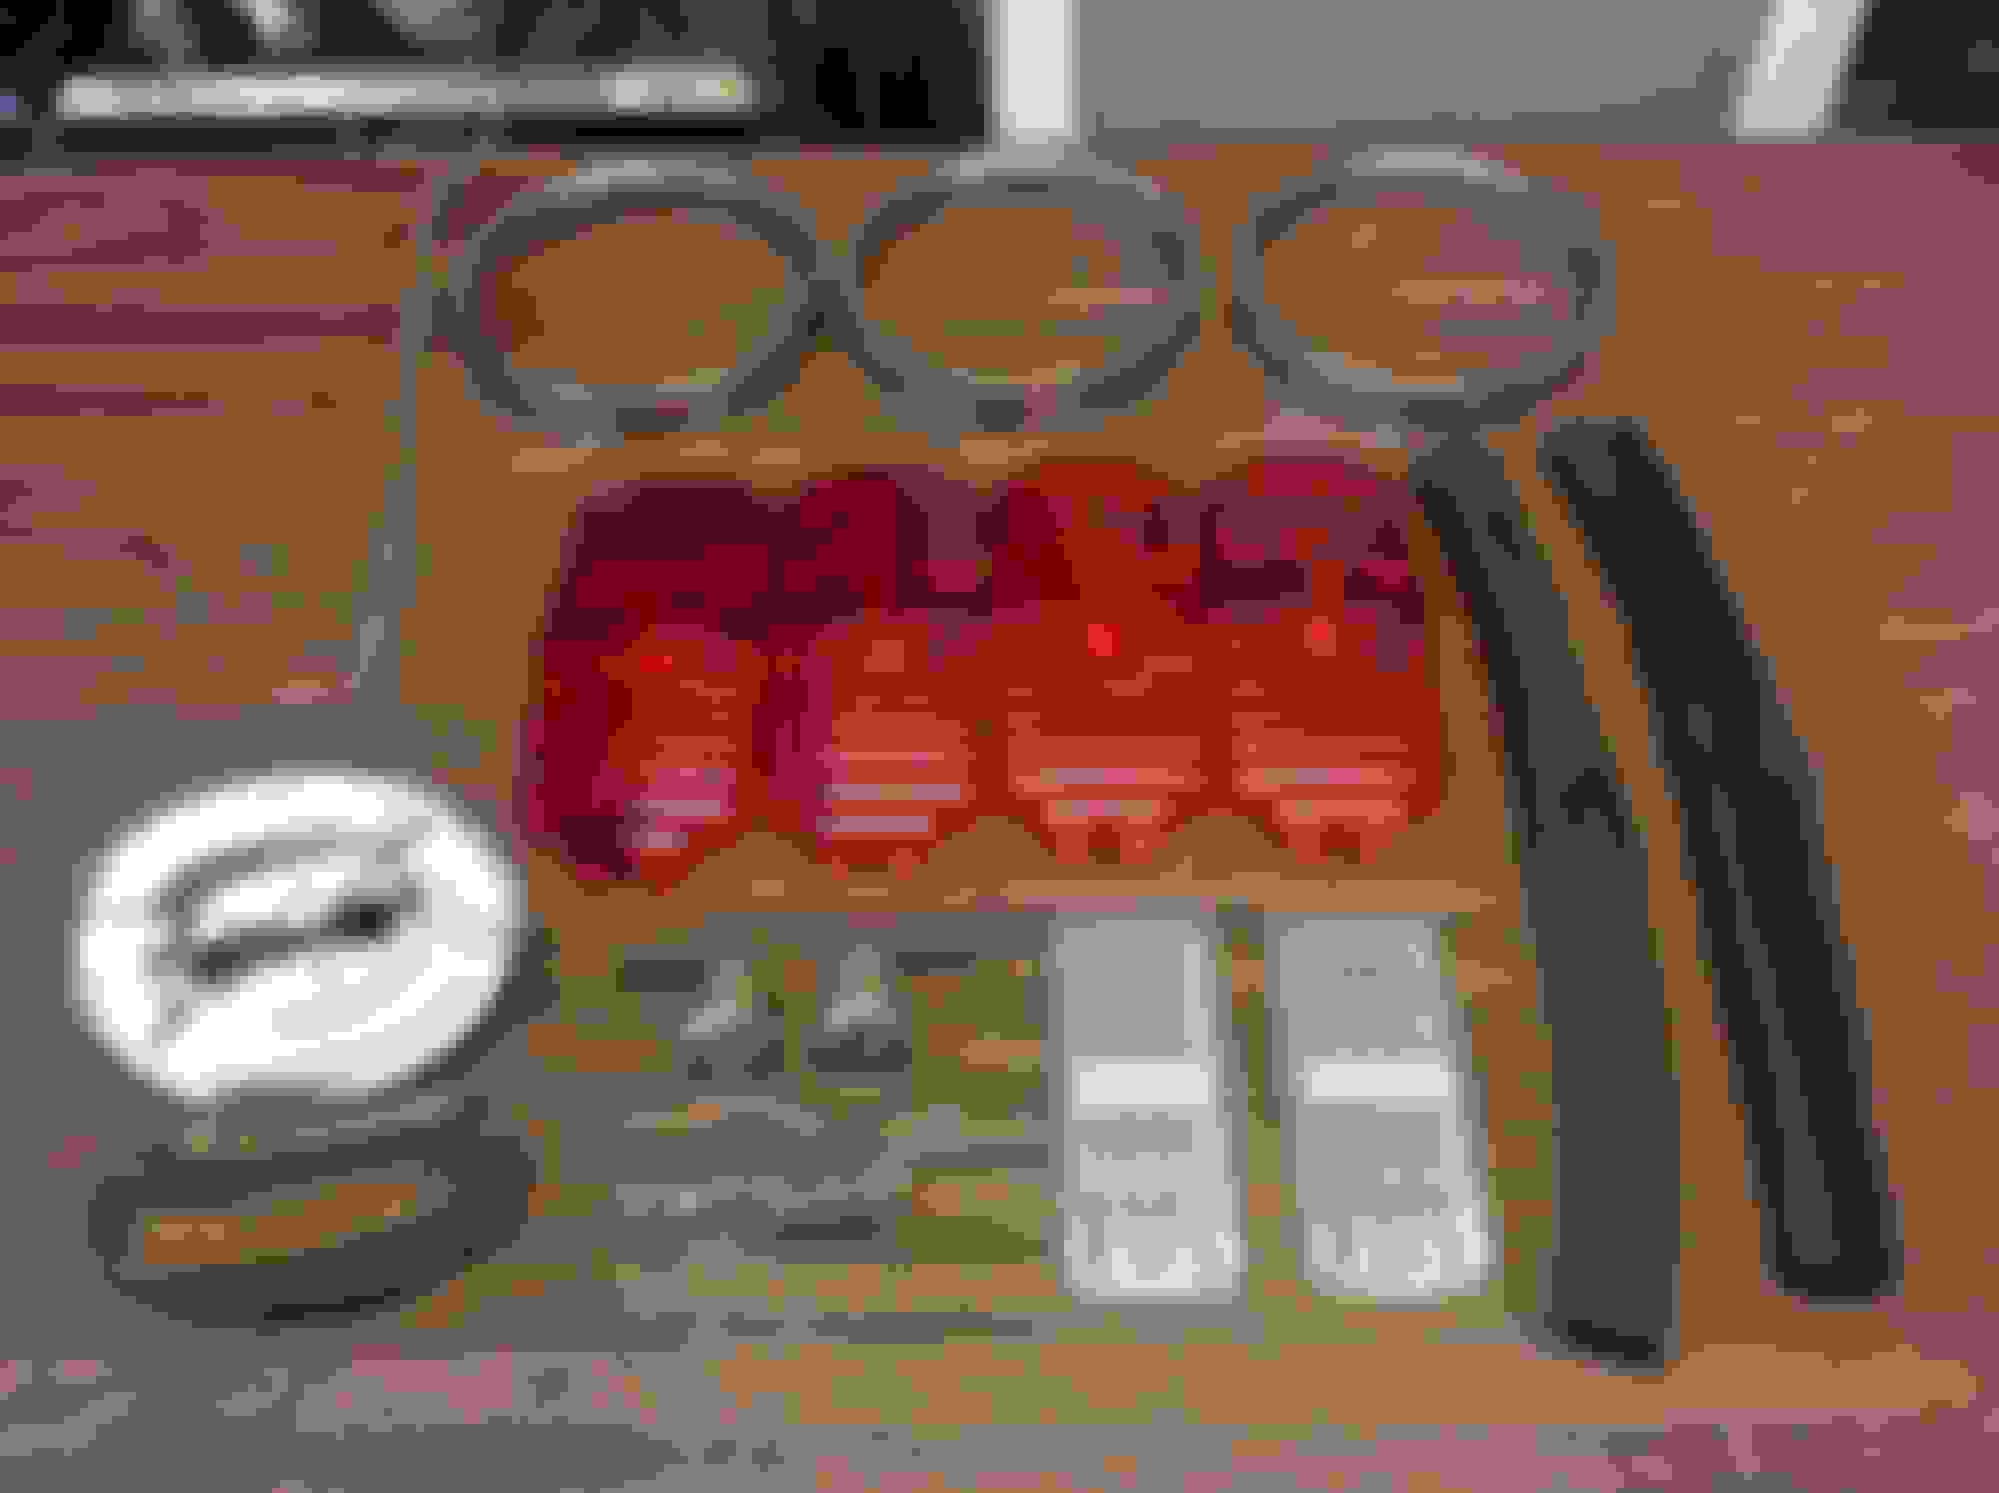
Tail lamp diffusers - just a Simple Green scrubbing with a soft bristle brush. Note - use compressed air to blow the water out of the grooves on the inside - there is no other way to do this that won't leave water stains.
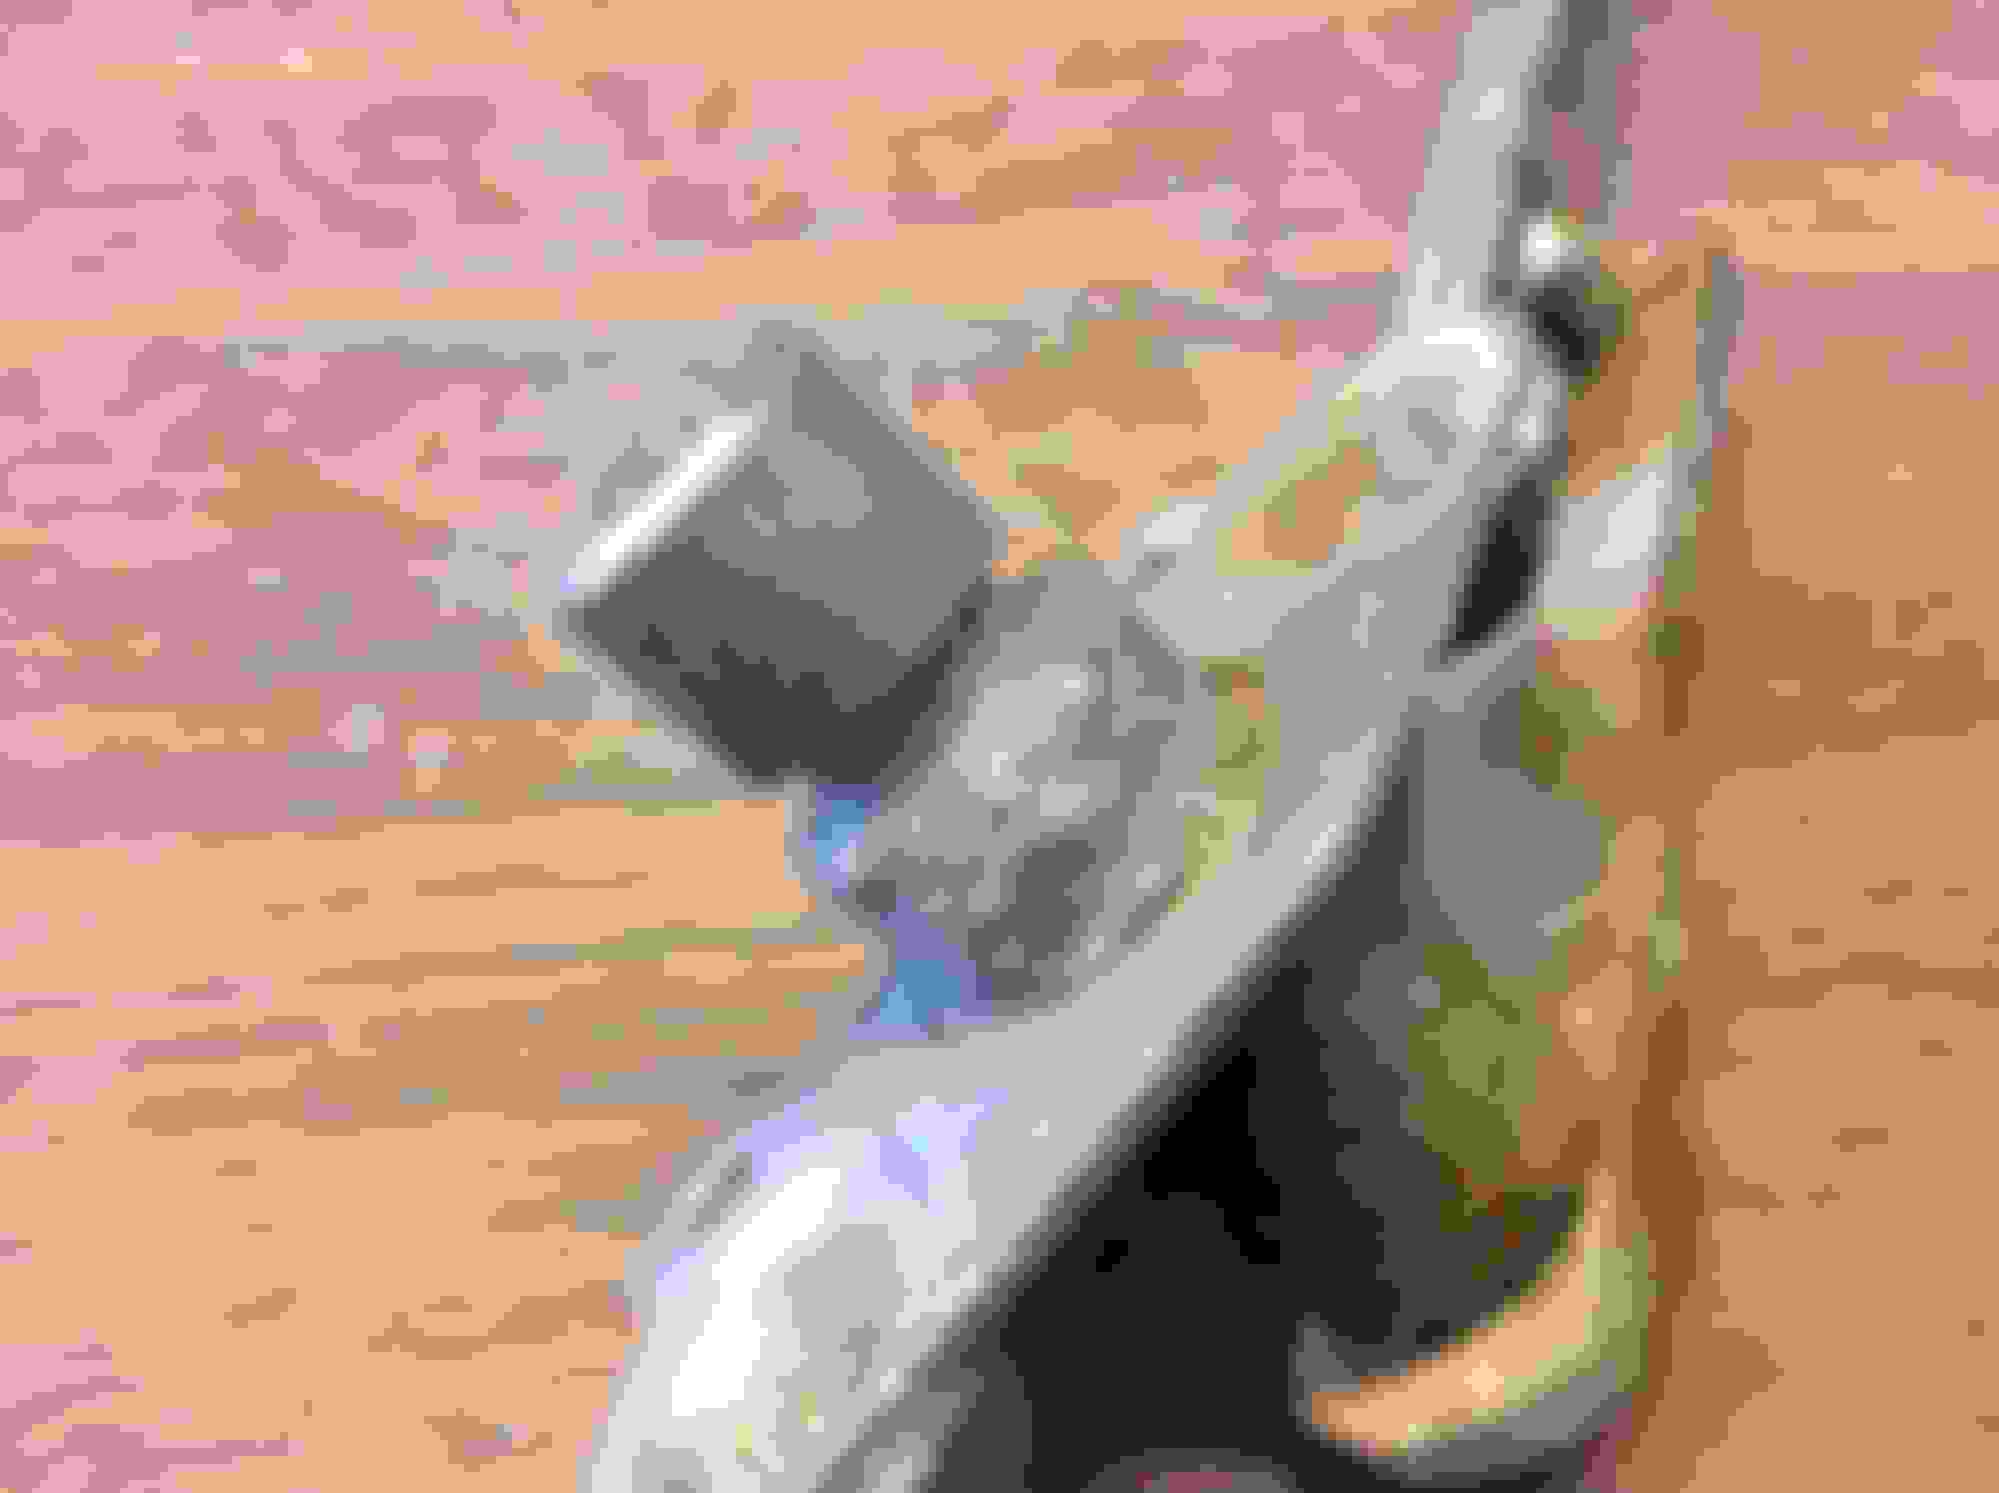
Door locks - polished on the high speed buffer with the white compound.
Headlamp retaining rings- these need a lot of polishing with coarse and fine steel wool. One ring has a missing mounting tab. Will be heeding to find one and a good wiper tranny (see below)
Original radiator side seals. These pieces cleaned up beautifully. The original clips are cooking in some fresh evaporust.
OE Reverse lenses (?) Have a post on whether these frosted pieces are correct of if to go with new repos.
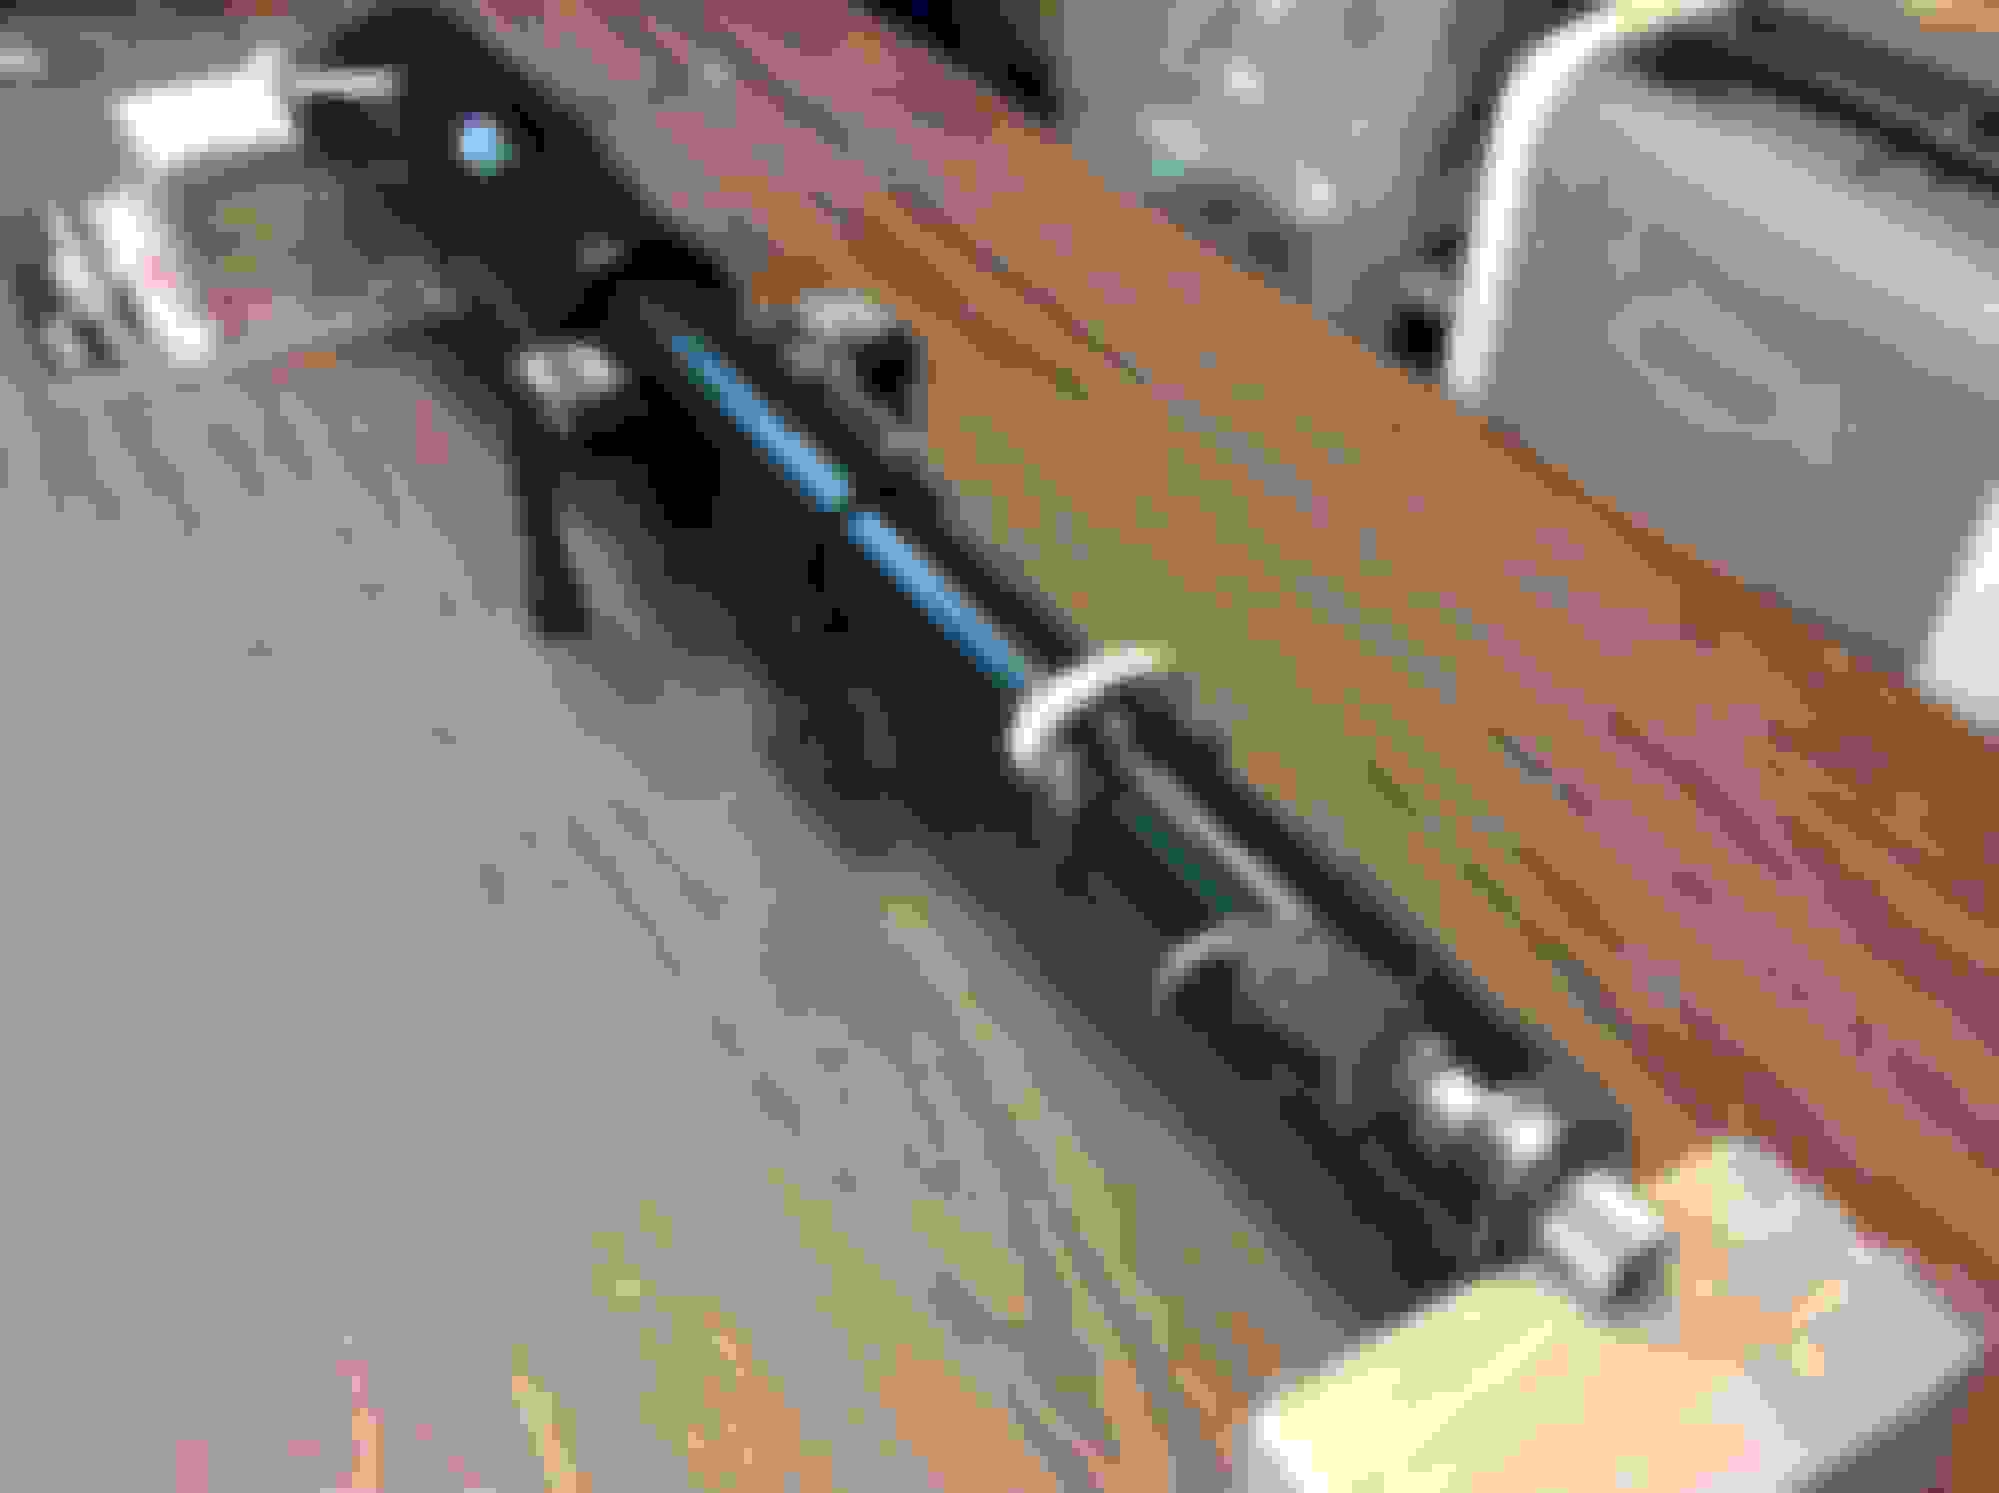
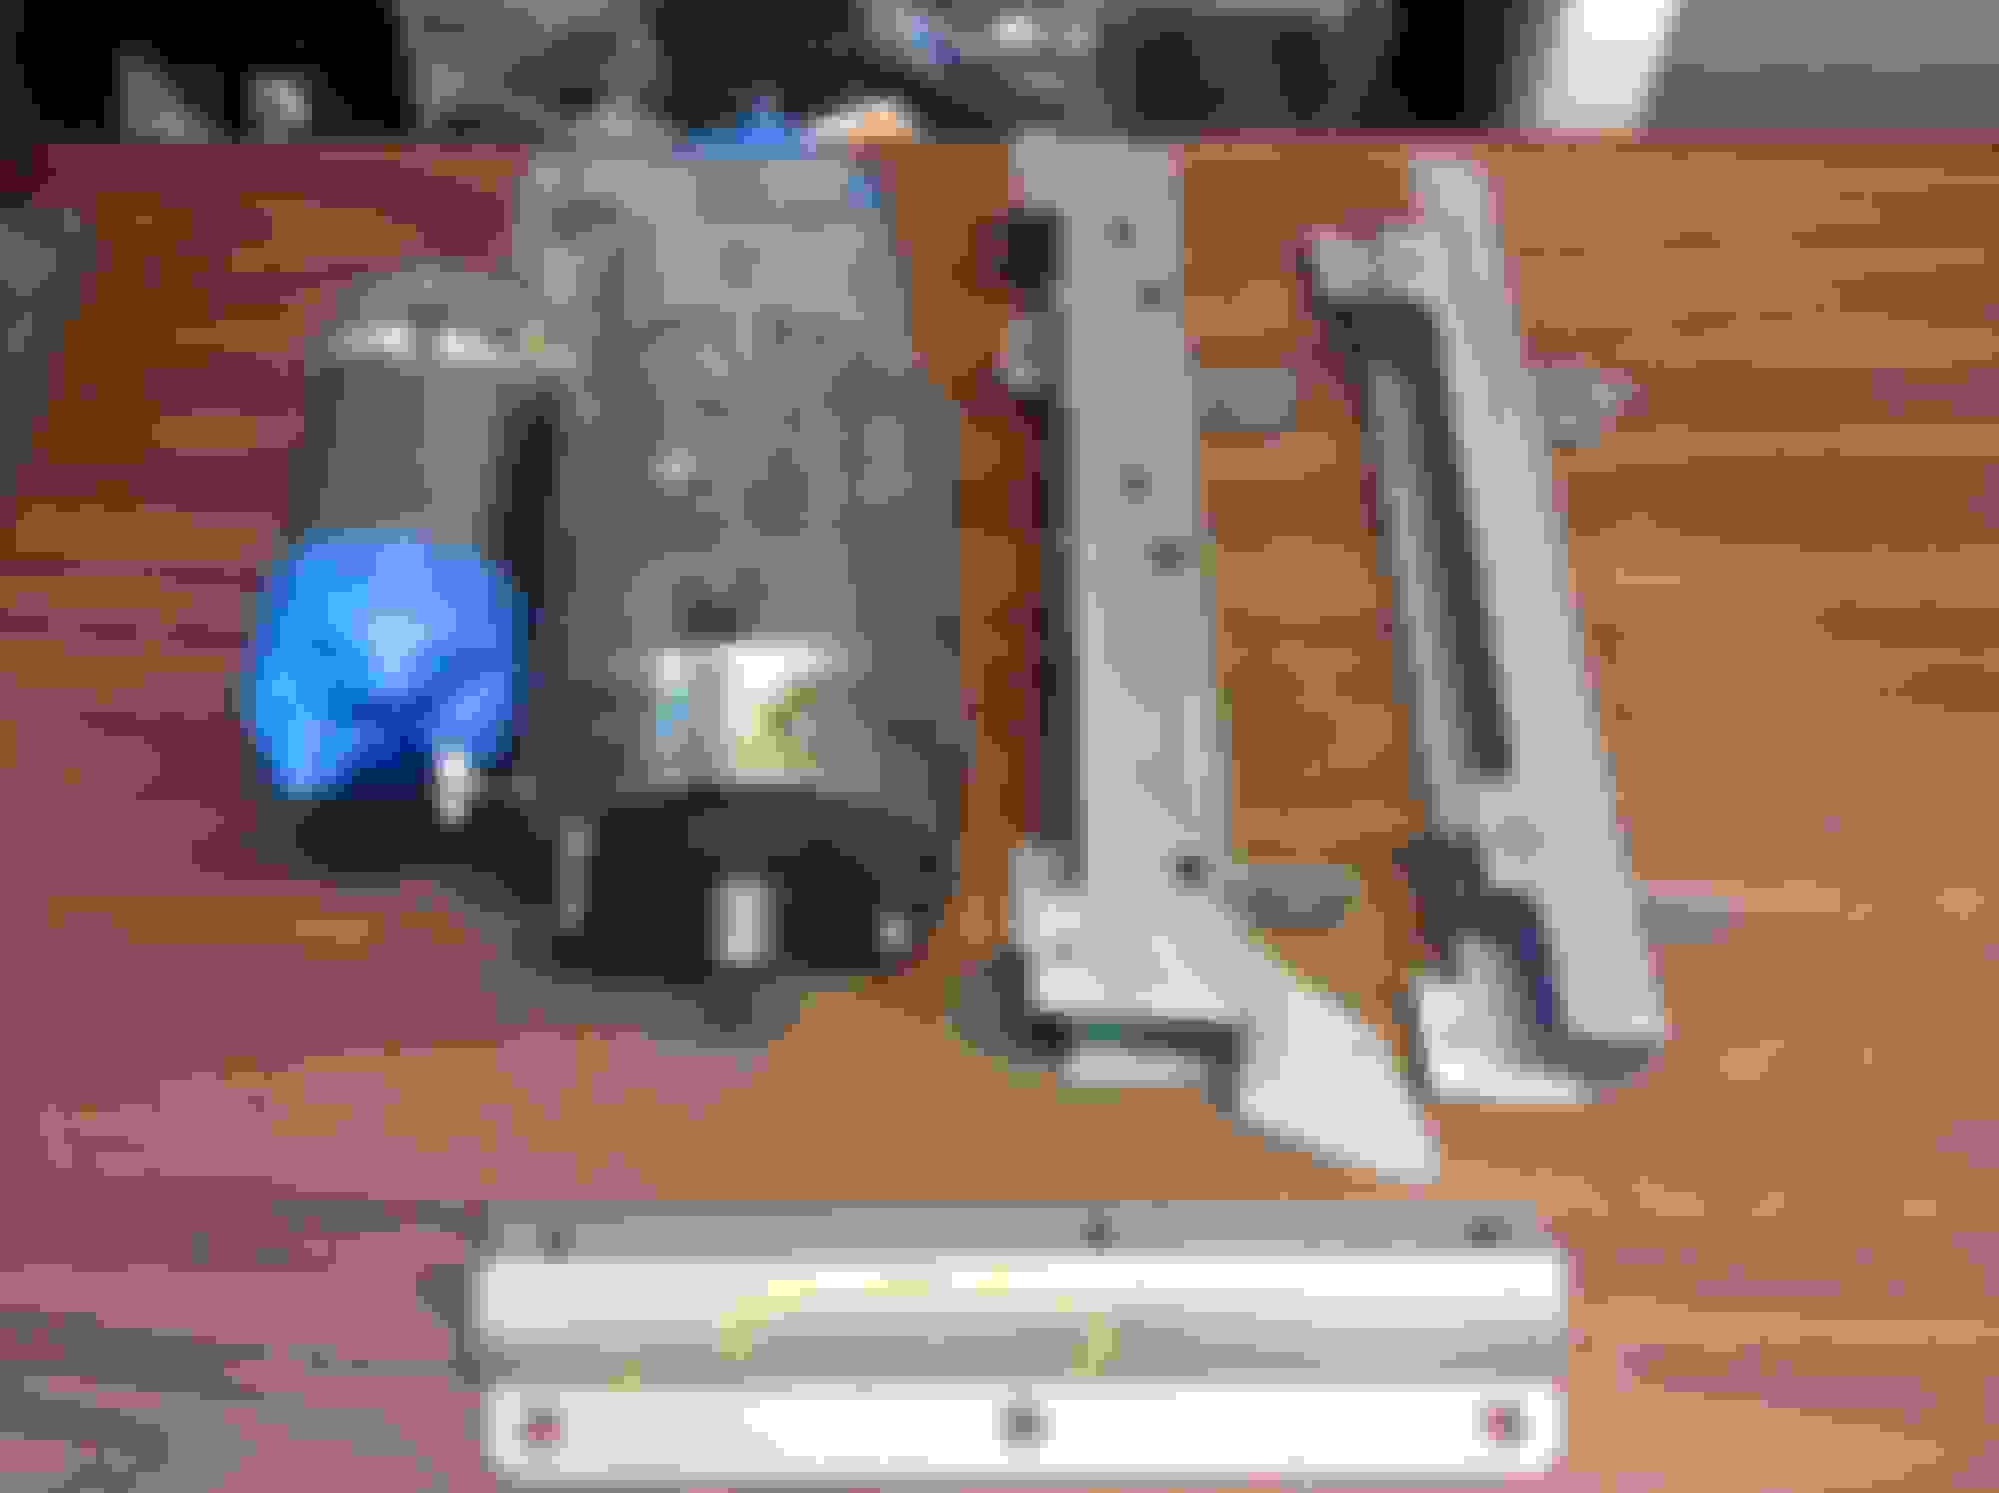
Also another piece needed - wiper Transmission. Both motor to arm attaching bolts broke with very little effort, and then the cast pivot posts are badly pitted/ corroded. In the 5 cars I have previously worked on, I have never seen this kind of damage.
Fantastic work, Joe. What did you clean the rubber seals with? Have you found a way to salvage original top plate seals, too?
What�s the owners plans for this thing when you�re done? Kansas 2019
Fantastic work, Joe. What did you clean the rubber seals with? Have you found a way to salvage original top plate seals, too?
What’s the owners plans for this thing when you’re done? Kansas 2019
The radiator end seals I cleaned with Simple Green and a very soft bristle brush - I used a old toothbrush. Any stiffer and it starts to "tear" the outer "latex-y" layer. I used about 5 pipe cleaners tied into one unit to clean the end holes of the seals again with Simple Green.
On my blue car, I was able to save the radiator end flaps - miraculously they were still on the car and not torn. I used Purple Power and a stiffer brush - like a carpet broom - and it makes a Hell of a black mess but looks great when done.
I think David would like to take it to Wichita, but paint work is going really slow and I'm going to gave to peel off at sometime to finish the Ford truck.
I'm getting to the end of miscellaneous parts to do before hitting the big three - exterior trim refinishing, exterior lamp refurbing, and wiring harnesses.
Today's mixed bag
Radiator side seal clips - they are not used anywhere else. After cleaning, I could tell they were orginally olive drab green. I found a new paint closer to the right shade - side seals now complete
Quarter window channel things - After shooting a lot of various cleaners and lubes into the rollers, I finally got them smoothly turning. I also wrapped the ends that have the felt tape with black electrical tape so the felt does not go anywhere.
HVAC hoses - cleaned and retaped any tape that was coming apart. All the hoses tested good, and thankfully the heater valve hose is s not split or damaged.
Wiper tranny hardware - salvaged all these parts including the strange nuts that hold the trans to the wiper motor arm.
Also, spent sometime sanding down the rusty and scratched metal A pillar covers. Shot them with the VHT epoxy black, but for some reason they fish eyed pretty badly. Will sand down and try again tomorrow. - also will start the Heater case and evap core
Maybe it is self fulfilling in the order I'm going, but it seems like the part output is trickling along.
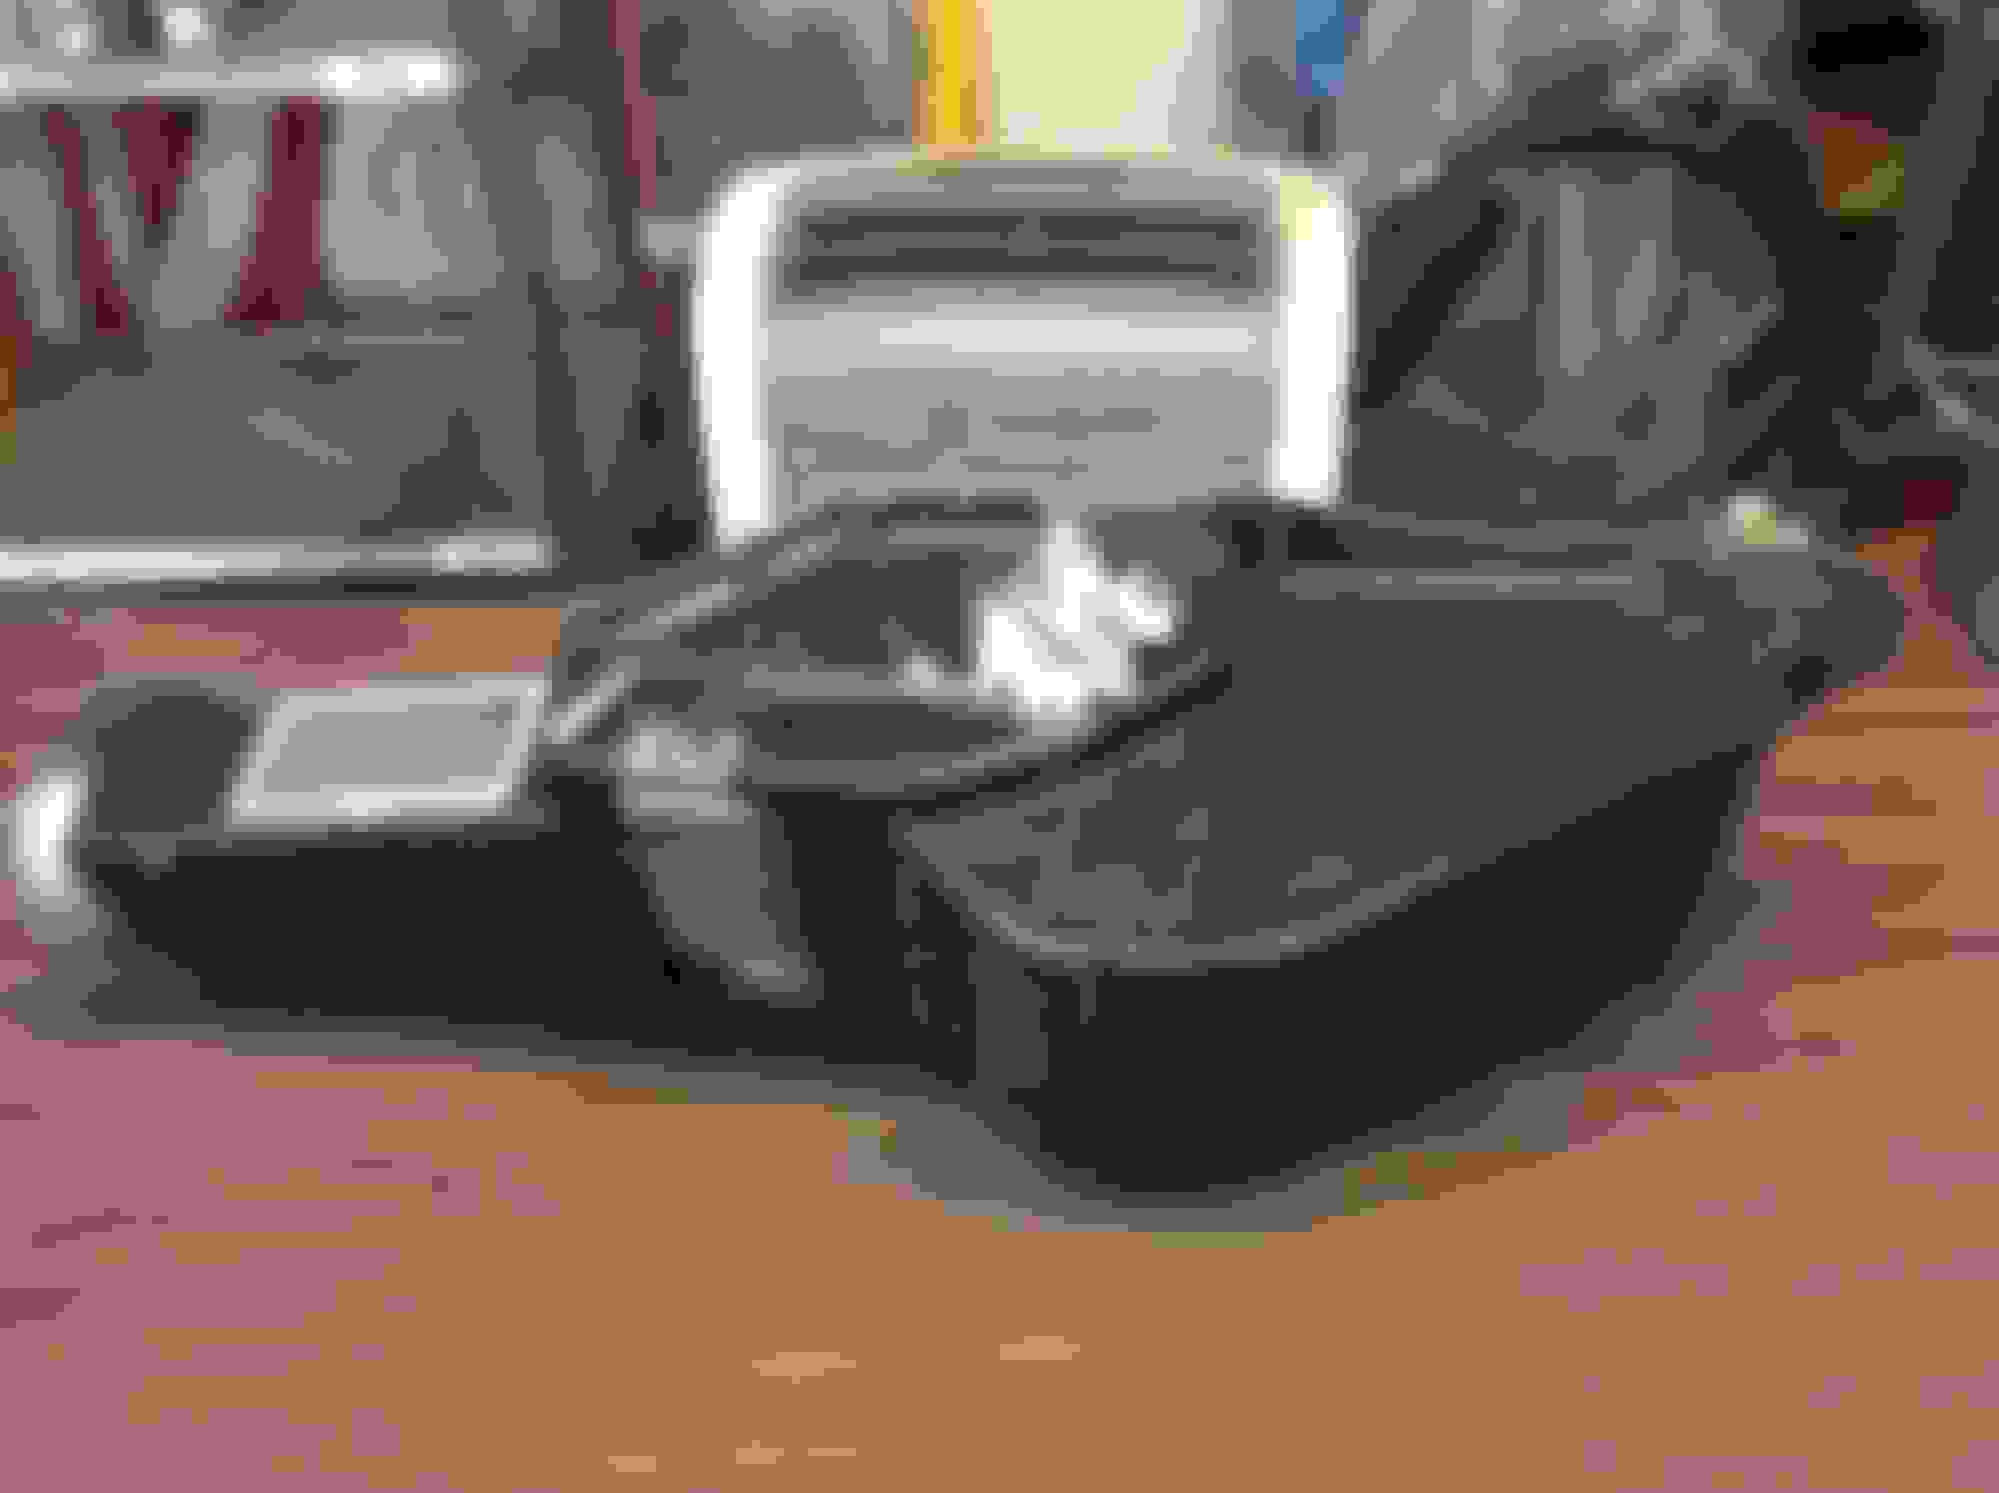
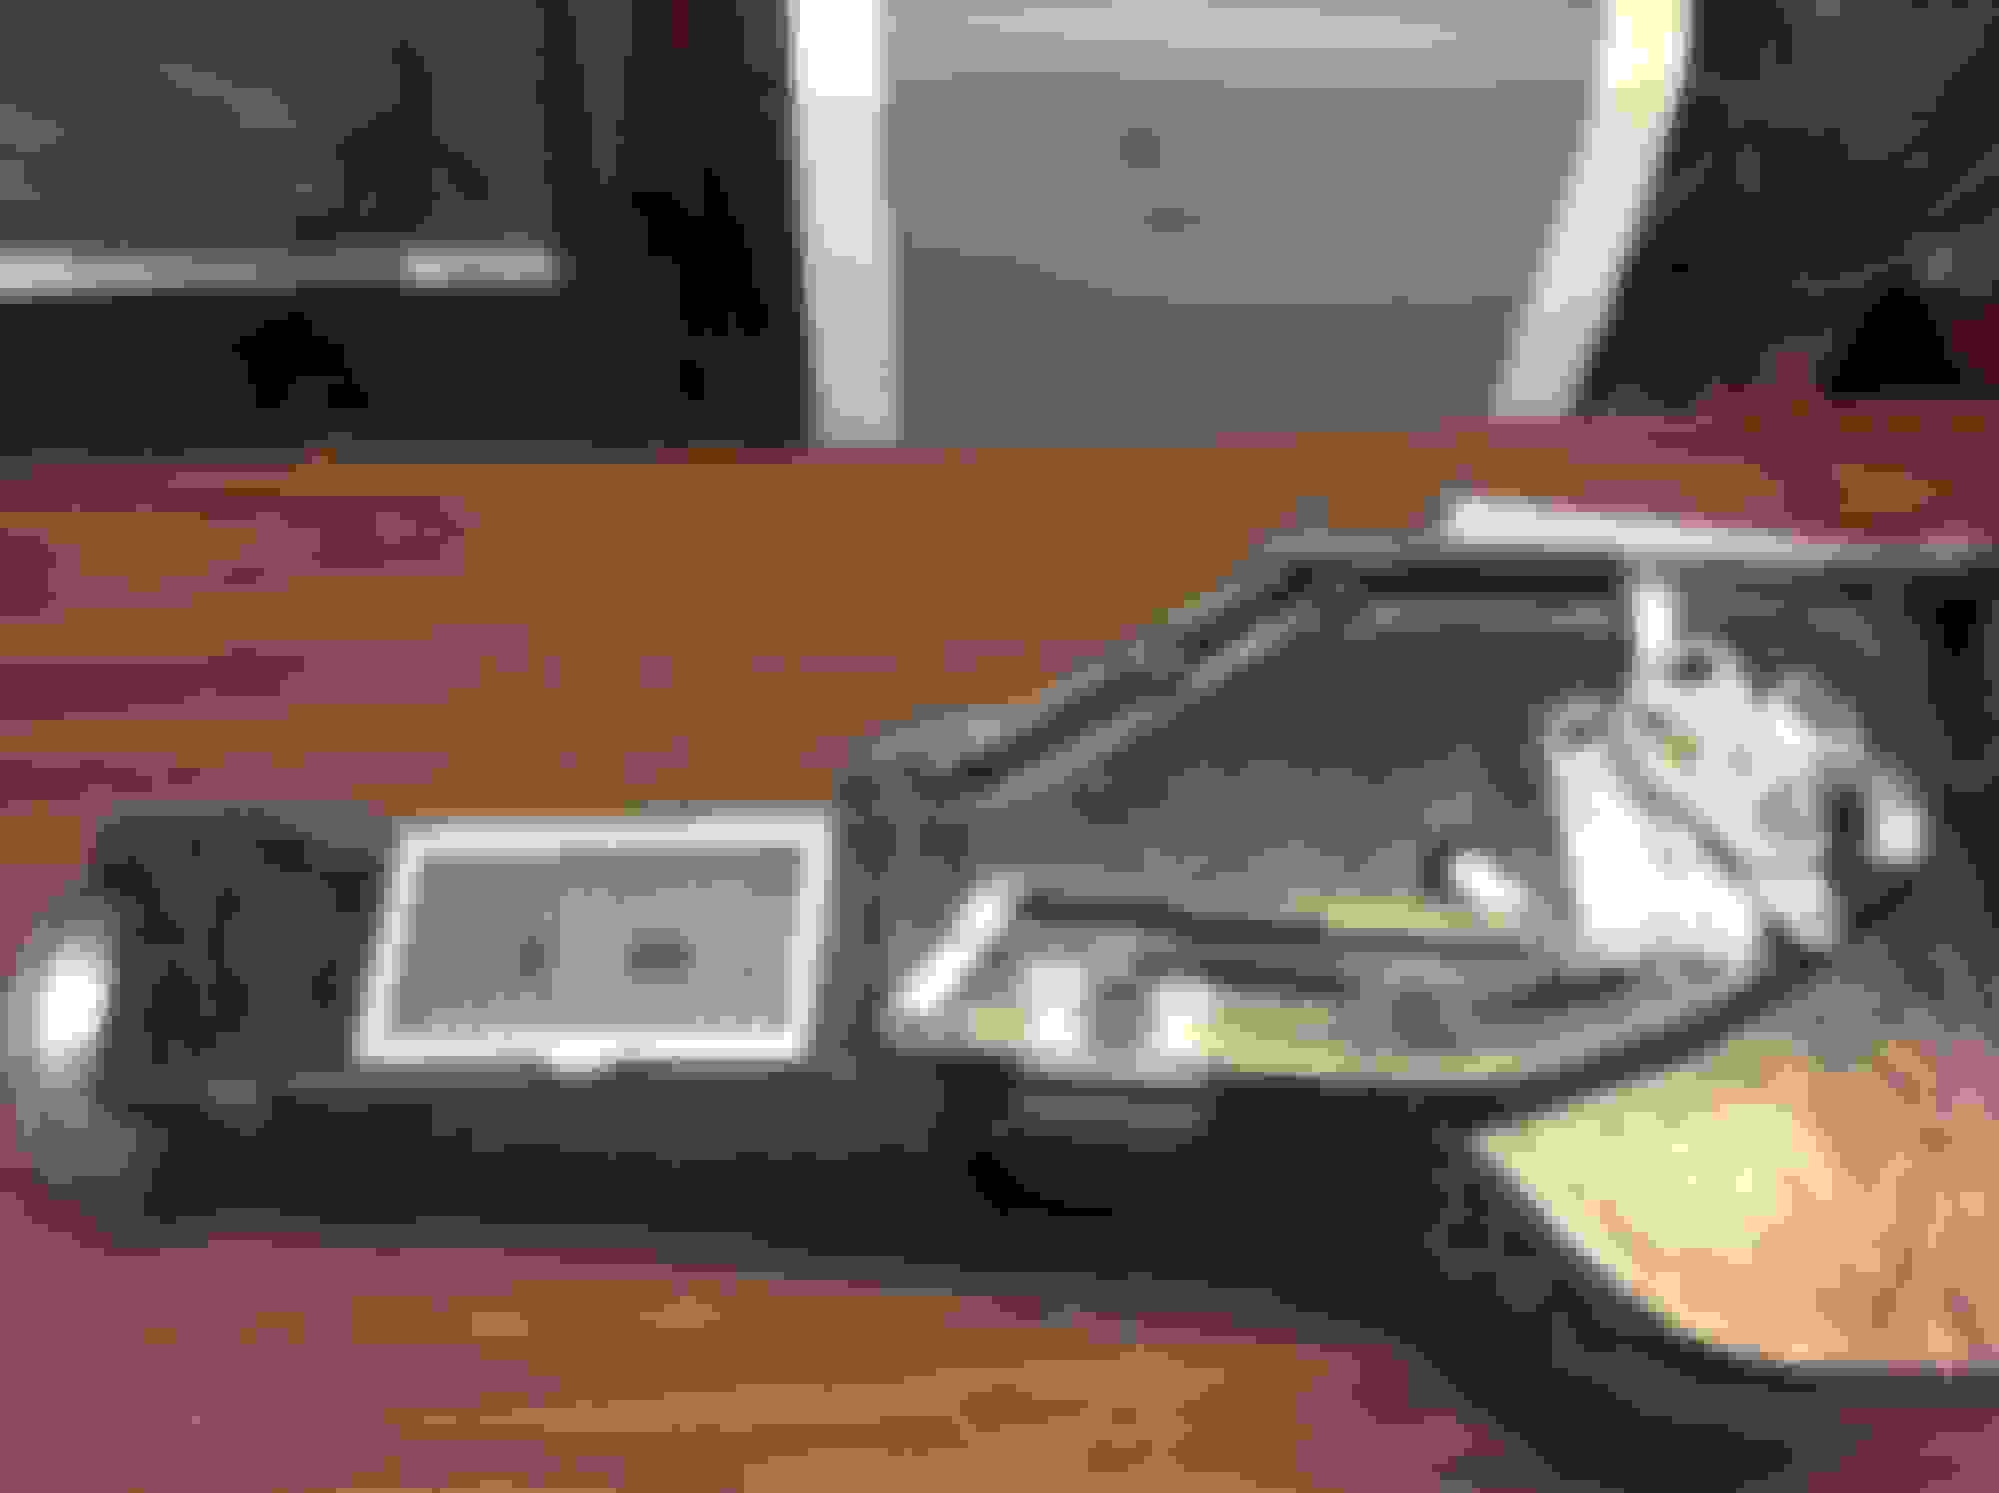
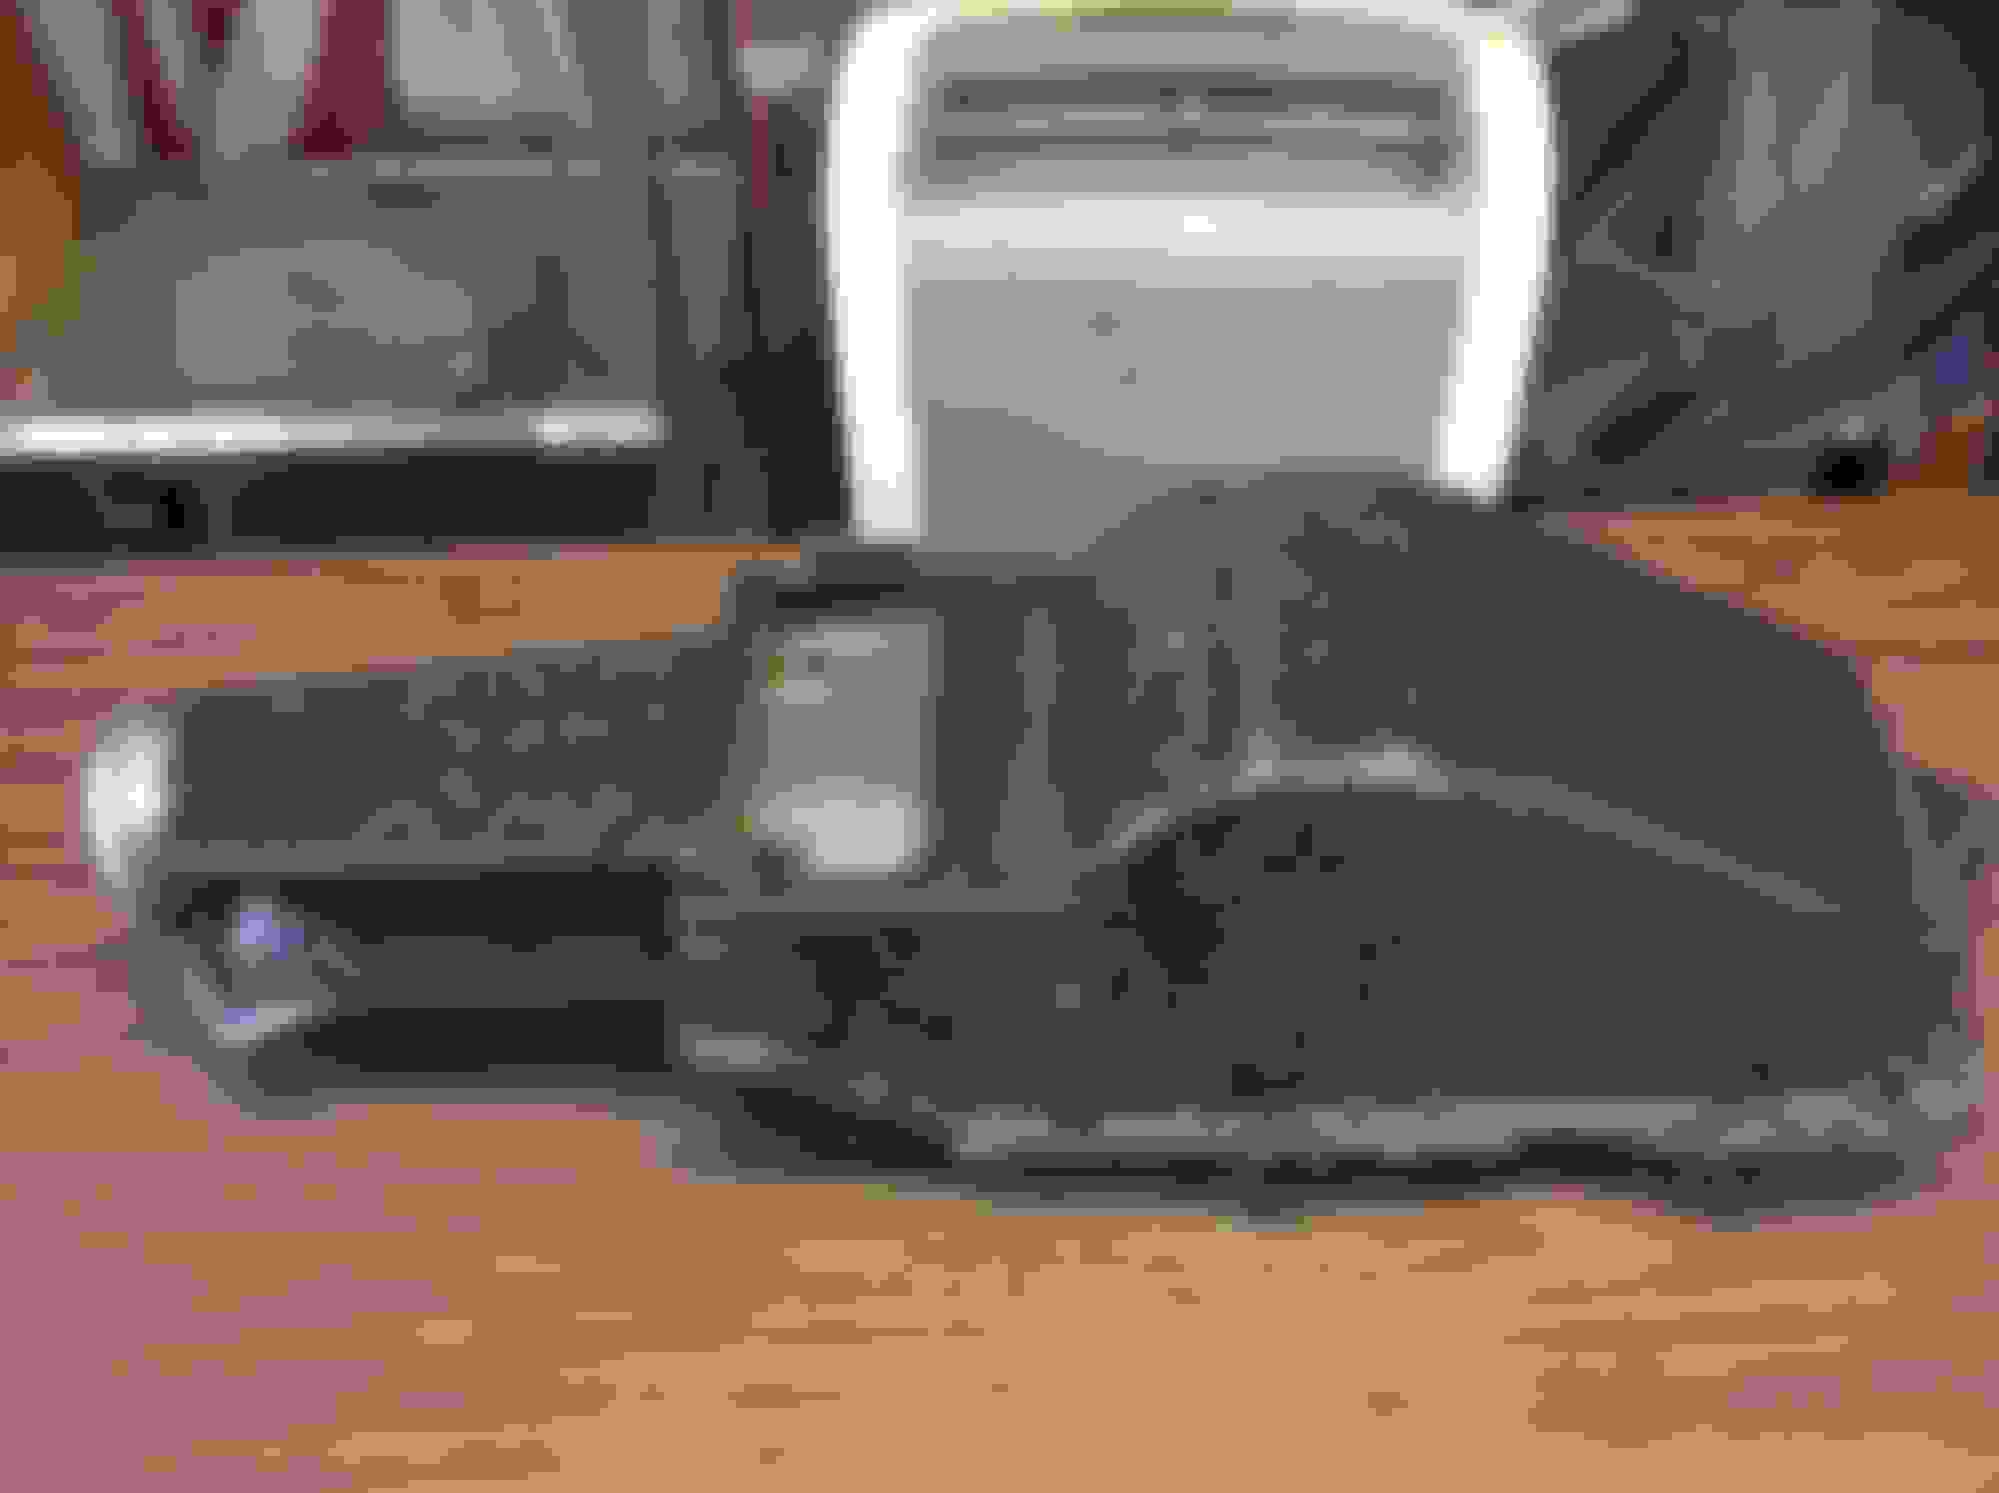
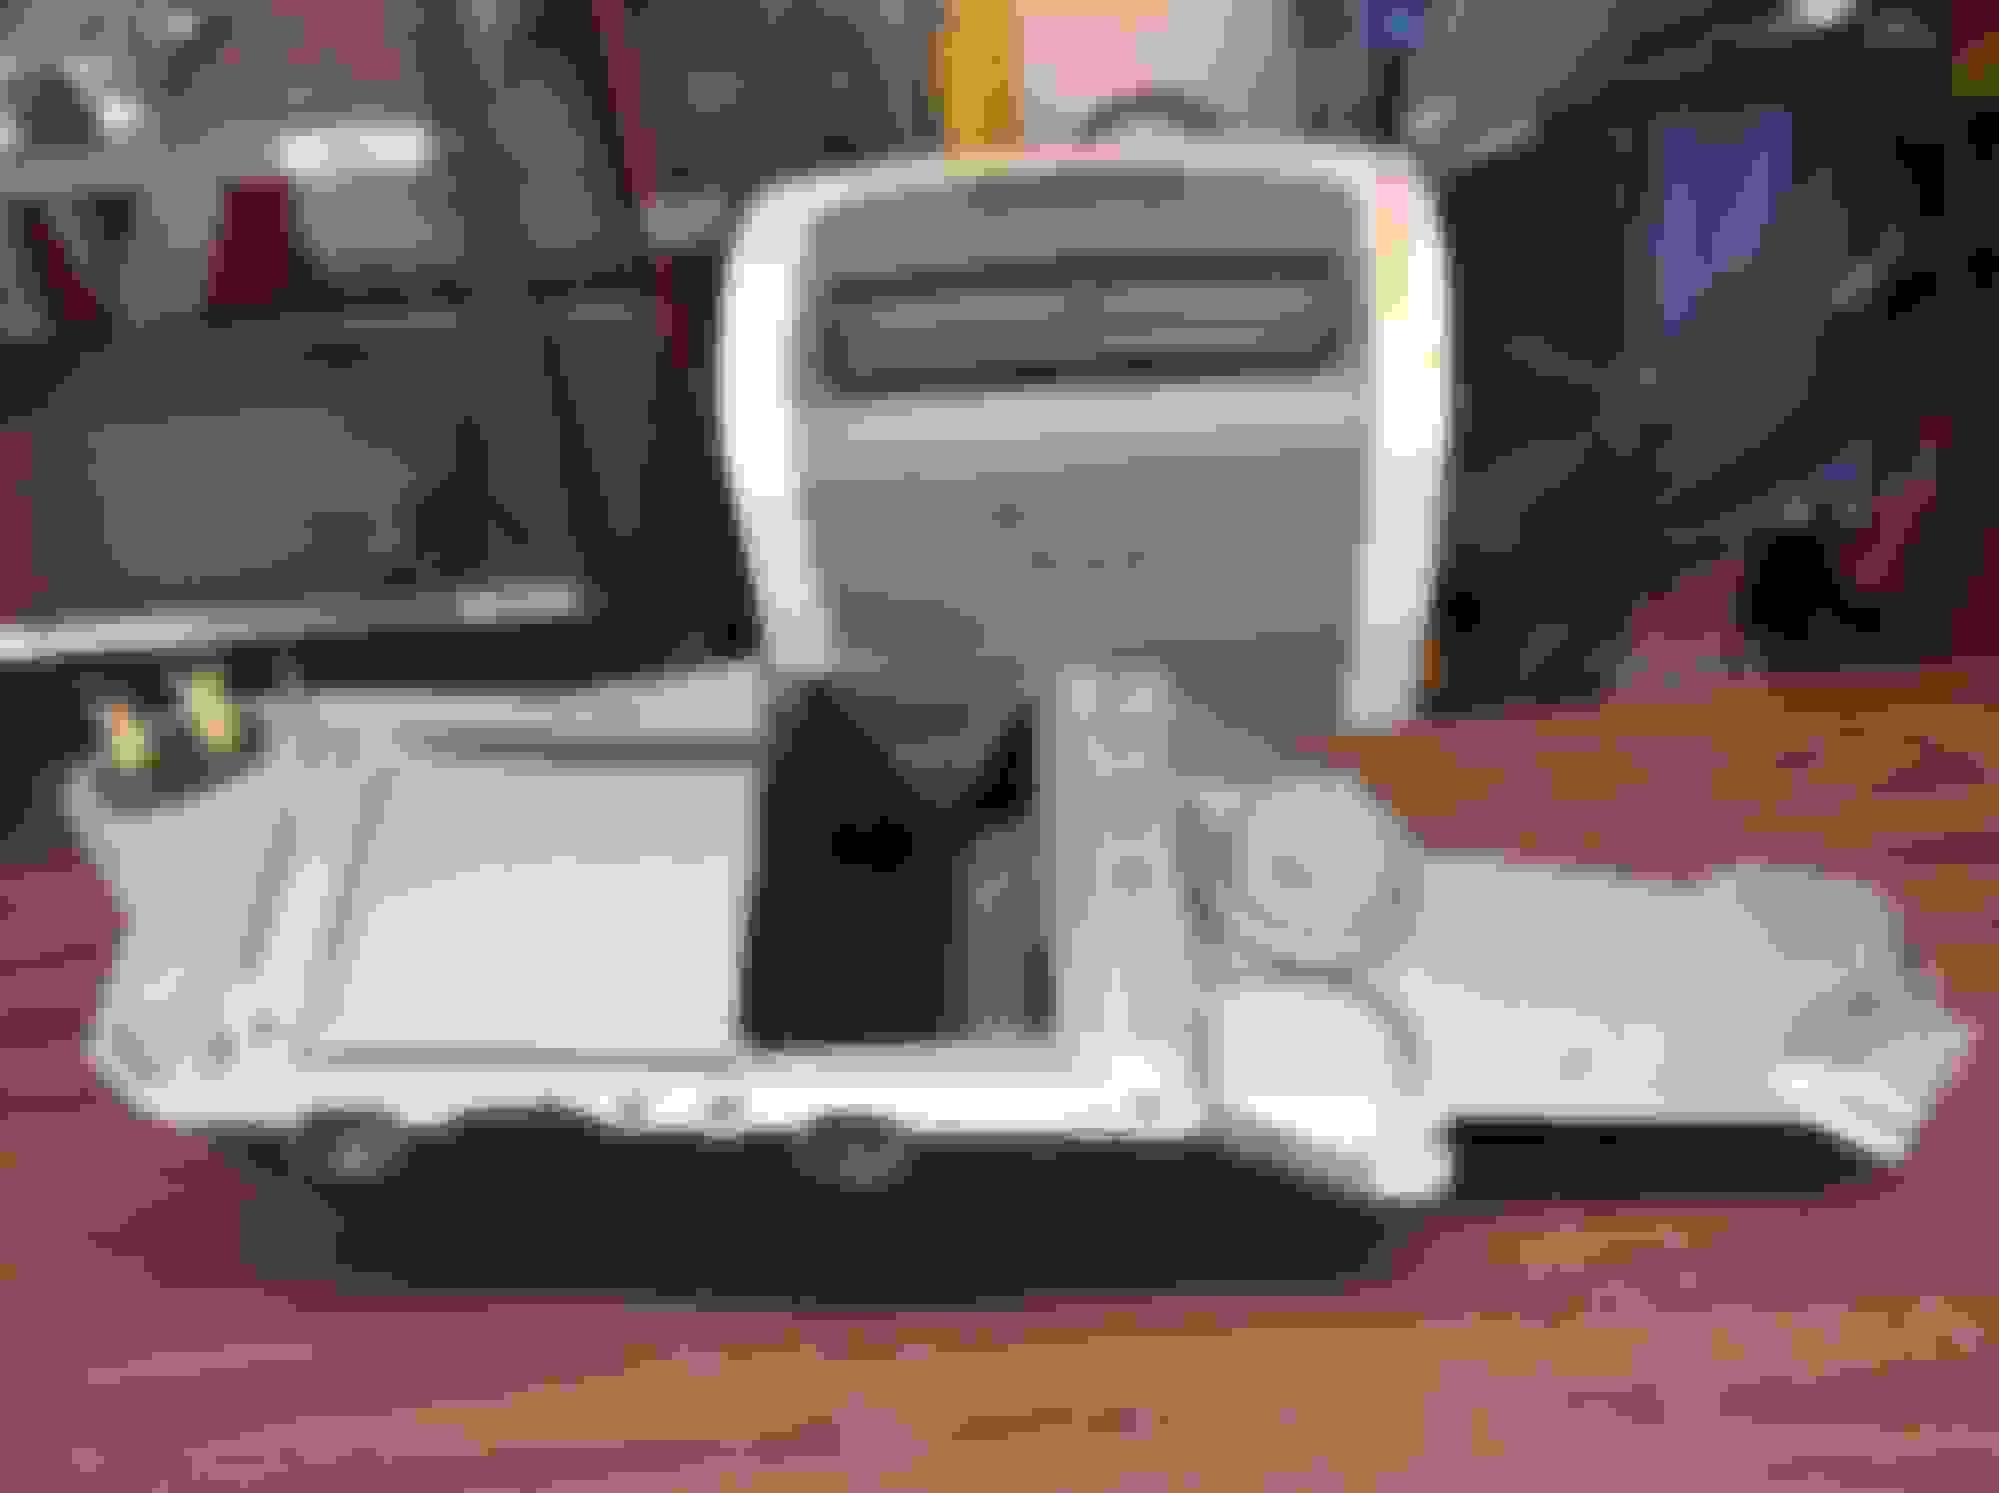
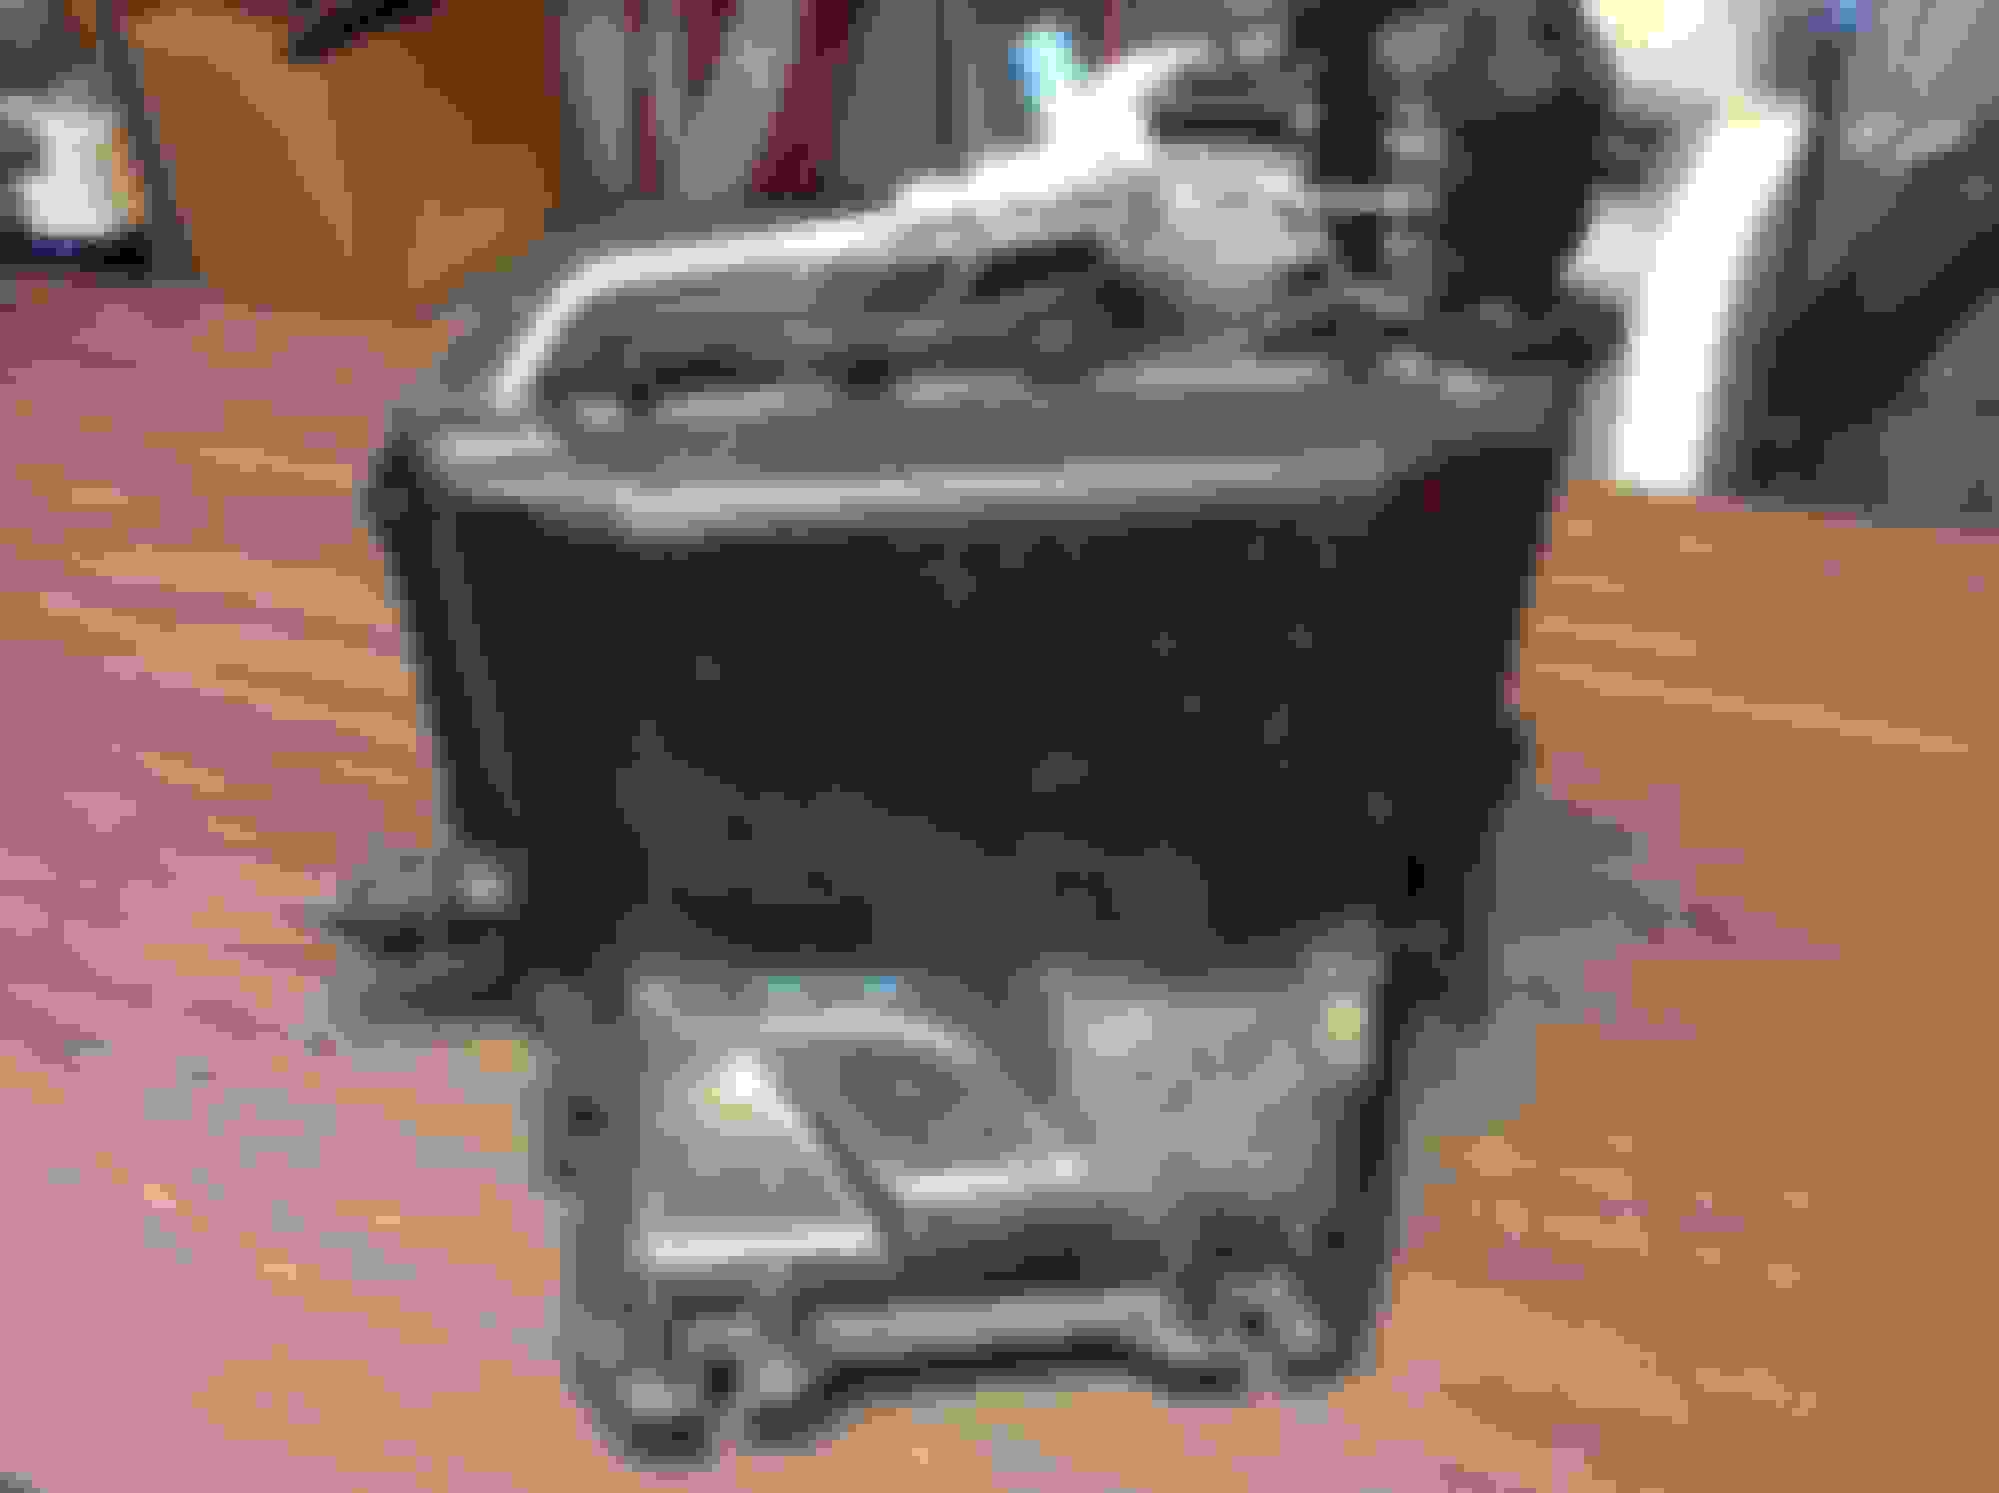
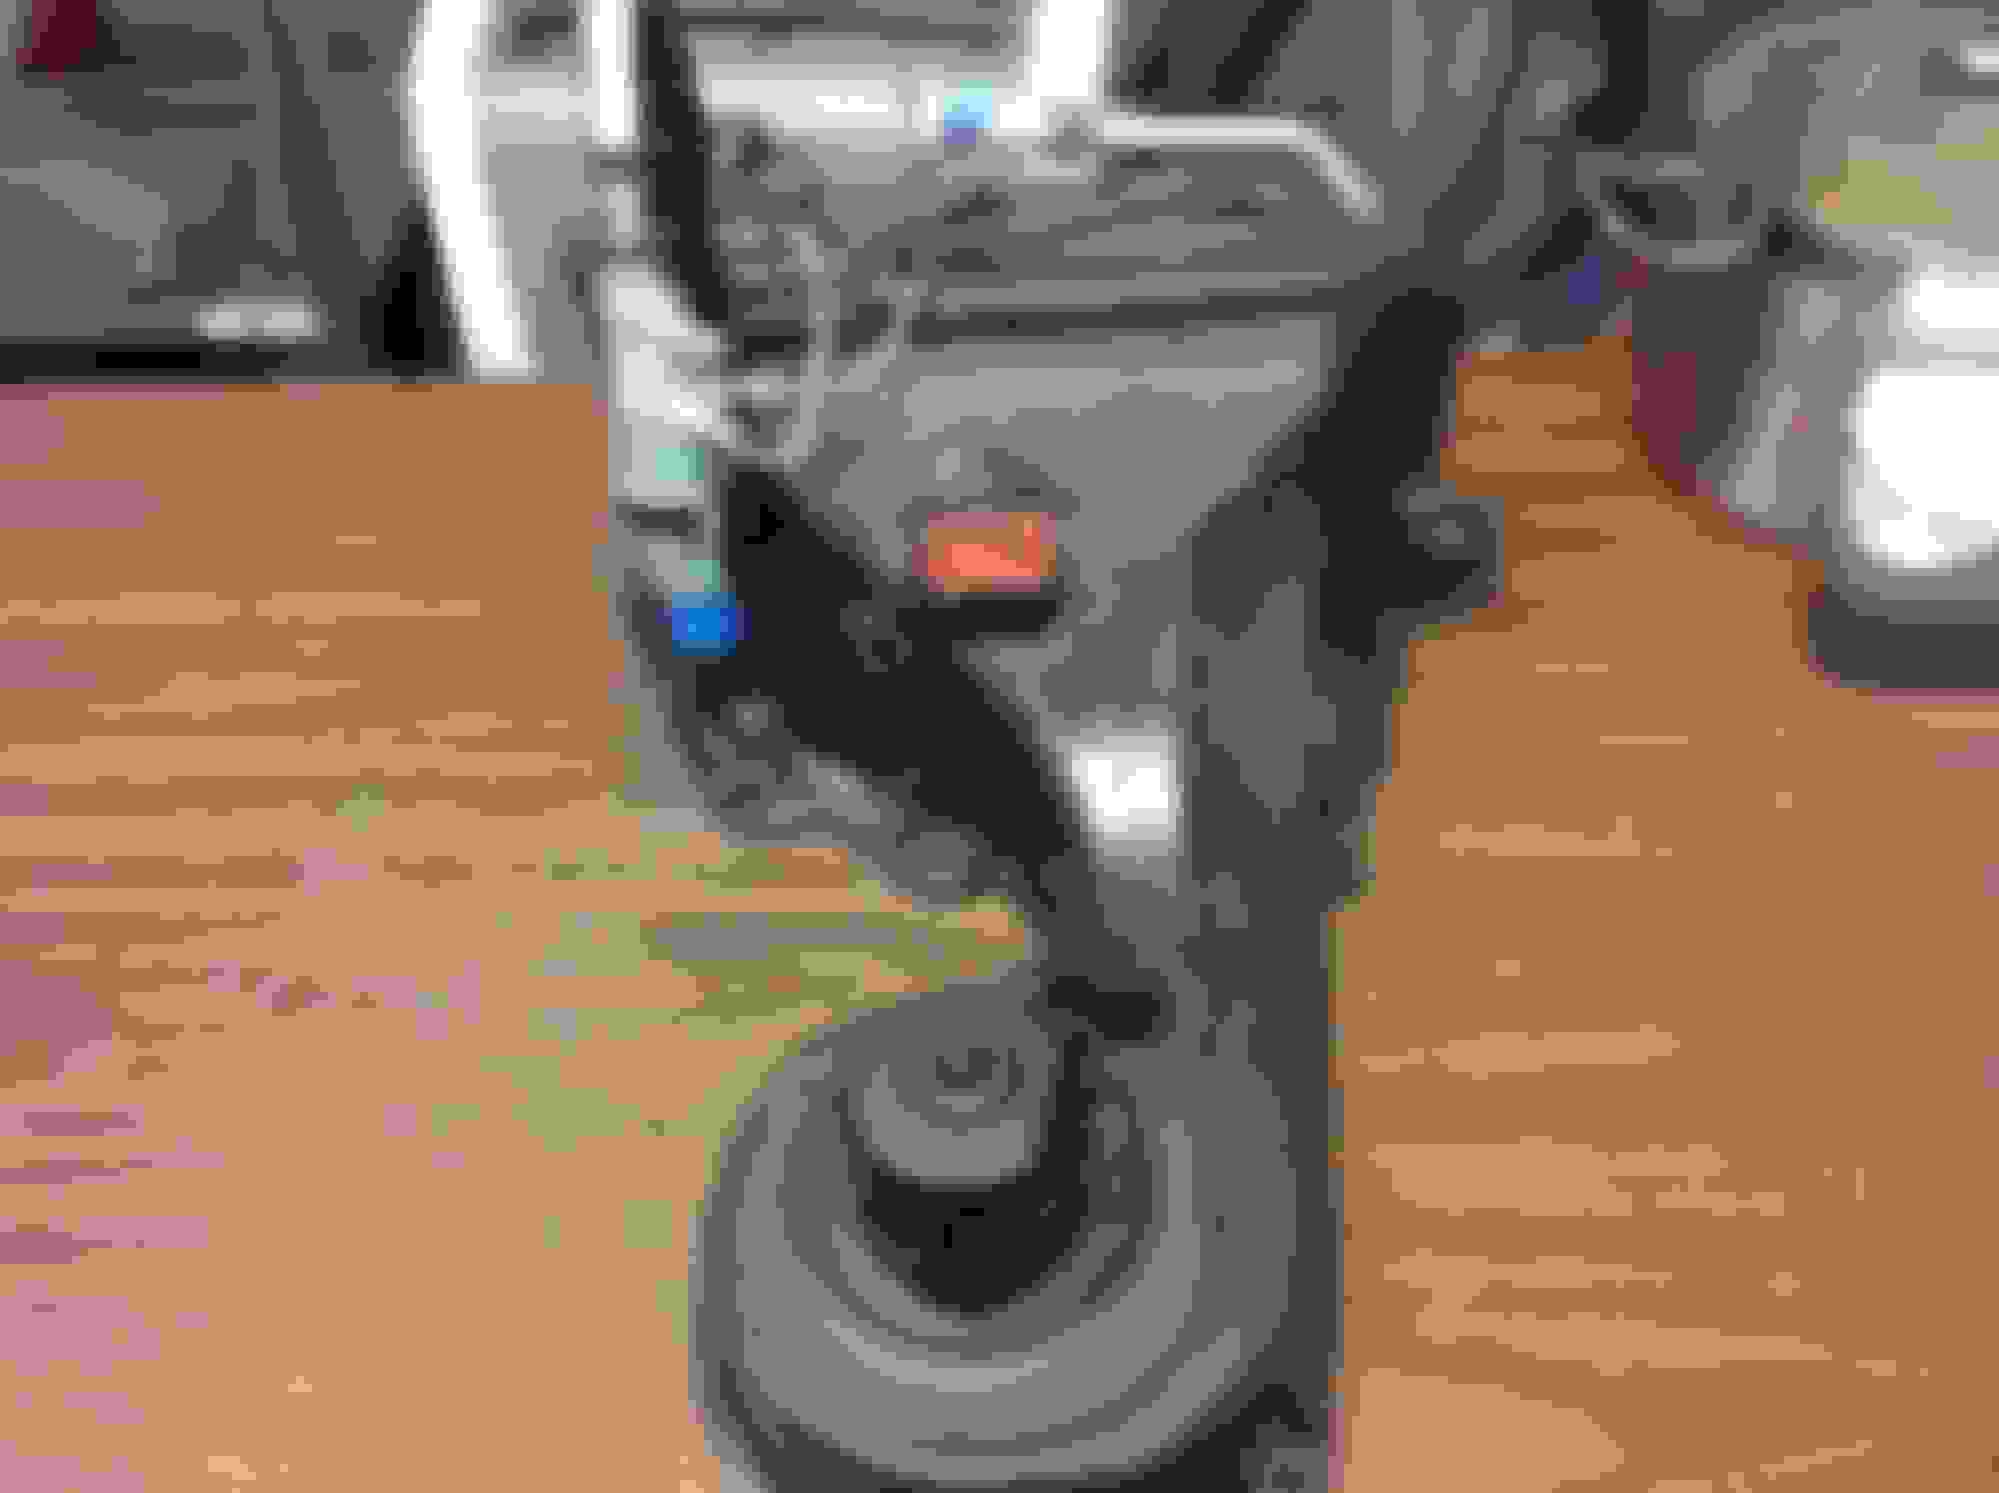
Kick panel vent assembly - I have never worked on one, but this part needed work. The servo had a ruptured diaphragm, and I got a replacement from Oldspackrat. I wirewheeled the back of the new servo, lightly sanded the plastic front part and painted with an unusual color I had, sanded down the metal brace, replaced the hardware, cleaned the housing to within an inch of it's life and then painted it with Krylon Fusion semi gloss plastic paint.
Original fender peak gaskets - cleaned these original parts since I had the originals re chromed
A pillar trim - the fish eyeing problem I had yesterday was due to operator error - I must have laid it on too thick. Resanded them, and shot with the VHT epoxy paint and they came out very well.
Also completely diassembled the heater core and housing assy. Another component full of blasting media, and it is going to need everything refinished, but it should be OK.
Last edited by costpenn; October 1st, 2018 at 06:24 PM.
Like previously mentioned, yesterday I diassembled the heater core unit. I put all the hardware and linkages in Evapo, and soaked the case in Simple Green. Today I got it completed with the following actions:
Refinished the vac. servos with Silver Cad
Cleaned and painted the heater frame with Clear Zinc
Cleaned and painted the sheet metal shroud with Silver Cad
Wiped off all the hardware soaking in Evapo
Deep cleaned and waxed the fiber case 3X with Meguiars Carnuba
Detailled some parts not removed from the case with Dremel wire wheel
Stripped and refinished the heater core retaining straps
Repaired a broken mount hole in the case
Reassembled the unit
Also, I don't know how many times I am going to make this mistake, but trying to install a aluminum aftermarket heater core is a maddening experience. The inlet/outlet tube locations are not close, and trying to adjust them Is a scary experience. I closely looked over the unit that came out of the case - a copper American built unit installed sometime around 2006. It looks great with no corrosion, so I cleaned her up and reinstalled. it.
That really looks amazing. It will truly look new off the assembly line when it is all put together in the car. Your attention to detail is inspiring. I'm gonna need one of those MAW hats.
Another unit done. We had sourced a excellent replacement housing from 70Post since the one in the car was incorrect. He furnished it complete with all the correct clamps and fasteners making my job a lot easier. I cleaned the case one more time, installed the Classic Air rebuilt core, used strip caulk to seal the case halves, installed the rebuilt POA and expansion valves, mounted the blower motor & squirrel cage (I did not forget the ground wire!) tightened everything up and done. The blower resistor is incorrect - the terminals are not correctly oriented - will have to get one.
I ran into the blower resistor problem while redoing my a/c earlier this summer. The top terminal was loose on mine & I was going to replace it, luckily I was able spread the little tabs on the terminal & it tightened up enough to get the connector back on without pushing back in. Supercars has the correct one, it's even red! Most of the replacements are black.
Another component done, but more unusable parts identified (4 hours yesterday, 2 hours today)
David bought a "restored" tilt column for this car a while back, and yesterday I started detailing it to get it up to the level of the rest if the car. (It's interesting what people consider "restored").
Sanded and painted the lower tube with the VHT epoxy after detailing out the lower end - sanding the backdrive crank, cleaning/refinishing end cap & retainer. Painted the interior tube with Duplicolor Semi gloss for a little contrast with the lower tube. The turn switch in it is a Delco and looks in excellent shape do I cleaned it well and left it in. I added the missing M/T reverse lamp switch, installed a repo emergency flasher **** and tilt stalk. Going to wait till I get out the dash harness to see what the terminal connectors need to look like before installing the ignition switch. The repo switch I bought has a terminal pattern significantly different tthan the one that came out of this column. Installed the lock cylinder that came out of David's old column and installed the mounting bracket. Will install the turn signal switch, horn button & lockplate after it is mounted in the car.
Next attempted to move onto the main dash bezel and glove box door. Again, I did not take a close look at these parts when I removed them thinking they would need a simple cleaning, repainting of the raised rails, and installation of new woodgrain.
Wrong. List of problems with the existing pieces:
1) Both parts previously painted. Looks way too flat.
2) Smooth cove area around gauges very discolored and deeply scratched
3) Major crack & break at the instrument mounting area with a mounting boss broken off
4) Glove box lock broken - took awhile to figure out how to remove it
5) Glove box back is incorrect - it is a 71 or 72 unit.
6) Final straw - the ash tray door is cracked.
Got Oldspackrat on the job looking for this and some other parts.
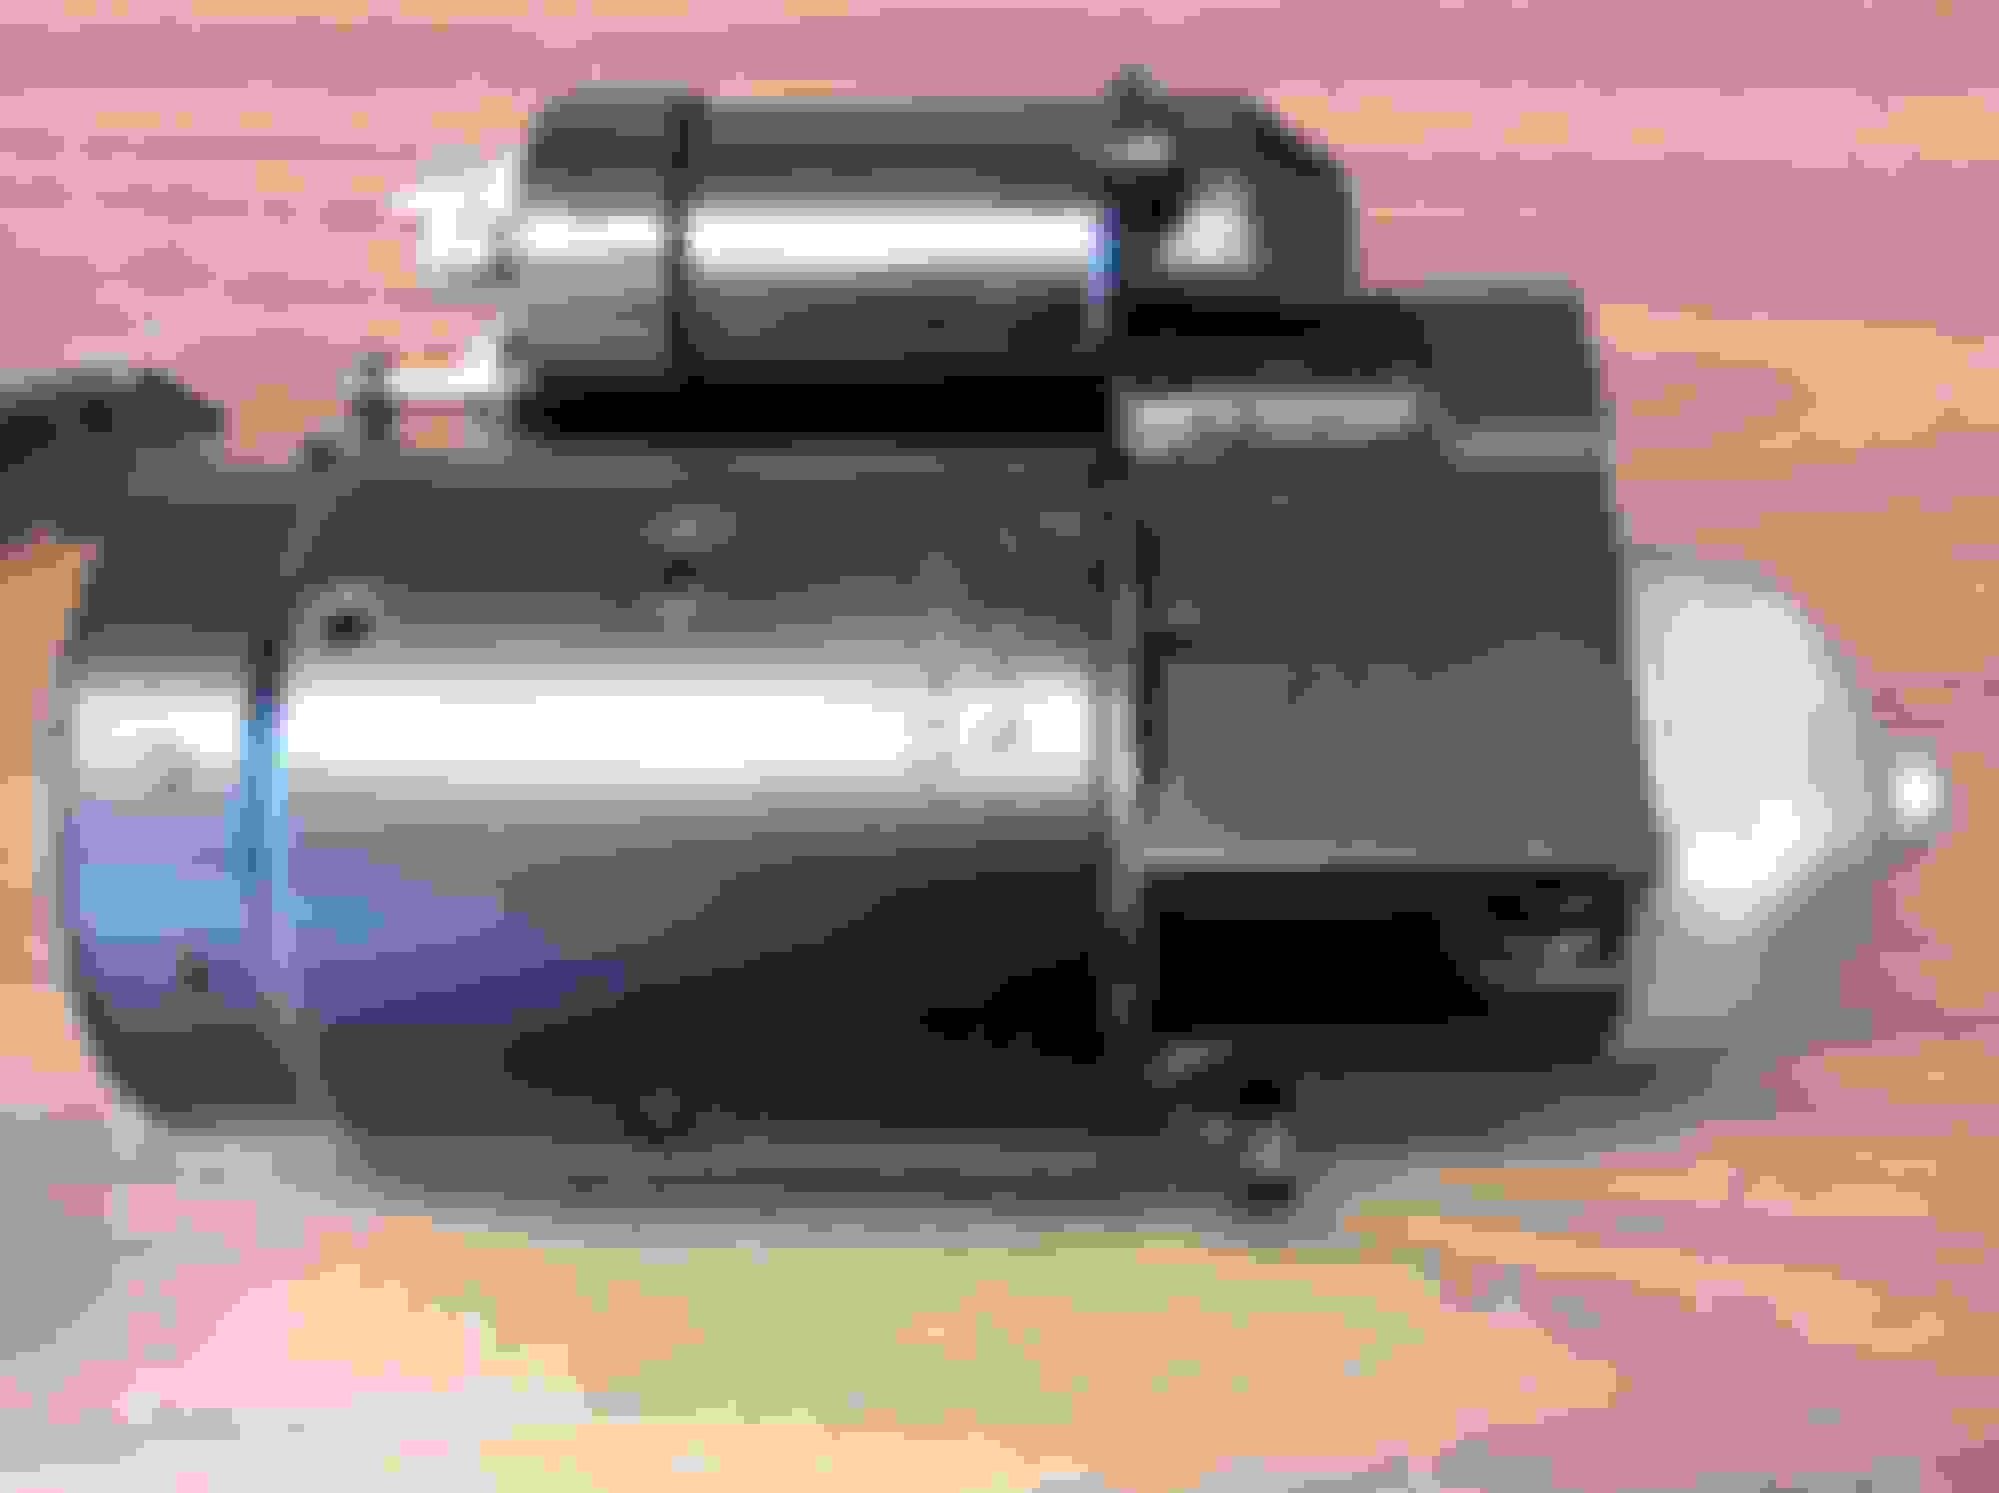
Tomorrow will paint the 1108339 starter David picked up
for it along with the last of the parts to be refinished.
Also, go see A Star Is Born. Bradley Cooper and Lady Gaga are simply unbelievable.
Last edited by costpenn; October 7th, 2018 at 09:15 PM.
Somehow these items wound up towards the end of the parts refinishing phase:
1) Gas tank straps - I think these are originals. We're bead blasted, sanded with 400 and shot with Clear ZInc
2) Accelerator bell crank and secondary hood release - Zinc Phosphate
3) Hood catch - removed the three springs, Detailled them, painted body with Zinc Phosphate and reassembled
4) 455 battery spacer - Carbon mist paint
5) Clutch & brake pedal refinishing - Detail gray and VHT black satin epoxy - detallied the pivots etc...
Also it started raining so painting was halted. Prepped the starter and straightened the condenser brackets that had been bent during blasting.
Another piece I added to the Scott list - a good glove box hinge. This one is bent and deeply pitted.
Last (?) of the major parts refinishing done (3 hours)
Finally stopped raining, so I finished the starter off by painting with the VHT Epoxy. Really like the way this paint flows. I don't think the old controversy of how the OE starter was painted has ever been resolved, so I went with the way new AC Delco starters were finished when I was in the auto parts biz in the '80's.
Reassembled the P/S pump assy. I wound up repainting this reman unit since it looked like butt out of the box. Installed a correctly finished cap and left the pulley nut bare. Pulley in the Ford Semi gloss, body in VHT satin, and brackets are powder coated.
Two more misc parts - condenser brackets and breathers. The brackets I has straightened, but despite some vigorous sanding still had a fair amount of pitting showing. Painted with the usuall suspects but looked awful. I sanded them once more and then tried a paint I haven't used - a VHT "case" paint. This has a gloss somewhere between semi flat and satin - maybe the sanding also helped, but this paint did the trick in minimizing the visible pitting. Breathers are original units from my stash that soaked in carb cleaner and were then rinsed out with Brake Kleen. Stripped and painted with Ford Semi gloss.
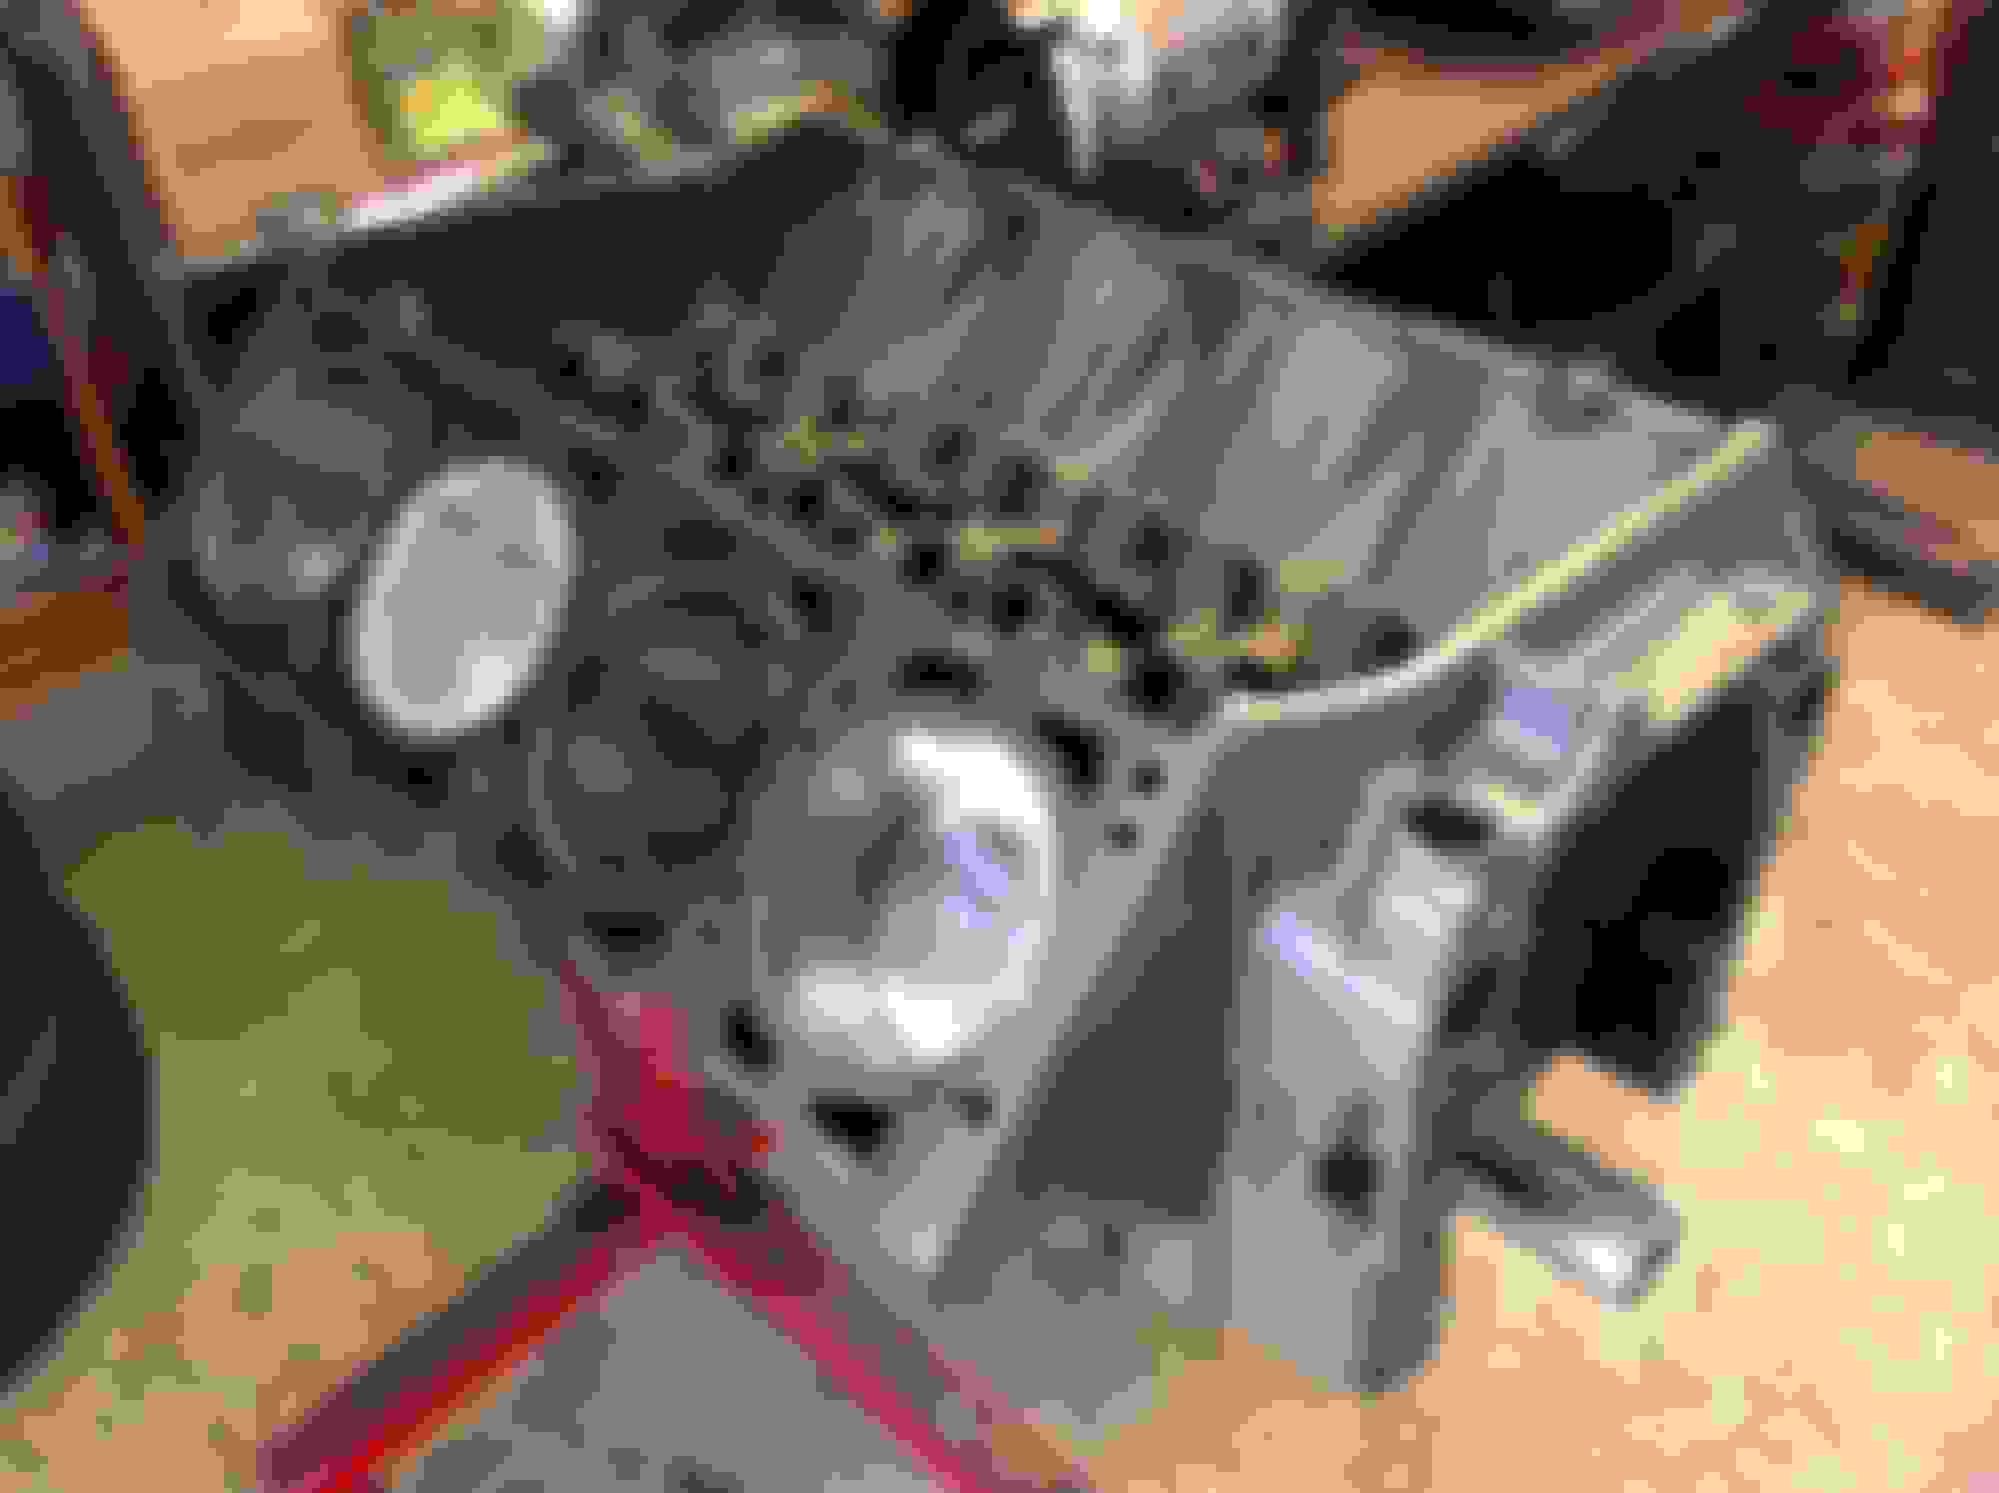
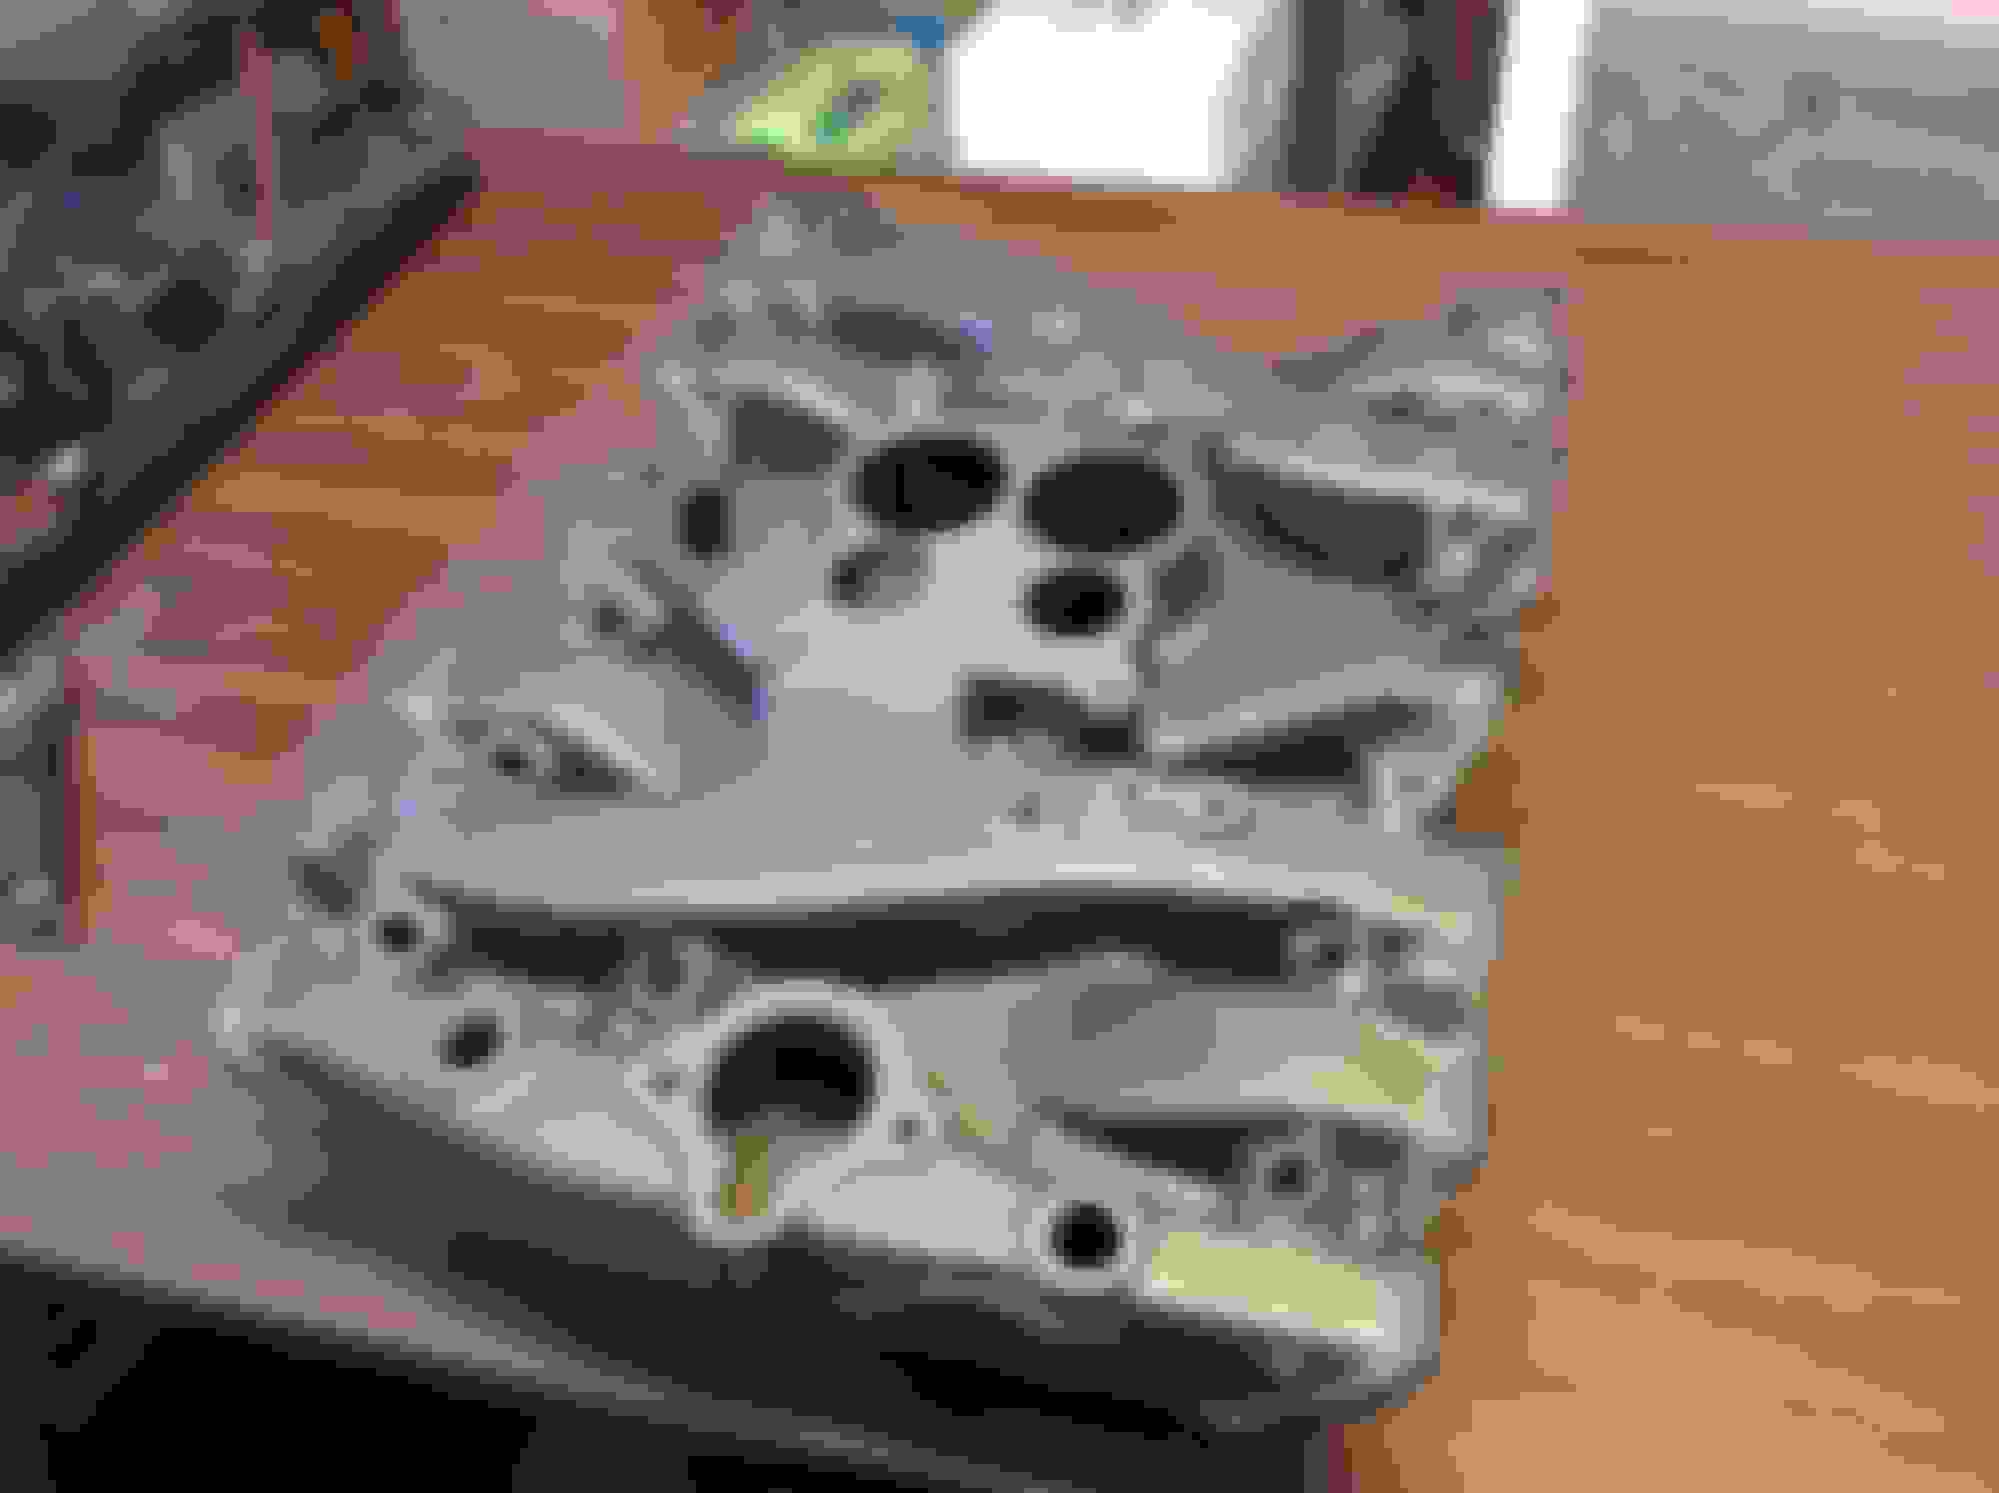
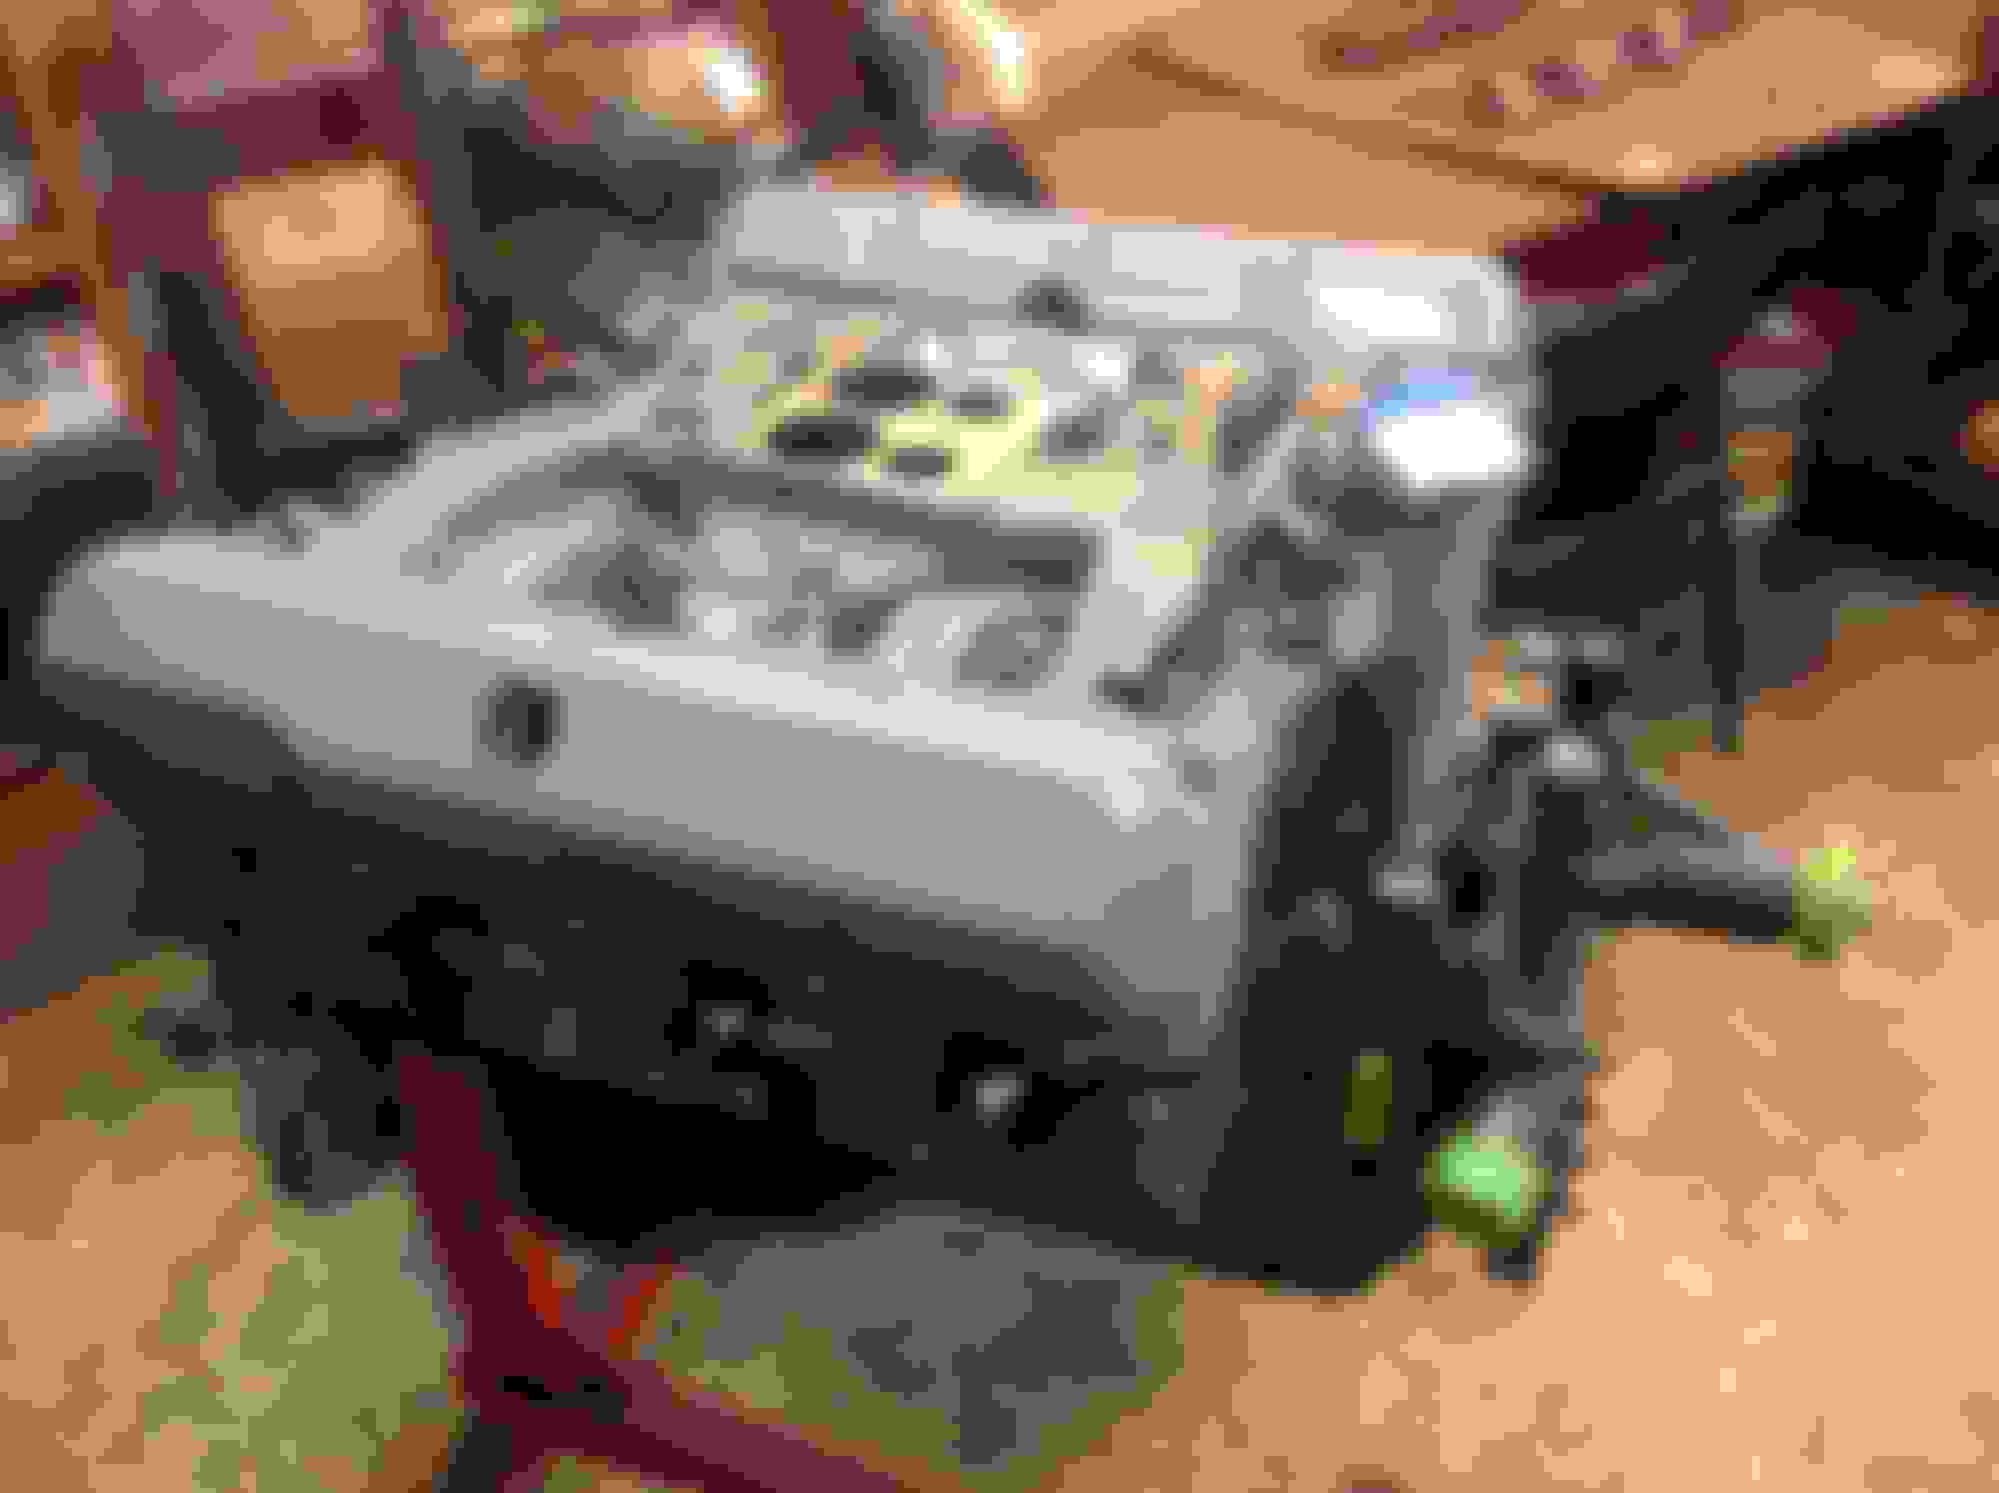
Yay - engine back from machine shop. Block was cleaned, crank polished with new bearings (was good at the size - .010 mains, .020 rods it was already cut at) and new pilot bearing installed. Offset lip Ford 460 seal installed, #7 cylinder sleeved and bored to.060, other cylinders honed out OK, new rings, reused Mondello rods and pistons that were in it. New cam bearings and brass exp. plugs installed. Intake was also blasted and came out very crisp and ready for paint. Lamp refurbishing on hold until engine & trans are installed in the chassis.
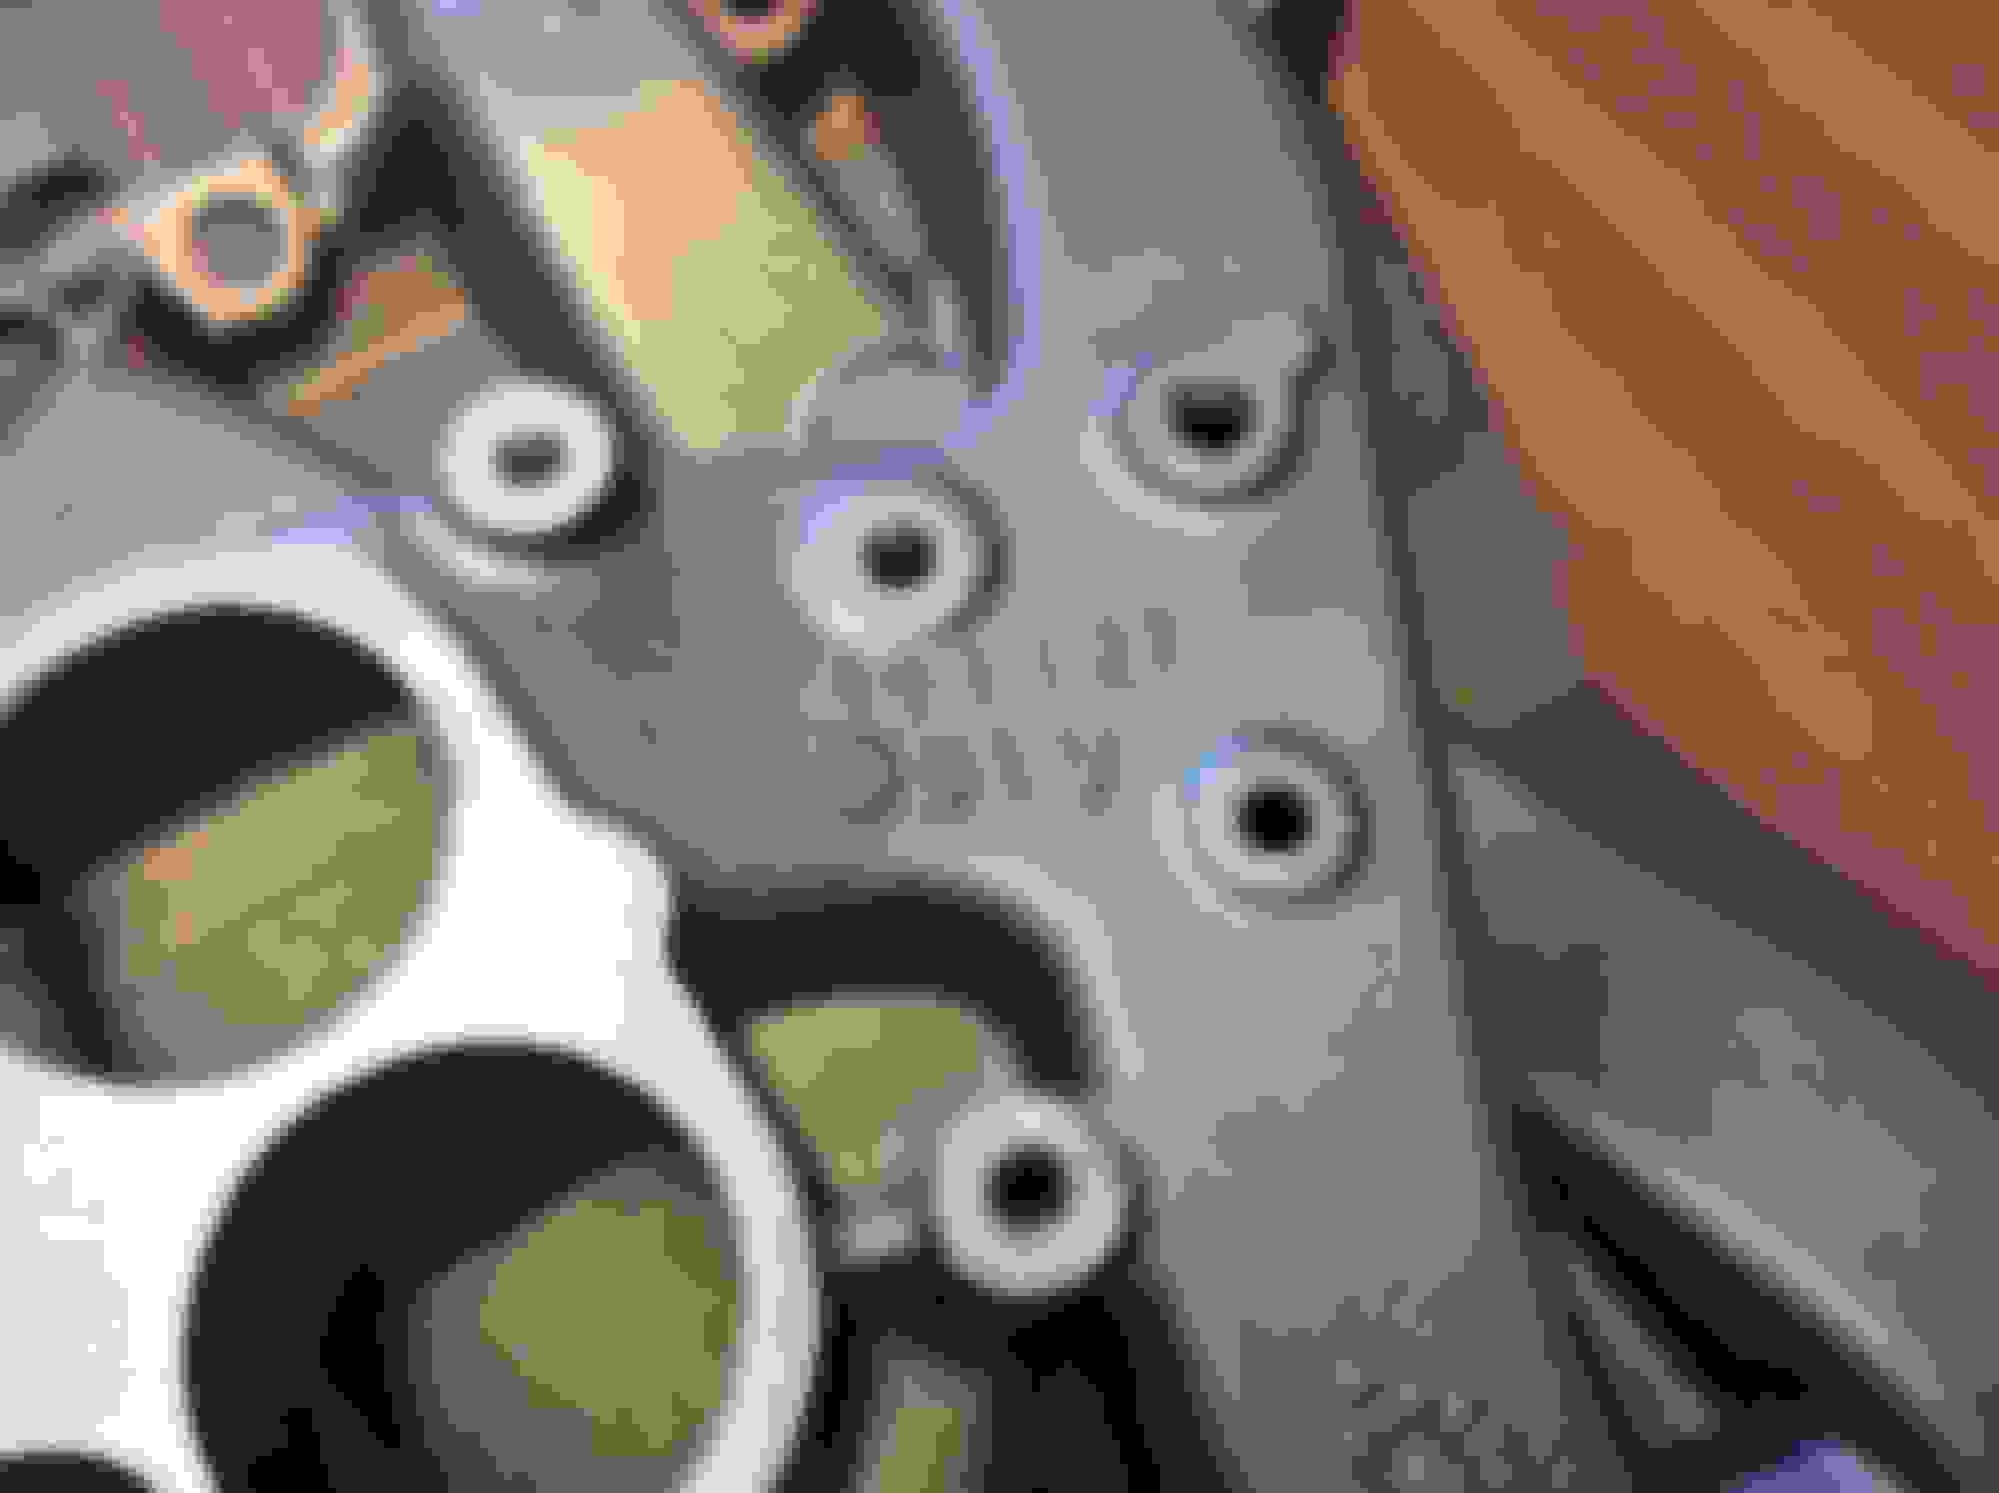
Above - photo documenting numbers matching VIN derivative on block. Interesting how it looks like the last digit looks like it has been overstruck. The frame VIN below the door is one digit off from the VIN on the dash. 123301 vs 123302
Last edited by costpenn; October 11th, 2018 at 11:39 PM.
Great build as always. When you get parts to the point where there are minimal pits showing, have you ever tried any of the filler primers on the market to help hide them?
Great build as always. When you get parts to the point where there are minimal pits showing, have you ever tried any of the filler primers on the market to help hide them?
Randy, I have tried with mixed results. Someday, I'm going to practice after first getting the patience necessary to do bodywork!
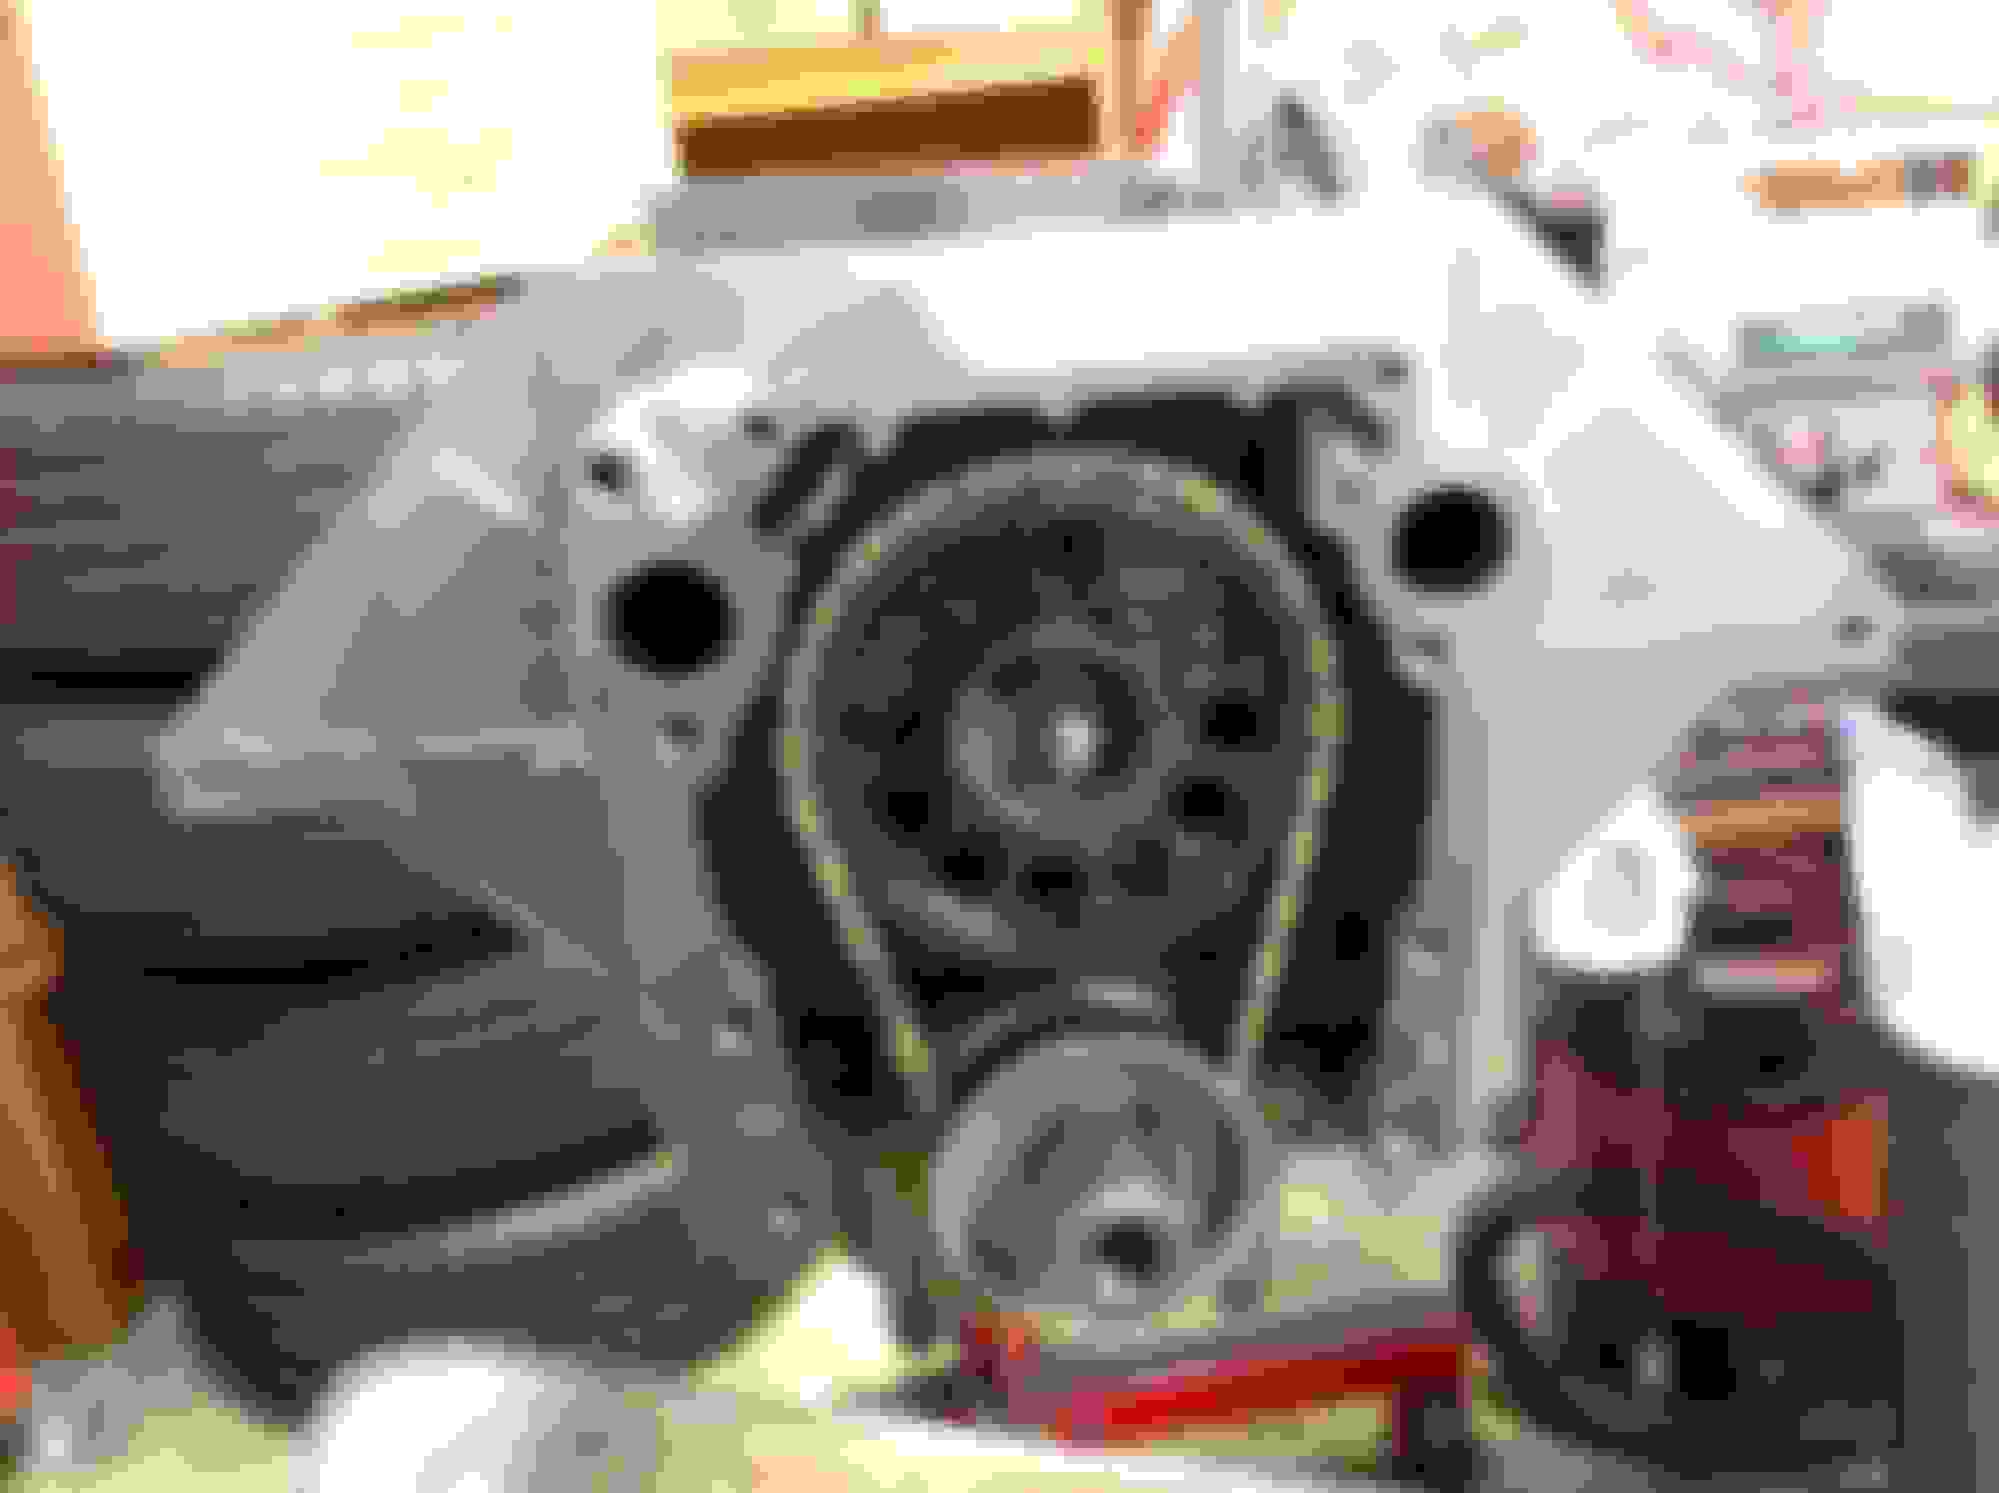
Yesterday I laid in the camshaft. Since I was out of the 406768 442 4 speed camshafts I had made a while back, I used a 409328 I also had reproduced. It is the exact same bring as a 406768, but just 1 degree retarded. Turns out the double true roller timing set that was on the motor was in excellent shape, so I reinstalled it using the 2 degree advanced dowel pin position. Chris threw the combo with the extra net 1 degree advance on the computer calculator, and it adds about 5 hp. Can't wait to hear that 62 degree overlap through the Gardner system with those Mondello slugs in it.
Installed the timing cover and mounted the timing mark and water pump. Of course, was doing the final torquing and two of those 1/4- 20 bolts stripped out in the timing cover - after I thought they had cleaned up well when I ran a tap through them.
This morning, took some advice found here on CO and bought a 7mm-100 tap and 4 7-100 30 mm bolts. Repair went perfectly - think I am going to do this on all future engines since those small bolts are always on the cusp of being a problem.
Also installed the Thorton oil pan. Another item that works like it should
Forgot to source the lifter valley stamped steel splash shield. This motor did not have one in it, and also the engine rebuilder must have kept the harmonic balancer bolt.
Did you ever end up CC-ing those pistons, heads, and calculate the actual compression? Combined with a stock cam, it's gonna be an expensive fuel bill to keep it from rattling, particularly with the cam advanced, though 1 degree is pretty negligible. The old JM 3-4 was helping keep that compression in check. Having an A/C car that will run hot makes matters worse.
Did you ever end up CC-ing those pistons, heads, and calculate the actual compression? Combined with a stock cam, it's gonna be an expensive fuel bill to keep it from rattling, particularly with the cam advanced, though 1 degree is pretty negligible. The old JM 3-4 was helping keep that compression in check. Having an A/C car that will run hot makes matters worse.
Luke, those pistons are down .040 in the hole. I calculated it at about 10.3 to 1. When I first looked at it I thought it was going to be 12 to1 or more, but that .040 makes a huge difference! (Also head chambers are 80cc)
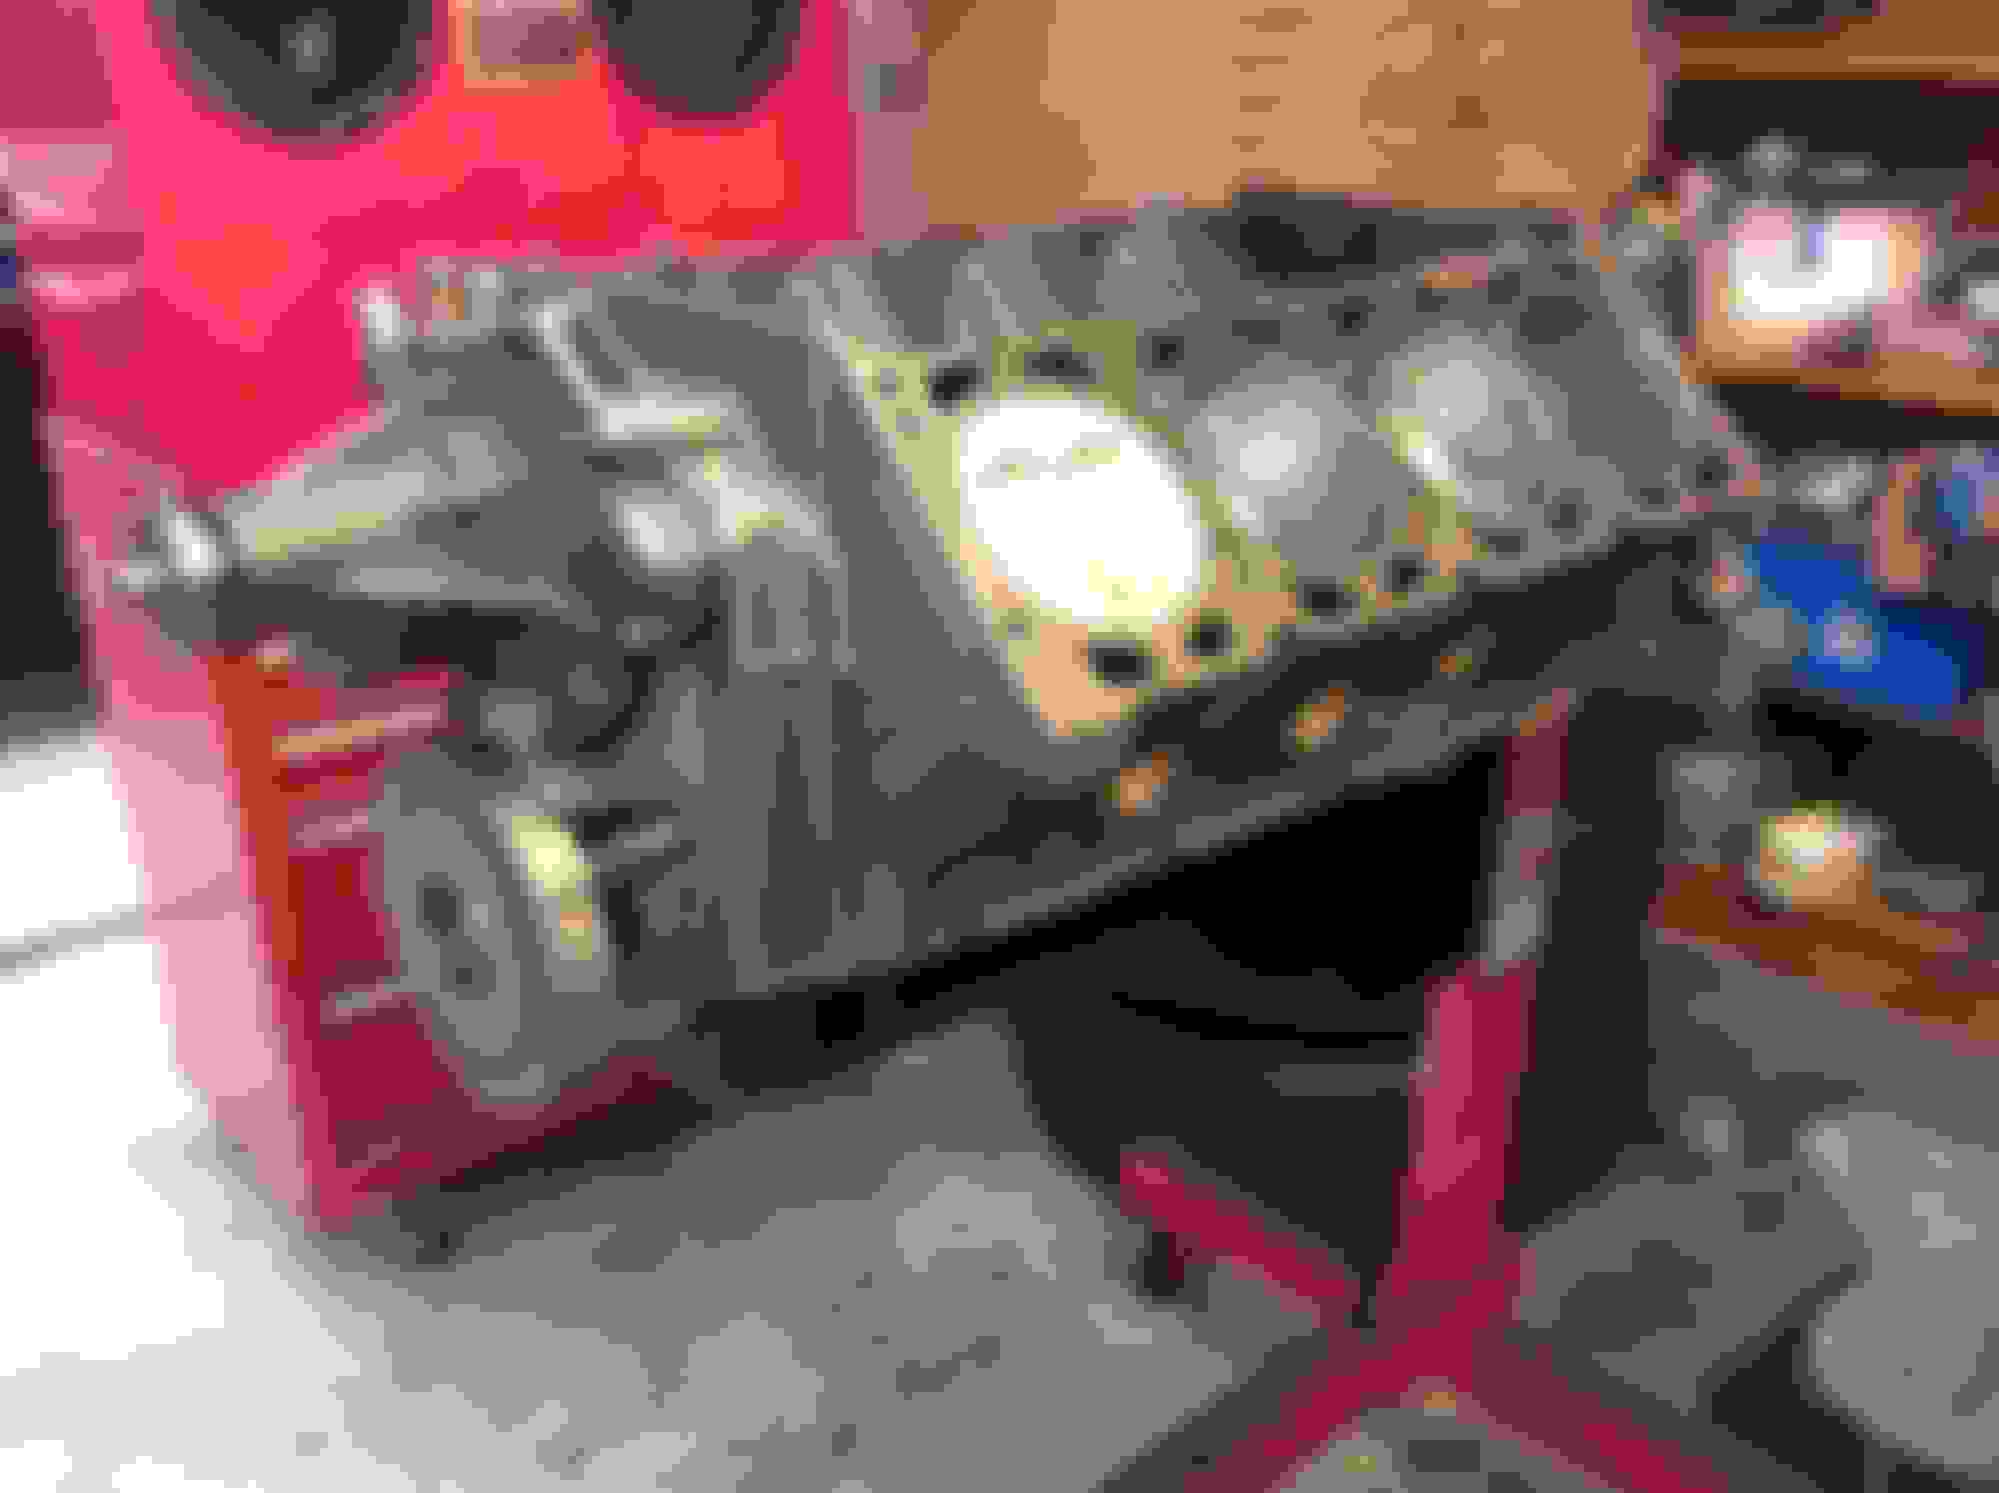
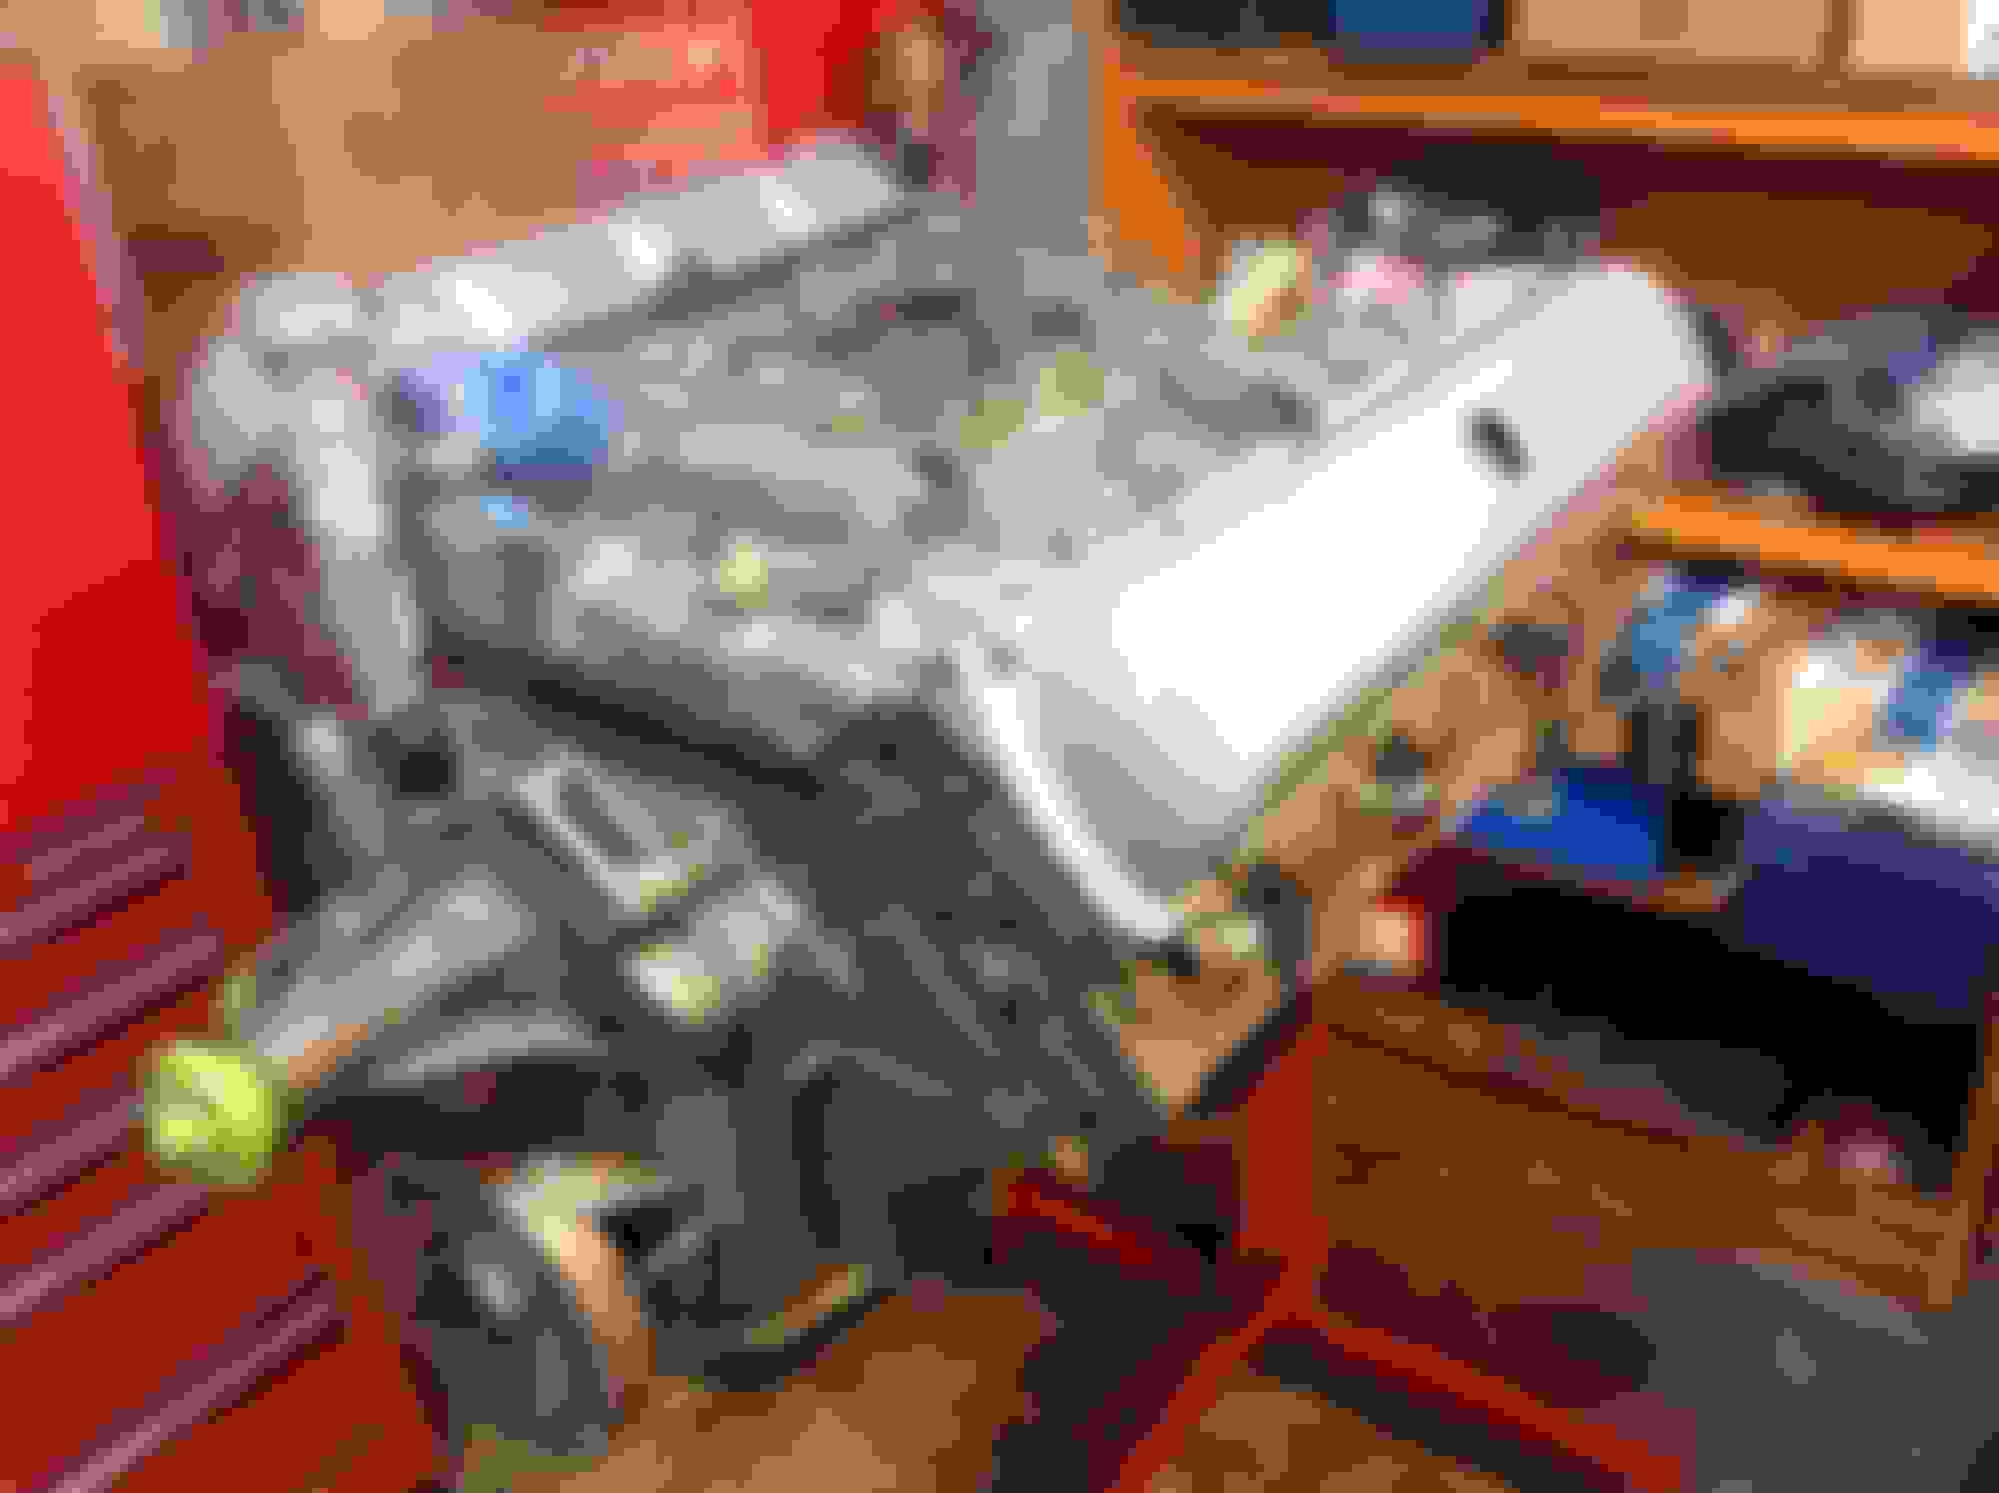
After first running a tap down every hole visible, I spent sometime masking off and plugging up holes or things that don't need to be painted. Also assembled everything possible on the intake prior to installation on the motor. Found a good "5" water neck, correct OE spade type temp sender and PVS to install. Note - always run a tap down the alternator and AC bracket mount holes on the intake since I always find one or the other have messed up threads - not sure why.
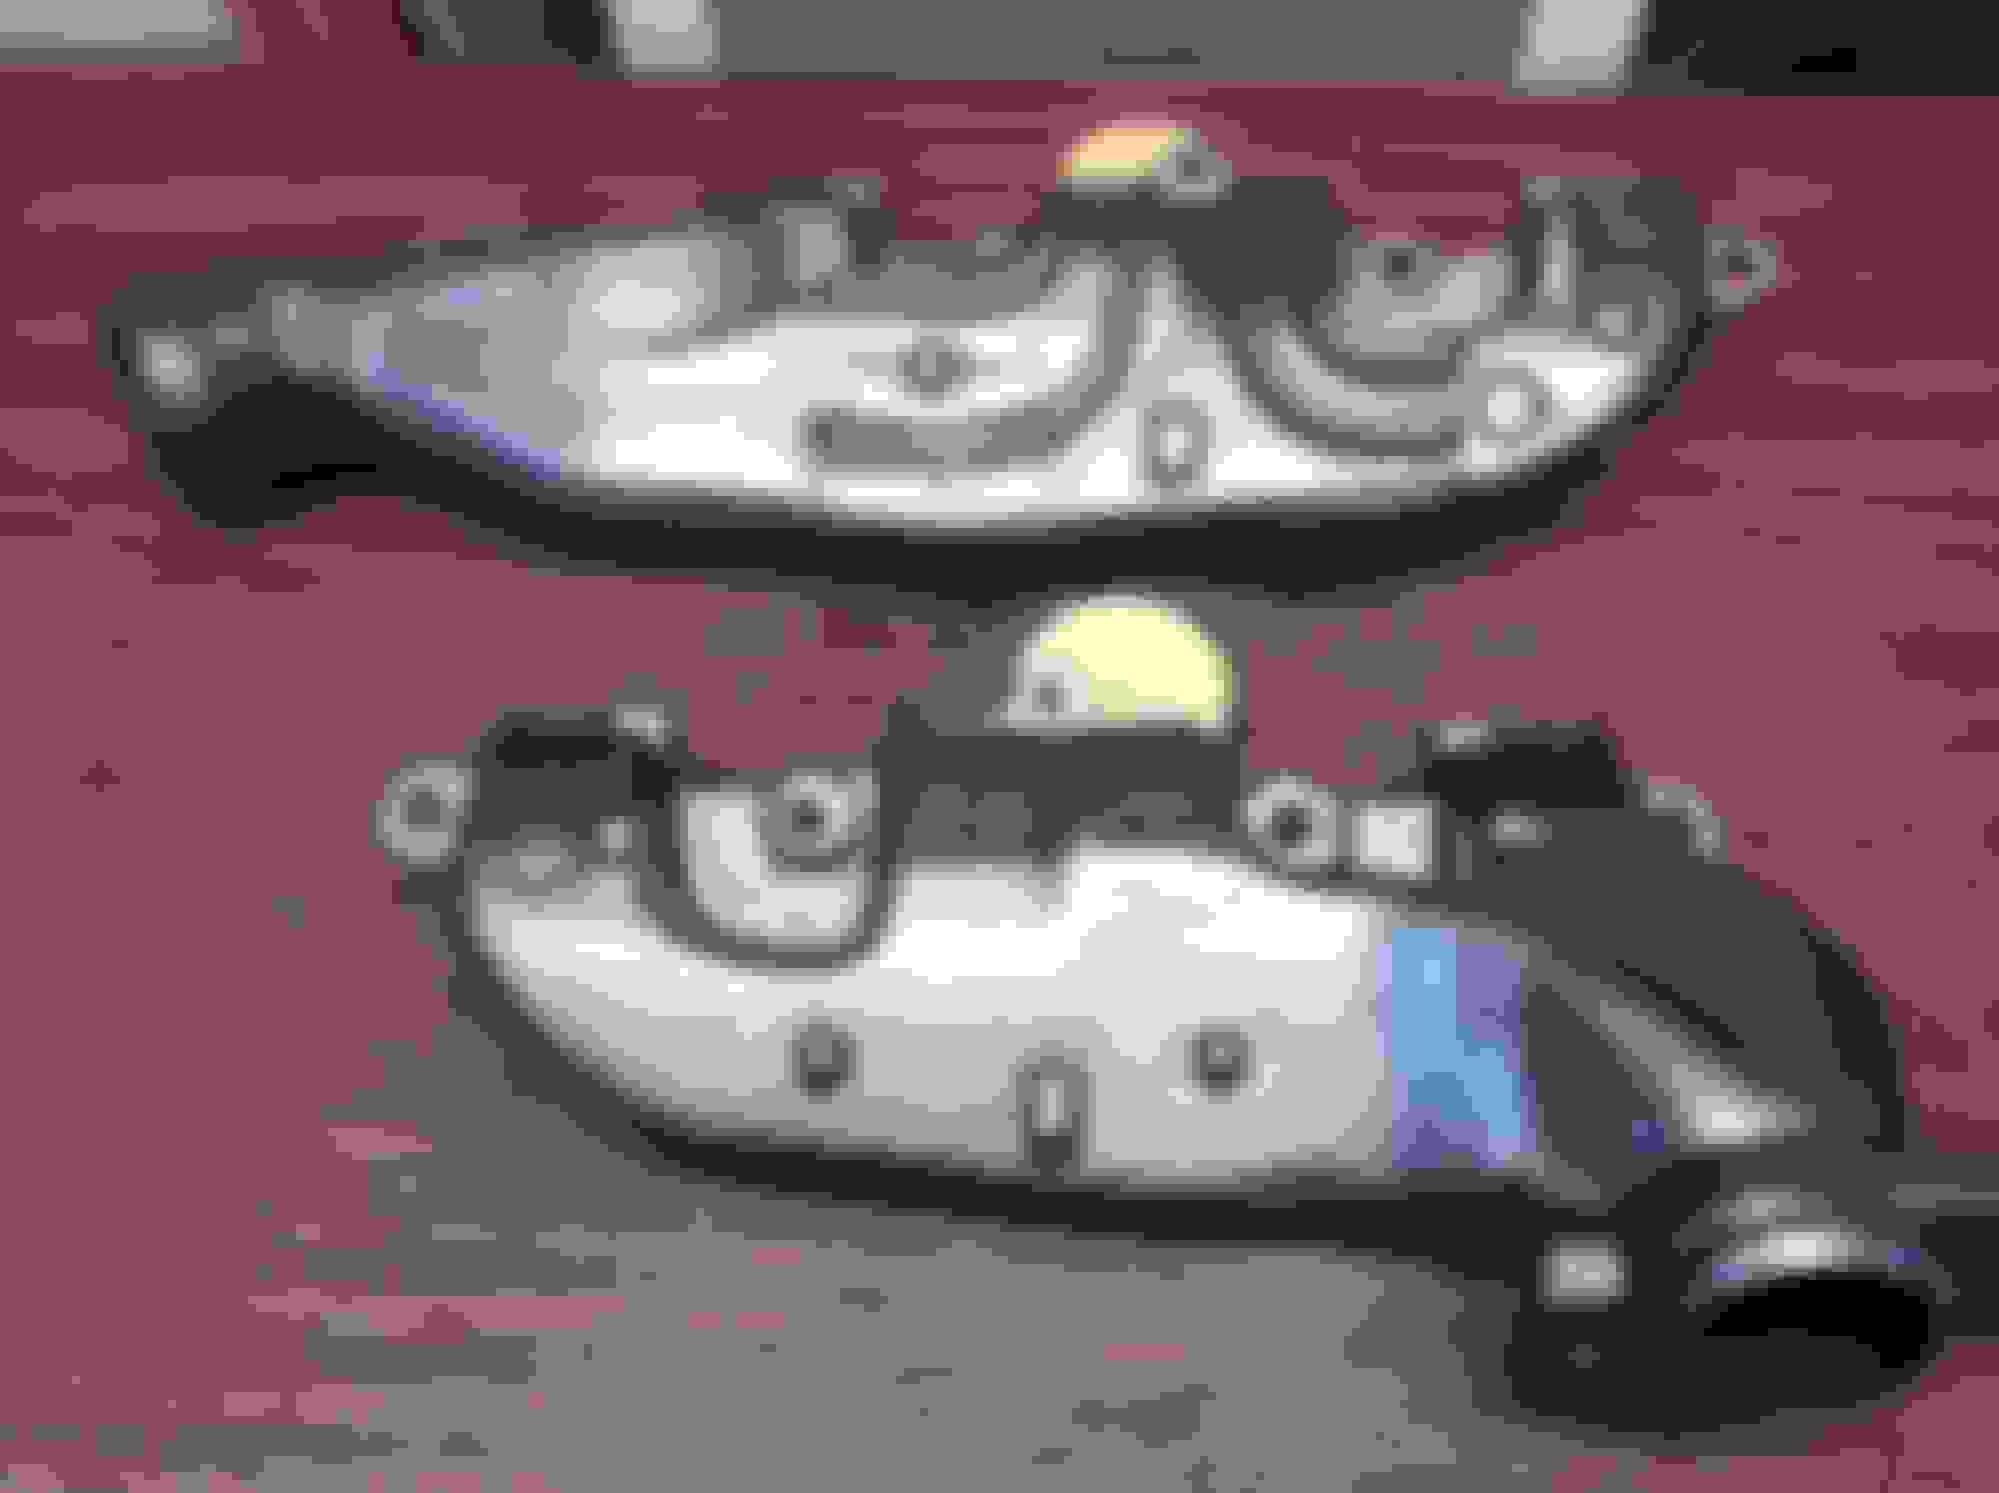
Also I have a good Z exhaust manifold I was prepping to coat with the Eastwood's. It has almost zero visible pitting, but thought I'd check for mounting surface straightness. Surprise, no actually no surprise, #2 port has a .008 gap on the half towards the rear, and #8 has about the same towards the front. Will have have Chris chuck it up on the Bridgeport and get it straight. Maybe the gasket might seal it as is, but don't want to take a chance. No wonder these motors are known for manifold leaks.
Luke, those pistons are down .040 in the hole. I calculated it at about 10.3 to 1. When I first looked at it I thought it was going to be 12 to1 or more, but that .040 makes a huge difference! (Also head chambers are 80cc)
I believe it... I guessed it was going to be around 10.4. For reference, mine is 10.6:1... with the 308 cam and 160* tstat, I am mixing leaded race gas with 93 pump gas. It would be fine on pump gas on the days it runs 160-165, but stuck in traffic on a blazing day, and it hits 200*F (and it surged to 220F at one point), I like the insurance. What are the 0.050 numbers on the 409328?
Looks like she's in pretty decent shape, the bright side is they can always be fixed.I cant wait to see the process. A good welder should be able to repair the frame and keep it safe. I did the front frame on my Camaro. It was nice when it was done. Good luck with it!!
I believe it... I guessed it was going to be around 10.4. For reference, mine is 10.6:1... with the 308 cam and 160* tstat, I am mixing leaded race gas with 93 pump gas. It would be fine on pump gas on the days it runs 160-165, but stuck in traffic on a blazing day, and it hits 200*F (and it surged to 220F at one point), I like the insurance. What are the 0.050 numbers on the 409328?
Luke, good info to know. The owner is going to want to run the AC, so the cooling system better be in shape.
On the cam, had the number wrong above - the actual P/N is 409759 - don't know the .050 duration numbers, but advertised is .294/.296, .472 lift and 68 deg. duration. As mentioned, it is virtually the same cam as the 406768 70 442 MT non W-30 cam, but 1 deg. retarded. Karl S. has it in his list as fitting 71-72 "455 4400 ST OAI (W-30)" which I interpret as only fitting MT W-30's since there is yet another cam - 409691 - which fits 71-72 442's MT with or without OAI, or AT with OAI and no AC.
Back from Ontonagon MI. What bautiful country up there on the Keeweenaw Peninsula.
First went to pick up the cylinder heads from the machine shop. The exhaust mounting surface was way too pitted, and I didn't like the assembled valve heights varying .020 from low to high. Took them the Mondello tool and valve tip to tool clearance is now .008-011 across all the valves.
Installed the cyl. heads after a decent application of Permatex Red High Tack. No issues went 40, 65 & 80 ft. Lbs. each by the way of the correct torque sequence.
Installed all new L951X lifters - the special hi po version. Next Installed all new pushrods, new rocker arms and tightened them down to spec - yay, all seem to be doing well tightening up to zero lash correctly.
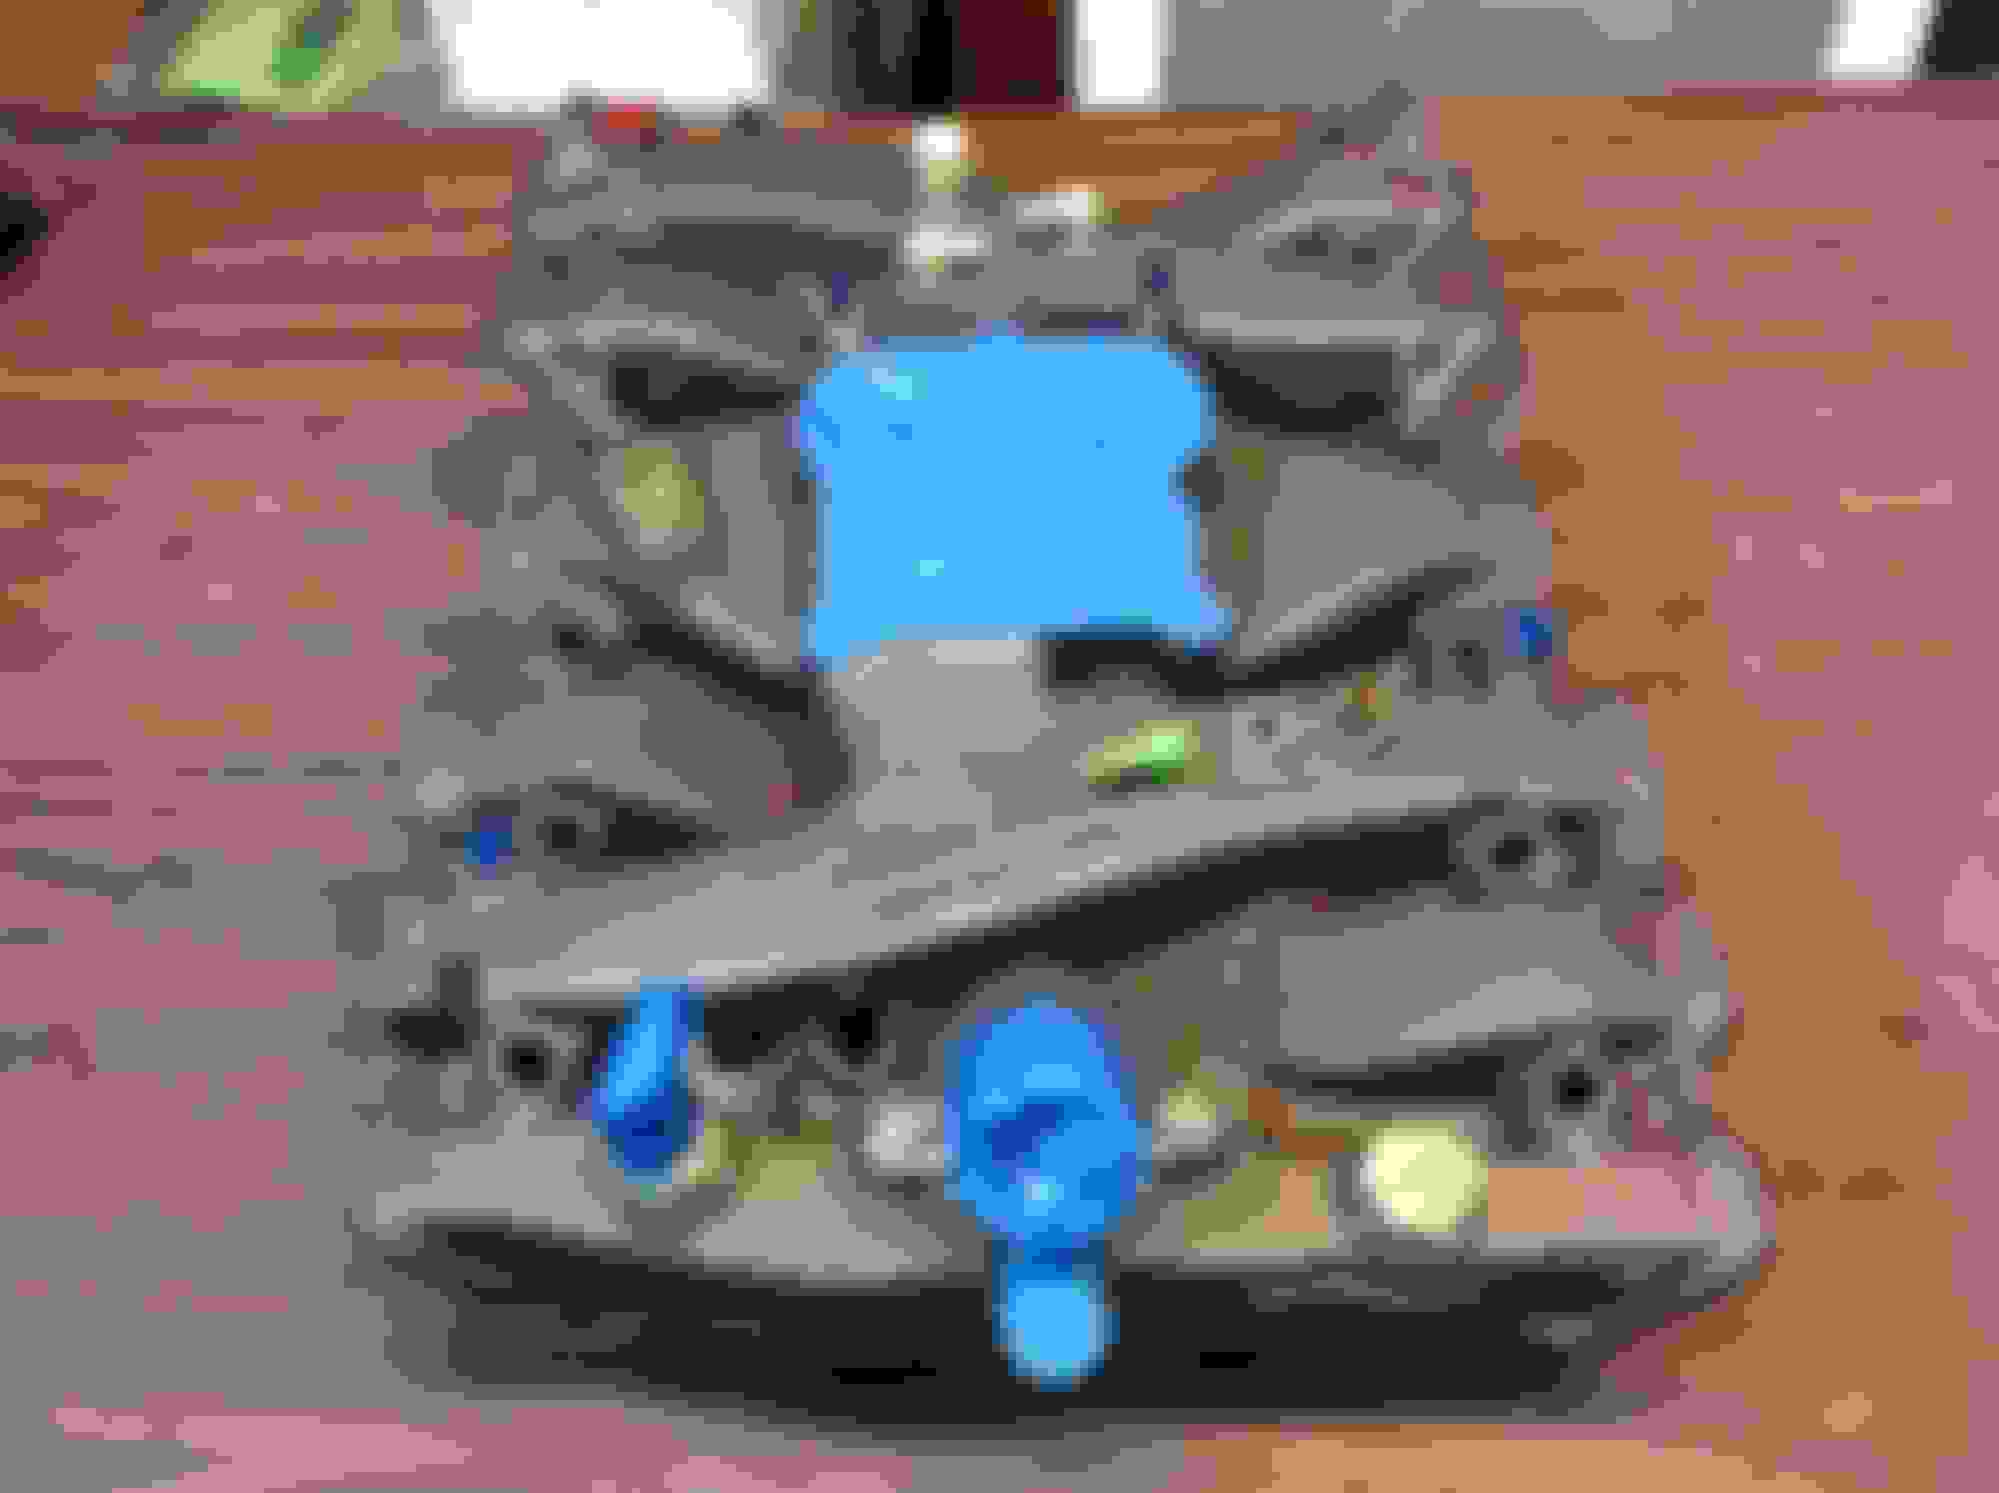
Nest was the dreaded valley pan install. This one actually had the cylinder head locating device in the right spot so the pan actually stayed in place while dropping the manifold down,
installed the new valve covers as well as the OAI hold down spring brackets. Knocked in the oil fill tube and will install the power brake pipe to valve cover bracket and plug the remaining holes to (hopefully) paint this weekend.
Sealed off the last of the bolt holes, scuffed up the new valve covers with some 400 grit so the paint will stick, plugged off the rocker vent holes, installed the MT pos. cable valve cover tabs, and cut out and mounted some cardboard exhaust port covers. Note - to anyone reading this - please help me to remember to keep and not throw out those exhaust port covers after I finish painting. This is the third set I have hand cut. I am going to have to steal the brake booster pipe bracket off one of my other cars to put in this one prior to painting since it was missing, did not have a spare, and forgot to order one.
Evaporusted the brake cage I got from Nick. Afterwards I painted it with a chrome galvanizing paint made by Aerovoe. Interesting finish and the the closest I could find to the little existing plating that remained.
Finally, we have acceptable exhaust manifolds. Took two coats of the Eastwood's "Factory Gray" Coating to make it look OK - first coat looked like butt.
Also, painted the OAI adaptor hold down springs white. The ones that come with the valve cover tabs from TPP are bare.
Will do some more misc. parts tomorrow, then paint engine on Saturday - the weather then should be perfect. Plan is to have engine and tranny in by end of next week to remove the rolling chassis for storage so I can bring my 68 Hurst home to get it ready for MCACN.
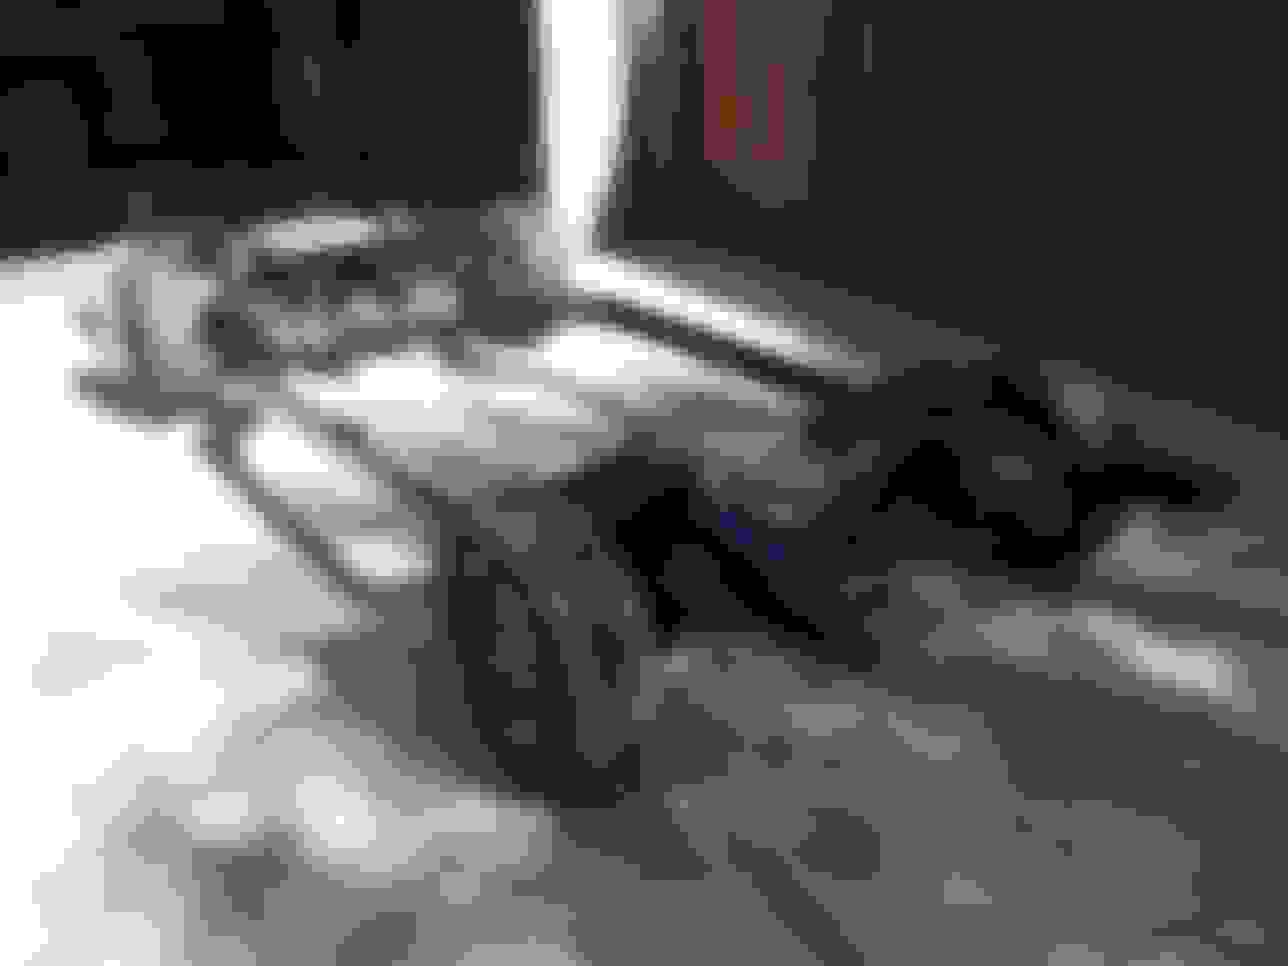
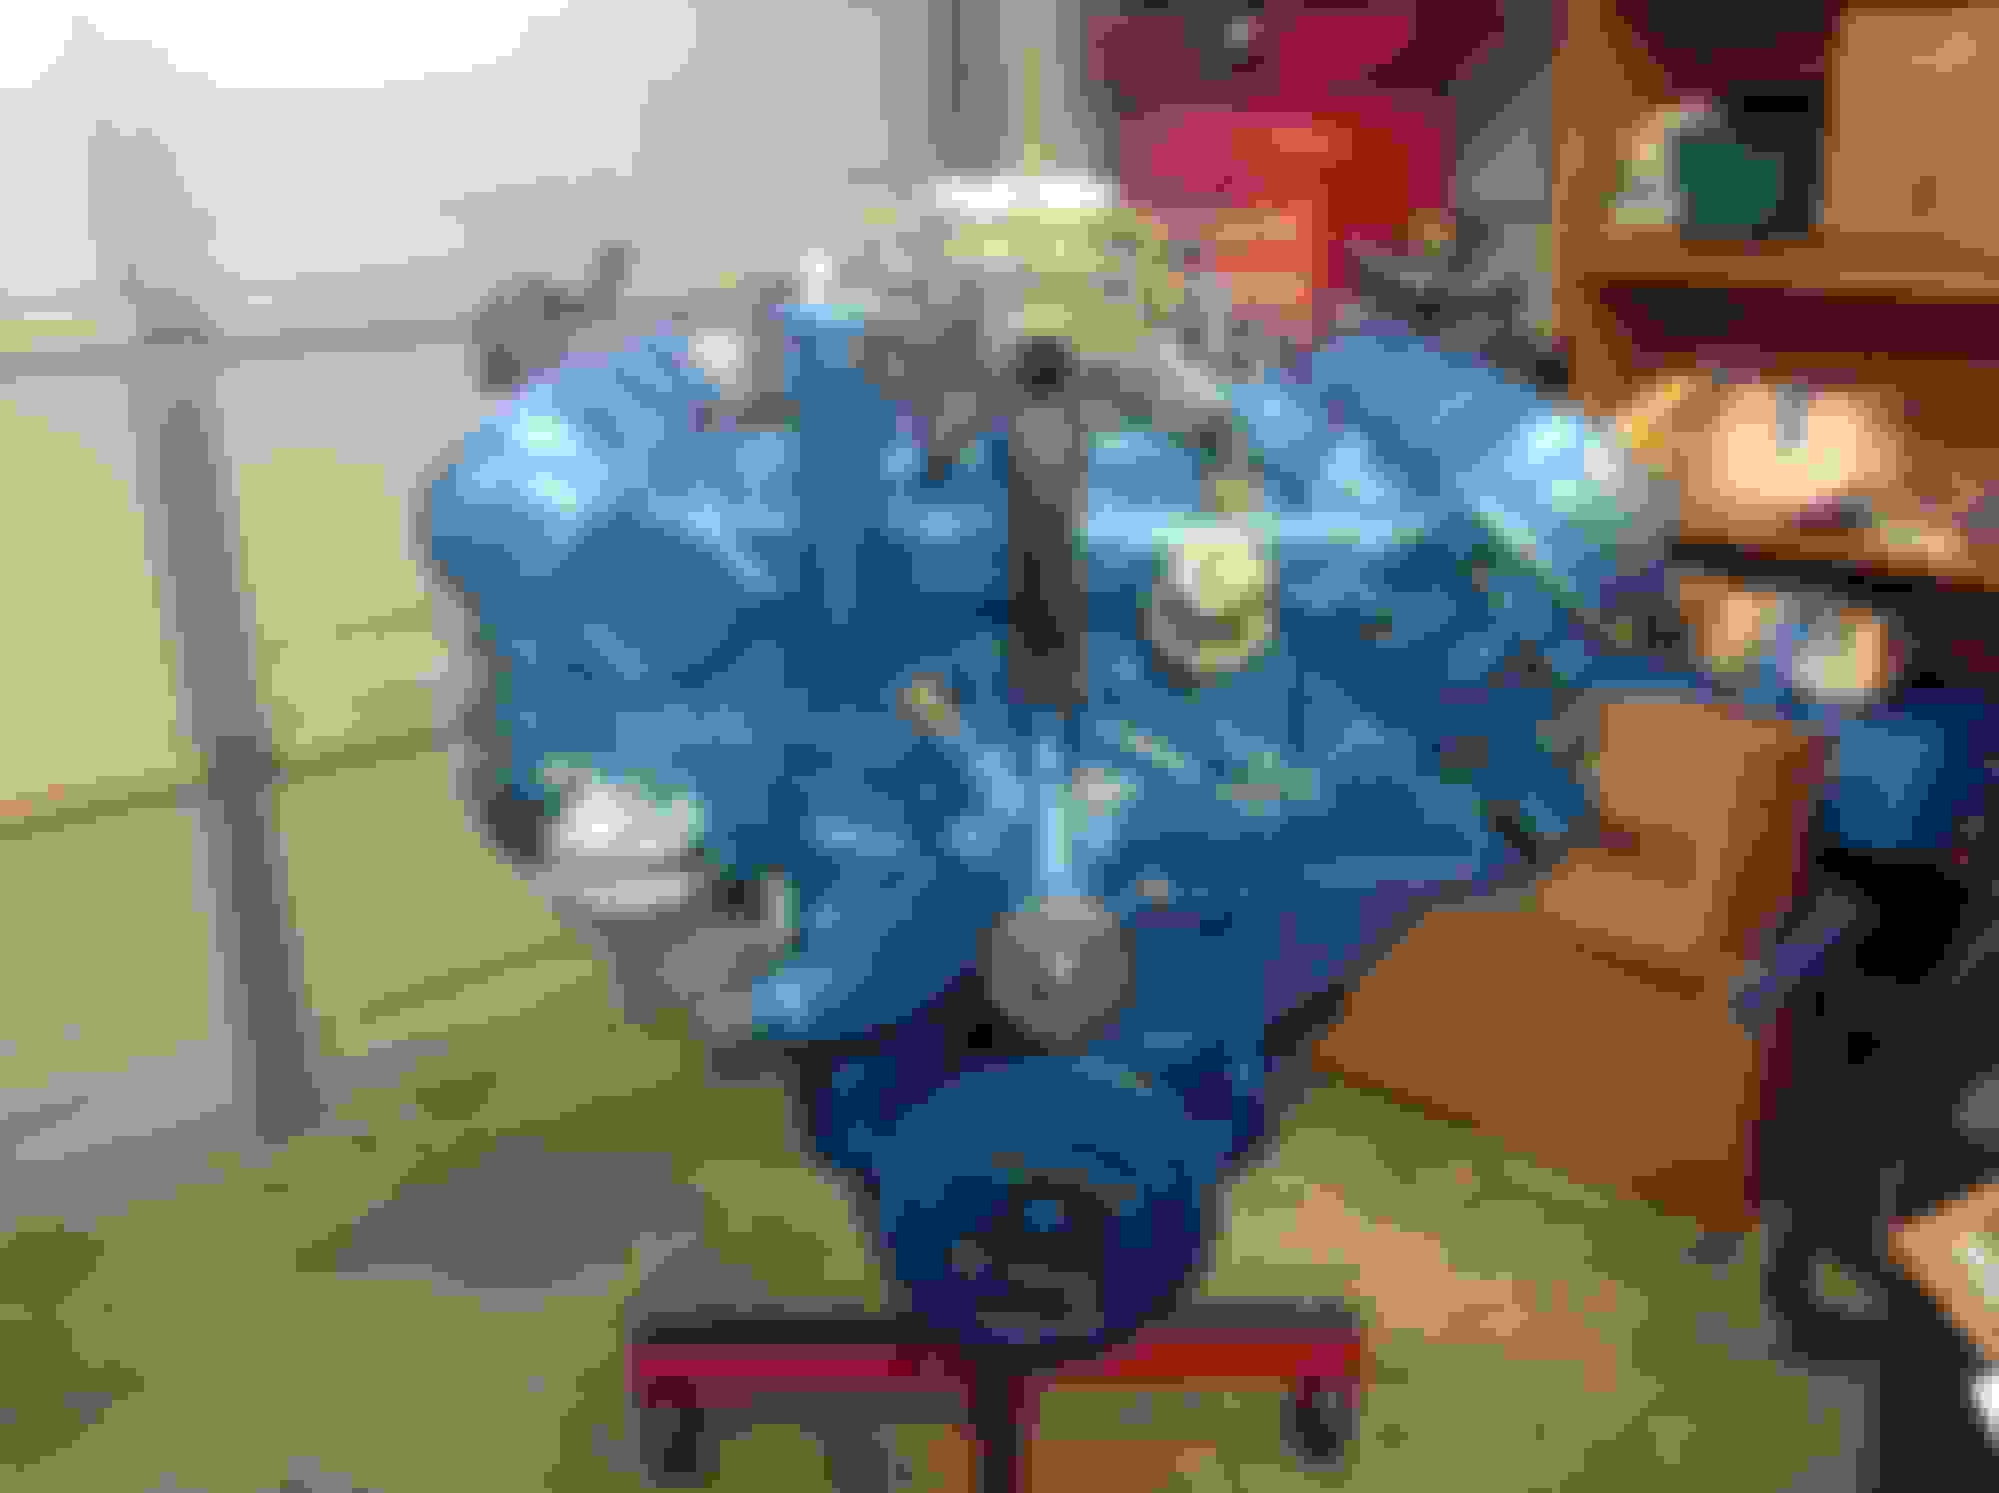
Engine paint day. First order of business was to put the roller tires on the chassis, and roll it outside. This is the first sunlight and 30 feet rolled of the reborn car.
Next had to erect my temporary paint booth. It is better than nothing.
Finally got started. I had bought 6 cans of The Parts Place version of Olds blue. Began by painting bottom of engine inverted on the stand. By the end of the first can, I knew this paint was way off on color. I had 2 1/2 cans of the Supercars Unlimited Olds blue left from the W-30, so I had JUST enough paint to reshoot a thin coat on top of the paint I had already done, and a good coat on the top side of the motor. The Supercars paint is way closer, but still not as exact as the old 7959 Martin Senour paint. Went through and removed all the masking and bolt hole covers - will let it dry over the next few days since David dropped off the rebuilt tranny - will have to do the usual detailing on it as well.
David is working on repairing the wiper motor and getting the radiator recored. The first rad. shop wanted 800.00 to recore it - seems really high so he's checking with another place here in town.
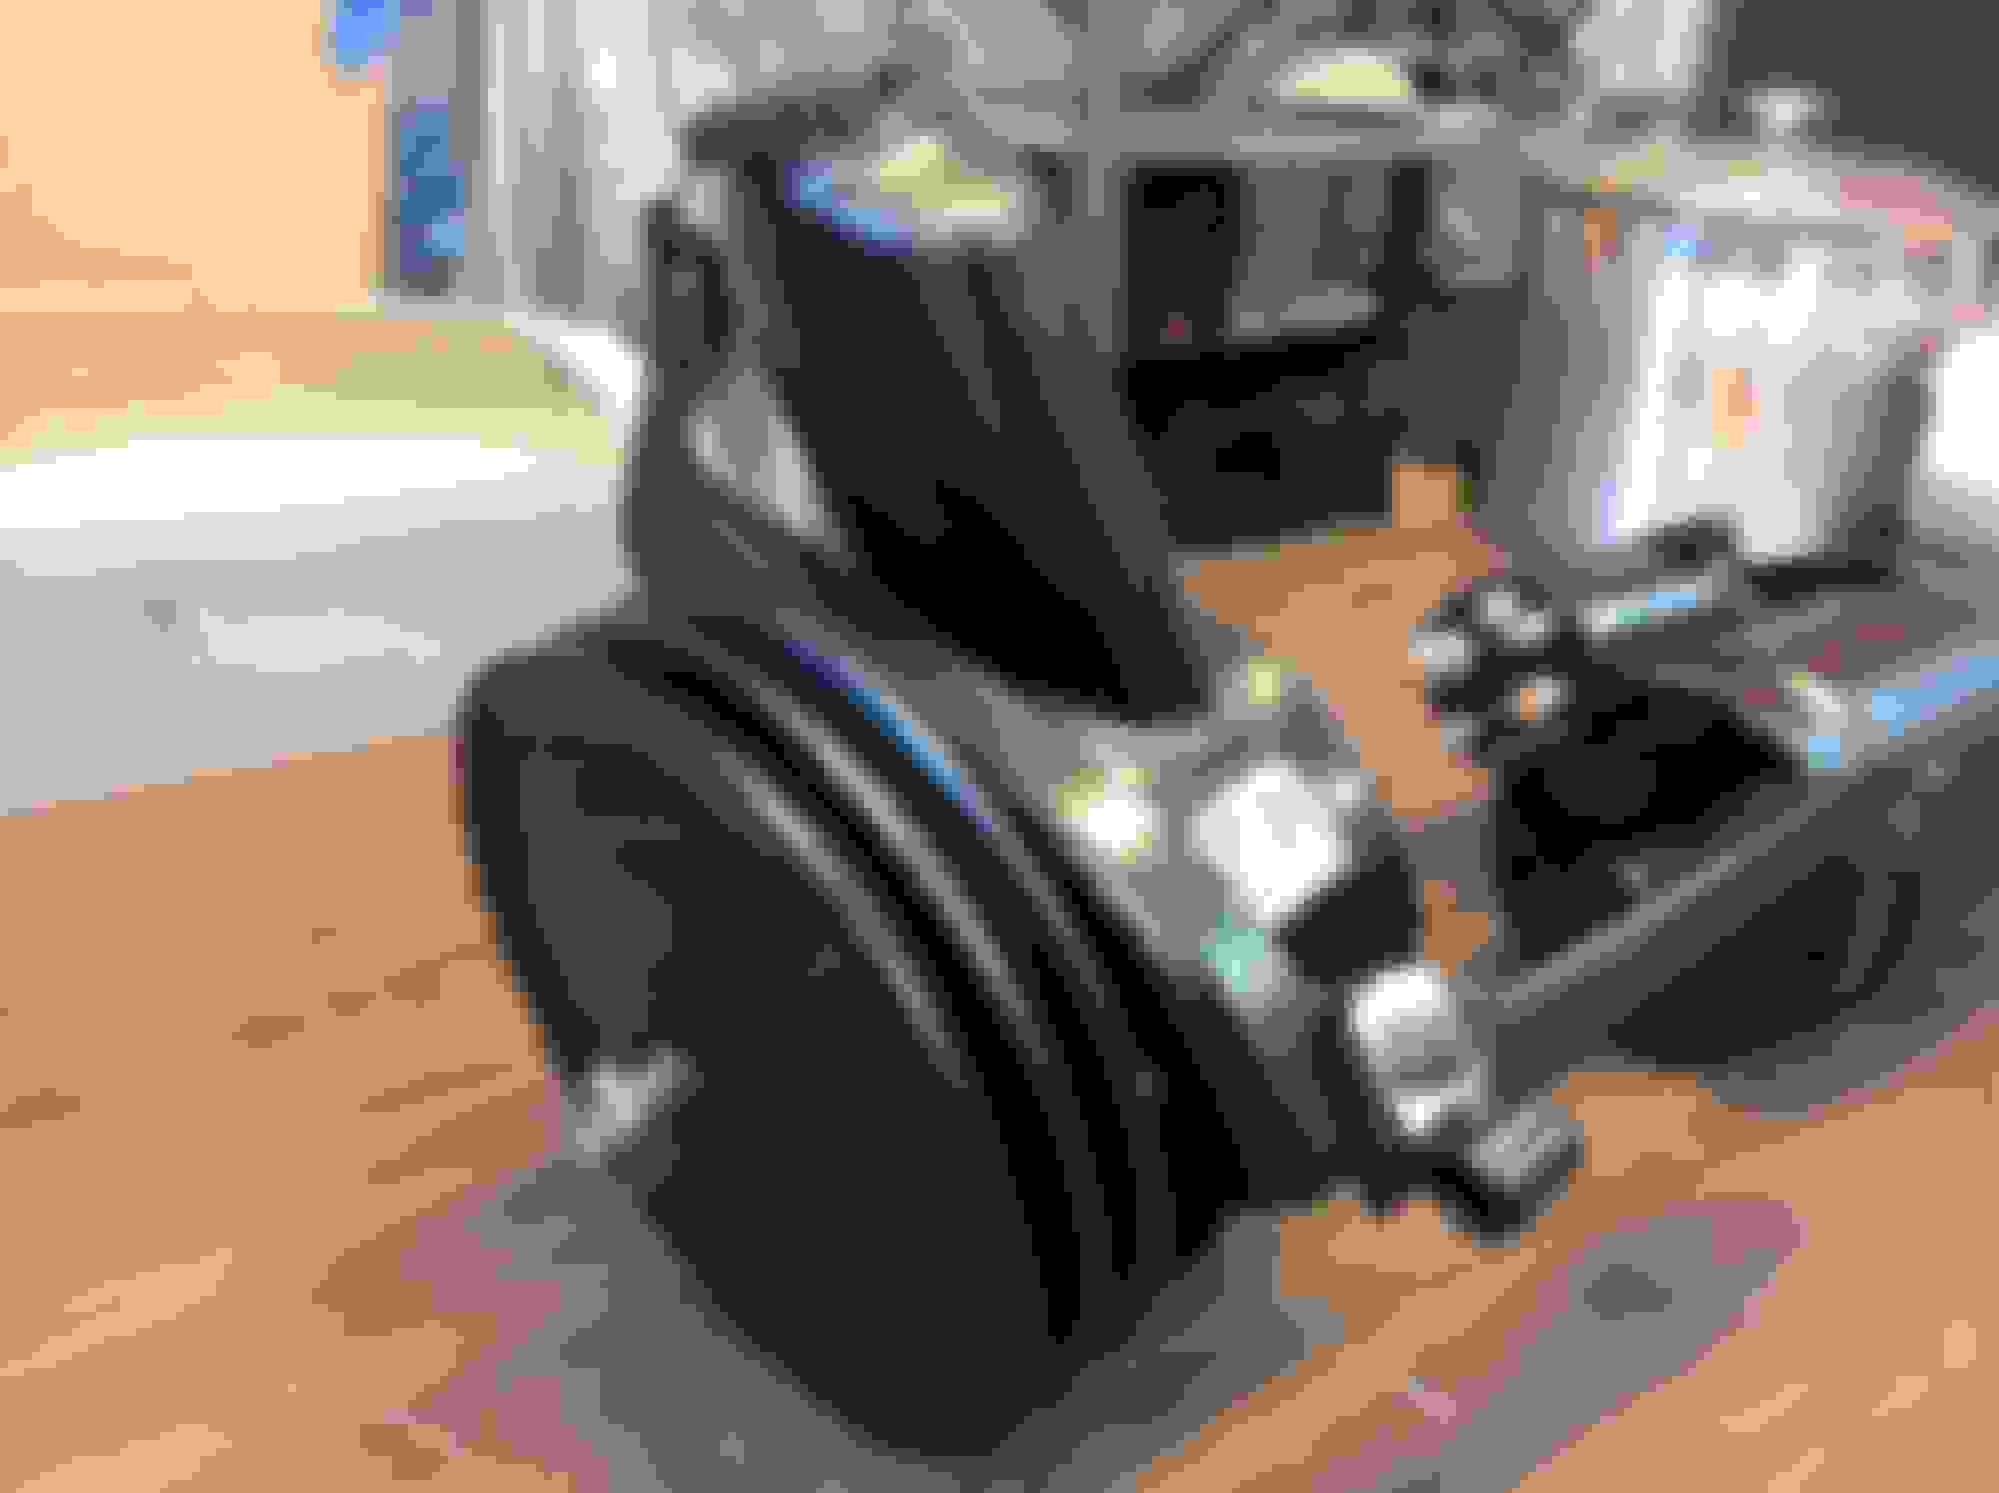
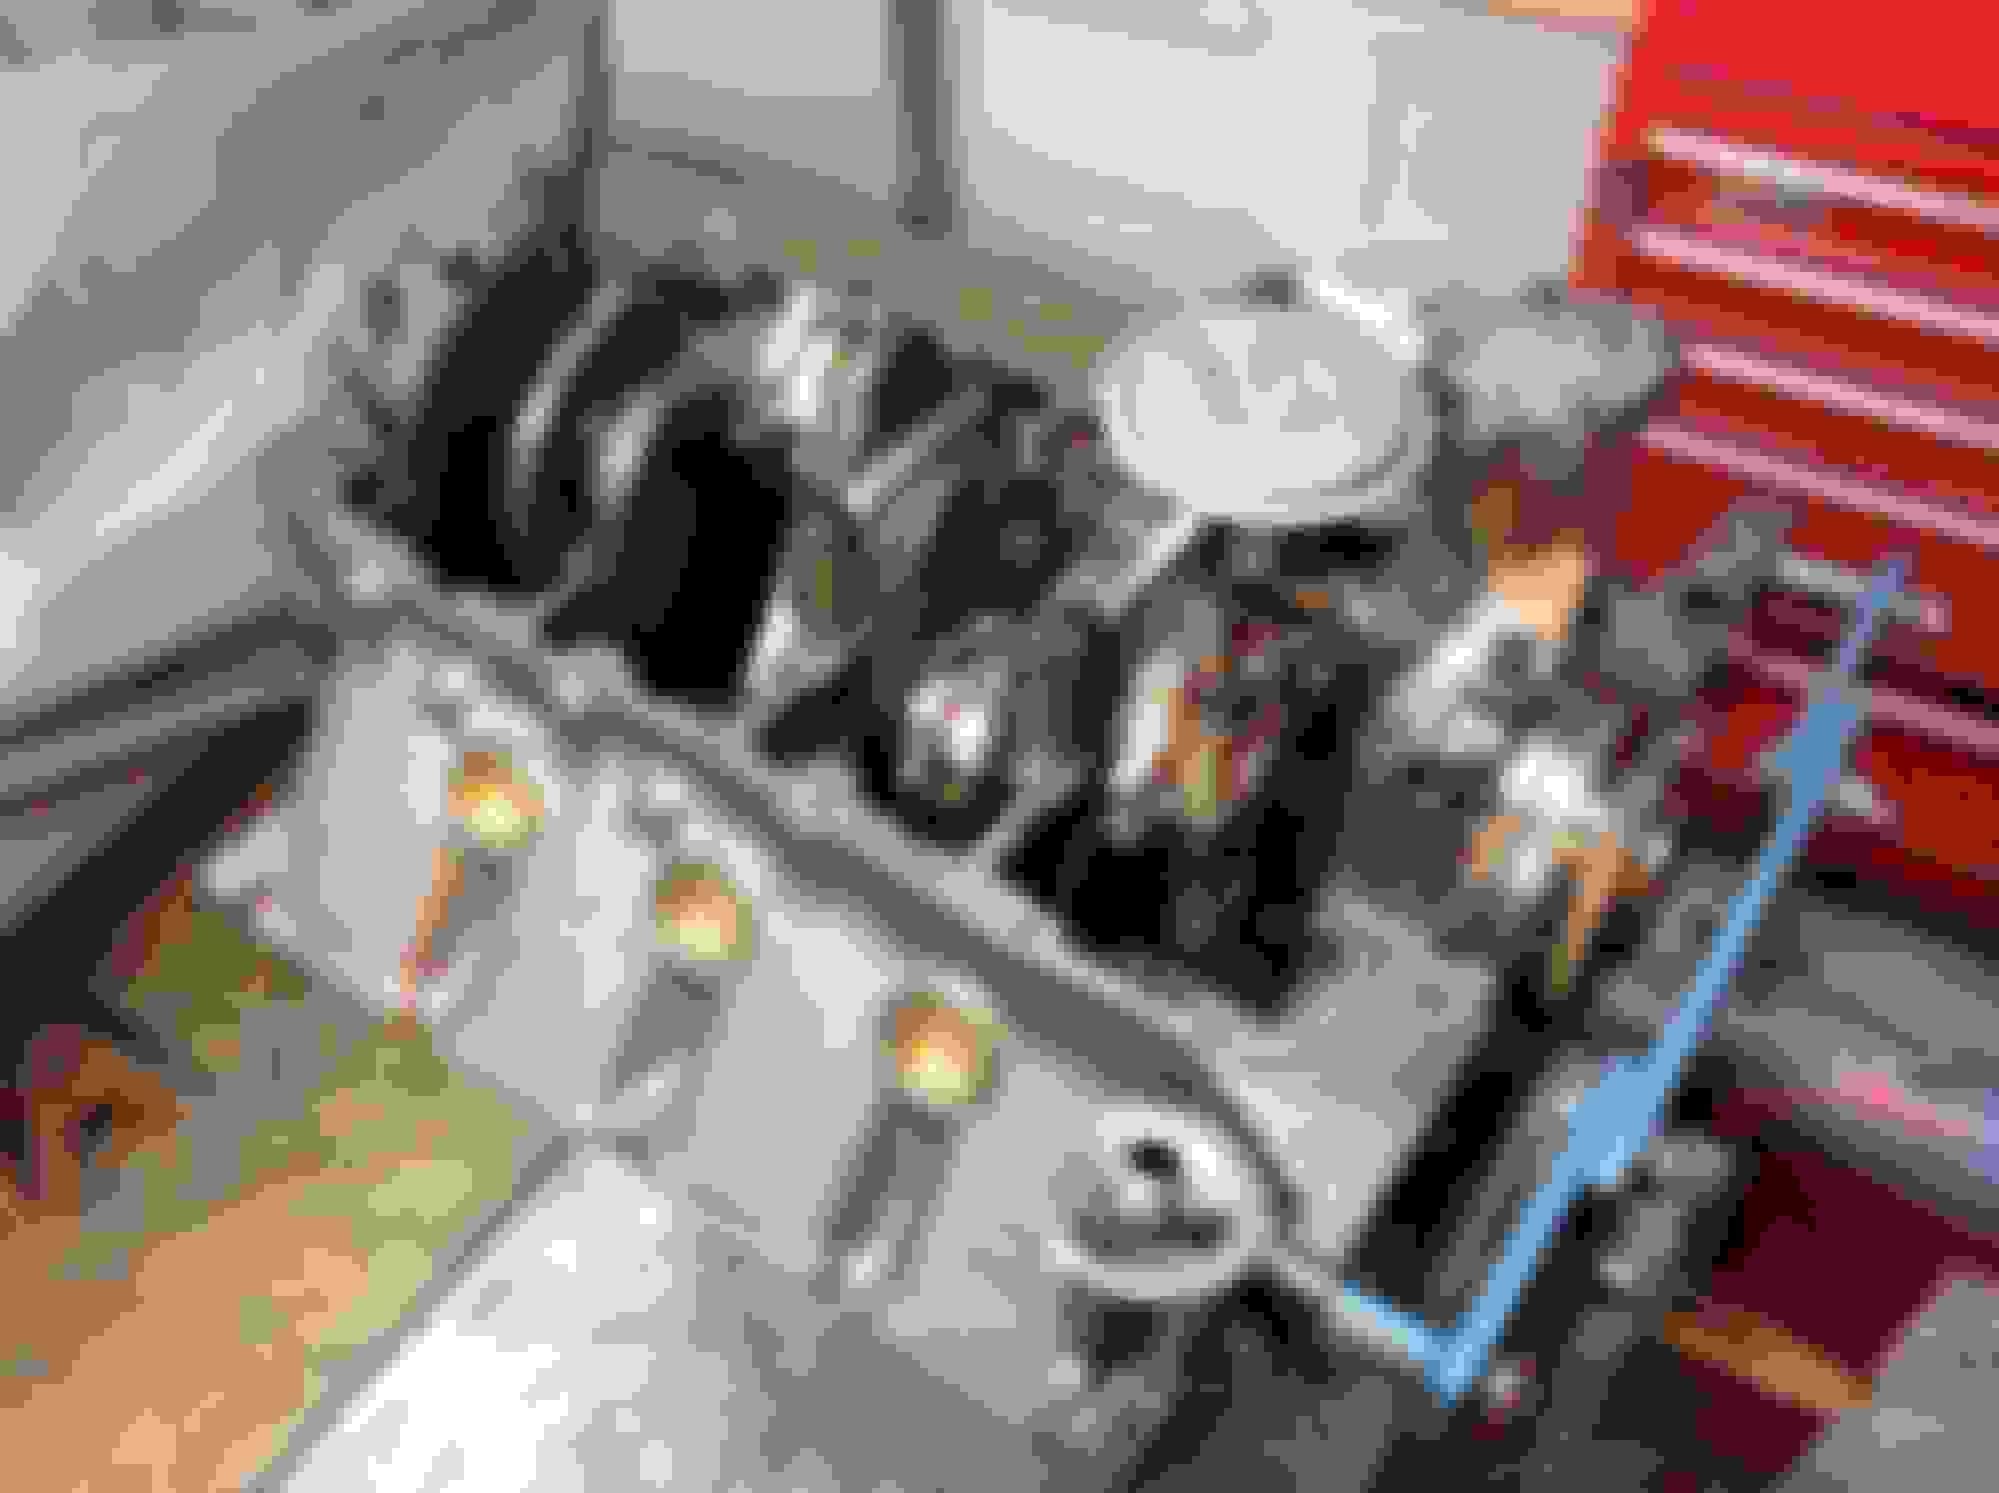
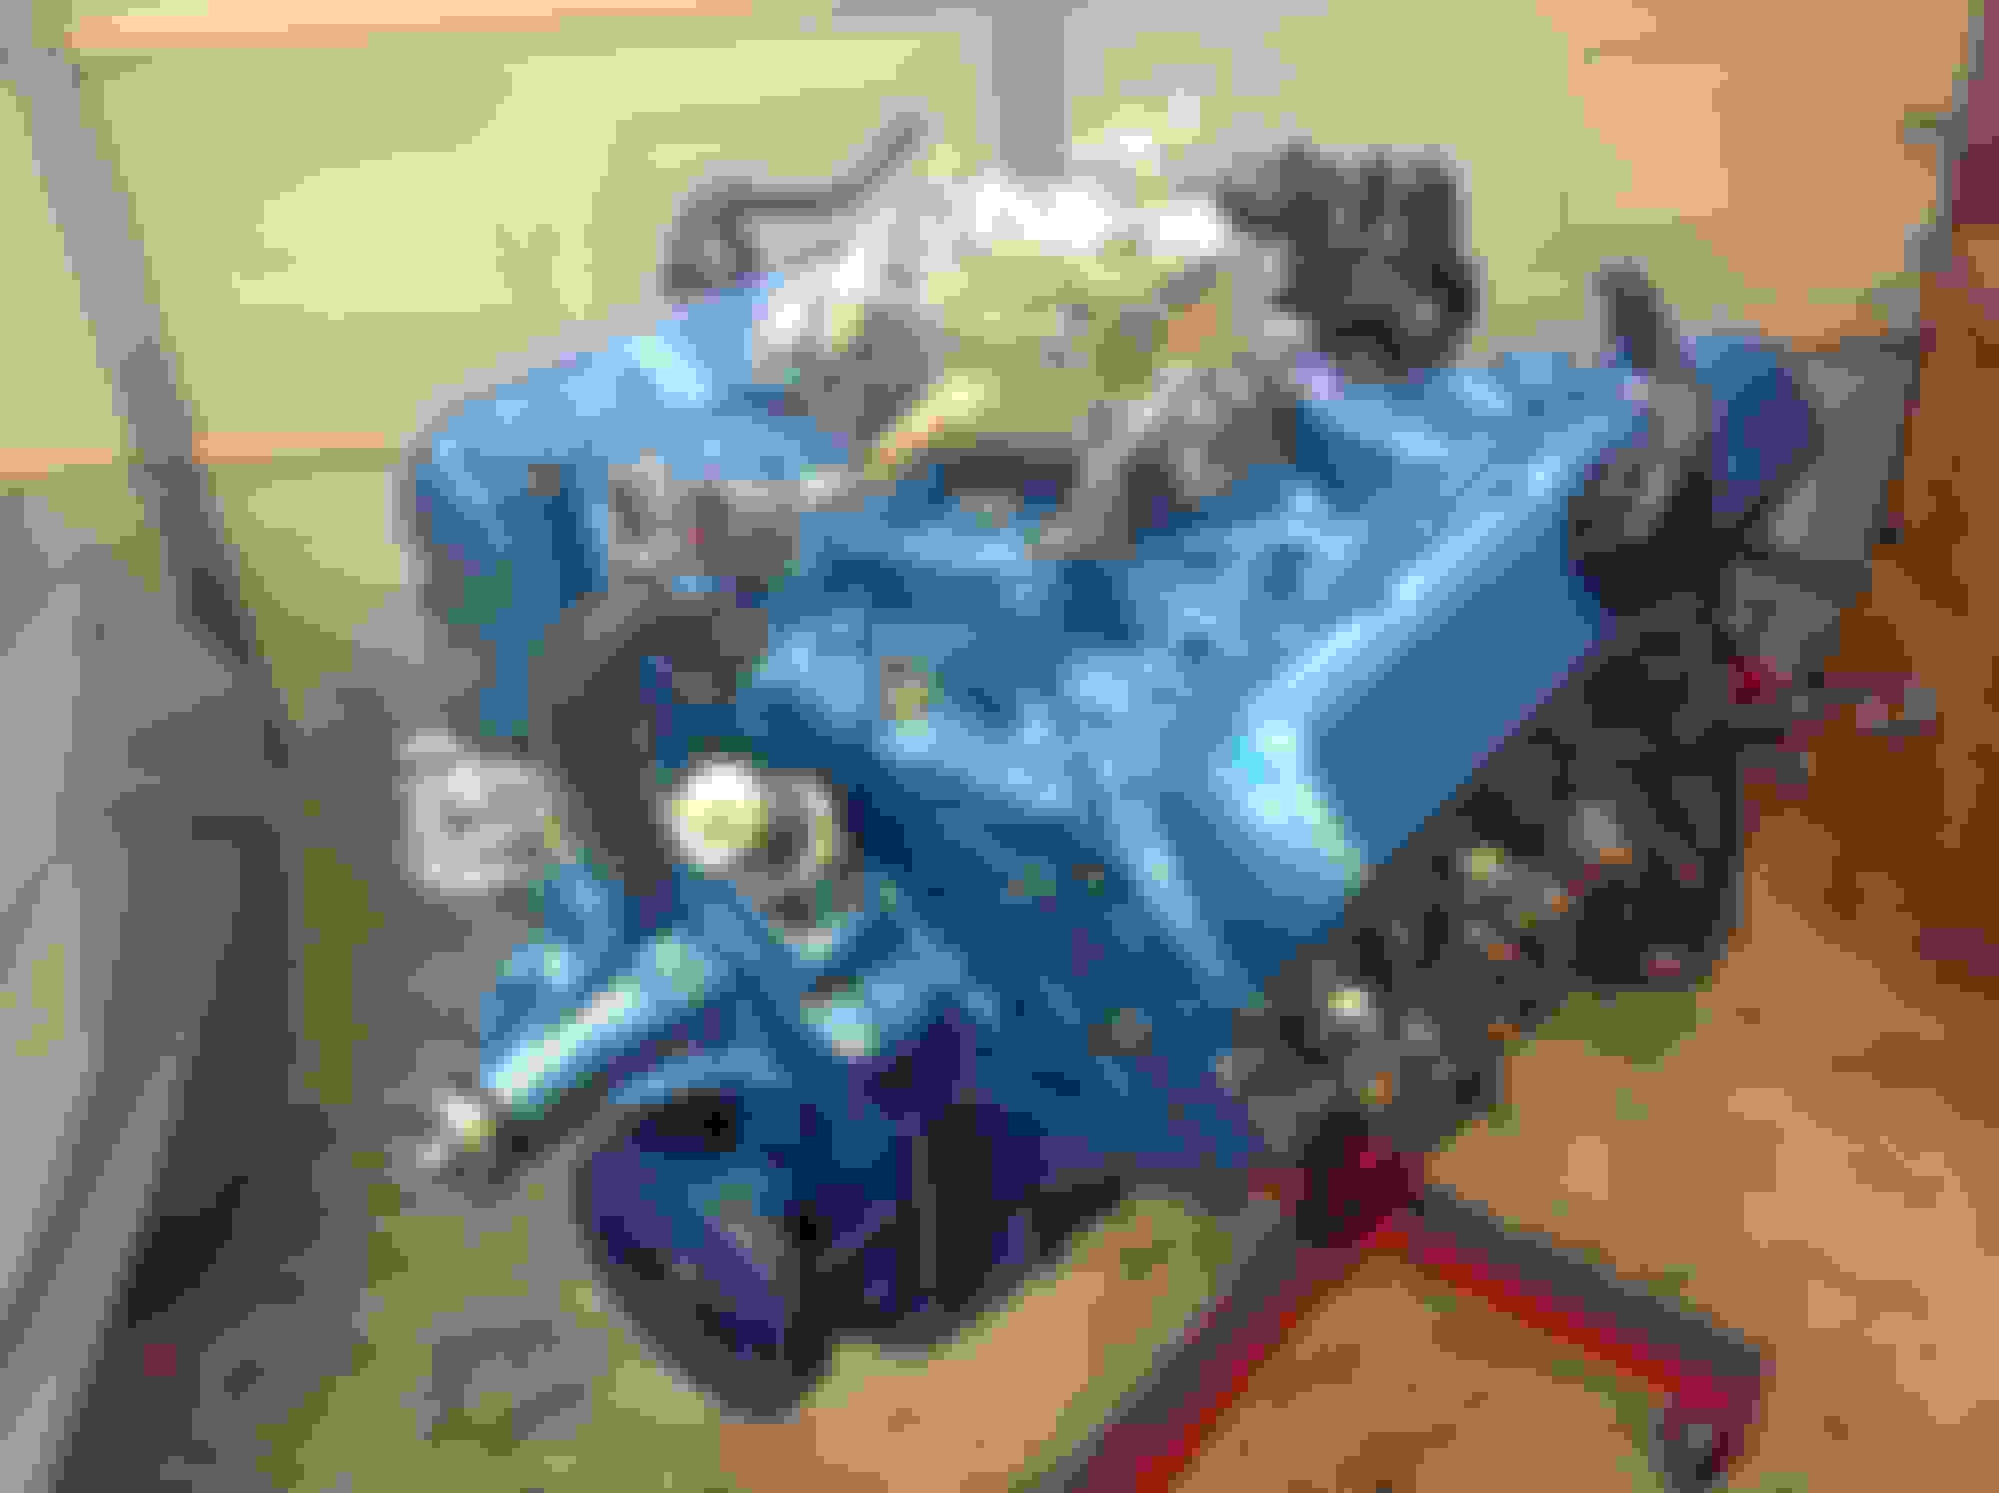
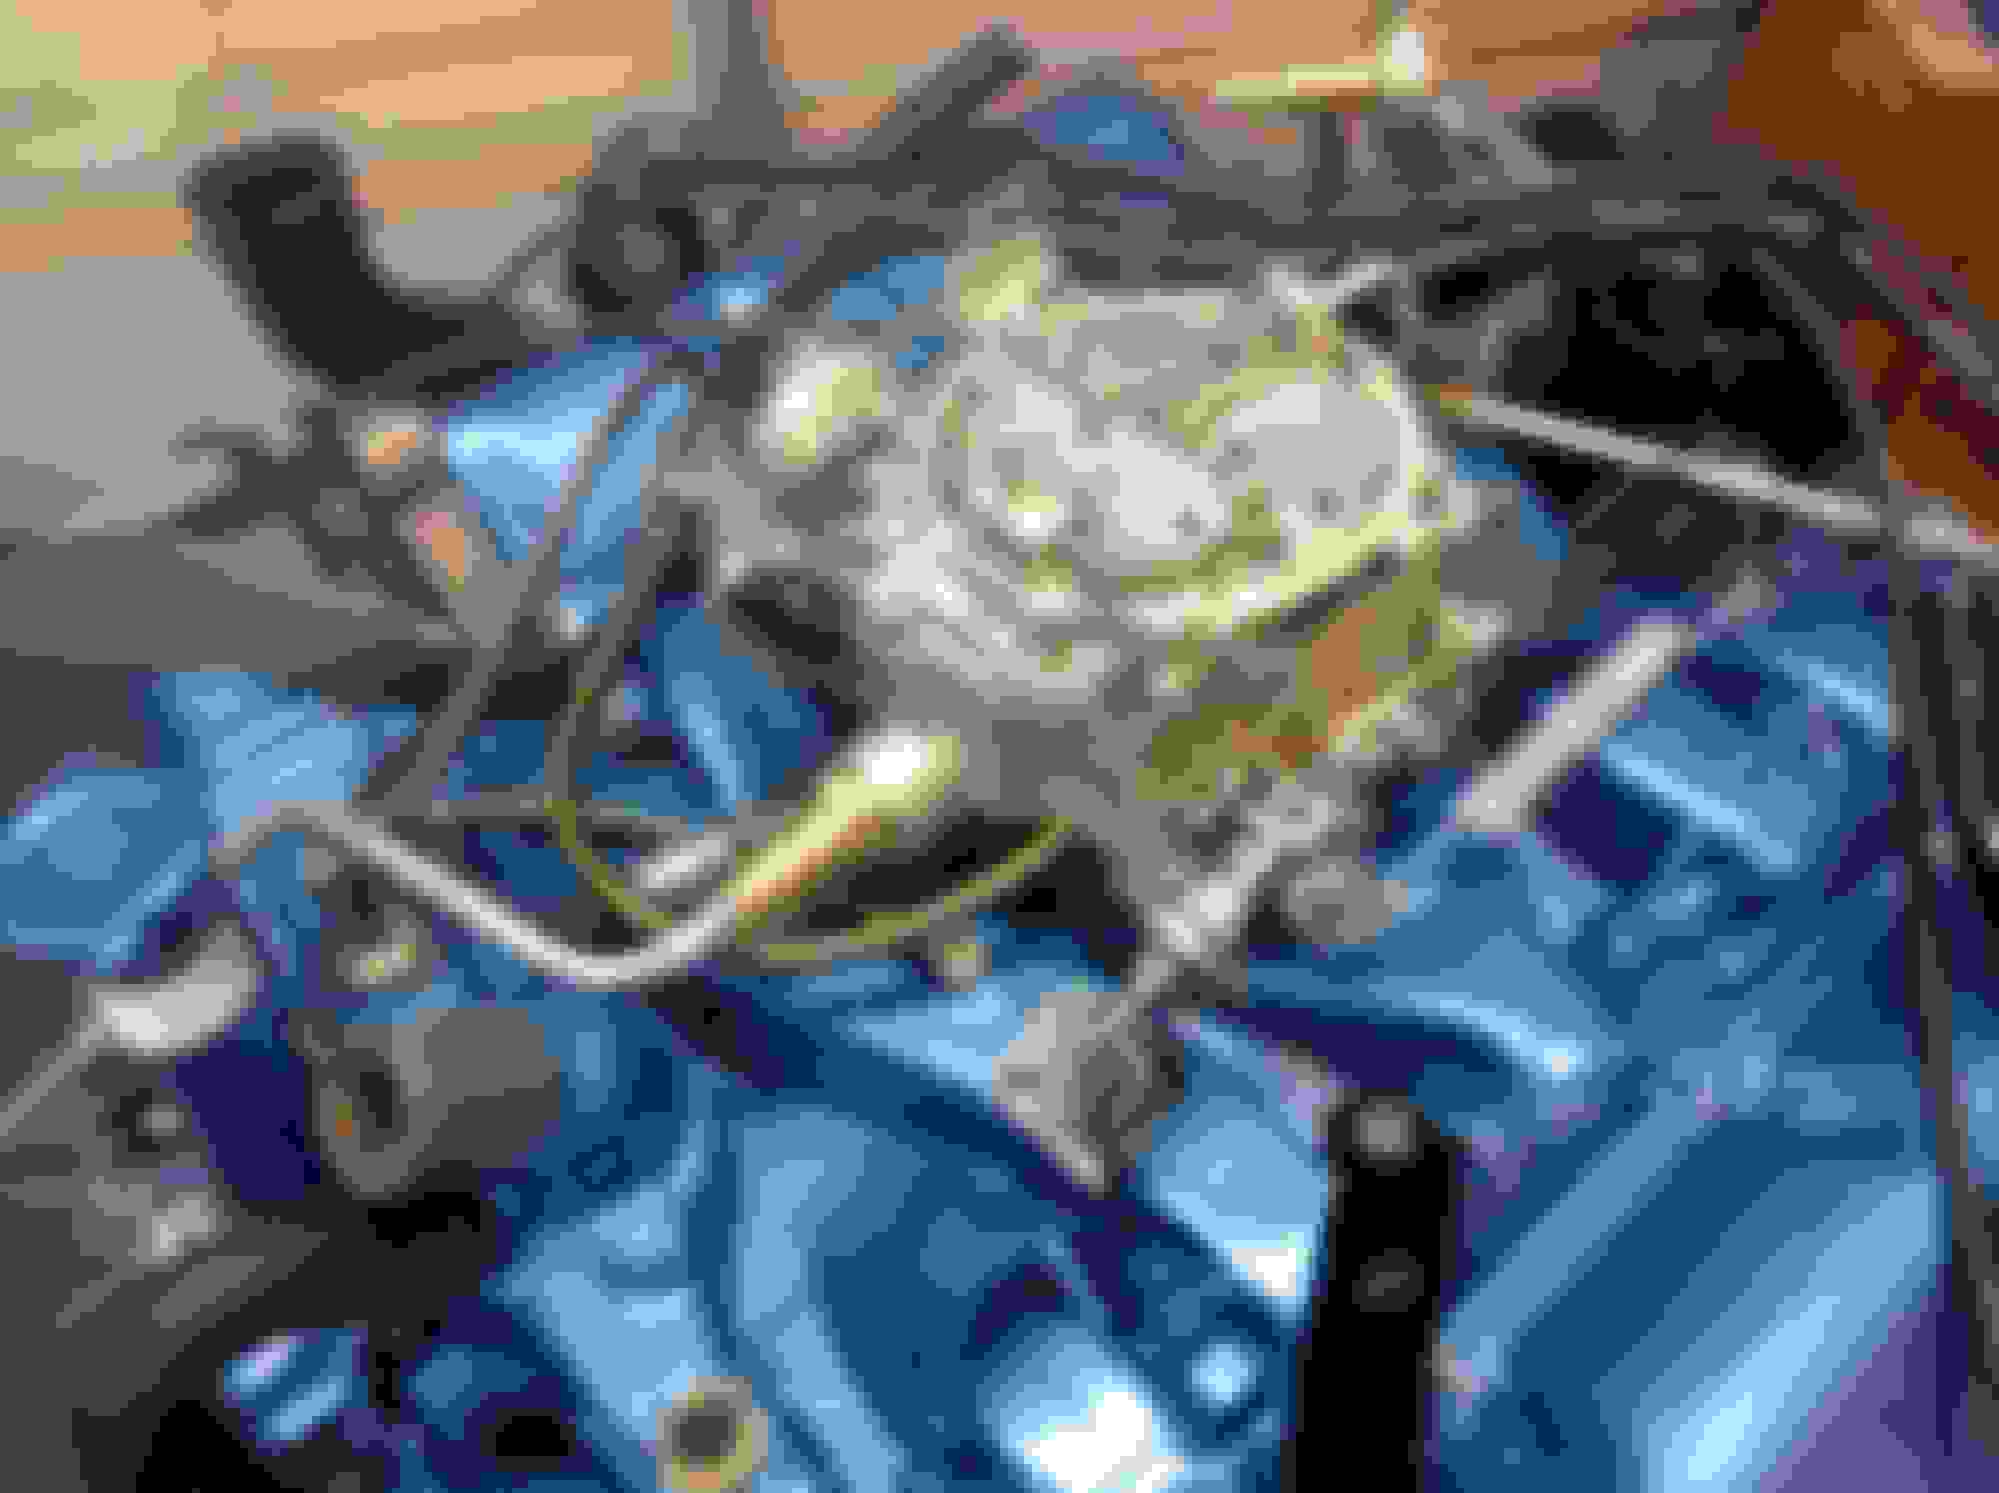
Got on adding goodies to the engine today. As seen in the pictures, got a fair amount done, but ran into a couple of small snags and one big one:
1) Part of the old choke stove to carb pipe had broken off the old pipe and was stuck in the stove. It prevented being able to insert the new one, so I used an easy out to remove stub. Checked to make sure the interior stove pipe did not get holed - looks OK.
2) More stuff I missed on my initial estimate of work required - the screw tightening the coil clamp together, and then the bolt holding the clamp to the intake. I'm so glad I replenish my ready to go bolts between projects because I can find things like this without completely causing the work to stop.
3) Will have to cut the bolt lengths on the bypass hose clamps. Patton and I had discussed this at length, and yet I still forgot to do it before installing the bypass hose. Also, I'm not sure how you can orientate the upper bypass clamp as per the PIM and yet still install the upper hose to the thermostat housing. Got all the other parts oriented as per PIM specs.
4) Biggest problem - for the third time out of 5 restorations, I installed the wrong water pump. Somehow, I installed the 6.07 hub length pump on thus motor instead of the 5.57 required. Worse, I'm running low on the Supercars paint - hope I have enough to paint the right pump and blend it it tomorrow.
Tomorrow will finish the engine dress and move onto freshening up the exterior of the rebuilt original tranny.
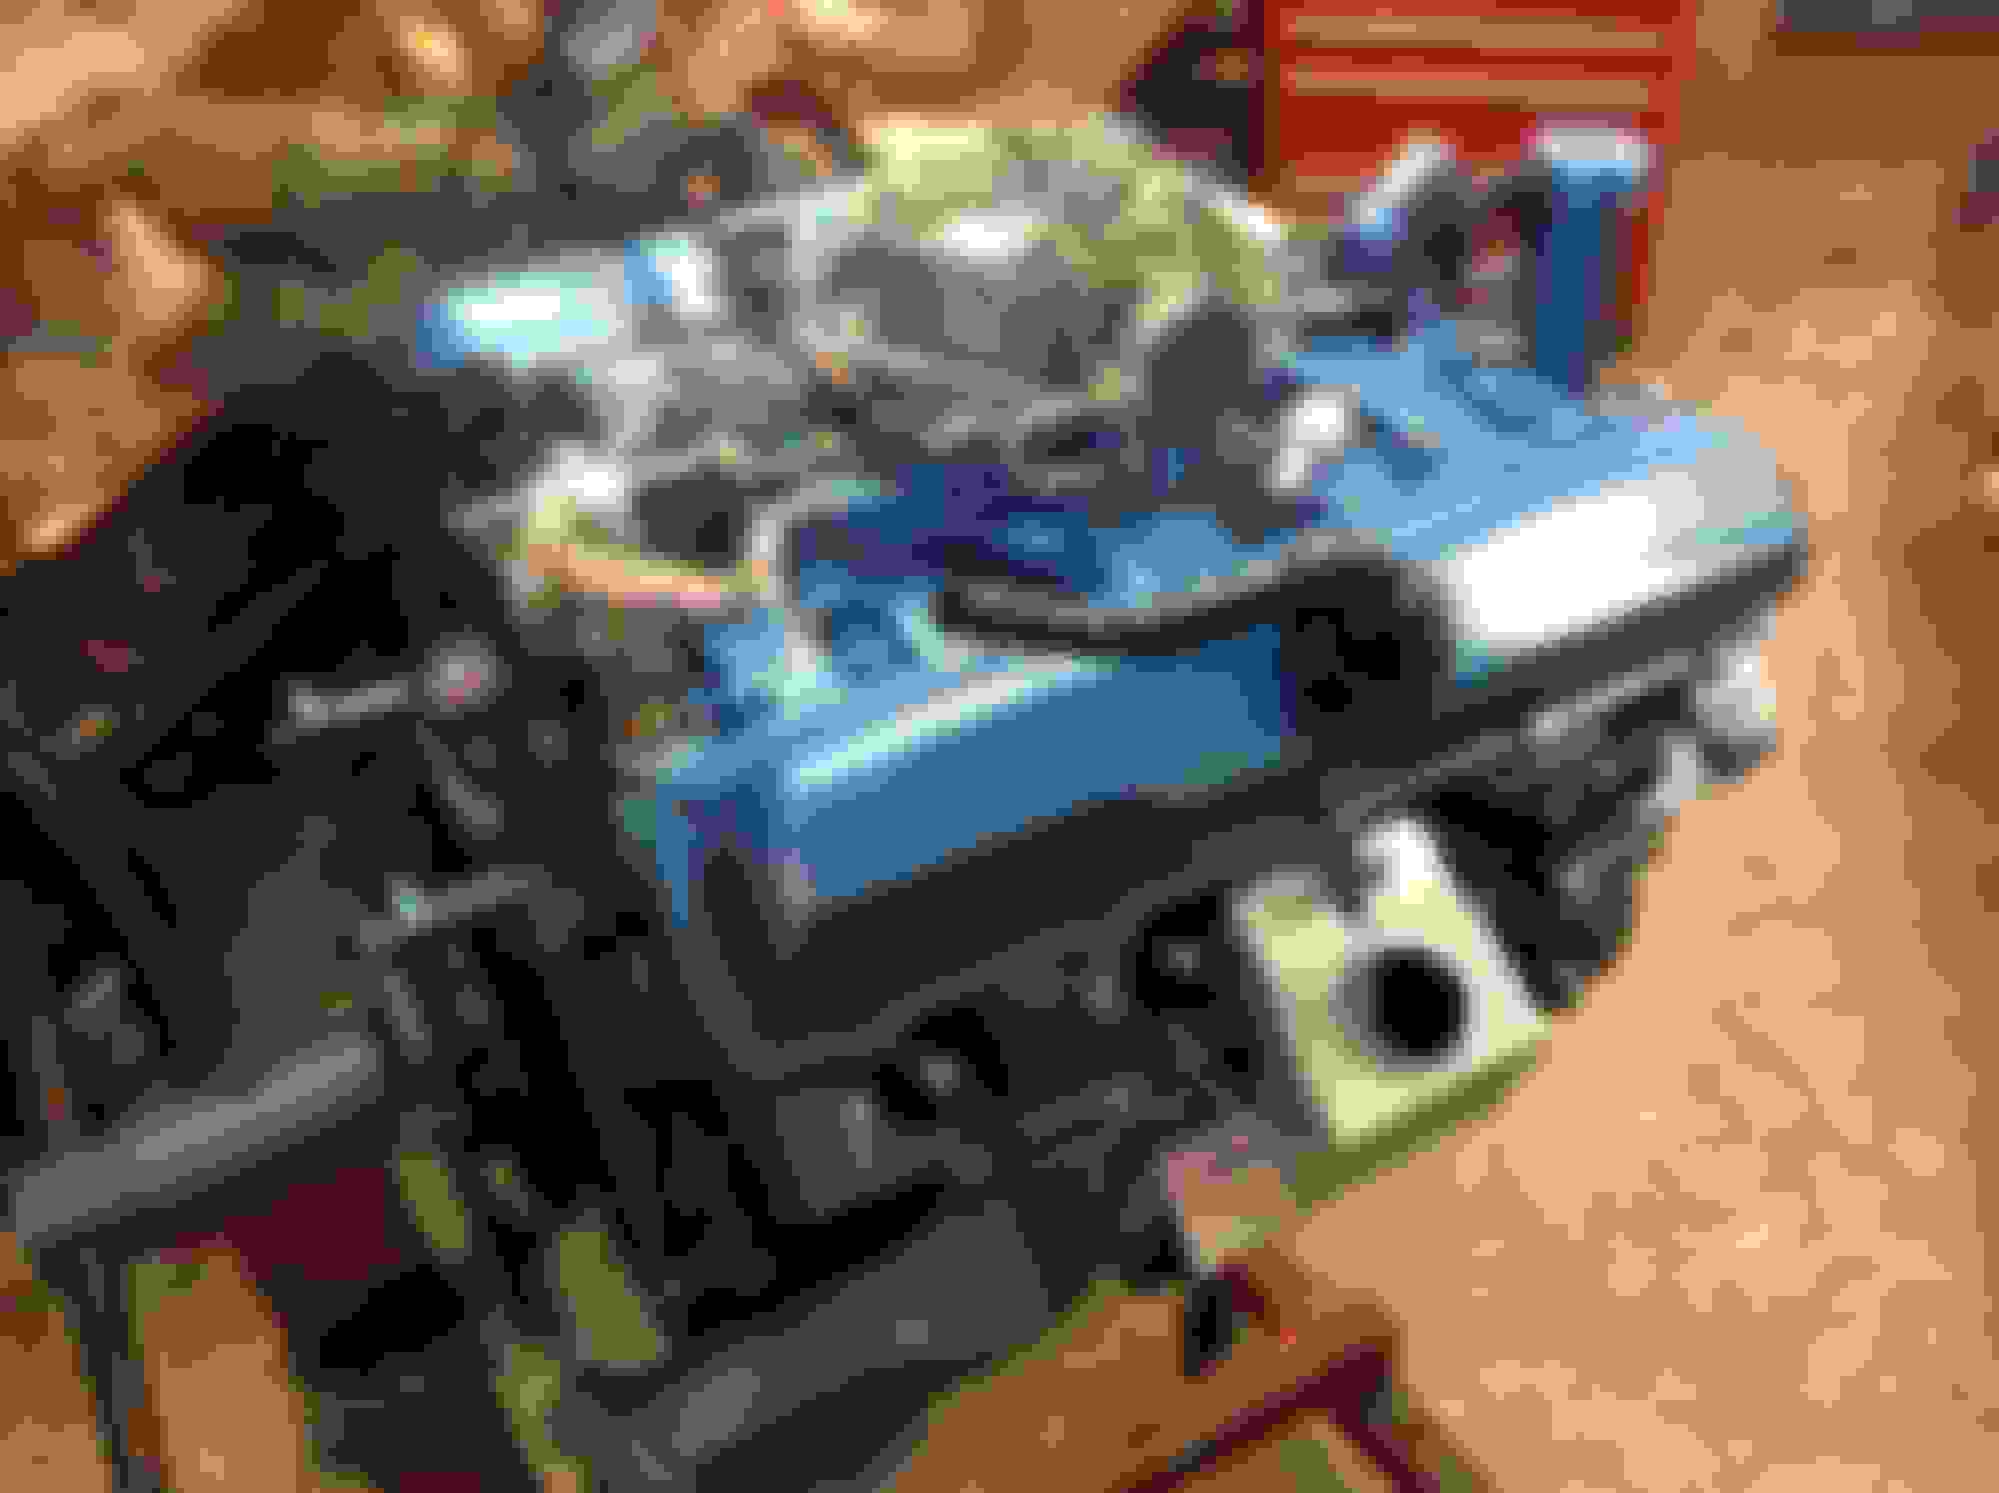
Began by replacing water pump. I painted the pump last night to let it dry before handling it, and this morning removed the wrong one, carefully removed the old adhesive and installed the correct one. Had to do miminal paint touch up and looks like it was never disturbed.
Proceeded with more assembly. Did all the usual stuff, but ran into an issue on the alternator bracket. The front half I had repainted a long time ago, and thought the pitting it had would not show. Wrong - it really stood out when placed against the rest of the work. So Chris Dreiling came through again with a good pit free front bracket. I started to go through my parts to find the rear half of the alternator bracket when it hit me - this car did not a rear bracket on it when David dropped it off. (confirmed with pictures). Another call to Chris - he had one of those as well. Need to get Chris some replacements!
David had dropped off a spare open face alternator with a black pulley and fan - I temporarily mounted this one up while Patton finishes up the correct one. Also, am switching over the compressor clutch that was on the car to the new reman unit since the new one looks funny and the old one was working fine. Hopefully will have the tool required tomorrow.
While waiting for the alternator brackets to dry, I began detailing the transmission. It is actually going to need less work than I imagined, so it looks like my target of getting the drivetrain dropped in the chassis by end of the week is doable.
Question: As Joe P is fond of reminding everyone, apparently Oldsmobile did not install exhaust manifold gaskets from the factory and you have. Is it because you mentioned the minor distortions in the manifolds. Did you have them cleaned up? Or are you a "belt and suspenders" kinda guy?
Amazing work, I am still in awe with every update.
Thanks
On brand new castings using the precision machinery they have at the factory, sure no gasket is needed. But, I personally think the clamping force distribution that the Olds design has is kind of weak and through time and thermal cycles will lead to distortion.
Also, I am belt and suspenders when it comes to having to do rework.Exhaust leaks are uggglllyyy....
 September 18th, 2018, 10:40 PM