When you click on links to various merchants on this site and make a purchase, this can result in this site earning a commission. Affiliate programs and affiliations include, but are not limited to, the eBay Partner Network.
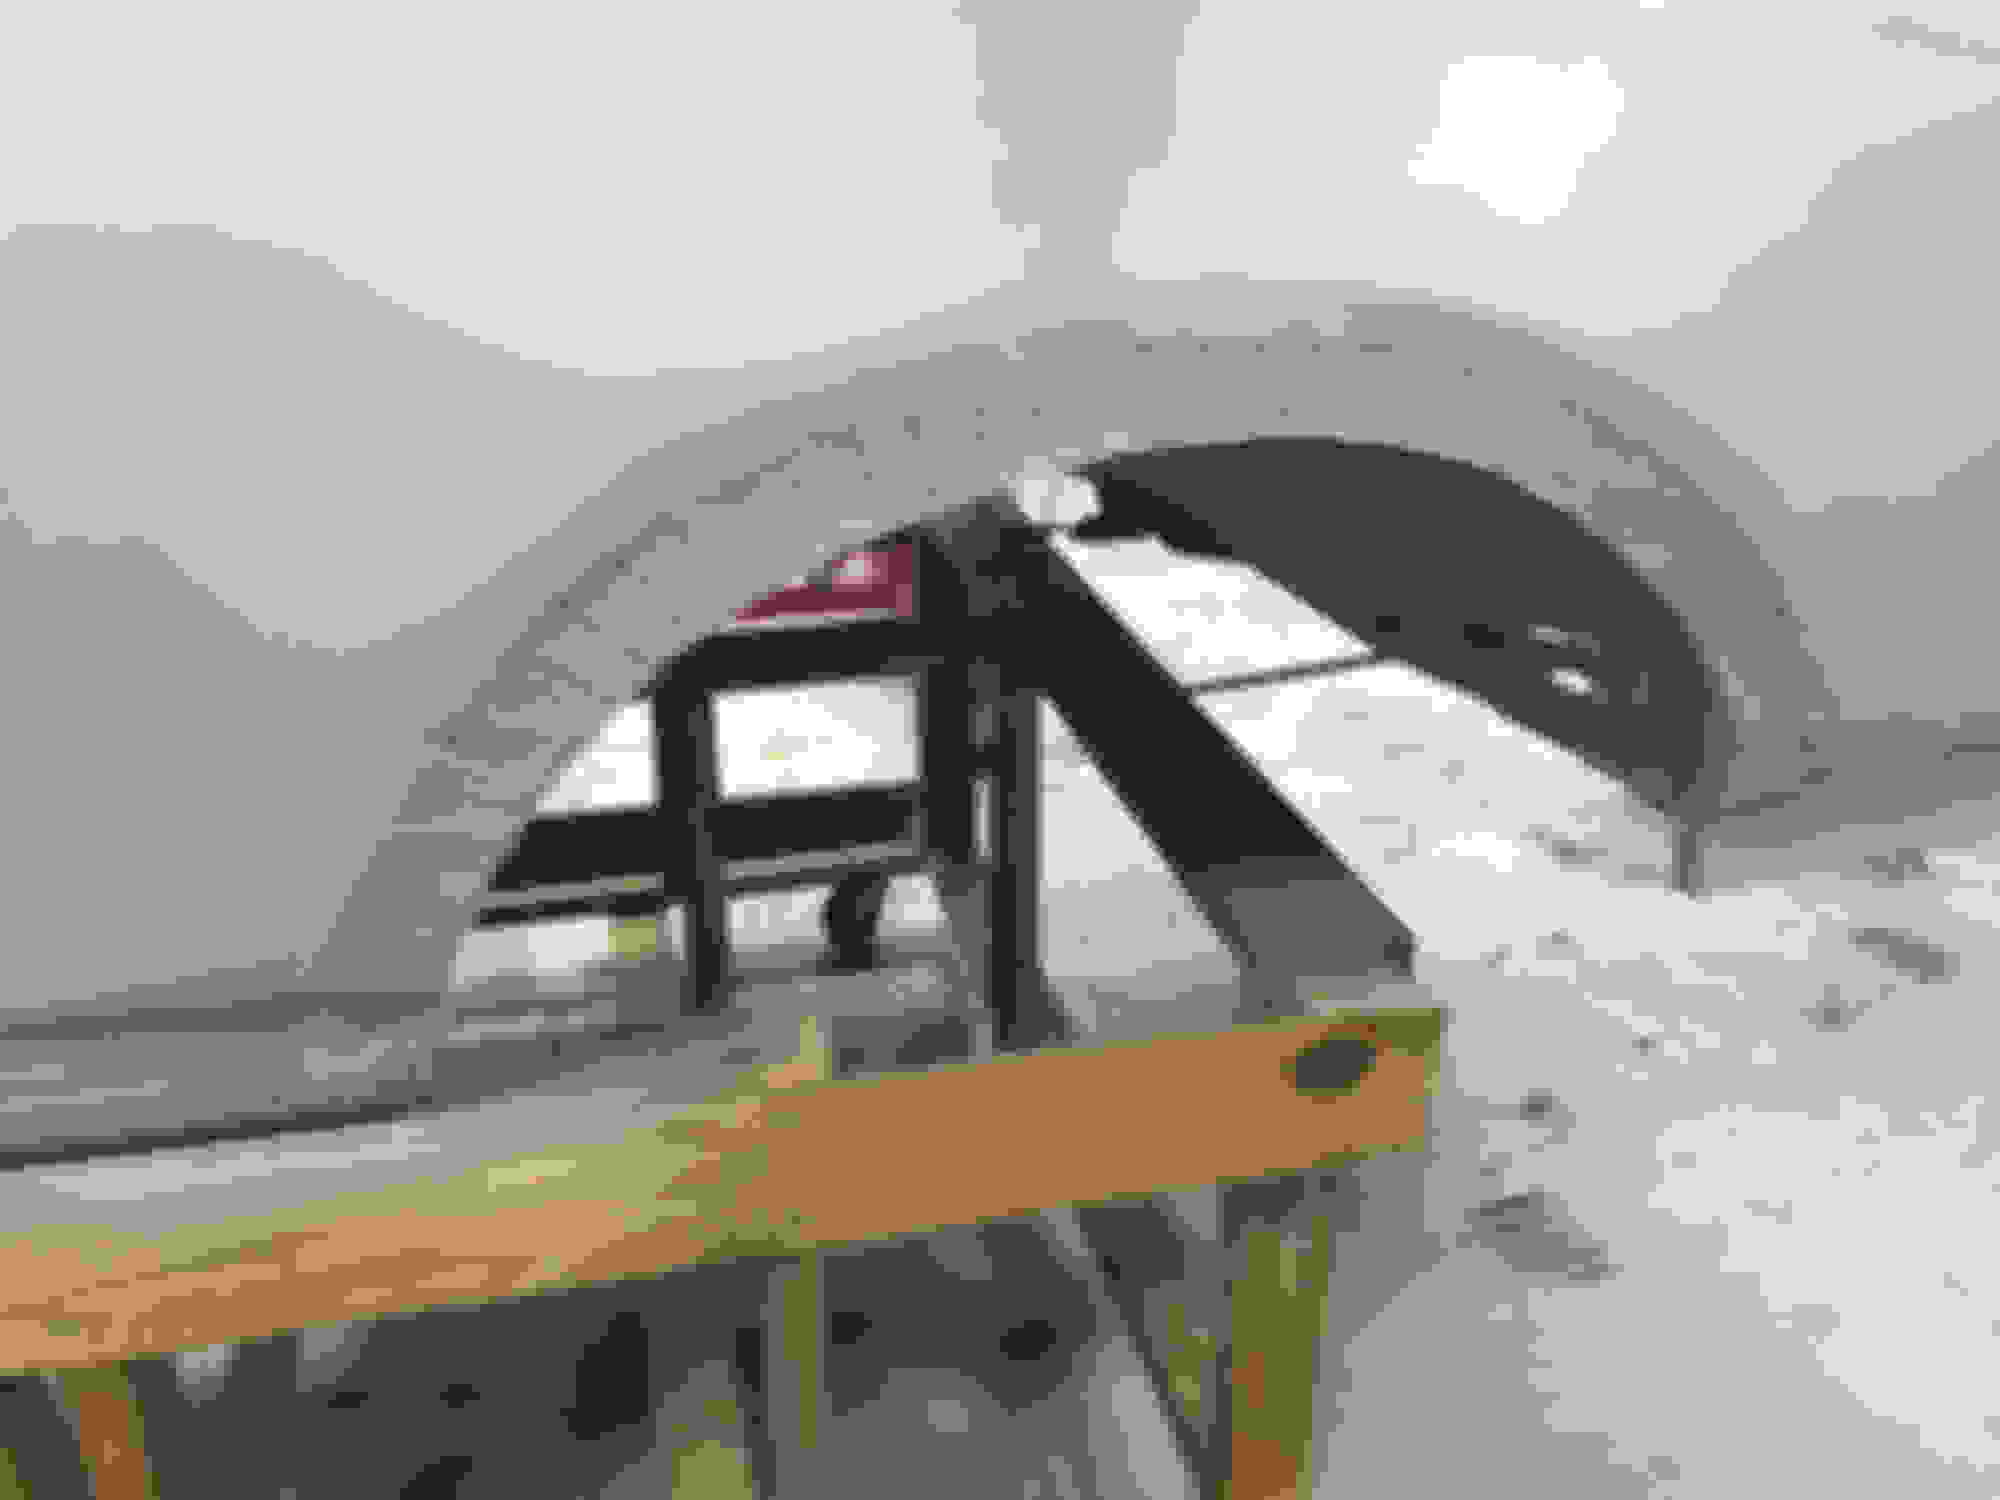
I bought A 68 convertible to do a frame off as it always something I�ve wanted to do but never had the space. Got started over Christmas and the disassembly was not as hard as I thought, just time consuming. I am now ready to remove the body and will be using my two post lift.
1. Where do I lift the body from? I�m thinking rocker panels, but looking for advice.
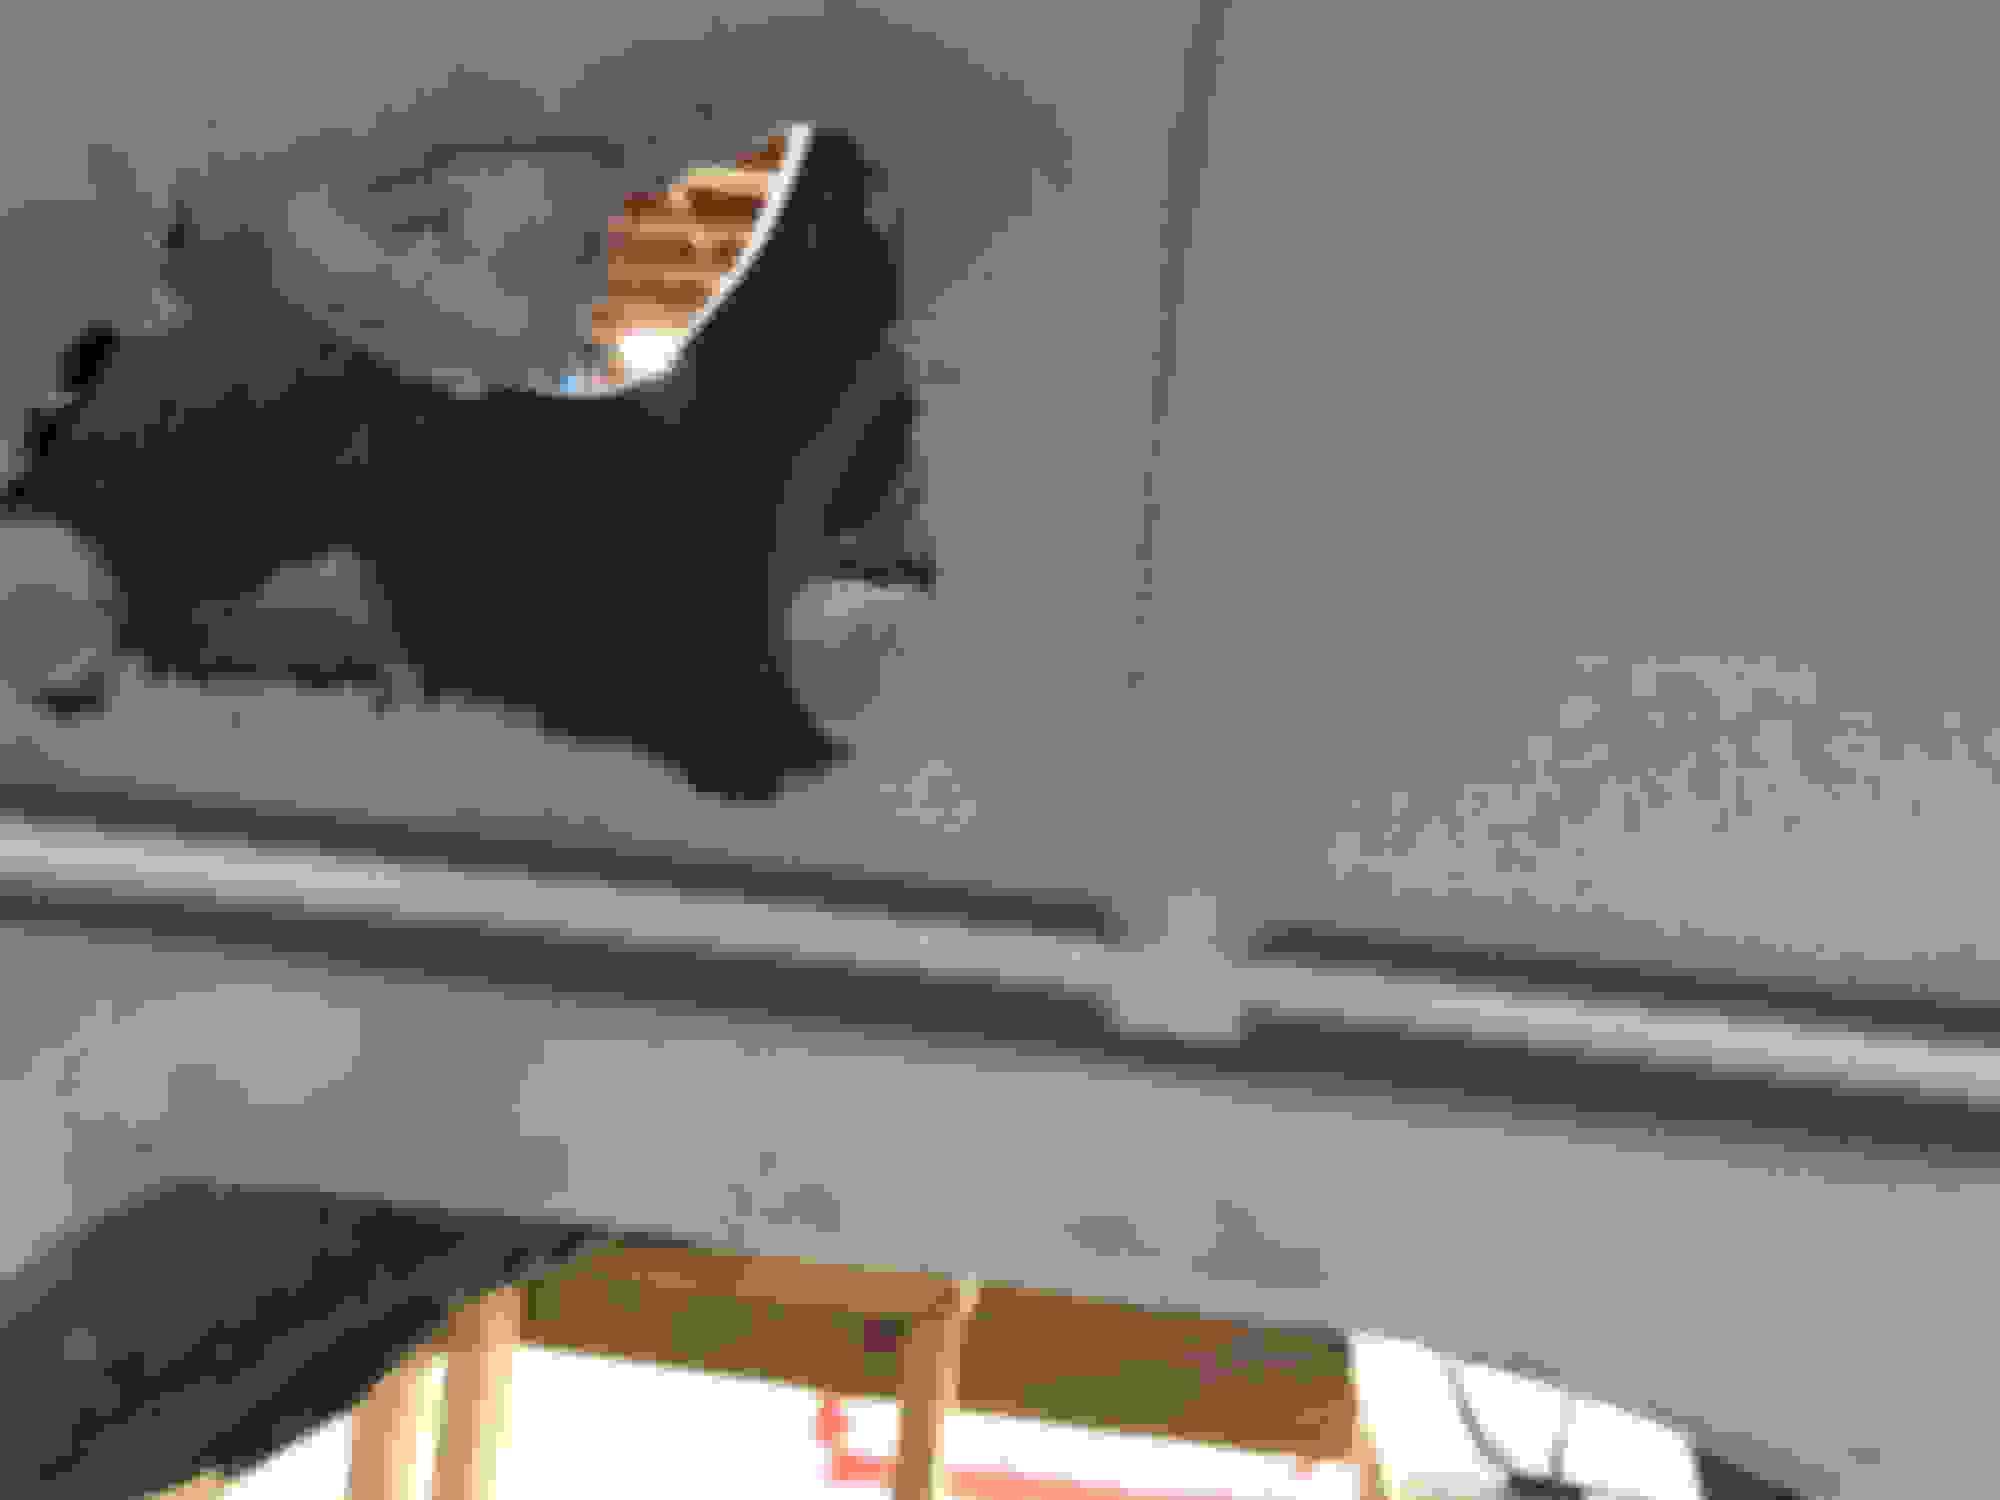
2. I discovered a lot more rust than I expected. Floor board and trunk were expected, but torque boxes, lower windshield channel and cowl panels were not, but all manageable. Here are some pictures.
3. My biggest concern is that ALL the body bushing bolts either fell right out, broke off or spun due to rust. Looking for advice on how I fix this problem? Do I have to cut open the body to access the broken bolts?
Any advice is appreciated as it�s a bit overwhelming at this point.
Very cool project. I've never done a frame-off restoration before. Maybe someday...
FWIW, you might be able to cut off the body bushing bolts with an acetylene torch. Then when you lift the body you can do any necessary repairs. Just a thought.
A convertible tub, once stripped, is pretty rigid. A lot of people are going to disagree with me but, assuming the rockers are still good you can easily lift and support the body in two locations front and back without bracing the doors. I did it and never had a problem with the body flexing or bending. I routinely supported the body at the front body mounts, over or just in front of the rear wheels and/or at the rear body mounts. I'd recommend bracing it in those three locations when you're cutting out the floor or trunk. Once those are done it's fine. My pictures show three supports but I often only used two front and back
I removed the body with a floor jack, alternatively blocking from front to back, until it was high enough to roll the frame out from under it.
I did find substantial rot in the front body mounts which required a lot of metal work. I didn't expect that. The rockers are galvanized so they really don't usually rot. You can support under them but the bottom of the rocker is a knife edge so I really wouldn't recommend it.
Last edited by allyolds68; Jan 2, 2018 at 10:21 AM.
Thanks for the replies. I was able to use my lift and got it on to a homemade transport dolly. I was worried about the body flexing, but took measurements before and after lifting and it does not seem to have shifted. Definitely back heavy though, more than I thought.
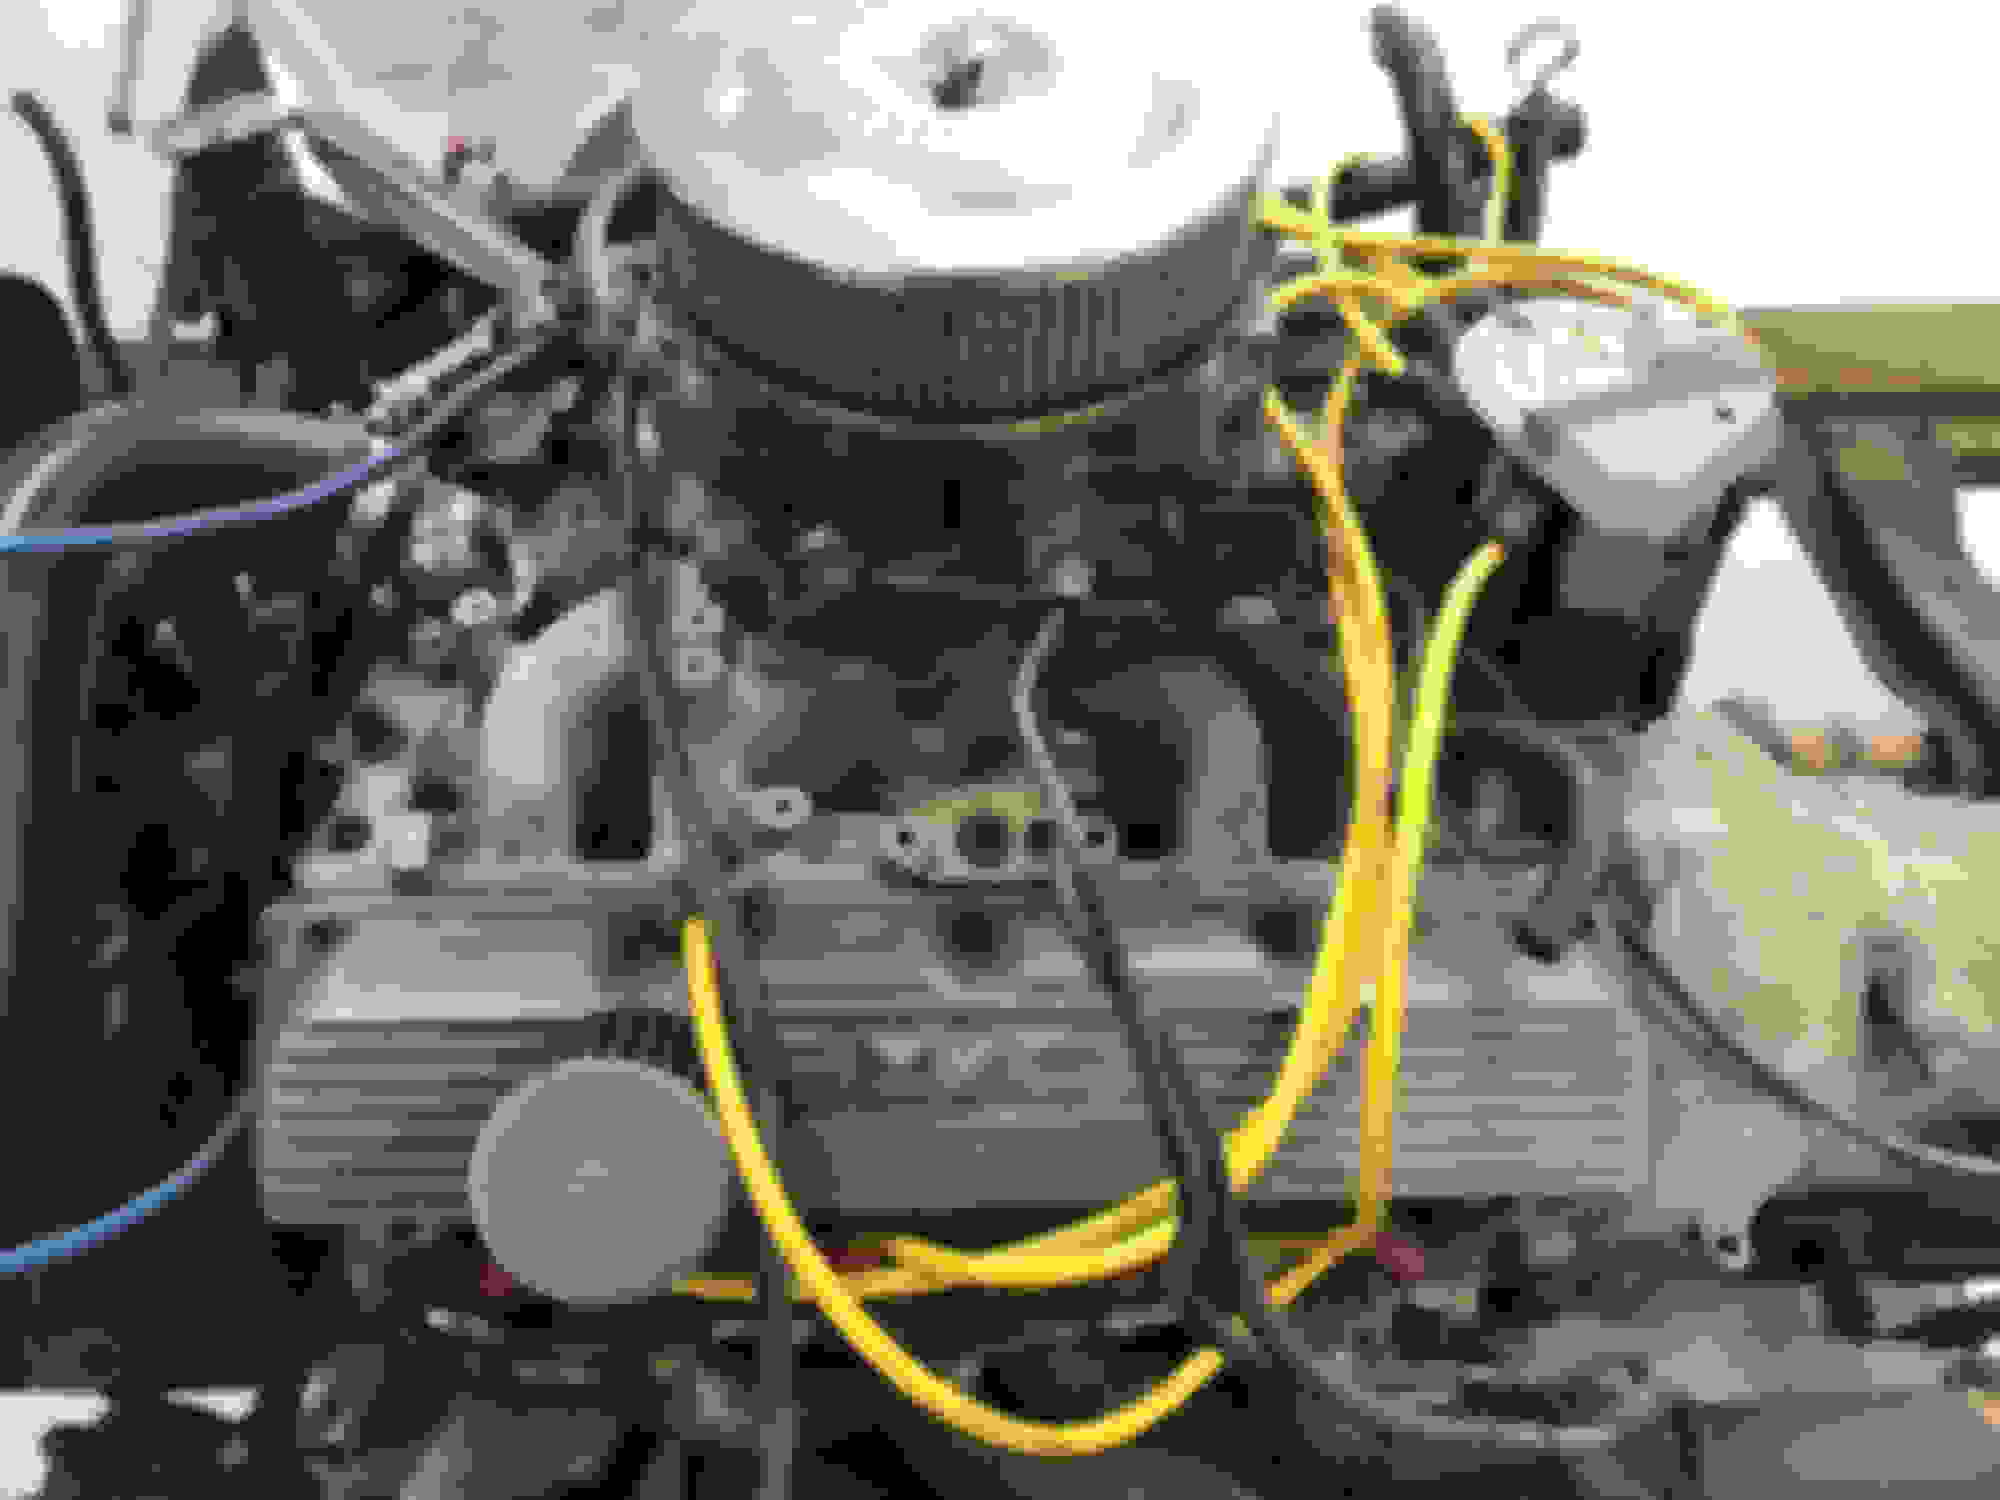
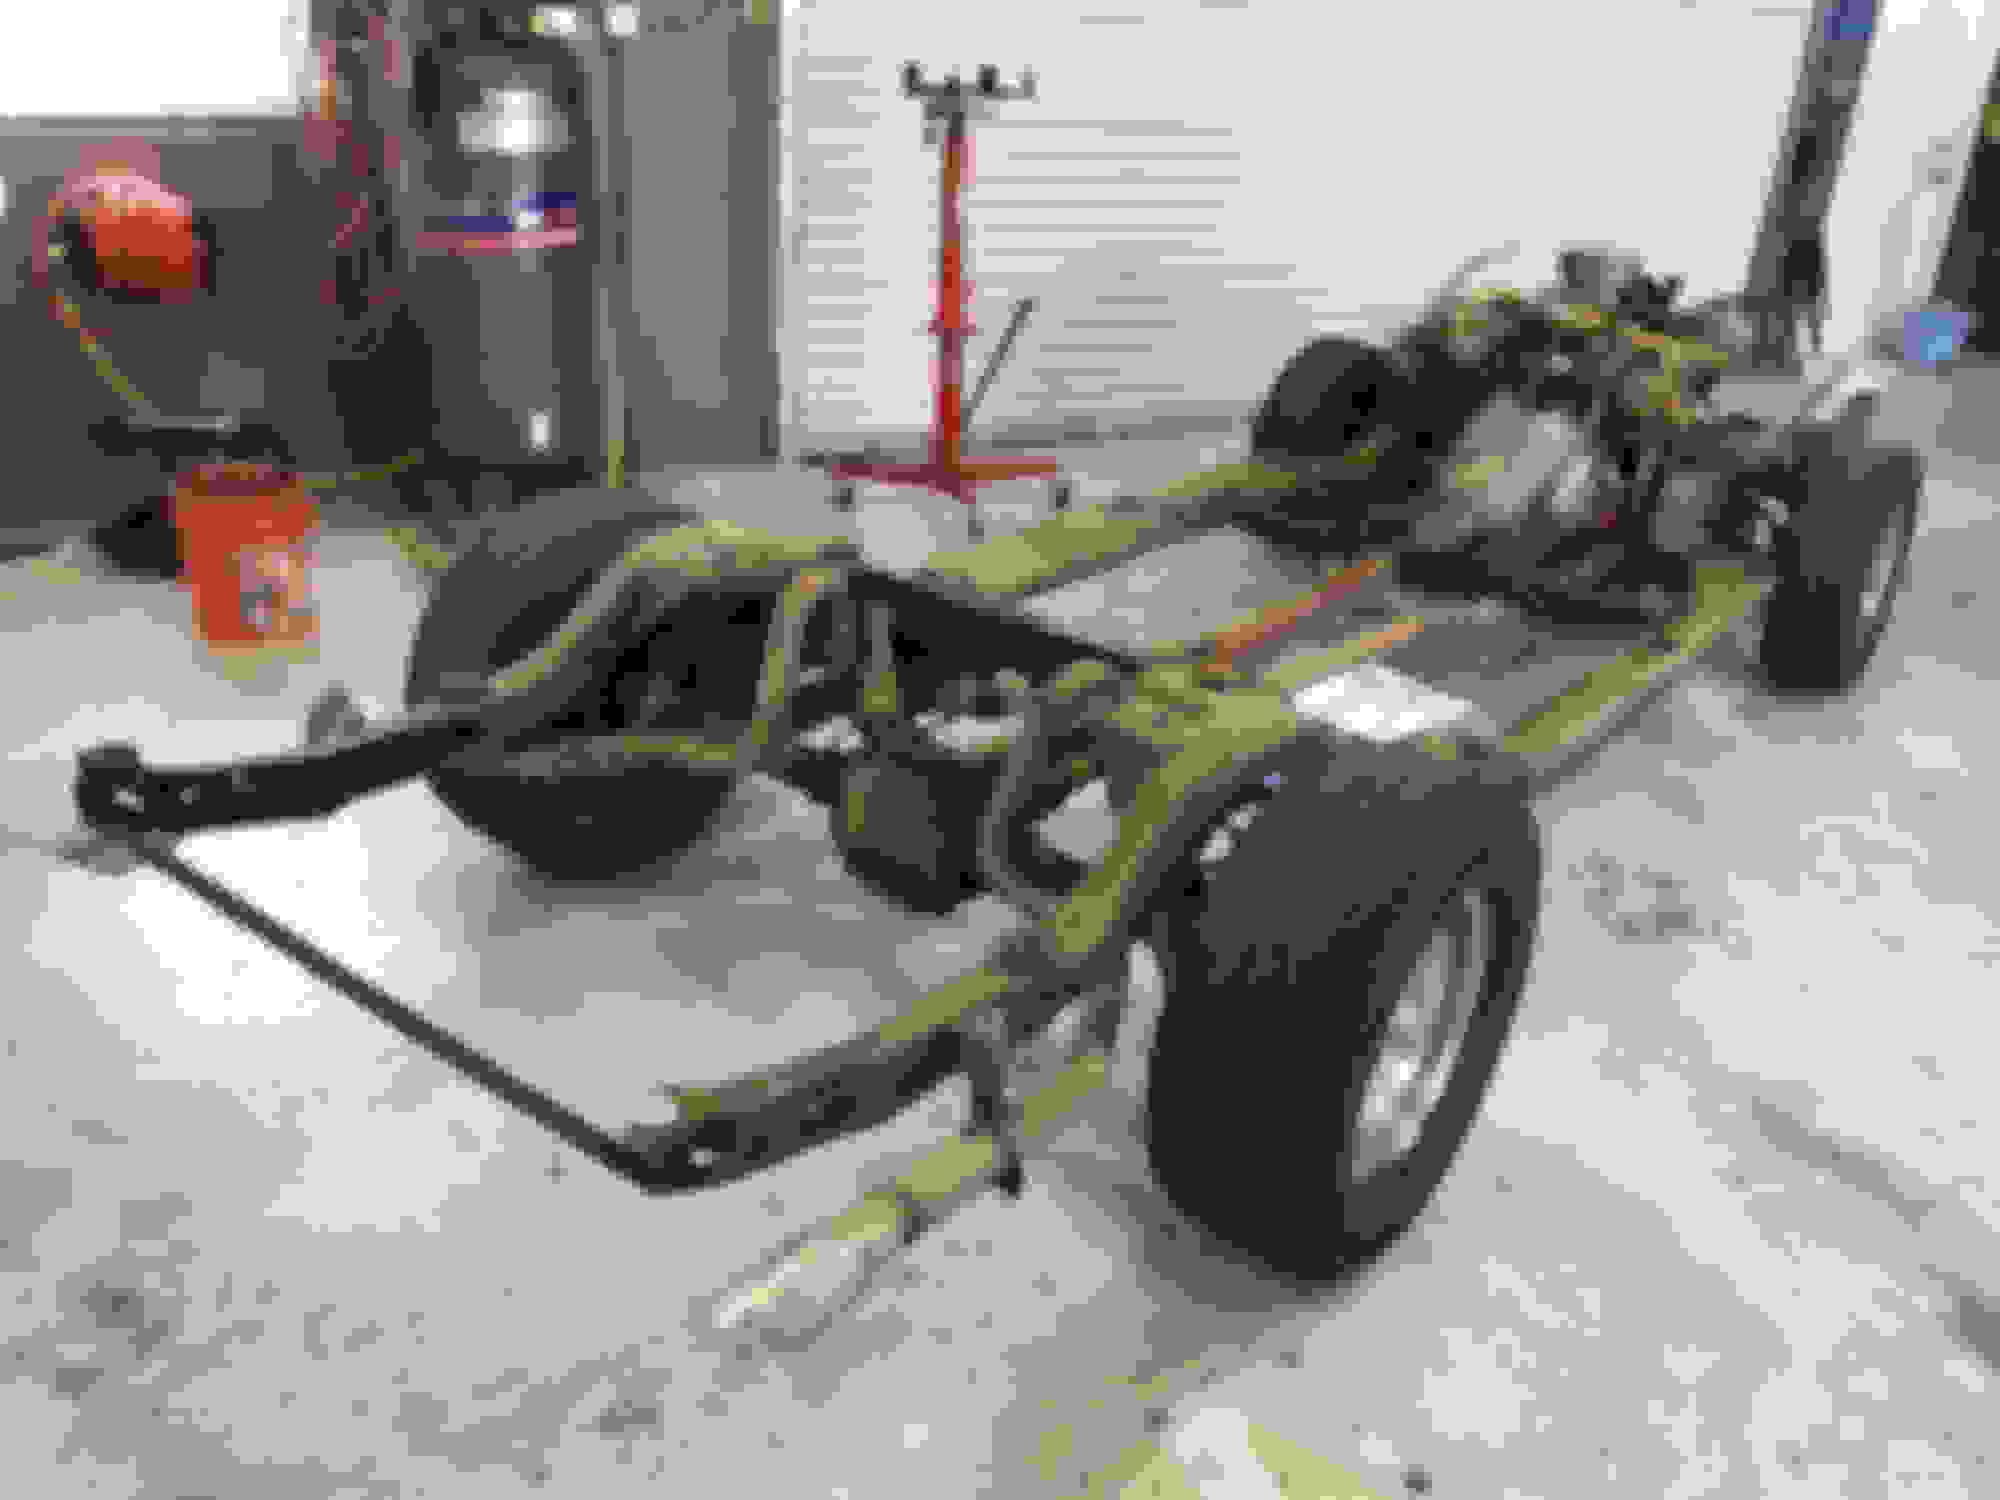
Here’s the chassis and drive train. I probably won’t be using much of this except the frame and rear(3:73 gears). Everything else I will either sell or scrap. 350 with 4 heads and I think 330 crank. Don’t really know much about the engine but it was rebuilt probably 15 years ago. Carb is crap but engine seem to run pretty good. Know nothing about trans, but shifts firm. If anyone is interested in any of this let me know. Probably local pickup for most due to time constraints, but may be willing to ship some stuff. I live in Melbourne, FL
Good luck with your project. I started the same restoration on my 66 Cutlass I have had since 1975, it was my first car. So far the project has taken 4 years. I have done all of the work myself except for the body work, I found a body man who still does lead work to do mine, the results have been no less than amazing. If it can be removed, it has been blasted, painted, powder coated or replaced with a new item. If at all possible, try to stay with OEM items, you will have alot fewer problems. Don't be afraid to ask for help from fellow members, they have been a wealth of information along the way for me. Take your time, do it right and you will have something you are very proud of in the end.
Thanks, Ron
Plan for this weekend is to get it stripped down to the frame so I can send the frame off to the blaster. Not sure what to do first, but I imagine I should take engine and trans out and then the suspension? Look for advise on sequence. Thanks
I stripped my project down to bare everything. When you have it blasted, also do the control arms, trailing arms, cross member, lower radiator support, core support and bumper mounting brackets at the same time. When you get every thing back, clean it and spray a couple heavy coats of etching primer, that should protect it till you decide the finish you want to do.
Thanks, Ron
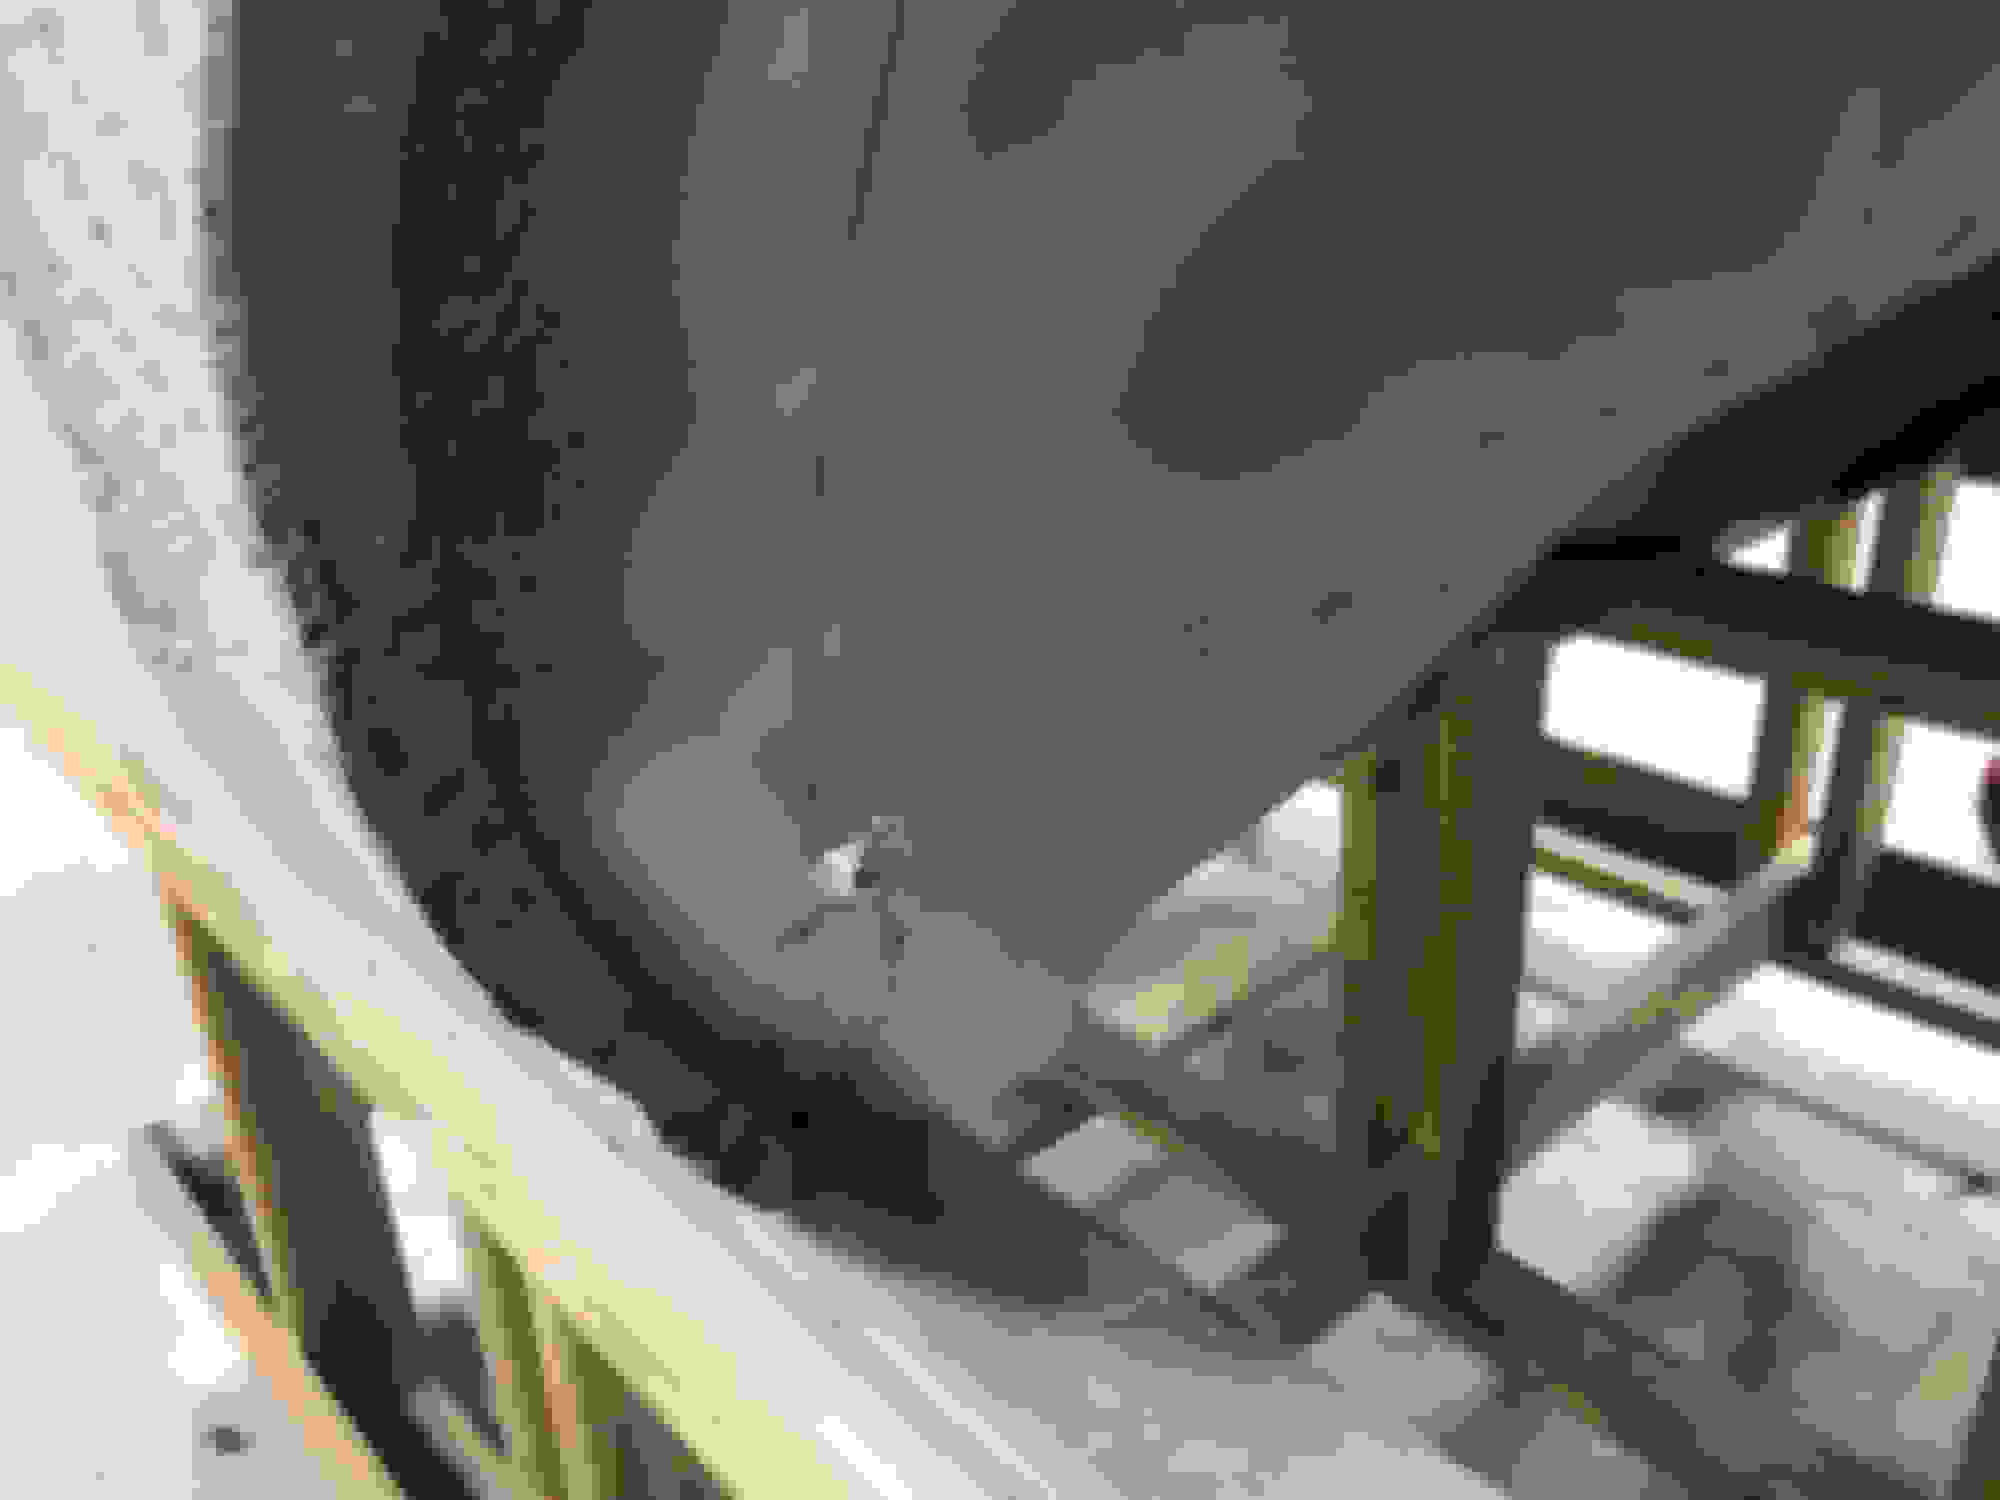
Well, a year has gone by and I haven’t made much progress, but finally got the body blasted. You never know you really have until you strip all the paint off and at this point I’m pretty discouraged as there is a lot more damage than I thought. Both qtrs- inner and outer, full floor and trunk pans, cowls, torque boxes, top of dash and probably rocker panels. Might just cut my losses and find another project....here are some pics
Well, a year has gone by and I haven�t made much progress, but finally got the body blasted. You never know you really have until you strip all the paint off and at this point I�m pretty discouraged as there is a lot more damage than I thought. Both qtrs- inner and outer, full floor and trunk pans, cowls, torque boxes, top of dash and probably rocker panels. Might just cut my losses and find another project....here are some pics
Other than the wheel houses it's pretty localized. The dash is better than mine was. My front body mounts were a little better, but not much. My wheel houses were worse. My floor and body braces were already replaced when I got the car but I'm sure mine were worse than yours. It almost looks like you could patch the floors at the body mounts and not even replace the body braces
I just did a little at a time. Eventually it got finished.
It's amazing how shoddily these cars were fixed back in the day when they were nothing special, just a 10 yr old convertible. Some of those guys really were artists with filler to be able to make that metal work look good. It's also amazing how that work actually lasts for years and looks so good yet be so bad underneath. I was also surprised how bad my 71 'vert was. Stay with it- it will be worth it when done!
I don't know what your plans are to continue your restoration, but one thing I might suggest is to not cut the outer wheel housing off completely. There are no reproductions on the housing or the quarter for a 68. You will have to use 68 hardtop quarters and outer wheel housing and cut them down to fit your car. I made the mistake in cutting off the housing and that is one of the worst things I did.
I don't know what your plans are to continue your restoration, but one thing I might suggest is to not cut the outer wheel housing off completely. There are no reproductions on the housing or the quarter for a 68. You will have to use 68 hardtop quarters and outer wheel housing and cut them down to fit your car. I made the mistake in cutting off the housing and that is one of the worst things I did.
That's what i did with my outer wheel houses and 1/4 panels. This is a pic of how I pieced in the 1/4. You can see the new outer wheelhouse in the pic too. I only replaced what was bad
Well first question first, can you weld? That will give you a good direction to go in. Or do you have a friend that welds? why I am asking is it will take time to do all the welding and if your paying someone by the hour the costs will mount up. I think it is very doable. I welded my quarters and wheel houses etc. The quarters do come with a lot of the door opening, I used the hardtop quarters and cut along the molding line. As Gary Mentions you will need to use a portion of the wheel Housing that's there already, if you look in my thread you can see how this is was done. and don't try to eat the elephant all at once, there will be an investment in sheet metal and a lot of welding, I did my windshield area too. they seem to repop most of the metal, let us know if we can help in anyway. good luck
Thanks for all the suggestions. I thin’ I’m go7ng to see it through. Going to price all the metal and see where I stand. What should I tackle first - in other words sequence of panel replacement? Floor first an should I get the full floor or floor halves? Figure full floor is less welding.
Might want to use your confidence with the welder and panel fabrication tools as a guide to where to start. Some of the patches are pretty straightforward and not overly visible, so would be good starting points until you get up to speed to tackle the more complex areas.
It seems like everything is repairable but the amount of work is the challenge. Just remember the old saying about "How do you eat an elephant?" ...one bite at a time. Focus on the area you're going to work on and don't be intimidated by looking at the many jobs ahead. You can do this!
I suggest cutting out the weak/missing metal areas and making/buying patch panels instead of replacing the whole panel. It's cheaper, it's less work, and you won't have to worry about bracing the body as you would replacing a whole panel (especially quarters, floors, trunk, and cowl). I would also suggest doing one panel repair at a time - cut out and weld in each panel/patch complete before moving to the next one. Too many projects have been ruined by someone cutting all the bad panels out before welding any new pieces in and can't figure why the doors and fenders won't fit back on correctly once they have all the new pieces welded in... Looks like a great project. Have fun and good luck with it!