Another cutlass! I must be a addict

Thread Tools
 
Search this Thread
 
Old Jun 28, 2018 | 06:57 AM
  #41  
Jeffs71's Avatar
Registered User
 
Joined: Sep 2015
Posts: 89
From: NY
Looking good
Old Jul 2, 2018 | 01:39 PM
  #42  
Rustbucket2's Avatar
Thread Starter
Registered User
 
Joined: Dec 2014
Posts: 499
From: Indiana
Put some shiny paint , on the underside of my hood today
Attached Images
File Type: jpg
100_5558.jpg (338.1 KB, 60 views)
File Type: jpg
100_5559.jpg (309.5 KB, 55 views)

Last edited by Rustbucket2; Jul 15, 2018 at 12:34 PM.
Old Jul 4, 2018 | 10:41 AM
  #43  
Rustbucket2's Avatar
Thread Starter
Registered User
 
Joined: Dec 2014
Posts: 499
From: Indiana
Worked on hood hinges, and inner wheel wells today.
Attached Images
File Type: jpg
100_5560.jpg (324.3 KB, 38 views)
File Type: jpg
100_5561.jpg (329.9 KB, 35 views)
File Type: jpg
100_5564.jpg (289.6 KB, 34 views)
File Type: jpg
100_5565.jpg (333.6 KB, 35 views)
File Type: jpg
100_5566.jpg (304.2 KB, 33 views)
File Type: jpg
100_5567.jpg (278.3 KB, 33 views)
File Type: jpg
100_5568.jpg (348.5 KB, 33 views)
File Type: jpg
100_5569.jpg (344.1 KB, 35 views)
File Type: jpg
100_5570.jpg (350.7 KB, 35 views)
File Type: jpg
100_5571.jpg (343.2 KB, 36 views)
Old Jul 15, 2018 | 12:35 PM
  #44  
Rustbucket2's Avatar
Thread Starter
Registered User
 
Joined: Dec 2014
Posts: 499
From: Indiana
put the ac hoses on.
Attached Images
File Type: jpg
100_5601.jpg (284.0 KB, 31 views)
Old Jul 15, 2018 | 12:37 PM
  #45  
Rustbucket2's Avatar
Thread Starter
Registered User
 
Joined: Dec 2014
Posts: 499
From: Indiana
Time to put that hood on. pictures before and after.
Attached Images
File Type: jpg
100_5602.jpg (351.9 KB, 33 views)
File Type: jpg
100_5603.jpg (381.1 KB, 25 views)
File Type: jpg
100_5604.jpg (340.6 KB, 25 views)
File Type: jpg
100_5607.jpg (351.5 KB, 23 views)
File Type: jpg
100_5608.jpg (340.1 KB, 25 views)
File Type: jpg
100_5605.jpg (333.4 KB, 27 views)
Old Jul 20, 2018 | 09:22 AM
  #46  
Rustbucket2's Avatar
Thread Starter
Registered User
 
Joined: Dec 2014
Posts: 499
From: Indiana
masking it up for one more coat of primer, then more sanding, then I hope paint
Attached Images
File Type: jpg
100_5612.jpg (256.1 KB, 20 views)
File Type: jpg
100_5613.jpg (249.3 KB, 25 views)
Old Jul 20, 2018 | 03:03 PM
  #47  
truckman5000's Avatar
W30
 
Joined: Feb 2016
Posts: 529
From: Cape Cod Ma
Nice work! cant wait to see final paint
Old Jul 20, 2018 | 04:06 PM
  #48  
Rustbucket2's Avatar
Thread Starter
Registered User
 
Joined: Dec 2014
Posts: 499
From: Indiana
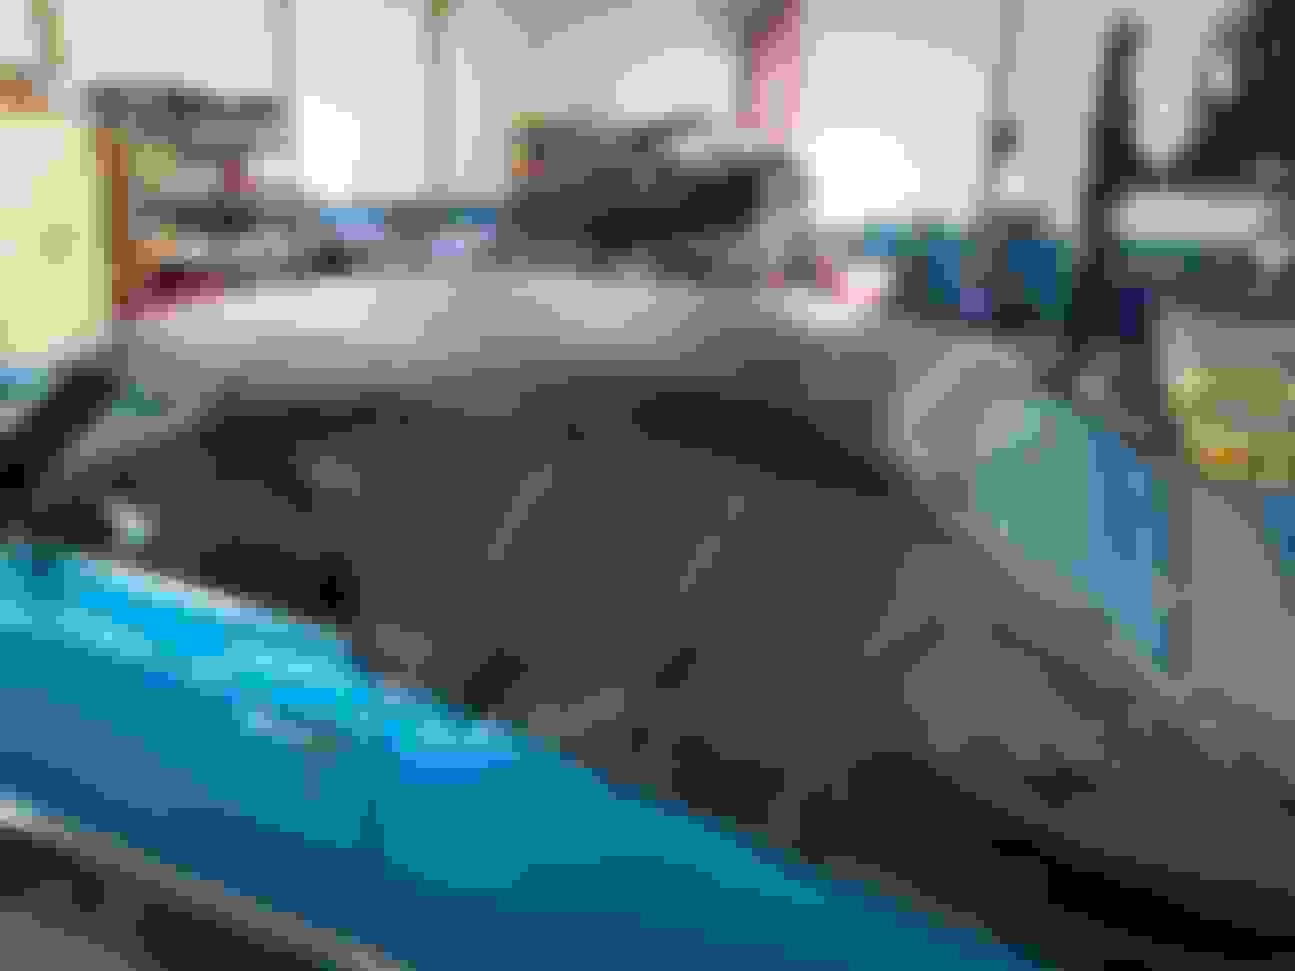
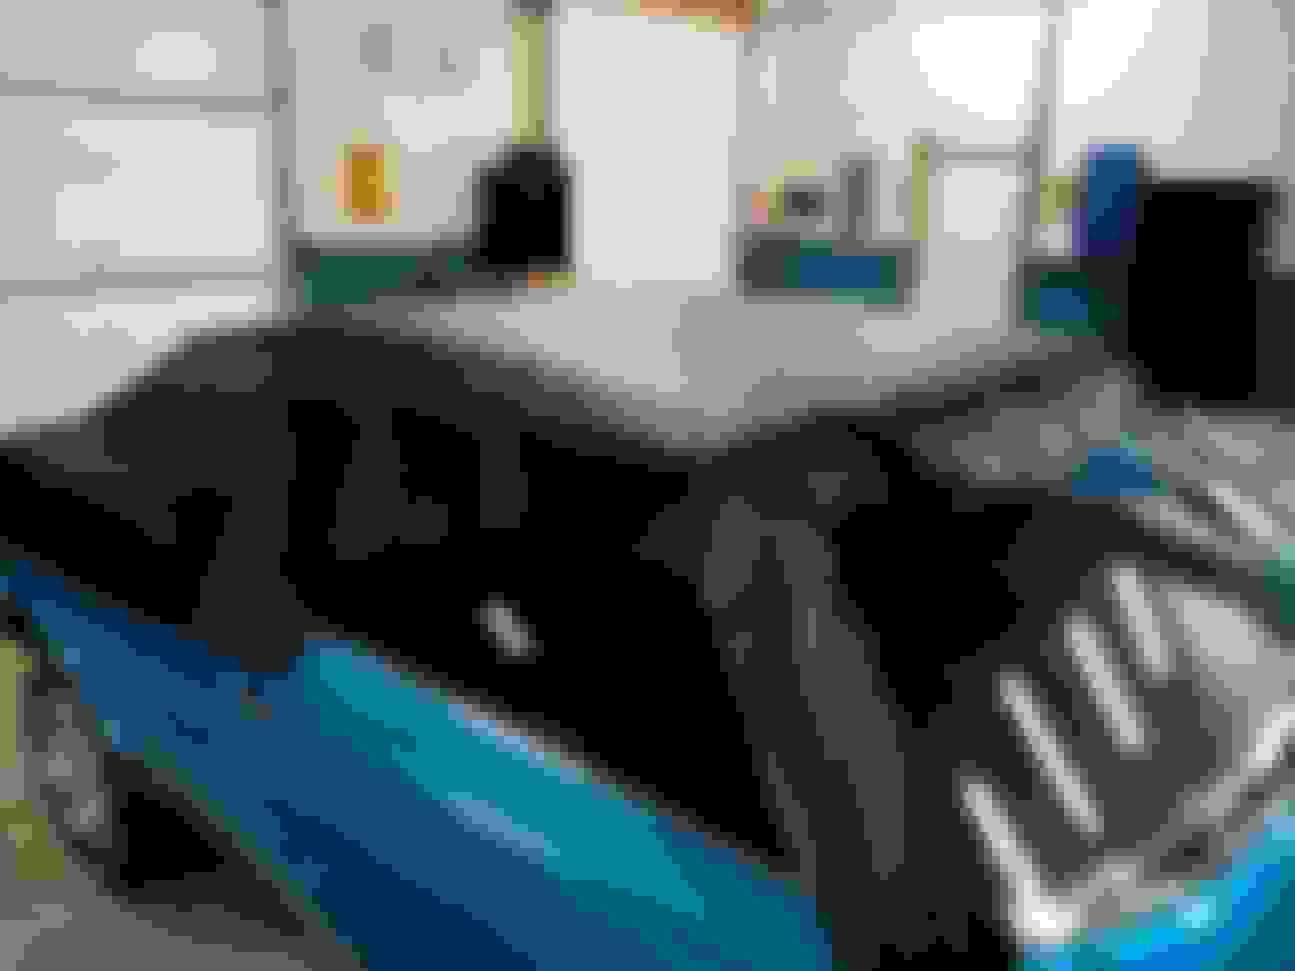
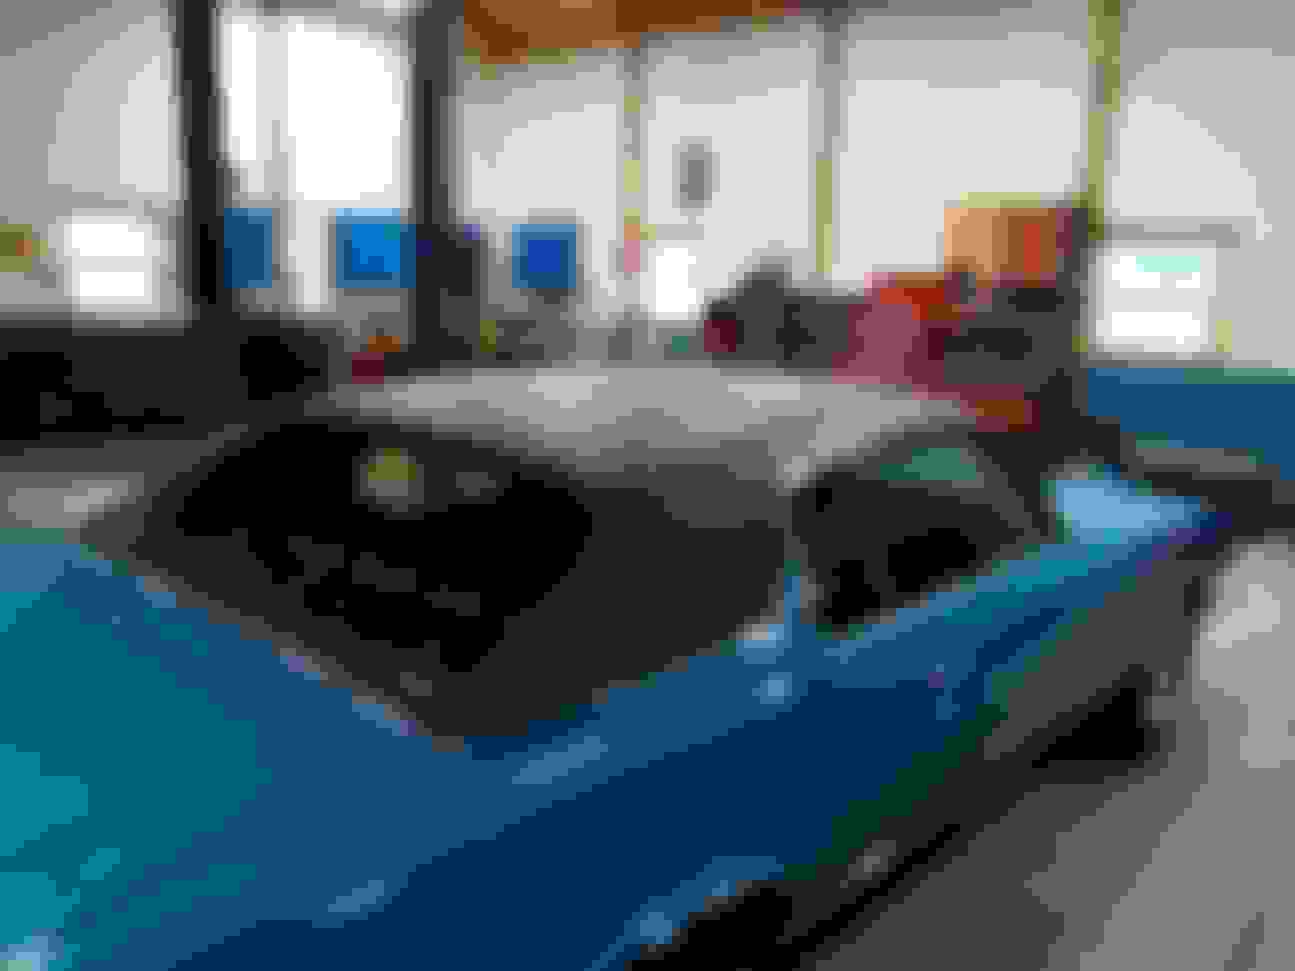
Painted it today, big mistake, rainy, and only 70 Deg, looks bad, will have to sand it down again, and repaint it, but will have to wait until paint cures. It is the worst paint job, I have done yet ! The roof looks funny, but that's because it's going to get vinyl top, and I didn't clear coat it.
Attached Images
File Type: jpg
100_5614.jpg (357.7 KB, 25 views)
File Type: jpg
100_5615.jpg (366.6 KB, 25 views)
File Type: jpg
100_5616.jpg (379.1 KB, 26 views)
File Type: jpg
100_5617.jpg (383.3 KB, 26 views)
File Type: jpg
100_5618.jpg (325.7 KB, 27 views)
File Type: jpg
100_5620.jpg (328.5 KB, 25 views)
File Type: jpg
100_5621.jpg (315.9 KB, 29 views)
Old Aug 8, 2018 | 09:01 AM
  #49  
Rustbucket2's Avatar
Thread Starter
Registered User
 
Joined: Dec 2014
Posts: 499
From: Indiana
Round two. cleared today. next cut and buff. need to cut and buff to get orange peel and dirt out of paint
Attached Images
File Type: jpg
100_5661.jpg (256.6 KB, 24 views)
File Type: jpg
100_5664.jpg (301.9 KB, 22 views)
File Type: jpg
100_5665.jpg (369.3 KB, 22 views)
File Type: jpg
100_5666.jpg (357.3 KB, 20 views)
File Type: jpg
100_5667.jpg (370.4 KB, 23 views)
Old Aug 8, 2018 | 09:04 AM
  #50  
Rustbucket2's Avatar
Thread Starter
Registered User
 
Joined: Dec 2014
Posts: 499
From: Indiana
should back up one day, painted the base, and stripes yesterday.
Attached Images
File Type: jpg
100_5649.jpg (347.6 KB, 21 views)
File Type: jpg
100_5650.jpg (285.4 KB, 18 views)
File Type: jpg
100_5651.jpg (338.3 KB, 18 views)
File Type: jpg
100_5652.jpg (360.0 KB, 19 views)
File Type: jpg
100_5656.jpg (363.9 KB, 22 views)
File Type: jpg
100_5657.jpg (347.8 KB, 30 views)
Old Aug 16, 2018 | 03:20 PM
  #51  
Rustbucket2's Avatar
Thread Starter
Registered User
 
Joined: Dec 2014
Posts: 499
From: Indiana
Sanded on car today, just have hood to go, then I can buff out whole car. Last picture shows some buffing on drivers side rear Quarter panel, I think it will all look fine ,when done. Oh yes, a scissors lift is great for sanding and buffing, bottom of car. no laying on your back on the ground!
Attached Images
File Type: jpg
100_5682.jpg (313.5 KB, 27 views)
File Type: jpg
100_5683.jpg (319.7 KB, 25 views)
File Type: jpg
100_5685.jpg (364.8 KB, 25 views)
File Type: jpg
100_5686.jpg (329.9 KB, 28 views)
Old Aug 22, 2018 | 10:19 AM
  #52  
Rustbucket2's Avatar
Thread Starter
Registered User
 
Joined: Dec 2014
Posts: 499
From: Indiana
Finally have the whole car sanded down to 2000 grit, Had it sanded to 1500 ( except hood) and decided to go to 2000! now to wash it off and get ready to buff it this weekend ( I hope )
Attached Images
File Type: jpg
100_5690.jpg (325.4 KB, 22 views)
File Type: jpg
100_5691.jpg (314.2 KB, 18 views)
File Type: jpg
100_5693.jpg (290.1 KB, 16 views)
File Type: jpg
100_5694.jpg (307.8 KB, 16 views)
File Type: jpg
100_5695.jpg (281.2 KB, 19 views)
Old Aug 22, 2018 | 10:48 AM
  #53  
Jeffs71's Avatar
Registered User
 
Joined: Sep 2015
Posts: 89
From: NY
That blue is stunning is that Viking blue ? Love the black on the hood also
Old Aug 22, 2018 | 11:10 AM
  #54  
Rustbucket2's Avatar
Thread Starter
Registered User
 
Joined: Dec 2014
Posts: 499
From: Indiana
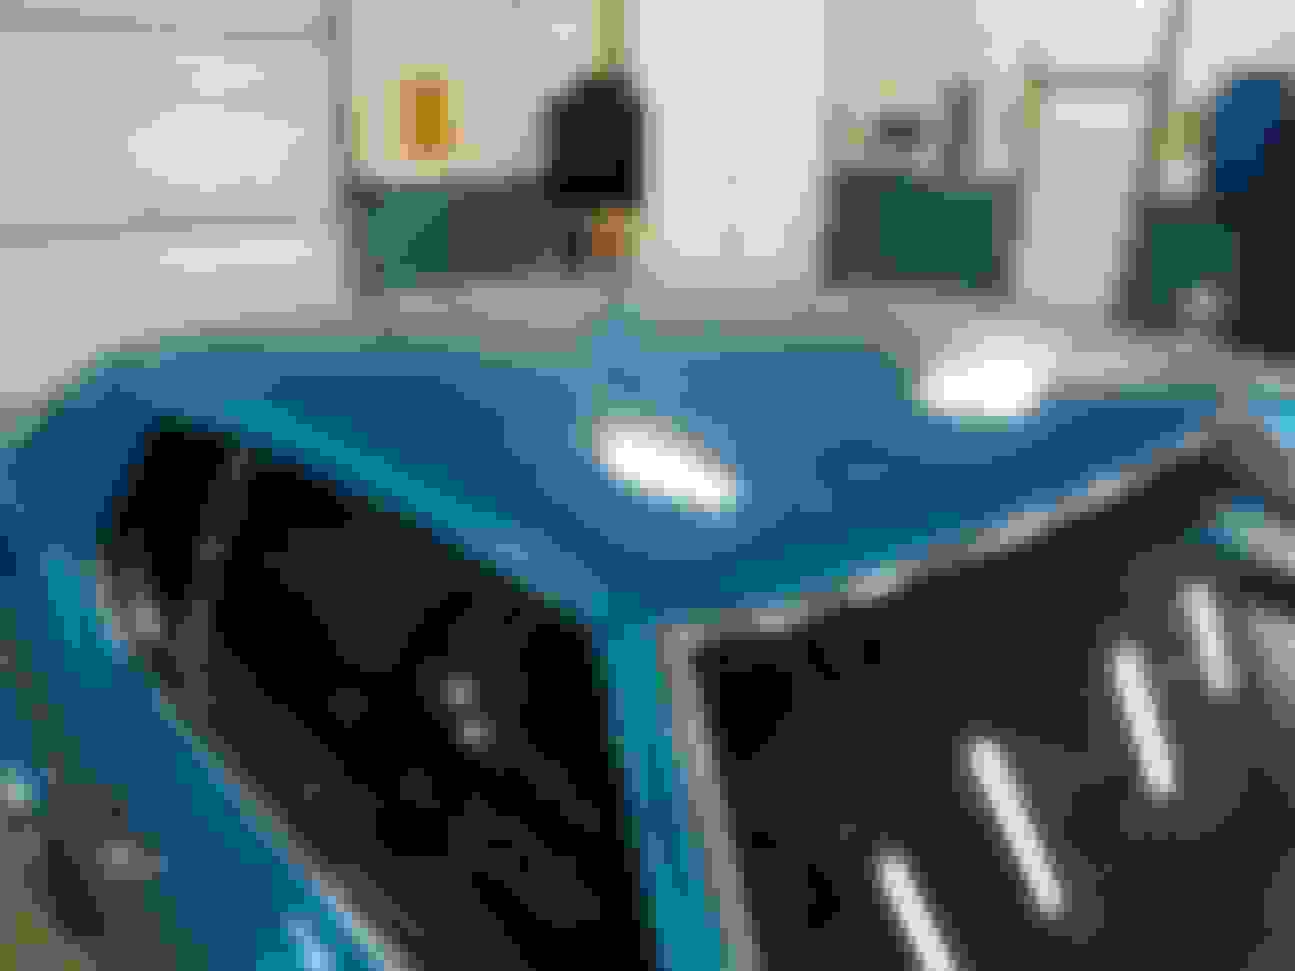
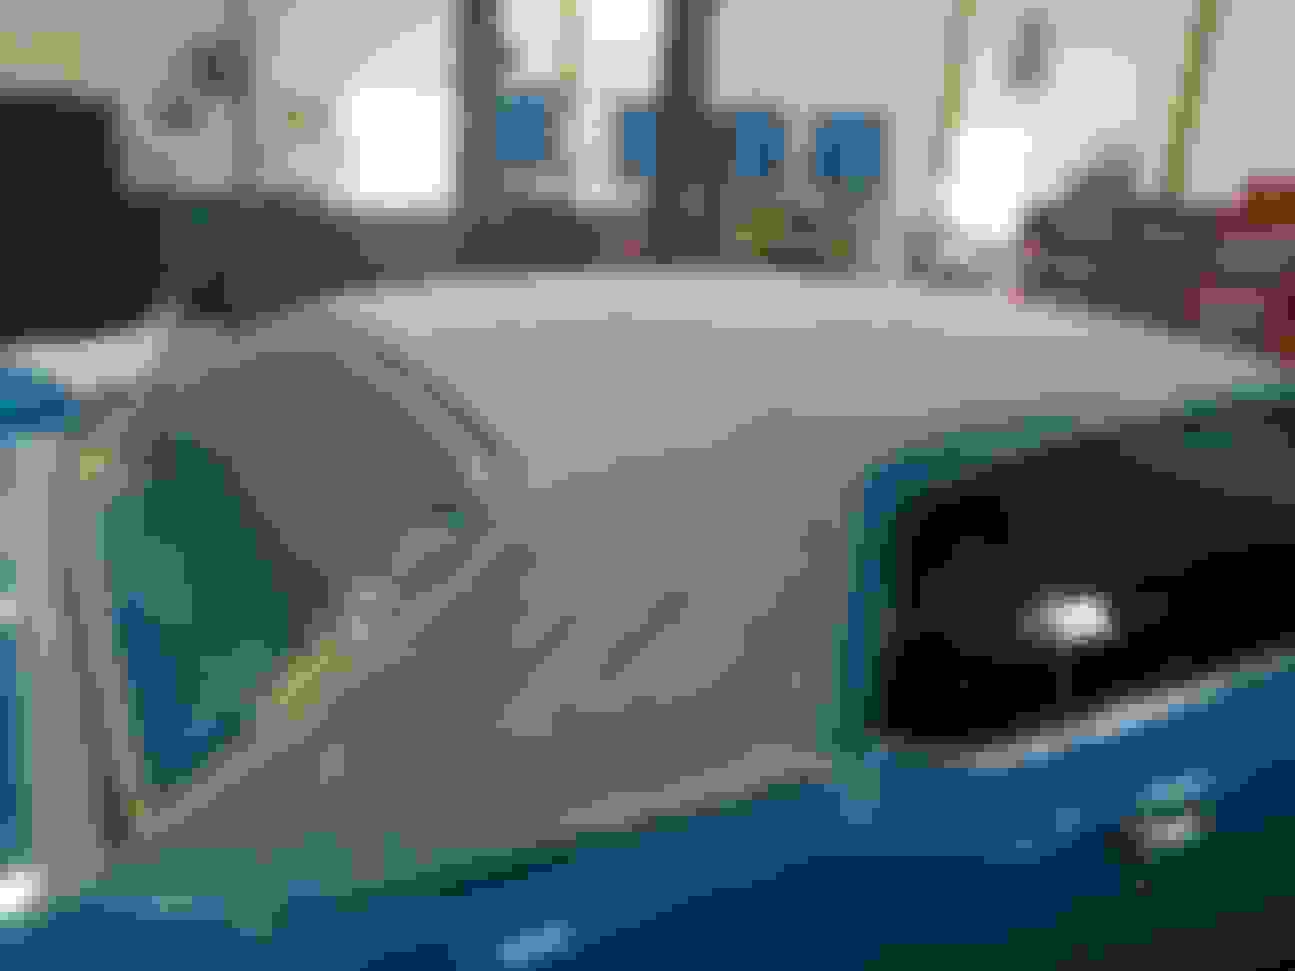
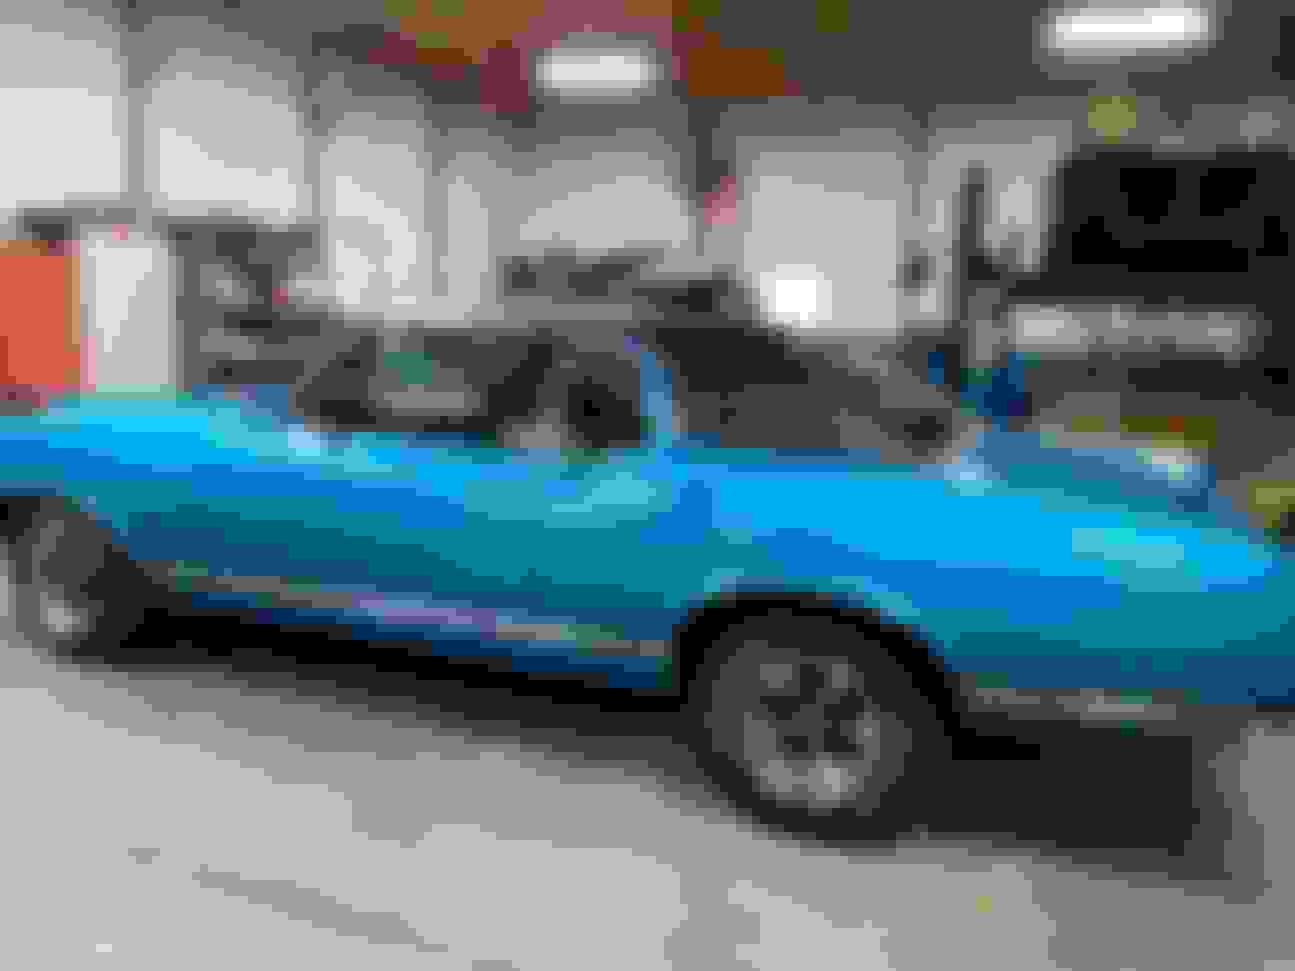
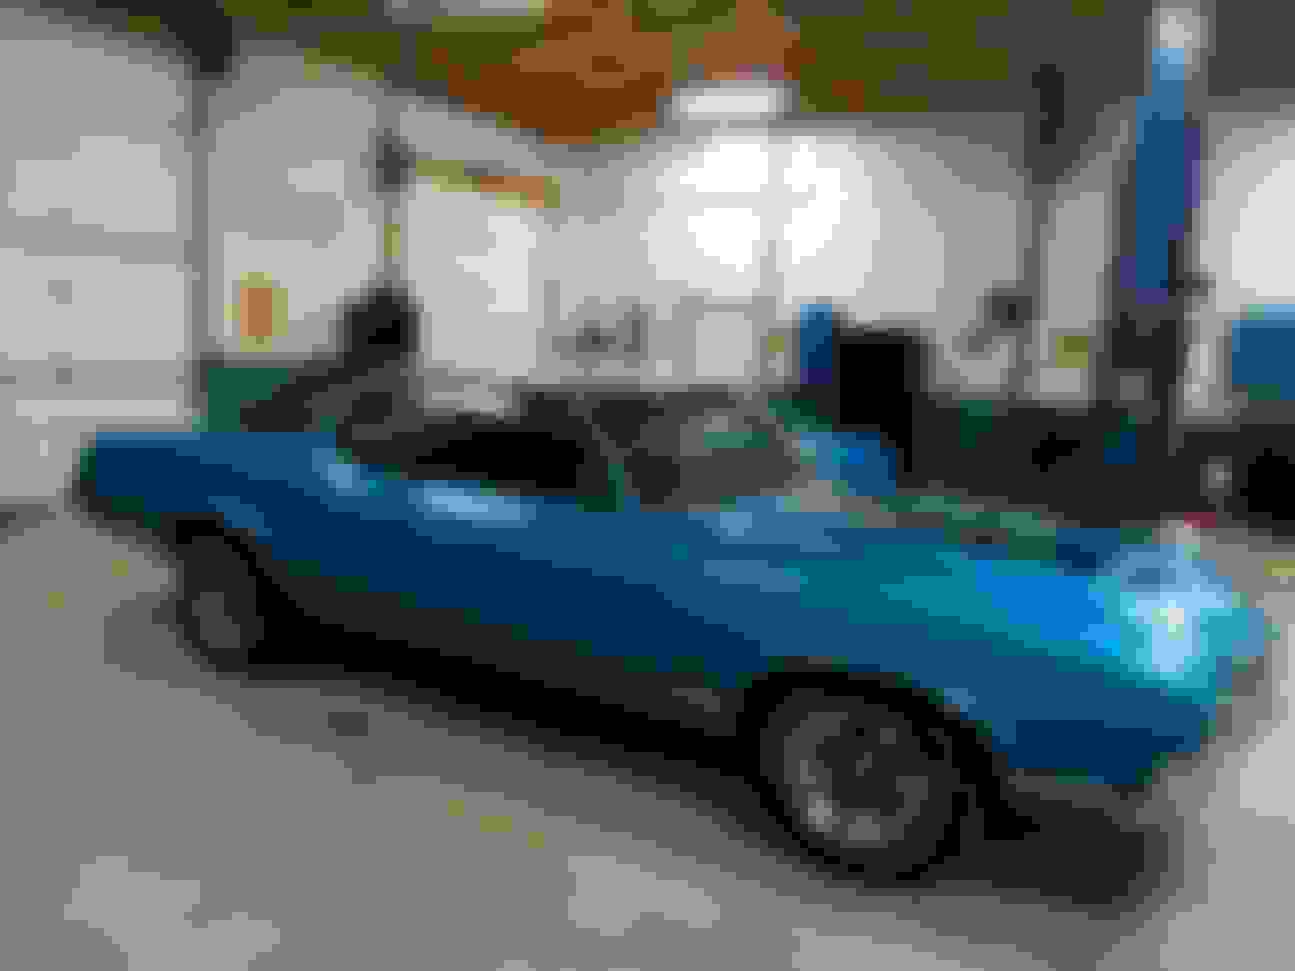
Yes Viking Blue, but I know I will never paint that color again , was a big pain for me to paint. could not get it to lay good. I will have to wait until I get it out in sun, to see if it looks good,
Old Aug 23, 2018 | 06:10 AM
  #55  
Jacoz70442's Avatar
Registered User
 
Joined: Aug 2010
Posts: 266
From: Fox Valley, WI
Looking great. How the heck did you get those inner fenders to look like that?
Old Aug 23, 2018 | 03:41 PM
  #56  
Rustbucket2's Avatar
Thread Starter
Registered User
 
Joined: Dec 2014
Posts: 499
From: Indiana
Originally Posted by Jacoz70442
Looking great. How the heck did you get those inner fenders to look like that?
Paint from Walmart, it's for plastic furniture that sets outside.
Old Aug 25, 2018 | 01:27 PM
  #57  
Rustbucket2's Avatar
Thread Starter
Registered User
 
Joined: Dec 2014
Posts: 499
From: Indiana
working on buffing out car, came to a stop, I need to find someone to buff out hood, there are to many contours and I don't have the right tools to do the job!
Attached Images
File Type: jpg
100_5704.jpg (284.9 KB, 16 views)
File Type: jpg
100_5705.jpg (285.4 KB, 15 views)
File Type: jpg
100_5706.jpg (287.0 KB, 16 views)
File Type: jpg
100_5708.jpg (252.7 KB, 19 views)
Old Sep 7, 2018 | 05:00 PM
  #58  
Rustbucket2's Avatar
Thread Starter
Registered User
 
Joined: Dec 2014
Posts: 499
From: Indiana
working on Cutlass. for all you car guys out there, why would the previous owner, take the body off frame, take everything off the frame ( so it's a bare frame) send frame out for sandblasting, and then spend big $$$ on having the frame powder coated , replace all the lines, brakes, rotors, calibers, shocks, springs, and not replace the front ball joints!! upper ball joints still had factory rivets in them. I Will fix that now . I'm waiting on the parts, and I will get it back together this weekend. Oh, and I also have new bump stops for control arms coming too. And yes, I will clean the blue over spray off the control arms.
Attached Images
File Type: jpg
100_5724.jpg (264.2 KB, 17 views)
File Type: jpg
100_5725.jpg (266.0 KB, 16 views)
File Type: jpg
100_5726.jpg (287.4 KB, 21 views)
Old Sep 18, 2018 | 06:34 PM
  #59  
Rustbucket2's Avatar
Thread Starter
Registered User
 
Joined: Dec 2014
Posts: 499
From: Indiana
More work on Cutlass, wheel well chrome, body side molding, drivers mirror, door locks, door handles. Rear of car, trunk lock and emblems, chrome trim. front put the tooth on, emblem, chrome trim. But now it has to wait, wife said " are you going to mow the yard tomorrow" so I'm mowing yard tomorrow, happy wife, happy life! P.S. Body side chrome looks funny, because doors are not shut. And after market stuff is crap.
Attached Images
File Type: jpg
100_5810.jpg (366.4 KB, 16 views)
File Type: jpg
100_5811.jpg (371.8 KB, 17 views)
File Type: jpg
100_5812.jpg (347.5 KB, 14 views)
File Type: jpg
100_5813.jpg (229.0 KB, 14 views)
File Type: jpg
100_5814.jpg (271.4 KB, 16 views)
File Type: jpg
100_5815.jpg (270.0 KB, 15 views)
File Type: jpg
100_5816.jpg (311.0 KB, 20 views)
Old Sep 18, 2018 | 07:08 PM
  #60  
RetroRanger's Avatar
72 Olds CS
 
Joined: Jun 2011
Posts: 6,657
looking great the side moldings and other chrome bits really add a lot to these cars

I got my wife a riding lawn mower...works out great she gets out of the garage and i get the lawn mowed
Old Sep 19, 2018 | 02:33 AM
  #61  
Rustbucket2's Avatar
Thread Starter
Registered User
 
Joined: Dec 2014
Posts: 499
From: Indiana
Lawn is my job, we made a deal before we were married, I do outside work,( mowing, trimming, keep yard looking good) she does inside work ( cooking, cleaning, laundry ) . And that's been 35 years ago, so far so good!
Old Sep 19, 2018 | 07:56 AM
  #62  
macrover's Avatar
Registered User
 
Joined: Aug 2010
Posts: 311
From: Dallas/Fort Worth, Texas
Nice work! The car is coming together nicely and it looks great so far! PM sent.
Old Sep 19, 2018 | 09:01 AM
  #63  
Rustbucket2's Avatar
Thread Starter
Registered User
 
Joined: Dec 2014
Posts: 499
From: Indiana
found some time this morning to get the lights in rear bumper, and hang that new bumper, look a lot better back there. Now time to mow that yard
Attached Images
File Type: jpg
100_5818.jpg (319.3 KB, 19 views)
File Type: jpg
100_5819.jpg (263.7 KB, 19 views)
File Type: jpg
100_5820.jpg (261.8 KB, 19 views)
File Type: jpg
100_5823.jpg (361.6 KB, 18 views)
File Type: jpg
100_5825.jpg (266.8 KB, 18 views)
Old May 27, 2019 | 04:50 PM
  #64  
Rustbucket2's Avatar
Thread Starter
Registered User
 
Joined: Dec 2014
Posts: 499
From: Indiana
It's been all winter, dug the cutlass out, will start working on it tomorrow. She is dirty, from sitting all winter.


Old Jun 3, 2019 | 12:00 PM
  #65  
Rustbucket2's Avatar
Thread Starter
Registered User
 
Joined: Dec 2014
Posts: 499
From: Indiana
Painted the radiator support, fan shroud, and latch support. put the radiator in for last time, and put back together. Next will be the grills and light bezels.


Old Jun 6, 2019 | 03:04 PM
  #66  
Rustbucket2's Avatar
Thread Starter
Registered User
 
Joined: Dec 2014
Posts: 499
From: Indiana
put the grills, headlight housings, and head light bezels in today, and still found time to mow and trim. Put the hood locks in a few days ago. keep moving forward!


Old Jun 11, 2019 | 04:47 PM
  #67  
Rustbucket2's Avatar
Thread Starter
Registered User
 
Joined: Dec 2014
Posts: 499
From: Indiana
Put the front bumper on today, what a pain. but it looks ok, not perfect, all pictures I look at , of 70's look wrong to me ( not straight or even ) I have to remember they where built to get people from point A to point B . it is what it is!
Old Jun 25, 2019 | 11:21 AM
  #68  
Rustbucket2's Avatar
Thread Starter
Registered User
 
Joined: Dec 2014
Posts: 499
From: Indiana


moving forward
Old Jul 12, 2021 | 03:37 AM
  #69  
Rustbucket2's Avatar
Thread Starter
Registered User
 
Joined: Dec 2014
Posts: 499
From: Indiana
It's been a long time, After all that has been happening in the world ( good and bad ) getting back on track, Called a friend and a nephew and asked if they would help me put a vinyl top on my car. They said yes, but they have never did a vinyl top. I told them neither have I , we would learn together, so it was set. I watched some Youtube , and looked here on this forum, and had some idea what I was in for. So I stared by putting the vinyl on the cars roof, to be sure It would fit, then sanded the clear on roof, so adhesive will bond to vinyl and roof, then masked car off.I know the plastic was over kill, but 3 dollars in plastic, and one dollar in tape, is better then having glue anywhere on my paint, and having to clean it off. Started on Saturday Took around 5 hours, but we took a few breaks, and we had lunch in between. First time putting a vinyl top on, so we took our time.
Sunday Morning , putting all the trim back on, still need to sort out rear window chrome. Thanks Jody and JW. Those Halo tops are a bitch, put look great on a car.


Old Jul 12, 2021 | 06:47 AM
  #70  
RetroRanger's Avatar
72 Olds CS
 
Joined: Jun 2011
Posts: 6,657
Wow the top looks great real nice. Your fr bumper fits better than most, even new repops!
Old Jul 12, 2021 | 07:45 AM
  #71  
Koda's Avatar
Registered User
 
Joined: Aug 2013
Posts: 12,852
From: Evansville, IN
That's good; be proud.
Old Jul 12, 2021 | 07:53 AM
  #72  
jmcghee's Avatar
Registered User
 
Joined: Sep 2017
Posts: 602
From: New Castle De
Impressed!!!!
Related Topics
Thread
Thread Starter
Forum
Replies
Last Post
blackdog6124
Major Builds & Projects
15
Mar 10, 2017 05:43 AM
swervecity
Major Builds & Projects
3
Jun 3, 2014 05:45 PM
Hawk1061
Body work
7
Nov 2, 2013 03:28 PM
73 d88
Body work
3
Sep 10, 2010 08:31 PM
wanta69'
Cutlass
12
Feb 11, 2009 05:57 PM


All times are GMT -7. The time now is 10:28 AM.