When you click on links to various merchants on this site and make a purchase, this can result in this site earning a commission. Affiliate programs and affiliations include, but are not limited to, the eBay Partner Network.
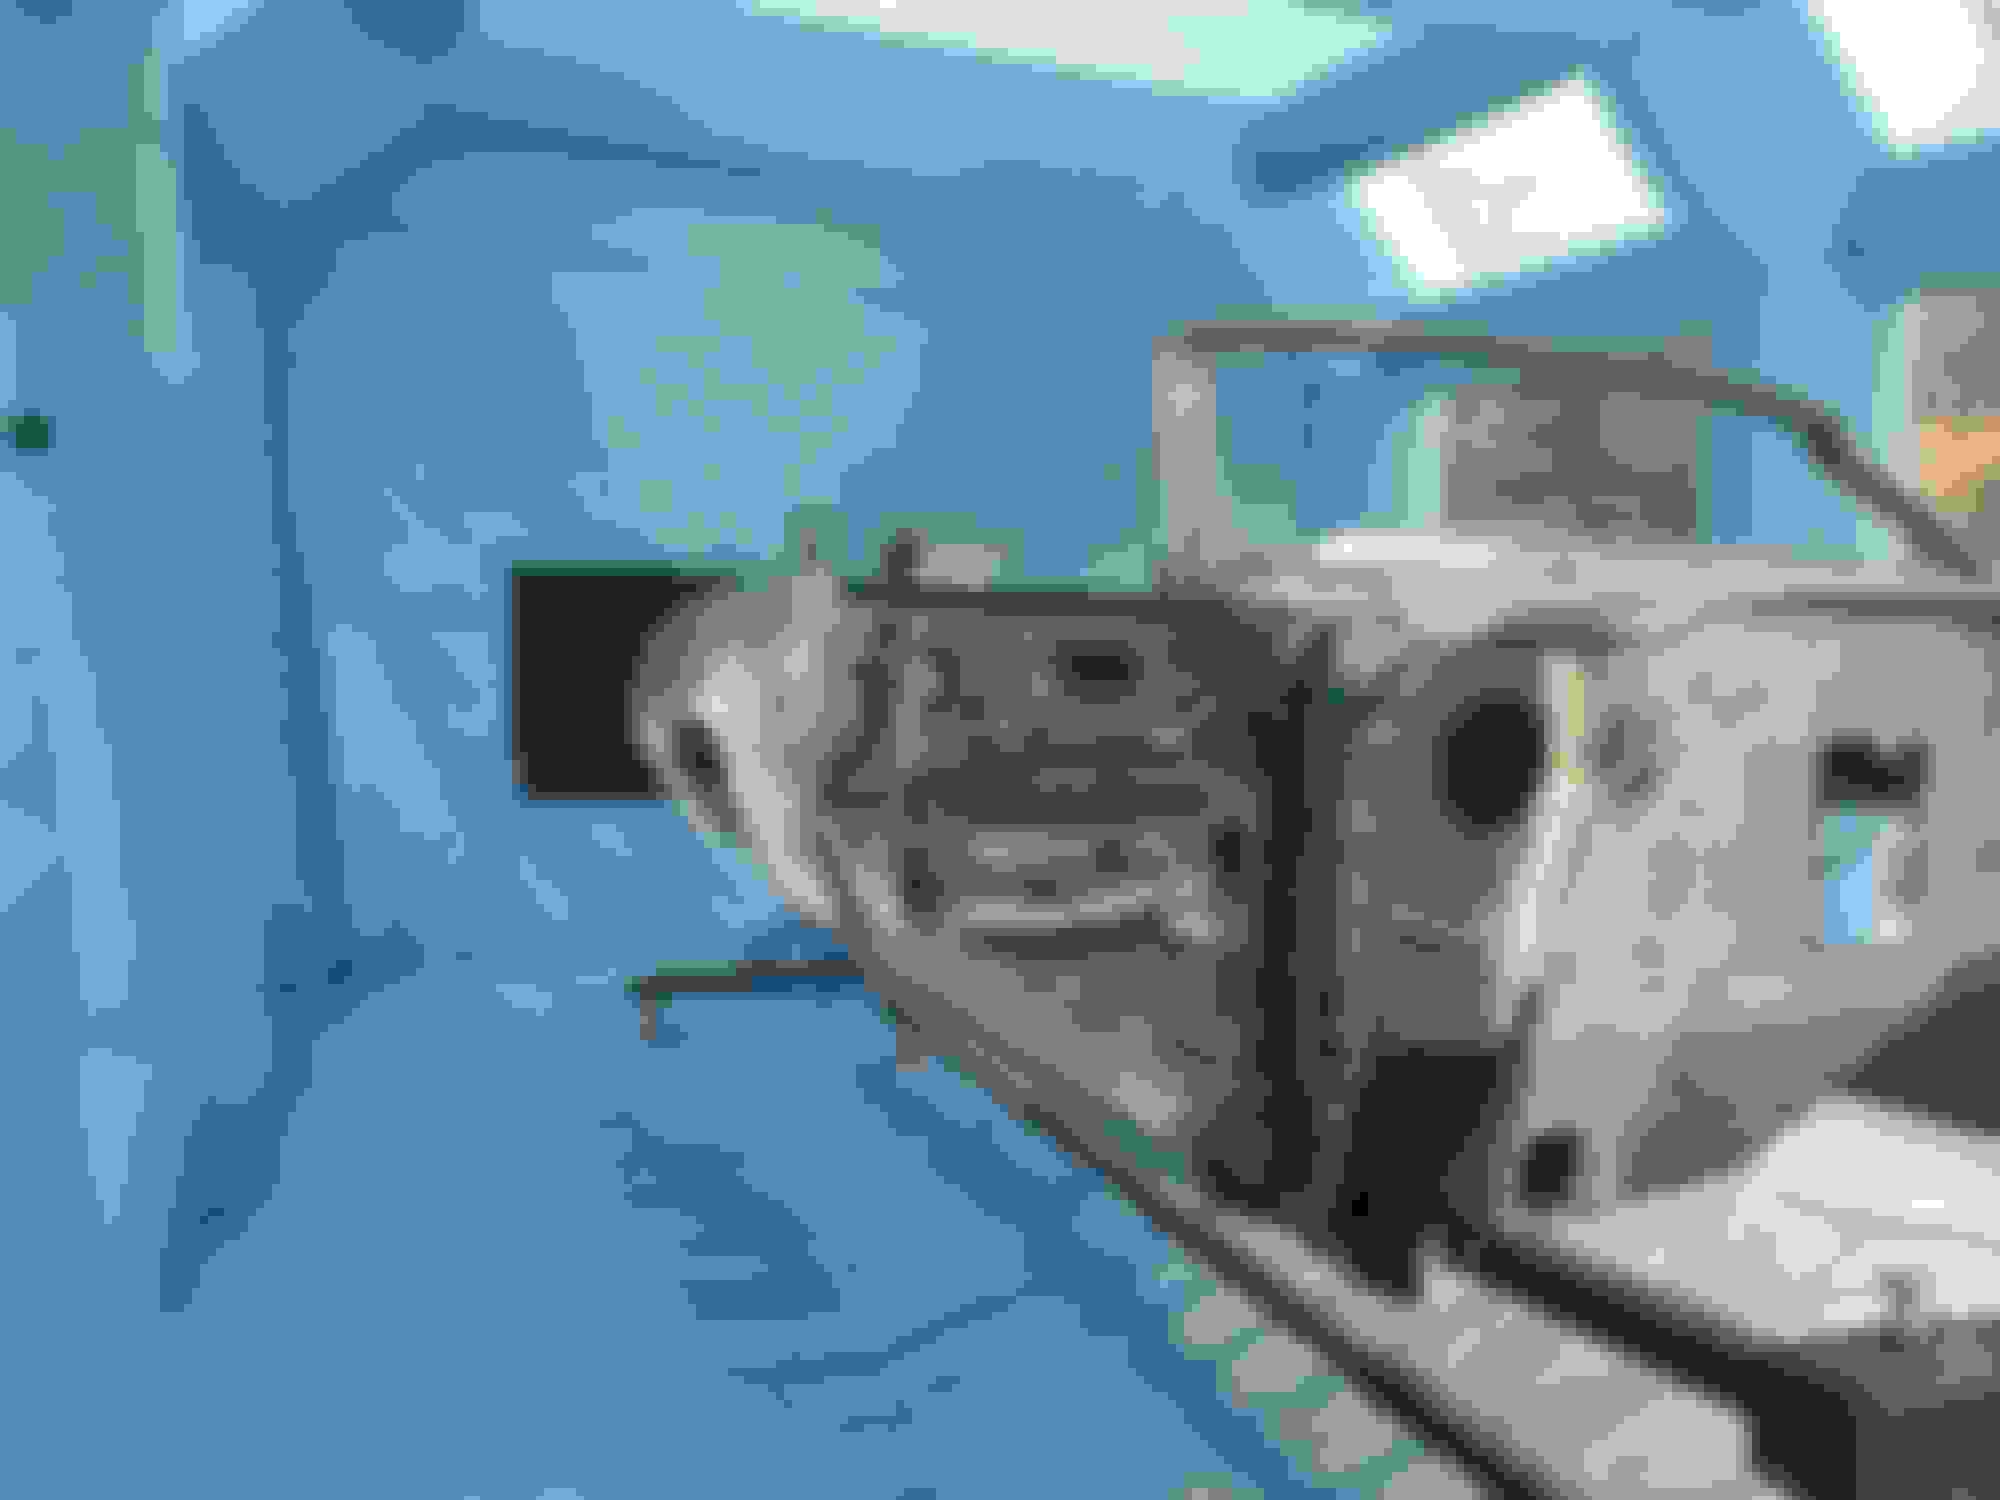
moved on to the front of the quarter hopefully one of the last patches (not happy with a previous owners patch around the wheel well)
After reviewing this article I tried a new technique https://www.musclecarrestorations.co...eet-metal.html.
I need to finish welding but using this technique I did get a nice tight fit.
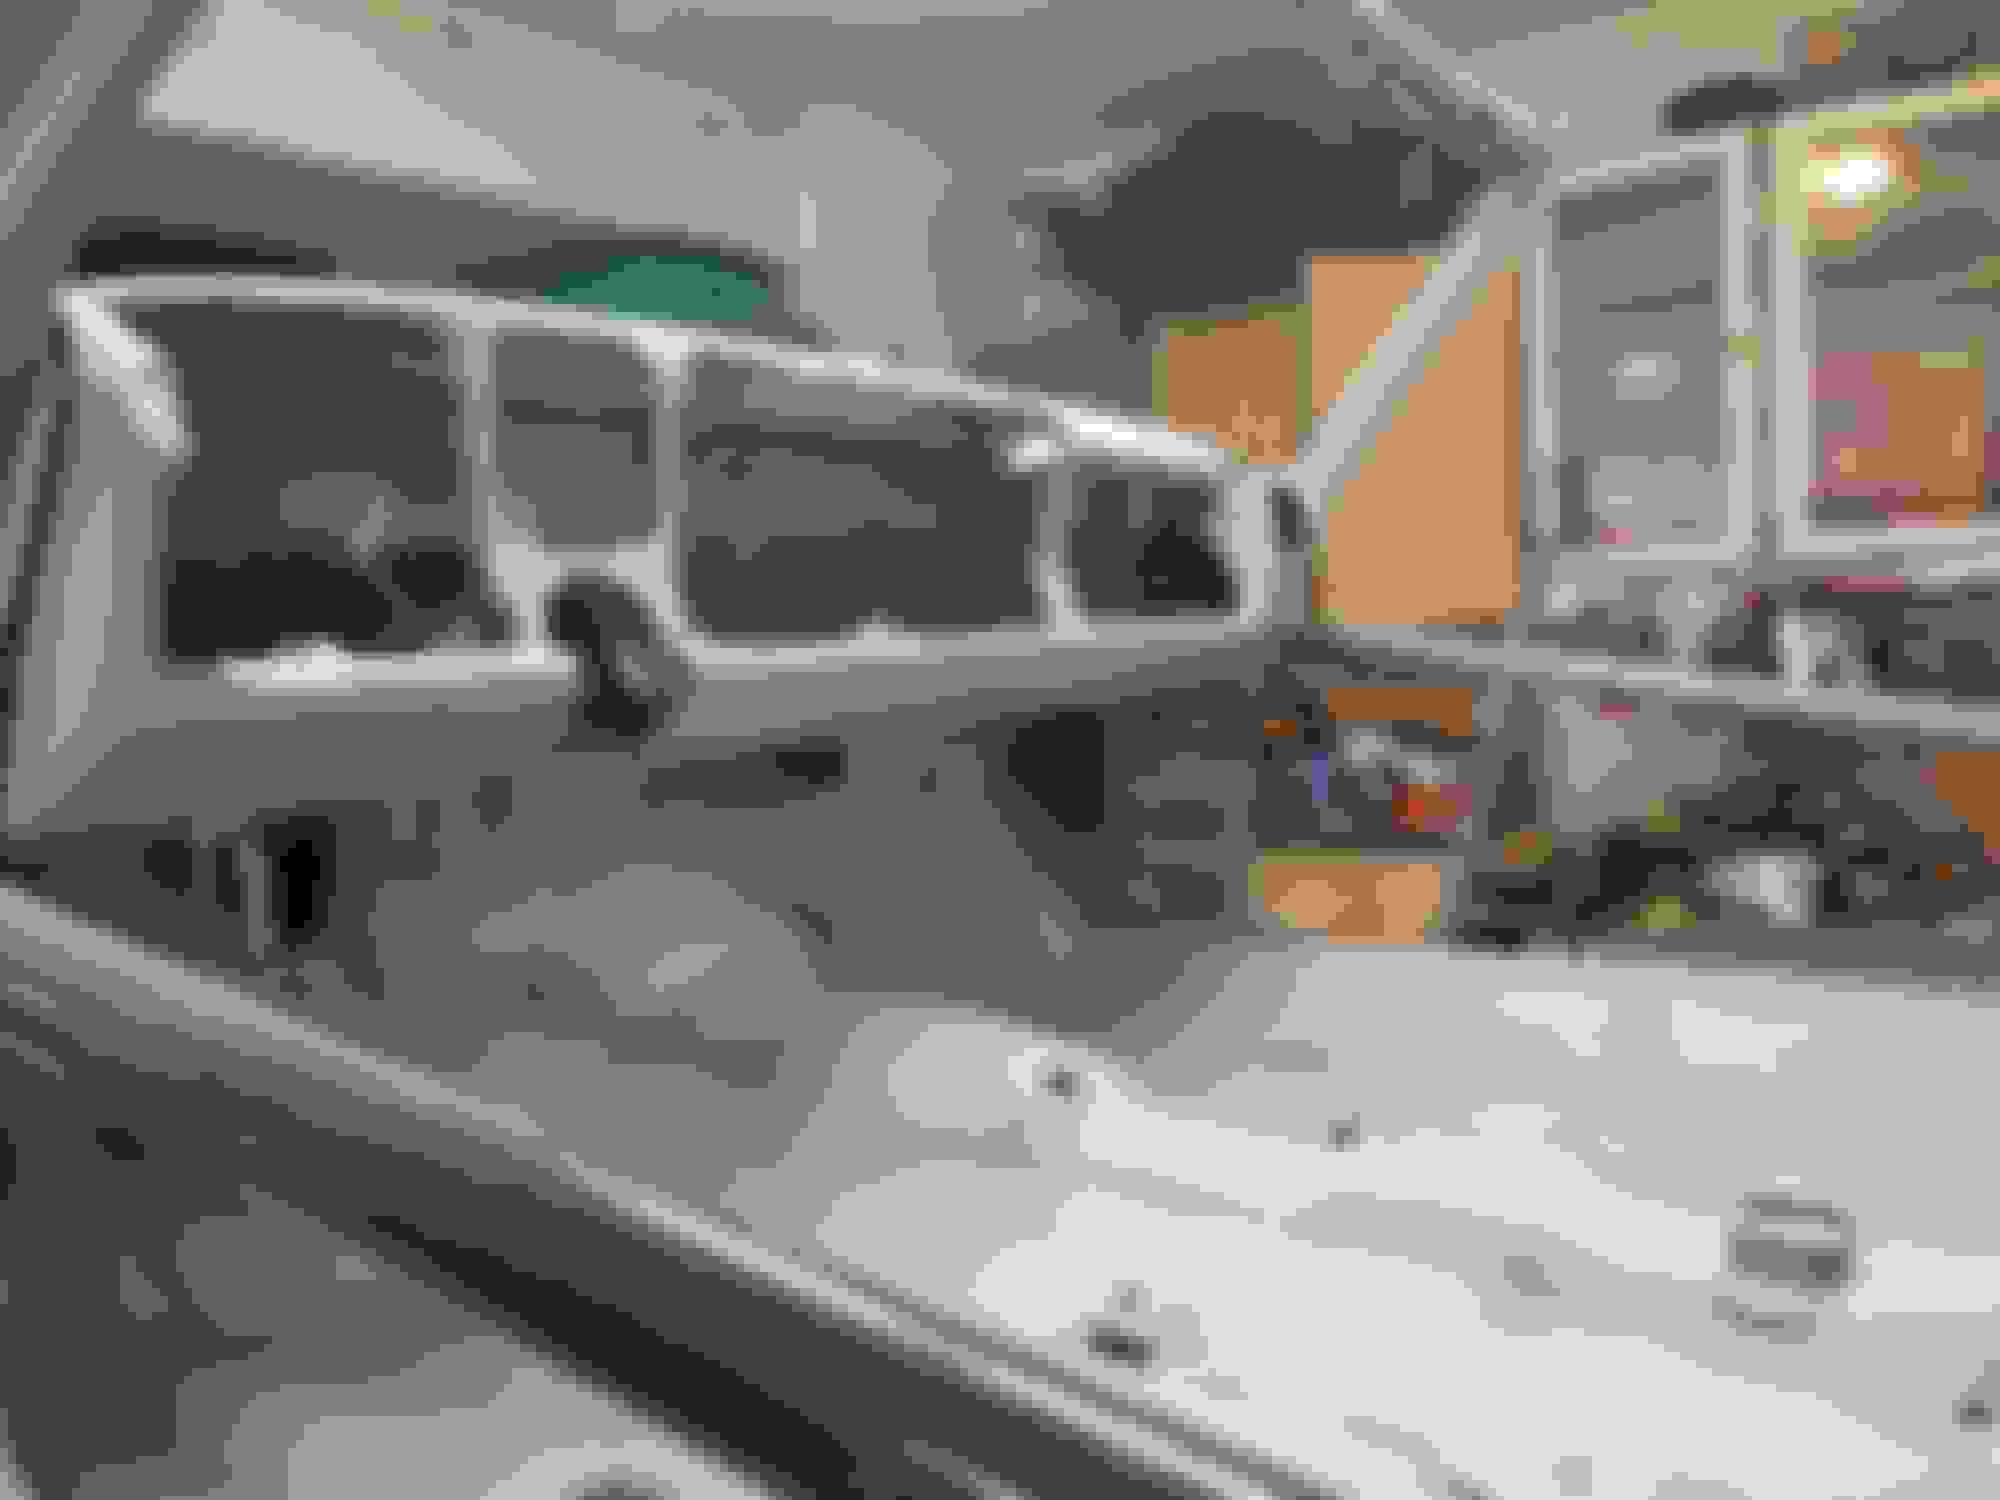
A few updates got a couple more patches in.
The welder was acting up, after welding an entire patch, I realized the leed got pulled out and gas was no longer making it to the tip.
Pushed the leed back in and the o ring sealed and I was back in business. The air scrapper worked well removing under coating.
It must just feel great to do all that stuff yourselves. Good on you for following this thru. Oldsmobile on!!!
It has been a big learning process, each patch seems to get a little easier.
But what made me feel great was stopping by and seeing my 455 painted and getting ready for the Dyno.
I dropped a disposable camera off can't wait for the pics of the build. CVS said two weeks to develop the film. Whatever happened to 1 hr photo?
Found a couple more place to patch, but I think I finally got them all.
Still a couple of small holes to deal with.
The cowl brace looked ok to start but was very thin in spots couple taps and it was falling apart so I made new one.
Started the clean-up.
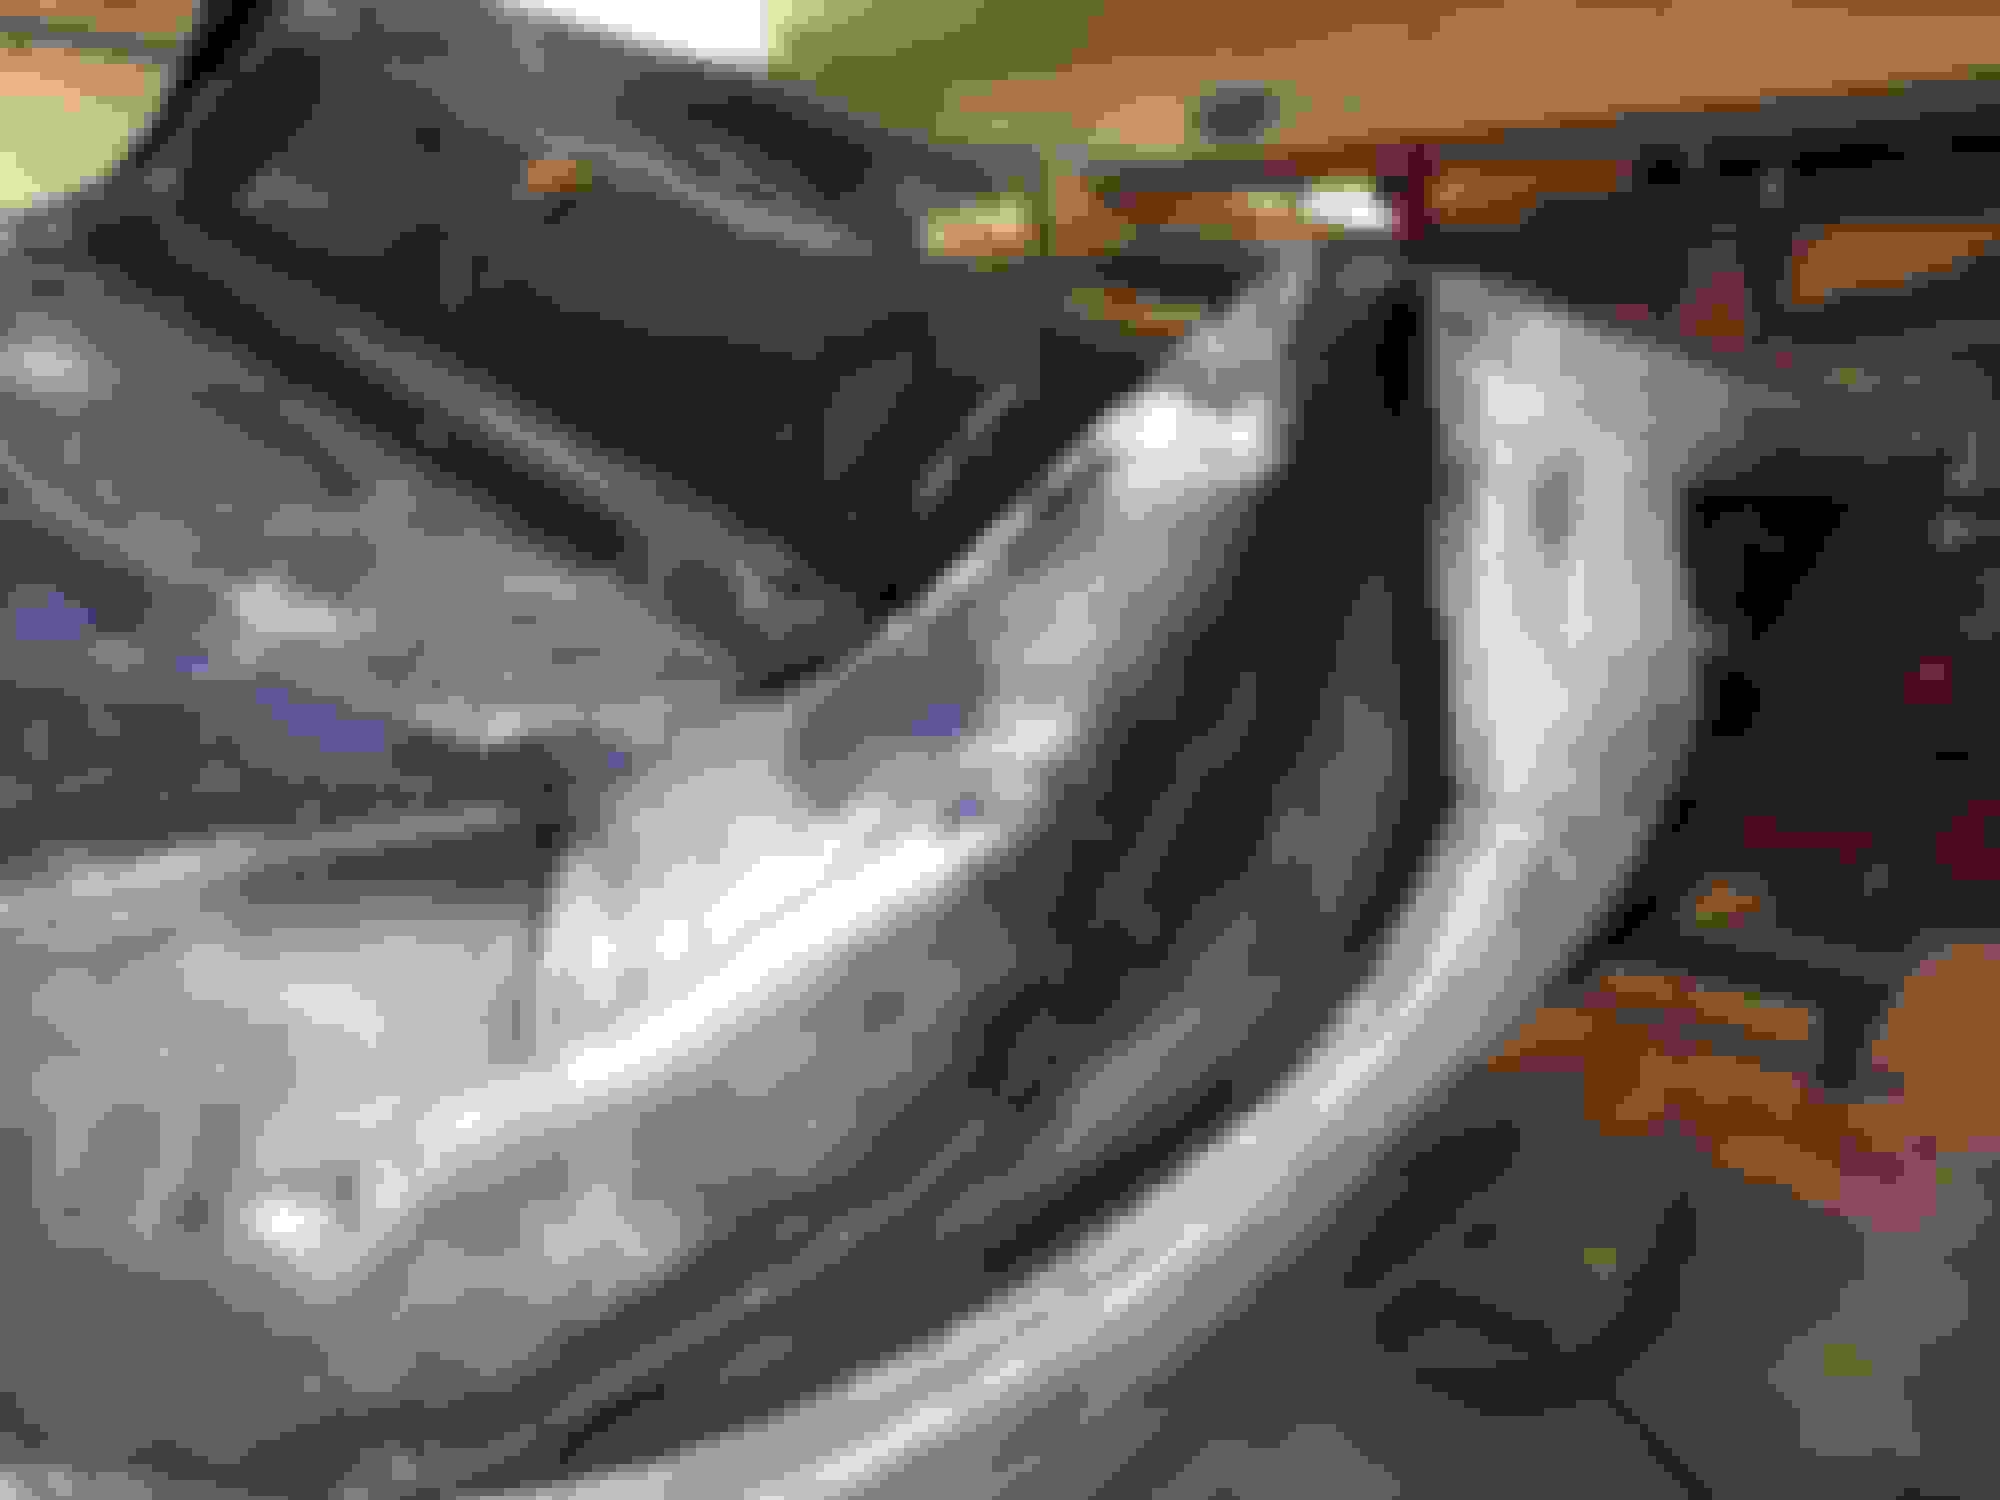
Wheel wells are fun I think most of the undercoating ended up all over me.
The HF air scrapper and a wire wheel on my grinder cleaned up the wheel well.
Hit the seam with some rust converter.
Tim, great work! I like the way you clamped the patch and cut the patch and old metal in one cut, so it matches. I do it that way also. Now I must ask, aren't you glad you didn't stay with your first rustier body? Wow just imagine what that one would have been like! Carry on doing excellent!!
Build sheet is a very cool item to have, where was it? And ditto on, glad you didn't take on the 1st rustier one! You really have done an amazing job, looking forward to some body work and primer.
Steve
Build sheet is a very cool item to have, where was it? And ditto on, glad you didn't take on the 1st rustier one! You really have done an amazing job, looking forward to some body work and primer.
Steve
The previous owner sent me a pic of the sheet.
I may be crazy but I am considering one day bringing back old red.
Old red has much more surface rust, but in the end, I think the new body had just as much or more rot.
BTW Thanks for the kind words Steve, Greg it really helps to keep me motivated.
Last edited by tkcutlass; September 30th, 2021 at 09:48 AM.
Is that an is what is is or did you ask for a total mechanical of 22 ?
That is what it is. he said it had a nice curve.
I wouldn't know a nice curve from a slider.
I am sure there are some knowledgeable people here that could elaborate on the curve.
Just saw this thread. Wow, Mr. TK is very determined! No longer an apprentice, his metal shop skills have been greatly enhanced. I can't imagine how many rolls of 2lb he has gone through. Lot of time and sweat!
Just saw this thread. Wow, Mr. TK is very determined! No longer an apprentice, his metal shop skills have been greatly enhanced. I can't imagine how many rolls of 2lb he has gone through. Lot of time and sweat!
Actually not many 2lb rolls maybe 1 or two, early on I switched to 10lb rolls
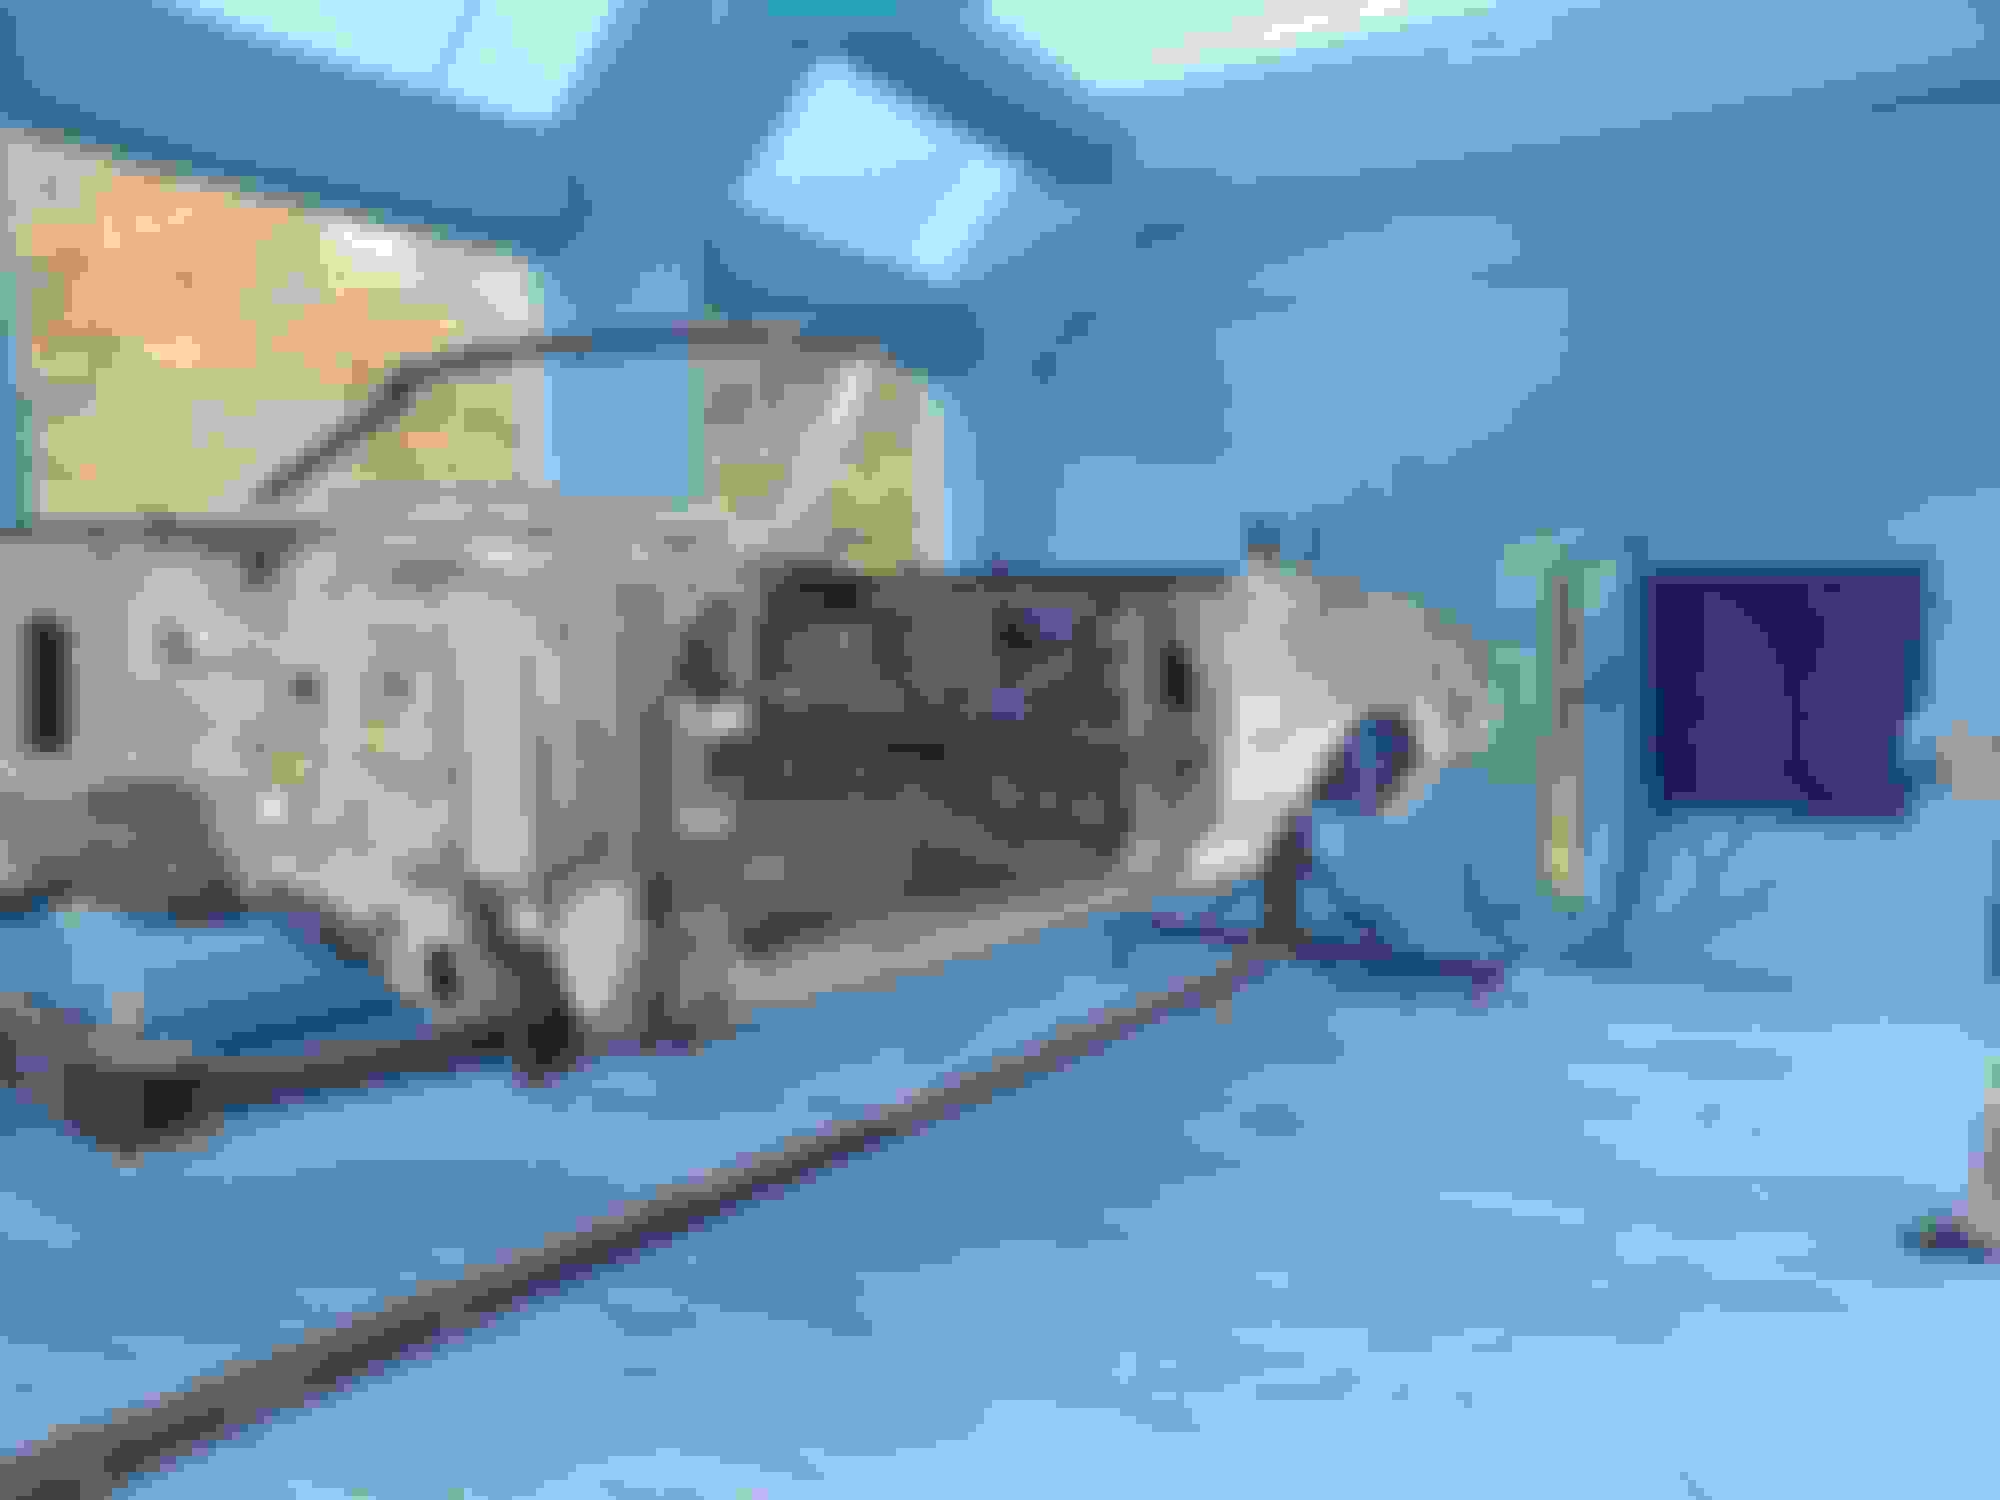
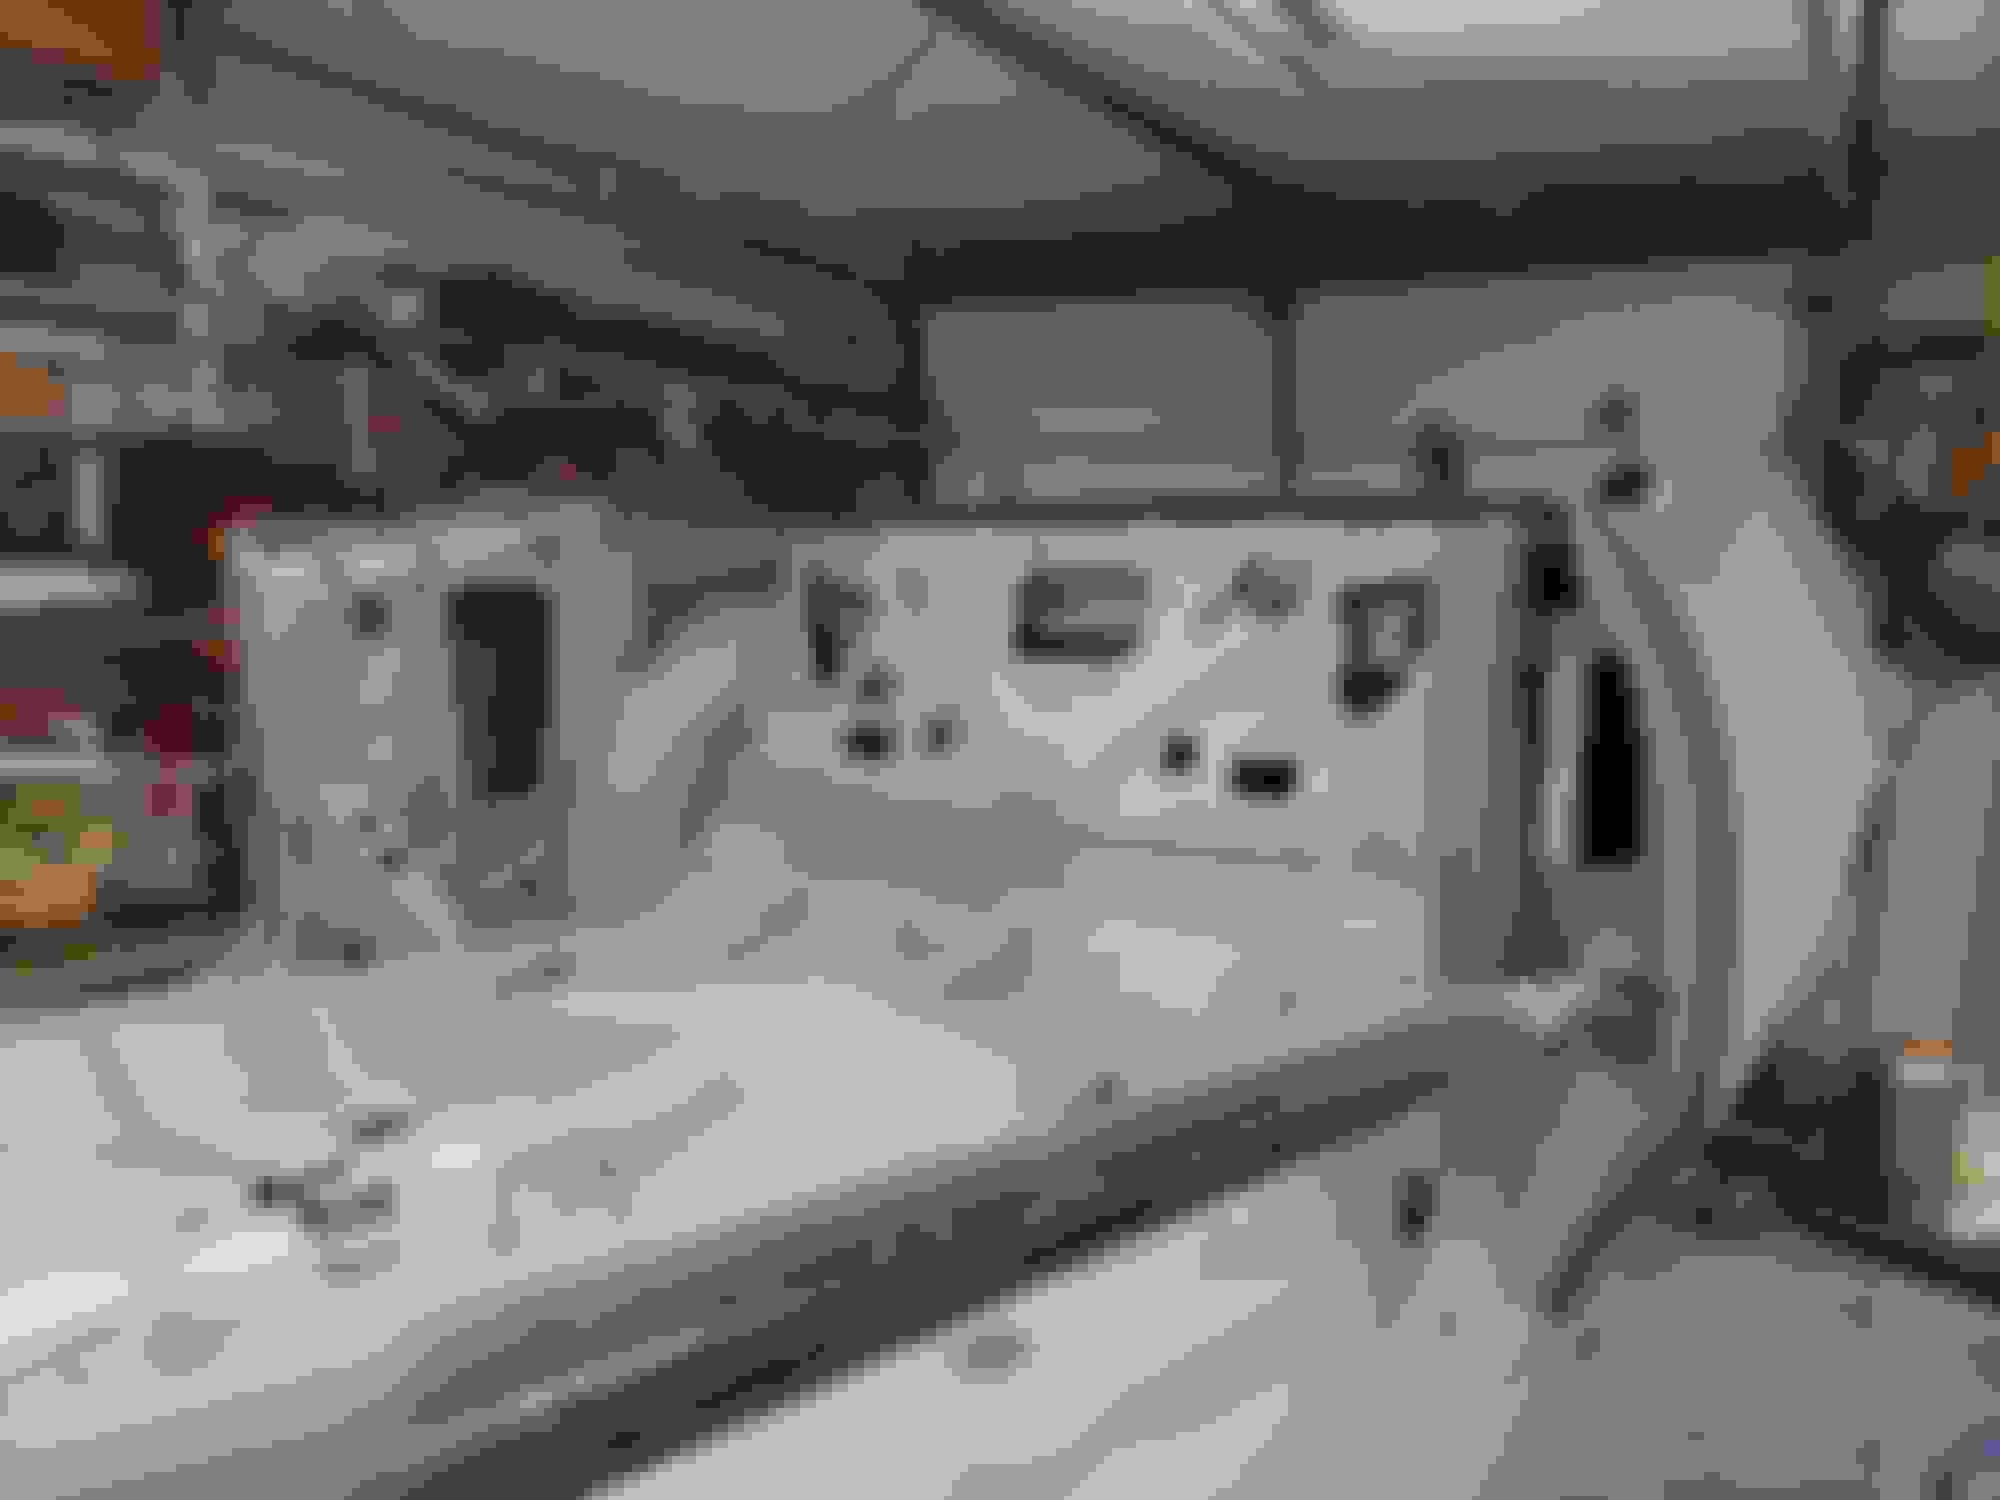
Big progress, my buddy Mike the Bull took himself by the horns and went to town on quarters.
I was going to do the filling after priming. But once we started the push was on to get the filler in a reasonable state to get it in primer.
With the weather turning any day now, there was no time to waste. A few long days and here are the results.
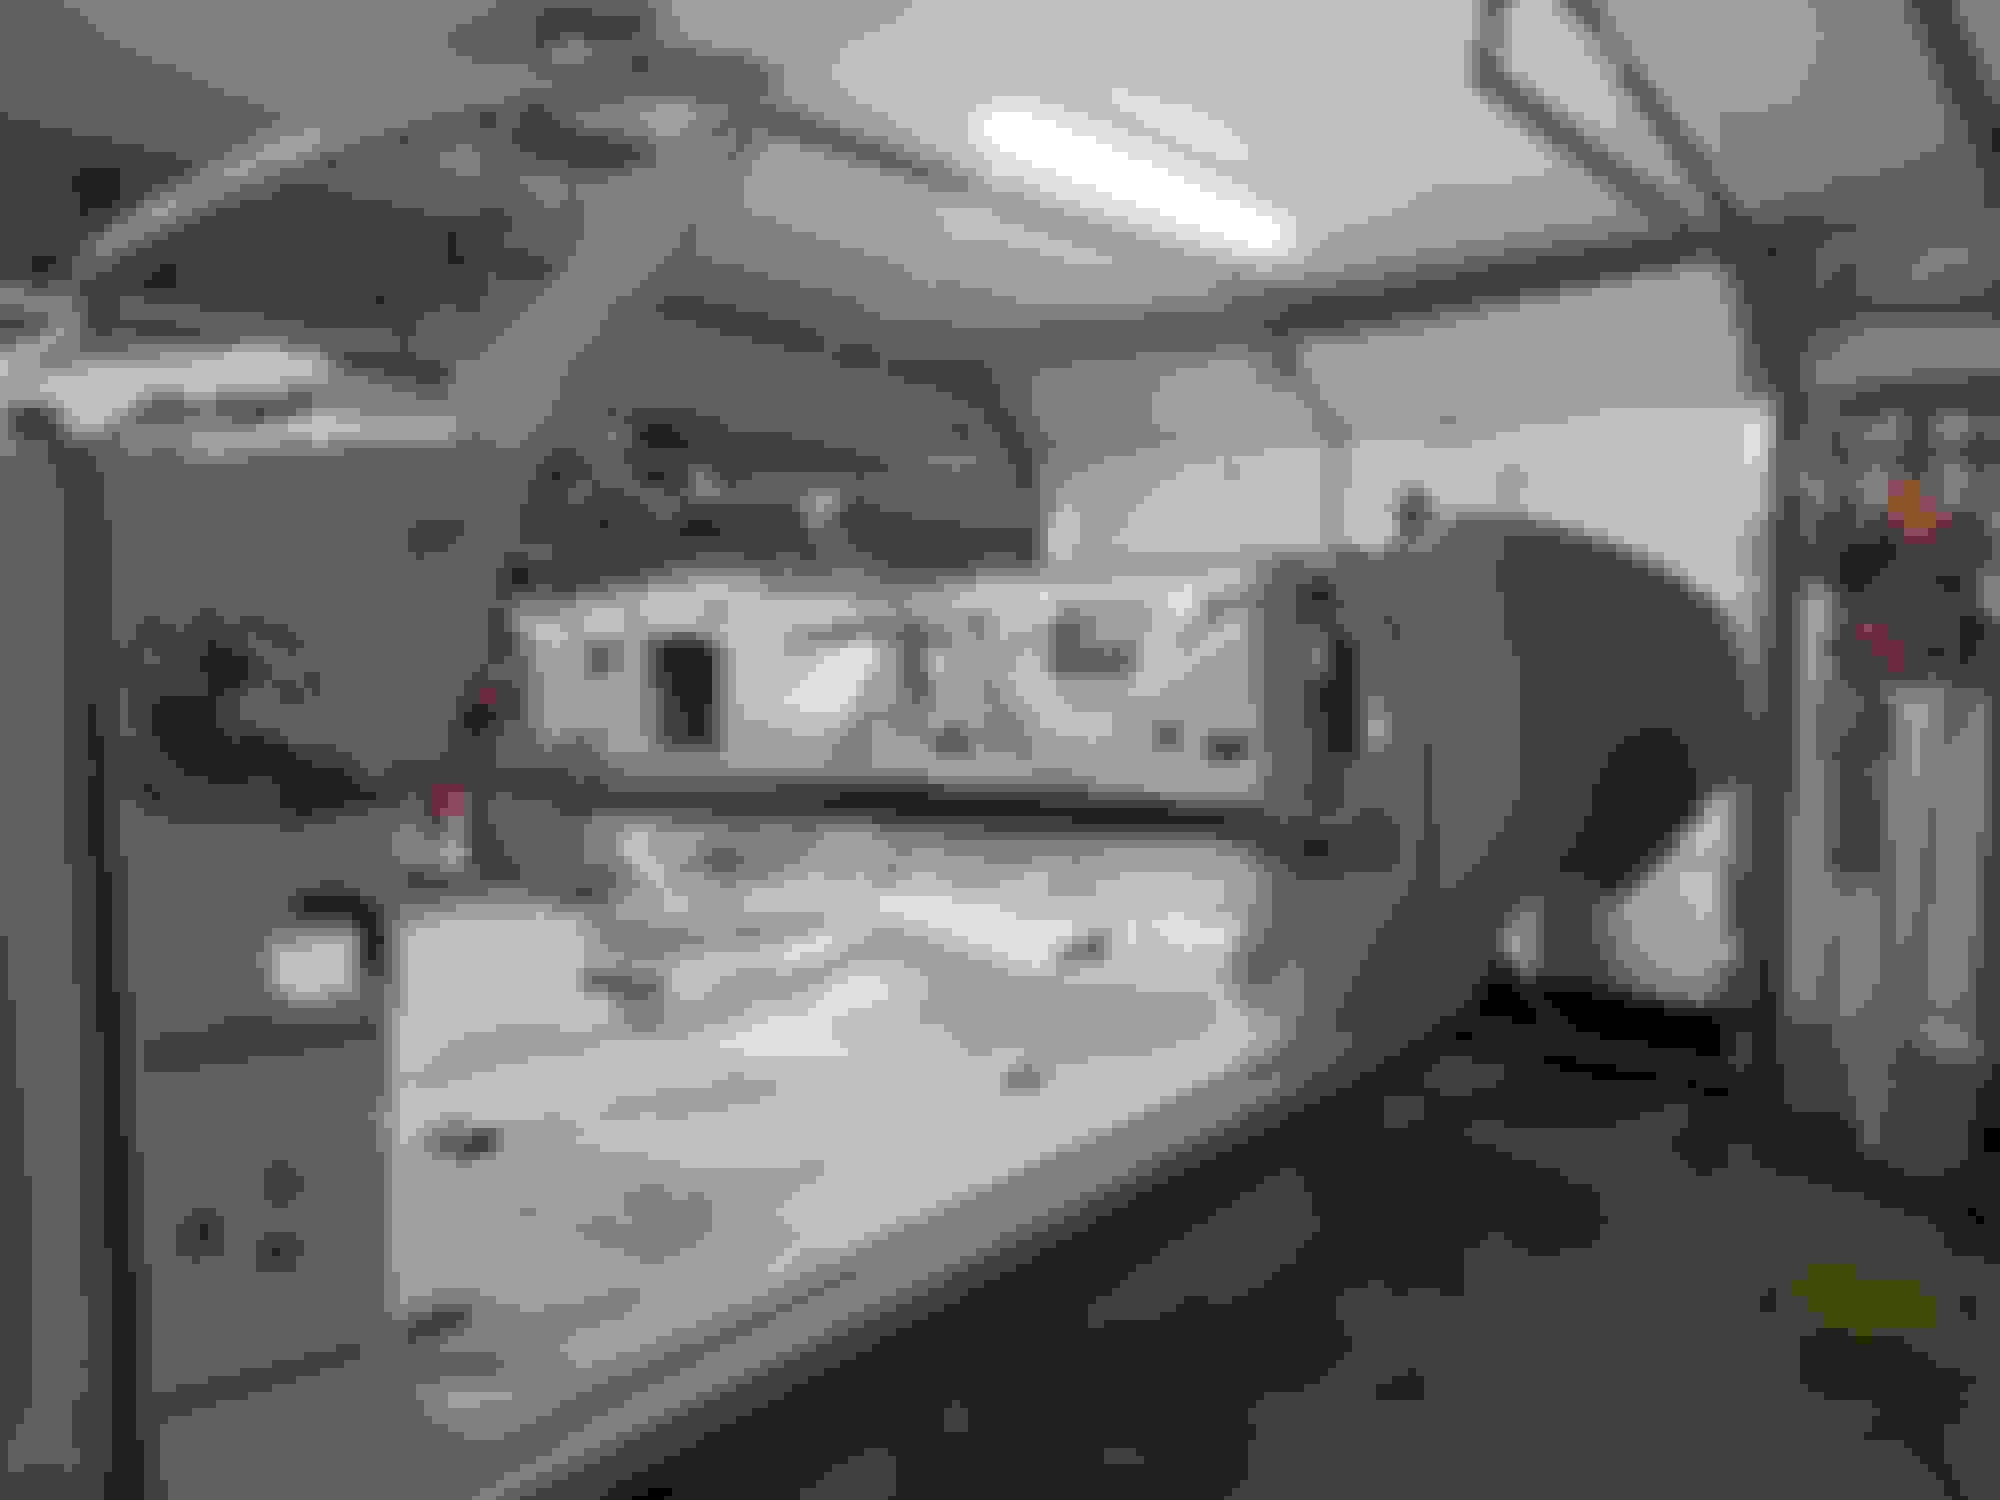
Another long day.
Mike the bull was home recovering.
My son stepped up helped with the final cleaning and mixed the paint for me.
I got an Inflatable spray booth (see Inflatable paint booth thread)
I used a fuji spray turbine sprayer
Here are a few pics.
Learned the hard lesson of not getting the gun set right before jumping in. ( many drips and used a lot of primer).


 August 21st, 2021, 11:45 PM