When you click on links to various merchants on this site and make a purchase, this can result in this site earning a commission. Affiliate programs and affiliations include, but are not limited to, the eBay Partner Network.
Even more work on the deck lid,
Ended up having to patch a section after blowing through a few pinholes I was trying to fil.
Getting close but not sure how much better I can get it.
Seems like the driver's side tightened up when I welded it.
A lot of slicing and dicing and some filler and still tight in the gap at the rearmost edge.
At one point this car got bumped in the rear pushing the trunk lid forward enough to distort the gap.
Welding the rear brace to the two quarters may have resulted in a tight gap at the edge.
Good luck, it's worth the time and effort, not that I have ever succeeded! I fix one gap and now the other side is off. A slight fender bender over the years and some part is bent just a bit and it makes it hard. I've had trouble at times trying to ell if something is bent with nothing to compare it too. Most of my gaps are good but I could probably spend some time on the hood. One side is perfect and the other have a bit of a taper. Thanks for the post it's got me motovated.
Steve
Tim:
I'm speaking from experience here, now would be a really good time to test fit the front bumper to make sure everything lines up properly. The front sheetmetal on these cars is like a house of cards; everything forward of the cowl has huge amounts of adjustability. I just had the front horns of my frame straightened and puled to the RH side in order to get the bumper to fit properly. I wish I had checked this before calling it good and sending out to paint.
Rodney
Thanks for the heads-up, I would have missed that.
Just pulled the bumpers out of storage.
Got the diver's side of the hood close to where I like it (gap a little tighter than the passenger side)
Spent a lot of time working on the passenger side. to no avail.
I decided to pull the hinge and check it off the car.
It didn't seem bad until I removed the spring.
What a difference tons of play on the rivets.
I have a collection of hinges now and you can't judge the condition with the springs on.
I temporarily put another hinge and it's better, but I think I am going to send out a set for a rebuild. (hoodhingerepair)
Save time and remove your hood springs and check for play in the pivot points before trying to set hood gaps.
Got the hinges back from hood hinge repair not cheap but they did a great job and I was able to get the hood adjusted first shot.
gaps are just a little tighter on the driver's side not sure if I can get them any better.
Tim:
The hood gaps look really good, and I know first hand how difficult this can be to get everything to line up just right.
Rodney
Thanks Rodney, I am amazed at how much time I wasted attempting to adjust the hood. I tried several sets of hinges that seemed tight but any play in the hinge makes it very tough if not impossible to get it aligned properly.
I suggest pulling the springs off and checking for any play in the hinges before attempting any adjustment of the hood.
With the springs attached, you can't really determine how worn the hinges are.
Hit the 3 yr mark the other day, was really hoping to be on the road by now. I said this last year, hoping I won't be saying this next year.
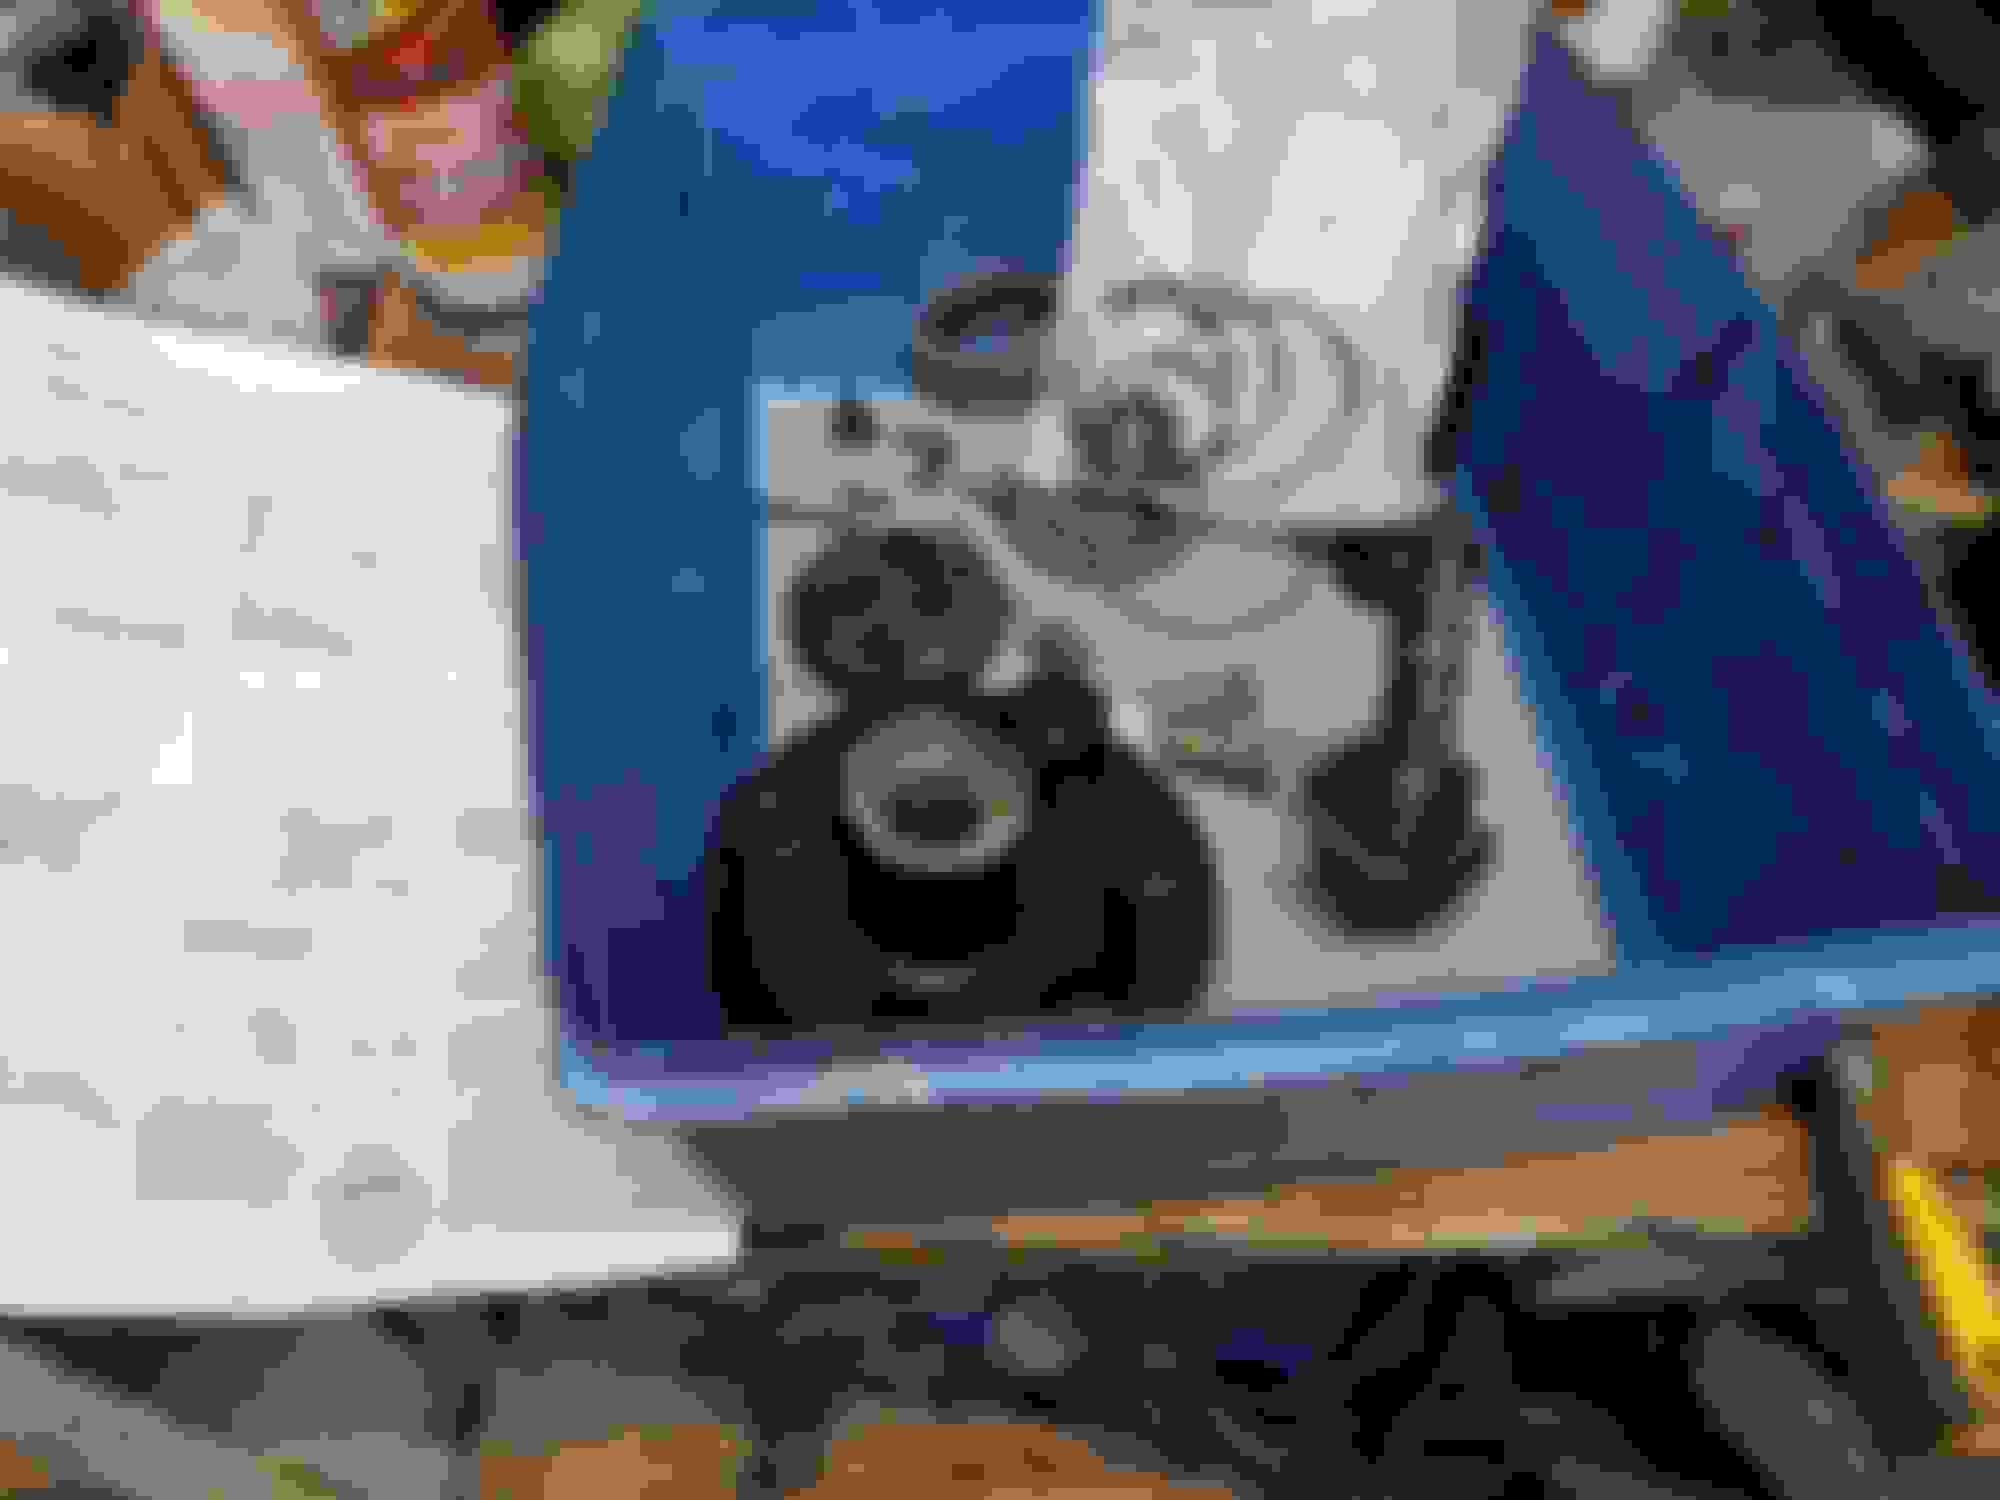
I thought I finished up the marathon power steering pump rebuild, however, it appears the pulley is bent, the original pulley did not have the slot for the pulley removal so I knew it probably would be bent when removed.
I have a couple of pumps with the grooved pulley so I blasted and painted it, upon final assembly it appears the second pulley is bent. How much if any runout is acceptable?
looks like it may be over a 1/8 of an inch.
Working on getting the bumper lined up,
Kinda tricky installing the bumper by yourself, got it pretty well centered.
Mostly adjusted but I am waiting on the proper bolts/washers with the teeth for the final adjustment.
Been looking through the assembly manual for gap specs, it's not in the bumper section anyone got the specs or page number in the assembly manual?
I looked through the CSM, Assembly manual, and the Fisher books and couldn't find it. But I know it's there because I seen it before. Someone will come up with it.
Tim:
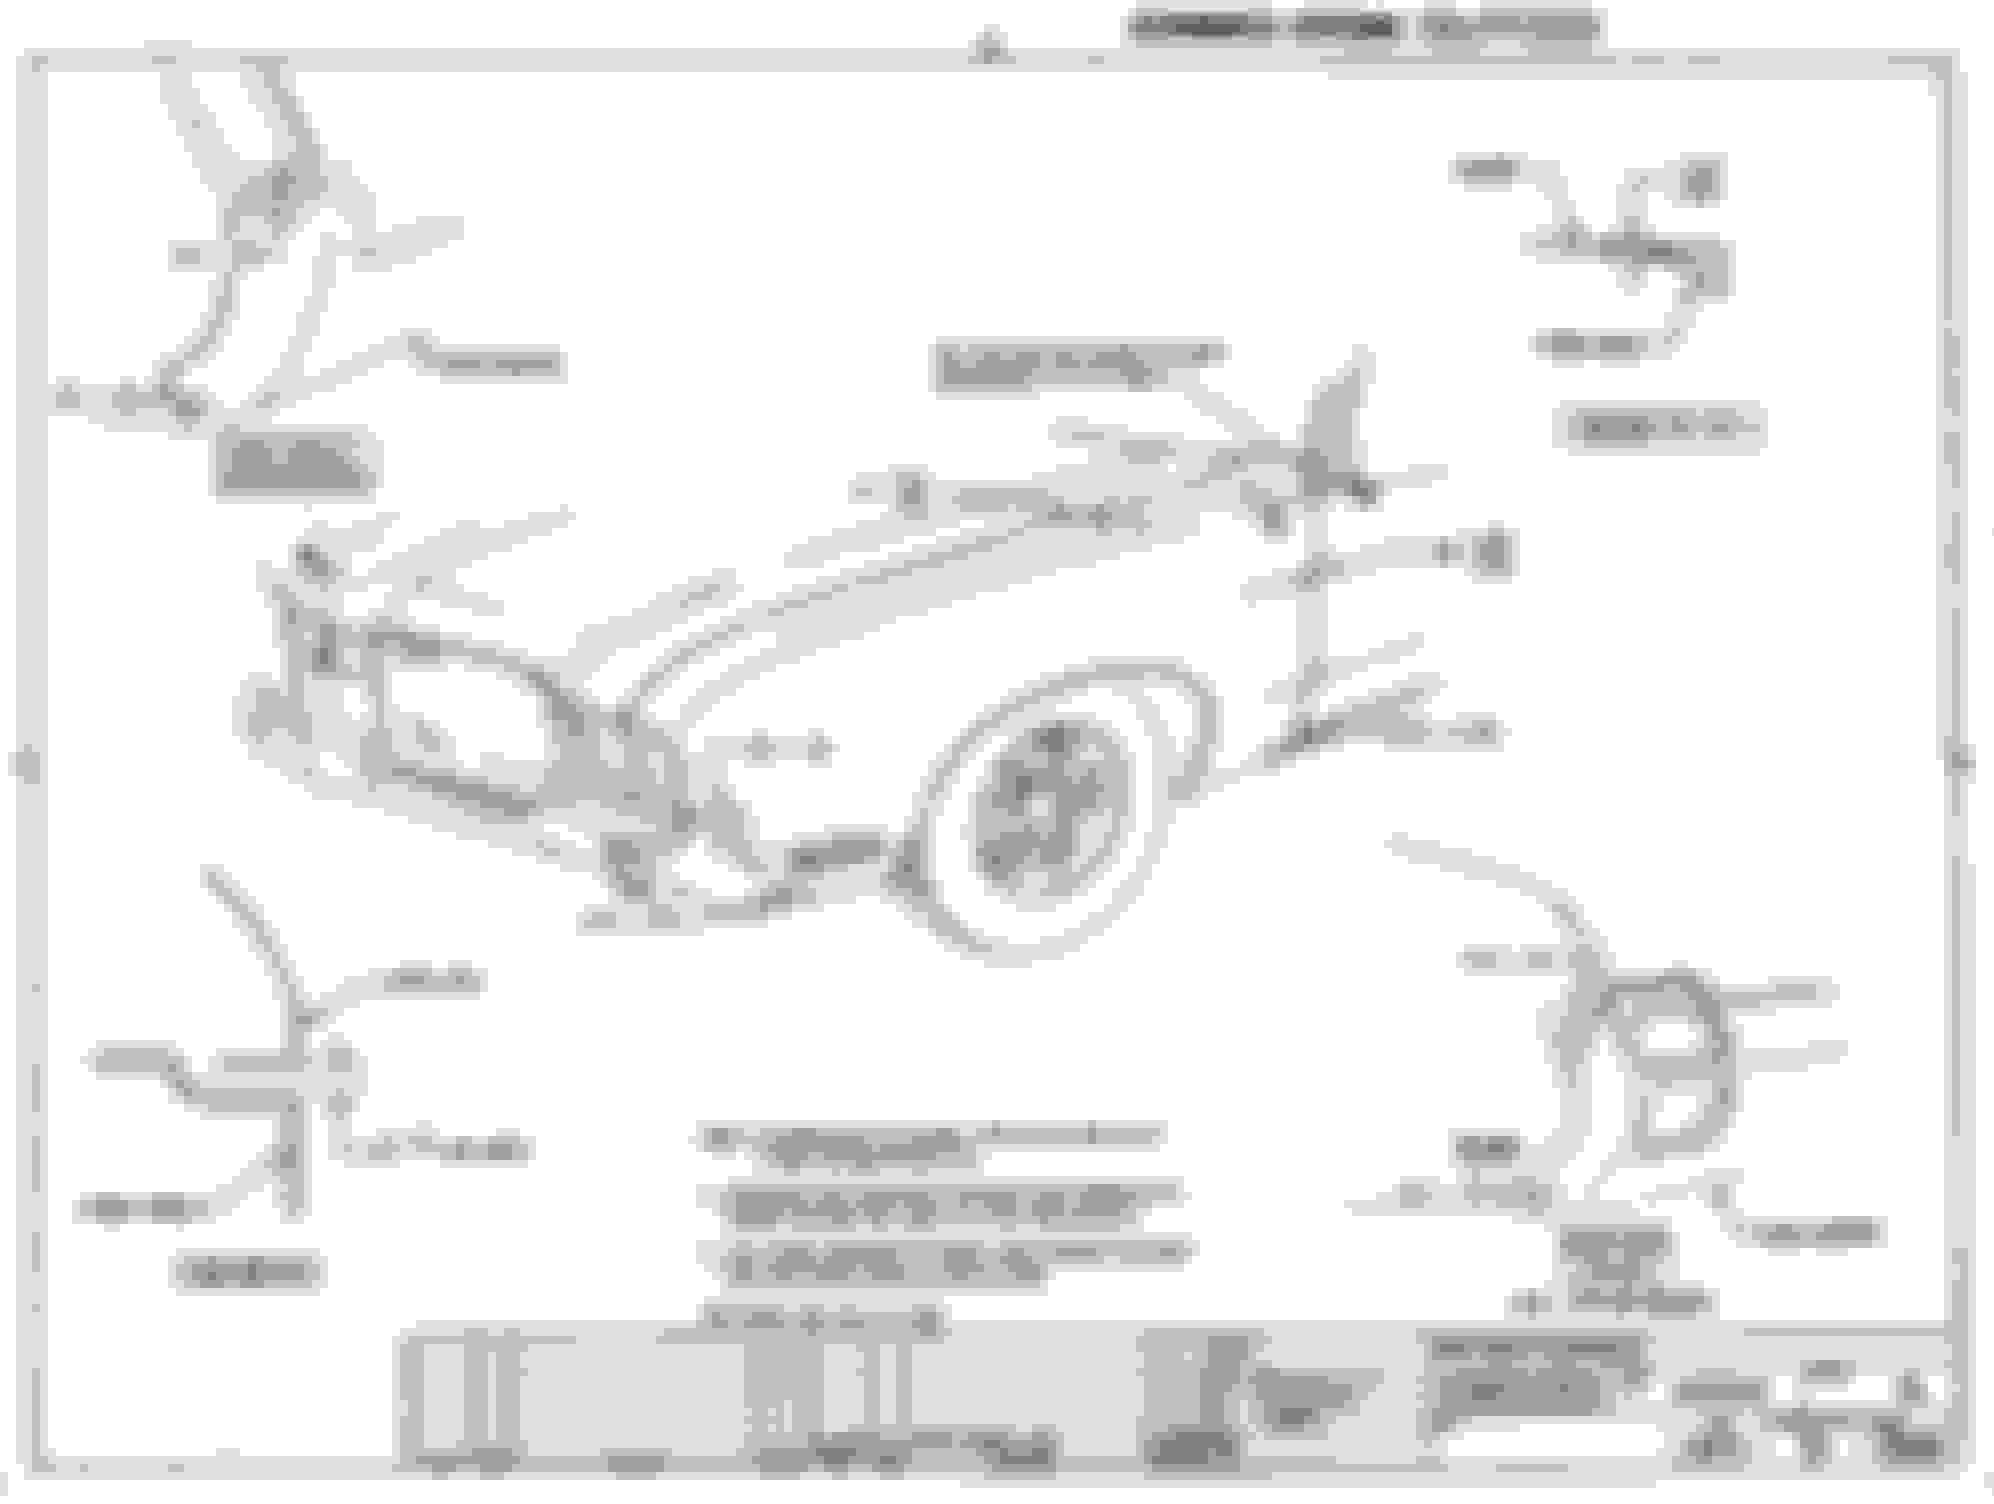
These are the bumper alignment specs from the '72 assembly manual; not the same year, I know, but probably close if not the same for the '70 model year. There is a pdf version in the attachments as well.
Finally had time to align the front bumper, and got it within the tolerance specified above.
The passenger side could use a little tweak to make the lines a little more parallel.
Lookin' good! I wish my bumper fit that well, and kudos to you for test fitting before you paint. I'm kicking myself right now for not test fitting before I painted.
Rodney
Lookin' good! I wish my bumper fit that well, and kudos to you for test fitting before you paint. I'm kicking myself right now for not test fitting before I painted.
Rodney
Thanks, Rodney I am glad you suggested fitting it prior to painting.
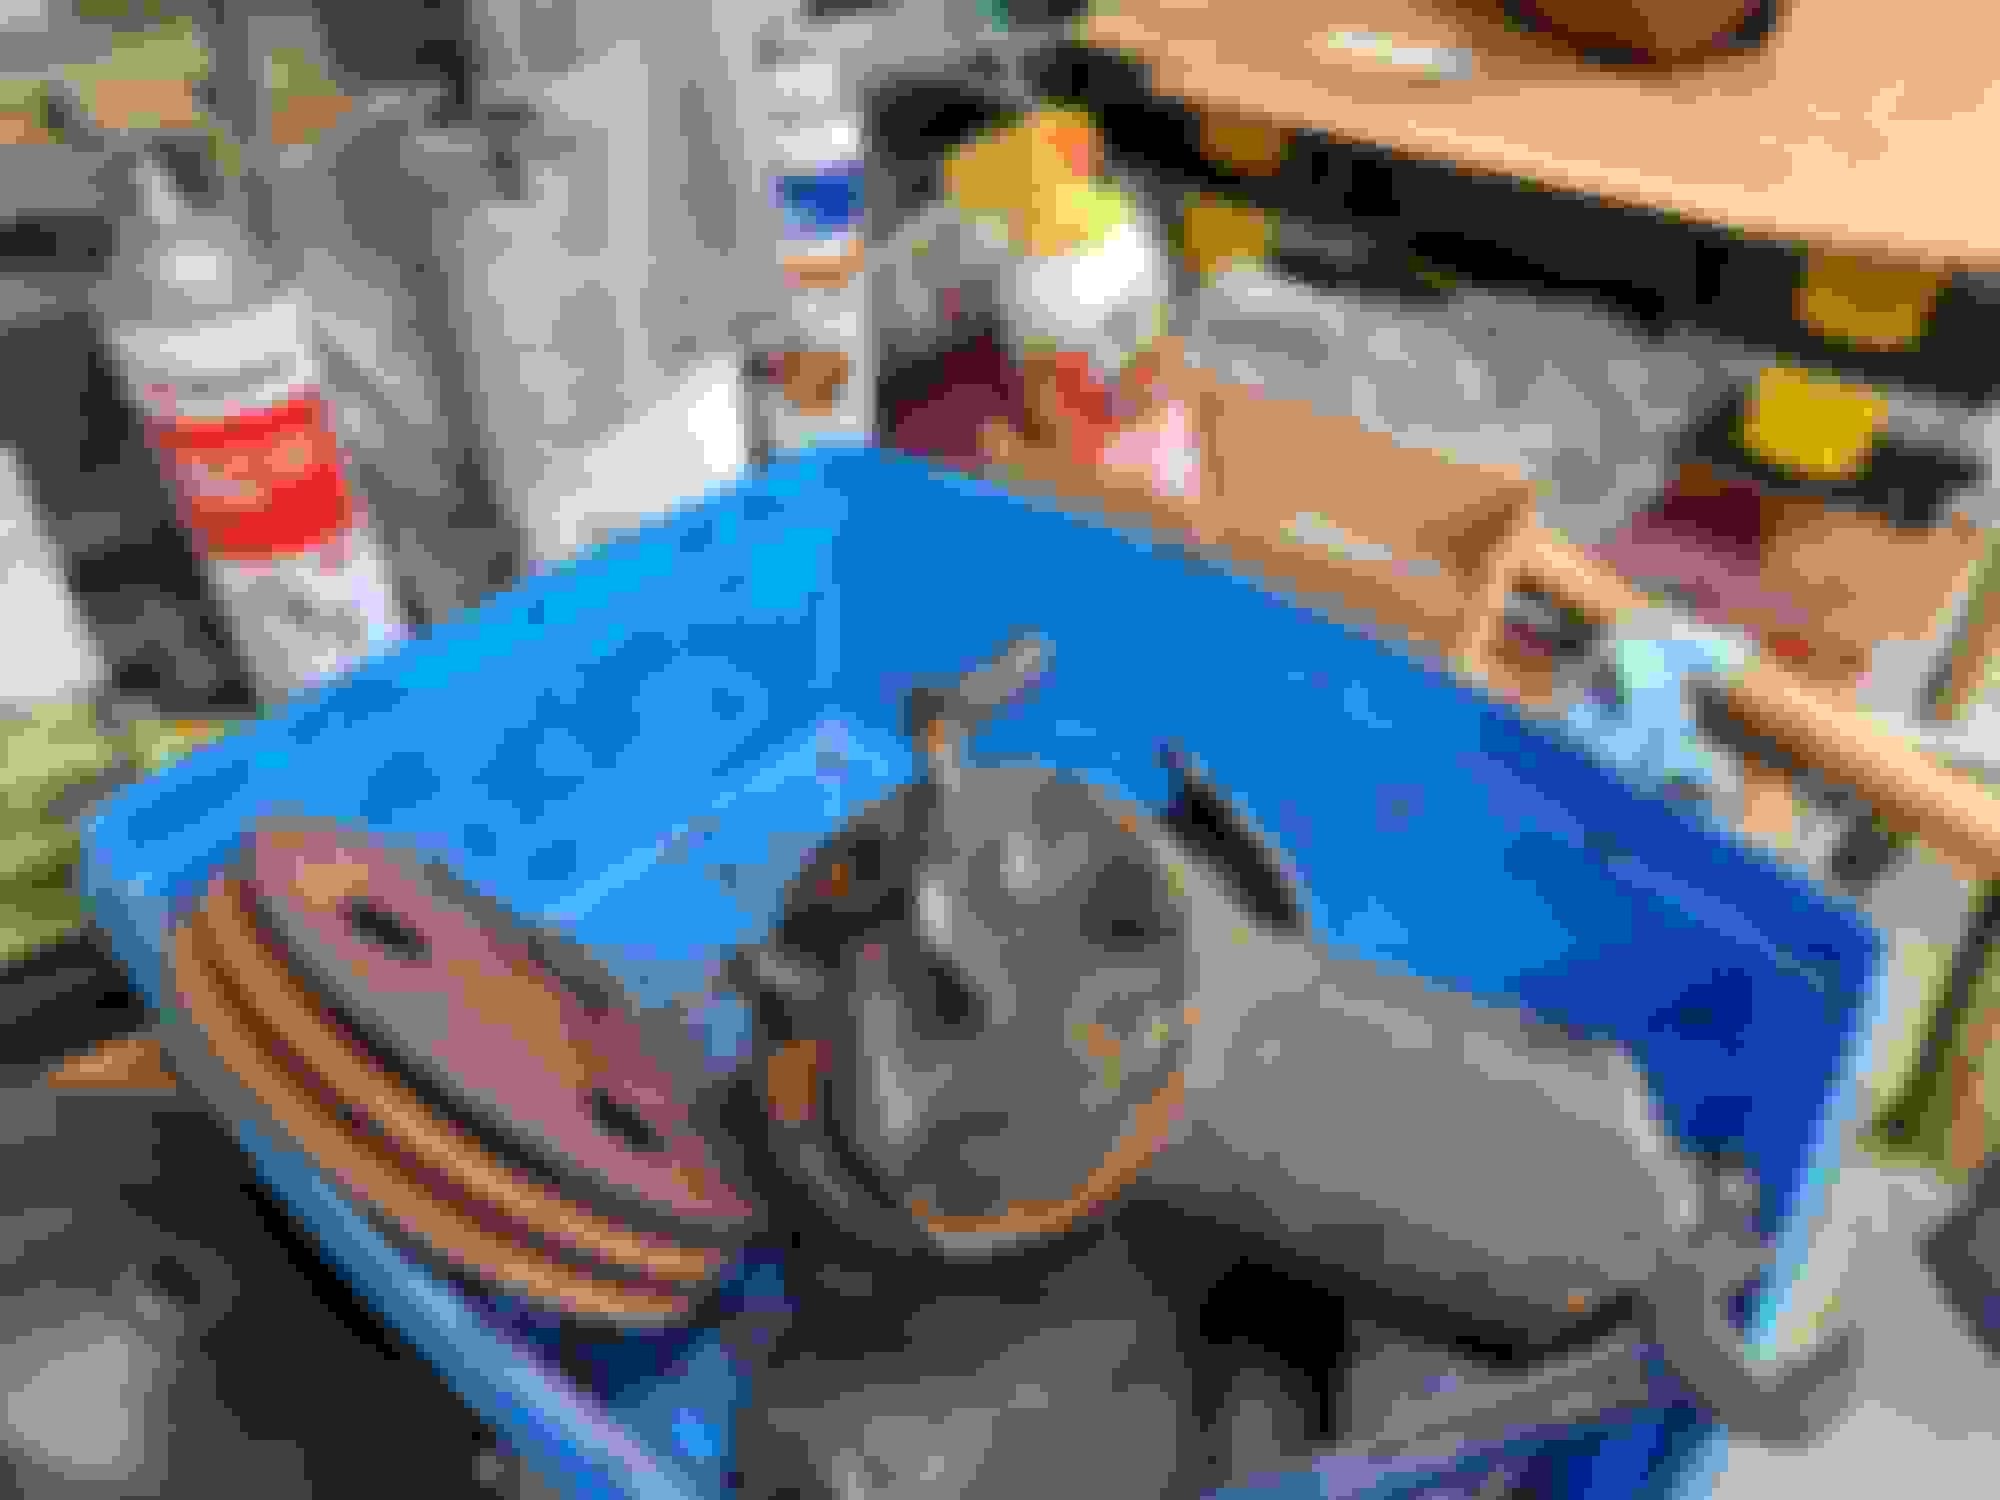
After a marathon power steering pump adventure, I think I have it finally sorted out.
I could not get the original pulley off without bending it.
The second pulley was slightly bent the third pulley worked out.
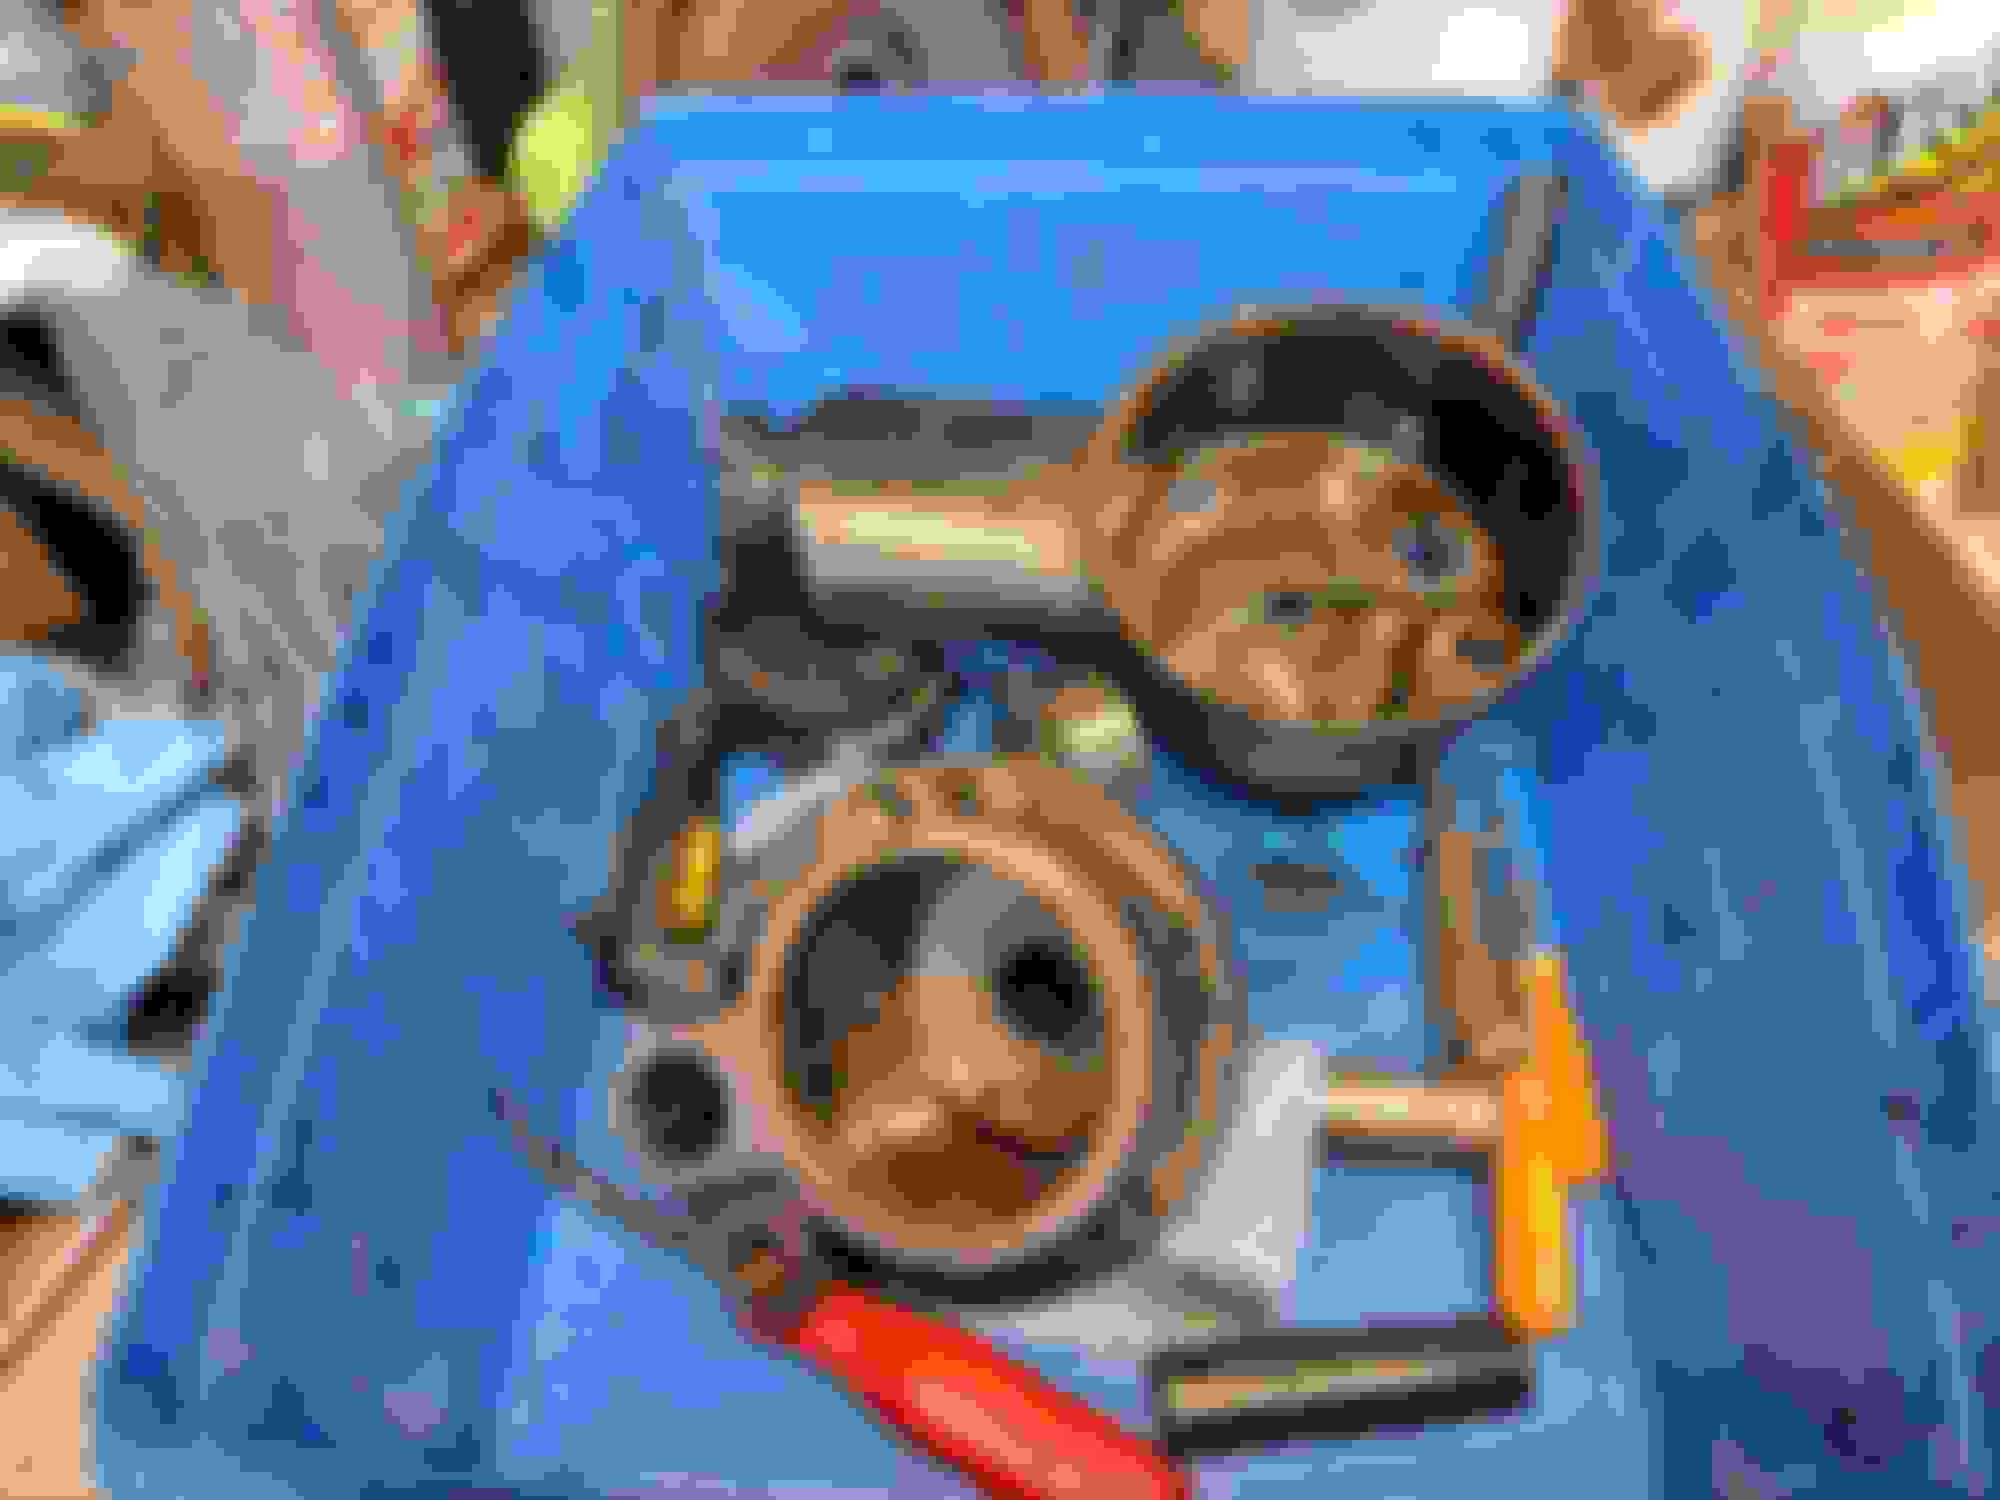
When I started to install I noticed the lower stud was missing.
I had another motor to borrow the stud from.
Luckily I had the proper spacers.
I got the lower bracket installed only to notice when placing the pump in the bracket that the upper stud on the water pump was in the third hole and needs to be in the second hole.
Hopefully, I didn't create any leaks by replacing the studs in the proper locations.
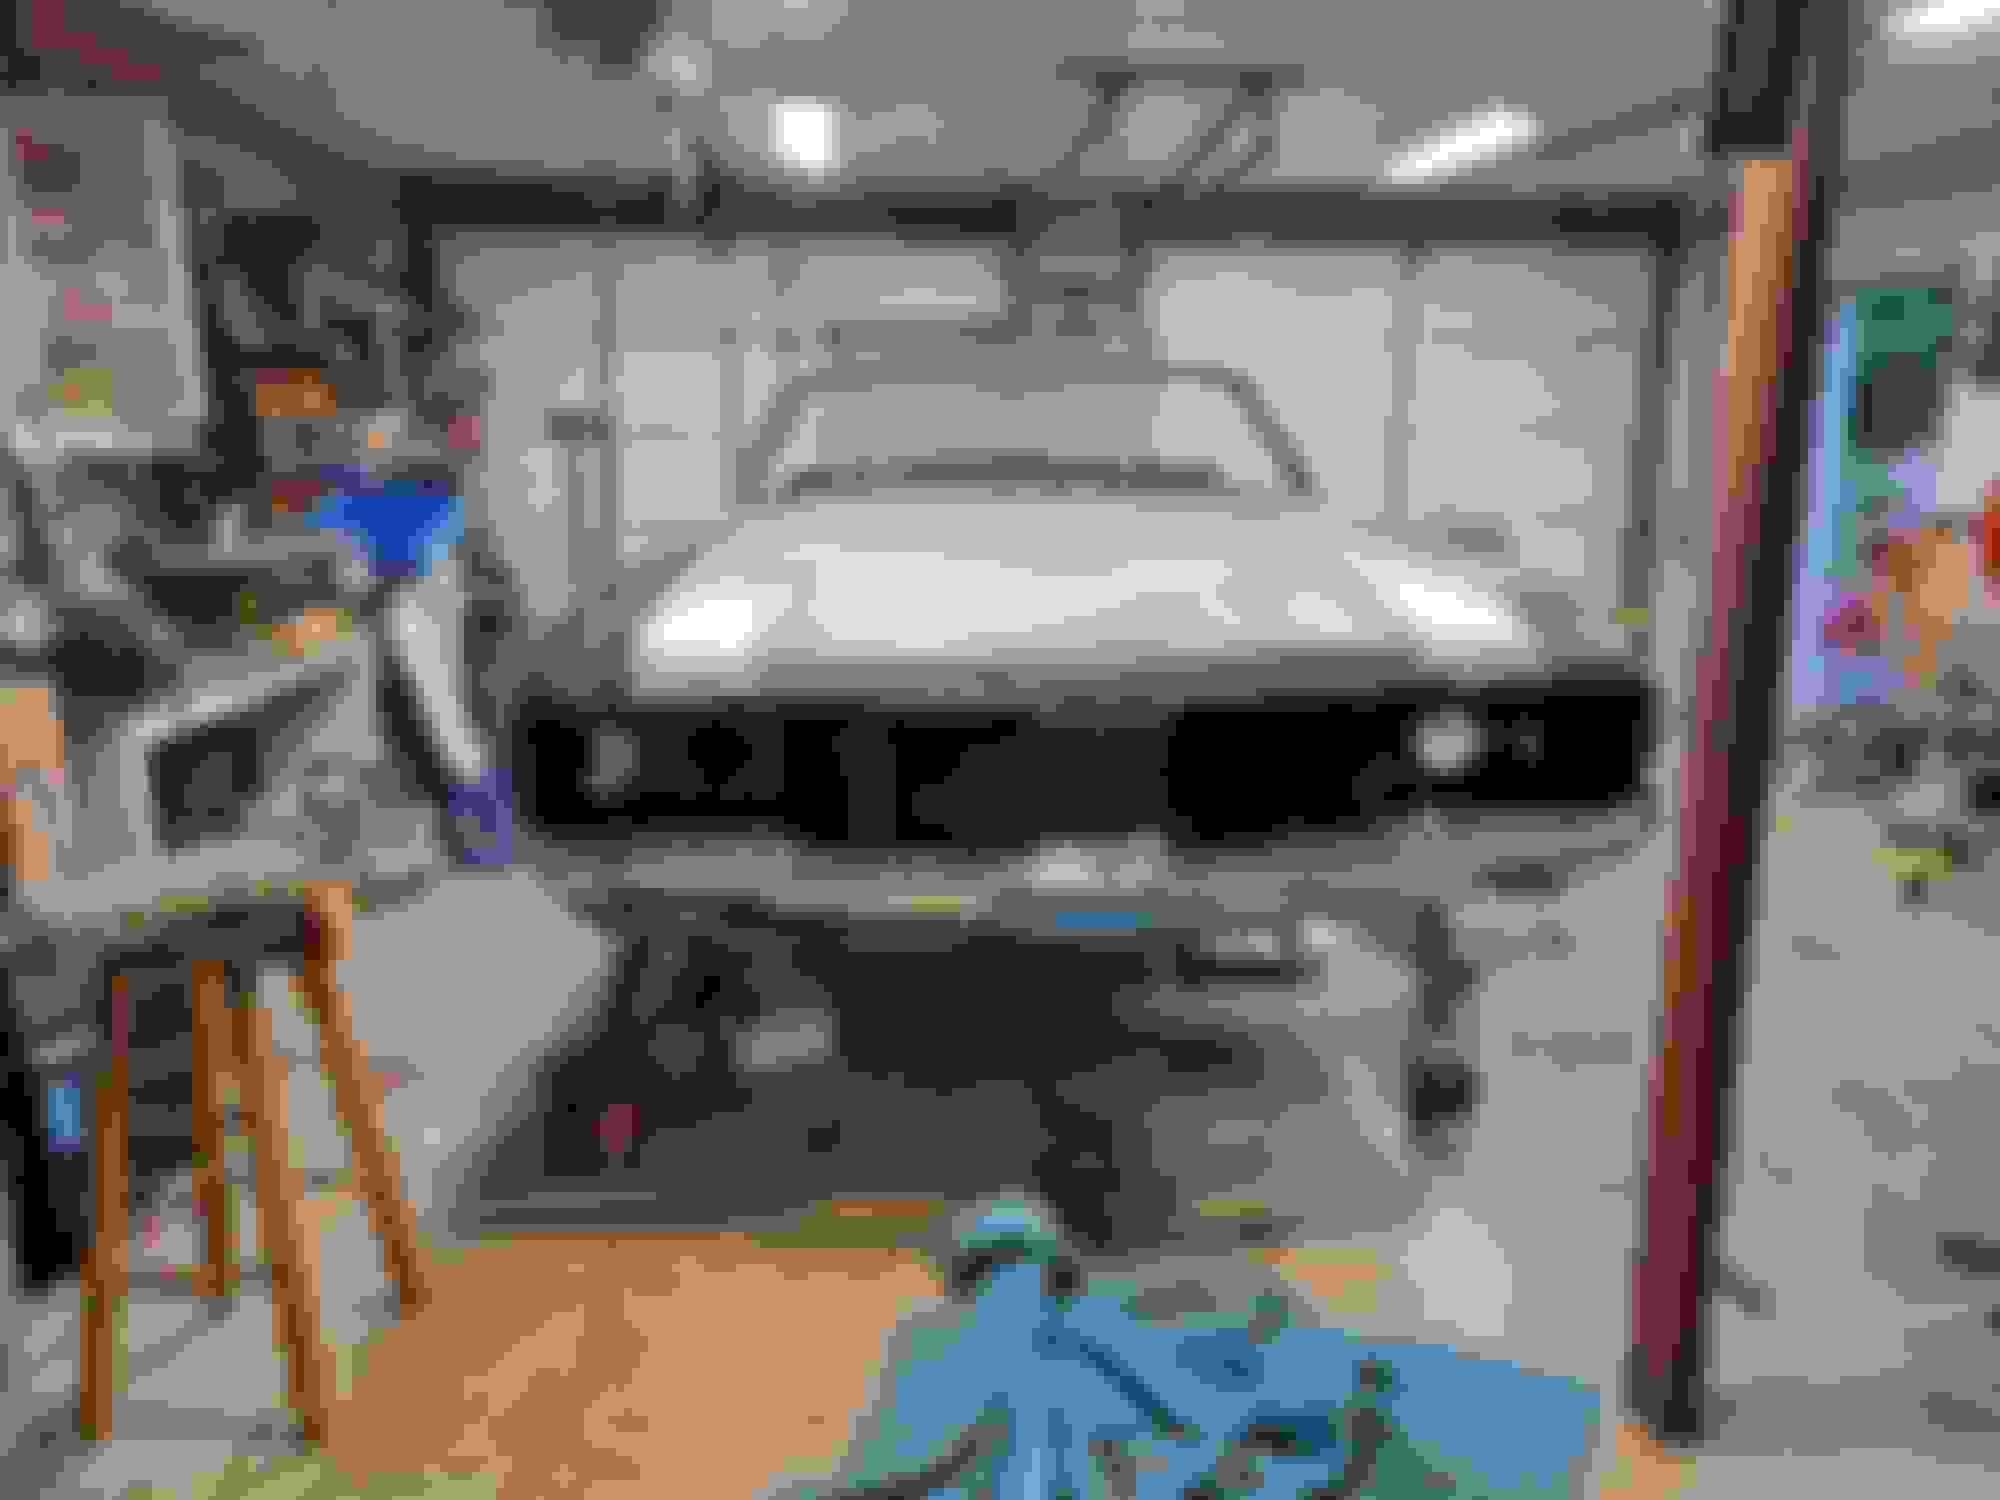
Started the final tear-down before paint.
Drilled alignment holes for the Eastwood pin alignment system.
I am hoping this will help me get the gaps back to where I got them.
Went to install the brake booster after measuring the old booster at 8" and the new at only 6" I had to order a clevis extension.
So I decided to start the wiring I have the autowire CLASSIC UPDATE KIT - 1968-72 OLDSMOBILE CUTLASS.
Looks like it's going to be quite the task, needed to pull out the magnifying specs to see the writing on the wires.
Tips?
I started installing various connections and figured it would be best to test each step.
I didn't get very far before the turn signal switch became a real challenge.
A couple of extra wires ( key buzzer).
A supposedly white wire ends up being black with a white stripe.
Same for the yellow and light blue (both black with colored stripes).
After getting that sorted out. I supplied 12v to the purple wire to test the turn signals.
Getting mixed inconsistent results. I realized the key at times was not in the run position.
Making sure the key was in the correct position I found out in fact the turn signal switch was bad.
I happen to have a couple of steering columns so I cleaned up and tested a switch from one of them.
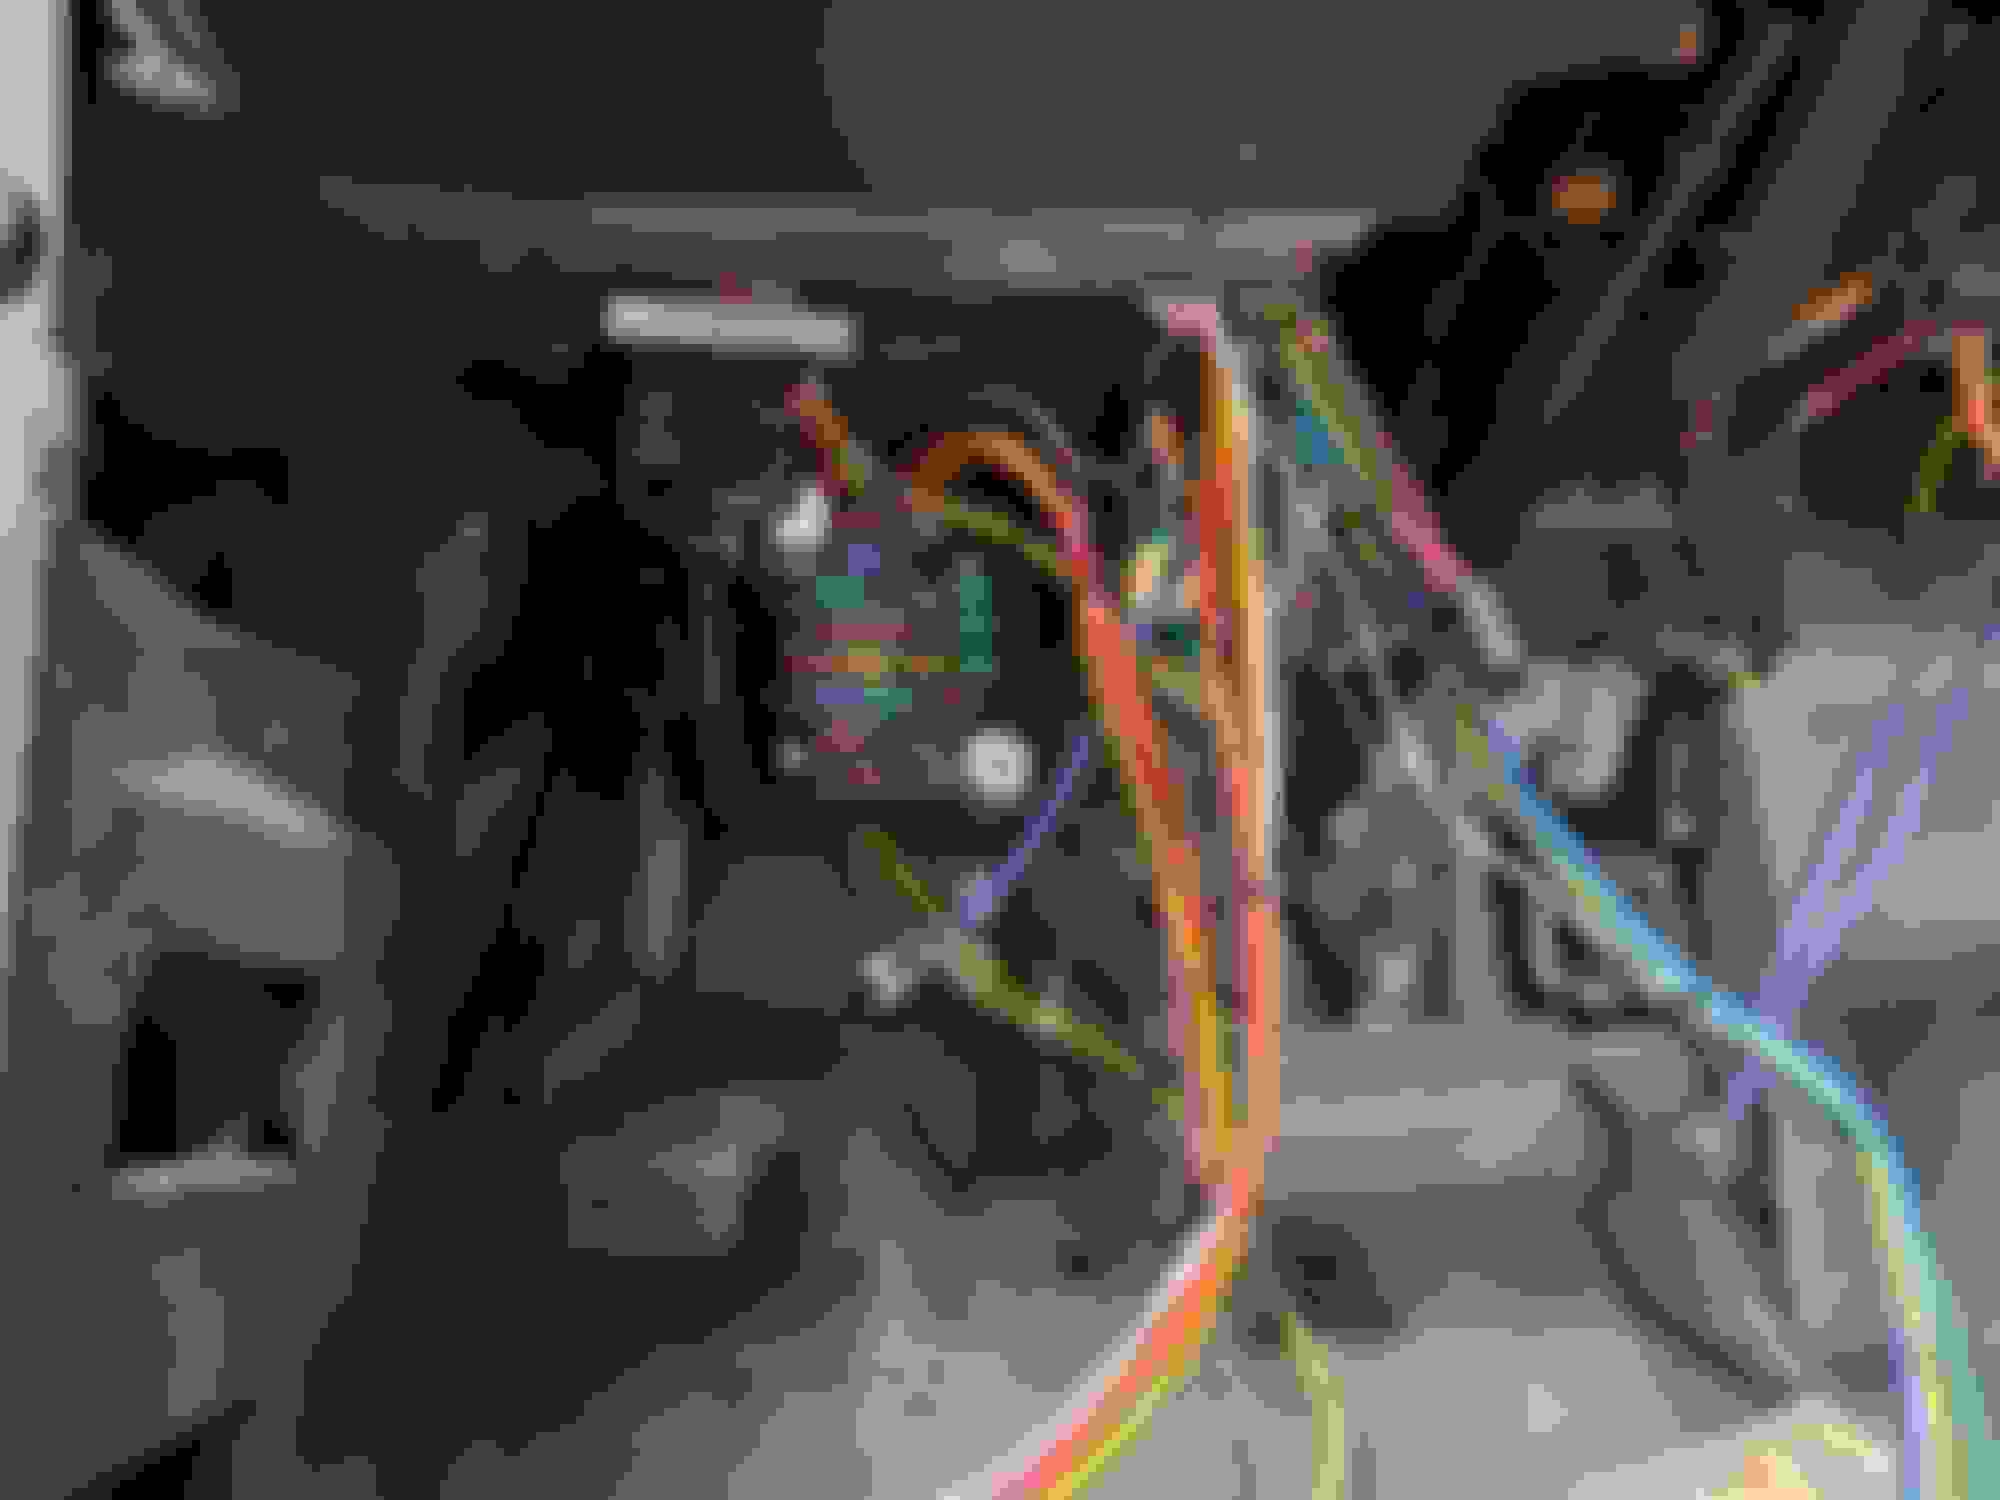
Finally, got the wiring going, I have been testing the circuits with a computer power supply and it's been working out well.
Started installing the Dakota gauges and sensors, I bundled the oil and water sensor cables in a 1/4-inch loom to try to organize the wires.
Not sure what is best to do with the duplicate oil sender and water sender wire included in the autowire harness.
I think I may have a bad connection or a bad ignition switch, I am not getting any power from the purple wire when turning the key to the start position.
Tim:
Don't install all the fuses in the fuse block until you've terminated all the wires. There are many unprotected or unterminated wires in this kit that could easily be shorted to ground. Best case scenario, you blow a bunch of fuses; worst case scenario, you could melt the wiring or start a fire. I used this kit for my car and was very impressed with the thorough directions, although, some of the wires are a bit too long and were hanging under the dash, so I shortened them and re-crimped the Packard terminals.
Rodney
Rodney, probably a good idea about the fuses.
My delusion was/is by using a computer supply for testing I am relatively safe amperage-wise.
Did you just put the connectors at the ends where applicable or did you route the wires and cut to length first?
Did you use any loom or channel for the wires to pass through?
Not sure if I saw wiring posts in your build thread did I miss them?
Tim:
I don't think I've posted many wiring pics, maybe just some of the sub-circuits like power windows or door lock relays. I used a low AHr battery from a computer UPS for testing purposes and have only installed fuses in the circuits that are complete. I used plastic wire wrap from Home Depot to wrap the harness together and just hung it temporarily from the metal dash with a few zip ties. It seems the factory installed the wire harness to the dash before installing into the car. I've already mounted the fuse block to the firewall and the harness is loose, so I'm trying to figure out the best way to secure the harness with the fuse box already installed and the dash out.
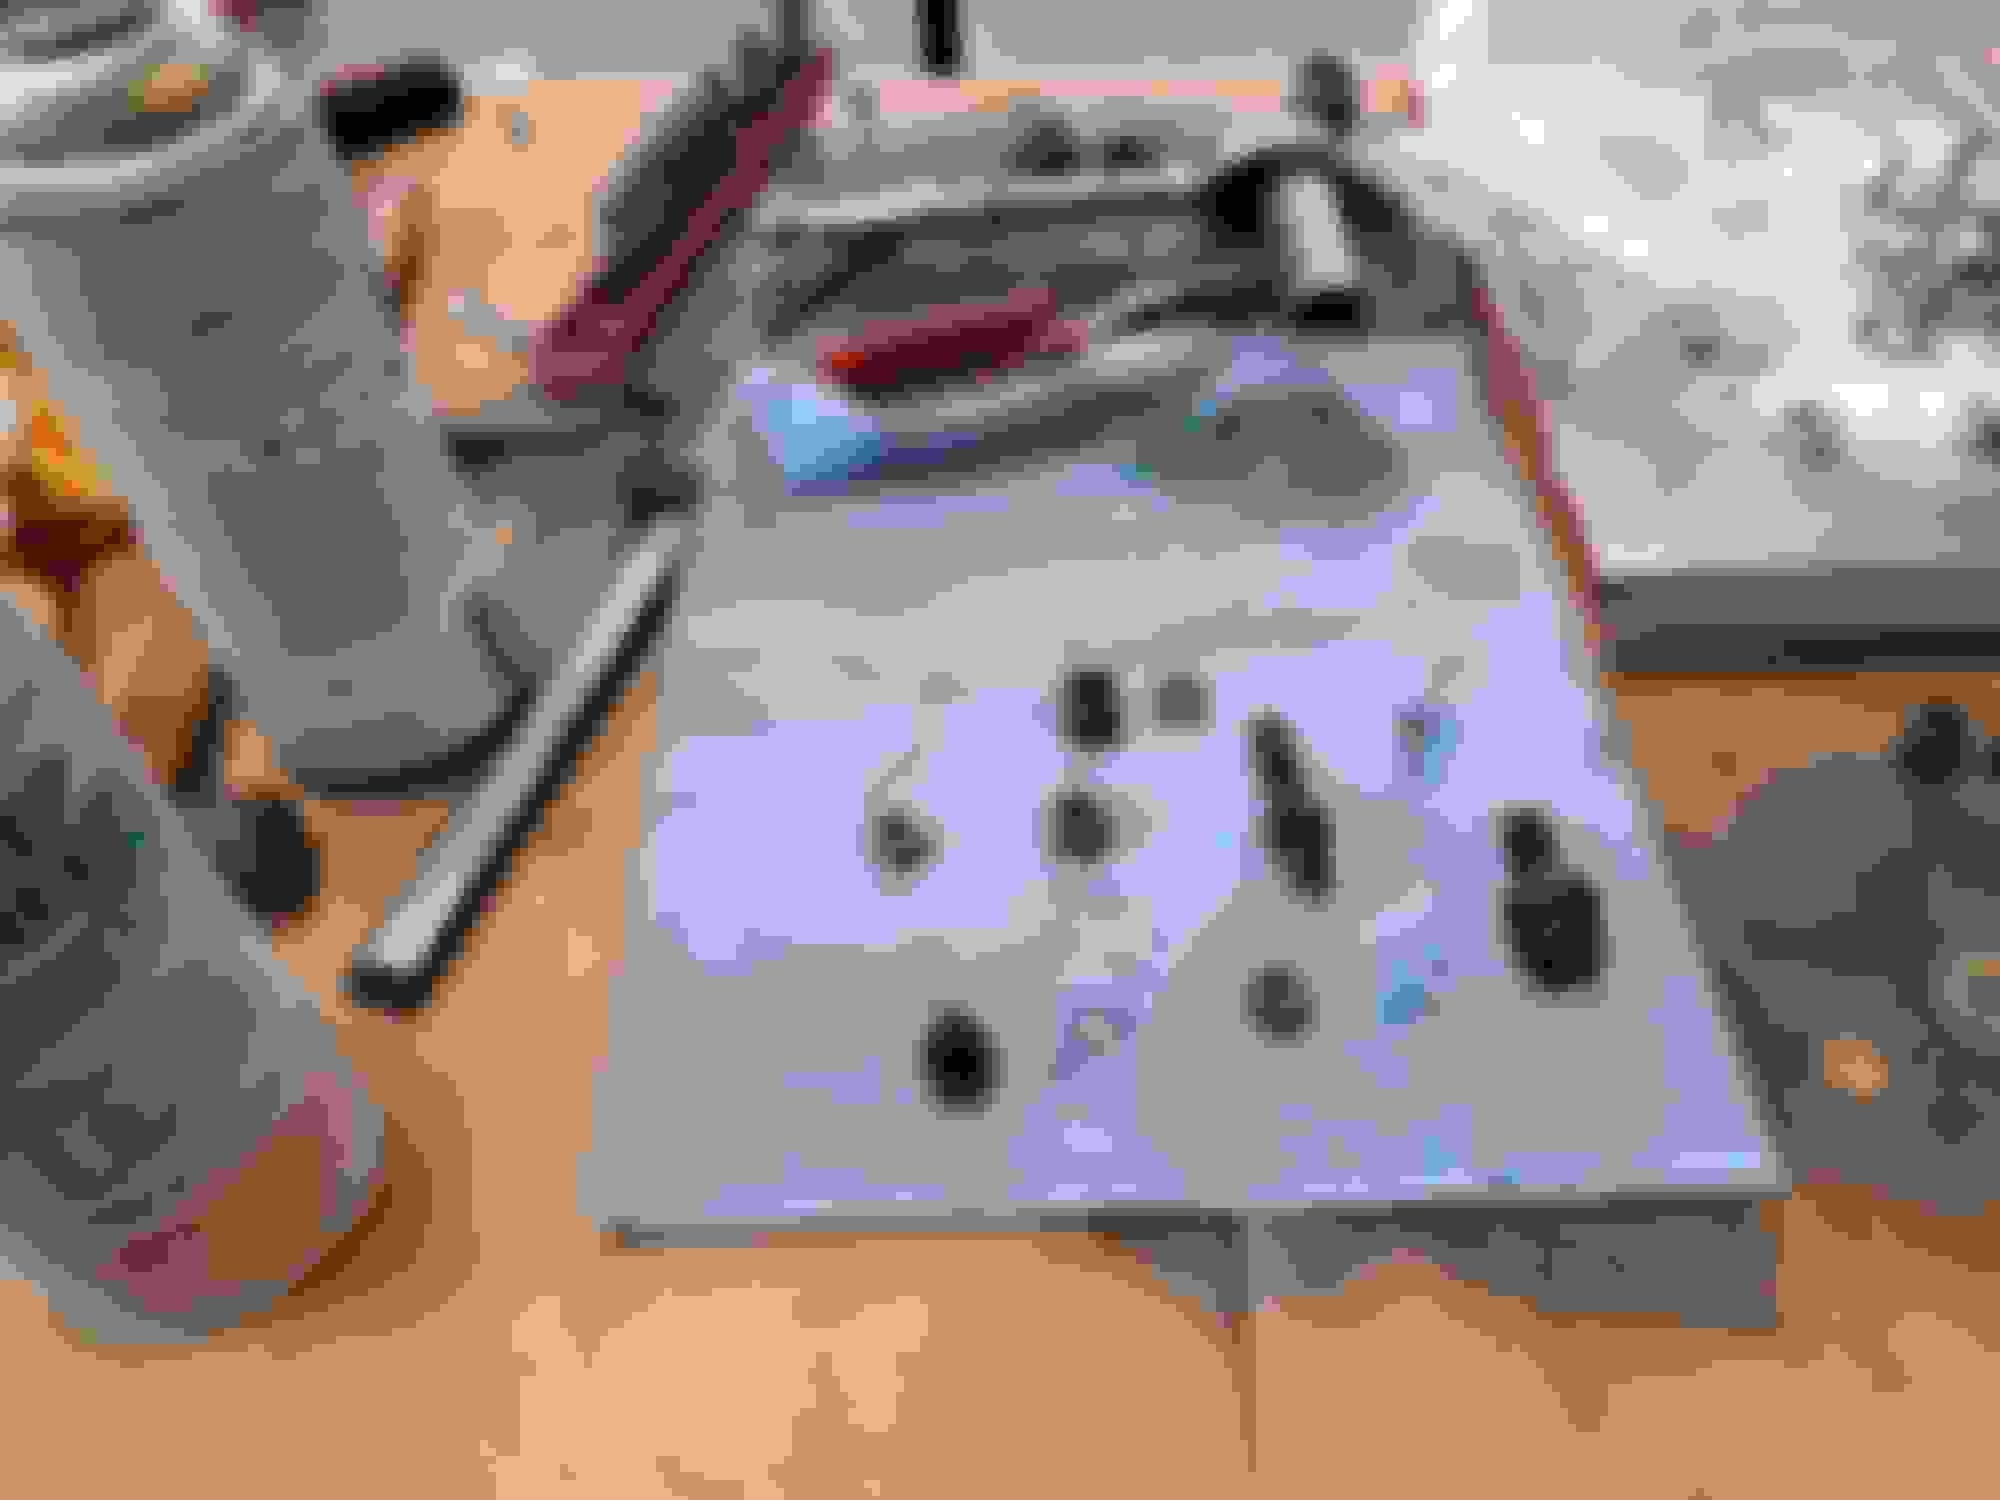
Section 12 of '72 assembly manual shows the harness attachment points and routing behind the dash pad. The harness runs between the gauge pods and the LH AC vent, then crosses above the gauges and behind the ashtray. I bought some bendable, metal cable ties that can be attached the dash pad and wrapped around the harness after the dash installed in the car. Here's a pic of the metal cable ties:
As Rodney warned me, I ended up testing my theory with the computer power supply.
One of the bare wires hit a ground.
There was a tiny spark and the power supply shut itself down.
Luckily the power supply has a circuit breaker and after shutting down it fired right back up.
Another challenge with the NSS switch.
Silly Me used the diagram to install the purple wires into the connector that goes to the center pins on the NSS.
After trying to get the NSS adjusted with the center pins connected I could only get it to work in 1 position near neutral.
Thinking I had a bad switch I tried another non-dual gate NSS switch and had the same problem.
Took out the ohm meter and started testing low and behold the front pins had continuity in two positions.
Come to find out the diagram had the NSS and reverse light connectors mixed up ( at least for 1970 )
At that point, I could get power in Park and Drive I had to extend the adjustment slots on the switch but finally got it adjusted properly.
Since I had to install a ballast resistor and there is a hole right beneath it I may install a kill switch. (level one theft protection)?
been busy redoing a bathroom that got started when covid started and the contractor went AWOL.
Finally got back to working on the car,
The vintage Air kit arrived and I started installing.
Most of the engine compartment wiring is done.
Trying to get the rest of the A/C installed.
Had to install the sound deading before the evaporator.
Got some wrinkles in the deading will that be an issue with air pockets?
Any need to fill the gaps in the sheets?
The evaporator was tricky to get in place without an extra pair of hands.
Used my floor jack to lift in place so i could attach it from the engine bay.
I would think you could roll out the spaces. I think the brand I used came with what is basically a wallpaper seam roller. I would think it would flatten out. Is that an after market AC your installing?
I would think you could roll out the spaces. I think the brand I used came with what is basically a wallpaper seam roller. I would think it would flatten out. Is that an after market AC your installing?
Steve
Yup, I bought one of those rollers. got some of the wrinkles out, but one piece is still fairly wrinkled not sure if it's worth trying to tear it up and try again. Or if I leave it I am asking for a moisture catcher and going to end up rusting there.
The A/C is from vintage Air scroll up for additional A/C pics.
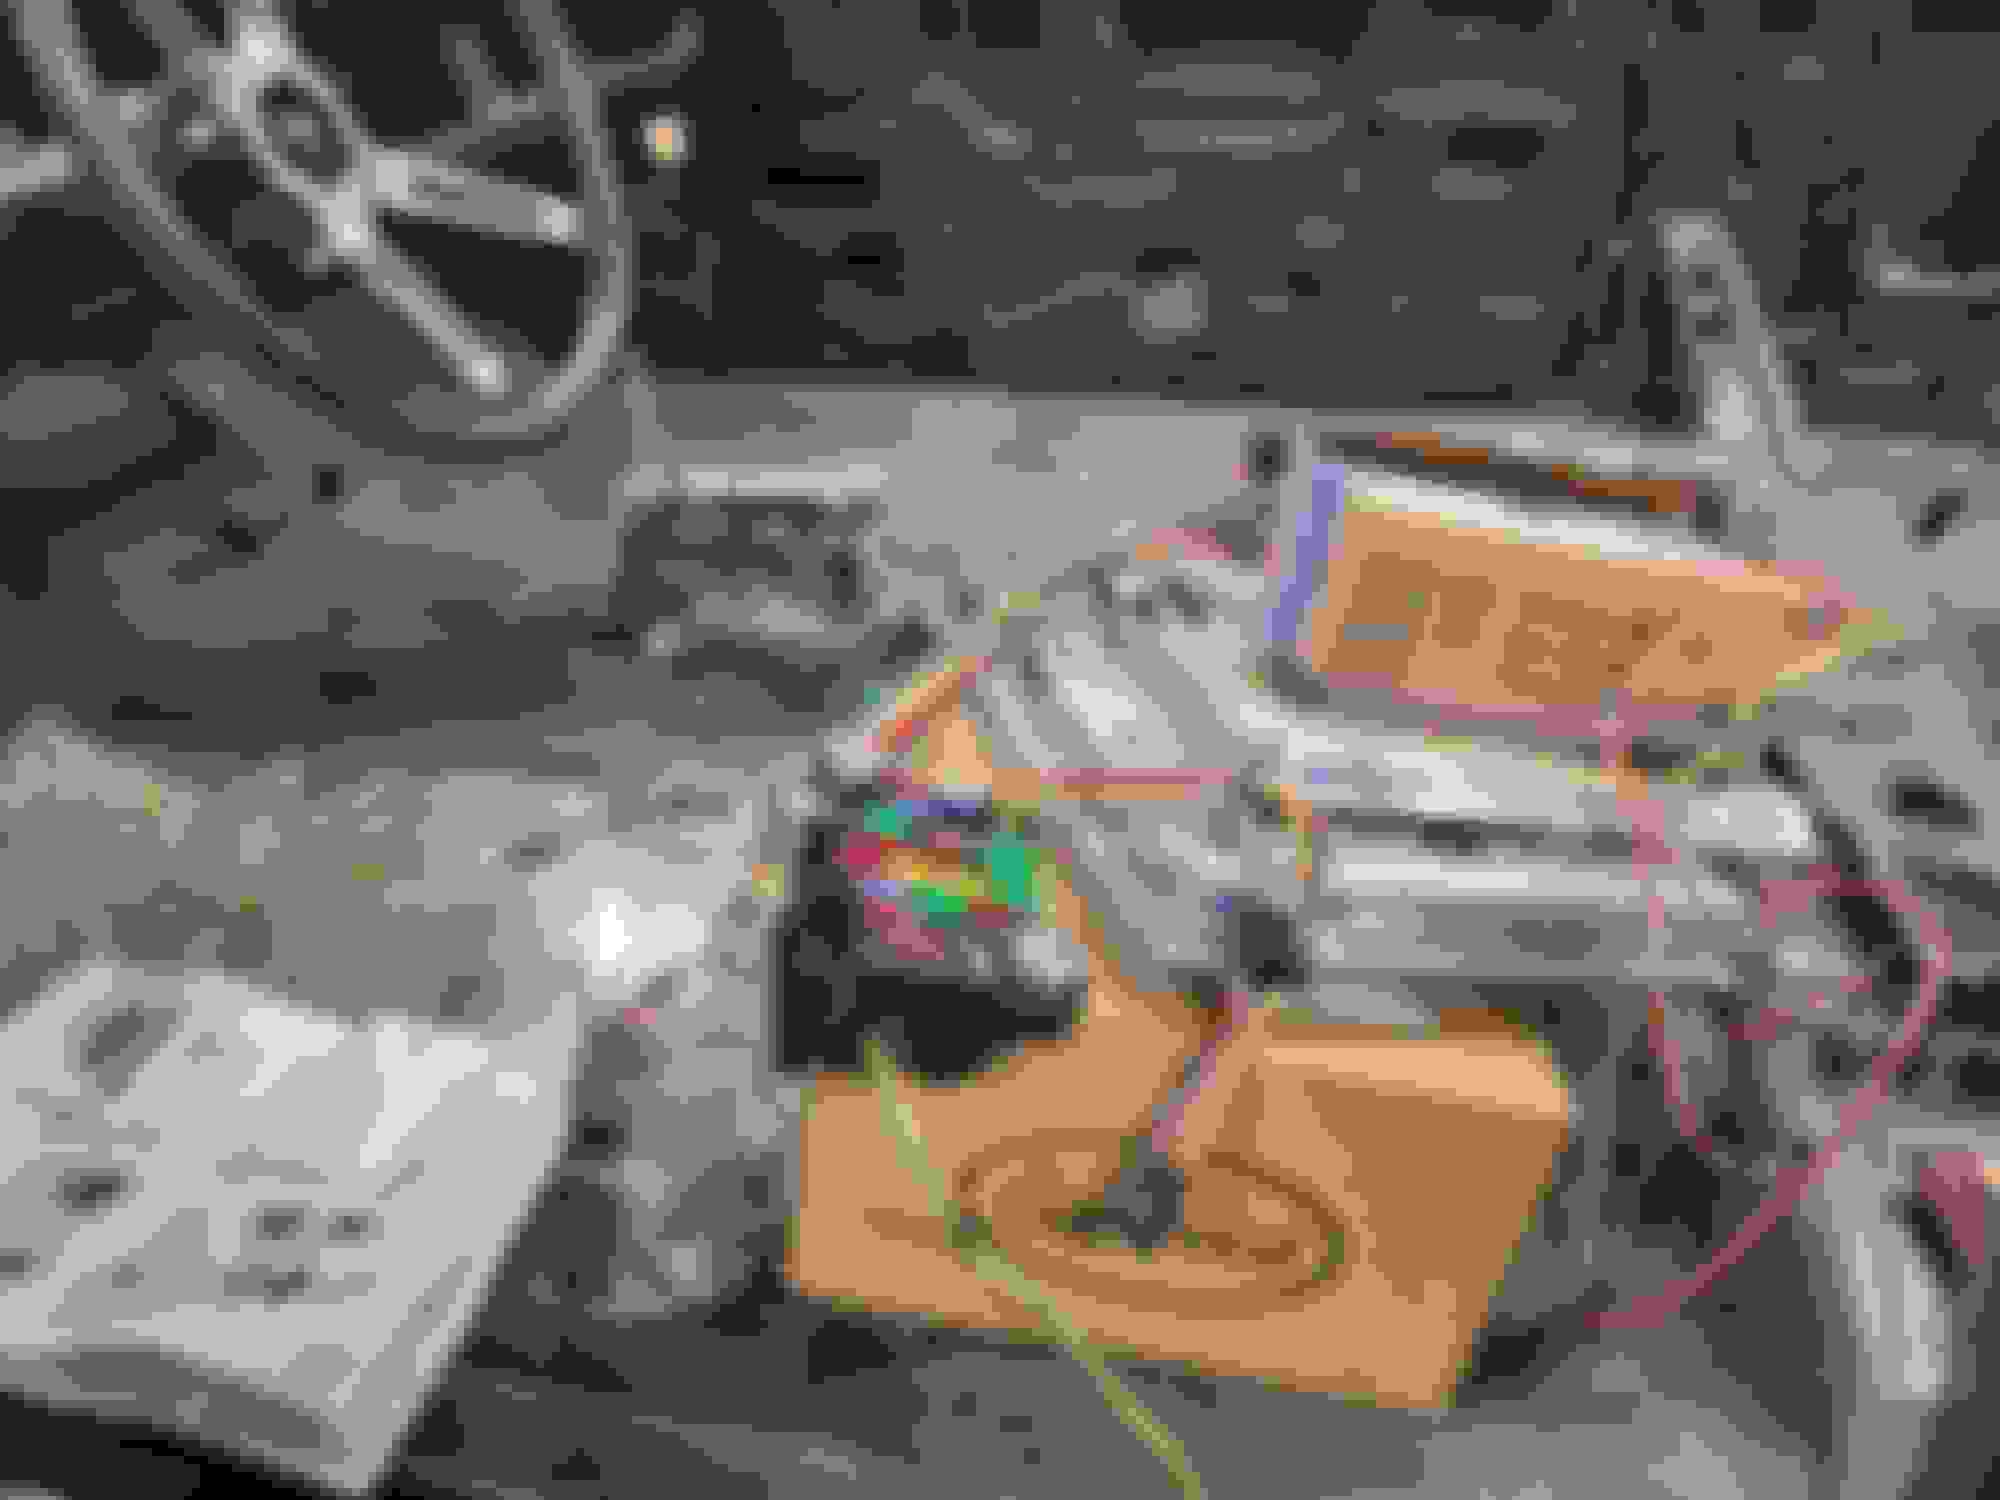
Taking a page out of Rodney's book I am trying to create a connection tray for the mega fuse and soon-to-be remote solenoid(ford).
Not sure how/where is best to mount the tray and its contents.
Suggestions?
Tim:
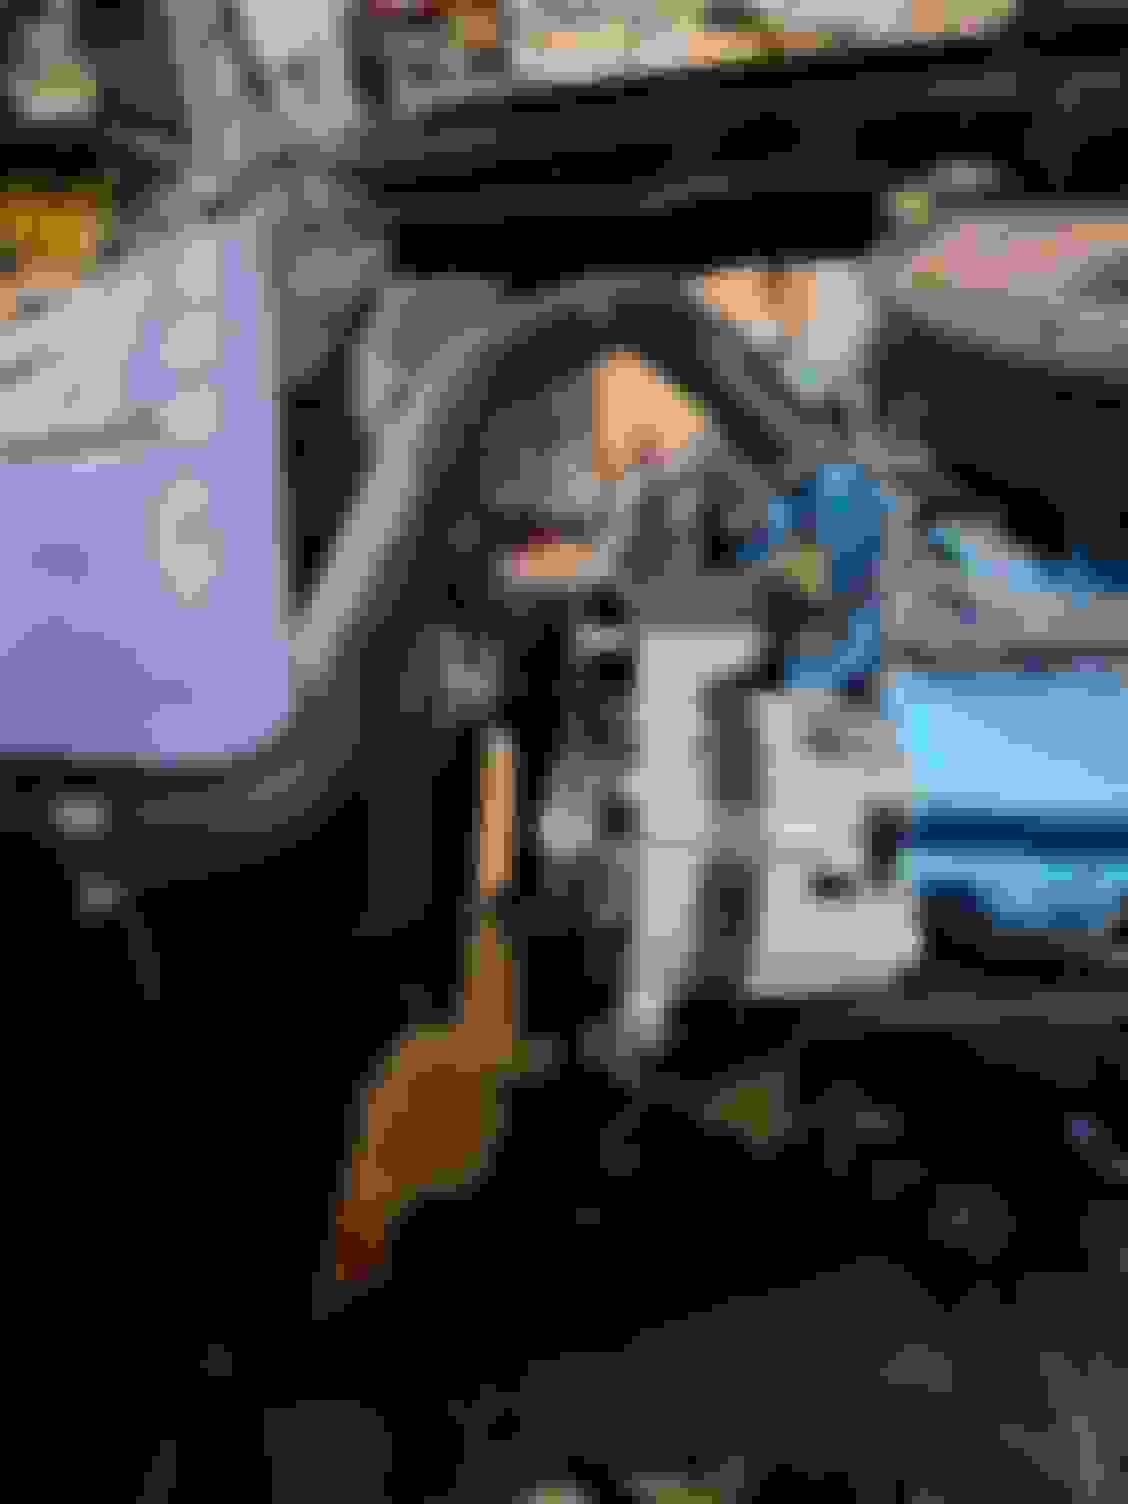
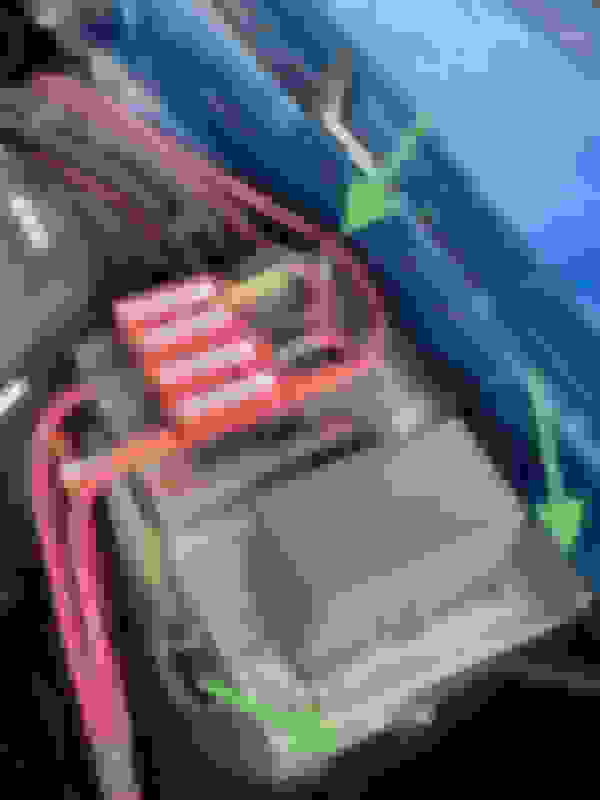
I designed the stainless steel base plate to fit over one of the 5/16" inner fender bolts and used a longer bolt instead of the stock tapered bolts. I stepped the base plate down about 1" where it could be screwed down with a self-tapping sheet metal screw. The third support is an aluminum strap the bolts to the front of the inner fender liner, behind the battery. I had a metal fabricator that I use in my business to make the base plate. Here's a pic, I can send you drawing of my design if that would be helpful to you:
Rodney The base plate is mounted in three places (green arrows).
This mounting point fits over one of the 5/16" inner fender liner bolts.
This self-tapping screw ties the front of the base plate to the fender. The little black wire is the ground path for the relay coils in the auxillary fuse block.
Tim:
I designed the stainless steel base plate to fit over one of the 5/16" inner fender bolts and used a longer bolt instead of the stock tapered bolts. I stepped the base plate down about 1" where it could be screwed down with a self-tapping sheet metal screw. The third support is an aluminum strap the bolts to the front of the inner fender liner, behind the battery. I had a metal fabricator that I use in my business to make the base plate. Here's a pic, I can send you drawing of my design if that would be helpful to you:
Rodney The base plate is mounted in three places (green arrows).
This mounting point fits over one of the 5/16" inner fender liner bolts.
This self-tapping screw ties the front of the base plate to the fender. The little black wire is the ground path for the relay coils in the auxillary fuse block.
Got most of the wiring installed.
Engine bay complete save wiper motor.
Master cylinder and line installed.
Having issues getting the system to bleed,
I have a hand vacuum pump but not making very good progress.
I have a power bleeder on the way.
I was able to get fluid on the passenger front but none or very little on the passenger rear.
I don't see any fluid leaks on the lines but from what I read you can have air leaks and still not have fluid.


 March 16th, 2023, 09:13 PM