1970 W-30 4 spd coming back to life

Thread Tools
 
Search this Thread
 
Old May 11, 2023 | 03:21 AM
  #961  
Vader's Avatar
Registered User
 
Joined: Feb 2011
Posts: 1,035
w30

Are you keeping the console?
LOL
Great job.


Old May 11, 2023 | 04:06 AM
  #962  
OLE442's Avatar
Registered User
 
Joined: Mar 2019
Posts: 1,145
From: Way freakin too close to the city
Originally Posted by Vader
Are you keeping the console?
LOL
Great job.

Keep the lid as a garage wall hanger and use the console with a new lid! BTW, what does the lid say! I can read part of it!
Old May 11, 2023 | 05:03 AM
  #963  
scrappie's Avatar
Thread Starter
Registered User
 
Joined: Mar 2007
Posts: 3,446
From: eastern MA
Looking back I should have kept that console door like you guys said and made it garage art. I’m pretty sure I removed the art work or most of it. I haven’t looked at those parts in a while.
The lid said: Have U felt like an (***, donkey pic) lately
Old May 14, 2023 | 03:59 PM
  #964  
scrappie's Avatar
Thread Starter
Registered User
 
Joined: Mar 2007
Posts: 3,446
From: eastern MA
the little things

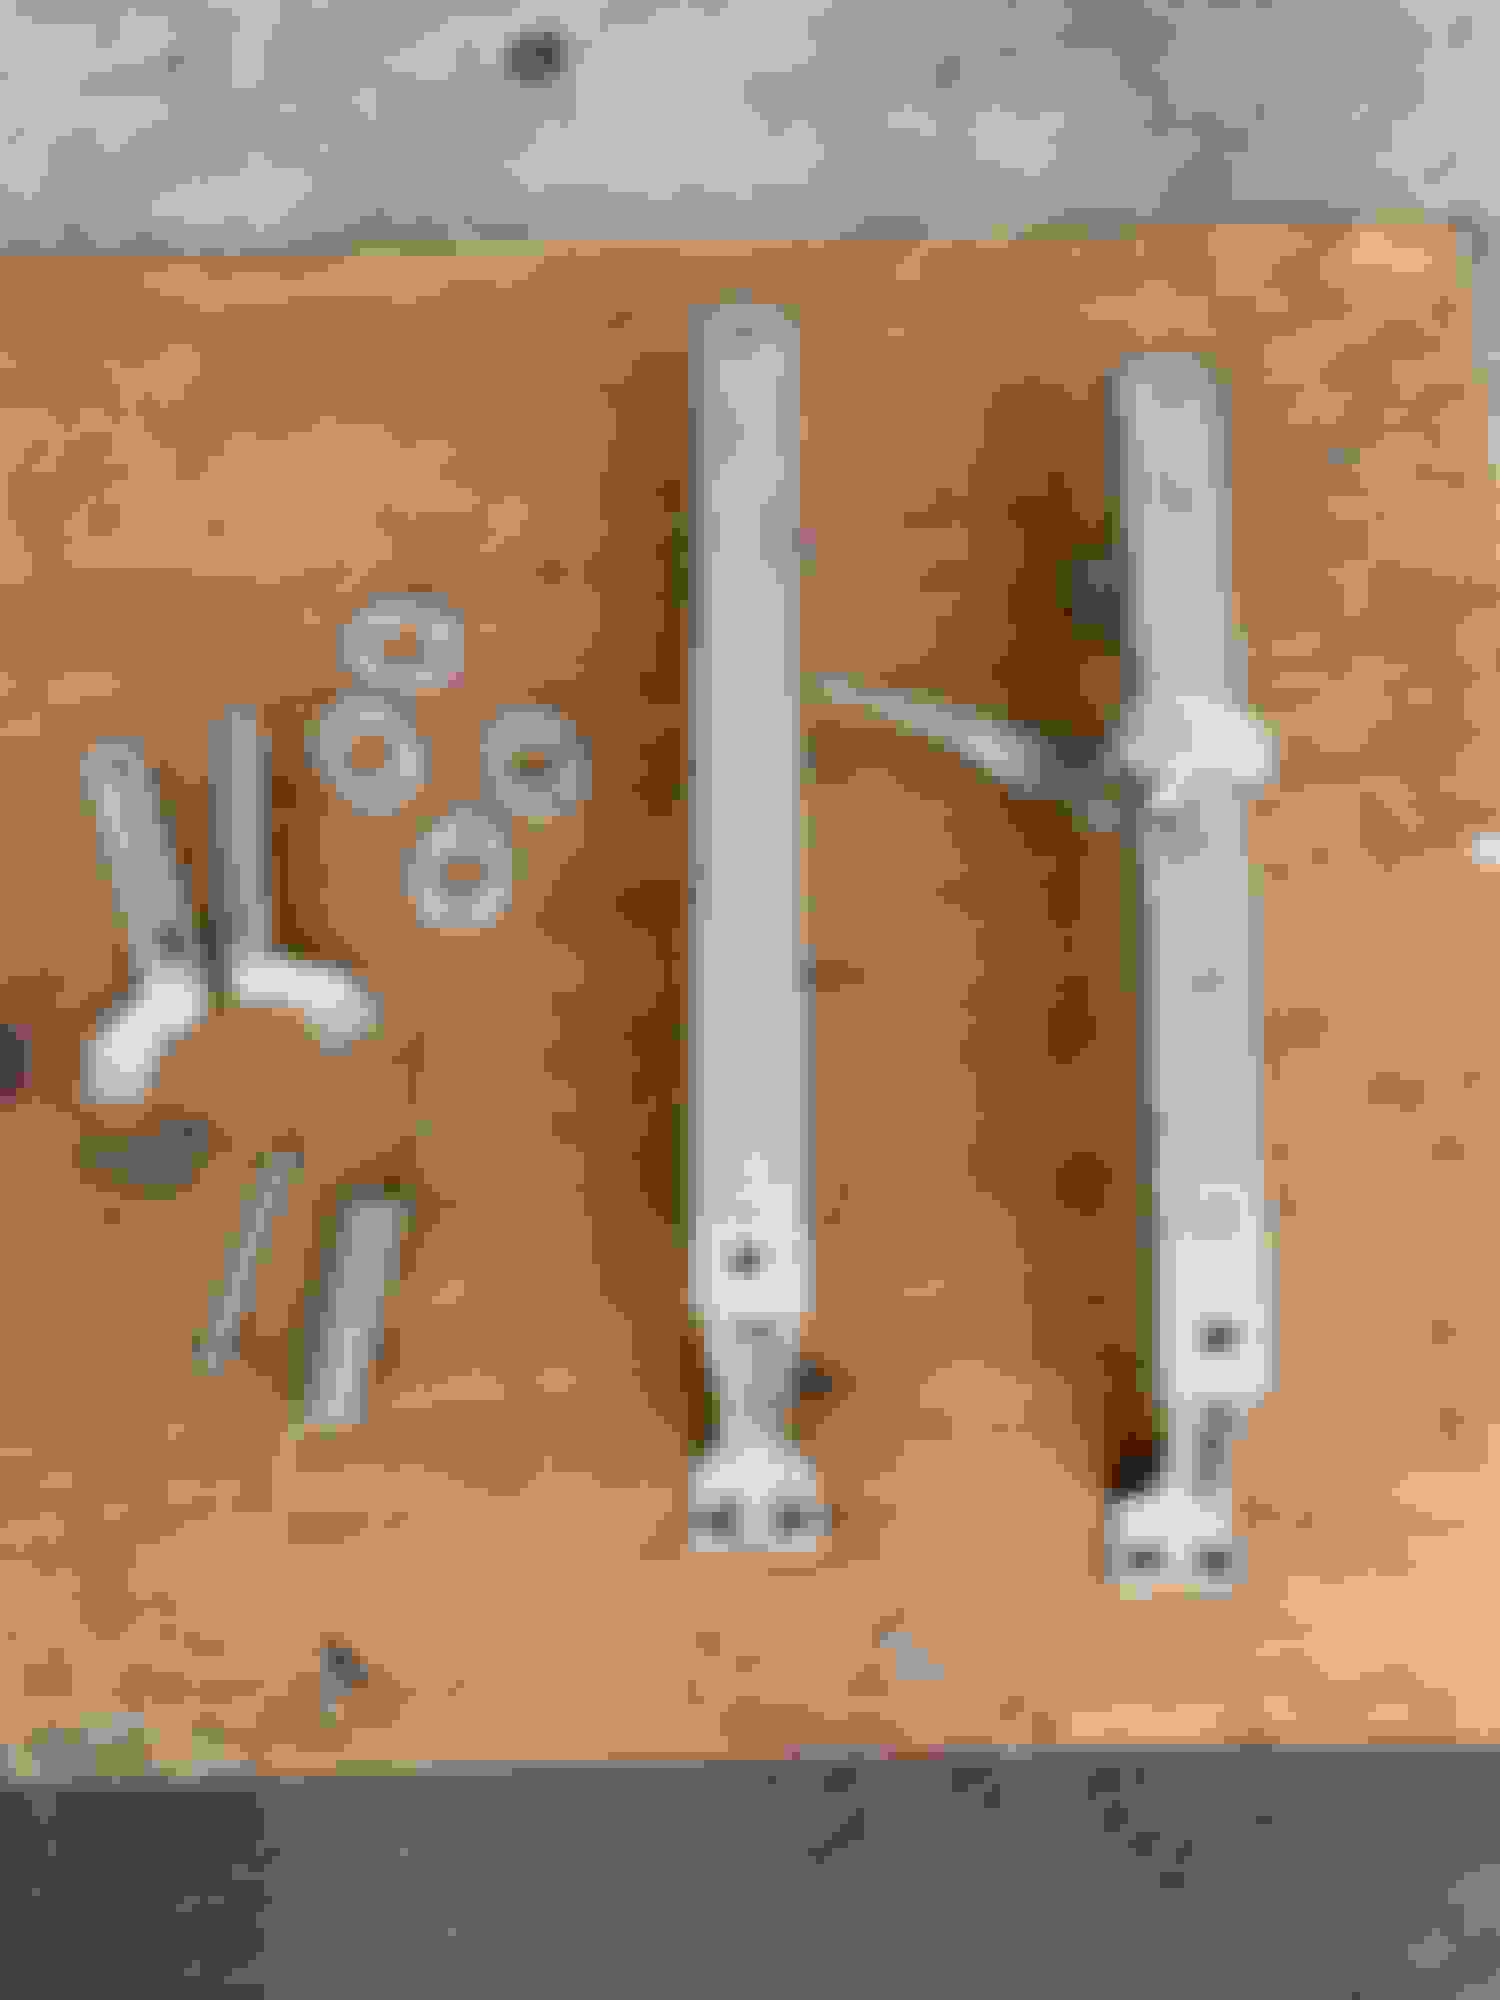
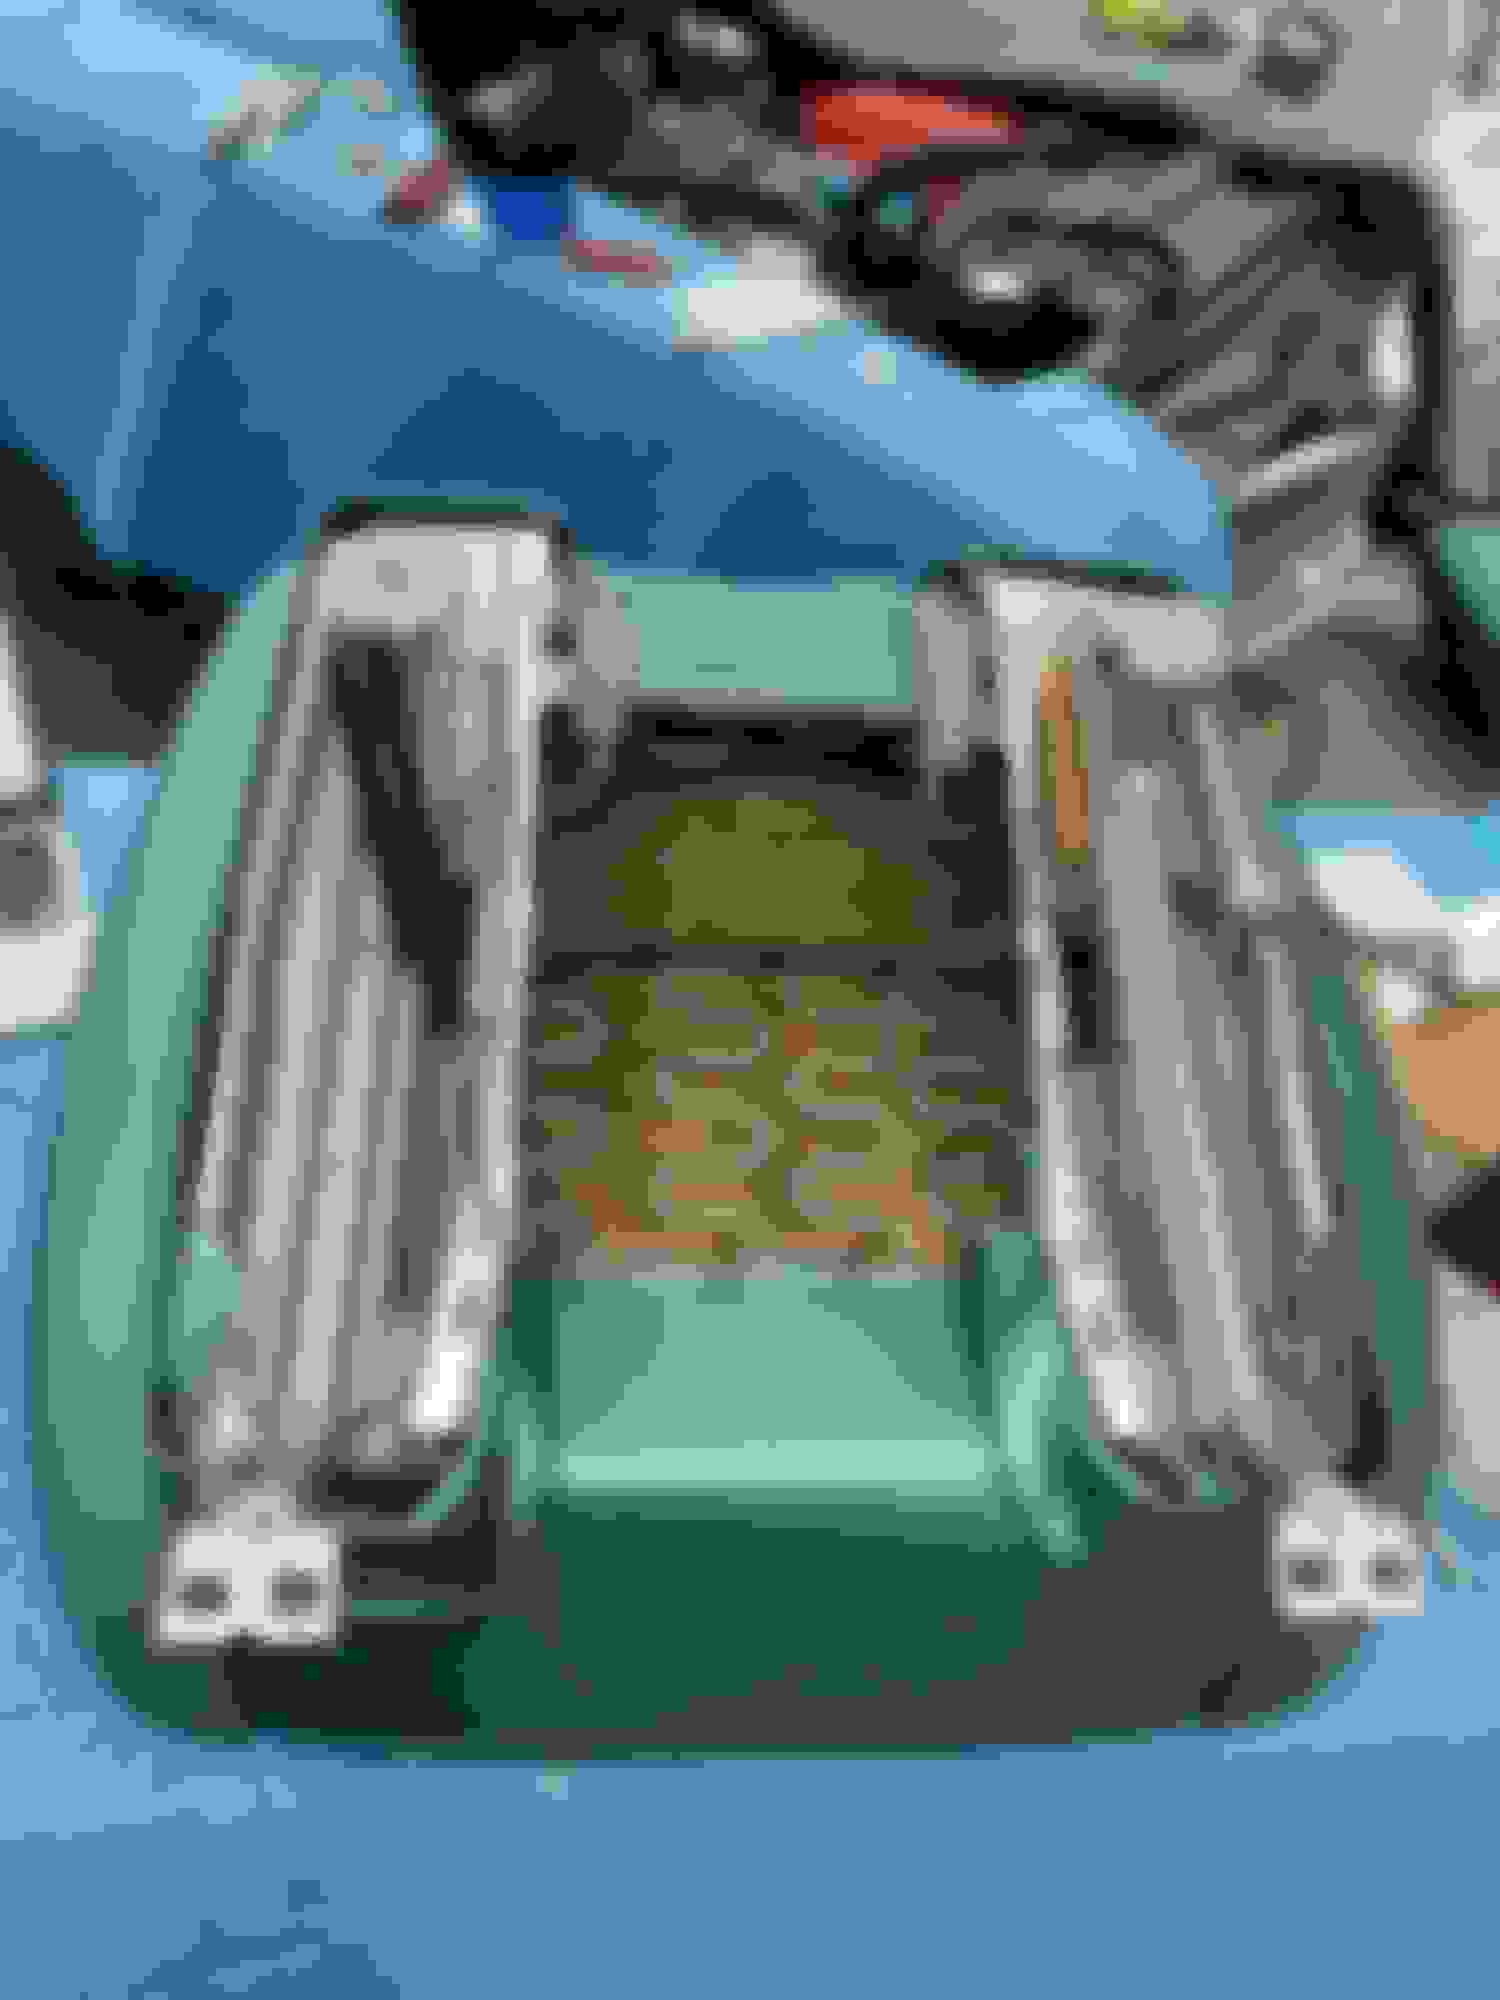
I'm trying to get the seat frames to blaster next week but time is tight. In the meantime, I blasted the tracks, springs, side brackets and cleaned the mechanisms. After blasting everything but the mechanisms, I etch primed and then painted the tracks, springs and side brackets along with the headrest pcs a color I thought was close. I greased the tracks until they moved freely. I then gathered all my plastic seat parts to see if i could come up with the best set of skirts and backs to dye. Some stuff is original and some stuff OEM. I pressure washed everything then scrubbed with comet then pressure washed again. I will pick the best pieces then clean again and dye along with the console. I want to paint everything at the same time. I then moved on to detail paint the inside of hood air intakes and then had time to install sport mirrors. These little things eat up a lot of time but I'll just keep plugging away. These little things do have some gratification though I must admit.


Last edited by scrappie; May 15, 2023 at 09:01 AM.
Old May 21, 2023 | 02:43 PM
  #965  
scrappie's Avatar
Thread Starter
Registered User
 
Joined: Mar 2007
Posts: 3,446
From: eastern MA
Continued on with stuff this weekend. Blaster should have my seat frames done tuesday and I'll plan on next weekend to paint those. In the meantime I'm checking off stuff on my to-do list. I finished trunk stainless trim, installed NOS door handles, installed door and trunk locks. FYI Joe P. matched a couple door locks I had to my original ignition. I had a bunch of doors with locks and just needed the best two to match my ignition. I sent them to Joe and he did a great job. I assembled rear bumper and installed although I still need to tighten and adjust exhaust now bumper is there. I installed front fender chrome trim, installed grill and assembled front bumper. The big thing right now is interior but the list is getting shorter.


Last edited by scrappie; May 21, 2023 at 04:02 PM.
Old May 21, 2023 | 02:48 PM
  #966  
no1oldsfan's Avatar
Banned
 
Joined: Oct 2012
Posts: 6,265
Absolutely love your progress and this car. You documenting every step is so cool. Exactly my point on high dollar junk. Can't even give one before picture. You showing every step is Oldsmobile love. Beautiful car. You have done mad love to this car. 👍🤙
Old May 21, 2023 | 02:50 PM
  #967  
Phoenix8990's Avatar
Registered User
 
Joined: Dec 2018
Posts: 1,162
From: Asheville NC
I've got chrome envy!! WOW that looks great.

Steve
Old May 21, 2023 | 02:55 PM
  #968  
no1oldsfan's Avatar
Banned
 
Joined: Oct 2012
Posts: 6,265
25 pages!! Awesome thread.
Old May 21, 2023 | 02:56 PM
  #969  
tnswt's Avatar
'70 4-Speed W Machine
 
Joined: Feb 2020
Posts: 1,248
From: North GA

Old May 21, 2023 | 03:31 PM
  #970  
scrappie's Avatar
Thread Starter
Registered User
 
Joined: Mar 2007
Posts: 3,446
From: eastern MA
Thanks guys!
While other stuff has its own rewards, putting the shiny stuff on is a lot of fun I do admit.
Old May 23, 2023 | 03:56 PM
  #971  
scrappie's Avatar
Thread Starter
Registered User
 
Joined: Mar 2007
Posts: 3,446
From: eastern MA
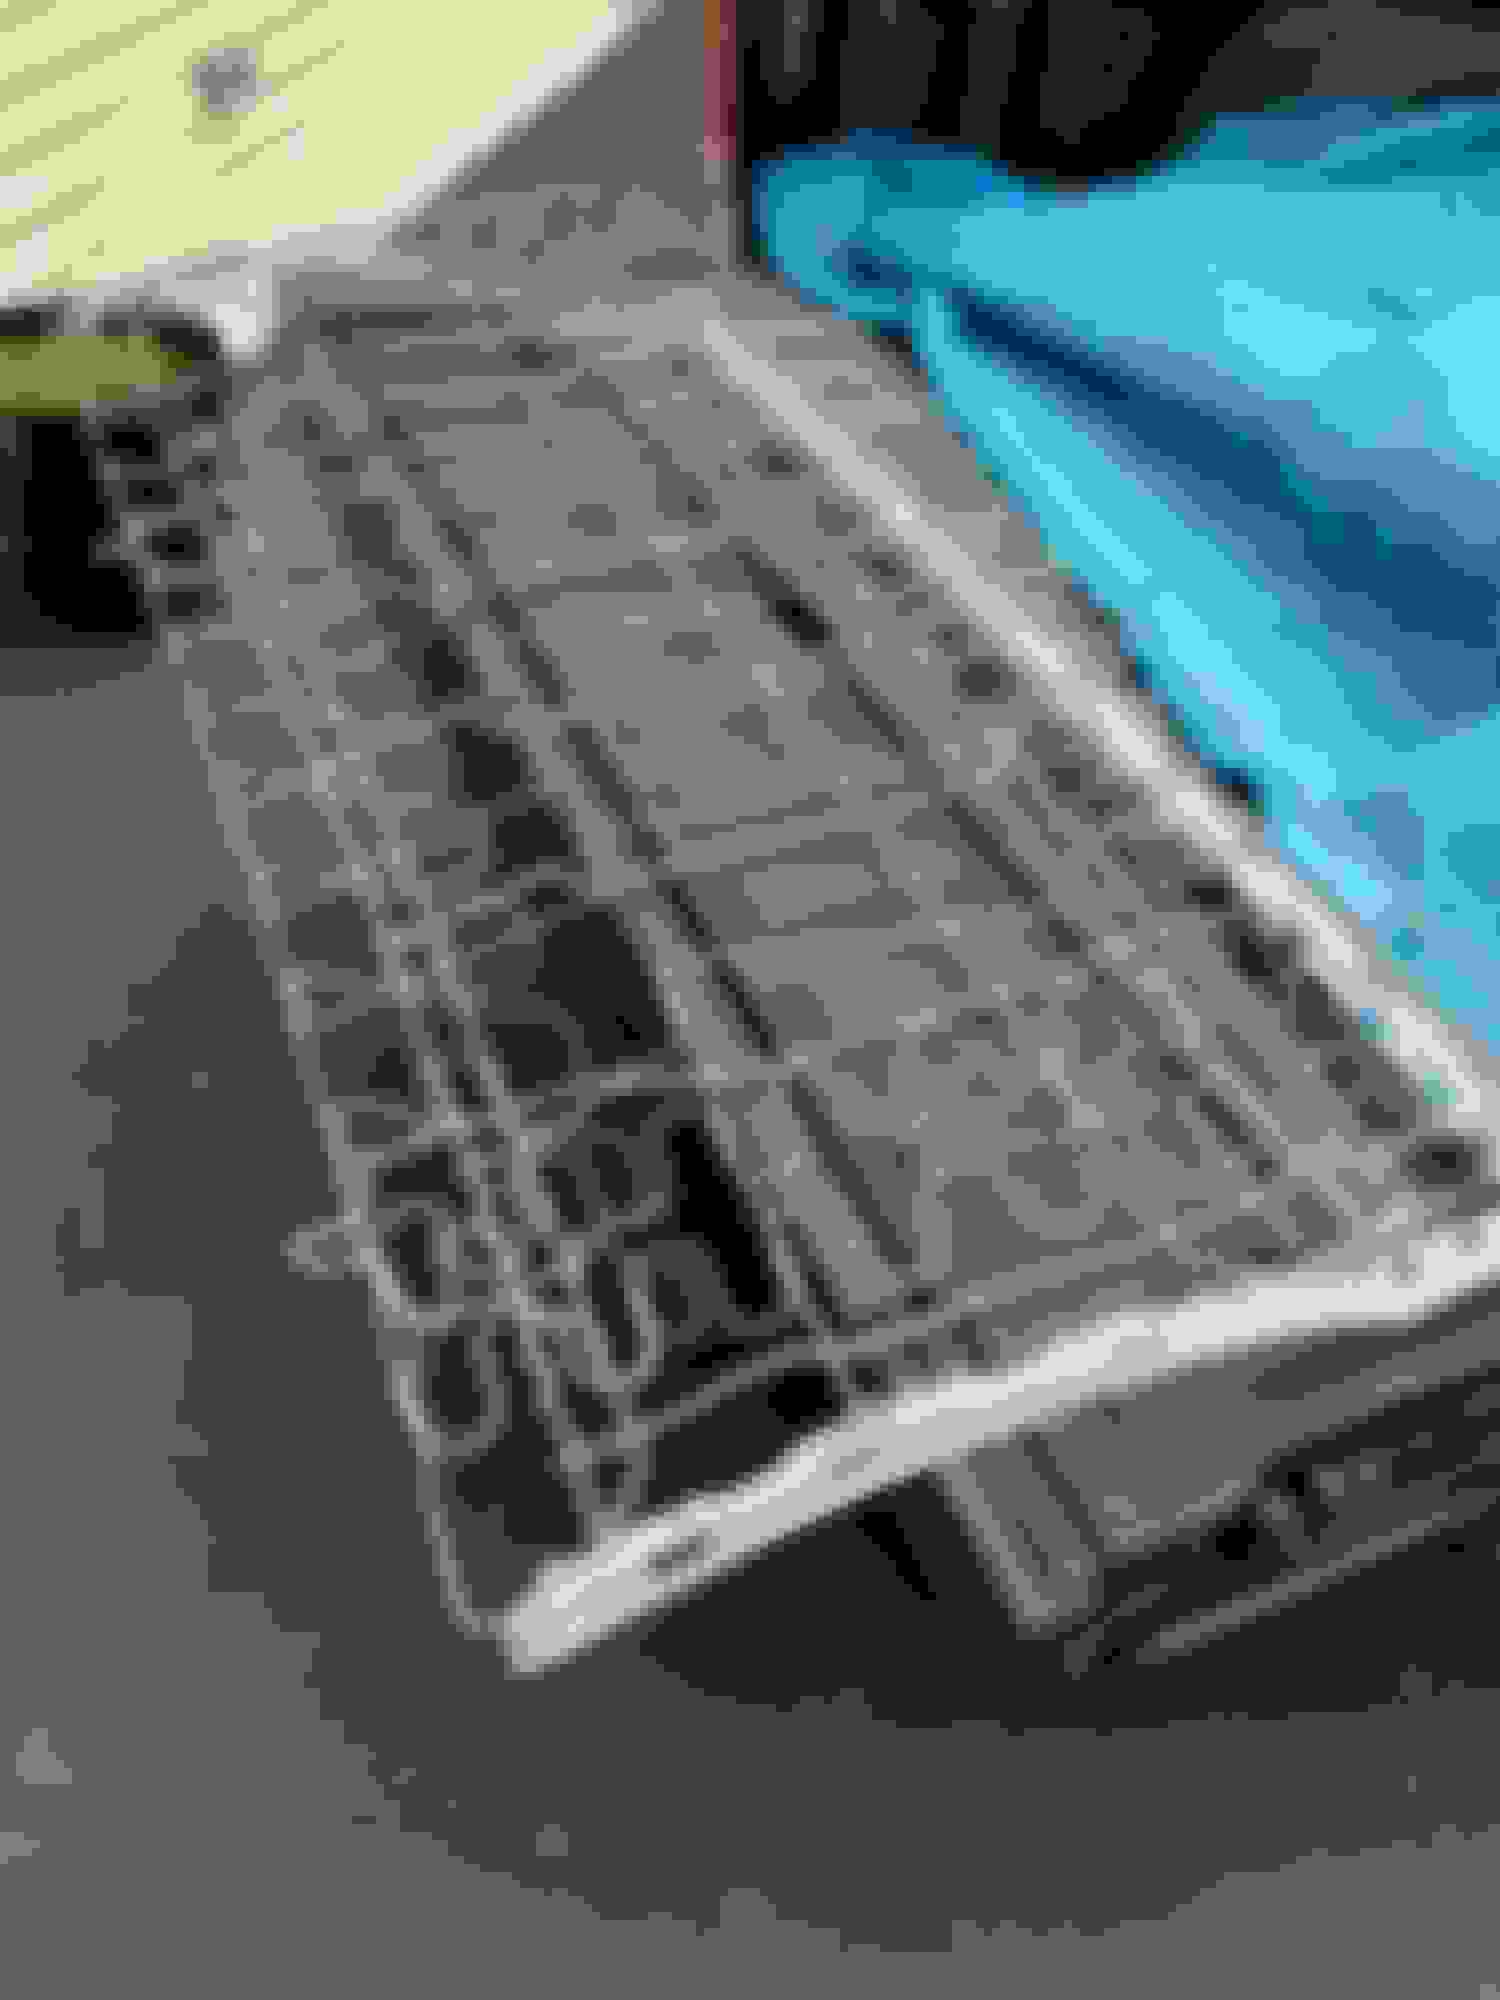
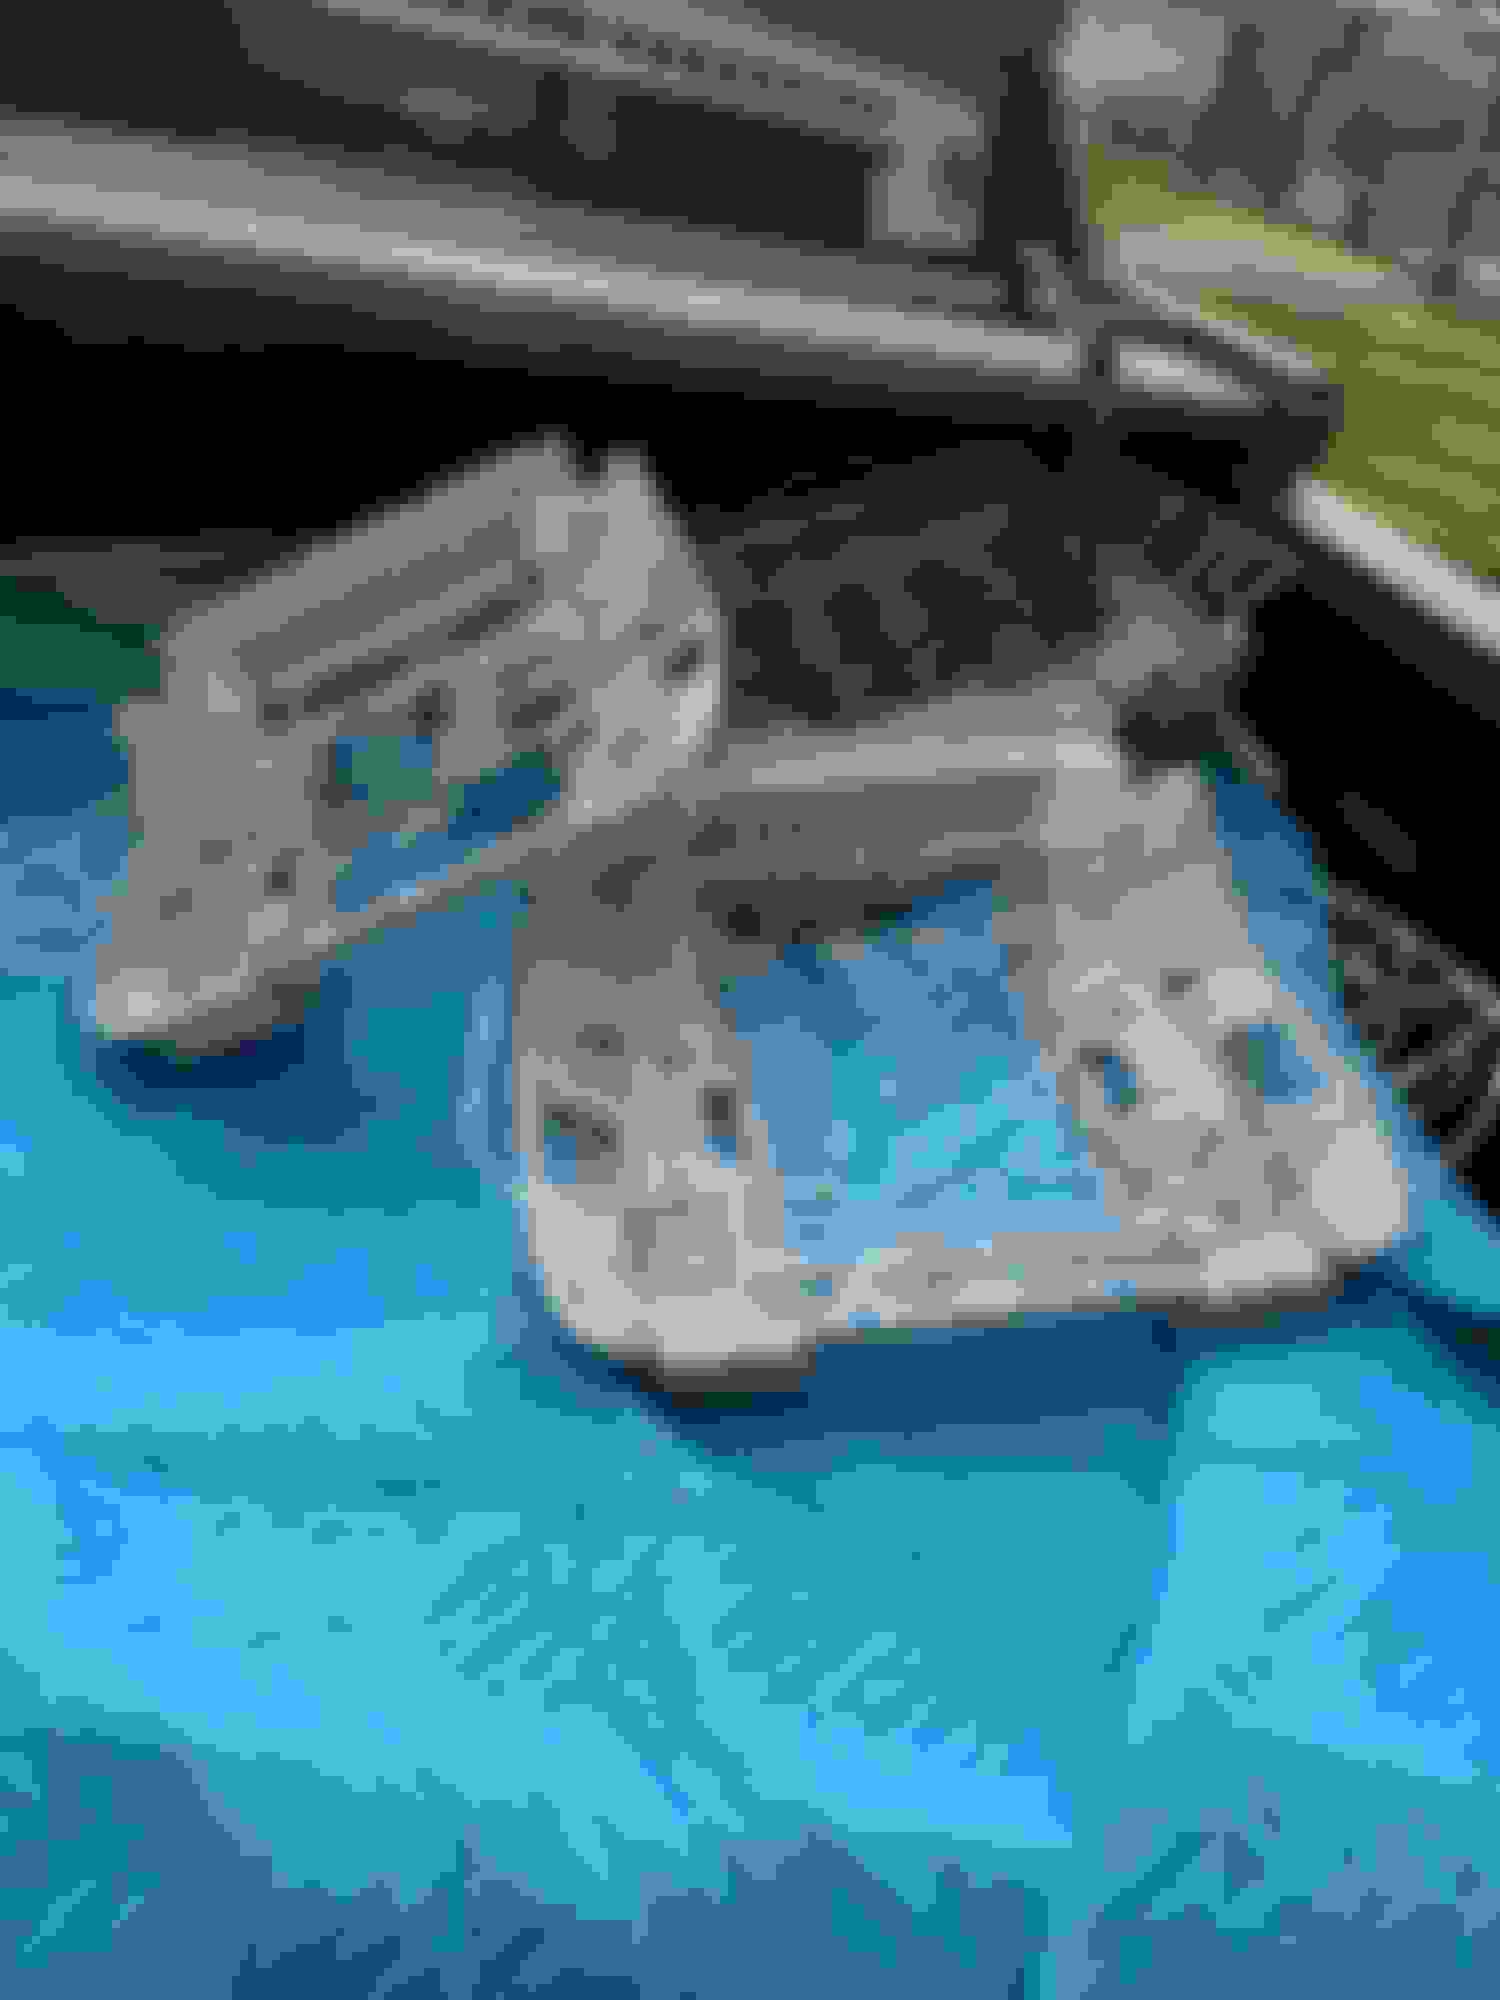
Picked up my seat frames from blaster today. This will be my weekend project to at least get them painted along with a couple spring repairs.
I also have a 71-72 OAI hood that I've owned for 30+ yrs that I had him blast while he was doing frames. This will be for my other project down the road.


Old May 23, 2023 | 04:08 PM
  #972  
4R5's Avatar
4R5
Registered User
 
Joined: Jan 2012
Posts: 559
From: Waukesha WI
Paul, do you know what media the blaster used? My experience with blasting was the media got embedded in the hinges and was a pain to clean out.
Old May 23, 2023 | 04:33 PM
  #973  
scrappie's Avatar
Thread Starter
Registered User
 
Joined: Mar 2007
Posts: 3,446
From: eastern MA
Are you talking about hinges on the seats? He uses a fine glass bead. I will be taking some time blowing out everything for reasons like you speak of. They have been doing whole cars/sheetmetal for years. I've had pretty good luck with the pcs they have done for me.
http://classiccarblasting.com/index.html

Last edited by scrappie; May 23, 2023 at 04:35 PM.
Old May 23, 2023 | 04:37 PM
  #974  
4R5's Avatar
4R5
Registered User
 
Joined: Jan 2012
Posts: 559
From: Waukesha WI
Yes, was referring to the seat hinges. Sounde like the finer glass bead will be easier to clean out. Thanks!
Old May 24, 2023 | 06:07 AM
  #975  
Ap6954's Avatar
Registered User
 
Joined: Dec 2015
Posts: 487
From: Louisiana
Looks great Paul. If you’re not familiar with seat rebuilding, contact user Ben RAMBOW on this forum. He does seat restoration and can do your seats or has parts and instructions for redoing yourself. He knows the typical problem areas and Helped me a lot to do my seats.
Old May 24, 2023 | 07:54 AM
  #976  
scrappie's Avatar
Thread Starter
Registered User
 
Joined: Mar 2007
Posts: 3,446
From: eastern MA
Thx Andy, will do
Old May 24, 2023 | 02:45 PM
  #977  
jensenracing77's Avatar
Registered User
 
Joined: Feb 2009
Posts: 11,916
From: Brazil Indiana
Seats are something I have never tried to do yet. Fantastic work!
Old May 24, 2023 | 04:44 PM
  #978  
scrappie's Avatar
Thread Starter
Registered User
 
Joined: Mar 2007
Posts: 3,446
From: eastern MA
Thx Eric. I've done a front bench and rear seat years ago on a 71 conv. The buckets will be a new thing for me. I'll keep you guys along for the ride.
Old May 25, 2023 | 07:30 PM
  #979  
BackInTheGame's Avatar
Registered User
 
Joined: Jul 2009
Posts: 2,471
From: Colorado - Front Range
They are not too hard, just tedious, with a lot of muscle in certain areas, like the tucks, etc. I had never done seats before but with Rambow's help and kit, it wasn't difficult and turned out great.
Old May 29, 2023 | 05:28 PM
  #980  
scrappie's Avatar
Thread Starter
Registered User
 
Joined: Mar 2007
Posts: 3,446
From: eastern MA
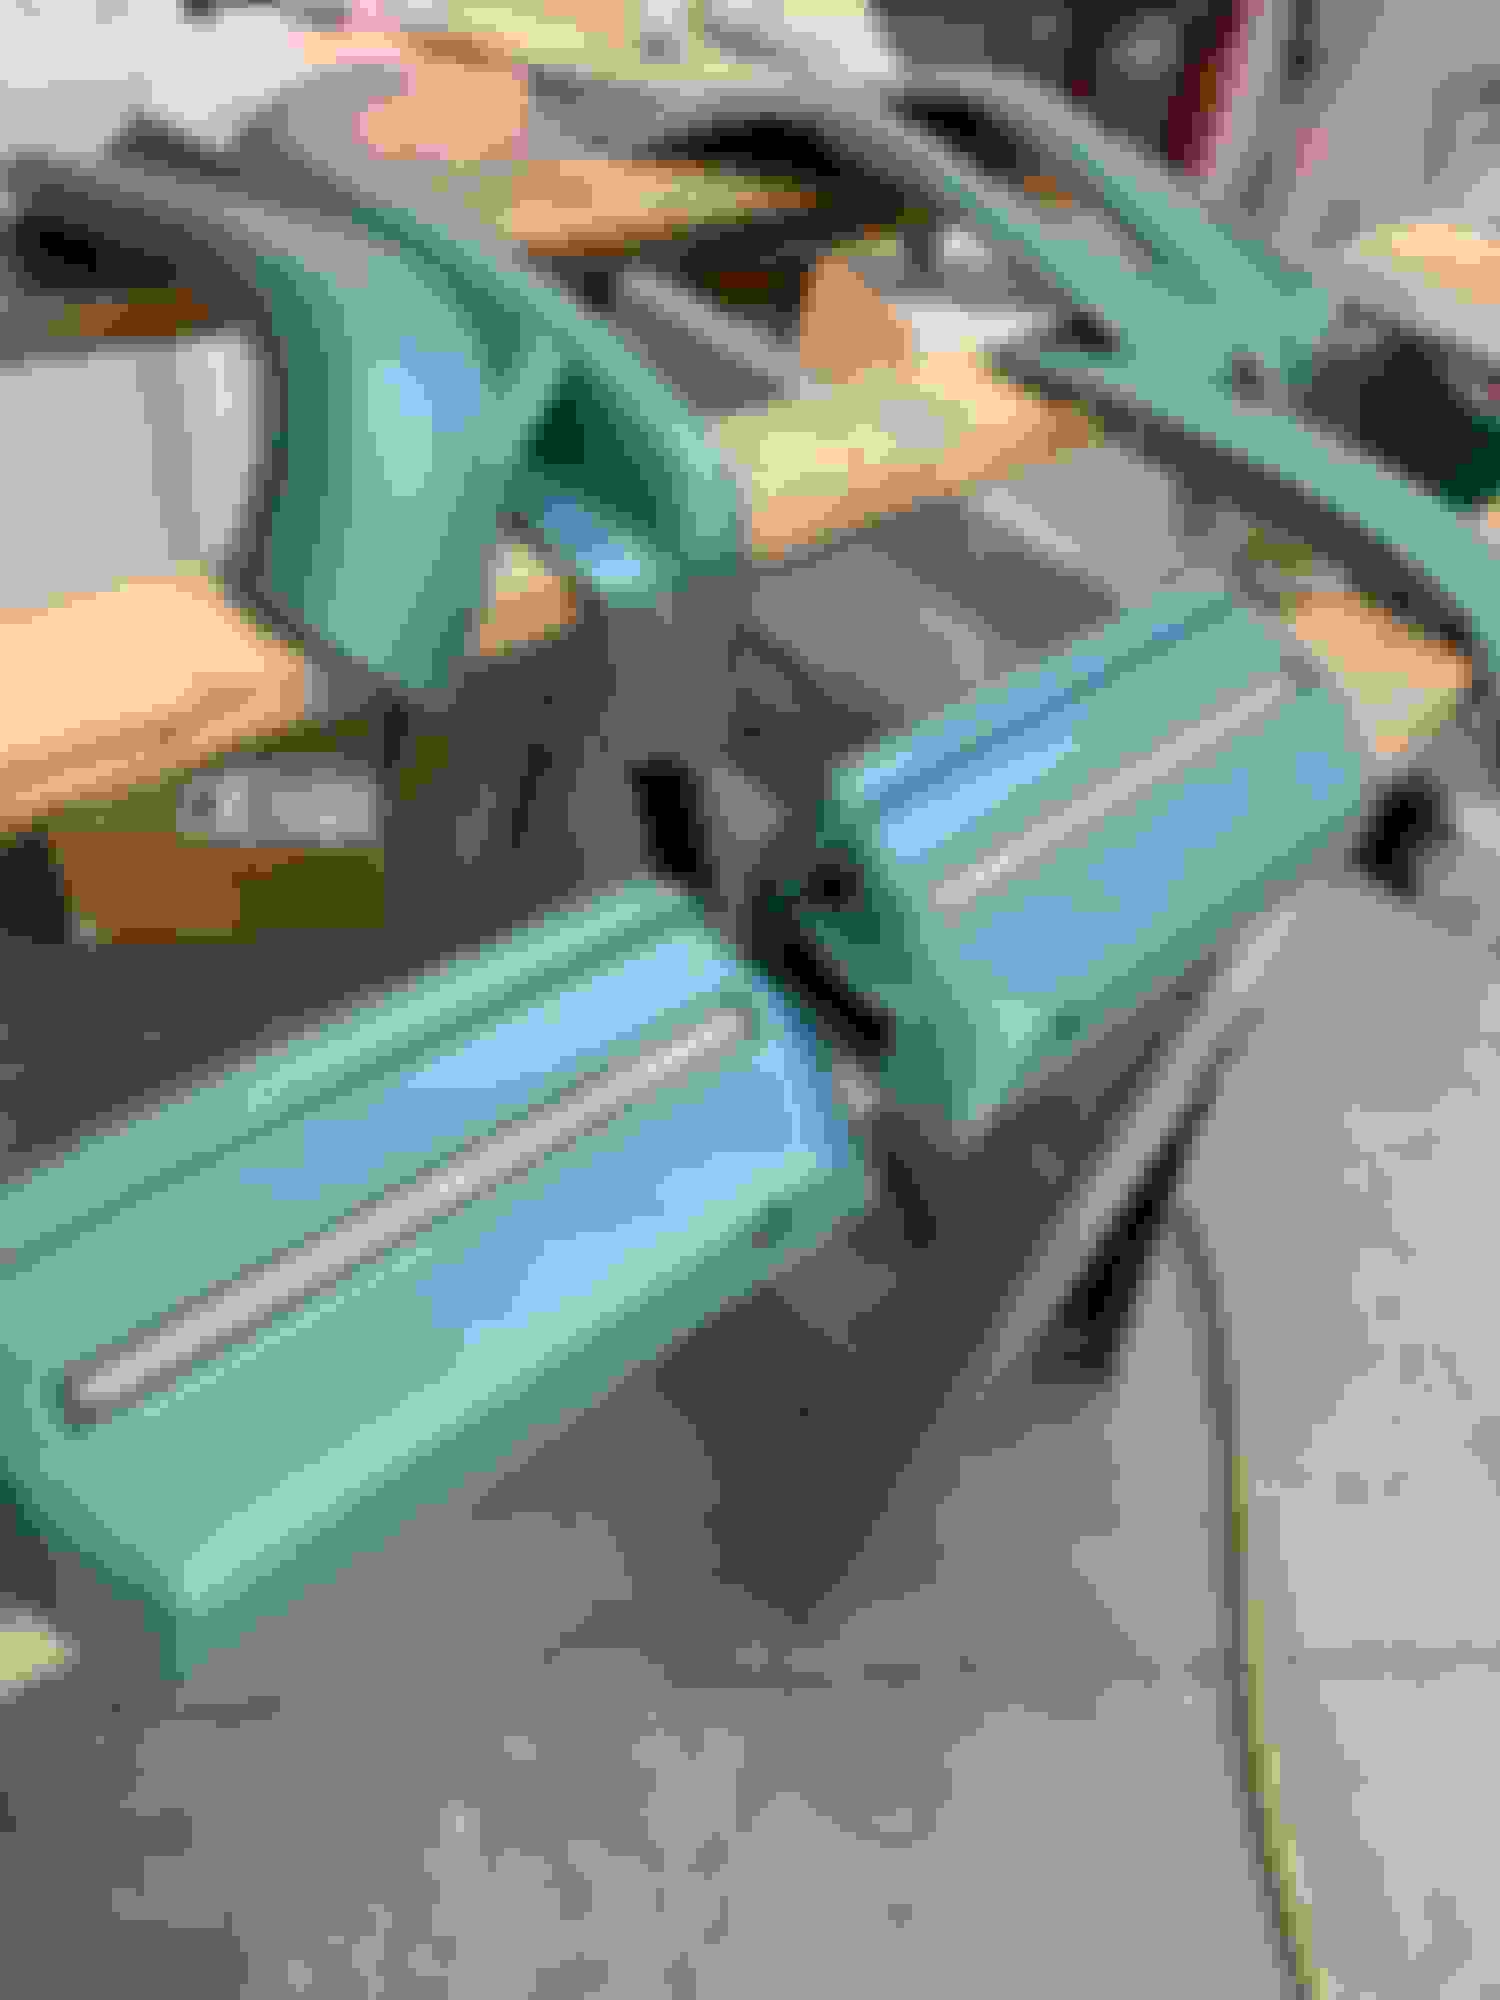
Got the seat frames all painted, now I just have to find the time to cover them.
I had a lot of interior pieces to dye so I tackled that this weekend also. After dying everything I decided to put the console together and install it so I don't trip over it or something. I re-flocked the interior of console and buffed out the trim and touched up the paint detail. I also installed a hinge repair kit from H&H. Buffed some stainless pieces on arm rest bases and then I ran out of time.


Last edited by scrappie; May 30, 2023 at 02:47 AM.
Old May 29, 2023 | 06:16 PM
  #981  
jensenracing77's Avatar
Registered User
 
Joined: Feb 2009
Posts: 11,916
From: Brazil Indiana
Very nice! I really enjoy restoring consoles and yours looks fantastic!
Old May 29, 2023 | 08:29 PM
  #982  
4R5's Avatar
4R5
Registered User
 
Joined: Jan 2012
Posts: 559
From: Waukesha WI
Paul, what did you use for the dye, SEM?
BTW, those parts look really nice!
Old May 30, 2023 | 02:50 AM
  #983  
scrappie's Avatar
Thread Starter
Registered User
 
Joined: Mar 2007
Posts: 3,446
From: eastern MA
Originally Posted by jensenracing77
Very nice! I really enjoy restoring consoles and yours looks fantastic!
Yeah definitely gentleman's work and rewarding, thx Eric

Originally Posted by 4R5
Paul, what did you use for the dye, SEM?
BTW, those parts look really nice!
Kolor Korrect for interior dye/paint, thx
Old May 30, 2023 | 08:03 AM
  #984  
JOHNNYOLDS442's Avatar
Olds Specialist LOL
 
Joined: Jun 2012
Posts: 2,223
From: TUCSON
Paul, I love the job you are doing.
All i can say is you are Amazing! wow wow wow!
I hope you enjoy every minute when it is completed.
Johnny
Old May 30, 2023 | 08:47 AM
  #985  
scrappie's Avatar
Thread Starter
Registered User
 
Joined: Mar 2007
Posts: 3,446
From: eastern MA
Thanks for saying Johnny, I am looking forward to being able to drive it instead of work on it but I do enjoy the work most of the time.

Last edited by scrappie; May 31, 2023 at 06:34 PM.
Old May 30, 2023 | 04:58 PM
  #986  
Trophyblue442's Avatar
Registered User
 
Joined: Mar 2015
Posts: 461
From: Long Island, NY
Quit FLOCKING around and get it done! Lol. Looks great. It’s all about the details. That’s what sets most cars apart from others. Yours looks great!
Old May 30, 2023 | 06:26 PM
  #987  
scrappie's Avatar
Thread Starter
Registered User
 
Joined: Mar 2007
Posts: 3,446
From: eastern MA
This flocking thing is taking forever.

Thx Greg

Last edited by scrappie; May 31, 2023 at 10:08 AM.
Old May 31, 2023 | 02:11 PM
  #988  
Cincinnati Rick's Avatar
Registered User
 
Joined: Nov 2014
Posts: 1,554
From: Cincinnati, Ohio
Fantastic build thread. Everything looks great. Did you use any adhesive on the chrome shifter boot bezel/ornament?

Old May 31, 2023 | 05:27 PM
  #989  
scrappie's Avatar
Thread Starter
Registered User
 
Joined: Mar 2007
Posts: 3,446
From: eastern MA
Originally Posted by Cincinnati Rick
Fantastic build thread. Everything looks great. Did you use any adhesive on the chrome shifter boot bezel/ornament?
Thx Rick
I did not but after I was running it through 1st and reverse I noticed it became a bit dislodged so while the console is only in with four screws I think I will remove and put some adhesive around the inside area. I was thinking of 3M super trim adhesive, any recommendations?

Last edited by scrappie; Jun 8, 2023 at 02:59 AM.
Old Jun 4, 2023 | 07:05 PM
  #990  
scrappie's Avatar
Thread Starter
Registered User
 
Joined: Mar 2007
Posts: 3,446
From: eastern MA
Hey Rick FYI. I removed console and was able to crimp the 6 tabs that hold the bezel onto boot. I added a couple dabs of 3M trim adhesive on inside just in case. It seems pretty solid now.

Last edited by scrappie; Jun 8, 2023 at 03:00 AM.
Old Jun 5, 2023 | 04:19 AM
  #991  
Cincinnati Rick's Avatar
Registered User
 
Joined: Nov 2014
Posts: 1,554
From: Cincinnati, Ohio
Originally Posted by scrappie
Hey Rick FYI. I removed console and was able to crimp the 6 tabs that hold the bezel onto boot. I added a couple dabs of 3M trim adhesive just in case. It seems pretty solid now.
Paul, thanks for the heads up. The last time I tried to crimp those tabs, they started snapping off. Can you offer any advice to keep that from happening?
Old Jun 5, 2023 | 05:11 AM
  #992  
scrappie's Avatar
Thread Starter
Registered User
 
Joined: Mar 2007
Posts: 3,446
From: eastern MA
That sucks.
I wish I could give you some advice but I dont have any. Did you crimp the bezel while it was on the boot with the rubber in between the tabs? I would think the rubber would stop the tab from bending too much causing it to snap. I would have stopped if mine snapped but they didnt so I continued. Is it possible yours is a different material?
Old Jun 5, 2023 | 05:17 AM
  #993  
Cincinnati Rick's Avatar
Registered User
 
Joined: Nov 2014
Posts: 1,554
From: Cincinnati, Ohio
I honestly can't remember if I did it with the bezel on the boot or off. The bezels that I have had were pot metal I believe.
Old Jun 7, 2023 | 03:49 AM
  #994  
1972code26's Avatar
Registered User
 
Joined: May 2023
Posts: 84
From: Corunna,Michigan
Awesome job car is looking beautiful. That’s a nice looking 71-72 hood
Old Jun 7, 2023 | 05:49 AM
  #995  
scrappie's Avatar
Thread Starter
Registered User
 
Joined: Mar 2007
Posts: 3,446
From: eastern MA
Originally Posted by 1972code26
Awesome job car is looking beautiful. That’s a nice looking 71-72 hood
Thank you.Yeah that hood is pretty mint, been in my possession then out, then in again since 1986.
Old Jun 12, 2023 | 03:01 AM
  #996  
scrappie's Avatar
Thread Starter
Registered User
 
Joined: Mar 2007
Posts: 3,446
From: eastern MA
Re covering seats

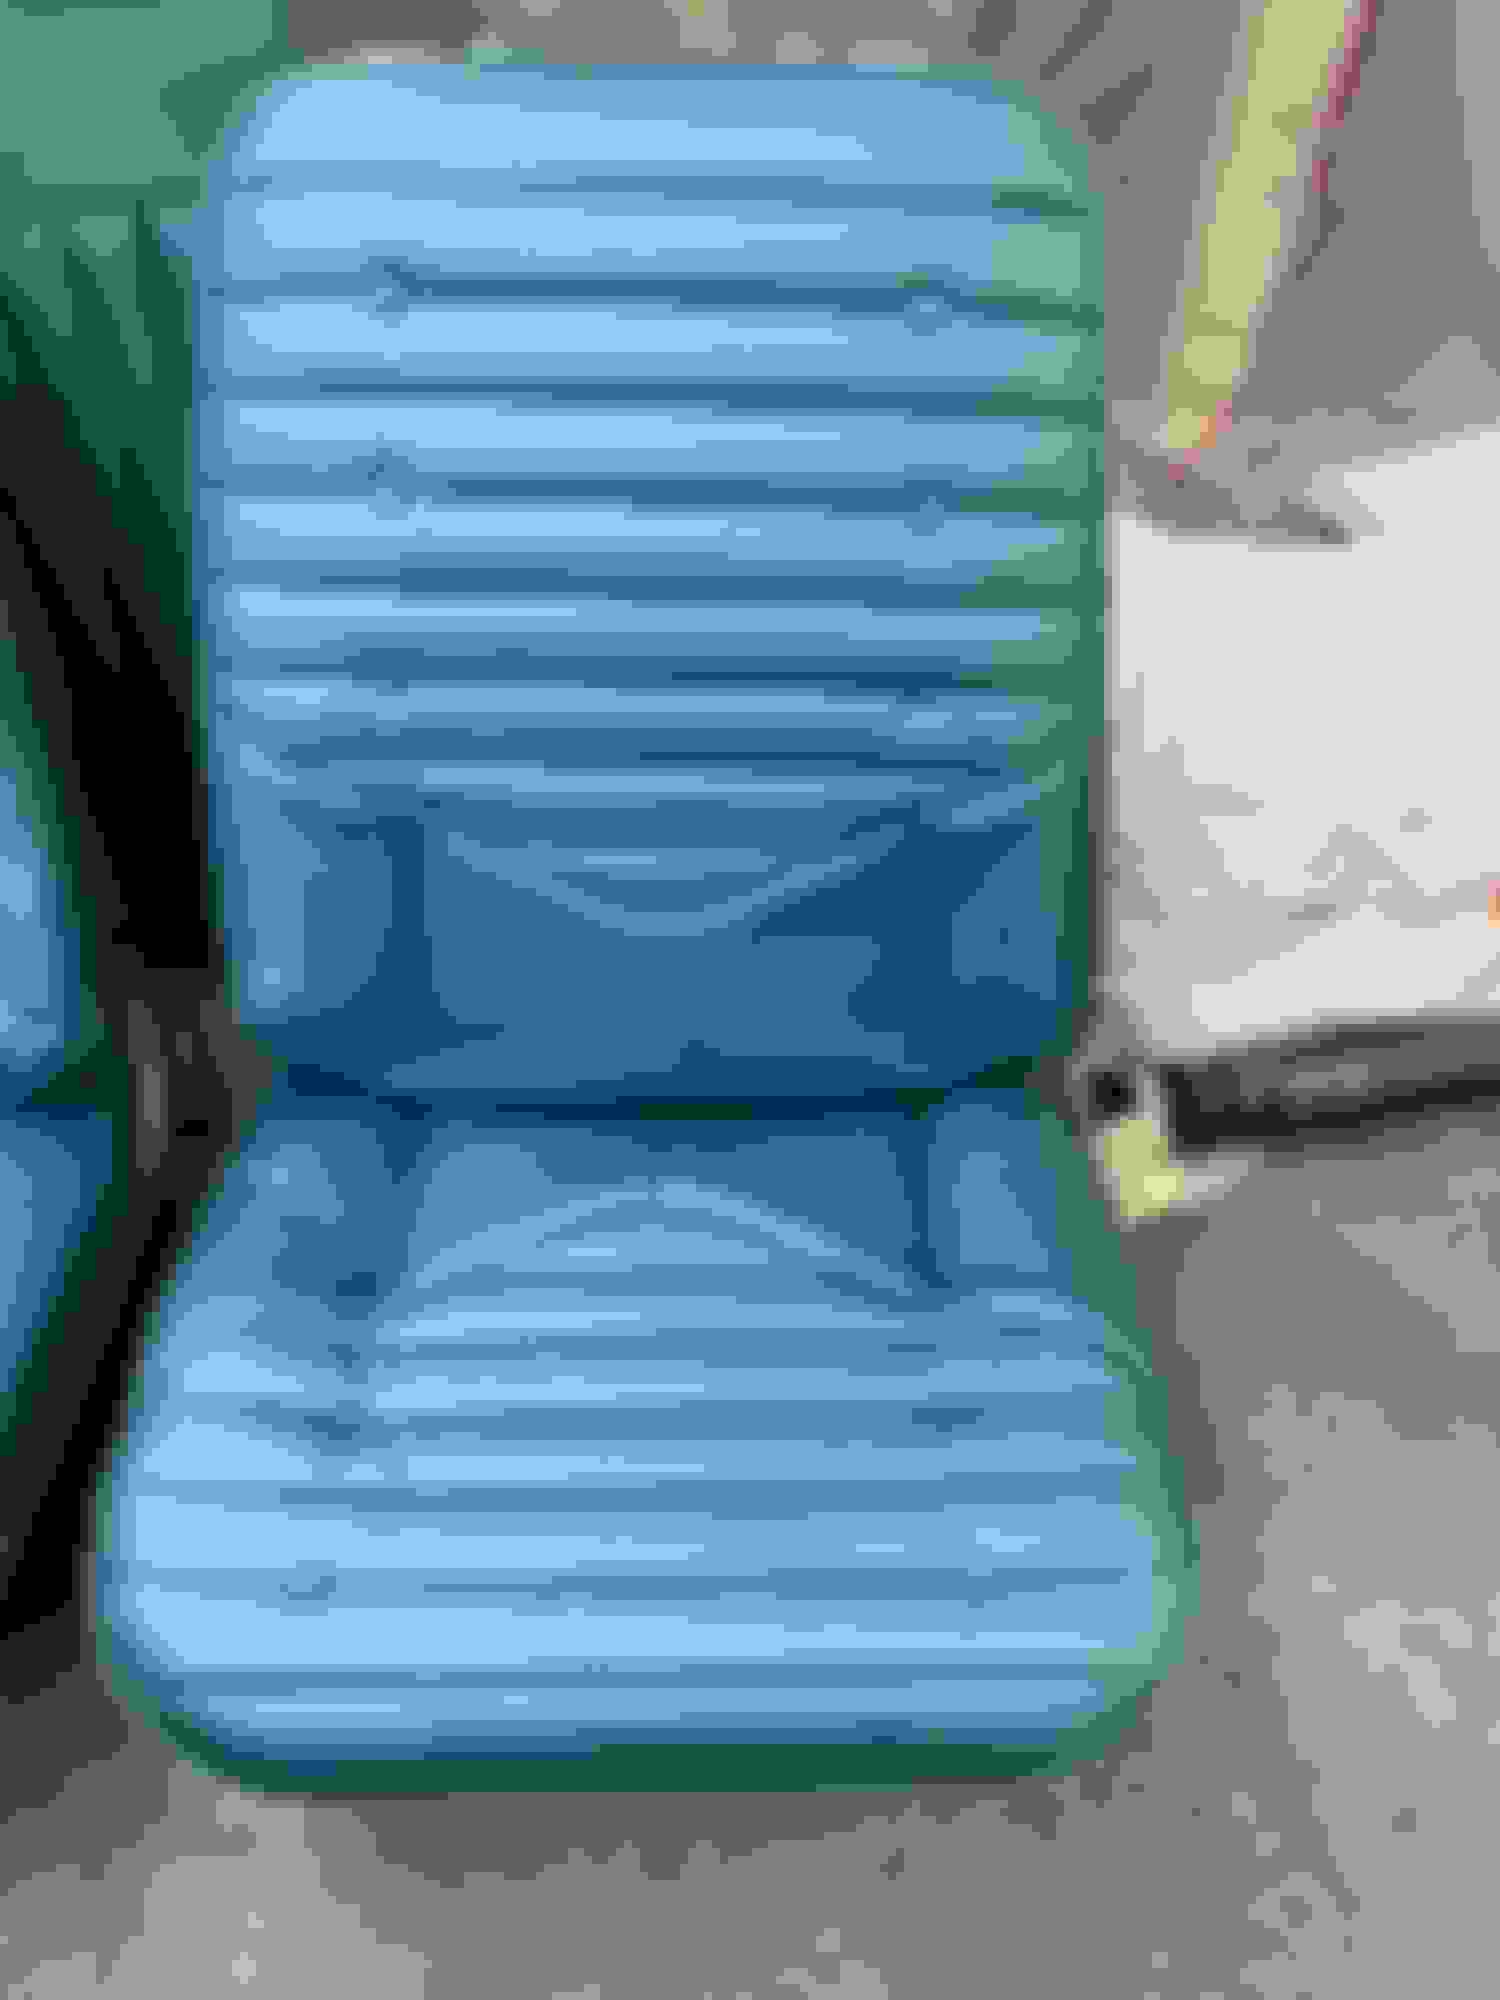
Been wrestling with the interior seat covers the last couple weeks. A lot of pushing and pulling and my hands are feeling it but they are done. I bought the interior stuff from legendary before the pandemic so I've had them a while. They really are a nice product IMO. I still have the interior panels to do.
On another note: I went to install rear package tray that I also bought years ago and found the holes for rear speaker are on the wrong side. I'll see what happens with that when I call Legendary?


Last edited by scrappie; Jun 12, 2023 at 04:57 AM.
Old Jun 14, 2023 | 11:28 AM
  #997  
scrappie's Avatar
Thread Starter
Registered User
 
Joined: Mar 2007
Posts: 3,446
From: eastern MA
Called Legendary on monday in regard to the package tray. They had me send pics and told me today that a new one is in the process of being assembled and apologized. I should have a new one in two weeks. I ordered this in 1/2021
**** happens but cant ask for better than that. Great product and great customer service.
Old Jun 14, 2023 | 11:43 AM
  #998  
OLE442's Avatar
Registered User
 
Joined: Mar 2019
Posts: 1,145
From: Way freakin too close to the city
I ordered a package tray with speakers on both sides so I'm OK. I unpacked it, the carpet and headliner and they all looked good to me. Probably won't get installed until next spring so I hope there are no issues. They all did look very nice!

OLE442
Old Jun 14, 2023 | 08:22 PM
  #999  
WTHIRTY1's Avatar
Escape From The Ordinary
 
Joined: Oct 2014
Posts: 2,406
Originally Posted by scrappie
Called Legendary on monday in regard to the package tray. They had me send pics and told me today that a new one is in the process of being assembled and apologized. I should have a new one in two weeks. I ordered this in 1/2021
**** happens but cant ask for better than that. Great product and great customer service.
You ordered this last time we spoke, right? Glad to hear they are making you a new one with the correct single speaker location on the correct side.
Old Jun 15, 2023 | 02:43 AM
  #1000  
scrappie's Avatar
Thread Starter
Registered User
 
Joined: Mar 2007
Posts: 3,446
From: eastern MA
Originally Posted by WTHIRTY1
You ordered this last time we spoke, right? Glad to hear they are making you a new one with the correct single speaker location on the correct side.
You got it Jimmy, thats the one. I remember when I spoke to them I said "I'll have what he got"


All times are GMT -7. The time now is 11:37 PM.