When you click on links to various merchants on this site and make a purchase, this can result in this site earning a commission. Affiliate programs and affiliations include, but are not limited to, the eBay Partner Network.
Awesome work. Can I ask what you used to strip the quarter panels with? Fixing to repair mine the same way.
Thanks
Thanks!
I used a 7" pneumatic sander with a 40 grit disc taking the entire panel down evenly to about the primer level, then finished it out with a DA and 80 grit paper. I suppose anything with variable speed will work as well, you don't want to overheat the paint material. I've also had decent results with aircraft stripper. Just take your time and fit the panel as best you can, a perfect fit with zero or a VERY small gap will produce good results and along with not saturating the panel with heat you will keep distortion to a minimum.
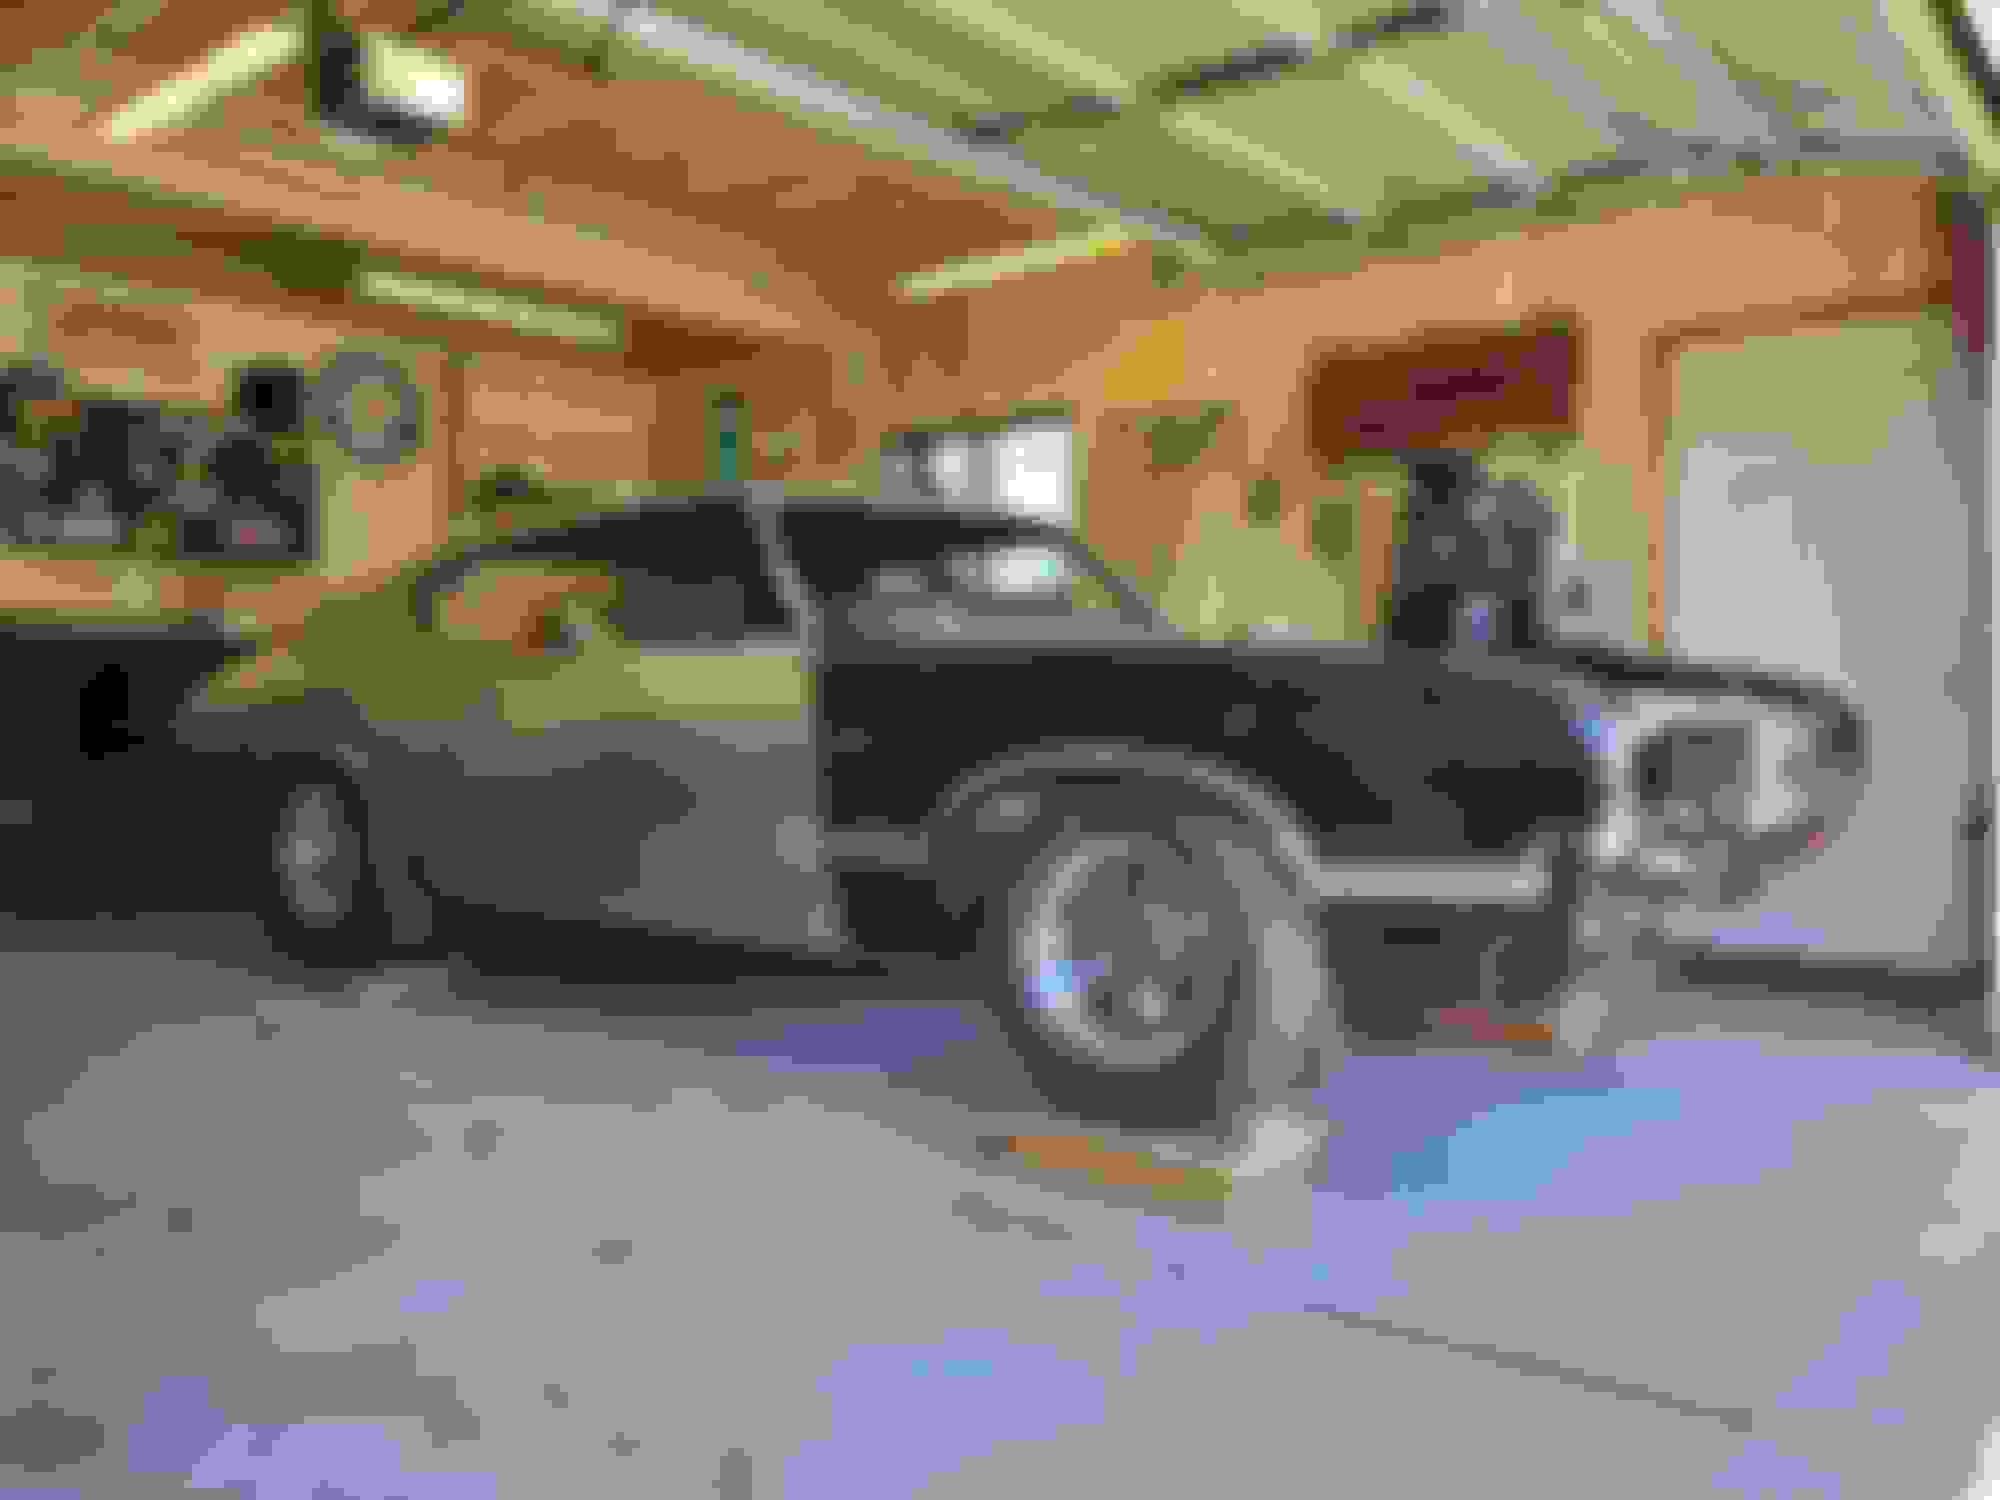
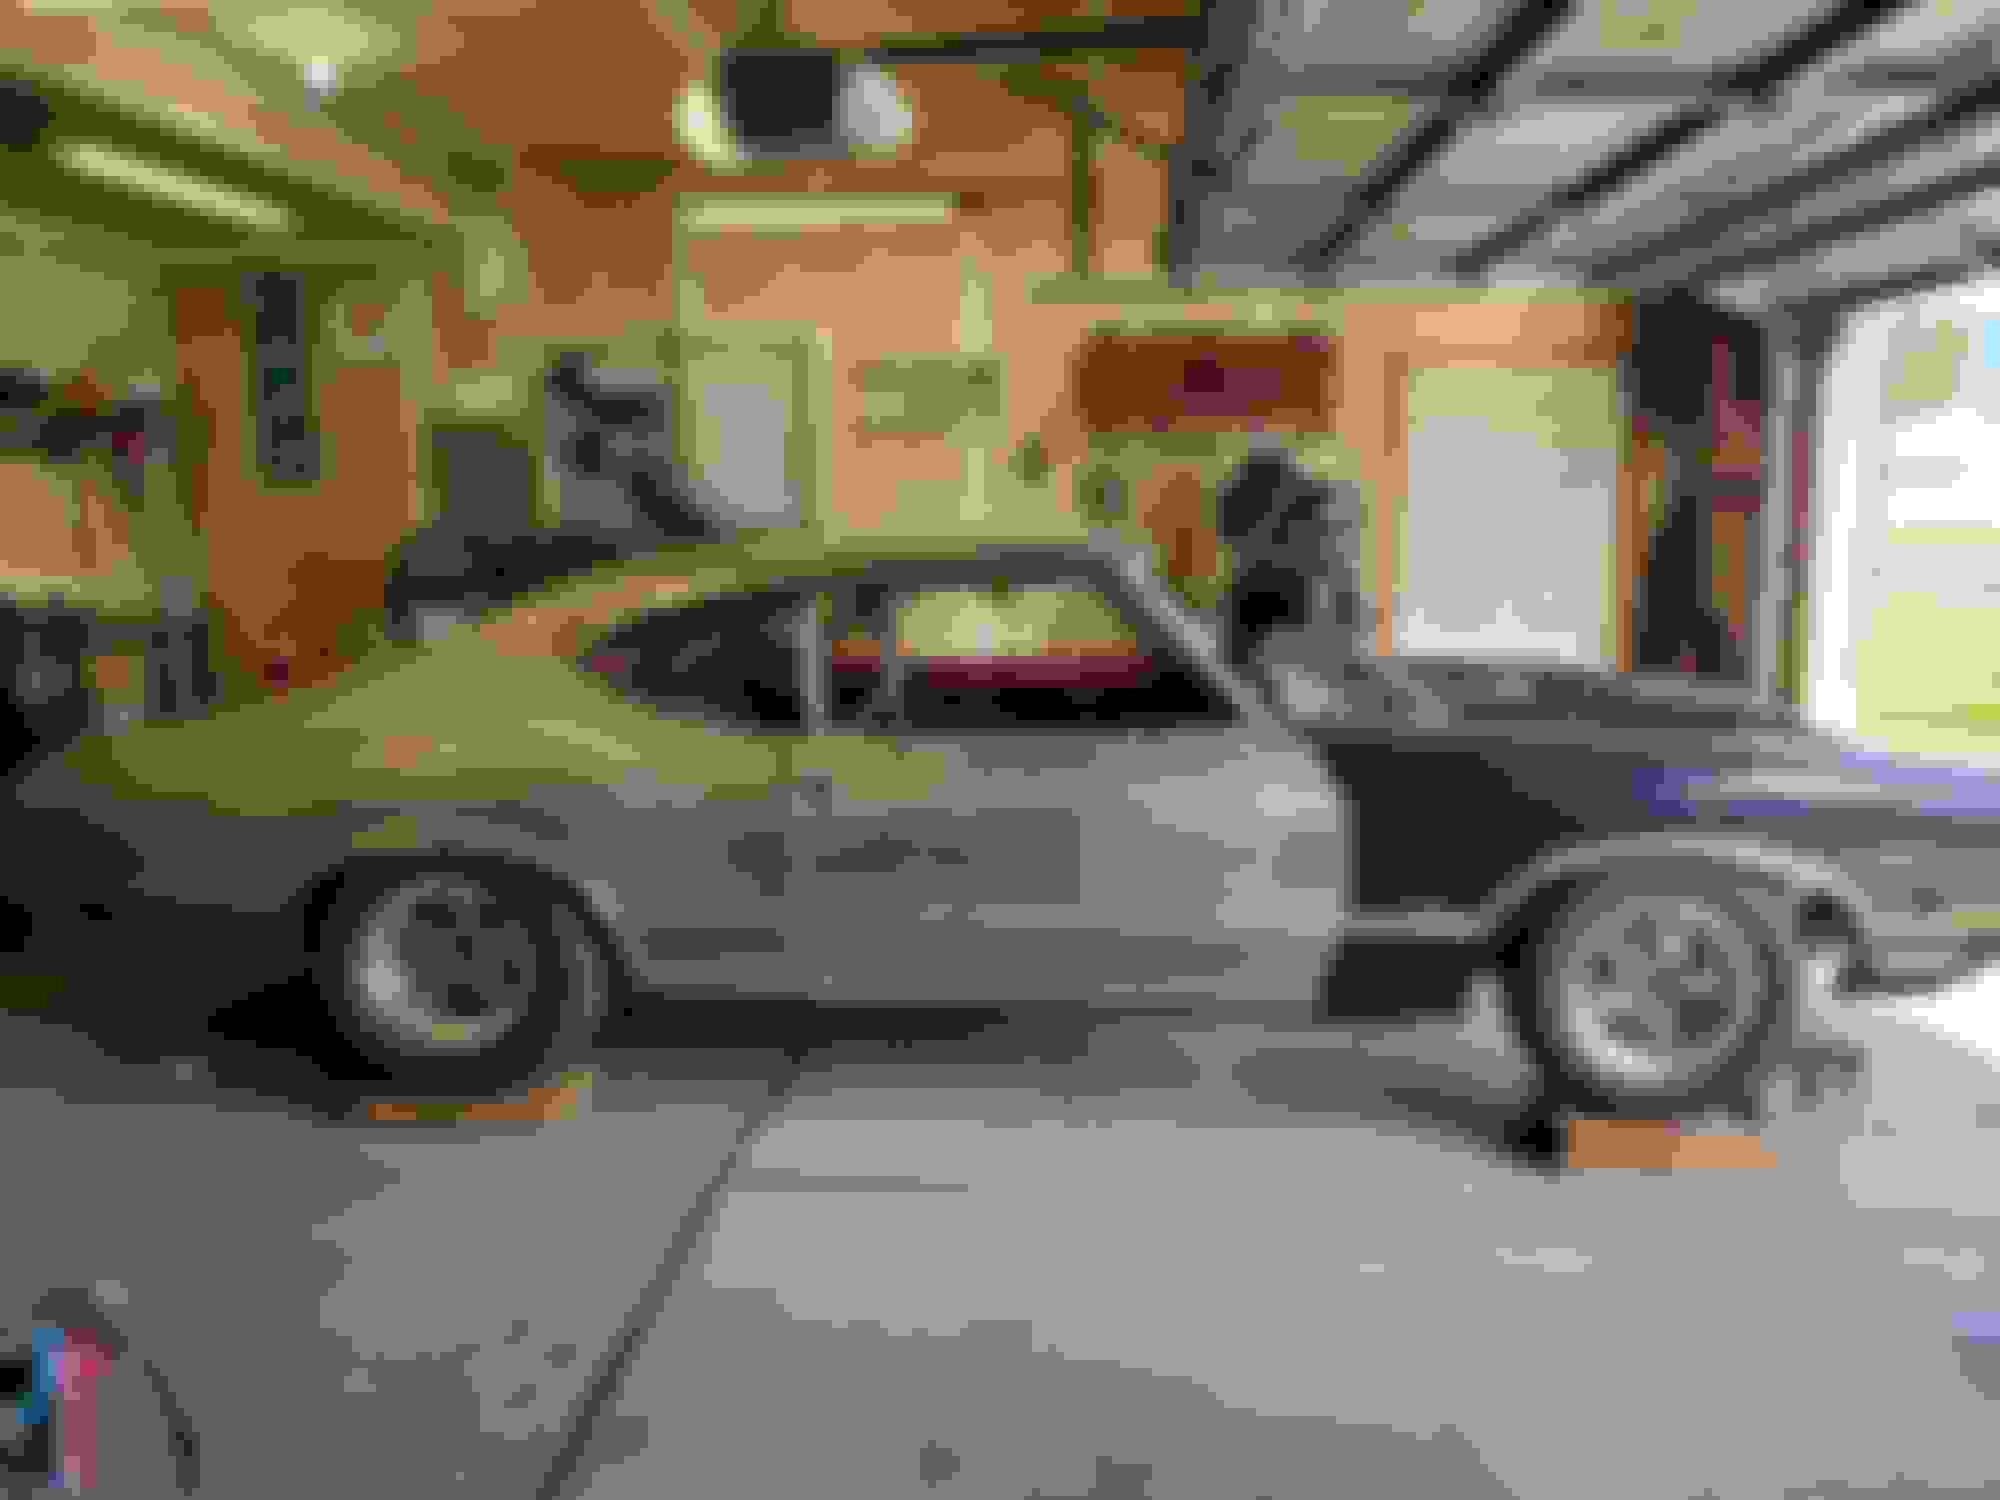
I seriously think this dude dropped a grand on Bondo..... I probably stripped 250lbs of that crap off the car. Hindsight, I should have scrapped this shell and found a better one ... but, hey, I've never walked away from a challenge and I won't start now. Haha, It was definitely a polished turd when it showed up.
I have the donor cowl welded in, just have to do a couple small patches in that before I call it good. Then I will de-hip the firewall and start on the tulip panel...
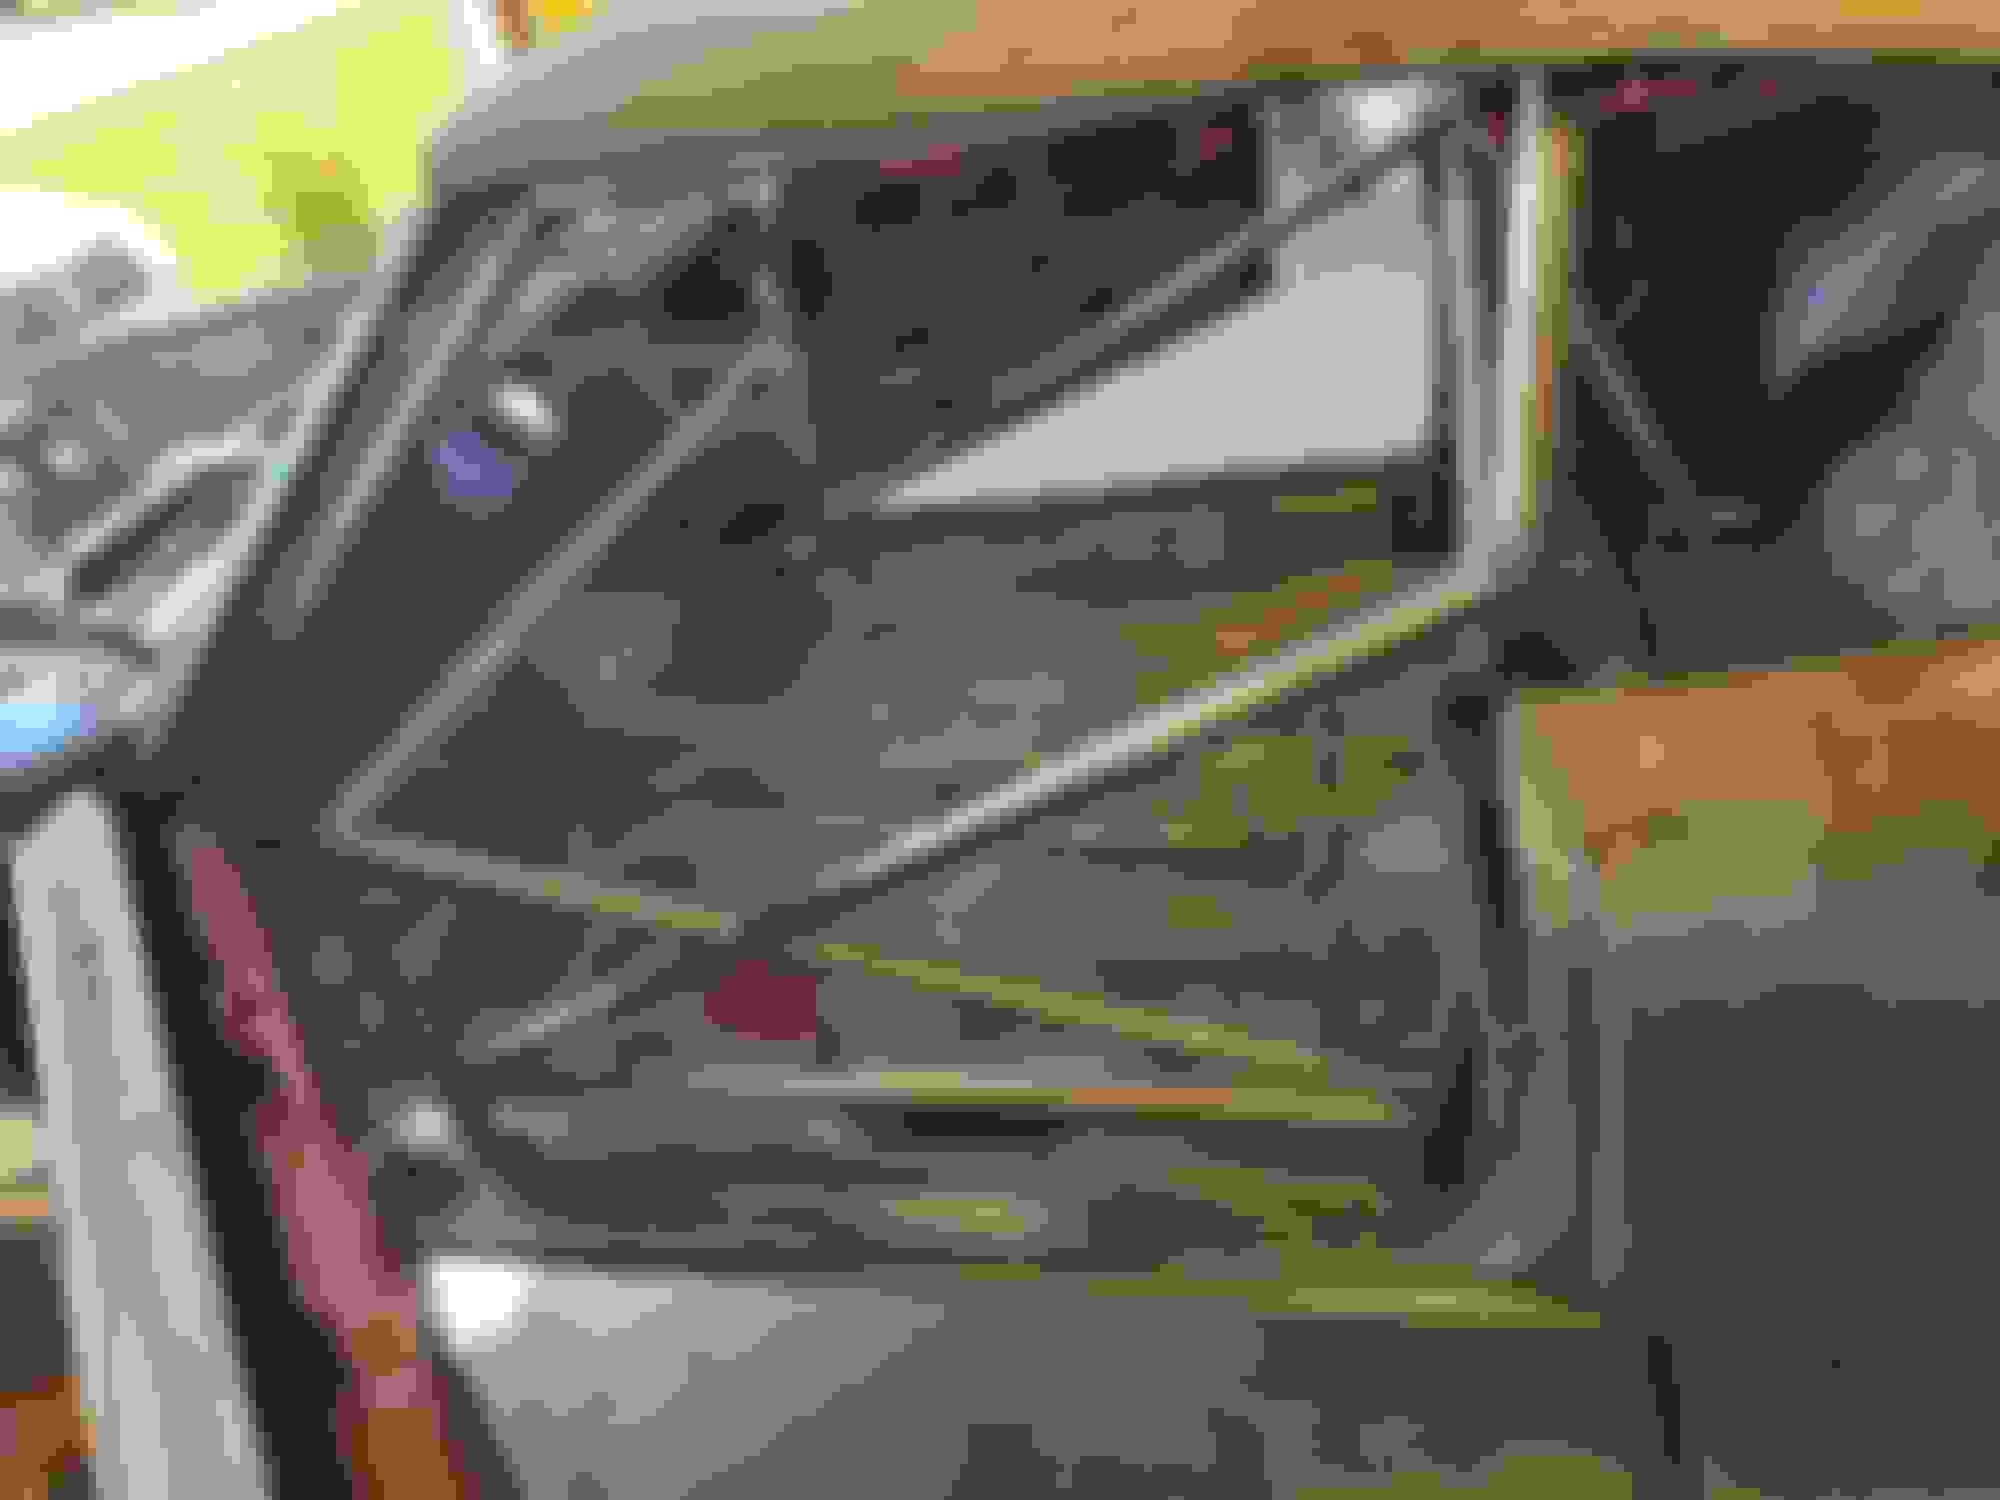
One thing I see a lot of is people mounting these things directly to the sheet metal floor, that is completely ridiculous, unsafe and not my style. There should always be some kind of substructure to keep the seat firmly located in the event of a rollover. I always tie the seats in the body cross members with 1" 0.083 wall square tubing. Here are a few pictures to show what I'm talking about. I still have a bit of trimming on the inside rail and will build a step down to meet the rear cross member then I'll drill and sleeve a couple bolt holes for the seat mounts. Once done with the driver side, I will do the passenger side exactly the same.
Nice job.
I did the same, but with the factory seats, mounted seats farther back
Thanks man, You must be a tall guy. Good on you for doing a proper job! We have had more than a few major wrecks in the road race cars, barrel rolls, 100+ mph side impacts to barrier walls, etc. and this method has yet to fail.... I guess if you over do something, you will never know it and I'm ok with that!
Got some time with the Olds this weekend. Seat mounting rails are done and tacked in. I'm pretty happy with the placement and adjustment so I think I'll glue them in permanently. All mounting holes are sleeved with DOM tubing. I even gave my wife a seating position for the driver side....hahaha, like I'm going to let her drive it.
Hey guys, it’s been a minuet since the last update, not much has happened other than taking care of a few loose ends and getting the car ready to cage. June ended up being a bit busy with my youngest daughter graduating from Dartmouth, getting her moved home as well as an extended stay in PA visiting the family.
Now we are back and focused on the car! I have the interior and exterior panels mocked up so I don’t have any surprises after the tubing is welded in. As you can see in the pictures the interior panels are not in great shape, I’m sure I could clean them up and they would look ok, but…. My plan is to separate the interior cards using the metal upper portions and wrap that with leather then use Carbon fiber sheet for the flat sections of the panels that were previously cardboard. The backseat upright, package tray and sail panels will be covered with CF sheet as well. There will be no headliner and I haven’t decided on what to do for carpet yet either.
As the car sits in the photo, it is dropped 1” front and rear from factory specs, this gives the chassis about �” of rake to it…I will probably give it a bit more rake in the end. Before I start on the cage the car will be brought to dead level.
The pre-bent cage is 10-point mild steel with the sportsman upgrade from S&W Racecars. I have my reservations about fitment with a pre-bent cage, so we’ll just have to see, hopefully it goes together well and I wont have to re-bend anything
More to come soon…
Last edited by gear head; Jul 7, 2019 at 07:38 AM.
I got started with the cage on Sunday and have the main hoop tacked and halo in place but halo still needs to be coped. So far, the main hoop was a couple inches shorter than I would have liked and the harness bar came pre notched and is about 3/8" short. For the main hoop I just built a couple step-up pads. I'm hoping I will be able to swap the dash and harness bar but, I won't know until the A-pillars are in place...if not, I will just notch a new piece, no big deal.
So far not bad...
Last edited by gear head; Jul 17, 2019 at 07:01 PM.
I don't like that halo at all, it needs to go back at least 2'' in the front, that will allow you to move it up level. you are going to hate seeing that in your field of vision
Today I was able to get the lower dash cut out, halo fit and tacked and the right A-pillar fit. Now that I have an A-pillar in, I can definitely salvage the harness bar, swapping it for one of the rocker bars.
I was able to make a bit of progress this weekend with the olds. The frame pads are welded in, as well as the halo-main hoop and the A-pillar-front frame support. That dash bar, harness bar, rear supports and lower control arm bar are fit and tacked in. The A-pillar bars could have landed a couple inches farther forward....I botched that and it created a conflict with the dash bar, so I placed the dash bar as the lower edge of the dash and I will stitch weld the dash to the dash bar. Also note that the bars I used to go to the lower control arm are the supplied "main hoop lateral support bars" these are referred to as bar"D" in the NHRA handbook and are NOT required on a full frame vehicle, so I Repositioned them.
So far I have to say S&W dosen't really give you much to bitch about, the kit fits decent enough and they give you plenty of tubing length to do what you want.
Your doing a great job! Can't wait to see that go down the track, theres NOTHING better than a car build, followed by a dyno test, followed by a track test. You probably have the dyno test covered, but if you don't its going to be free at my shop if that will help you.
Last edited by VORTECPRO; Sep 3, 2019 at 05:34 AM.
Your doing a great job! Can't wait to see that go down the track, theres NOTHING better than a car build, followed by a dyno test, followed by a track test. You probably have the dyno test covered, but if you don't its going to be free at my shop if that will help you.
Thank you for the kind words!
I will definitely take you up on the dyno offer! Since Utah's only dragstrip closed down last year, it looks like the car will be making the majority of passes at Bandimere or Vegas....I like Bandimere much more though. The engine plan has shifted a bit, still a 440 diesel based small block but, I will run a F1 procharger with a Dominator efi rather than a carbed/nitrous engine...this should make drag week much easier. I can't wait until this car is making passes in the mid 9's!
Ever since I mocked up the rear hoop support bars, I have been trying to find a good way to tie in the rear crossmember and keep the length for the parachute mount. I'm thinking that I might add a vertical X-brace above the crossmember and tieing it in to the rear support bars. This would consist of 1 vertical tube on each side, a X-member connecting the vertical tubes, and a horizontal tube above the X-brace. The string in the picture below illustrates the tubing layout.
I can do this two ways..
1) leave the rear support tubes intact at full length and piece in the other tubes.
2) intersect the rear support tubes with the horizontal bar, vertical bar and X-brace pre welded together.
My question is this...
Would there be a difference in strength or stiffness between the two options? One concern I have is that the vertical tubes will not be backed up on the opposing side of the rear support bar.
An Engineers perspective would be nice.
If all else fails, I will run the rear support bars to the crossmember and mirror the front frame support tubes in the rear to get the length back.
I got some time to go tubing with the Olds this weekend. The left side is completely fitted and got a good start on the right side. Hopefully work slows down soon and I can make some progress.
Had the ace mechanic this weekend ,showing me how it's done.
I finally got caught up on this one, Great work, fully understand how things get sidelined LOL... happens to me all the time, but I am now moving along till next stall, three days from never? lol.. man thats still gonna be faster than me LOL
Freaking awesome project, and great job on everything so far!!
I see that you�re doing a Procharger with Holley Dominator. I�ve done quite a few forced induction projects with Holley Dominator EFI; if you�ve got any questions at all, don�t hesitate to hit me up. I will tell you that I usually build all my harnesses from scratch; the prebuilt harnesses don�t fit anything except the box they come in, and usually have far more connections than you need. A little too �universal� for my taste. Anyway, don�t hesitate to let me know if you need help.
I just might have some questions, although I am well versed with other ECU's, this will be my first time with Holley. I completely agree with you on the harness, I am getting the un-terminated harness. When done it will be a proper sealed and twisted motorsport grade harness as well as a custom PDM....this stage will be much fun(no sarcasm)
Don�t hesitate to let me know if I can help in any way. I�ve done FAST XFI, FuelTech, Holley, and a few others. Holley is really nice stuff, and when I was still in business I used it in 75% of my applications.
What PDM are you using? I like the Racepak unit for the fact that it�s so easy to link it to the Dominator via CAN bus.
Motec is top shelf stuff. The M150 platform is one of the best I�ve seen; I stuck to the other systems because of the fact that the majority of my customers didn�t really need the complexity, and the cost was prohibitive for some.
Ive used the outputs on the Dominator for everything from engine fans, to electric windows, to turn signals. For the money spent, there�s a ton of functionality there. I can�t wait to see how you incorporate it into your Olds!
The rear tires are 325/50 on a 10" wheel (5.5" bs). Although I have changed the rear axle and wheelhouse, The tire and wheel combo fit the factory "O" axle and wheelhouse very well.
I have had this done for a while and was going to save it for a future update. To help keep this thread from being buried into oblivion, I'm throwing it up now.
Set up for left foot braking
Made from 3/4" 0.83 wall tubing.
Awesome Tilton 600 series throttle pedal.
Cheesy Wilwood brake pedal (7:1 ratio)
More updates coming soon.....er or later.
Last edited by gear head; Aug 18, 2020 at 09:44 AM.