When you click on links to various merchants on this site and make a purchase, this can result in this site earning a commission. Affiliate programs and affiliations include, but are not limited to, the eBay Partner Network.
any ideas or tips on how to change the fuel filter in the glass bowl? That little bugger is not in a good spot and easily accessible..
It's a helluva lot easier without the front fenders on .
Patience , grasshopper , patience .
Sometimes , some of these things can be better accessed from underneath .
Looks great. So the Dynamic trunk did not get carpet or cardboard side panels like the Starfire or 98?
On Dynamic 88's the bottom of the trunk " pan" got some cheap carpet .
There were cardboards on either side to block things from falling into the trunk " side wells " .
Time to update this thread with a couple of projects .
The first was the trunk .I had sandblasted and coated the trunk "pan" .
I then sanded the rest of the trunk and coated it with a tan colored primer .
While I wait for my Koroseal water based spatter paint from Canada . (weather too cold to ship now ) .
I turned my attention to the gas tank .
The tank was pretty good shape , but contained about a quart of ten year old gasoline
I removed the sender, checked it with an ohm meter , and sent it off to Tri-Starr .
I then took a pressure washer and soap proceeded to clean it inside and out .
Then I set it on one end , and proceeded to vacuum the remaining water and debris out with a wet or dry vac .
The bottom of the tank had numerous ding and dents that I'm in the process of filling with All-Metal now.
That fuel tank looks great for an original 1963; must be the dry desert climate. Project is lookin' good Charlie!
Thanks Jim ,
I almost thought of trying to clean it up and clear coat it . But there were some small rust spots and the bottom needs dents filled .
So I will paint with argent silver .
I turned my attention to the battery tray today . My tray was really shot , but I found one that was a little better in a junkyard in NM .
I had the junkyard tray sandblasted and powdercoated .
It was missing one corner , that was rusted off . I cut a piece from my old tray and epoxied it to the tray .
The next step will be to reinforce the whole works with fibreglass mat and resin .
Hello Charlie, on my 63 Starfire can you help identify in the picture there are 2 holes that I believe that there is a bracket missing for the battery hold down brackets? Thanks.
Hello Charlie, on my 63 Starfire can you help identify in the picture there are 2 holes that I believe that there is a bracket missing for the battery hold down brackets? Thanks.
Yes Rob , that is where one of the brackets for one of the battery hold down attaches .
Here's an illustration to show you what you're missing ;
Your battery tray looks better than most . I wish someone would re-pop them .
Someone probably took the battery hold down off when they put in a " too large " battery .
That battery tray and hold down setup was made for a group 60 battery . It's obsolete , and only available from antique battery makers .
Yes the tray is in really great condition and is all cleaned up now. After wire wheeling, I sprayed with Eastwood rust incapsulator. Then finished it in semi flat black rattle can. Be hard pressed me locating that bracket! But Ill get some feelers out there you never know until you ask.
On the other parts , you might check with Pat McMahon (deadds ) or John Hoppe ( jhoppeolds ) .
They may both be parting early sixties big cars .
Also try Hess Bros Auto Wrecking in Calif. They have several Starfires and other big cars in their yard .
Phone ; 530-824-4100
Last edited by Charlie Jones; February 4th, 2021 at 05:28 PM.
Thanks Charlie, looks like with those 2 holes in the core support what maybe a 90 degree bracket that bolts to it. Ill call your references. The J hangers I have.
I laid several layers of fibreglass mat and resin on the thin rusty remains of this battery tray.
The best part is this patchwork won't be seen . because a battery will sit right on top of it .
It's been a month since I have up-dated this thread .
I've been busy doing lots of small projects . I painted the top of the dashboard ;
Then I installed the firewall pad under the dash ;
Then I removed the power steering pump reservoir , cleaned and painted it , and installed it on a re-built pump ;
Then I put the pump on the engine . But I couldn't find the rear bracket .
I know it's here somewhere in the shop and this project will continue when it is found .
I then went on to install the heater and A/C components ;
Charlie thanks for posting things for us Old Olds "darksiders" I'm going to get Glen over here and change the 2 rear engine mounts on the 63 Starfire soon. Maybe a bit of a task since I no longer have access to a lift. Great job.
Charlie, did you find gas tank sending unit gasket material ?
I haven't yet , haven't thought about it much lately .
I'll have to snoop around on the net for it Has to be ethanol resistant too .
Hope I don't have buy too big of a piece .
Charlie thanks for posting things for us Old Olds "darksiders" I'm going to get Glen over here and change the 2 rear engine mounts on the 63 Starfire soon. Maybe a bit of a task since I no longer have access to a lift. Great job.
Here's a heads up .
Before you start that job , make sure you have both motor mounts in hand .
There is suddenly a shortage of left side mounts . I need one myself .
I can get right side mounts all over . Rock Auto has them cheap , they are all over e-Bay . (#2217)
But the left side (#2216) , nobody has .
Fusick offers a pair in their catalog . But when I ordered a pair , they were backordered .
I called the guy at Fusick and he told me he was not sure when they would get them in .
When you go to change them , block the car up about two feet on four jackstands .
Use a floor jack under the flywheel housing to raise the engine .
Last edited by Charlie Jones; June 24th, 2021 at 07:23 AM.
Charlie, I have two of the rear power steering brackets and I'd be willing to let loose of one.
I actually have two; I bought one to "chop up" because they don't clear my tall Offenhauser rocker covers and I like to keep all the stock parts to the car that i do remove in case i want to return it to "stock". When mocking up the rocker covers to cut the rear bracket i noticed how rigid the PS pump is with just the front bracket so I just don't run a rear bracket, its overkill.
Thanks , if I don't find it soon I may have to take you up on it .
I will PM you if I need it .
Time to update this thread .
I got my throttle linkage installed ;
Afer that , I set about to " engineer " a solution to the motor mount problem .
The previous mounts that I made were all wrong . They mounted the transmission way too high .
And the trans still was barely clearing the second crossmember .
I took the whole works apart and started over . I took the second crossmember out and turned it around .
Then I took the 49-53 mounts and turned them around backwards and mounted them directly to the engine block .
My plan is to weld extensions on the top of the mount so it will bolt up to the upper bolt on the block .
It was necessary to elongate the motor mount holes ;
I've got the left side mocked up , and everything fits .
The bolt in the middle will be removed once the two pieces are welded , And then the hole will be welded shut..
The stacks of washers will be replaced by specially machined spacers welded to the mount .
Progress has been slow lately .
I'm still waiting on my machinist to make my motor mount spacers .
In the meantime , I have found other things to do .
I did a test fit of the clutch and brake pedals . The brake pedal is an original '63 stick shift brake pedal , the clutch pedal is NOS ..
The clutch and brake pedal rubber was bead blasted and look like new .
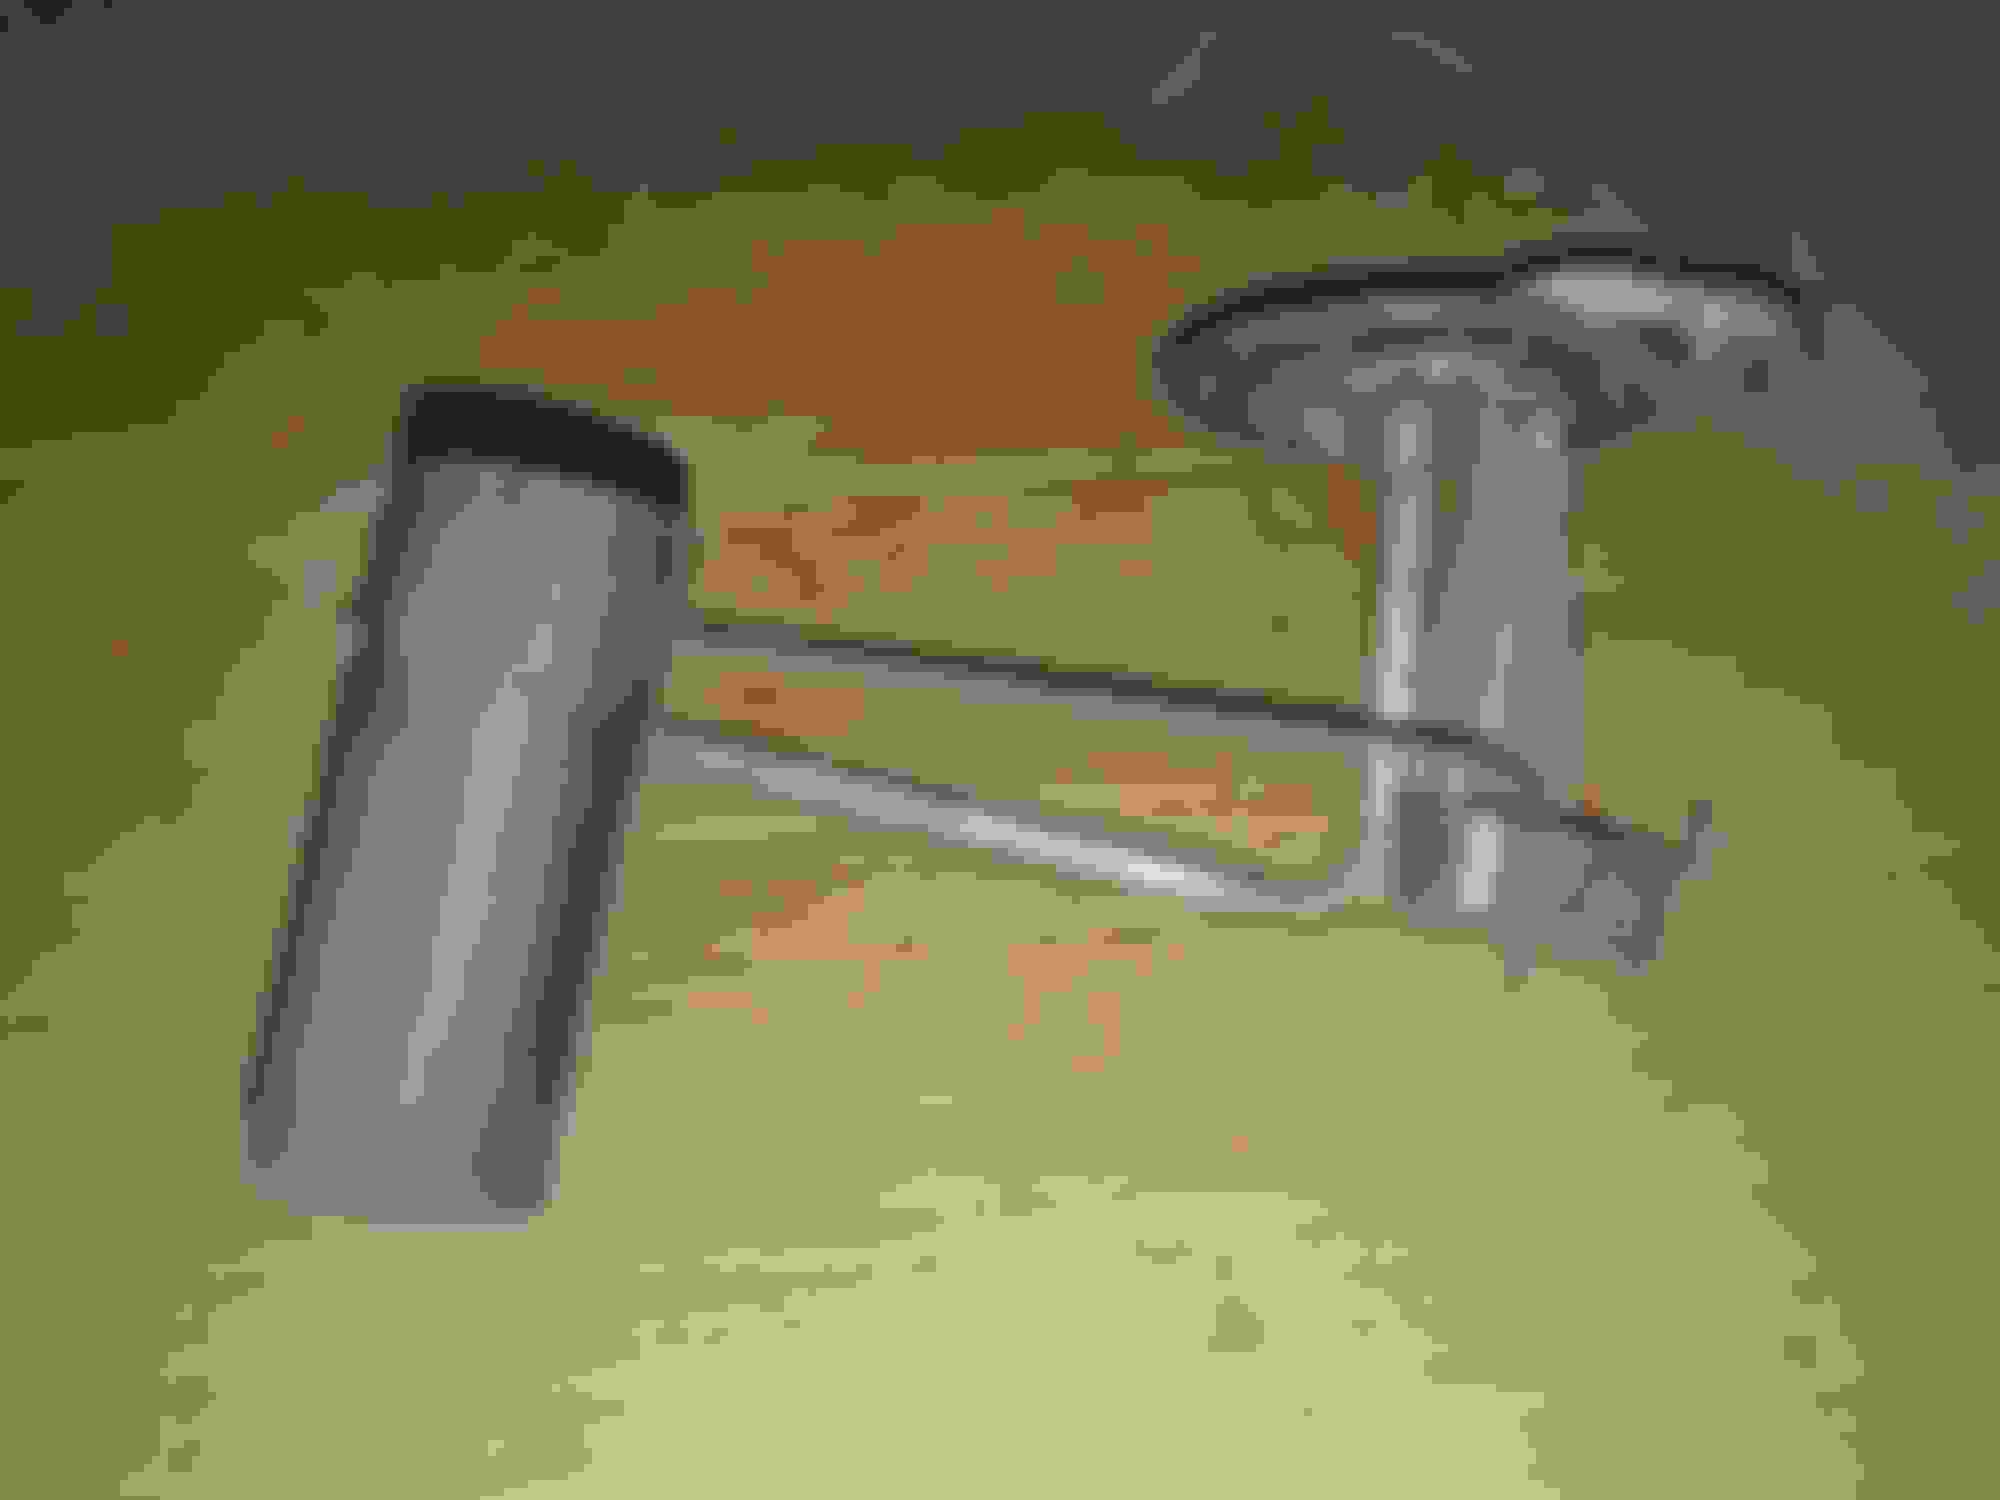
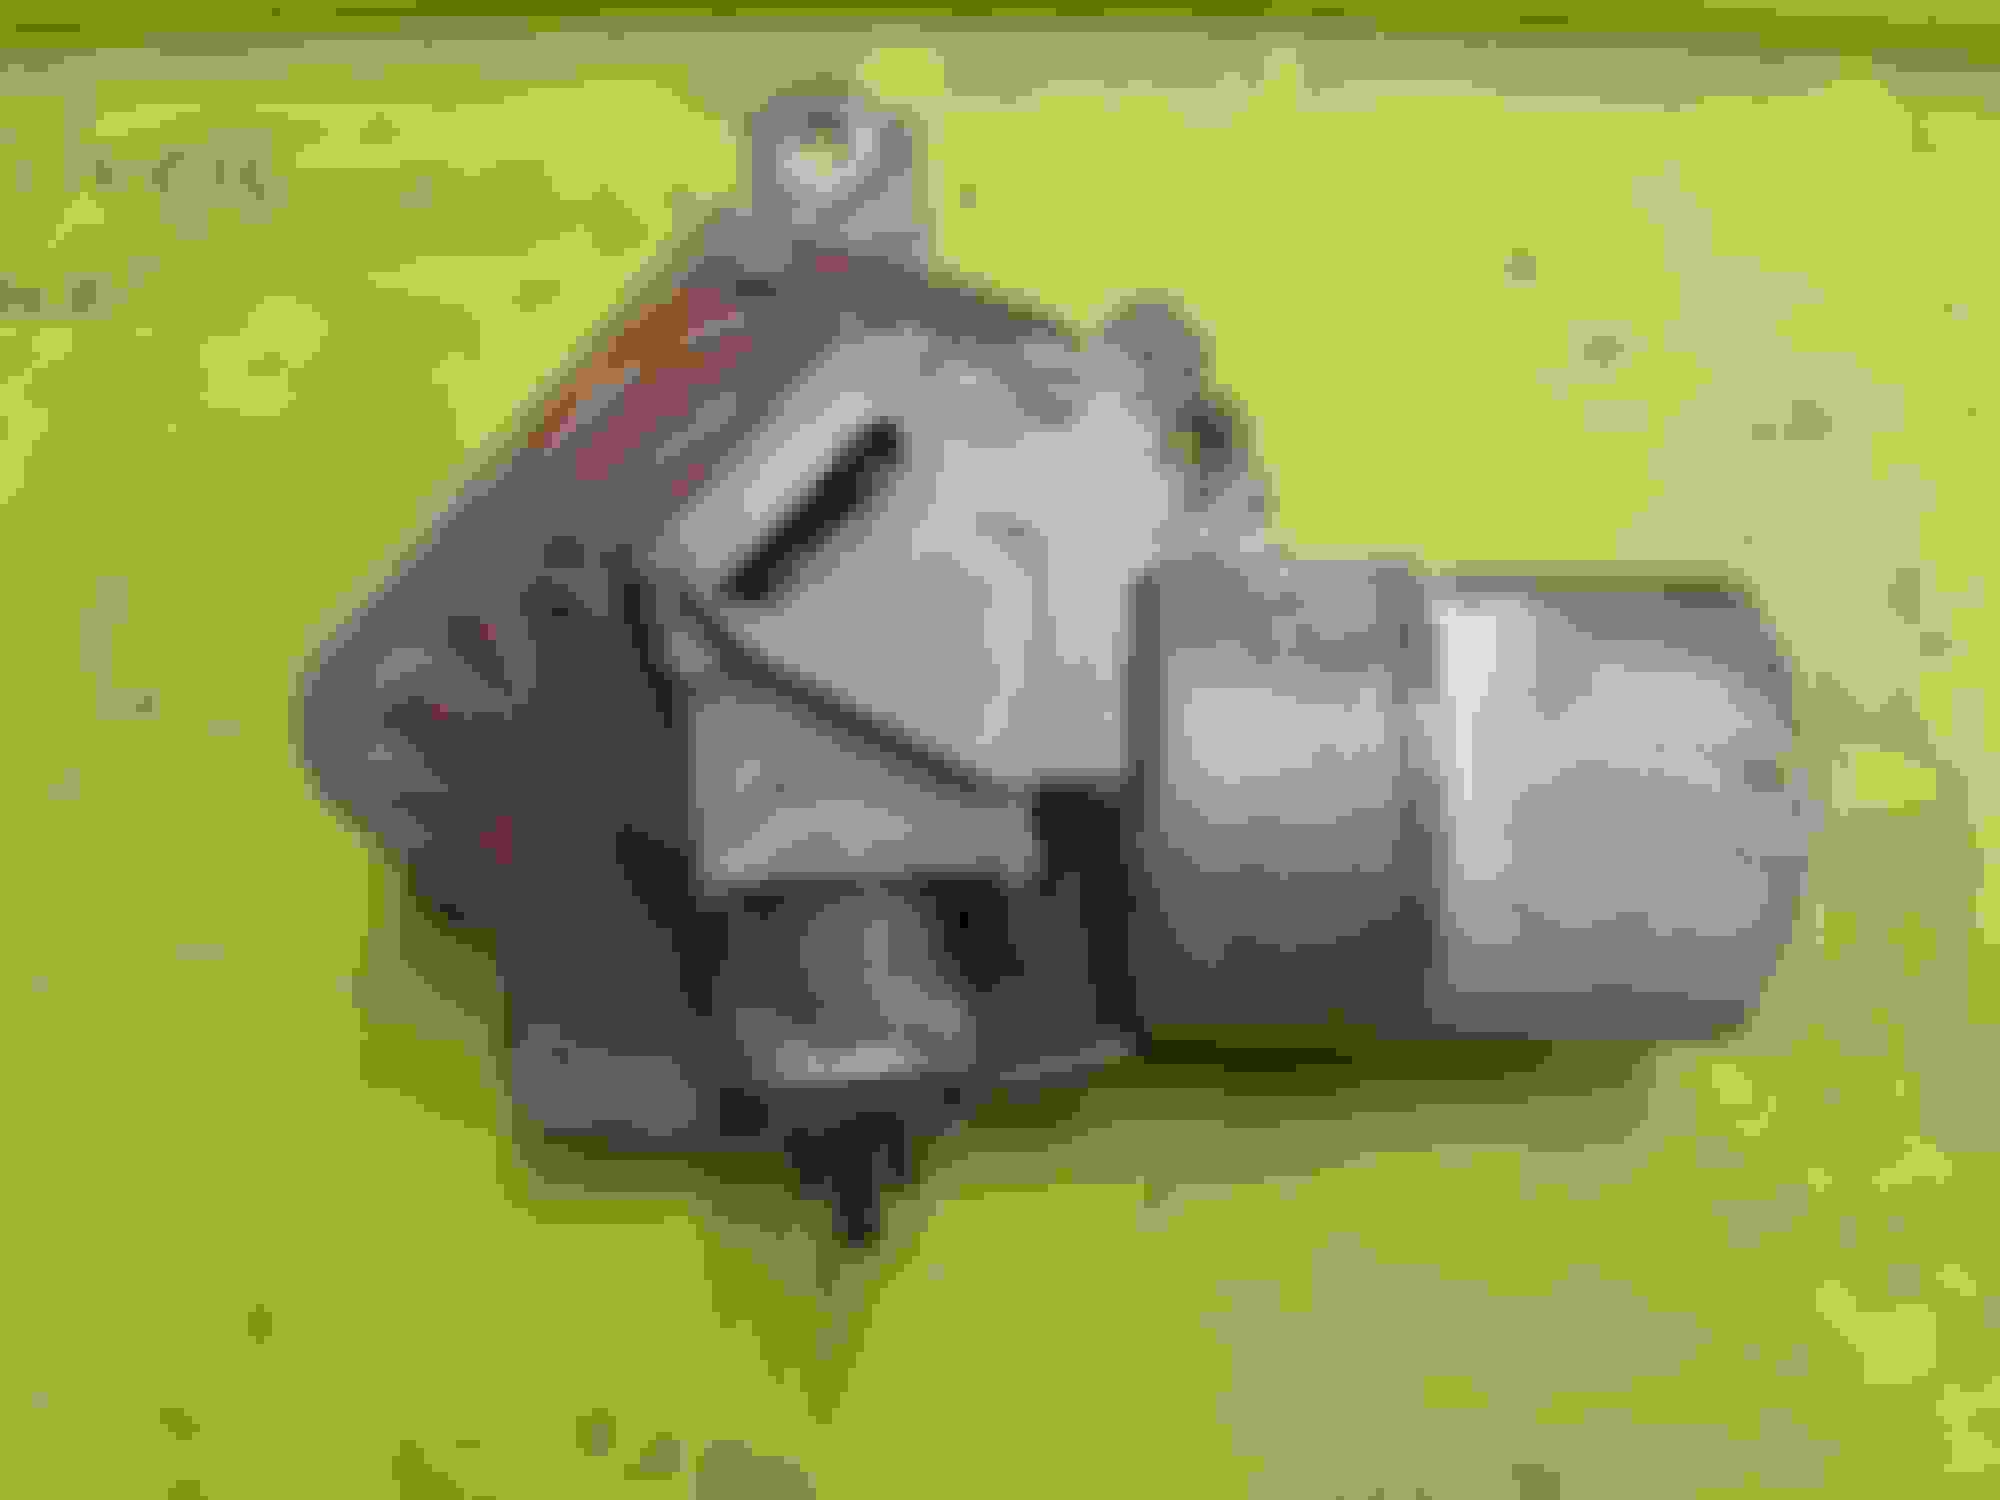
Next , I turned my attention to the windshield wipers .
In 2015 I cleaned the wiper motor up and rebuilt the washer pump .
And it looked like this ;
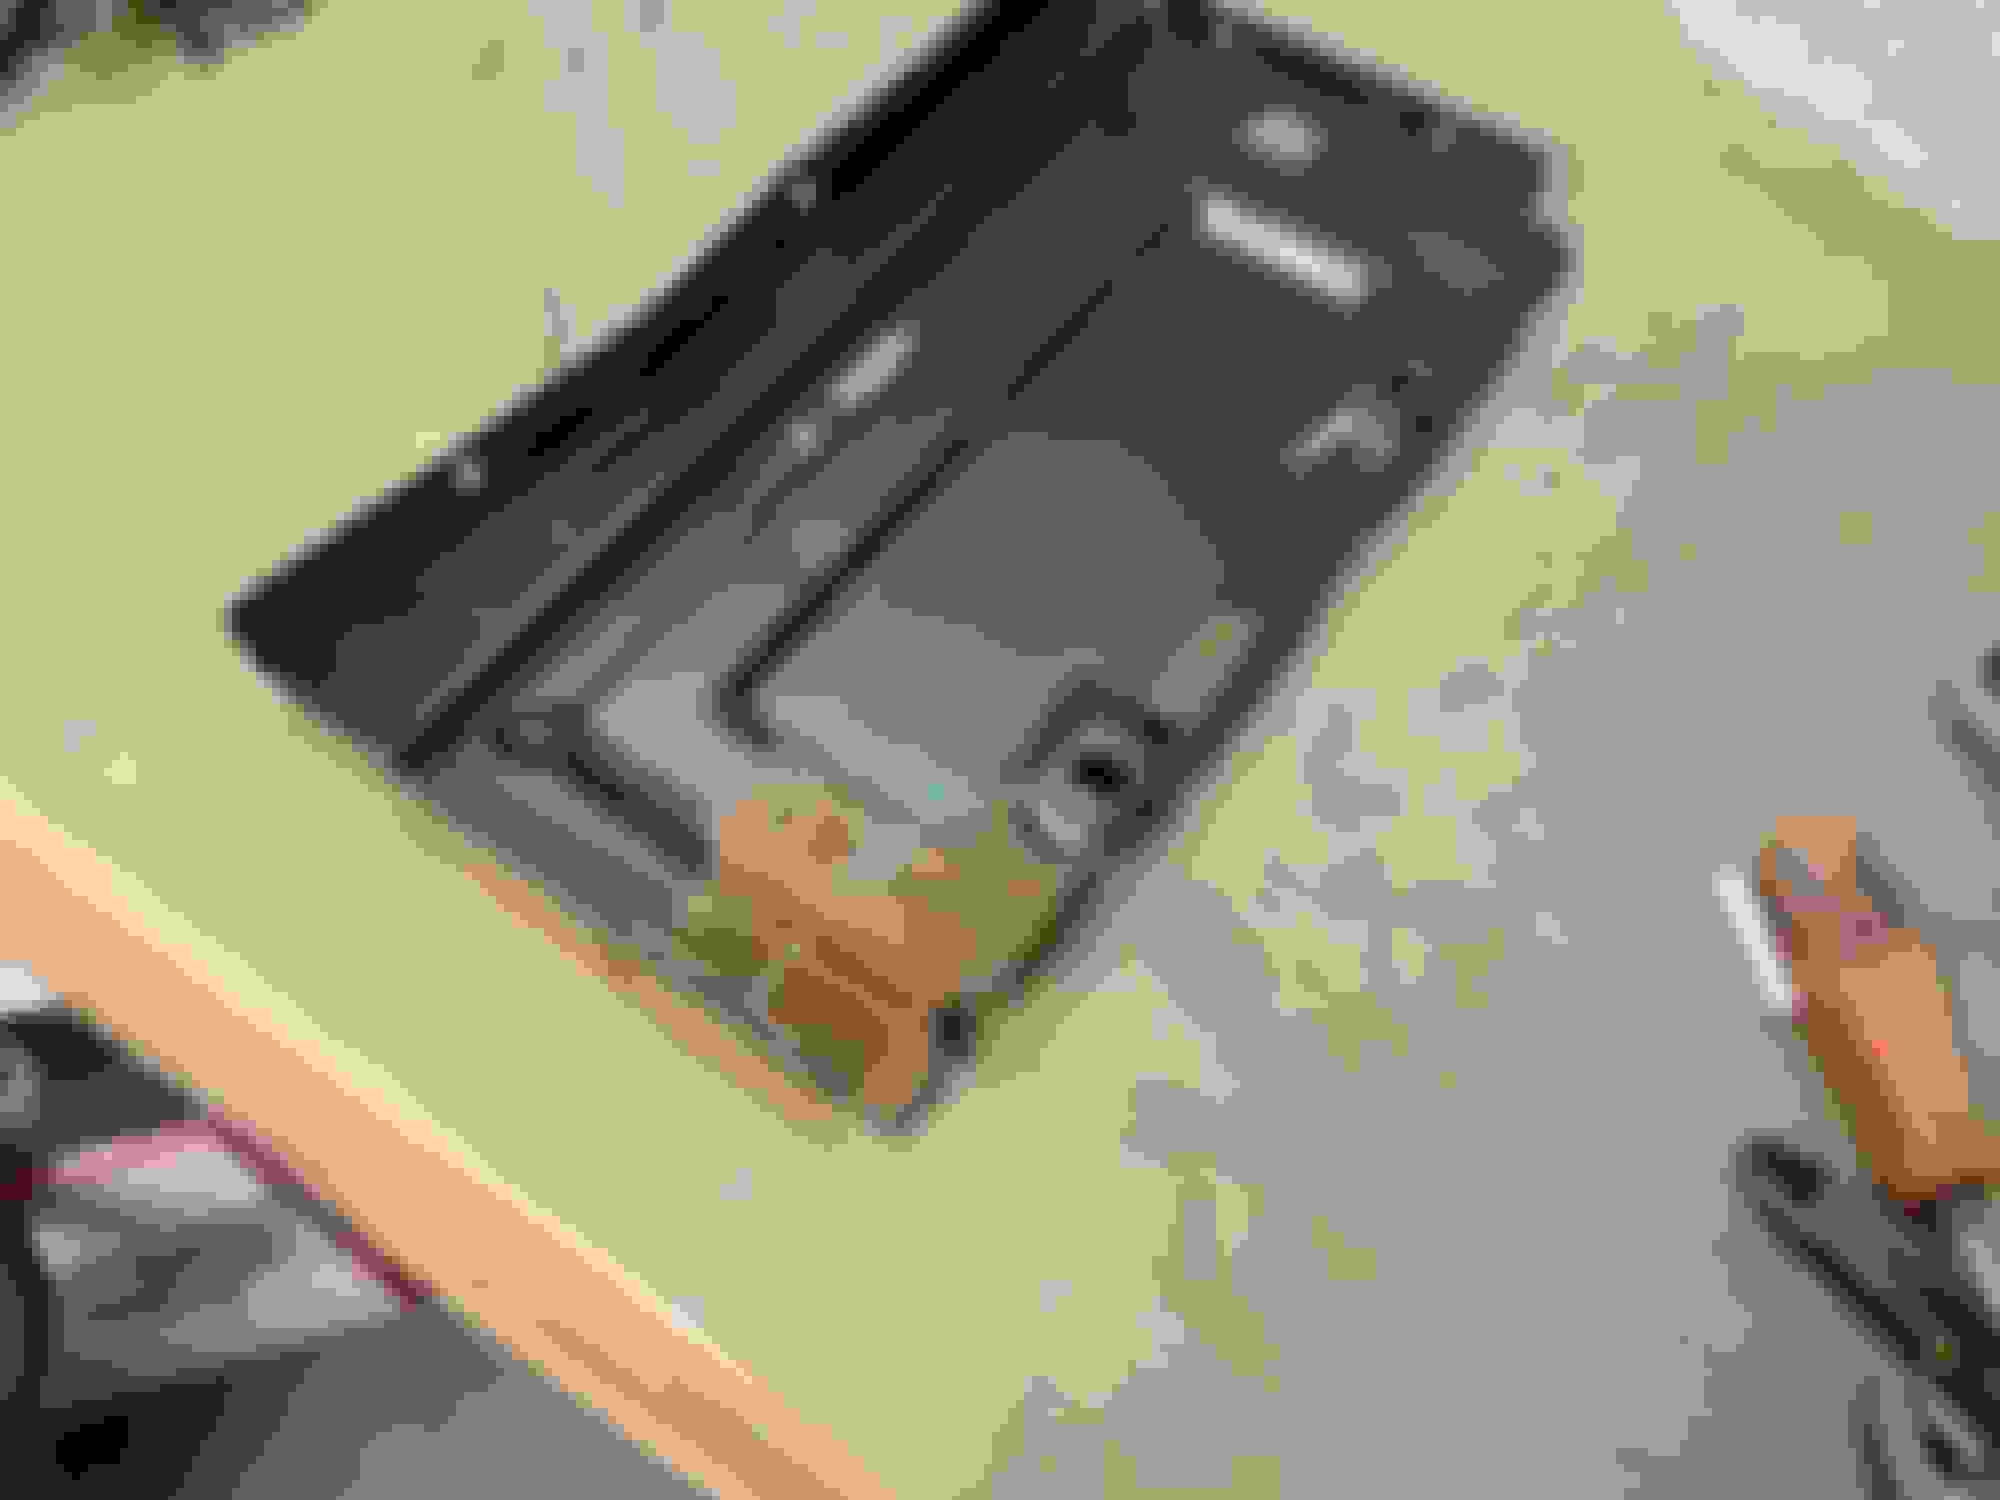
I wrapped it in newspaper , and put it in a box on the shelf for six years .
I had forgotten that the roof leaked in the meantime , and this is what I pulled out of the box ;
Now I had to start all over .
Most of the corrosion and rust was on the outside . Due to the wet newspaper .
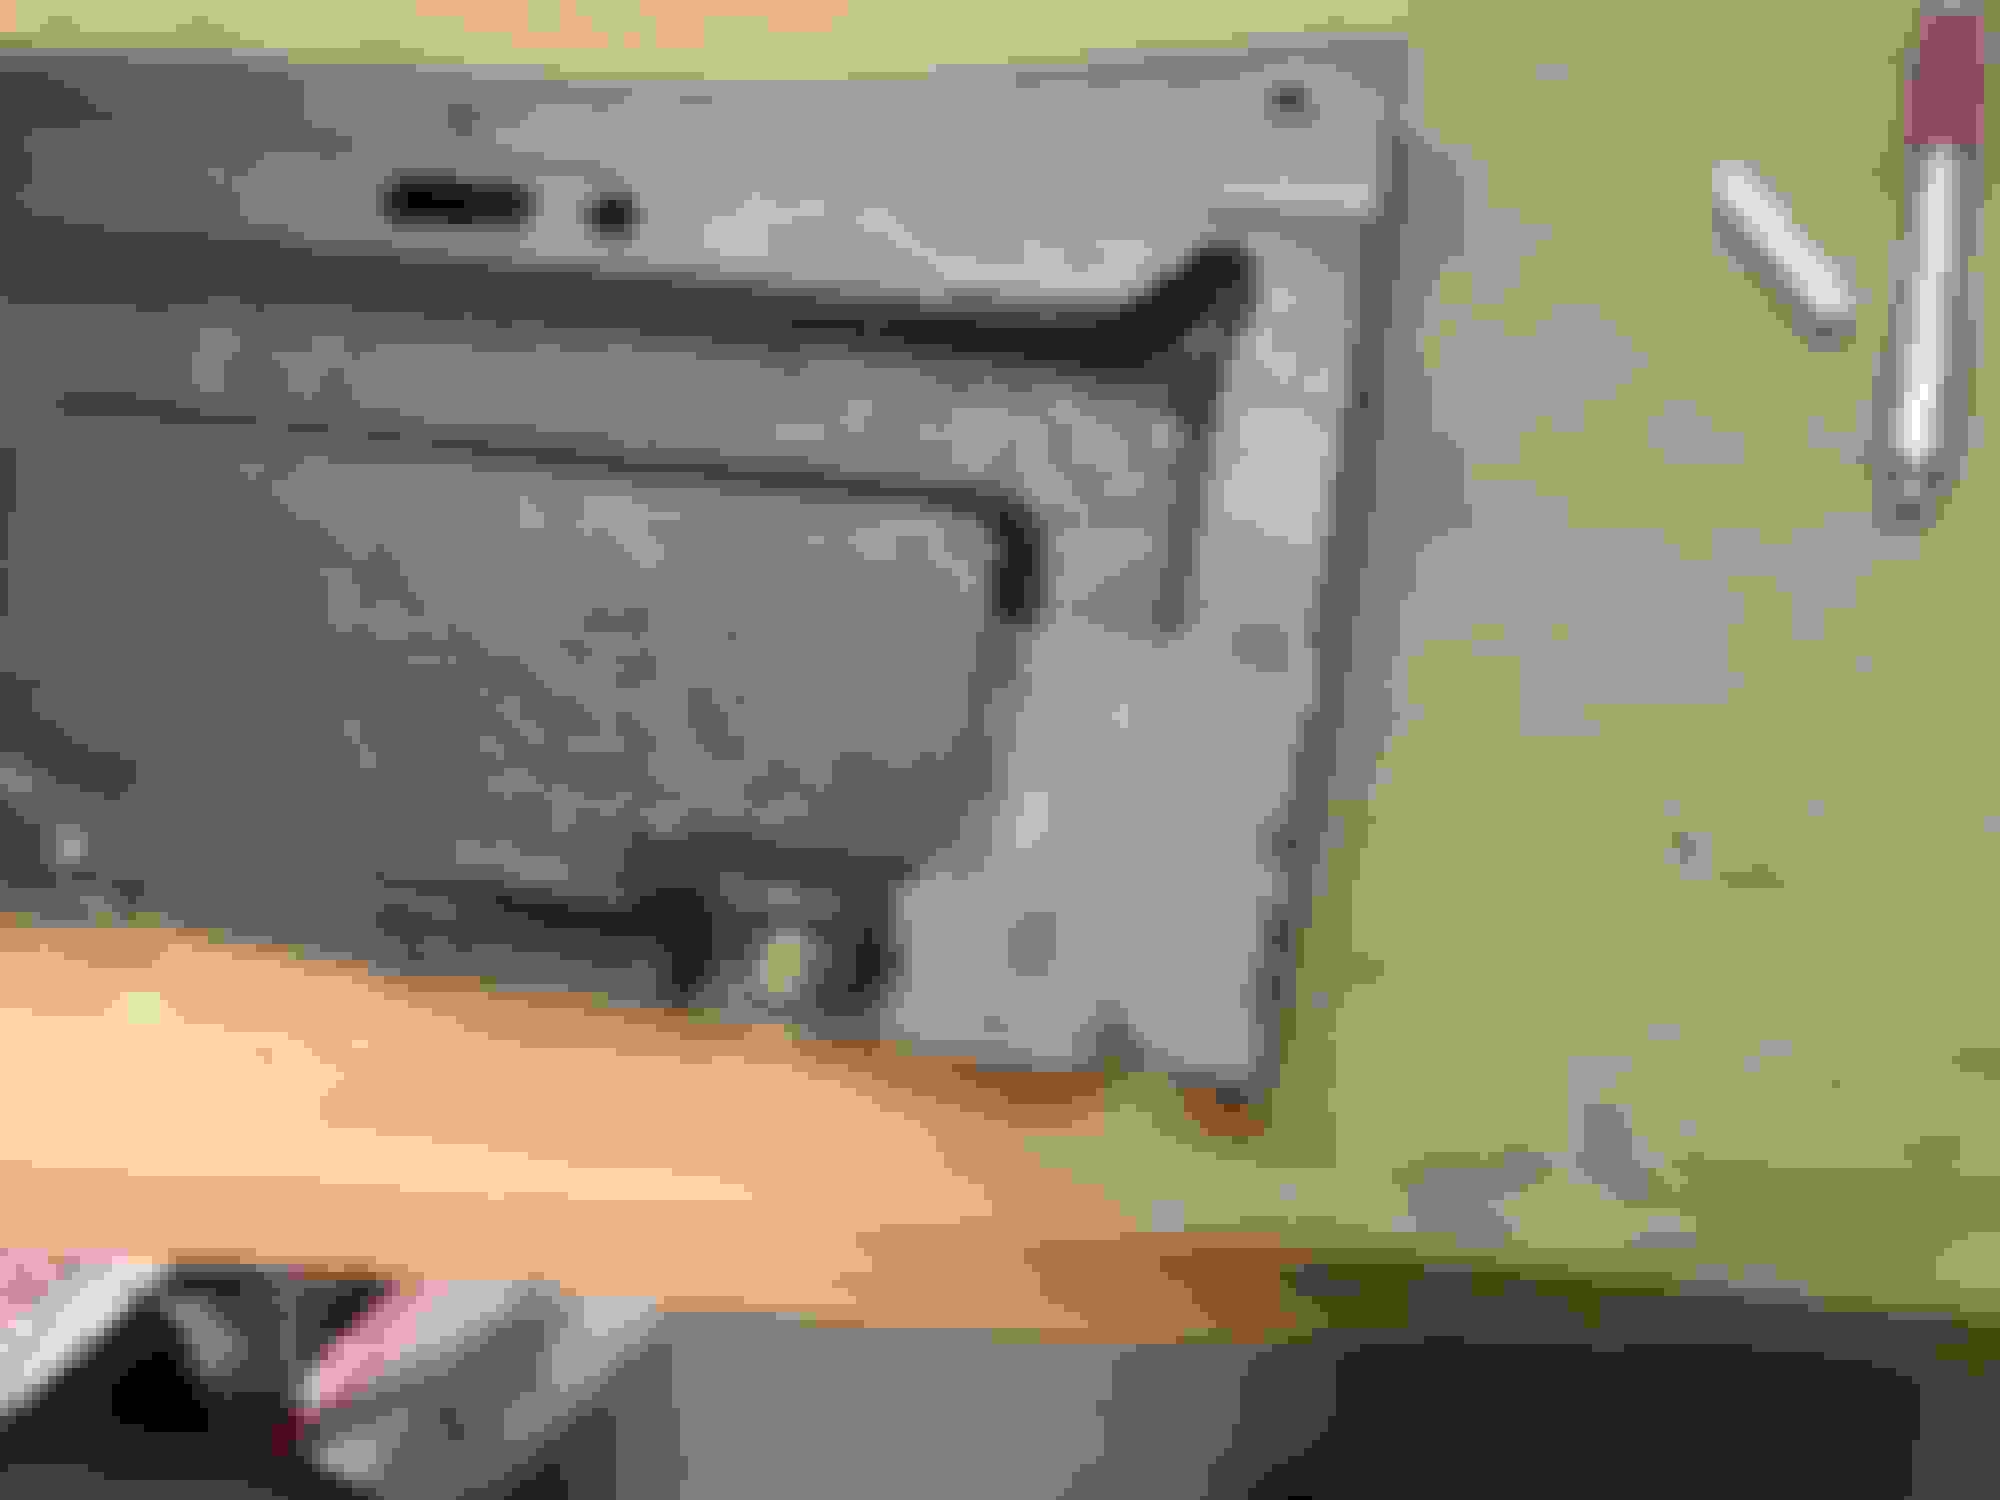
I got busy with a small dremel and sandpaper and I'm cleaning it up and polishing it .
The zinc plating is too far gone and will have to be painted .

 December 8th, 2020, 10:06 AM