When you click on links to various merchants on this site and make a purchase, this can result in this site earning a commission. Affiliate programs and affiliations include, but are not limited to, the eBay Partner Network.
I want to repaint things but don't want to over do it and cover up any originality...I have all the accs. and brackets. I'm going to repainting the engine gold. Factory ac needs a belt and so does the alternator. I need help finding a set of period correct plugs and belts.
Thanks.
Last edited by Carsick; March 8th, 2023 at 07:55 AM.
Reason: Typo in title
Also need to know what period you are referring to for correctness.
I see C heads that are correct for 67-69 BBO but you�re painting the engine gold (350 color)???
Yes C heads and a G block all numbers matching (400ci) 1969
I'm painting it gold to kinda replicate the original Olds Gold....but it's the vht gold which is a bit brighter imo...I think it's called "Universal gold".the brackets and pullies will be done in black (semi gloss?)
Last edited by Carsick; March 7th, 2023 at 09:19 PM.
The brake booster has rust and so it needs to be redone....should I go black with the master cylinder sorta of a dark grey with the original cover.
thanks
Last edited by Carsick; March 7th, 2023 at 10:05 PM.
There are a number of threads addressing paints and their hues. If you are truly interested in "period correct" for the engine, it needs to be bronze. Here is a pic I took of the Parts Place's bronze, next to Supercar Unlimited's version. Of these two, I think the SU version is closest to stock. Others like the Bill Hirsch, which I've not seen in person.
The brake booster has rust and so it needs to be redone....should I go black with the master cylinder sorta of a dark grey with the original cover.
thanks
To refinish the brake booster you either have to strip the rust and treat it with Calyx dressing:
There are a number of threads addressing paints and their hues. If you are truly interested in "period correct" for the engine, it needs to be bronze. Here is a pic I took of the Parts Place's bronze, next to Supercar Unlimited's version. Of these two, I think the SU version is closest to stock. Others like the Bill Hirsch, which I've not seen in person.
Wow. The Parts Place looks really reddish! I've never seen an original, but I do like the Fusick shade. It gets a lot of attention, as almost every Olds engine is 455 blue or 350 gold. I don't even mind explaining to folks how Oldsmobile denoted engine sizes by color. And, no, it's not 442 cubic inches.... LMAO
I'm surprised no one has made mention of the valve covers being installed incorrectly! The notch showing forward on the passenger side in post #1 is for brake booster clearance! The other valve cover will either have no notch for clearance or a long narrow notch for clearance of the A/C box on the passenger side!
Last edited by 67OAI; March 8th, 2023 at 07:28 AM.
Reason: correction
I'm surprised no one has made mention of the valve covers being installed incorrectly! The notch showing forward on the passenger side in post #1 is for brake booster clearance! The other valve cover will either have no notch for clearance or a long narrow notch for clearance of the A/C box on the passenger side!
That was already covered in this thread: https://classicoldsmobile.com/forums...-442-a-170310/
Apparently, despite finding out the valve covers were installed incorrectly, no effort was made to install them in the correct orientation.
Some people just don't listen. Fusick has a correctish bronze, too.
Some people don't. I know what color 'Bronzish' it was painted at the factory. Im going to go with this gold instead. I'm still trying to track down the belts and correct sensors. Any help would be much appreciated!
I'm surprised no one has made mention of the valve covers being installed incorrectly! The notch showing forward on the passenger side in post #1 is for brake booster clearance! The other valve cover will either have no notch for clearance or a long narrow notch for clearance of the A/C box on the passenger side!
Will the covers line up with the bolt holes in the heads if I turn them over? Is there a picture you can post showing how I should have them?
That was already covered in this thread: https://classicoldsmobile.com/forums...-442-a-170310/
Apparently, despite finding out the valve covers were installed incorrectly, no effort was made to install them in the correct orientation.
Still waiting on confirmation of that and a picture of how they should be....please share one of you got it!
Still waiting on confirmation of that and a picture of how they should be....please share one of you got it!
I saw your post with pictures . So they just need to switch sides before paint? Thank you. Any other pictures of a 1969 400 showing the correct orientation of things?
I want it to look right and in my opinion the original bronze doesn't look as good as this. Just me. I want it to appear period correct not pure factory correct. I have the correct bronze paint but it's for the next guy.
So a dtm high temp primer first?
Thanks
I saw your post with pictures . So they just need to switch sides before paint? Thank you. Any other pictures of a 1969 400 showing the correct orientation of things?
Yes, the valve covers need to be switched side to side before paint. You are correct that you need to use a primer before painting the final color.
So I should bend them out kinda thing. Just gently pry them up with a flat head?
Thanks (again) Joe.
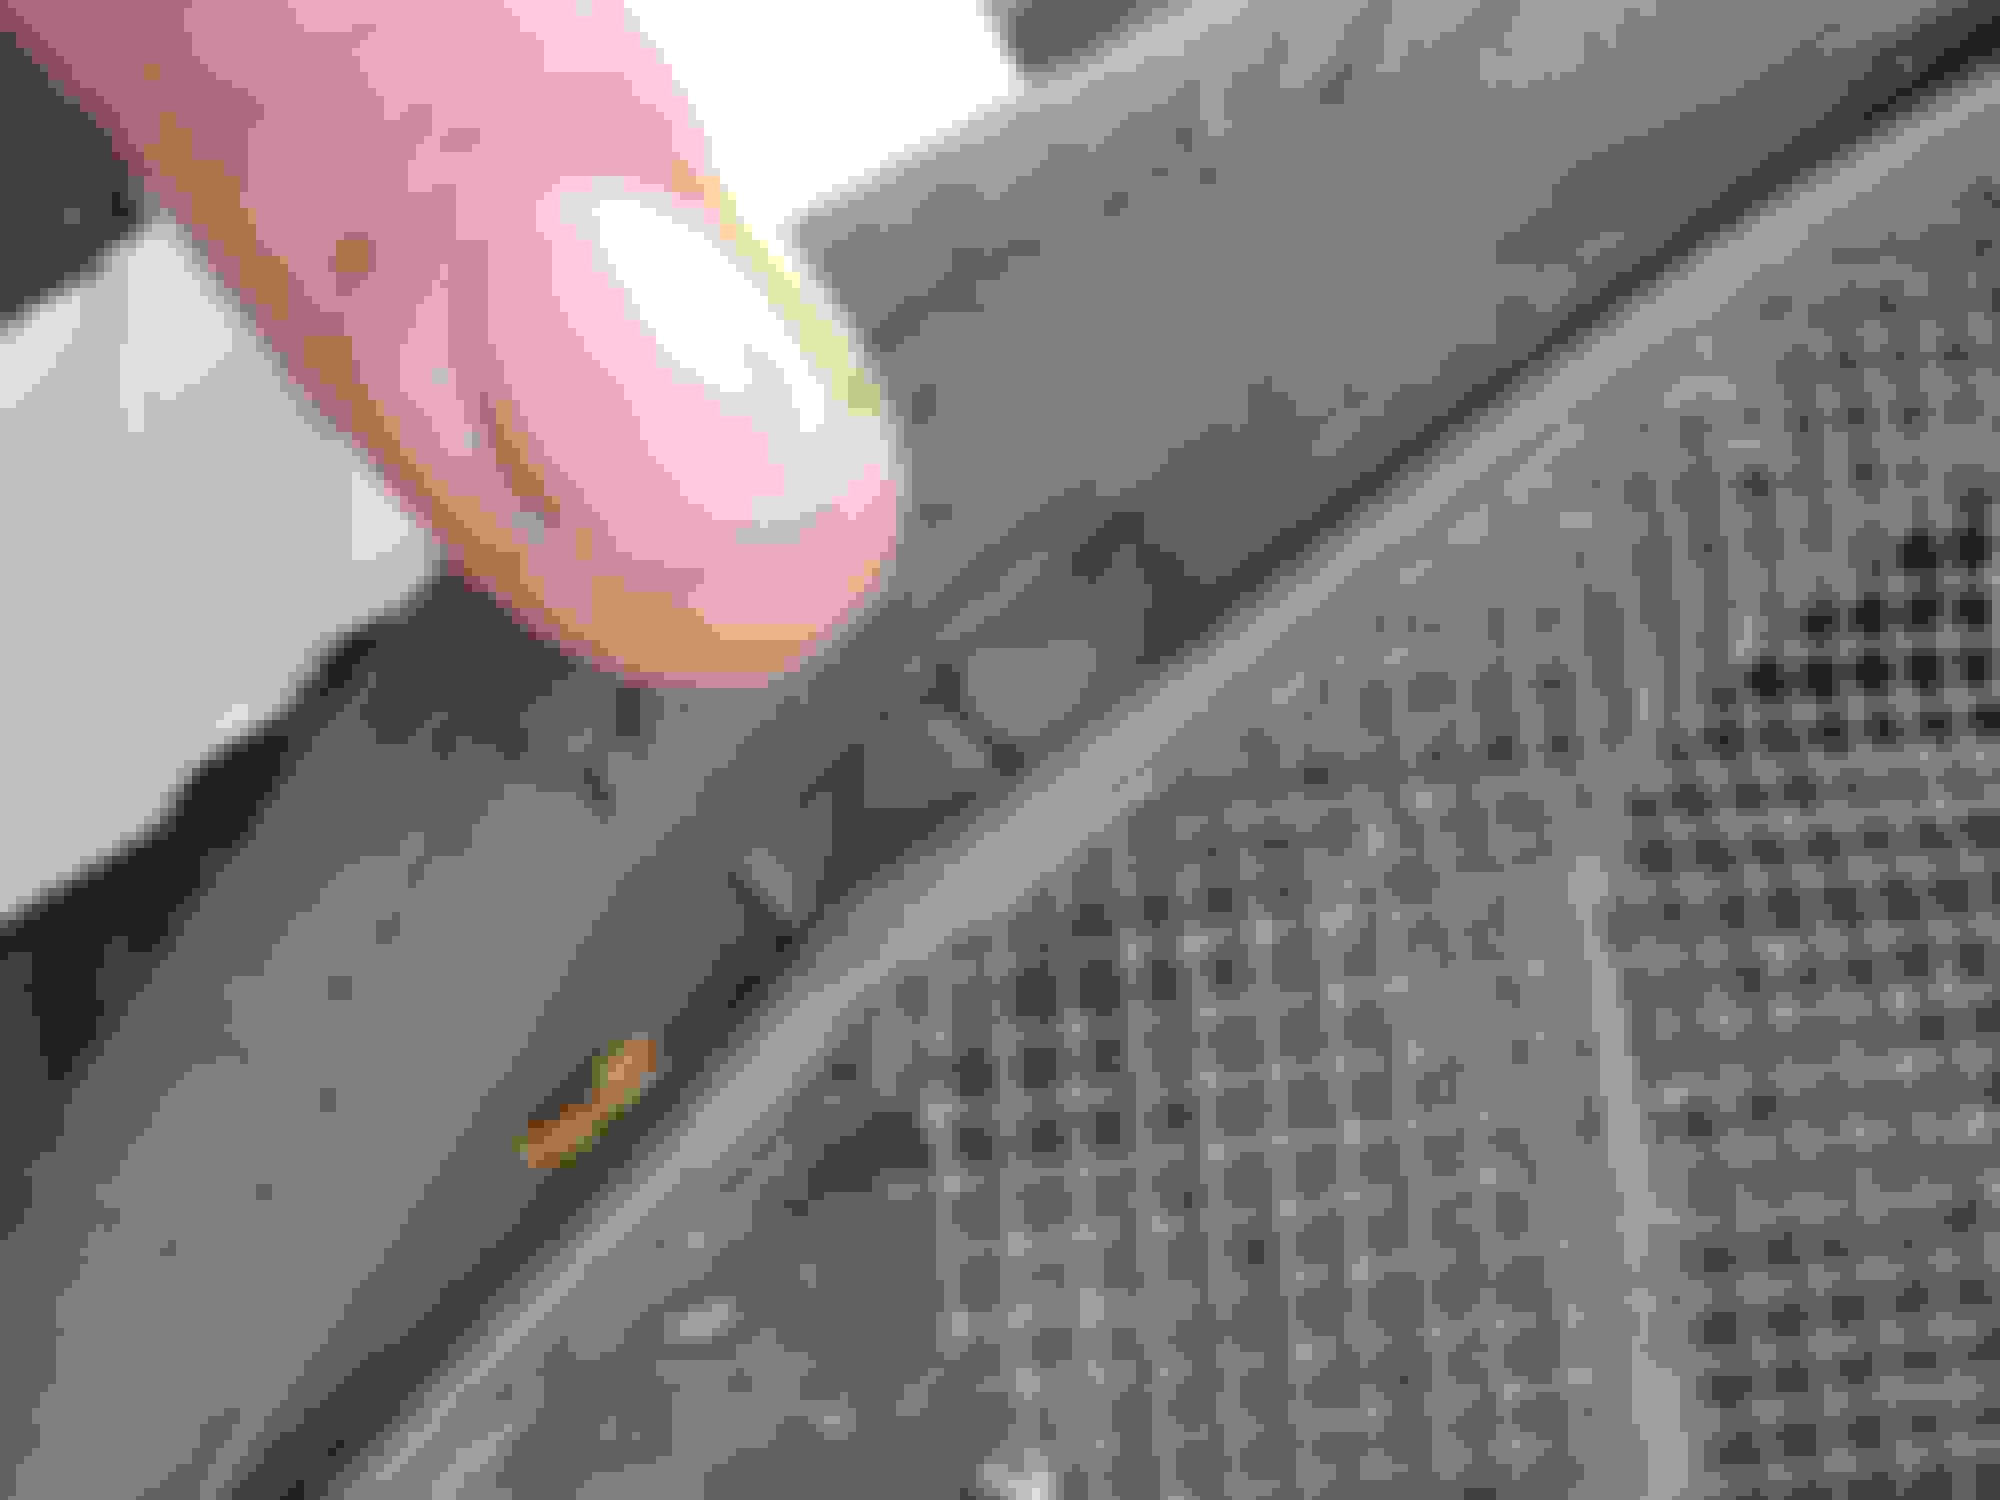
*Any idea if that red electrical connection by the heater box is stock?
You don't bend them. Gently pry and they should pop right out of the hole in the cowl.
What electrical connection?
And for the M/C, I like the Eastwood M/C paint, which is resistant to brake fluid.
Wire wheel, then spray with Eastwood Cast Blast. Looks like raw cast iron
If you're going for a concourse resto, use the cast blast. If you want durability, use the M/C paint. The latter is too metallic to look correct, but it is much more resistant to brake fluid.
If you're going for a concourse resto, use the cast blast. If you want durability, use the M/C paint. The latter is too metallic to look correct, but it is much more resistant to brake fluid.
Didnt realize they had this now, just always used the cast blast. I'll have to order a can

 March 7th, 2023, 07:57 PM