When you click on links to various merchants on this site and make a purchase, this can result in this site earning a commission. Affiliate programs and affiliations include, but are not limited to, the eBay Partner Network.
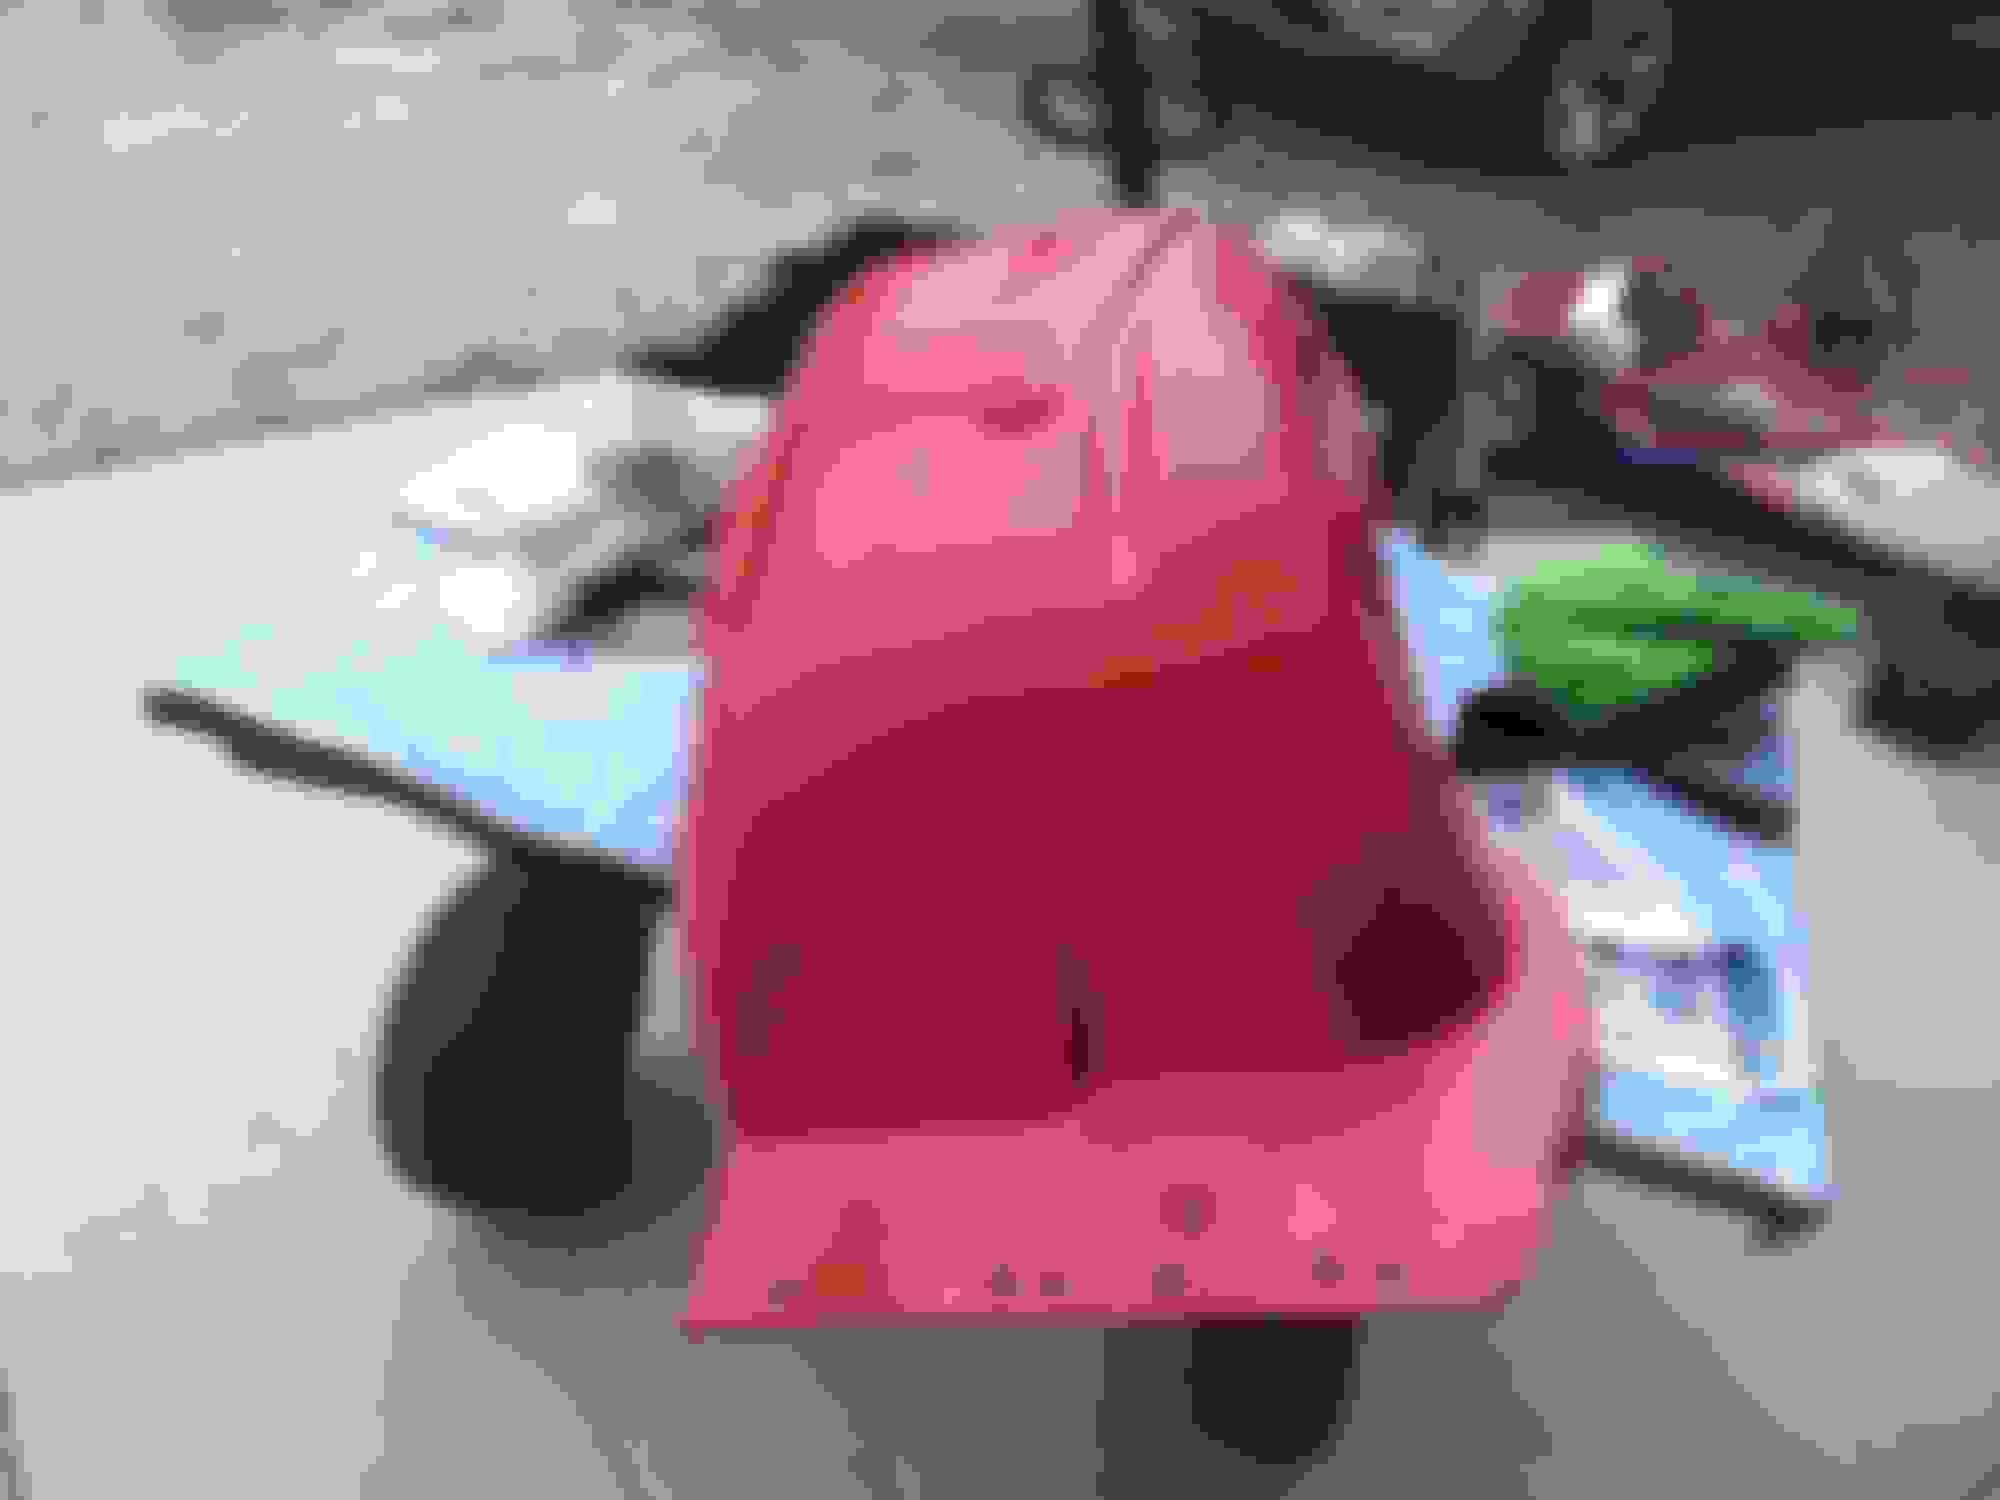
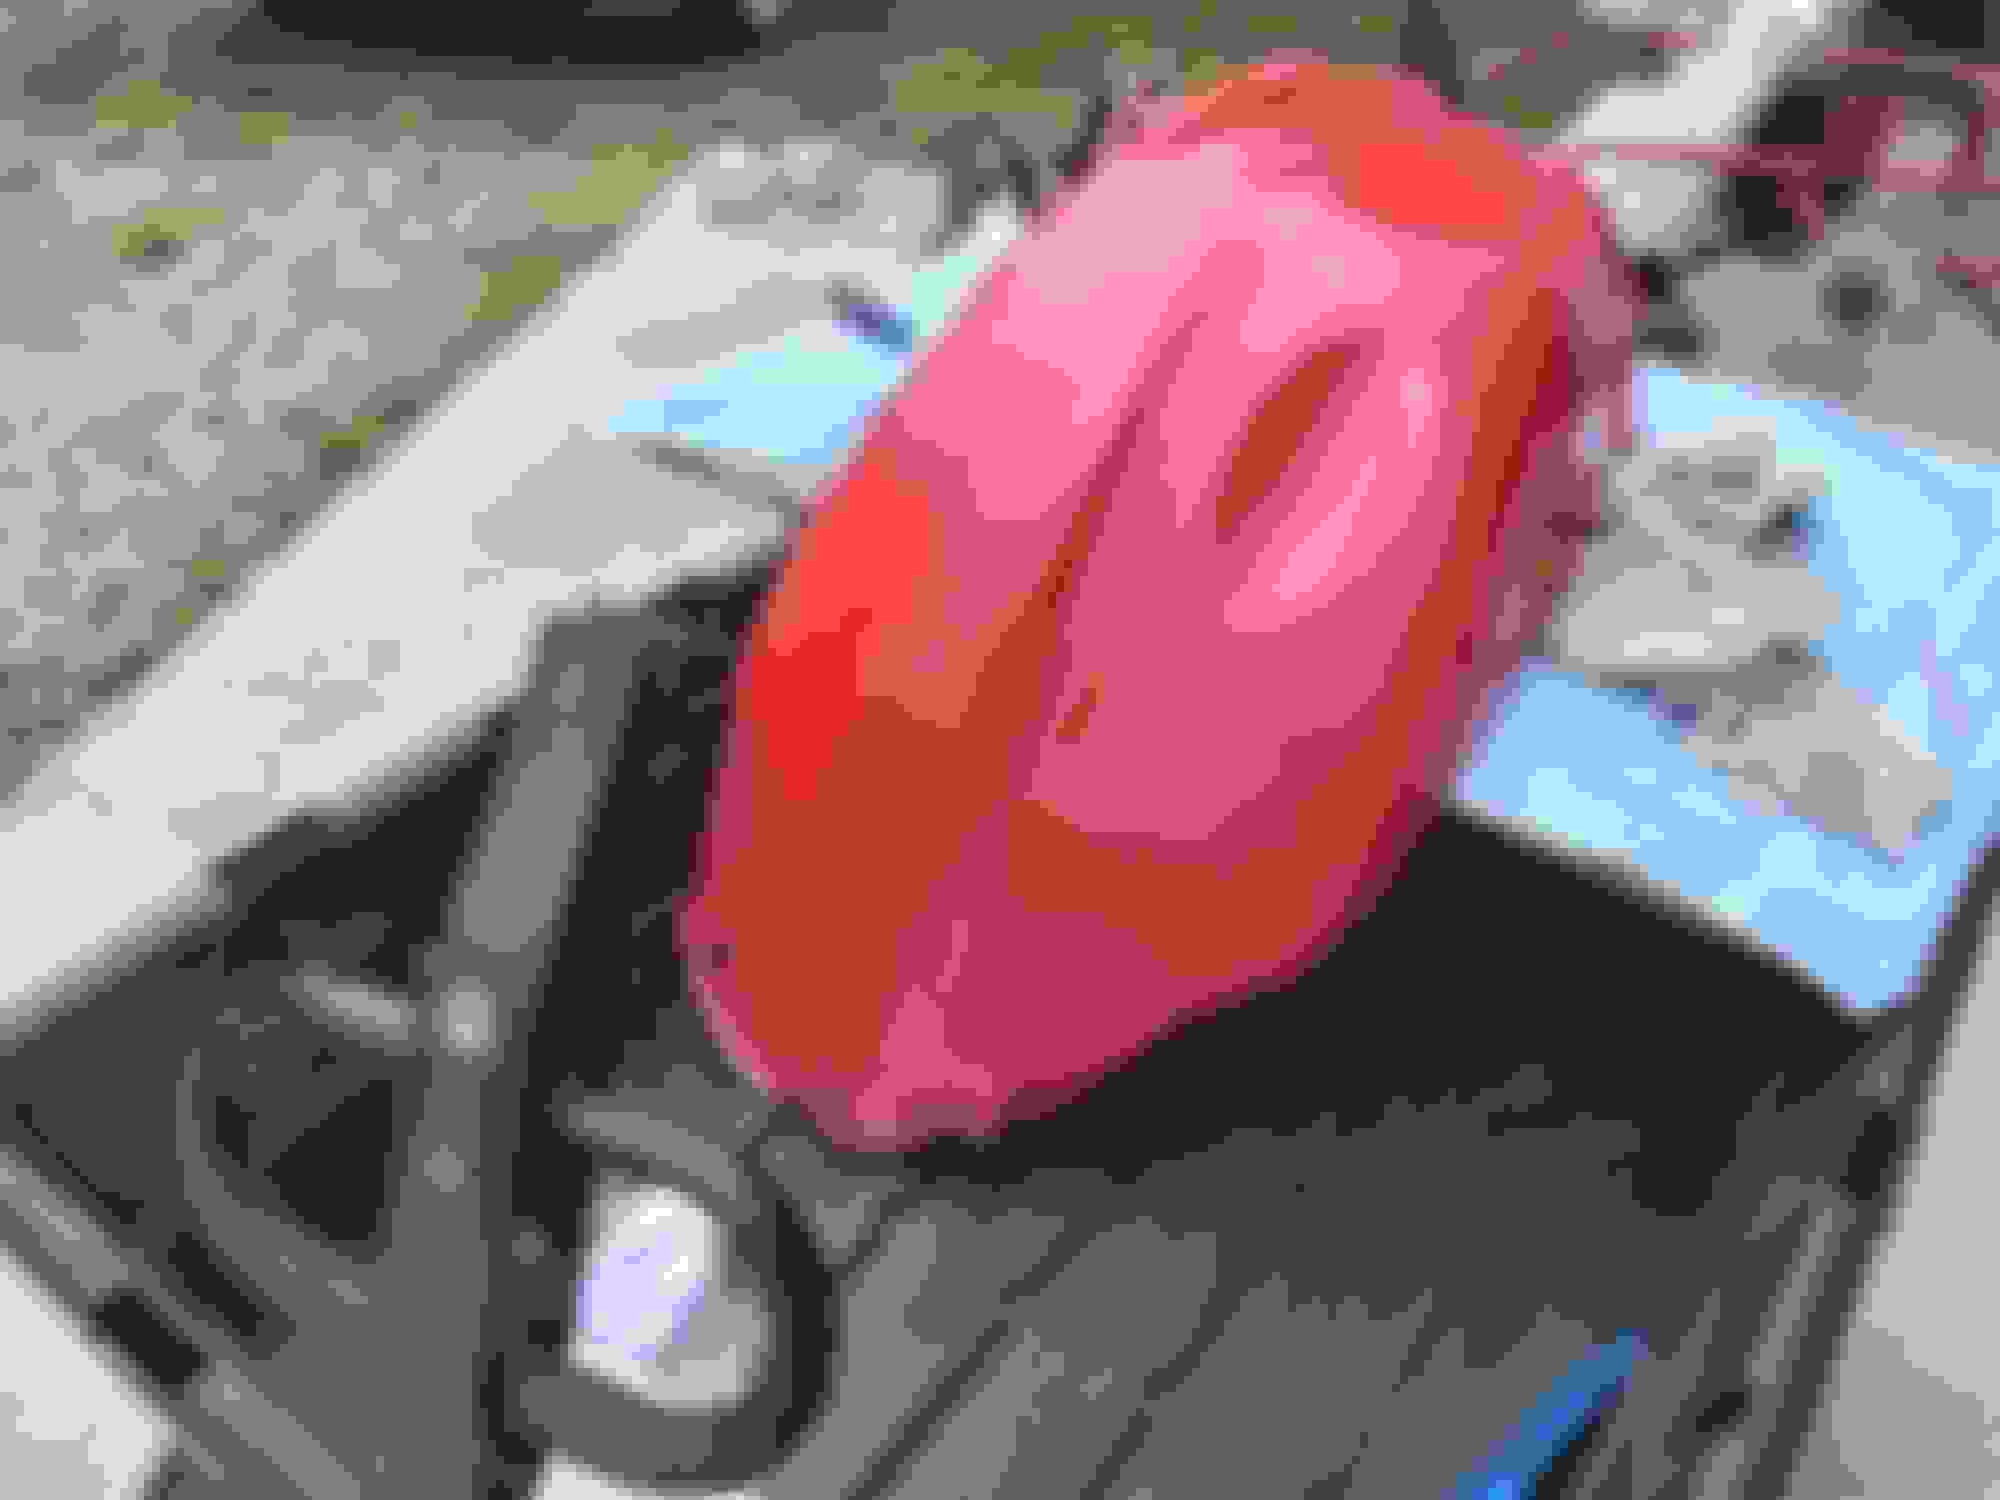
Now that things have slowed down a tiny bit here on the farm, I have been able to start cleaning. Starting with the passenger side here are 2 pictures of what I'm working with. Picture #2 before starting. Using a Gorilla Cart for a cleaning tank. Only worked on it for about 45 minutes. The dark spot is the last remaining under coating that is very difficult to remove. After working on it for an additional 40 minutes today this is where I am currently at as you can see in the next pictures. Here is where I could use some guidance if anyone is willing to help this old buzzard. That mark is from the fender bracing and I not sure how to remove or clean it up. Please send me a pm if you have a direction that I can use. These last 2 pictures I think are kinda self explanatory and is the other area that I could use some direction on. I will be working on removing the last of the under coating tomorrow.
Overall I think it looks pretty good considering the mileage on the car. Thank You in advance for any assistance or guidance that you can give.
I think you've made really good progress! Your wells still have a nice red color to them rather than the milky white that many have turned over the years. John
Start sanding with 400 grit 800 1200 1500 2000 2500 and 3000 grit sand paper
It is time consuming but it is wort it.To remove tar clean with lacker tiner
Alain platinum 442 4spd factory A/C
How did you get them that clean? Did you just use a nylon brush and soap? You might try to cover the under coating spots with lacquer thinner overnight before scrubbing it. Be careful using a brass or steel brush, it might leave marks.
How did you get them that clean? Did you just use a nylon brush and soap? You might try to cover the under coating spots with lacquer thinner overnight before scrubbing it. Be careful using a brass or steel brush, it might leave marks.
Thank You for all who were willing to help. Here is a picture of the tools that I used. Cleaning tools were. 1. Gorilla Cart filled with water up to the line midway up the dropped section that you see in the middle. 2. This Dawn bottle was half full when I first started and I used half of it. 3. I place the Fender Well in it for 24 hours before working on it. 4. I used the worn out Scrubby sponge that was retired from washing dishes. I have a new 1 incase the worn out one didn't work out very well. The cart currently has the 2nd cleaning solution in it, that why the Dawn bottle is near empty.
Interesting note on the fender well. They float really well even if upside down and the center is full of water/soap.
Last edited by SY2455; May 20th, 2024 at 05:15 AM.
Just a quick update on the passenger side fender well. Total time involved at this point is at 3 hours. This is the current state. Definitely not an easy job. Engine side. Here is the front of the fender well. Fender side showing progress. Just getting to this end of the fender well. Not much to say here. Not sure what to do with this area of the fender well. Many of these pits are quite deep with still embedded road debris.
Disclaimer - I have never cleaned up red fender liners. However, as a nearly 4 decade body shop guy, I would not suggest laquer thinner to clean the undercoating/tar spots. I would recommend using wax & grease remover or even kerosene/diesel.you could even wet rags & lay them on there overnight with the possibility of softening up the tar & reducing chance of scratches when cleaning. Basically you want a petroleum based solvent. The oven cleaner is a common suggestion, so it likely works. Though these were made from very good quality plastic, not saying it wouldn’t work, but I would be afraid of potentially bleaching spots with thinner.
….
Last edited by bccan; June 18th, 2024 at 09:04 PM.
I NEVER touch these things with oven cleaner. WD-40 is all you need to remove the tar. You are doing fantastic! For your final pictures where the deep grunge is, that is not visible and don't really need to fix it. If you must, then sanding it down is really the only option and I would never take anything out of these you don't need to.
 May 19th, 2024, 05:22 PM


 Start sanding with 400 grit 800 1200 1500 2000 2500 and 3000 grit sand paper