When you click on links to various merchants on this site and make a purchase, this can result in this site earning a commission. Affiliate programs and affiliations include, but are not limited to, the eBay Partner Network.
This is not what I wanted to hear. Actually I wanted to hear you were going to make a trip down here to do mine for me.
If you don't have the correct tools for bushing replacement, the easiest thing to do is to use a torch to burn out the rubber. It's messy and smelly (do it over a metal can) but requires little effort. Once the rubber it gone, you can easily dent the sides of the bushing shell with a chisel and the shell falls out. A press is the easiest way to install new ones, but a sledge hammer and appropriate diameter section of pipe works. I've done many of these, using both methods. Cut a piece of angle iron to fit between the ears on the control arm before installing the new bushing to avoid distortion.
Thanks Joe for the helpful hints. There were some new parts sitting in the garage for the car and I'll have to check the box to see if these were in there. Maybe I'll post a pic later to find out what everyone's opinion is on what may or may not go with the car. Easier to ask than for me to look it up because you guys know this stuff like a monkey knows bananas.
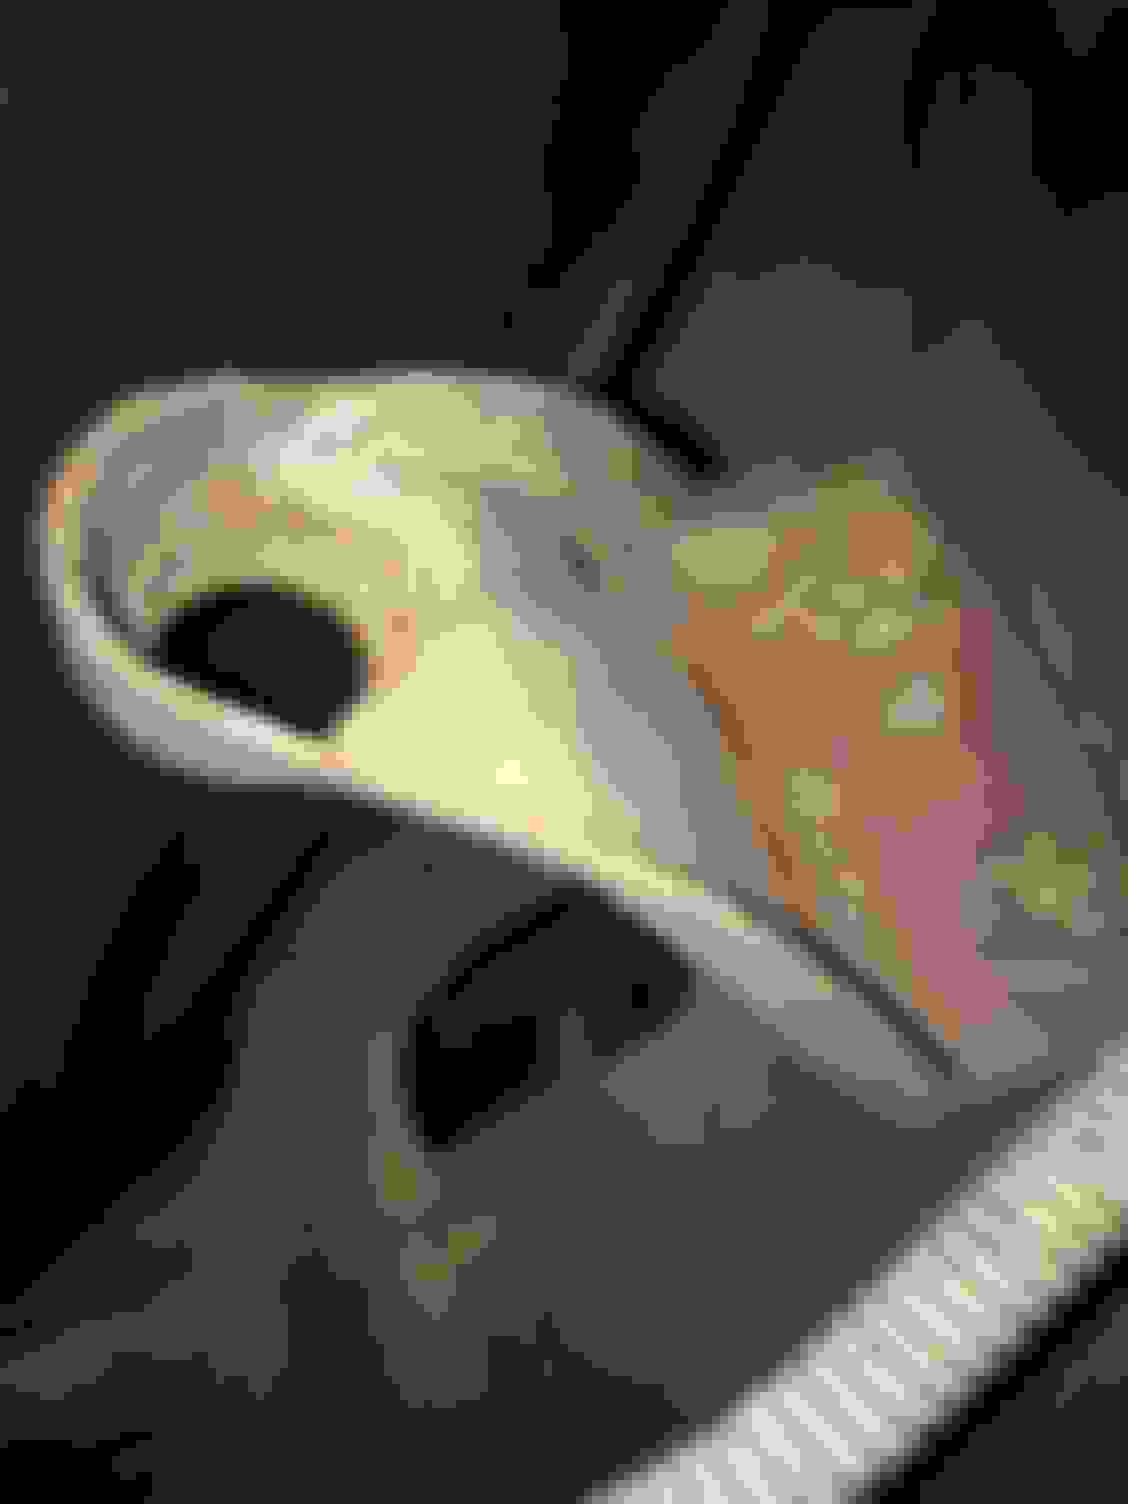
Here are the pics of the parts: They may or may not go to this car. Also a pic of the oil fill tube and a front pic from when I was out at the car late the other night.
That would probably be a cool party game at one of the meetups, "Name That Part." Thanks again. Thing is there are probably many more parts around back in PA. My brain hurts after a while.
My focus today was on getting the area around the car clear since the inspector comes Wednesday. Also, I'm trying to keep everything in mind that has been discovered about the car in case he has any questions. Although I guess they are supposed to be the experts.
Yes, I wonder how many documented broadcast card 4-speed 1970 W-30s are still around. My guess is less than a hundred. And many of those had to be brought back from the junkyard. I'm still holding to my belief that this car is one of the first few hundred W-30s. Just a gut feeling, but with that October build date it just about has to be.
I hope I have this car insured for enough. It isn't perfect, but it doesn't have to be. Every time I go out to the garage, I'm in disbelief. Running or not, this is the coolest.
Ok, my last post sounded a little like I was bragging. Didn't intend for it to be that way. It was more like I was sharing my excitement.
I sure am lucky to have a broadcast card with it. Definitely something I am so glad I found.
The inspector will be here today. I'm a little nervous as I don't know a time, but I'll be here. Also don't have a clue as to what they look for in these cars. Probably match the block to the VIN and make sure it wasn't altered. But I don't know exactly how the process goes...I guess I'll soon see.
Well the inspector just left the house about 10 min ago. I'm surprised he stopped by as it is outside his normal work hours, but he said it was on his way home.
Not much to it really. He took a pic of the VIN in the windshield and of the cowl tag. Also two pics of the car's exterior. So it went really well. Said he will send his report to Raleigh if he doesn't find any problems and then I should receive the title.
Glad he's gone because now I can get back to work on it. I had cleaned everything up around the car because I didn't want it to be a mess when he was here.
He did comment on how good of shape the car was in since it was a PA car. His jaw did drop a little when I opened the garage door, because when I met with him last Wednesday and told him it wasn't able to be driven the 20 miles to him for inspection, he obviously wasn't expecting to see something that was in this good of condition.
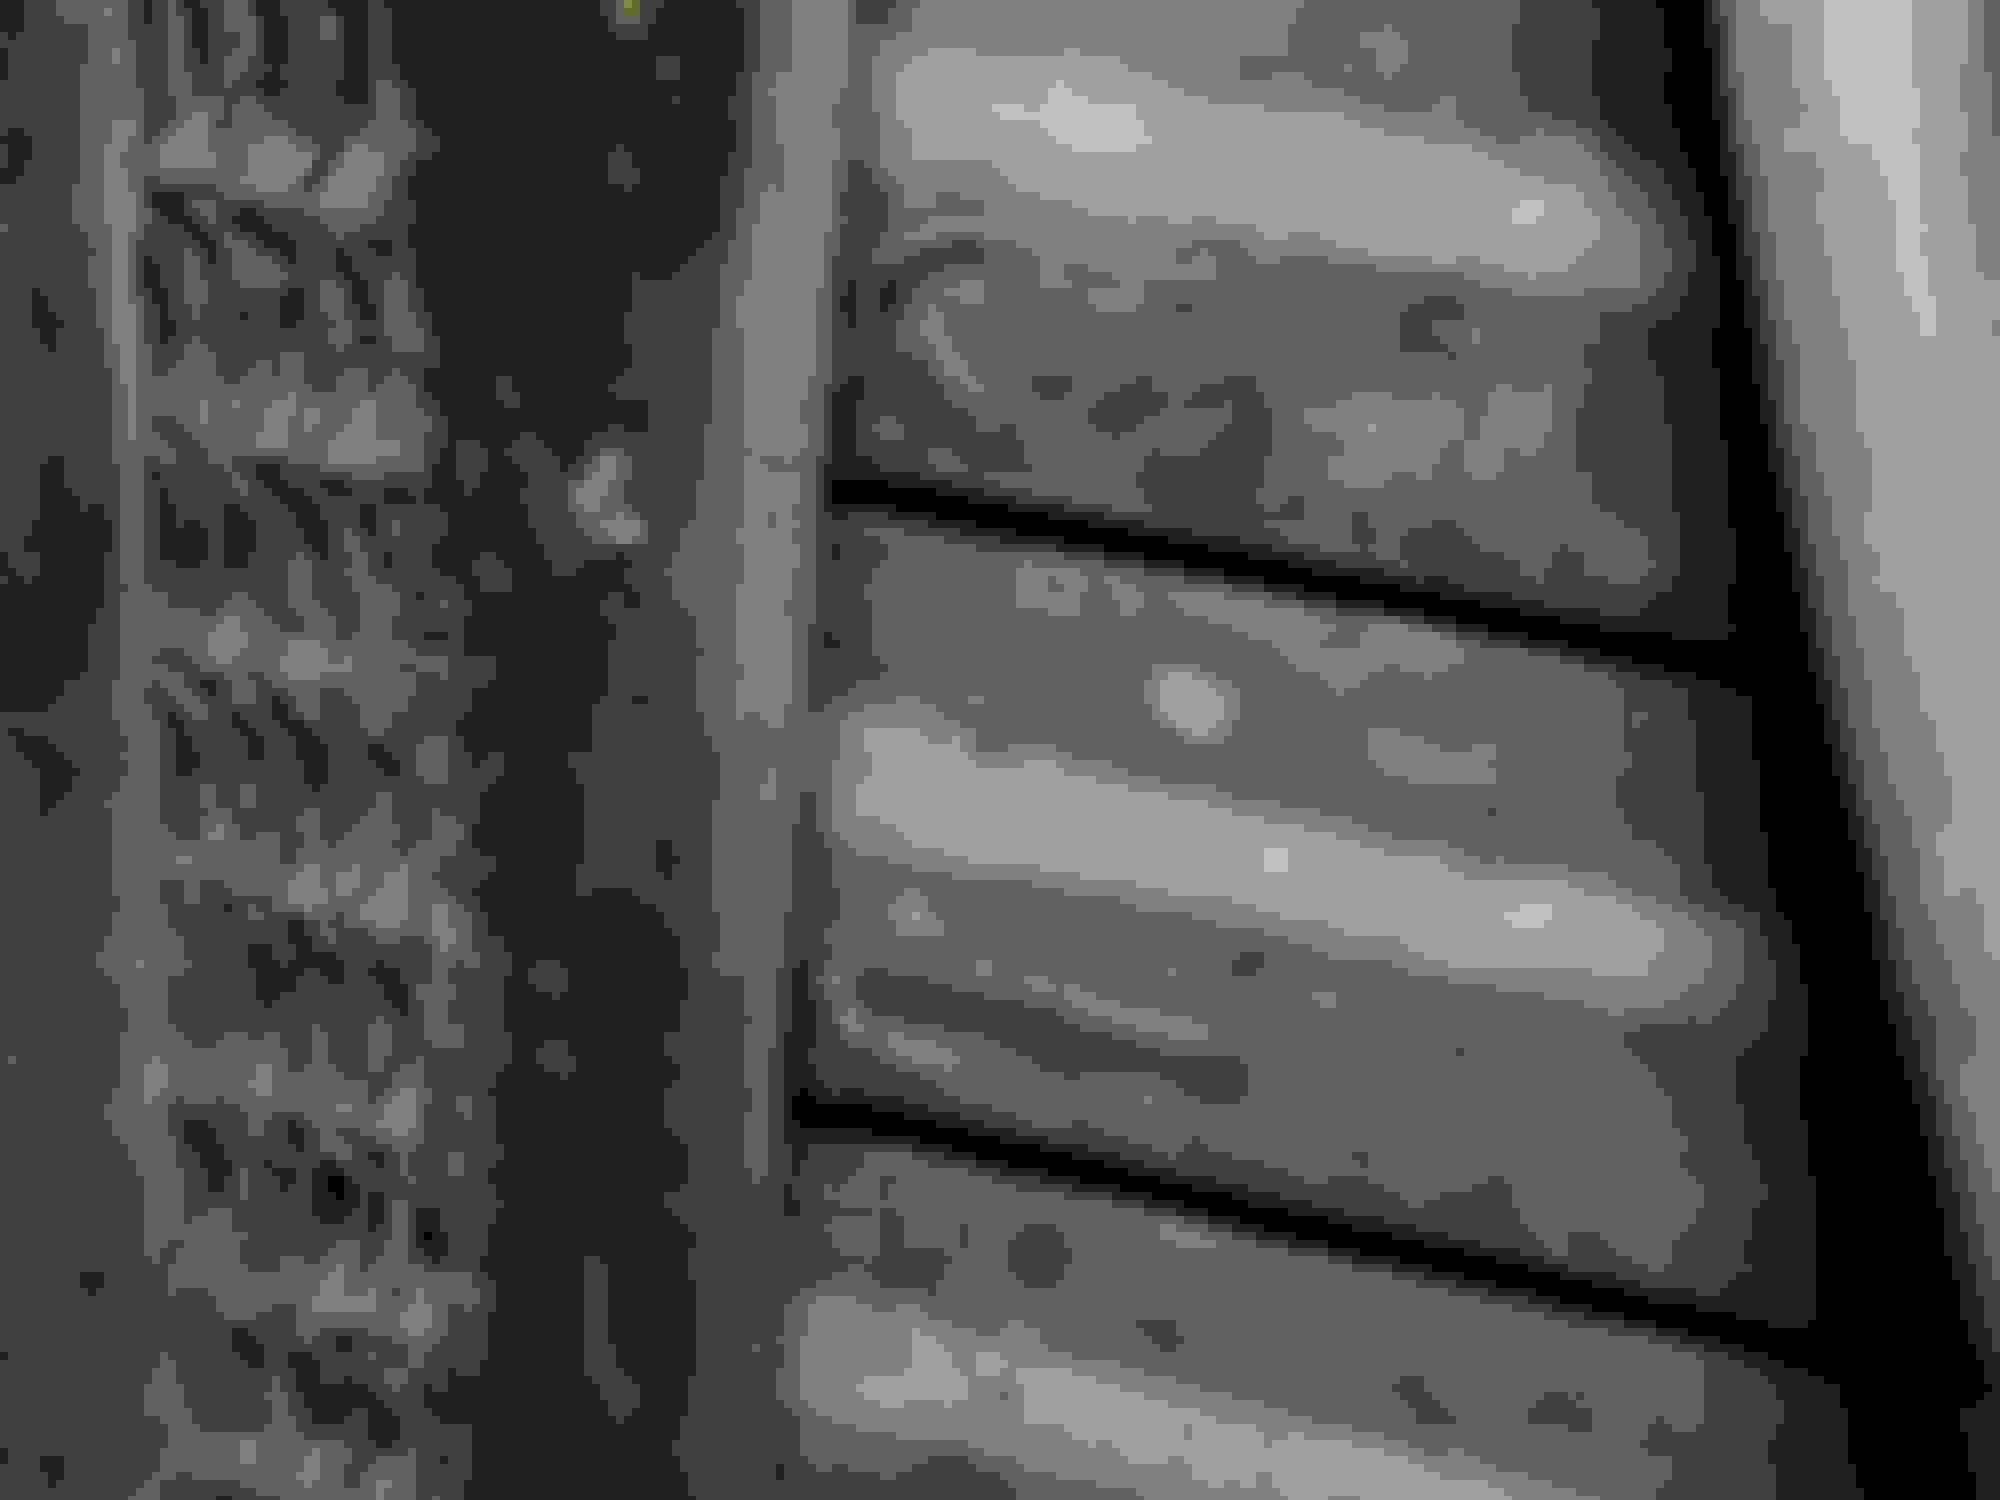
I replaced my upper and lowers...not easy! Tried to press them out, but finally resorted to a hack saw.
I saw a tool on eBay that claims to be for that. Thing is, it is one of those tools I would probably use once (or twice) and then never use again. I might have to check CL for one.
Does anyone know about the dash bead molding that surrounds the top and sides of the dash and what the reproduction part is like vs the real deal? Is it something you can even find in good condition from a donor vehicle?
You can rent a BALL JOINT PRESS from AutoZone or Advance, You have to put a deposit up but it is all refunded when you return it, for the price and as many times you will need I always rent when I can.
Have you had a chance to look at the rear end. If it is a 3:91 gear car it will have a "TO" stamped on the right side of the axle. It could be facing the rear or the front. The alternator you have goes a long way in showing how original your car is. Thanks.
So I did find that TO code you were speaking of. I'm not sure if you had a chance to stop back in this thread and see the pics I've posted.
One thing I've been wondering about...the assembly manual, section 4 page 93...it shows a chart on the left side with part numbers on it and the codes also. It shows 405061 for the TO 3.91 gear. Is this part number stamp (like many other parts seem to have) anywhere on the axle also, or just the two letter code?
I borrowed/rented a ball joint press kit from Advanced Auto. They charge your card in case you don't return it but refund when returned. My bushings were rusted in so pressing didn't work. I also tried denting in the shell but was unsuccessful. I ended up cutting a slot in the shell with a hack saw and it worked fine. I did use the kit to press the bushings back in. I used two sockets to support the open end of the arm around the bushing.
I borrowed/rented a ball joint press kit from Advanced Auto. They charge your card in case you don't return it but refund when returned. My bushings were rusted in so pressing didn't work. I also tried denting in the shell but was unsuccessful. I ended up cutting a slot in the shell with a hack saw and it worked fine. I did use the kit to press the bushings back in. I used two sockets to support the open end of the arm around the bushing.
Well the tops of those gas tank bolts were completely fused on there, so I'm thinking I may have a similar problem. What is the pricing on these compared to the frustration level? http://www.ebay.com/itm/64-72-442-Ch...-/190070767054
MOOG bushings are about $10 each...so those have $20 in bushings. The bushings on the other side of the uppers are on the differential and are the easiest to replace IMHO.
And then watch this for some more good comedy. Sorry, but I needed a good laugh...lots of stress lately. Start at 3 minutes 55 seconds. Tried to link it that way but it wouldn't let me.
One thing I've been wondering about...the assembly manual, section 4 page 93...it shows a chart on the left side with part numbers on it and the codes also. It shows 405061 for the TO 3.91 gear. Is this part number stamp (like many other parts seem to have) anywhere on the axle also, or just the two letter code?
The part number is not stamped on the assembly, just the two-letter code. You will find a casting number and date code cast on the center section. The date code is for the casting itself. You will also find a date code for the final assembly stamped on the center section -- probably on the rear face, lower left side. It uses a letter for the month and a couple digits. The letter usage is different than for the electrical Delco parts like your distributor. It's all explained in the front of your Chassis Service Manual. You DO have a Chassis Service Manual, don't you?
The part number is not stamped on the assembly, just the two-letter code. You will find a casting number and date code cast on the center section. The date code is for the casting itself. You will also find a date code for the final assembly stamped on the center section -- probably on the rear face, lower left side. It uses a letter for the month and a couple digits. The letter usage is different than for the electrical Delco parts like your distributor. It's all explained in the front of your Chassis Service Manual. You DO have a Chassis Service Manual, don't you?
No, I just ask questions here and hope I get some answers...haha.
I just have the PIM or Assembly Manual, as some call it...including me...because that's the crafty name the eBay guy gave it years ago.
So are all of the items you mentioned on the rear face, besides those two letters I already uncovered? Or can they be anywhere on it?
Was out there for only a while tonight. Jacked the car back up and I now have enough room to barely clear the rear sway bar and I can cruise on up the whole way to the front no problem on the creeper.
I just laid there and moved around slowly, as if I was in a cave with a flashlight. Just took my good old time, getting reacquainted with the beast. It was pretty calming actually. Dont laugh at me, but I have 4 sets of jack stands under the car. The main ones doing the support are the ones that Joe mentioned to me earlier today. Overkill is good when you have kids around. Not that I ever let them around the car when it is up in the air, but you know what they say about always being prepared.
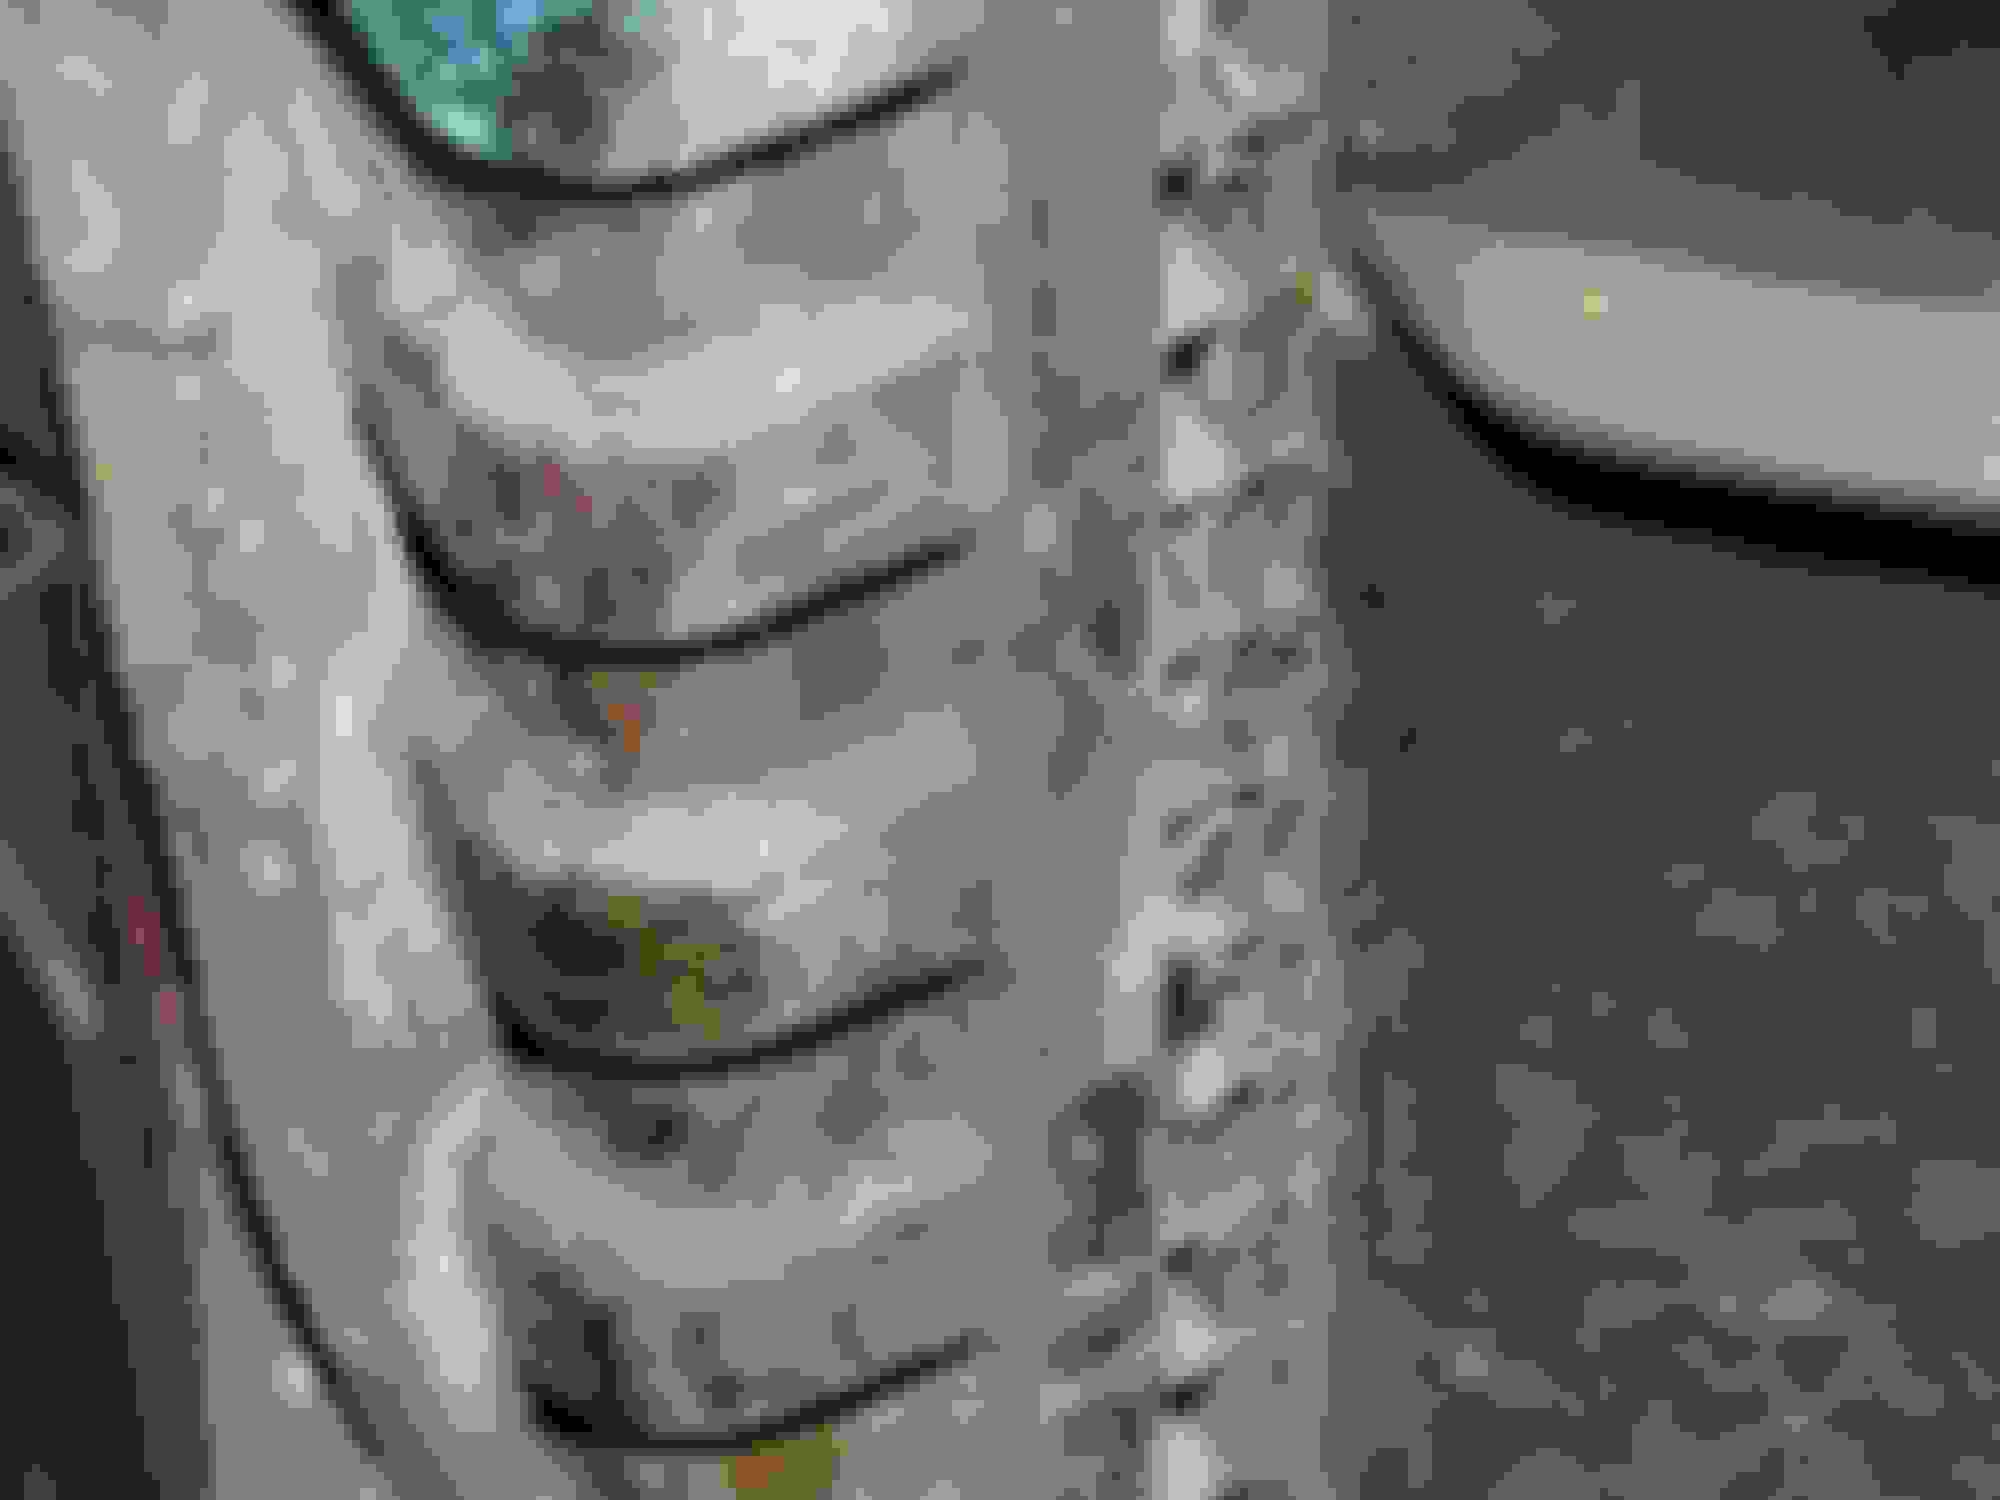
I took a few pictures tonight. Only two. But I think you'll find them interesting.
Bracket used for both auto and manual I think. Linkage is different. Auto linkage connects from trans to steering column. I'm not sure about manual but I think it is reverse lockout.
So this locks the steering column when in park for an auto, but it isn't hooked up in this car currently and the steering column locks in park. Strange. Or at least it makes the click like it locks. Maybe it actually doesn't.
I think the key locks the wheel. This lockout I think prevents starting the car when in gear, and doesn't allow you to remove the key unless it's in park.
Last edited by timholliday; Feb 18, 2016 at 07:38 PM.
After doing a little reading, on manual cars the linkage does two things. It activates the reverse lights, and when you turn the car off and put it in reverse, allows you to remove the key.
Hmmm...well I didn't have a clue what that part was when I took the pic. All I saw was that something should have been connected to it. Thanks for the insight.
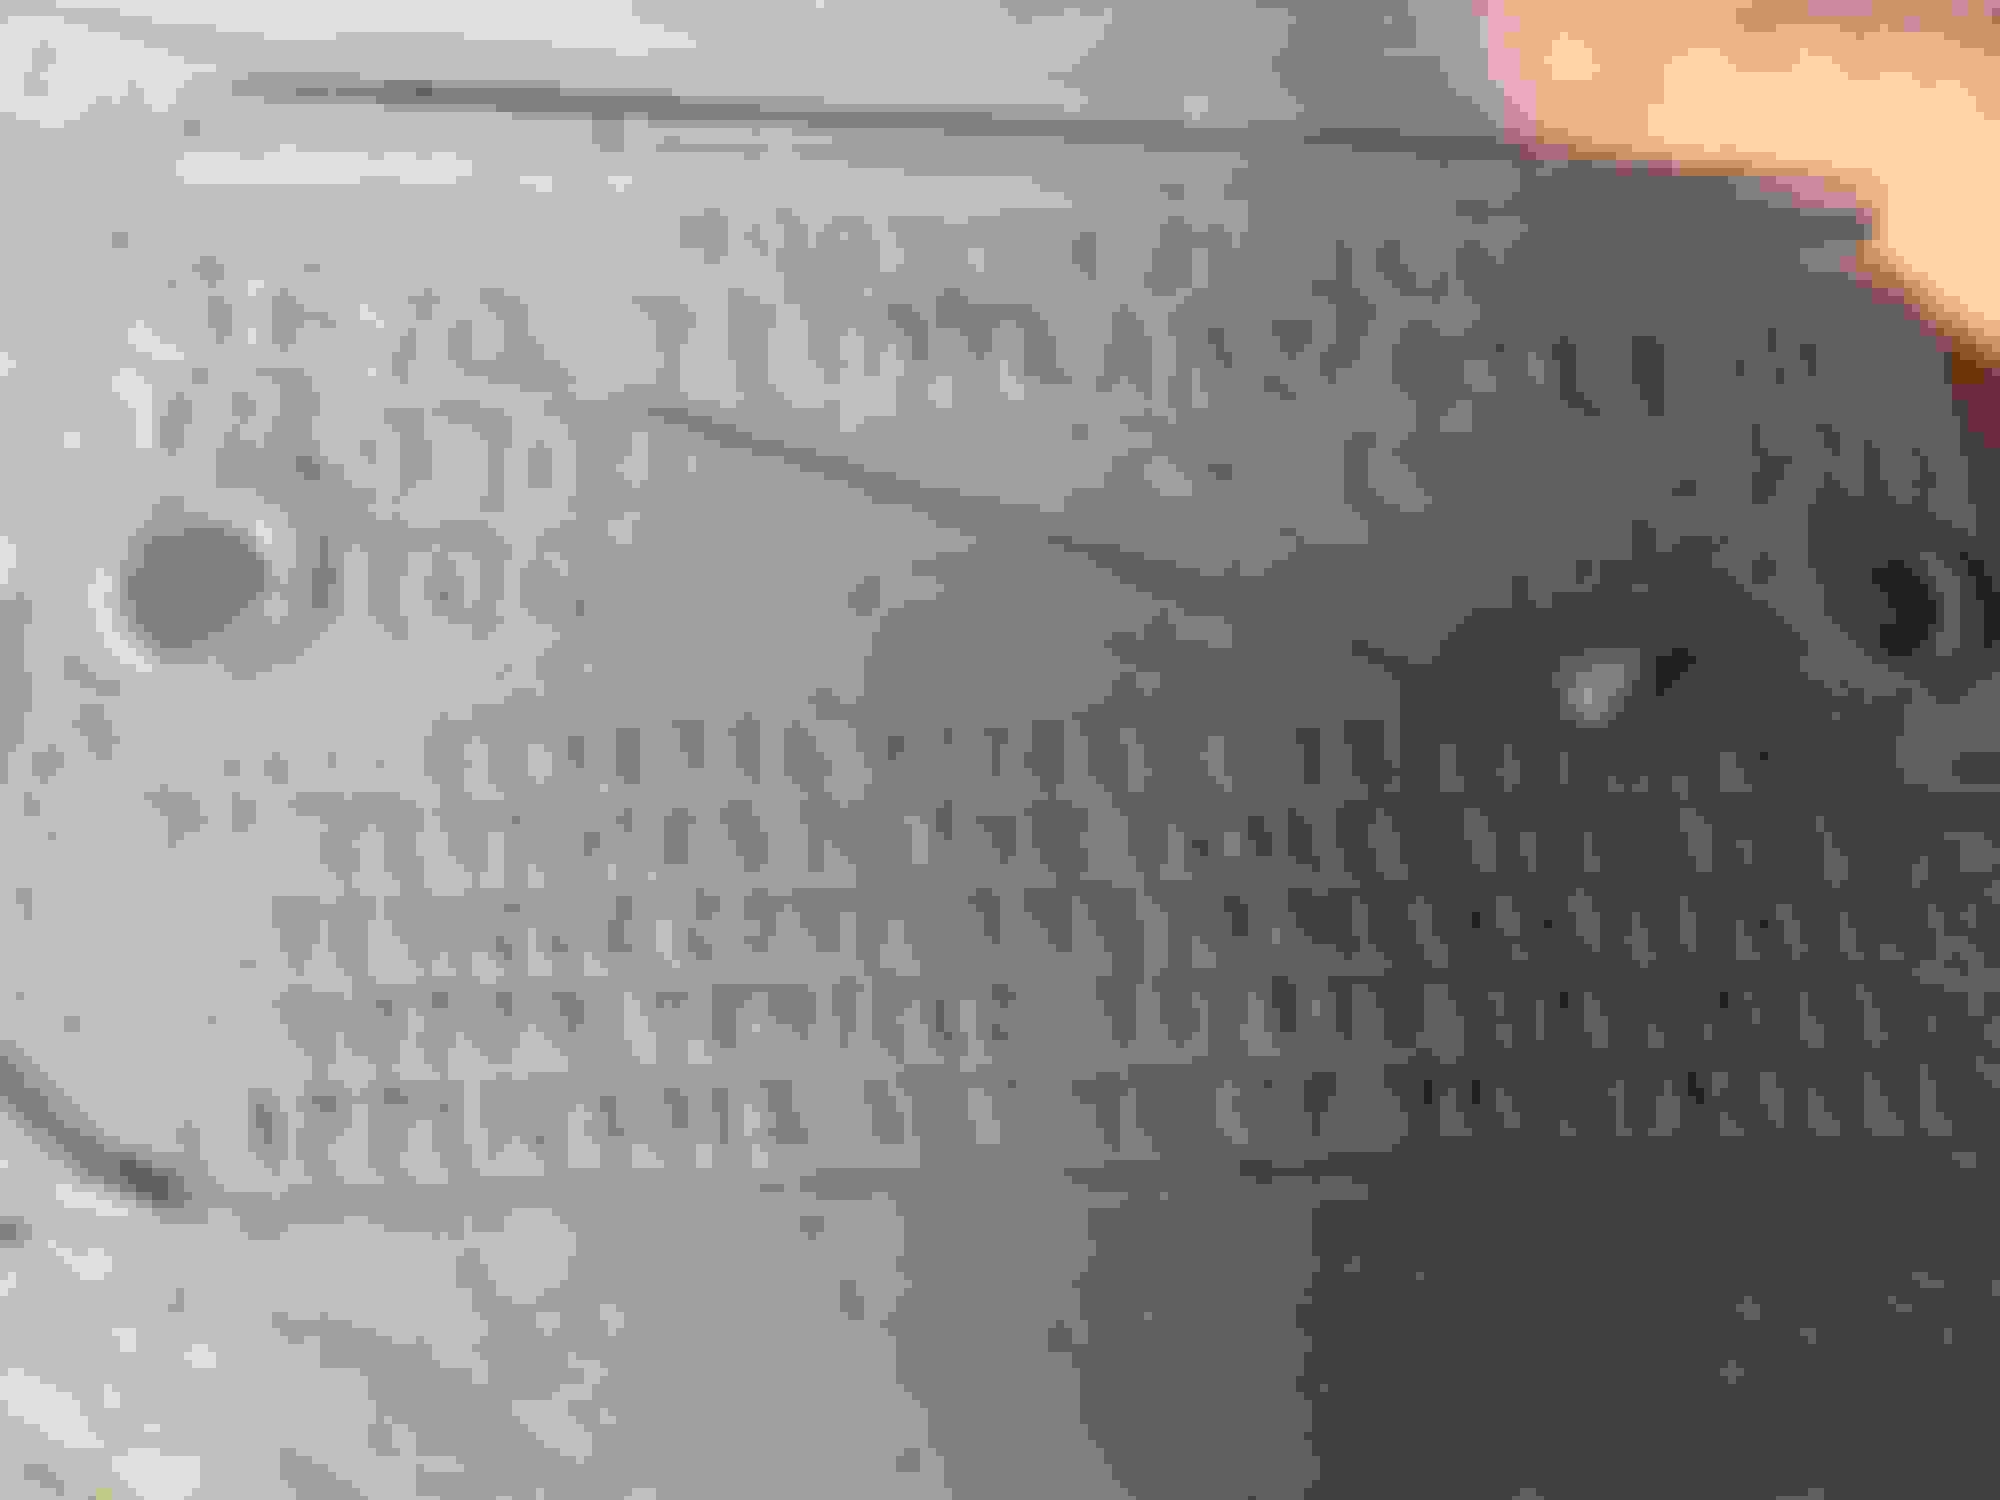
Tonight I didn't really get under the car again like I thought I would. But I did condition the seats again and did some more record keeping. I finally cleaned the cowl tag. Thought it was cool just to see that layer of dust on it...but here it is. I'll post with the before pic again just so you get an idea. Also documented the left and right sides of the radiator with the IF and CI codes.
Does anyone know about the dash bead molding that surrounds the top and sides of the dash and what the reproduction part is like vs the real deal? Is it something you can even find in good condition from a donor vehicle?
The repro dash bead moldings are excellent...get one from Fusick or The Parts Place (OPGI may have them but they seem to charge A LOT more for the same parts as some other vendors).
DON'T waste your time/$ buying an NOS dashbead molding.....it'll look EXCELLENT coming out of the GM box and all but when you go to install it you'll quickly realize it has shrunk up, lengthwise, and is useless. Then you'll get the pleasure of having whoever sold it to you for crazy $ telling you....."so sorry, but it IS NOS and that's what you said you wanted".
The repro moldings need to be trimmed slightly on the length of the "down legs" (the part that runs vertically down each side of the dashpad in the channel). Prefit and determine how much you want to trim off and THEN install.
You are full of good info, I'm glad when you have time to post your thoughts here. I would be really disappointed with a NOS molding if it did shrink like you said and it really is no money back when it comes to those types of purchases, like you mentioned.
I had the neighbor stop by today and look at the car. He is a retired mechanic from NYC. He has a Chevelle SS and a few other old cars so he knows this era. He seemed very impressed with the car and said that it was one that he would love to have. Also commented on the transformation from a manual car to an auto and said it was done very well, unlike some others he had seen.
Oh, I have another question...this master cylinder is really annoying to me, as it has speckled rust all over it. Can I use my drill with a wire brush on it without making it look worse? Or is there another method you suggest?
I looked it up on Amazon and although it has good reviews, apparently you have to soak the item in the evaporust. I'm not going to remove the master cylinder to do that. At least not now. But I might buy for some things I can soak in there. I once left some handtools out in the rain. Threw them away. I'm thinking this product would have cured the issue.
I read the reviews for another rust remover and might consider due to them saying you can "paint it on" due to it being thicker: Loctite 553472 16 Fluid Ounce Naval Jelly Rust Dissolver
Just be careful around those red inner fenders. Not sure what some of that stuff will do to them if you spill some.
This is another area that is a matter of how far you want to go with the car. If you want that patina look I would just wire brush it and hit it with some WD-40. Let it soak for a while and wipe it down. You may be surprised how well it can look just doing that.
Good idea. I will go the simple route for now then.
Also, remember how we talked about those inner fenders and how the cleanup on the outside was going to be difficult? Well I took a hard scrub brush and some soapy water. Nothing. I'm beginning to wonder if he painted them black because there are only a few spots of red showing. The black chips off with a fingernail, but a brush does nothing.
I read in another thread recently about how people painted those black back in the day. I was like yeah, who would do that??? Well...
I can try pressure washing, but obviously I can't do that in my garage...and my driveway goes downhill fast so I won't be doing that anytime soon.
I have found plastic scrapers work well on removing paint from inner fenders. As they are the same hardness they wont gouge the plastic like a metal scraper would. Also lacquer thinner, elbow grease and time will get the rest off.
The "IF" and "CI" tank codes are correct for the "EC" rad code tag, which also shows on the tag. The "EC" rad tag code is correct for 1970 4 core with 3:91 gears and the accompanying standard V01 for said setup. The Master you have if original will have "EB" code stamped on the top front, half moon grind mark.
This is all very helpful. I was unsure of what chemical to use on the inner fenders because I knew that there was a chance whatever I used could make things really bad.
I will look for the mark on the master cylinder like you mentioned. My guess is it is original as it is one of the older looking pieces on the car. But I like documenting the codes and dates on the car so I will look for the EB.