When you click on links to various merchants on this site and make a purchase, this can result in this site earning a commission. Affiliate programs and affiliations include, but are not limited to, the eBay Partner Network.
Hello C.O.! Had a nice day yesterday here in southwestern Ohio and decided to get a start on addressing a fuel sender issue in my 67 Delta Custom Coupe (no heated garage ). Ran all the tests and checked all the wiring and no question the sender is bad. Dropped the tank - after a good soaking with AC Delco Rust Penetrant spray (part# 10-4020, 88862628) had no trouble with the bolts/screws. If you have not used this stuff you should, it is the best - even better than Kroil in my opinion. Was pleasantly surprised to find the original build sheet taped to the top of the tank. Mostly intact and 95% readable.
Pulled the sender out and since exact replacements do not exist I will be substituting one from a 71 Delta 88 (Spectra FG106A, $47.00 + shipping from RockAuto) as recommended in past threads by jaunty75 and Olds64 (thanks guys!). I'll put up with the fluctuating needle issue as it will be a vast improvement over getting no reading at all.
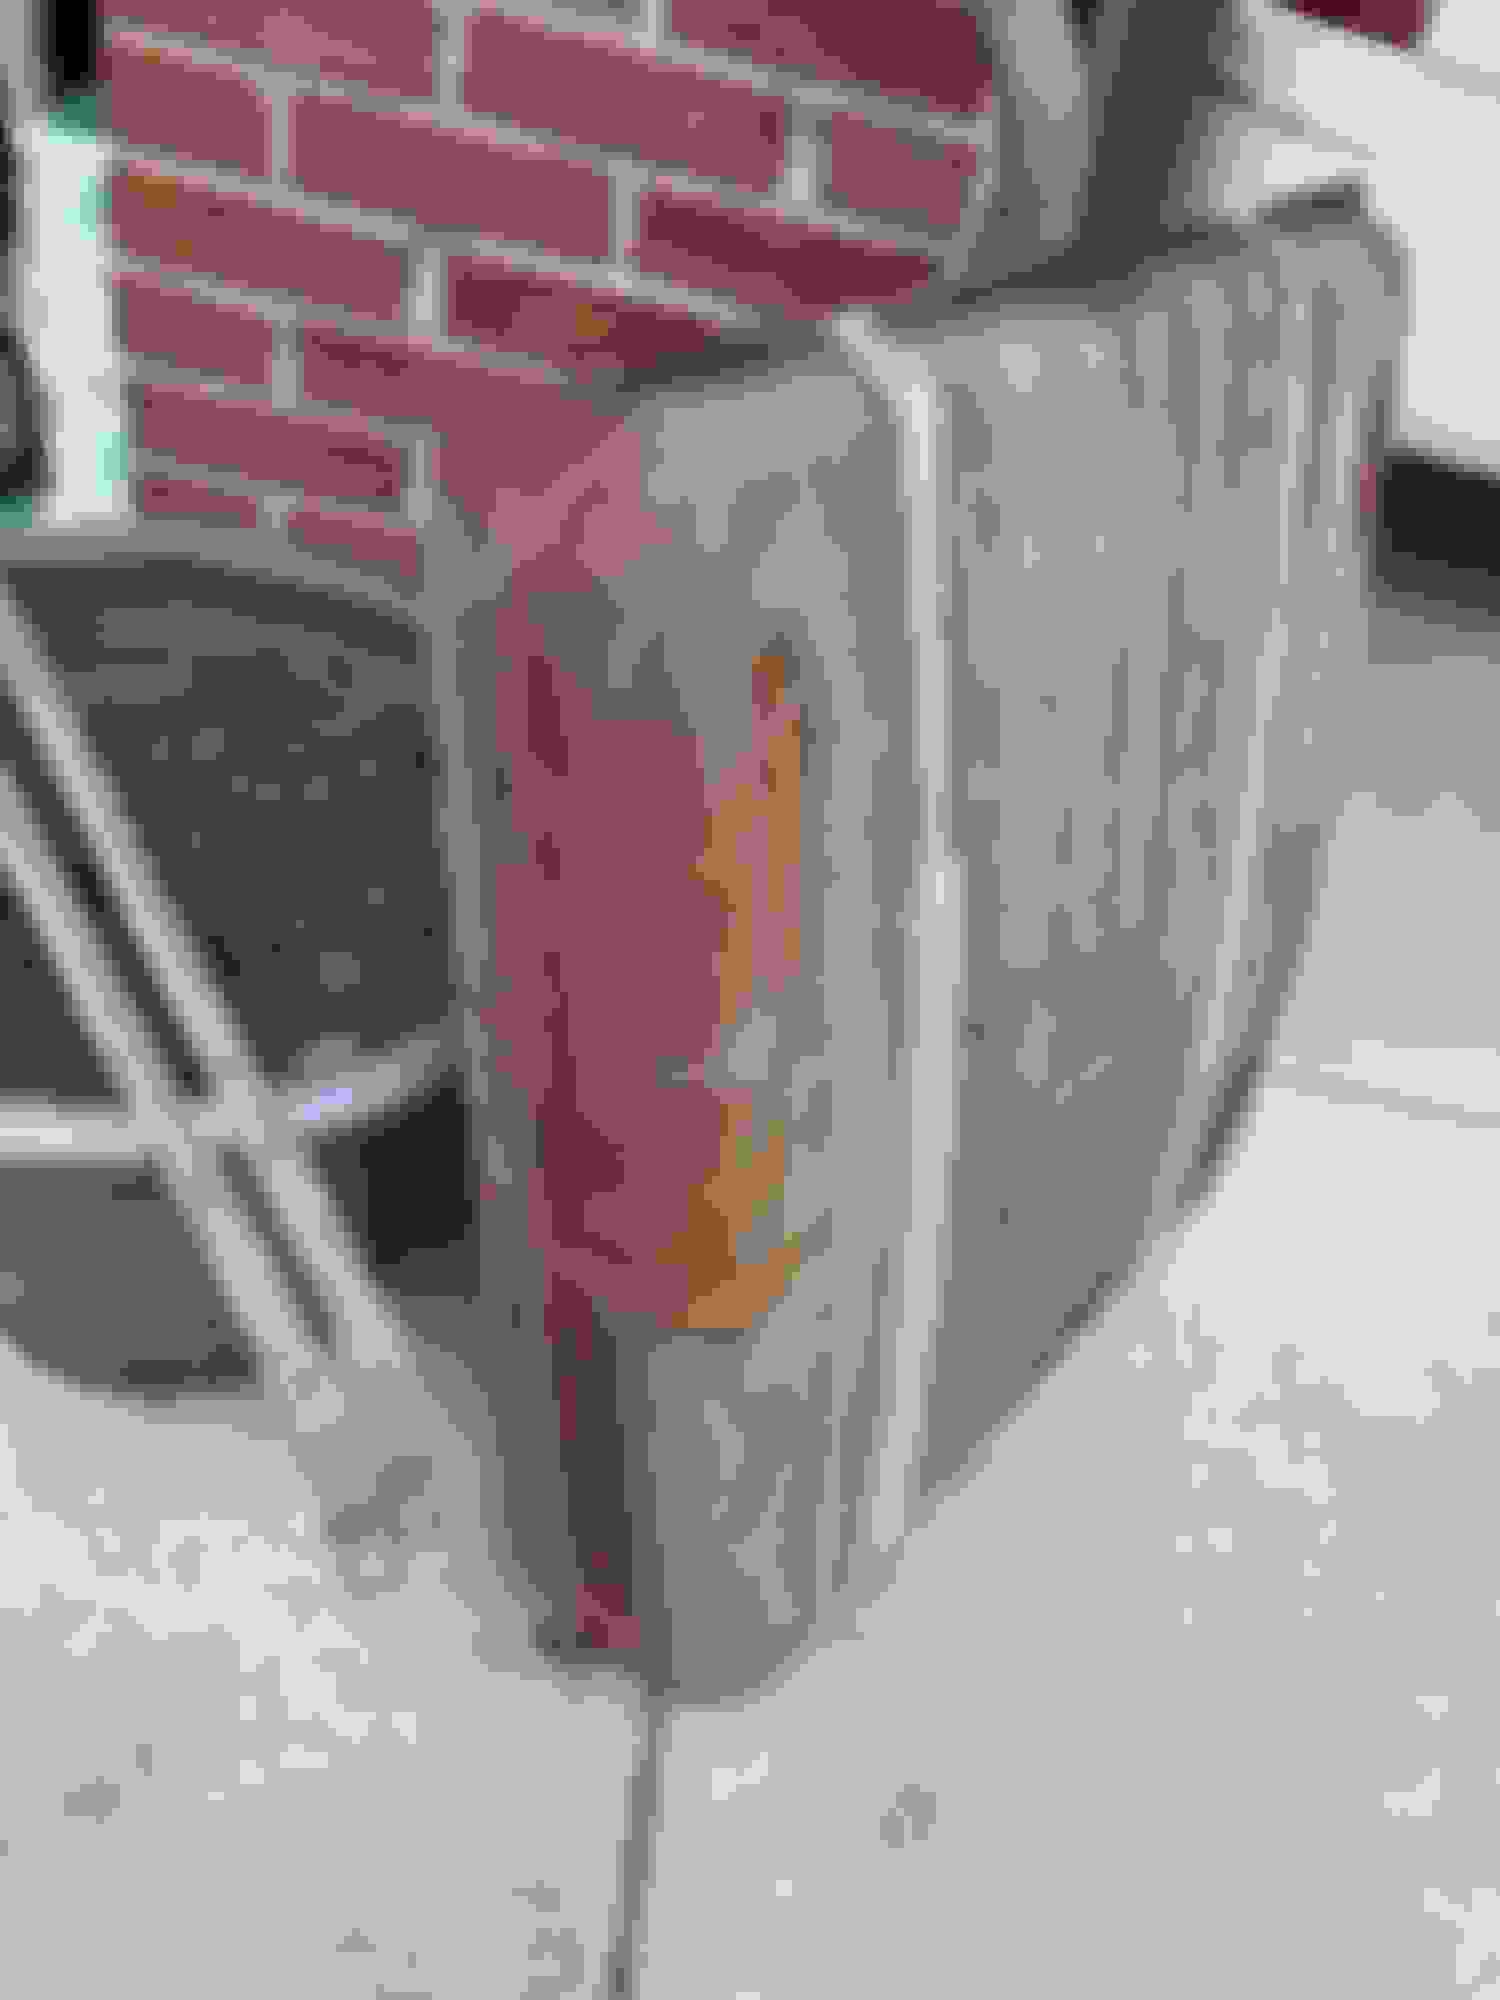
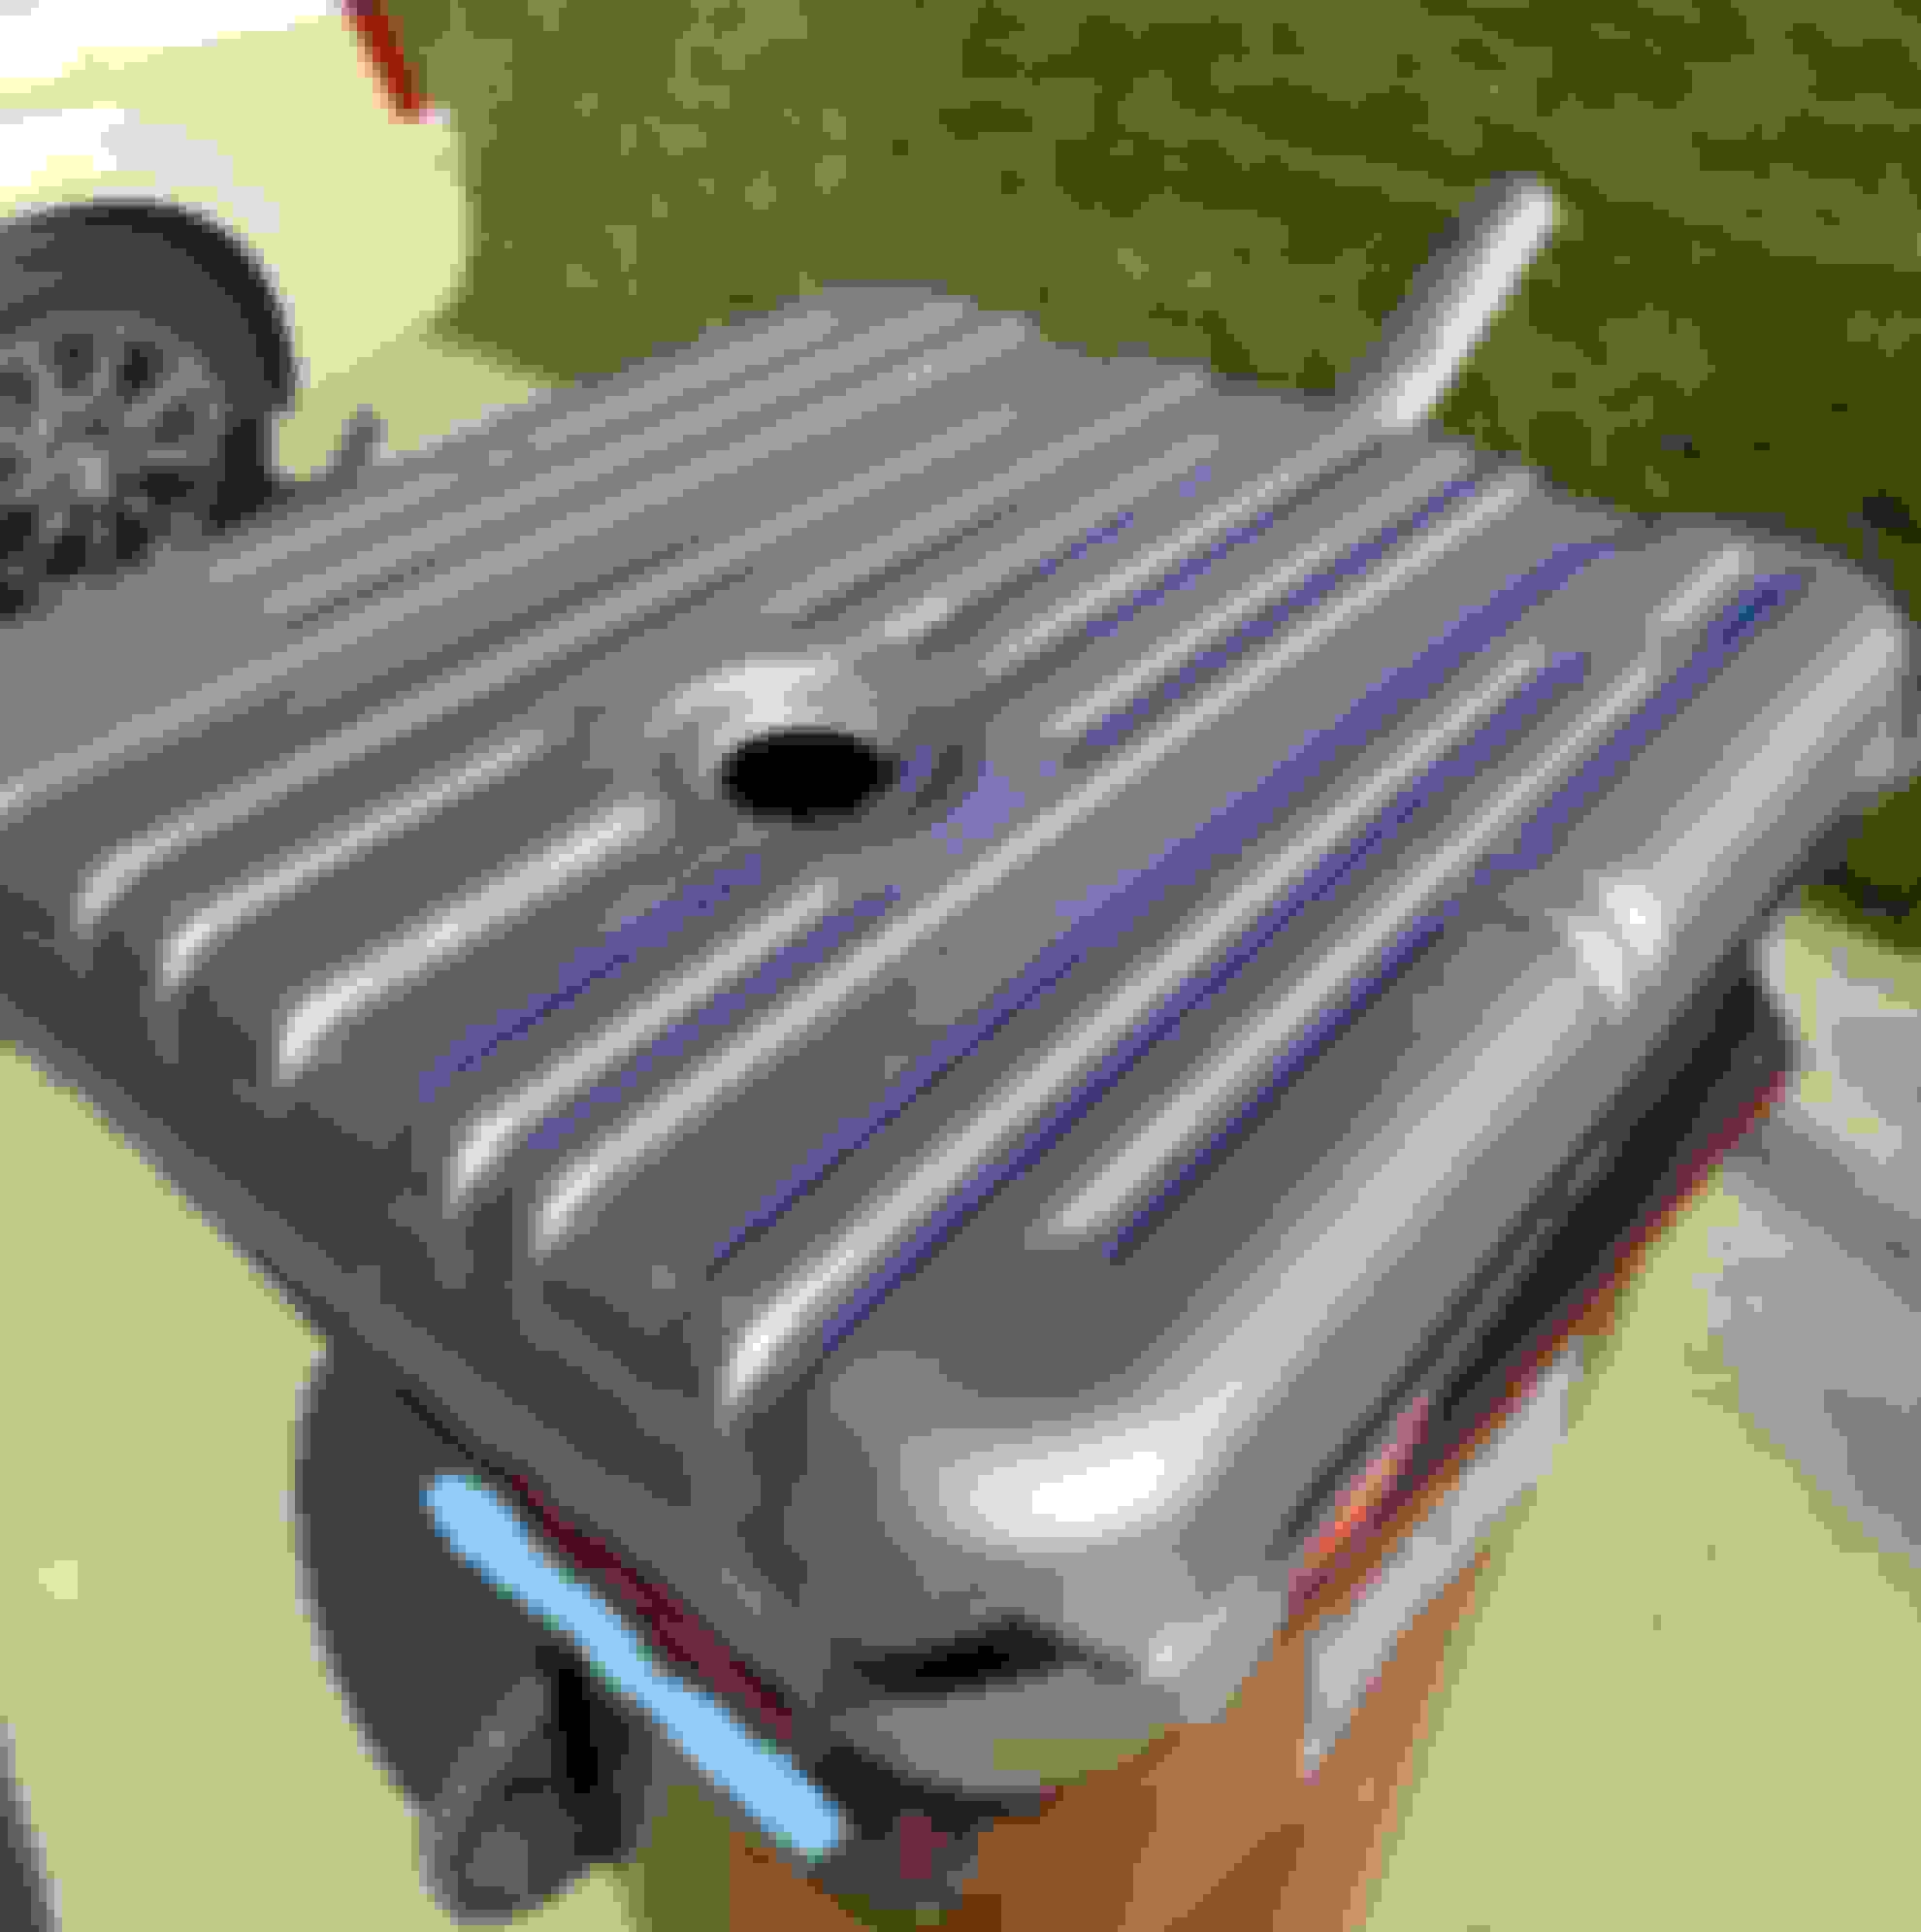
Since I have the tank out I am looking for some input on refurbishment options. Unlike the A bodies, there are no replacement/reproduction tanks available for the late 60's B body cars. The inside is super clean with no rust to be seen. This is consistent with the fact I found no debris in the old sending unit sock and I am not getting any visible crud in my fuel filter. I am reluctant to coat the thing with liner just for the sake of doing so but am open to hearing differing opinions. My real dilemma is what to do with the exterior. For its age the tank is in real good shape with no dents or creases (the US Steel stamp is even still partly visible on the top). The fill pipe is solid and the seam where it joins the tank looks good. There is some light surface rust on the top and bottom with more extensive rust along the sides where the top and bottom half are seamed together (photos attached). Have not had any tank leaks or seepage in the time I have had the car and did not find any evidence of past problems or repairs. Did some light tapping and got nice metallic ring so I believe tank is structurally sound as are the straps. Wondering if I should have it media blasted (and if so, with what) or just do what I can myself to remove the rust. Don't want to create a problem where none exists now and don't want to spend $$ needlessly that could be applied to other maintenance/repairs. Also, any ideas on what to coat it with would be appreciated. I know Eastwood makes an exterior tank paint and POR15 as well. Of course there is always Rustoleum too. I want it to look nice but this is a daily driver and not a concours restoration project. My primary goal is safety, surface protection, and longevity given the non-existence of replacement tanks.
Many thanks for any comments, suggestions, or ideas.
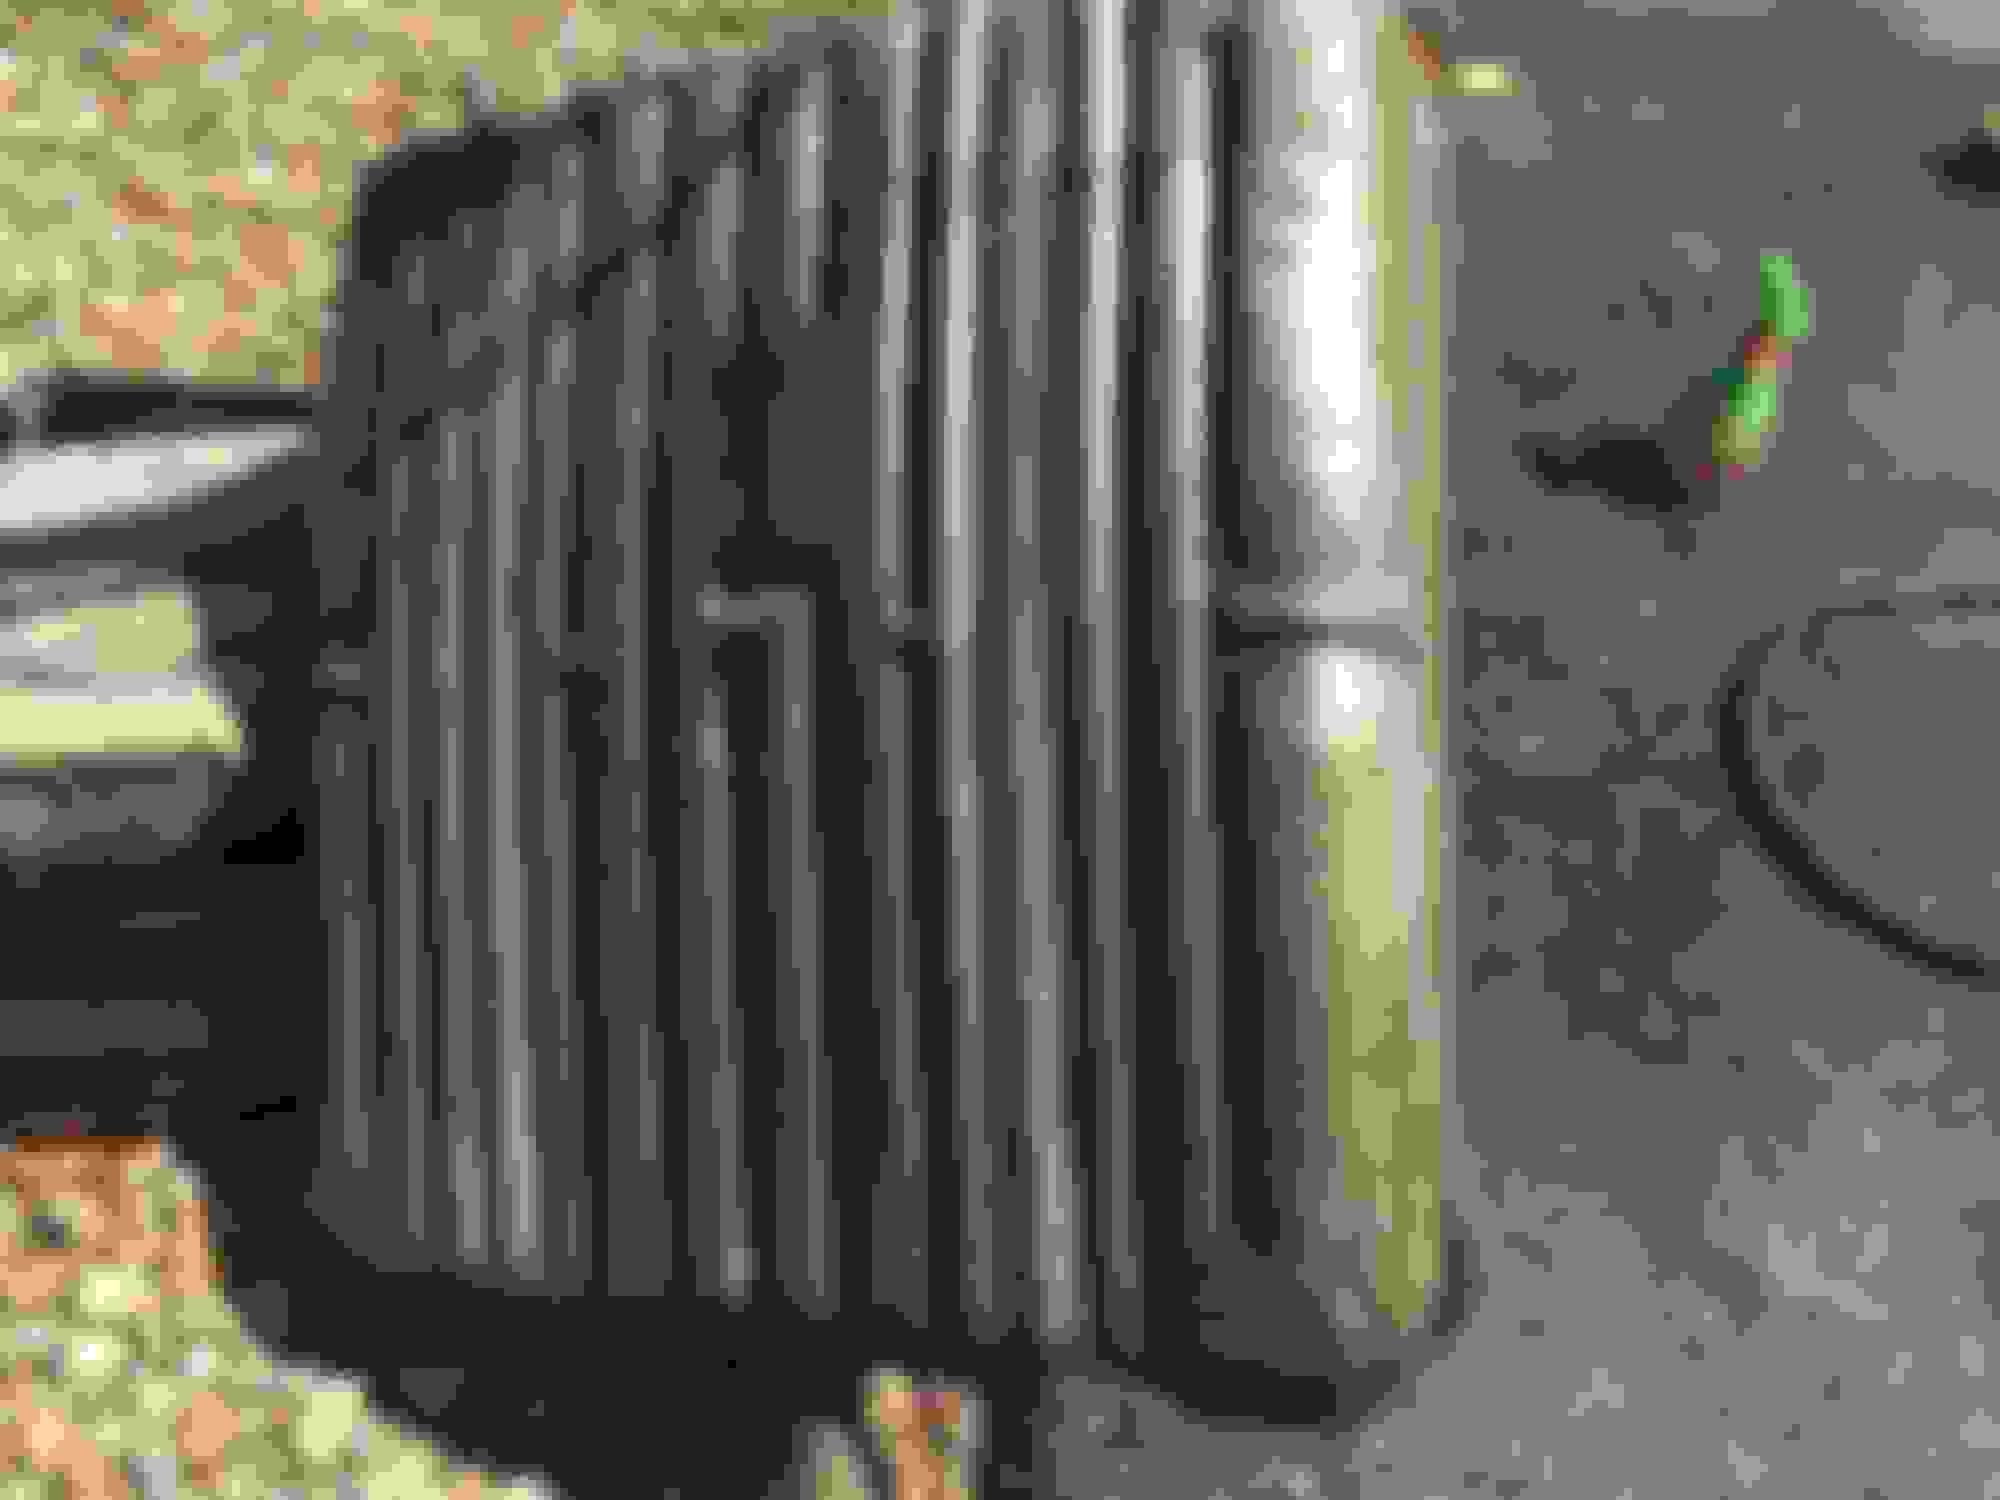
Here are some photos of the tank out of my '67 Delta 88 when I took it off the car back in 2009. It looks pretty much like what yours looks like now. All I did was spray it with a gray Rust-oleum to stop any futher rust. I didn't sand it first. All I did was wash and dry the exterior.
I didn't do anything to the inside of the tank other than thoroughly wash it with soap and water and let it dry out. Mine had the US Steel stamp on it, too, and, yes, that got covered by the paint. But who sees the top of the gas tank when you show the car? The goal was to preserve the tank. With any luck, your tank will last as long as you own the car, and you'll never see the top of the tank again, either. (Cool on finding the build sheet, by the way).
I sold my Delta about a month ago, and over the 11 years I owned it between 2009 and 2020, I never had any problems with the fuel tank.
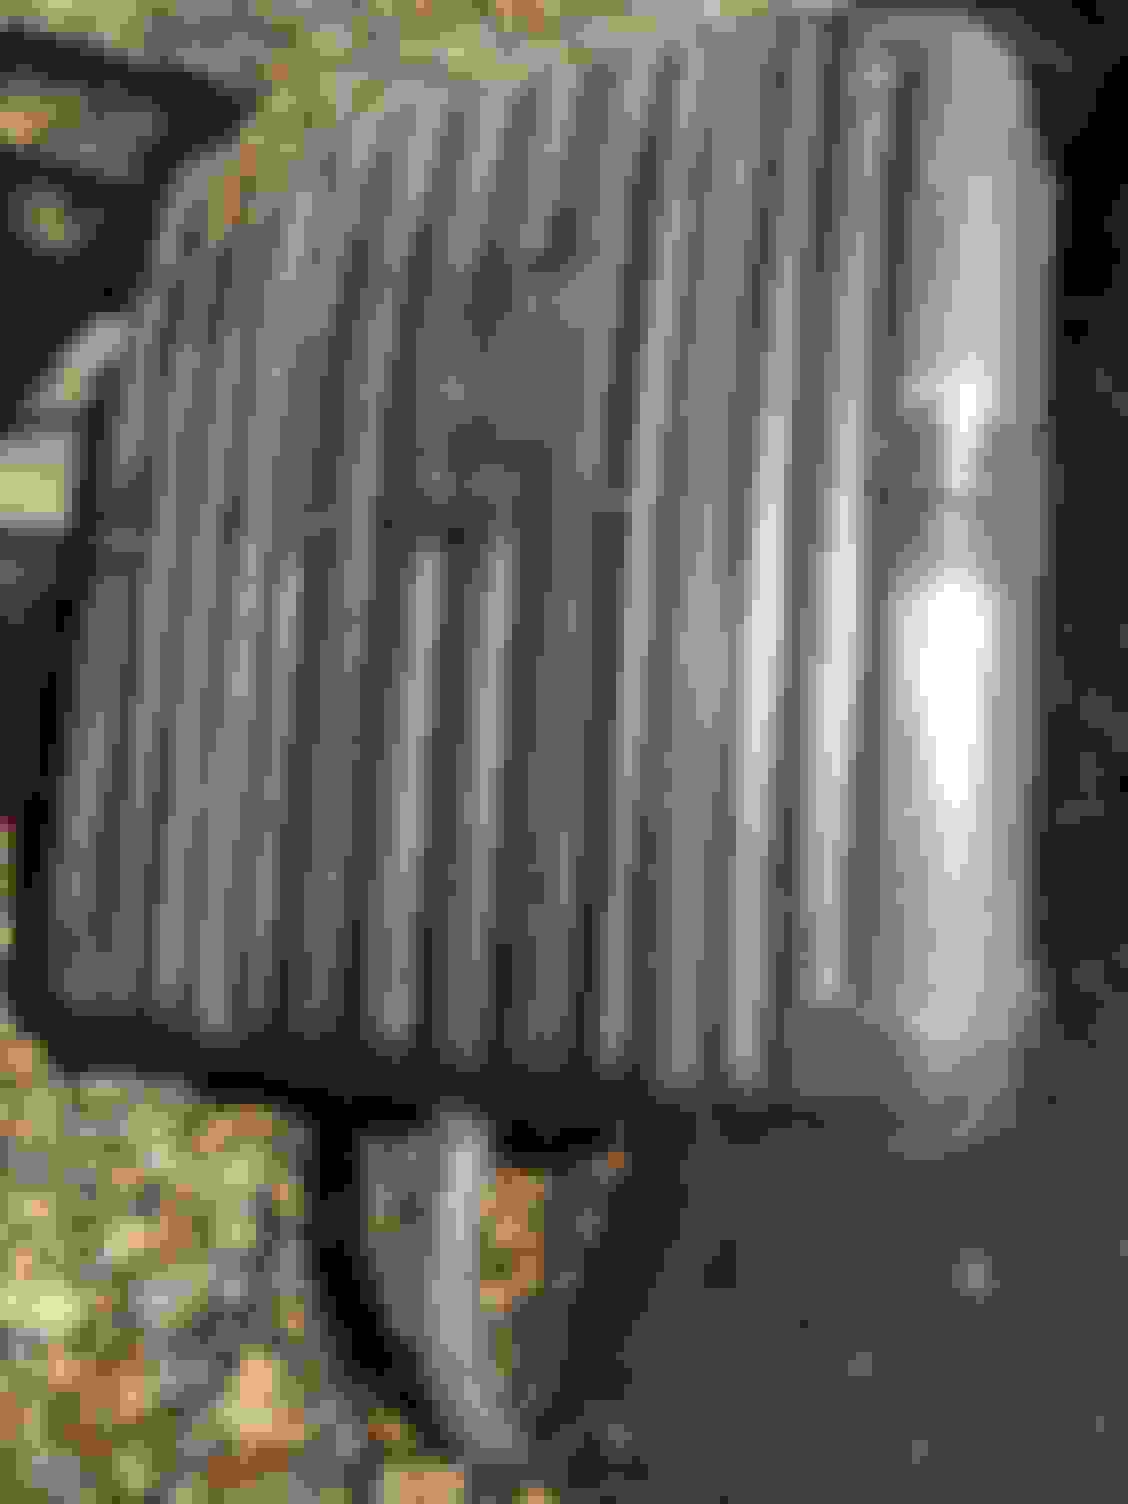
The top of the tank was wet because I had just sprayed it with PB Blaster to loosen up the lock ring. That's not leaking gasoline.
All it needs is a light wire brushing and Eastwood paint, tank-tone for bright original color. Or for a more "weathered" color, use Rustoleum stainless steel color.
Guys, thanks for the great suggestions and pictures. Discovered I still have a half quart of Eastwood Rust Encapsulator (Black) left over from a different project. After appropriate prep, think I will use that as a base and topcoat with the Rustoleum stainless steel. Have all the supplies/equipment/parts on hand but the weather here has not been very cooperative. Will post pictures when finished.
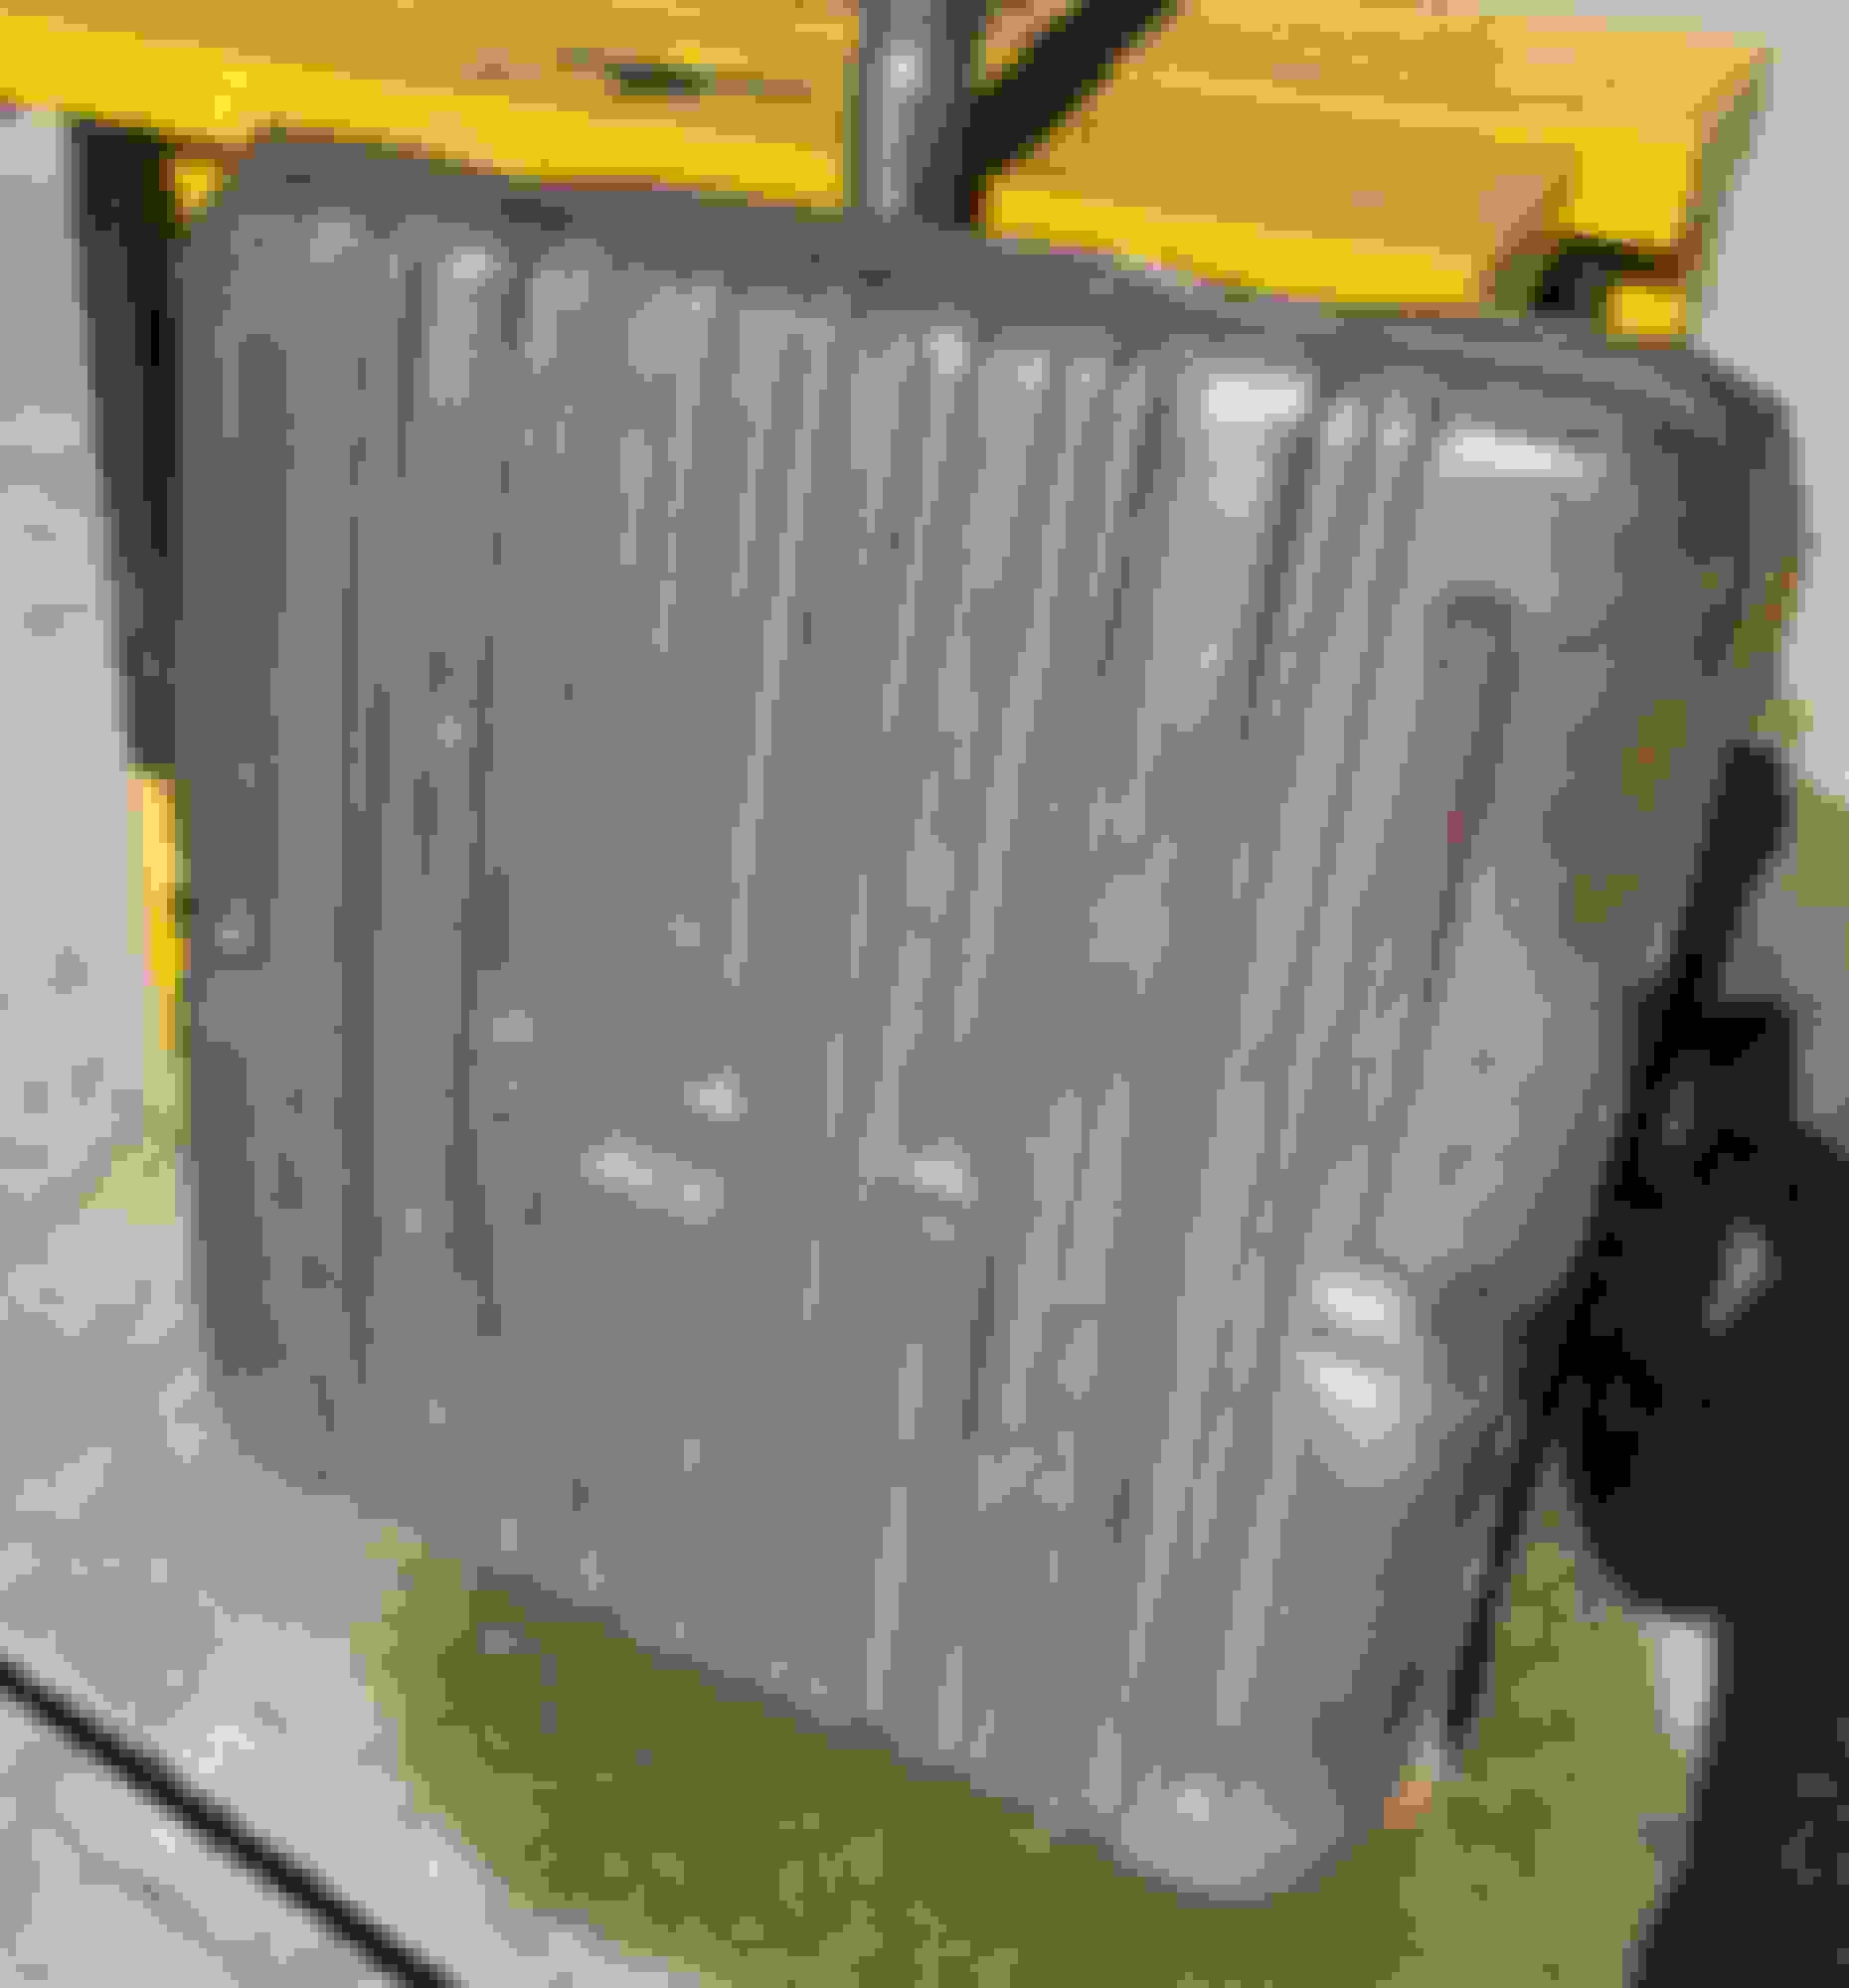
Dave, I went through this last year with one of my 68s. I used some rust remover briefly on the surface rust... and the 000/ 0000 steel wool with Mother’s to clean up the zinc plating. I wanted to minimize exposing the steel and keep an original look. When I was satisfied, I coated it with Rust Prevention Magic (great stuff). Here’s how it turned out. Dave
Many thanks to all who offered suggestions or shared experiences and practical tips from their own similar project. As promised, I am sharing some photos and a summary of what I did to complete the work in hopes of aiding others in the future.
I gently took off all the loose scale and rust with a soft (worn out) wire cup brush on the large areas and used a hand wire brush in the seams. Cleaned exterior thoroughly with degreaser using a regular green kitchen Scotch-Brite pad (also cleaned the inside with a solution of Simple Green and water and simply sloshed it around). Rinsed several times both inside and out and let air dry for a full week. Wiped down entire exterior with lacquer thinner and painted with base coat of regular Eastwood Rust Encapsulator using a foam brush to ensure good film build - particularly in the seam area where rust was the worst. Let that dry overnight and then applied a finish coat of Rustoleum Professional in Stainless Steel (spray can) top and bottom (except for area where sender mates with the tank). Did the same with the straps and any hardware for which I could not find a suitable replacement. Plan to let it sit until next weekend so the paint has ample time to set. Will then install the new sending unit, replacement rubber fuel lines, and back in the car she goes.
Of course only time will tell as far as durability and future rust resistance but I am pleased with the result and appearance.
The first two photos are the tank after loose rust/scale removal and cleaning with degreaser, the next two are after coating with the Rust Encapsulator, and the final two are after painting with the Rustoleum.
Cleaned Tank Bottom Cleaned Tank Top Treated Tank Bottom Treated Tank Top Painted Tank Bottom Painted Tank Top
Last edited by 67 D88Custom; April 6th, 2020 at 08:48 PM.

 February 23rd, 2020 | 09:46 AM
 ). Ran all the tests and checked all the wiring and no question the sender is bad. Dropped the tank - after a good soaking with AC Delco Rust Penetrant spray (part# 10-4020, 88862628) had no trouble with the bolts/screws. If you have not used this stuff you should, it is the best - even better than Kroil in my opinion. Was pleasantly surprised to find the original build sheet taped to the top of the tank. Mostly intact and 95% readable.