When you click on links to various merchants on this site and make a purchase, this can result in this site earning a commission. Affiliate programs and affiliations include, but are not limited to, the eBay Partner Network.
Does anyone have any multiple angle pics or CSM drawings of the way the bracketry should look on a BBO? I am starting with this:
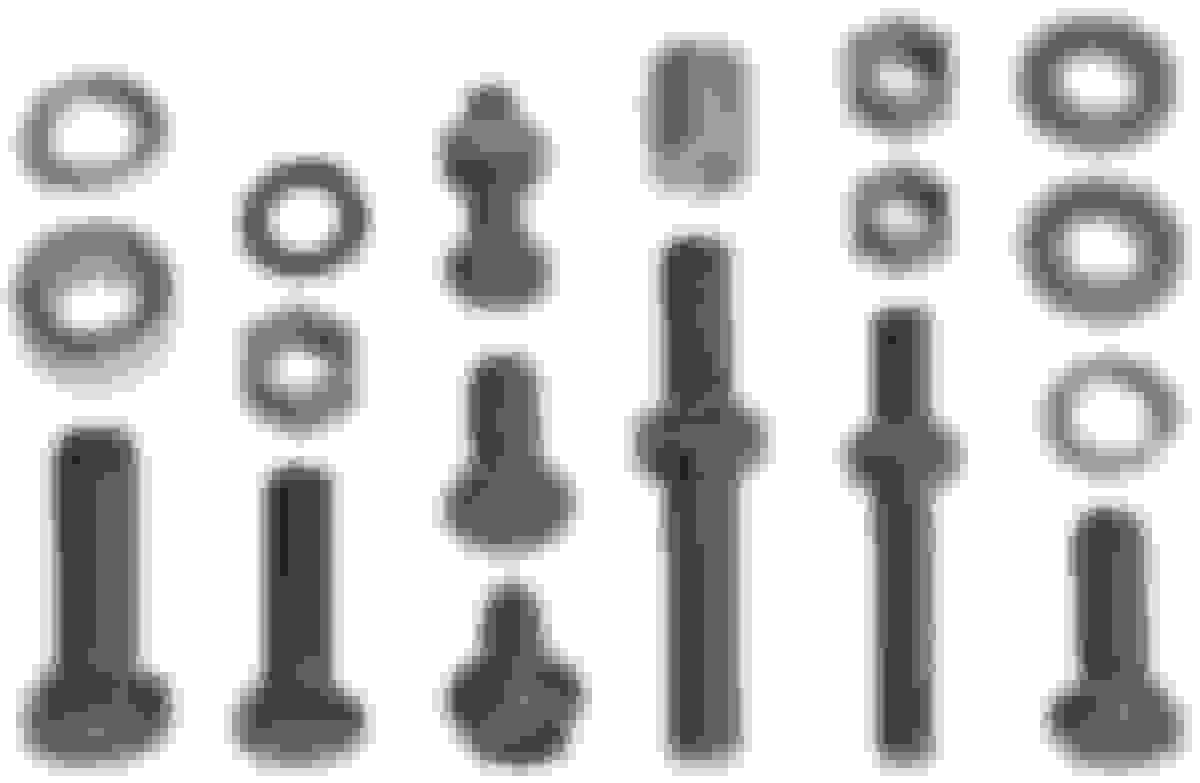
This is getting pulled and a 455 is being put in its place. I just want to go through the parts and make sure I have everything and how it goes together.
Thanks all,
If you are trying to use brackets from a 307 I believe they will not work as they were never designed to work on a BBO because they had been out of production and didn't need to be.
I'm not 100% sure if this is the case, but if it is then you will only need an alternator bracket (assuming no A/C) as the power steering pump is bolted to the lower part of the block and that is the same on a SBO and BBO.
I will be more clear and detailed here to alleviate any uncertainty.
The car: 1970 Cutlass S with a 350 and all stock brackets from 1970.
The engine being swapped in: 1971 455 with G heads with no bracketry (my modified 307 bracketry currently on the 455 will stay with the Silver car).
What I want to do. Use the 1970 350 bracketry (if possible) to put the 1970 accessories on the 455 including A/C. Any modifications necessary, I will do, hence, the need for some pics or drawings...
Last edited by rfpowerdude; April 1st, 2020 at 01:18 PM.
I have some 69 drawings handy. Most of the bracketry has SBO/BBO adjustments to the brackets by using different hole locations on the bracket. It MIGHT be the same as 70, but not sure.
Thanks 69HO43! I will look through my pile of parts to see what I have and if anything is missing. I can mock it up on the broken 455 on a stand and transfer it all when I am ready for the swap.
I believe the only real difference is whether you have the exhaust manifold to PS bracket support bar and the support bar for the A/C. Which you definitely have the A/C bar. It's not about fitting the SBO or BBO brackets, because they're virtually the same brackets. Just use the BBO holes on the brackets. And, as you point out, the 69 brackets may use different pieces here and there vs. the 1970 versions, but I'm still thinking the brackets can be used for either big or small V8 if you stay within the same year brackets/pulleys.
Checking with the parts book information 68-71 V8 is covered by many of these parts. I didn't check the A/C brackets though. Assuming you got all the parts for the PS pump bracketry, it looks like you're missing the A/C compressor rear support bracket 387582 (last drawing, bottom right). Parts book says fits 65-75 V8 except very few exceptions. The alternator front upper bracket appears to be there, and the rear alternator bracket is in your picture. The front adjustable A/C bracket is same for 64-71 V8 in A-body. The front bracket that bolts to the head fits 68-72 V8.
So it seems that 1970 doesn't own its own bracketry according to the parts books.
Yep, you're right, it looks like I am missing 387582. It also looks like I am missing 401243 shield. I'm not sure what the lower right bracket is in my picture as it doesn't seem to match anything in the above drawings.
And I see that since the A/C side is setup for small or big block, I am good there. The alternator looks like it only mounts to cylinder head locations so no worries there. The power steering looks as though it only mounts to the block so again, no issues there.
Now I just need the missing pieces...
In your picture, the bottom right bracket is the rear alternator bracket 398887. Which your front bracket is on the car already. Place it just like it is over where the valve cover would normally be and you'll see how it lines up.
That shield is used only on Toro, but you could use it wherever you wish.
Yes, thanks a bunch for your help so far! I'm sure I will have many more questions. I am hugely familiar with the G-bodies, but I haven't owned a classic A-body since 1994. And that was a '74 H/O. And that was also before I knew anything about Olds. First G-body in 1996 and that's all I have had since. Til now...
Yes, thanks a bunch for your help so far! I'm sure I will have many more questions. I am hugely familiar with the G-bodies, but I haven't owned a classic A-body since 1994. And that was a '74 H/O. And that was also before I knew anything about Olds. First G-body in 1996 and that's all I have had since. Til now...
Yeah, I remember the 83 POS you owned. haha
Did you ever get that H/O kit side panel re-attached?
Haha, that '83 H/O was pretty beat. However, mechanically it was great.
I have not reattached the panel, however, I did acquire everything to do the job. It is all laid out in the garage waiting for me to sit down and do it.
Keep in mind that there are two spacers that are needed to get things aligned correctly. One goes on the water pump stud where the power steering bracket mounts and the other is between the bracket and the side of the block. They are shown in the upper left diagram in the first image posted. Since your PS pump is still attached to the engine, they are likely in place.
Last edited by Fun71; April 2nd, 2020 at 02:11 PM.
Good call Kenneth, I will go through the piles of hardware that came with the car to see if they are in there. Hopefully, they are. If not, I could make some if I could get dimensions...
I remember there was a post some time back where the dimensions were given, but I doubt this site's search function is good enough to locate that post.
Wow, awesome that those parts are available whereas you used to have to scour salvage yards for them.
And usually having to piece together the set from various junker cars if yours were missing. Time is money. Convenient one-stop shopping wins the day when you get those basket case cars.
And usually having to piece together the set from various junker cars if yours were missing. Time is money. Convenient one-stop shopping wins the day when you get those basket case cars.
Yeah, but this also again demonstrates that it is less expensive in the long run to buy as complete a car as possible. The "cheap" basket case cars I've owned have been among the most expensive in the end.
Yeah, but this also again demonstrates that it is less expensive in the long run to buy as complete a car as possible. The "cheap" basket case cars I've owned have been among the most expensive in the end.
Couldn't agree more. I've bought my share of "pricey" baskets. In this particular case, I'd have bought this car, too on how clean the car was otherwise, and if I had another engine to go in it, a few brackets would be worth the hunt. Generally, unless there's some sentimental value, or you have other plans, or it's a 68 H/O project car you can get for $1,500, try to skip the basket case cars. At least do the math first to see if it's worth it.
Couldn't agree more. I've bought my share of "pricey" baskets. In this particular case, I'd have bought this car, too on how clean the car was otherwise, and if I had another engine to go in it, a few brackets would be worth the hunt. Generally, unless there's some sentimental value, or you have other plans, or it's a 68 H/O project car you can get for $1,500, try to skip the basket case cars. At least do the math first to see if it's worth it.
I should also point out that I don't think I've ever taken my own advice on this...
Haha! I know what y'all mean. No more "basket case" cars for me anymore.I have the benefit of knowing this car since 1994.AND, my buddy who had it at the time, had it in his family since 1972. It's a damn solid car that I got for a pretty good deal with all of the Olds specific hard to find parts still with it. I was wrong about the wheels. They are 14x7 SS1 wheels. I will probably get these for it:
Planning on going with these from US Mags in something like 18x9. The 14" SS1s will go up for sale at some point soon...
Guys I'm currently doing the exact same swap. 70 Cutlass S. Pulling the 350 and installing a 455. I'm so glad I found this post. I removed all the brackets from the front of the 350 engine. When I was done I found a spacer on the floor and had no idea where it came from. I think I know now.
I also wish to keep the AC. I'm using an Edelbrock intake and I'm finding the bracket that bridges over the right side valve cover doesn't exactly fit anymore. I also remember it not fitting well when I installed an Edelbrock intake onto the 350 a few years ago. I think I'll be able to elongate the holes enough but it's off enough to wonder if it's not the right bracket. Researching this question is what led me here. As far as I can find everyone says it's the right bracket. Anyone else have this problem?
It's the right bracket....the problem is the aftermarket intake. I've seen that on virtually any Ebrock intake w/the factory AC brackets being used. You'll have to mock it up to see just how far off it is. I remember one where I THINK the guy had to have some material added to the bolt hole boss of the bracket up top.
I recall a discussion about that top bracket bolt not being essential for supporting a load, so a smaller diameter bolt with a washer was used by either drilling/threading a new hole or filling in the existing one and drilling/threading a new one. I haven't done it, but apparently it has worked for many.
Guys I'm currently doing the exact same swap. 70 Cutlass S. Pulling the 350 and installing a 455. I'm so glad I found this post. I removed all the brackets from the front of the 350 engine. When I was done I found a spacer on the floor and had no idea where it came from. I think I know now.
I also wish to keep the AC. I'm using an Edelbrock intake and I'm finding the bracket that bridges over the right side valve cover doesn't exactly fit anymore. I also remember it not fitting well when I installed an Edelbrock intake onto the 350 a few years ago. I think I'll be able to elongate the holes enough but it's off enough to wonder if it's not the right bracket. Researching this question is what led me here. As far as I can find everyone says it's the right bracket. Anyone else have this problem?
Had a 71 442 somewhere back in the Jurassic era, and my brother gave me an E-brock intake he decided not to use on his 455 project. So I put it on and that AC top bracket no longer fit right. My brother said he could fix it, so I let him. Rather than fix the intake, he cut the bracket hole end to end up more of a U-shape and used a big thick washer on top of the hold down bolt to put the clamping force on the bracket hole. Bolt boss is obviously in the wrong spot. But we didn't care about originality back then, so brackets were totally hackable.
 April 1st, 2020, 11:49 AM


 haha
haha