When you click on links to various merchants on this site and make a purchase, this can result in this site earning a commission. Affiliate programs and affiliations include, but are not limited to, the eBay Partner Network.
Good day to all ye Oldsmobilers and Happy New Year to everyone!
It's a warm (but windy) day here in SE VA so I took advantage of the opportunity to finish my spare tire/jack project. I'm happy with the results and thanks to all who lended their advice and help😀
Here a few pics:
Don't know if you moved it to the correct location or not. But the bottom of the jack is supposed to be wedged against this brace that's along the side of the trunk floor.
See picture below. This is added protection to prevent the jack from dinging the quarter panel.
Don't know if you moved it to the correct location or not. But the bottom of the jack is supposed to be wedged against this brace that's along the side of the trunk floor.
See picture below. This is added protection to prevent the jack from dinging the quarter panel.
Ya know Chief, that has crossed my mind more than once. Since you mentioned it, where exactly does it go?
Driver's side location. I believe this is a period/model correct trunk lamp - I haven't validated. Others may comment whether this is the correct lamp. A portion of the plastic was broken on mine when I purchased it & it wasn't working; but, it didn't take long to address the issue. I've found new ones available on sale on-line. I'll see if I can find a link for you. You should have a single orange wire protruding from the wire loom at this location. The single orange wire makes the connection - ground (to complete the circuit) is established via the lamp socket to the trunk lid/frame.
Here are a couple links. Don't buy it from OPGI for $80.00. This lamp/socket isn't worth more than $10.00. Do a little research maybe you'll find better prices.
Here are a couple links. Don't buy it from OPGI for $80.00. This lamp/socket isn't worth more than $10.00. Do a little research maybe you'll find better prices.
The wiring for the trunk lamp is already there from the factory. It's an orange pigtail usually tucked out of sight up by the left trunk hinge assembly. The extra piece in those ebay ads is for attaching the light to the convertible trunk. Not used on coupes.
The wiring for the trunk lamp is already there from the factory. It's an orange pigtail usually tucked out of sight up by the left trunk hinge assembly. The extra piece in those ebay ads is for attaching the light to the convertible trunk. Not used on coupes.
Thanks Allan...how is the the light activated? Also, in one of Chief's pics, I noticed what looks like a plug in the trunk lid. Am I missing those, and if so, are they readily available aftermarket?
The light is activated by spring pressure on the lever. Here's what the one in my car looks like. You can see where the lamp is clipped to the side of the torsion rod mount. Movement of the deck lid hinges move that U shaped rod to turn the light on / off. The orange wire from the rear harness has the required spade connector to attach it to the light housing.
Also, in one of Chief's pics, I noticed what looks like a plug in the trunk lid. Am I missing those, and if so, are they readily available aftermarket?
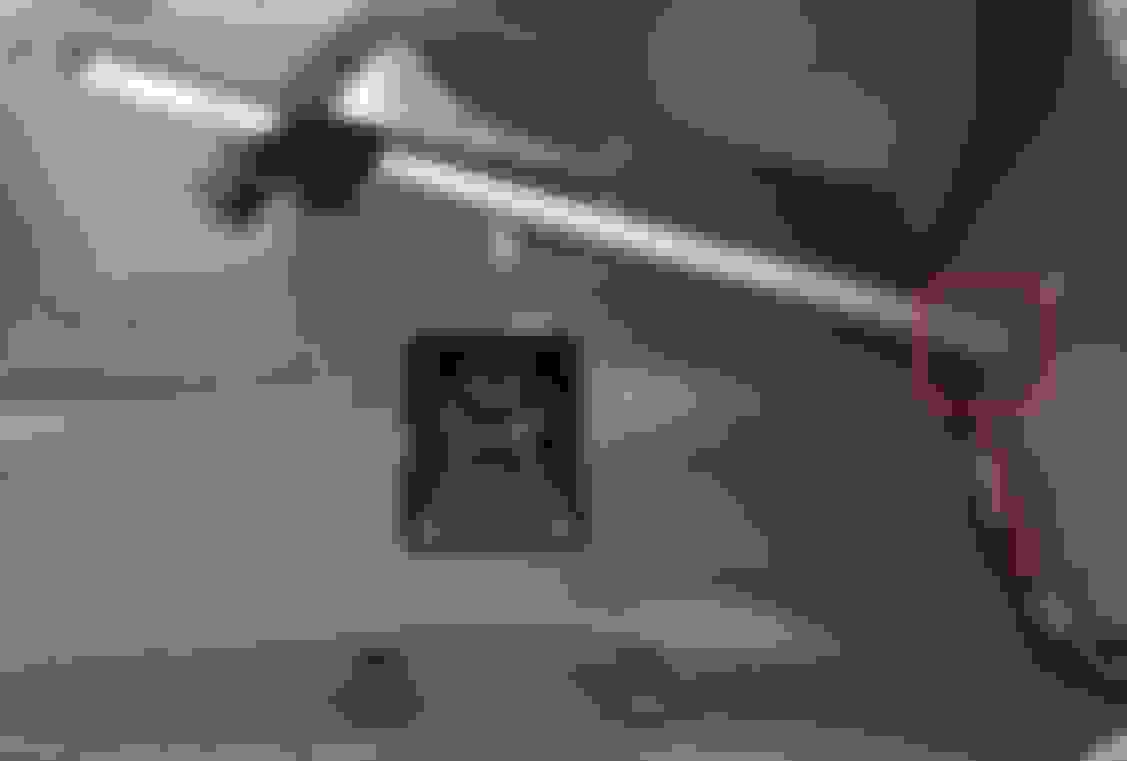
There are no plugs in my trunk lid. There are stock holes, but there are no plugs.
...is actually a hole (I've outlined it in the picture, below). I think what you're seeing which makes it appear as a plug is shadowing from overhead lighting. If you zoom in on the picture it will provide more detail.
Dave,
Nice job overall. One more thing - see the attached picture and suggested change. Those holes in the hook are there for that reason.
I made the adjustment for the jack post to sit against the brace, but when I adjusted the hook for the rod to slide through the hole, the tire sits on the hook and the rod isn't long enough to thread on the hold down nut. Rather than backtracking, I found a way to make it work. Everything is buttoned down tight, and although the rod isn't going through the hole, at least the post is sitting tight against the brace, and that's most important.
There are two different length rods available. You have the same wheels as myself. When I purchased my car, the spare wheel, jack, stand, hook & lift pad were laying in the trunk - pretty sure someone didn't realize they had the wrong size (short) rod and needed the long rod. I purchased the longer rod - problem solved.
The delta between the shorter (6.5") & the longer (8.50") = 1.25" - the length you'll gain if you currently use the shorter rod.
EDIT: Correcting my math! "The delta between the shorter (7.25") & the longer (8.50") = 1.25" - the length you'll gain if you currently use the shorter rod." My bad.
The wiring for the trunk lamp is already there from the factory. It's an orange pigtail usually tucked out of sight up by the left trunk hinge assembly. The extra piece in those ebay ads is for attaching the light to the convertible trunk. Not used on coupes.
Just went out and took a quick peek...found the wire. It was actually bundled in with the harness. Gonna order the light tomorrow...stay tuned for an update 😀
It's a 30 second install Dave. Not much to do except clip it in place and connect the wire. Use the little bosses above the torsion bar slots to set it in place. Perfect fit.
It's a 30 second install Dave. Not much to do except clip it in place and connect the wire. Use the little bosses above the torsion bar slots to set it in place. Perfect fit.
Thanks Allan...I'm looking forward to getting it done.
It's a 30 second install Dave. Not much to do except clip it in place and connect the wire. Use the little bosses above the torsion bar slots to set it in place. Perfect fit.
Gotta make sure the metal clips make good contact to the torsion bar mount metal as that is how it is electrically grounded.
There are two different length rods available. You have the same wheels as myself. When I purchased my car, the spare wheel, jack, stand, hook & lift pad were laying in the trunk - pretty sure someone didn't realize they had the wrong size (short) rod and needed the long rod. I purchased the longer rod - problem solved.
So I tried the longer rod through the hole and it didn't work. Because of the tire sitting on the hook and the tire being wobbly using this setup, I tried to get everything tightened up. No bueno...the hold down rod pulled itself straight and everything was still loose, so I scrapped that idea and went back to how I had it. Everything is all nice n tight, and I got the rubber disc put on, so I'm done.
Thanks again to all who helped.
Dave