When you click on links to various merchants on this site and make a purchase, this can result in this site earning a commission. Affiliate programs and affiliations include, but are not limited to, the eBay Partner Network.
Anyone have some tips for installing an oil pan gasket set for a 1949 Olds 88 with 303v8? I’ve got the Fel-Pro OS6412C gasket set. It comes with a left and right side cork gasket, two small cork gasket blocks (no clue what these go to), and a front and rear rubber gasket. I’d planned on using Indian Heat to shellack the cork gaskets in place on the pan. Then use Hylomar on the other side of the gaskets where they contact the engine.
My big question is, what are the small cork blocks for? What order do I place the front snd rear gaskets in? Before or after I secure the sides? Another question seems kind of silly. The only way the gasket lines is if I have the left side up (paint showing) and the right side down (gasket paint face down). Does this seem right?
To start off with the two small cork gaskets are for the rear main seal, don't loose them you will need them for sure. Use RTV on each corner there and don't trim them though they look to long As far a the printed or non printed gasket material it doesn't make any difference. I haven't used shellac in years, worked then but there are better things now a days. I have used RTV and spray contact cement or Permatex on occasions depending what I'm sticking down or sealing up....Tedd
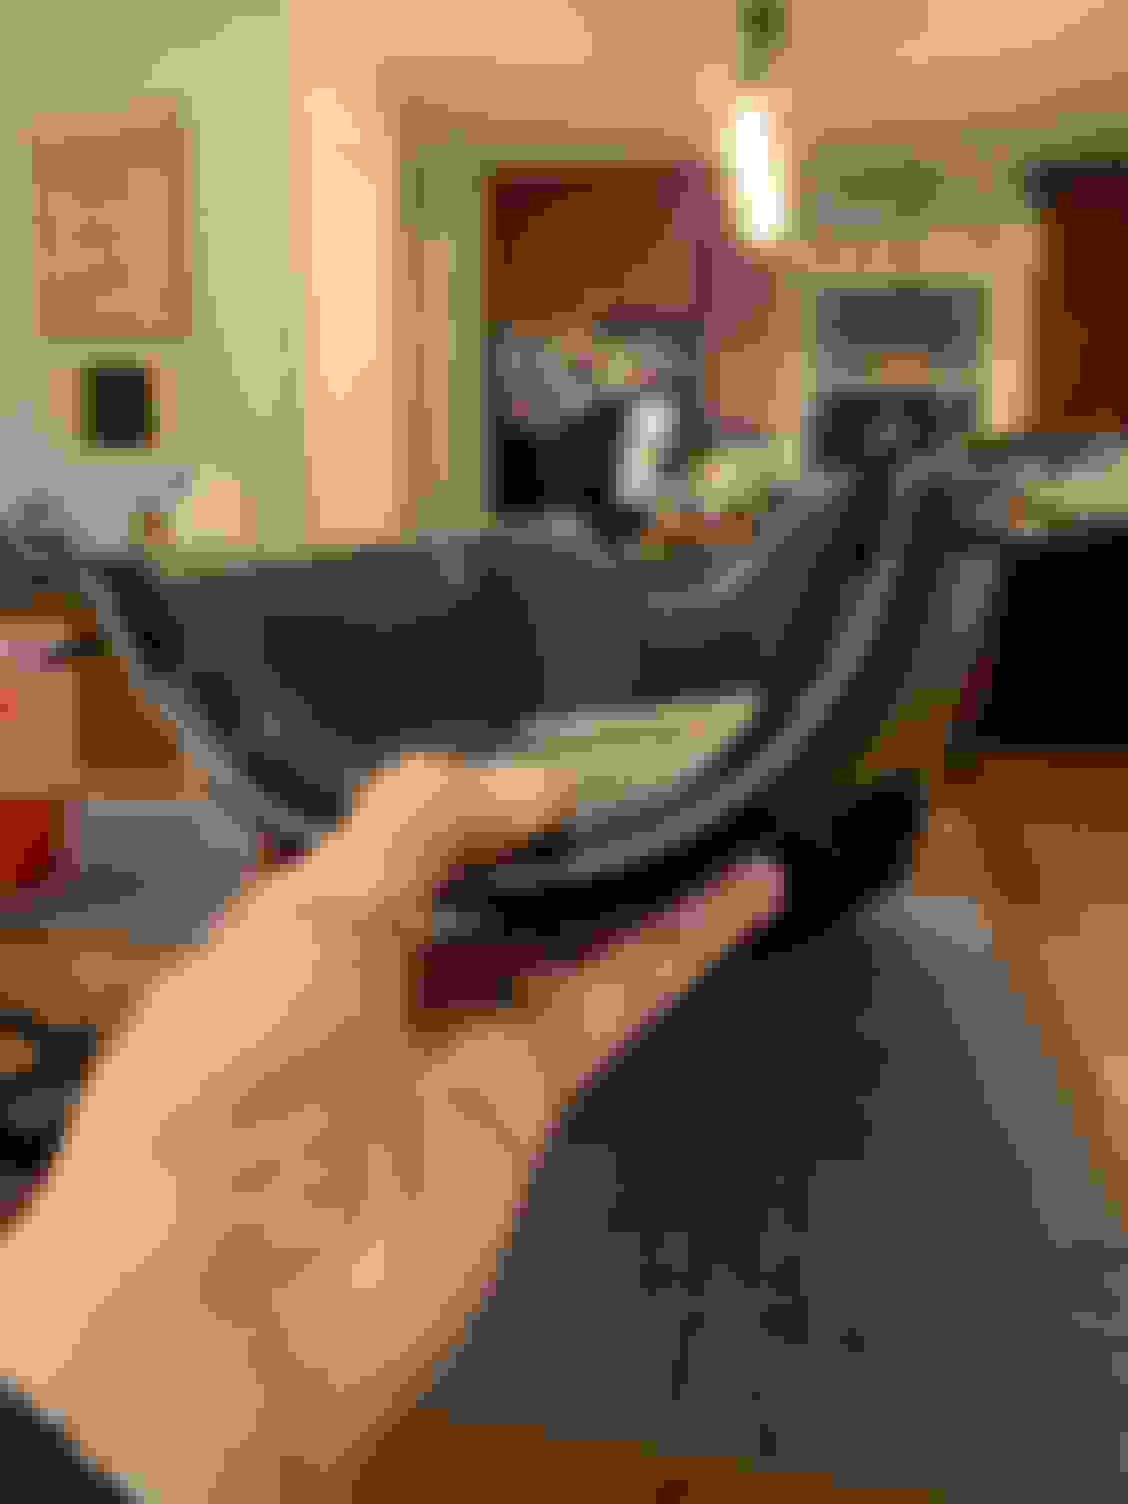
Can anyone tell me why there are gaps on the ends of the rubber seals on the oil pan? The seals kind of ramp up at the ends. That causes them to rise above the actual pan. Won’t this leak?
crazy thing is, the originals appear to do the same thing. (In the pics, the gaskets in my hand are the old ones). The old seals “ramp”/gap isn’t as big, I assume because once the pan is installed it snugs down. Should I apply any RTV type sealant to these gaps on the ends? This looks crazy. Sadly I can’t get under the car to see how this will all fit together until I finish the timing cover install. My engine is supported by a bottle jack and I can’t slide underneath till it’s gone. Here are some pics to explain.
Those are the wrong rubber seals. I just did mine last week and the felpro gasket set is not right. You should have two like the ones you show and there should be two that do not have the extra bumps on the ends. In other words the right ones are slim all the way from one end to the other. Someone needs to notify felpro about this. They never use to be like that.
Last edited by zzcruzin; January 20th, 2021 at 04:34 PM.
What you could do and i have done it, is to take a sharp razor blade and trim that hump out of there but trim around and leave the rubber plug that goes in the hole of the pan. I also use black rv silicone at the corners where the rubber meets the cork. As for the colored cork, you have them right. They just dont color match them the way they are mounted. Just curious, did you find much sludge in the bottom of the pan? Mine was very ugly. Al those years of non-detergent oil which i will never use.
You can trim those like i said or any auto parts should be able to get you some. Just look at them before you leave the store. I don't know how felpro has not been notified of this. I bought another set about a year ago and they were right.
If I can’t locate the correct seals I’ll trim them down. Regardless of what rubber seals I use, should I put them in dry or apply a sealant under them?
I put thos in dry so they don't try to squeeze out when tighting the pan. If you razor blade them down, you coud just smear a very small amount of sealer at those to end points just to be safe.
To start off with the two small cork gaskets are for the rear main seal, don't loose them you will need them for sure....Tedd
Tedd, if I didn't have a leak from the rear main seal before removing the oil pan, is there any reason to take things apart to install the two small cork gaskets at the rear main seal now?
I’m a little confused by the whole thing because I don’t see the originals or where those little Square cork gaskets would even go on the pan. Without removing more than just the pan, there does not seem to be a place for them. I’ve heard they go to the rear bearing seal, but that’s not exposed with the pan off that I can see. I’ll take a pic later today if what I see with the pan off
Last edited by maineolds; January 23rd, 2021 at 07:55 AM.
They go in the rear near the seal. I did not use them as mine was fine when i took the pan off. You probably don't need them, but your choice. When i put the gaskets and the rubber seals on the pan, i use a dab of silicone sealer on all four corners where they meet. I have a question. I see your oil pickup tube with the wire installed in it. There is suppose to be a screen in there and the wire holds it in place. Did you happen to take the screen out? Or was there one? I hope there was one there.
Good catch! I took the scream off for cleaning. I’ll be sure to reinstall. There wasn’t a lot of gunk in the pan, but there was some. So where do the square corks go? What would I need to disassemble to see them? I think I’ll leave it alone but I’d like to know just the same. I appreciate the help.
Glad you have the screen. Mine was very dirty and clogged up, not to mention the thick gunk in the bottom of the pan from all those years of running non detergent oil. It will never see that kind of oil again. Maybe someone will correct me, but if you look up in there at the rear main seal at the crank, i think that is where those small square cork peices would go if you need them. Mine was pushed up in the block about 1/16 past the face off the block and i seen no need for them. If there was more gap between the bottom of the seal and the face of the block, then perhaps they could be used and trimmed down to fit. Like i said earlier, i just used a small dab of silicone in there and i have no leaks.
Any advice. What will I need to remove to be able to remover the oil pan to install the new gasket. This is what I order but I see in the thread fel-pro is not correct. Should I return if I can?
Matthew, first off, what year are you working on? You can see in post number three, that those seals did not work on his pan. Post number 9 shows the right seals in the left of the photo. But like i said,what engine and year is yours?
Last edited by zzcruzin; February 18th, 2021 at 06:51 PM.
Any advice. What will I need to remove to be able to remover the oil pan to install the new gasket. This is what I order but I see in the thread fel-pro is not correct. Should I return if I can?
Matt - (Strong) suggestion - create a thread of your own and title it "Oil pan gasket replacement 1950 98" so you are not hijacking this thread which is to assist this OP with his 303 oil pan gasket install.
Matt - (Strong) suggestion - create a thread of your own and title it "Oil pan gasket replacement 1950 98" so you are not hijacking this thread which is to assist this OP with his 303 oil pan gasket install.
great advice from vintage chief. It gets confusing when a new post builds on an old. Start that new post and I’ll be happy to help!

 January 17th, 2021 | 10:34 AM