When you click on links to various merchants on this site and make a purchase, this can result in this site earning a commission. Affiliate programs and affiliations include, but are not limited to, the eBay Partner Network.
The dimmer part of the headlight switch was pretty bad on my 1954 Olds. I pulled it out and could see that the copper rheostat wiper blade was horribly oxidized.
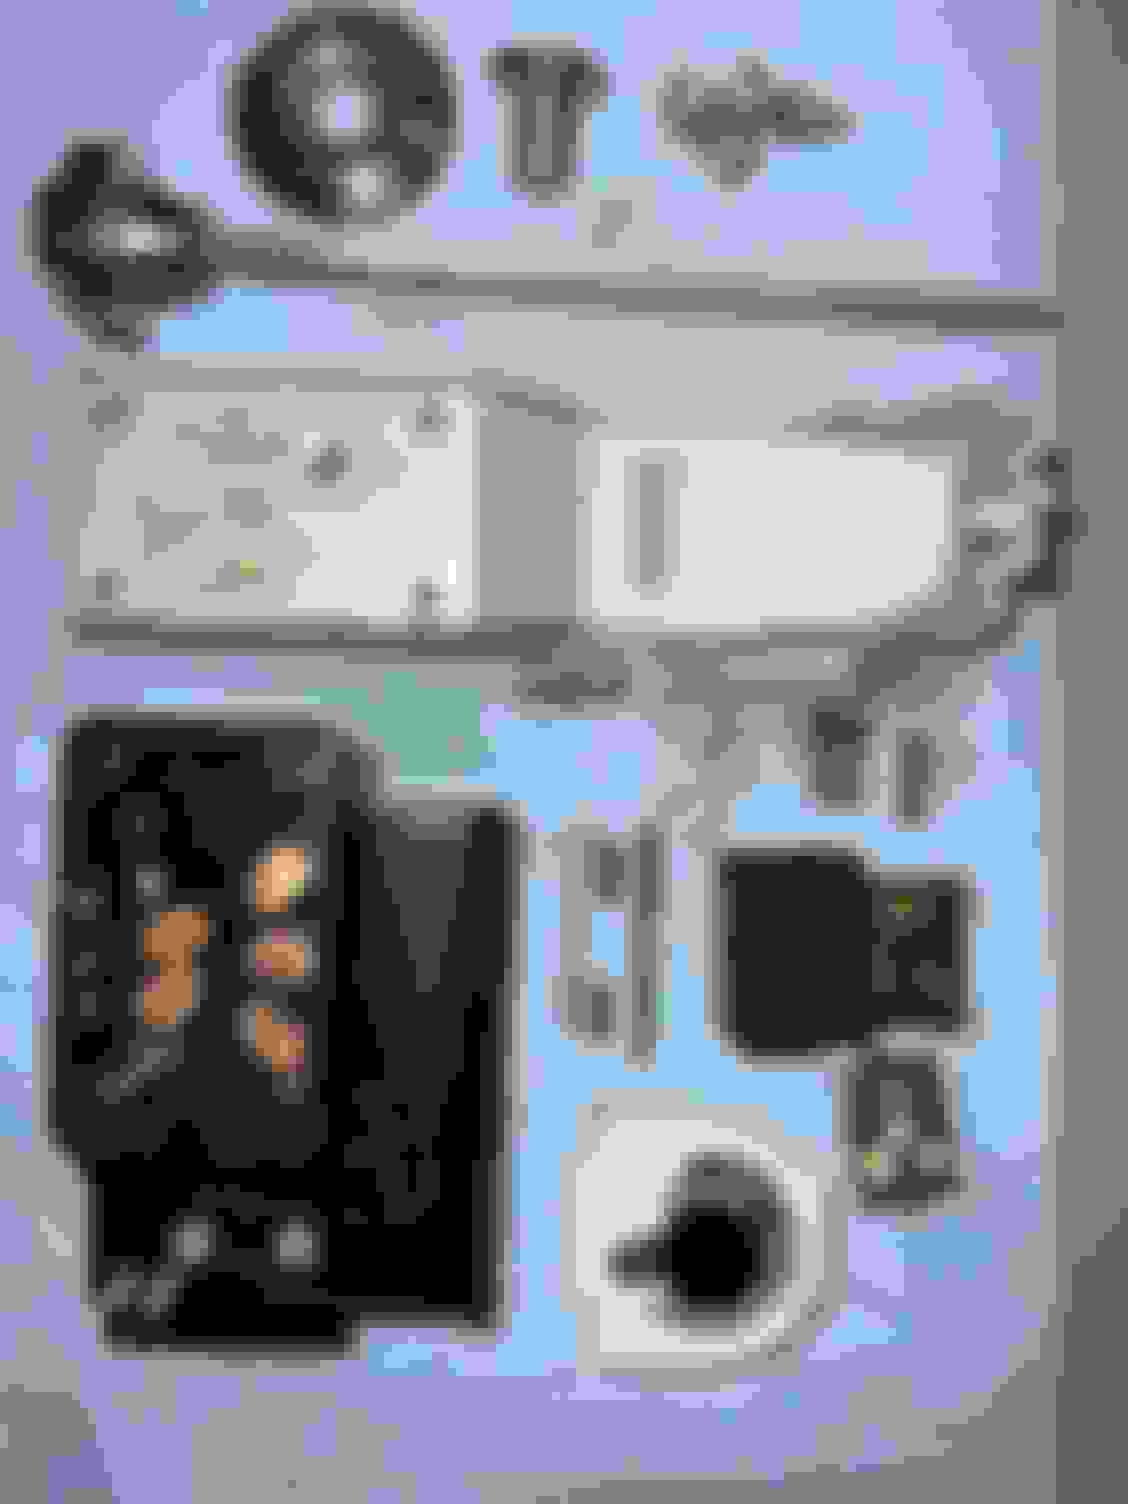
Headlight Switch Disassembled Dash Light Dimmer
I thought about finding a replacement part but in the process stumbled across a method for cleaning up copper using a mix of salt and white vinegar followed by a "chaser" of baking soda.
The results were pretty spectacular. After letting the rheostat sit in the salt/vinegar solution for about 5 minutes and then putting into to baking powder solution for half a minute, this is how it turned out
I used dielectric grease on the rheostat and the main switch connections inside and reassembled.
Put the switch back in the car and it now works perfect! Pretty easy project and saved me some money, and time, trying to find a replacement rheostat. I guess I missed the session in Junior High chemistry on shining up old copper pennies but I'm impressed with the results. I did try the ultrasonic cleaner on it with no noticeable change to the oxidation. There are a couple of things to be aware of when you disassemble the switch (there is one part in there that will fly across the room if your not careful (keep solid downward pressure on the metal piece when removing the screws and CAREFULLY raise it up with a rag over everything). That ****/shaft release lever can go back in two different ways. Put it in wrong and you'll struggle to ever get the ****/shaft to release in the future...not good if you ever have to remove the switch again.
Anyway, hope this helps someone else in the future.
Last edited by justacog; February 2nd, 2024 at 10:23 AM.
Reason: bad spelling
Very nice! This is how I do everything on these old cars. Almost everything can be rebuilt on them unlike newer stuff that has everything in a potted black box.
Thanks very much ~~ Great tip! One important question: You say Baking Powder but you have a picture of Baking Soda. As you will remember from high school chemistry, they aren't the same..... I think Baking Soda is the right answer.
Last edited by ignachuck; February 2nd, 2024 at 04:08 AM.
You got me. I did mean baking soda, not baking powder. We not makin' cakes here, we're fixin' cars. ;-) . I've edited my original text to ensure no one starts trying to use baking powder. We don't want anyone to start increasing and lightening the volume of their cars.
Last edited by justacog; February 2nd, 2024 at 10:27 AM.
Reason: correction in text
@justacog Thanks for posting again, you do a great job with instructions and photo's, I have 2 locomotive couplers on a Prewar (1929) toy train that are rusted and I will try your great method and post with photo's on how it turns out.
Cars and toy trains can apply same method sometimes.
@justacog Thanks for posting again, you do a great job with instructions and photo's, I have 2 locomotive couplers on a Prewar (1929) toy train that are rusted and I will try your great method and post with photo's on how it turns out.
Cars and toy trains can apply same method sometimes.
Bob
I'd love to see those results! I know this works on copper (which your train parts might be) but I'm curious as to other metals this would work with. I use phosphoric acid regularly on steel for things I'm going to paint (changes iron oxide to iron phosphate) but for electrical conductivity purposes, I'm curious on how this would work on other metals.
Last edited by justacog; February 4th, 2024 at 05:32 PM.
Reason: spelling correction
I know this works on copper (which your train parts might be) but I'm curious as to other metals this would work with. I use phosphoric acid regularly on steel for things I'm going to paint (changes iron oxide to iron phosphate) but for electrical conductivity purposes, I'm curious on how this would work on other metals.
FWIW, all metals conduct electricity wherever they are used - Bismuth being the least conductive. The difference between phosphoric acid and acetic acid (vinegar) is simply a matter of ionization. A STRONG acid (Phosphoric Acid) will ionize the metal faster and more vigorously than a WEAK acid (vinegar=acetic acid). With that said, any acid will ionize a metal (e.g. oxidize metal).
I am by far the least of experts on this topic but I think you're implying that all acids are alike, regardless of their chemistry and each have the same results on different metals? What I've observed and read about the reaction of Phosphoric acid on steel is that the phosphorus component converts the iron oxide to iron phosphate. Basically that brown looking stuff turns to a black sticky substance (very nice conversion when painting rusted metal). When using white vinegar on copper, the copper oxidation was removed, not converted.
True? If there are some chemists/chemical engineers out there, please chime in.
I am a chemist. Yes, you are correct. A STRONG acid is an acid whichcompletelydissociates ALL of it's free ions (anions/cations) in an aqueous solution. It is a chemical with an exceedingly high capacity to lose a proton (H+). A weak acid does not completely dissociate its constituent free ions.

 February 1st, 2024, 02:35 PM