When you click on links to various merchants on this site and make a purchase, this can result in this site earning a commission. Affiliate programs and affiliations include, but are not limited to, the eBay Partner Network.
Been a bit since I’ve been able to work on her - starting my clutch replacement on my 72 cutlass convertible - 68 455 - Muncie 4 speed (think M-20) - posi 3:23 rear end - wish me luck! I asked last season on clutch recommendations and got a lot of centerforce recommendations - anyone have an opinion between the CF I and the CF II (thinking II might be the way to go if the pedal isn’t brutal stiff) I’ve got her safetly up in the air - drive shaft out / parking brake loose and out of the way / crossmember bolts are all out and broke loose the tranny to bell housing bolts so far. Next time I get at her I’m going to pull speedo and linkage and shifter and drain the gear lube (it’s minimum 20 years old - probably 48) then pull trans - bell housing - pressure plate - clutch - and eventually flywheel - I have a few questions hopefully you can help me out with?
Last edited by 72442455; May 31st, 2020 at 08:49 AM.
Bottom plug to drain - top plug to fill (just confirming as i’ve never done it) Also - how difficult is it to pull and replace the rear seal that goes to the driveshaft yoke? I will inspect the shifter linkage and replace the bushings if need be - what clean up tips do you all have? Degreaser and scrub brush? Any other tips that people do that I’m unaware of?
Last bit of info about this job - I put a cheap clutch in it when I bought it 20 years ago and Was pretty green - in the last three / four years I’ve done a bunch of work to the car (many thanks to all of you for all your knowledge and help!) when I put the clutch in it was a 350 - I since swapped out to the 455 (about 18 years ago and still green) I believe I swapped out to a 11 inch clutch at that time but I’m really unsure as my memory fails me - I will measure it when I get to that point (10.5 on a 455 would help explain its failure) - also this 68 455 didn’t have the manual crank - with lack of information back then the only thing I found was to cut the input shaft and use the press in bearing from dick Miller - so that’s the way I went and that’s what I’m dealing with today - I also suspect that maybe the rear main seal is leaking. so .... in short I’m going to pull everything and inspect and see what I’m dealing with and go from there - oh - one question - anyone have any advice / tricks for locating exact points of oil leaks? (I have a small slow leak that drips down from front passenger of pan but not sure that’s the source - and if my rear main seal is leaking will it be obvious? I will share pics of clutch and flywheel and all that jazz when I get it out - thanks all!
When you pull the flywheel, you’ll have a view of the area around the rear main seal, if you see a leak, you have 2 choices, ignore it, or pull the motor, I tried to replace the seal in my car..never again. Check torque on the pan bolts, that could be the source of the front leak.
You can also check the valve cover bolts for tightness. Don't overtighten them though.
Eat your wheaties before sliding the tranny back, they weigh about 70 lbs. You wil also want to use a clutch disk alignment tool when reinstalling your new clutch so you can more easily reinstall the tranny.
When you pull the flywheel, you’ll have a view of the area around the rear main seal, if you see a leak, you have 2 choices, ignore it, or pull the motor, I tried to replace the seal in my car..never again. Check torque on the pan bolts, that could be the source of the front leak.
it’s in the plans that If the rear main seal leaks I’m pulling it to replace it - if I do so I’ll get into a world of MAWs hoping to not have to do that - I’m ready to just enjoy it for a bit. Thanks for the input
You can also check the valve cover bolts for tightness. Don't overtighten them though.
Eat your wheaties before sliding the tranny back, they weigh about 70 lbs. You wil also want to use a clutch disk alignment tool when reinstalling your new clutch so you can more easily reinstall the tranny.
thanks - I’ve pulled it before but I was a younger man then - I think I still have it - and yes the clutch kits usually have those I think? If not I’ll grab one - might still have my old one from the last clutch - thank you
i removed the speedo cable / linkage / drained the trans - pulled the cross member - dropped the trans - pulled the clutch rod and dropped the bell housing - I broke the bolts loose on pressure plate but need to read up a bit - I believe I have to mark the pressure plate to the fly wheel and fly wheel to crank for balance issues? Though I am replacing the pressure plate - not sure if turning fly wheel or replacing - reading up now - any tips or advice is welcome - thanks in advance Muncie out Has two grooves Tail shaft housing Inside bell housing Clutch fork Outside bell housing
Last edited by 72442455; June 1st, 2020 at 12:56 PM.
I’ve been researching the numbers on the case and have determined that this in fact is a 72 M20 - trying to determine the drive gear for the speedometer - I guess I have to pull the driven gear and Peek inside and check color? And determine the driven gears diameter and that will lead me to the drive gears diameter? It’s a bit confusing .... also - one of the id numbers says it’s a “Late side cover - short boss with A transmission controlled spark switch” is that what this is in this image? Muncie M-20 ... any idea what this is for?
Clutch fork looks worn. Post a lateral view of the wear points or just replace it. An old input shaft is the best clutch alignment tool, second is well you guessed it a clutch alignment tool, going to be needed.
Marking the old pressure plate would be unnecessary but generally a good habit. Since you are replacing it marking it serves no purpose.
Lightly chamfering the edges of the input shaft where it goes into the pilot bearing can make life easier on the install.
Clean the splines thoroughly but grease them lightly. Excess grease can get onto the friction disc.
If the flywheel needs a resurface it should be done. If not resurfacing, deglaze it with emery cloth and clean it very well. Don't get solvents into the pilot bearing..
If the new friction disc isn't marked which side faces the flywheel, pay close attention to how the old one comes out. Some won't go in wrong anyway as the springs may hit the flywheel.
Torque all bolts evenly in a pattern.
I think the switch pictured is for back up lights on a different car.
Check the top of case for a partial VIN #, could be your original trans.. Your clutch fork looks serviceable, the repro’s are junk, replace the throw out bearing with a quality part, look on the site for the p/n. The switch on the trans is a TCS switch.
Clutch fork looks worn. Post a lateral view of the wear points or just replace it. An old input shaft is the best clutch alignment tool, second is well you guessed it a clutch alignment tool, going to be needed.
Marking the old pressure plate would be unnecessary but generally a good habit. Since you are replacing it marking it serves no purpose.
Lightly chamfering the edges of the input shaft where it goes into the pilot bearing can make life easier on the install.
Clean the splines thoroughly but grease them lightly. Excess grease can get onto the friction disc.
If the flywheel needs a resurface it should be done. If not resurfacing, deglaze it with emery cloth and clean it very well. Don't get solvents into the pilot bearing..
If the new friction disc isn't marked which side faces the flywheel, pay close attention to how the old one comes out. Some won't go in wrong anyway as the springs may hit the flywheel.
Torque all bolts evenly in a pattern.
I think the switch pictured is for back up lights on a different car.
Good luck!!!
thanks for the reply Sugar Bear - I plan to resurface or replace fly wheel depending on what it needs - do you need to resurface brand new fly wheels or are they good to go as is? Thanks for all the tips and info! Here are some pics of the fork This fork was a repro that I used to replace the last fork 20 years ago - that one was probably original - no problem replacing it again if need be
Check the top of case for a partial VIN #, could be your original trans.. Your clutch fork looks serviceable, the repro’s are junk, replace the throw out bearing with a quality part, look on the site for the p/n. The switch on the trans is a TCS switch.
thanks for the reply - I looked at the top for a vin # but couldn’t find anything? Any specifics where to look? I’m sure it’s the original though - fork is the repro junk I’m sure - I replaced it 20 years ago - any hints what my best bet for replacement is? And I’ll look for TO bearing p/n - going to order a kit. Just toss the to bearing from the kit and use the quality one I find here? So if it’s the tcs (it hasn’t been hooked up on forever anyways) just leave it be? Or should I pull and plug or something? Thanks for your time
I can't tell the condition of the fork from the pics, sorry I'm working from a phone at the moment.
TCS switch...I learned something there. Anybody explain how it functions??? Only allows advance in high gear???
New flywheel shouldn't need resurface but I'd either check with a dial indicator or ask a local shop if they would skim cut/check it. Hopefully yours is serviceable. When installing the flywheel make the mating services perfectly clean.
Ok - I might need some expert advice on this one ...
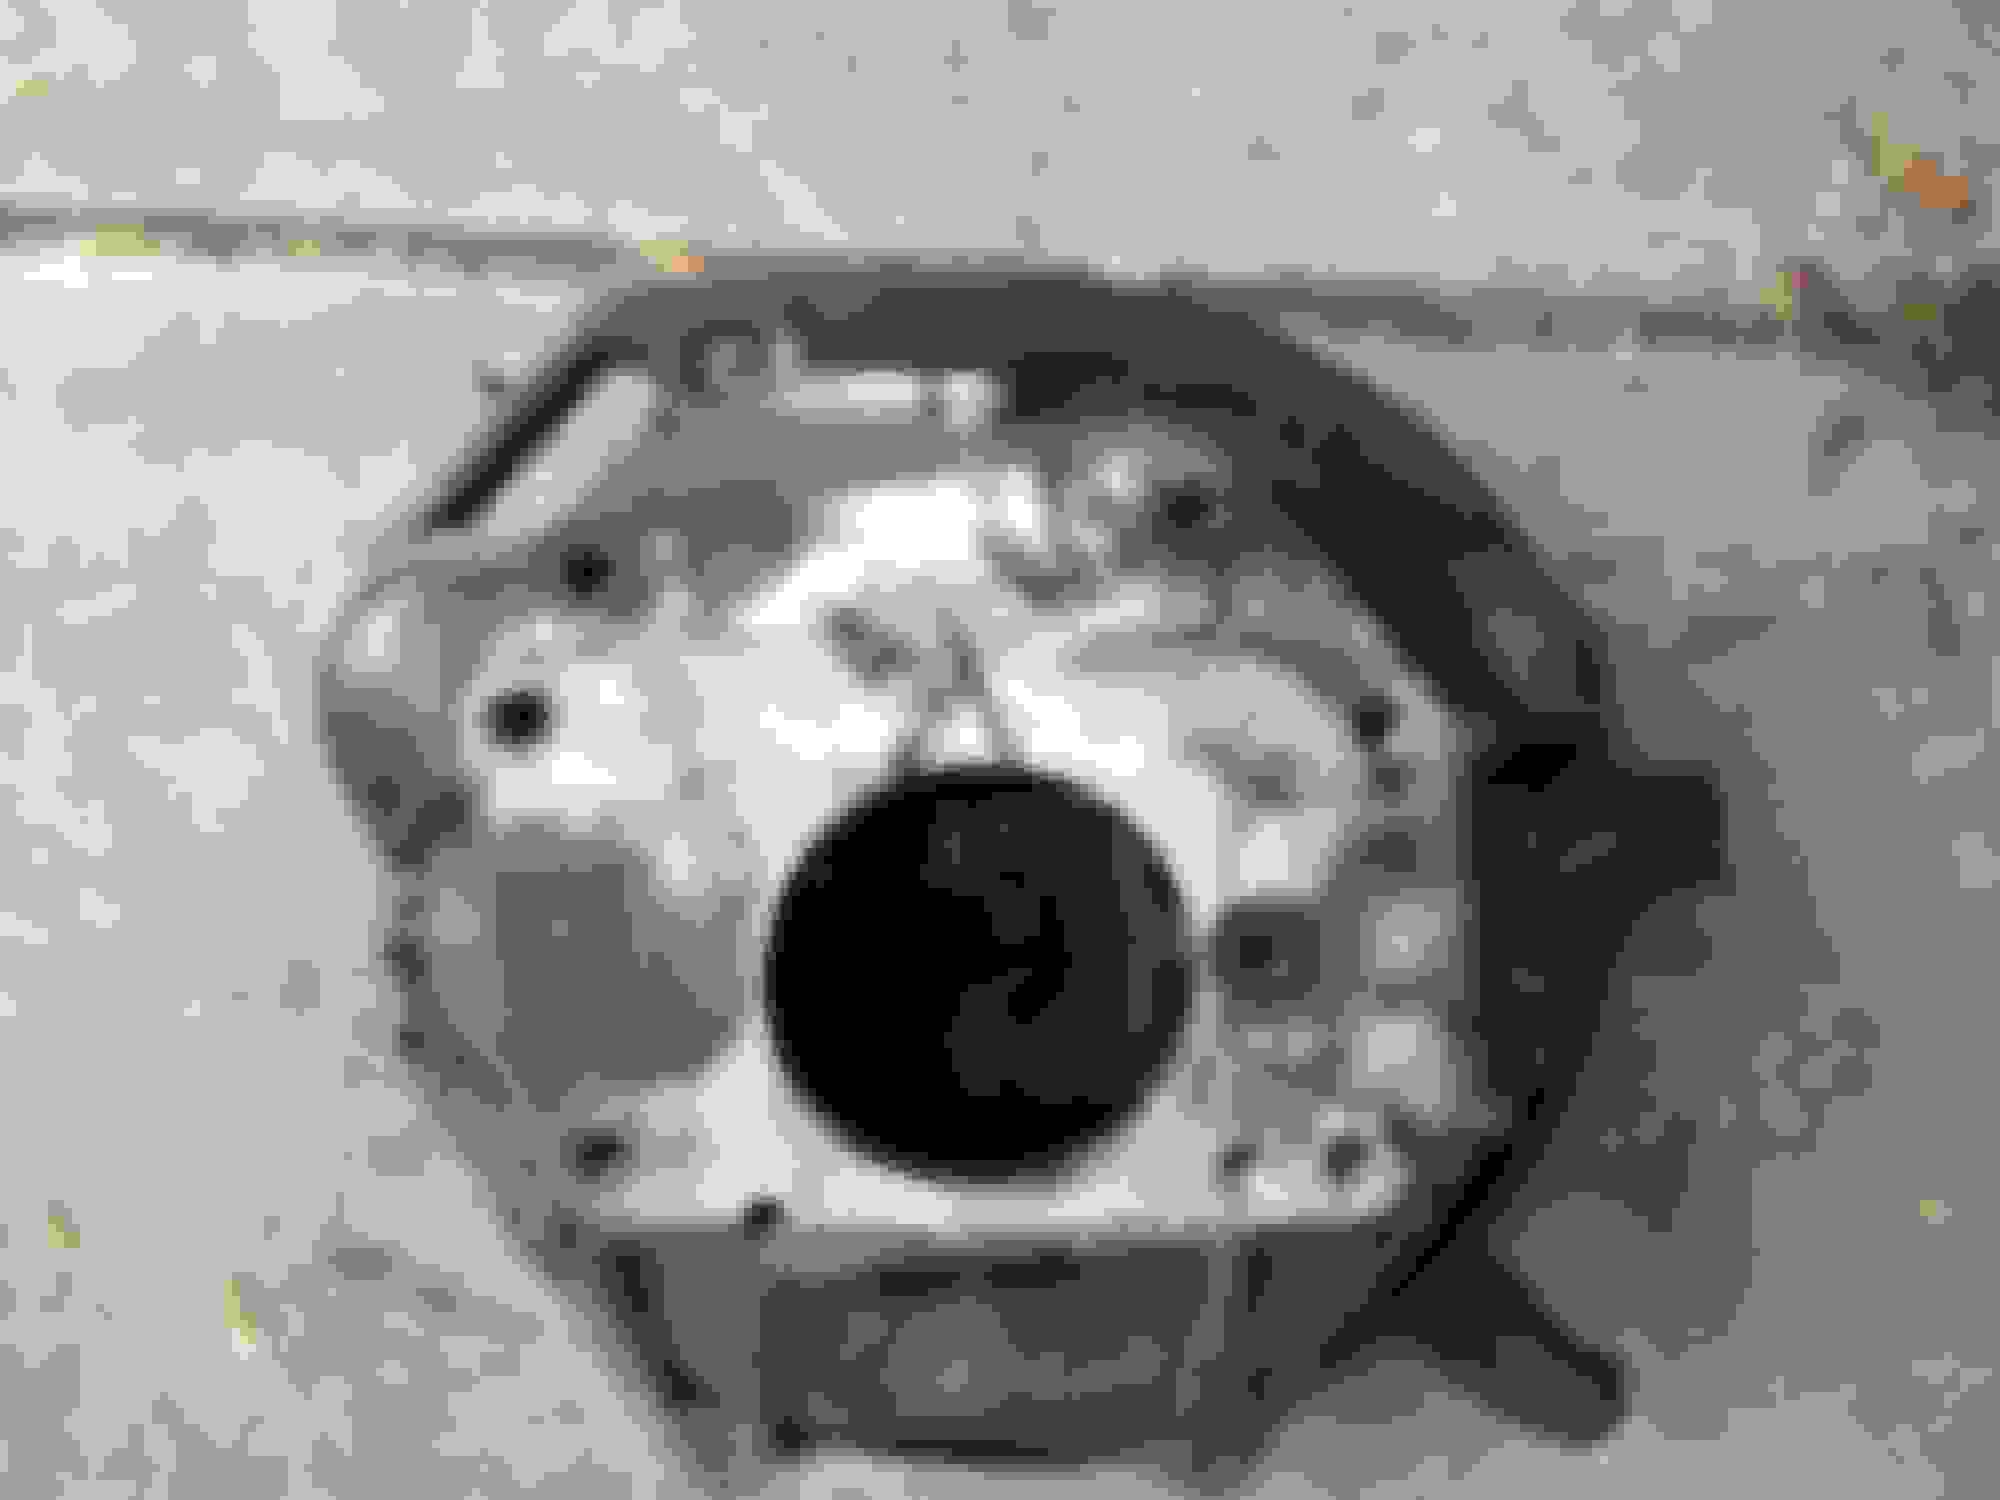
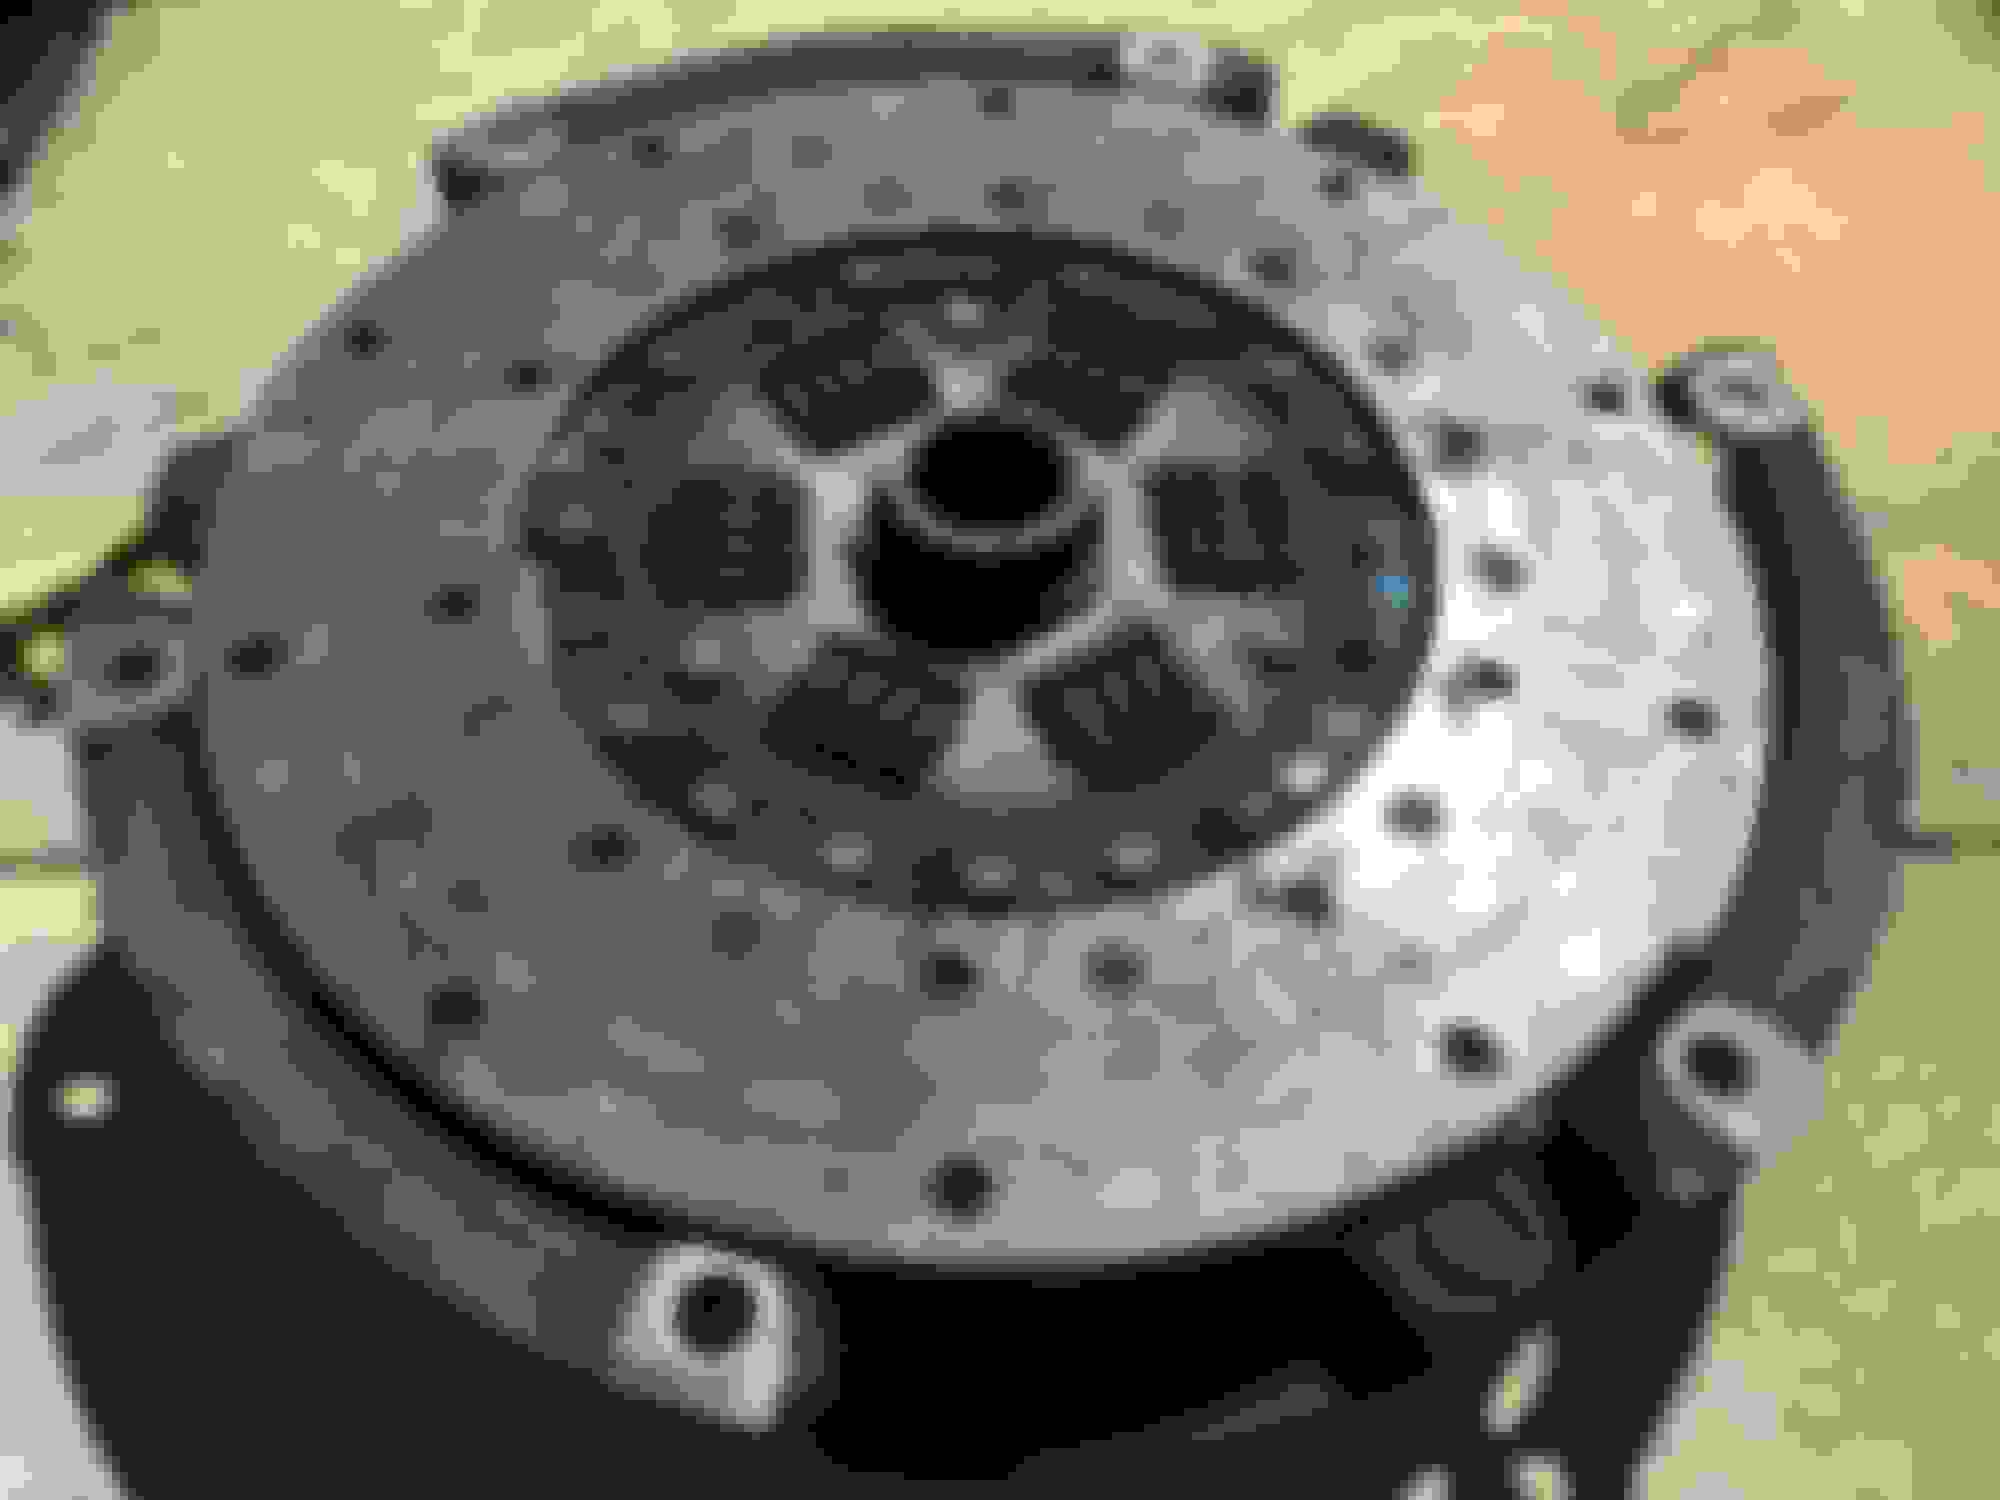
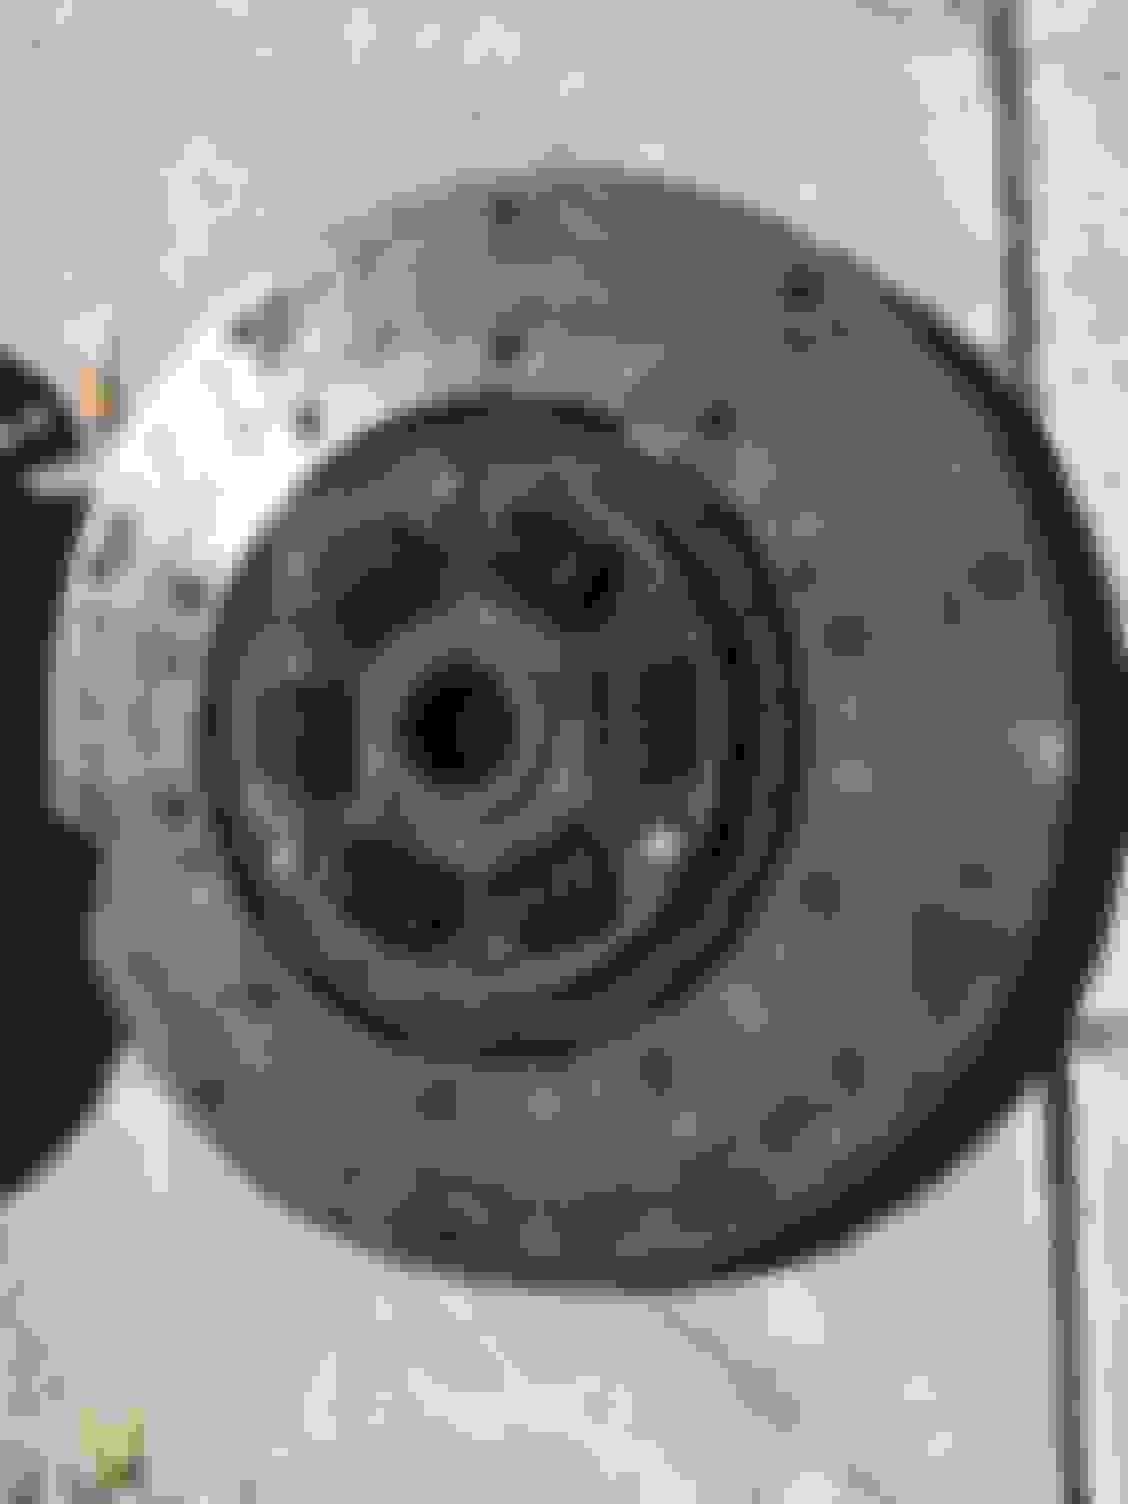
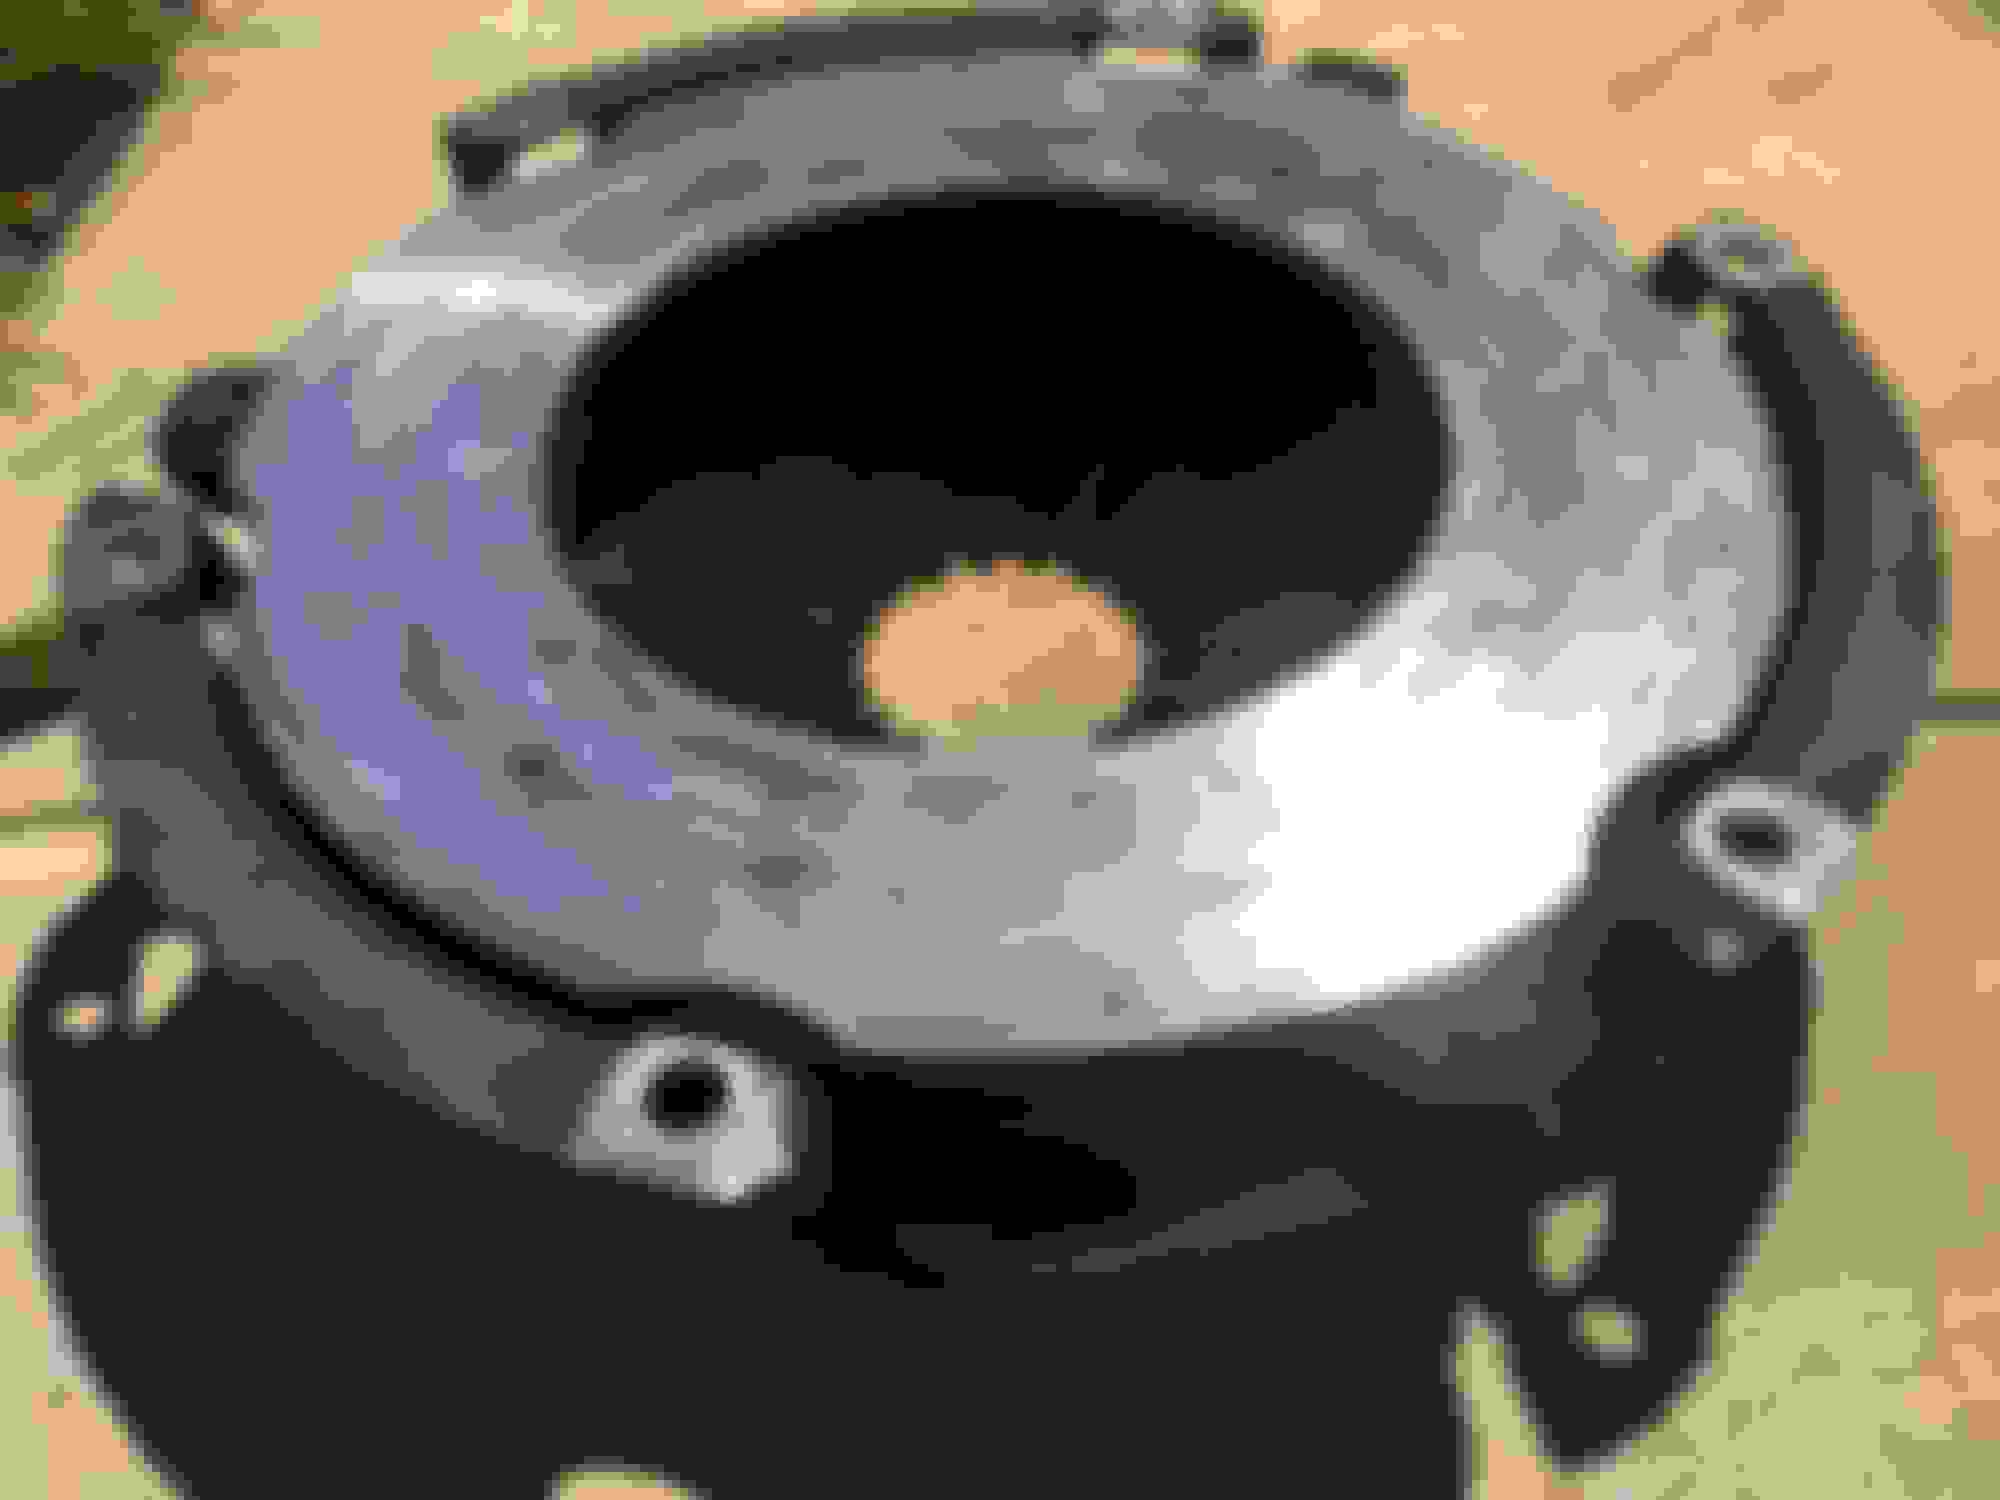
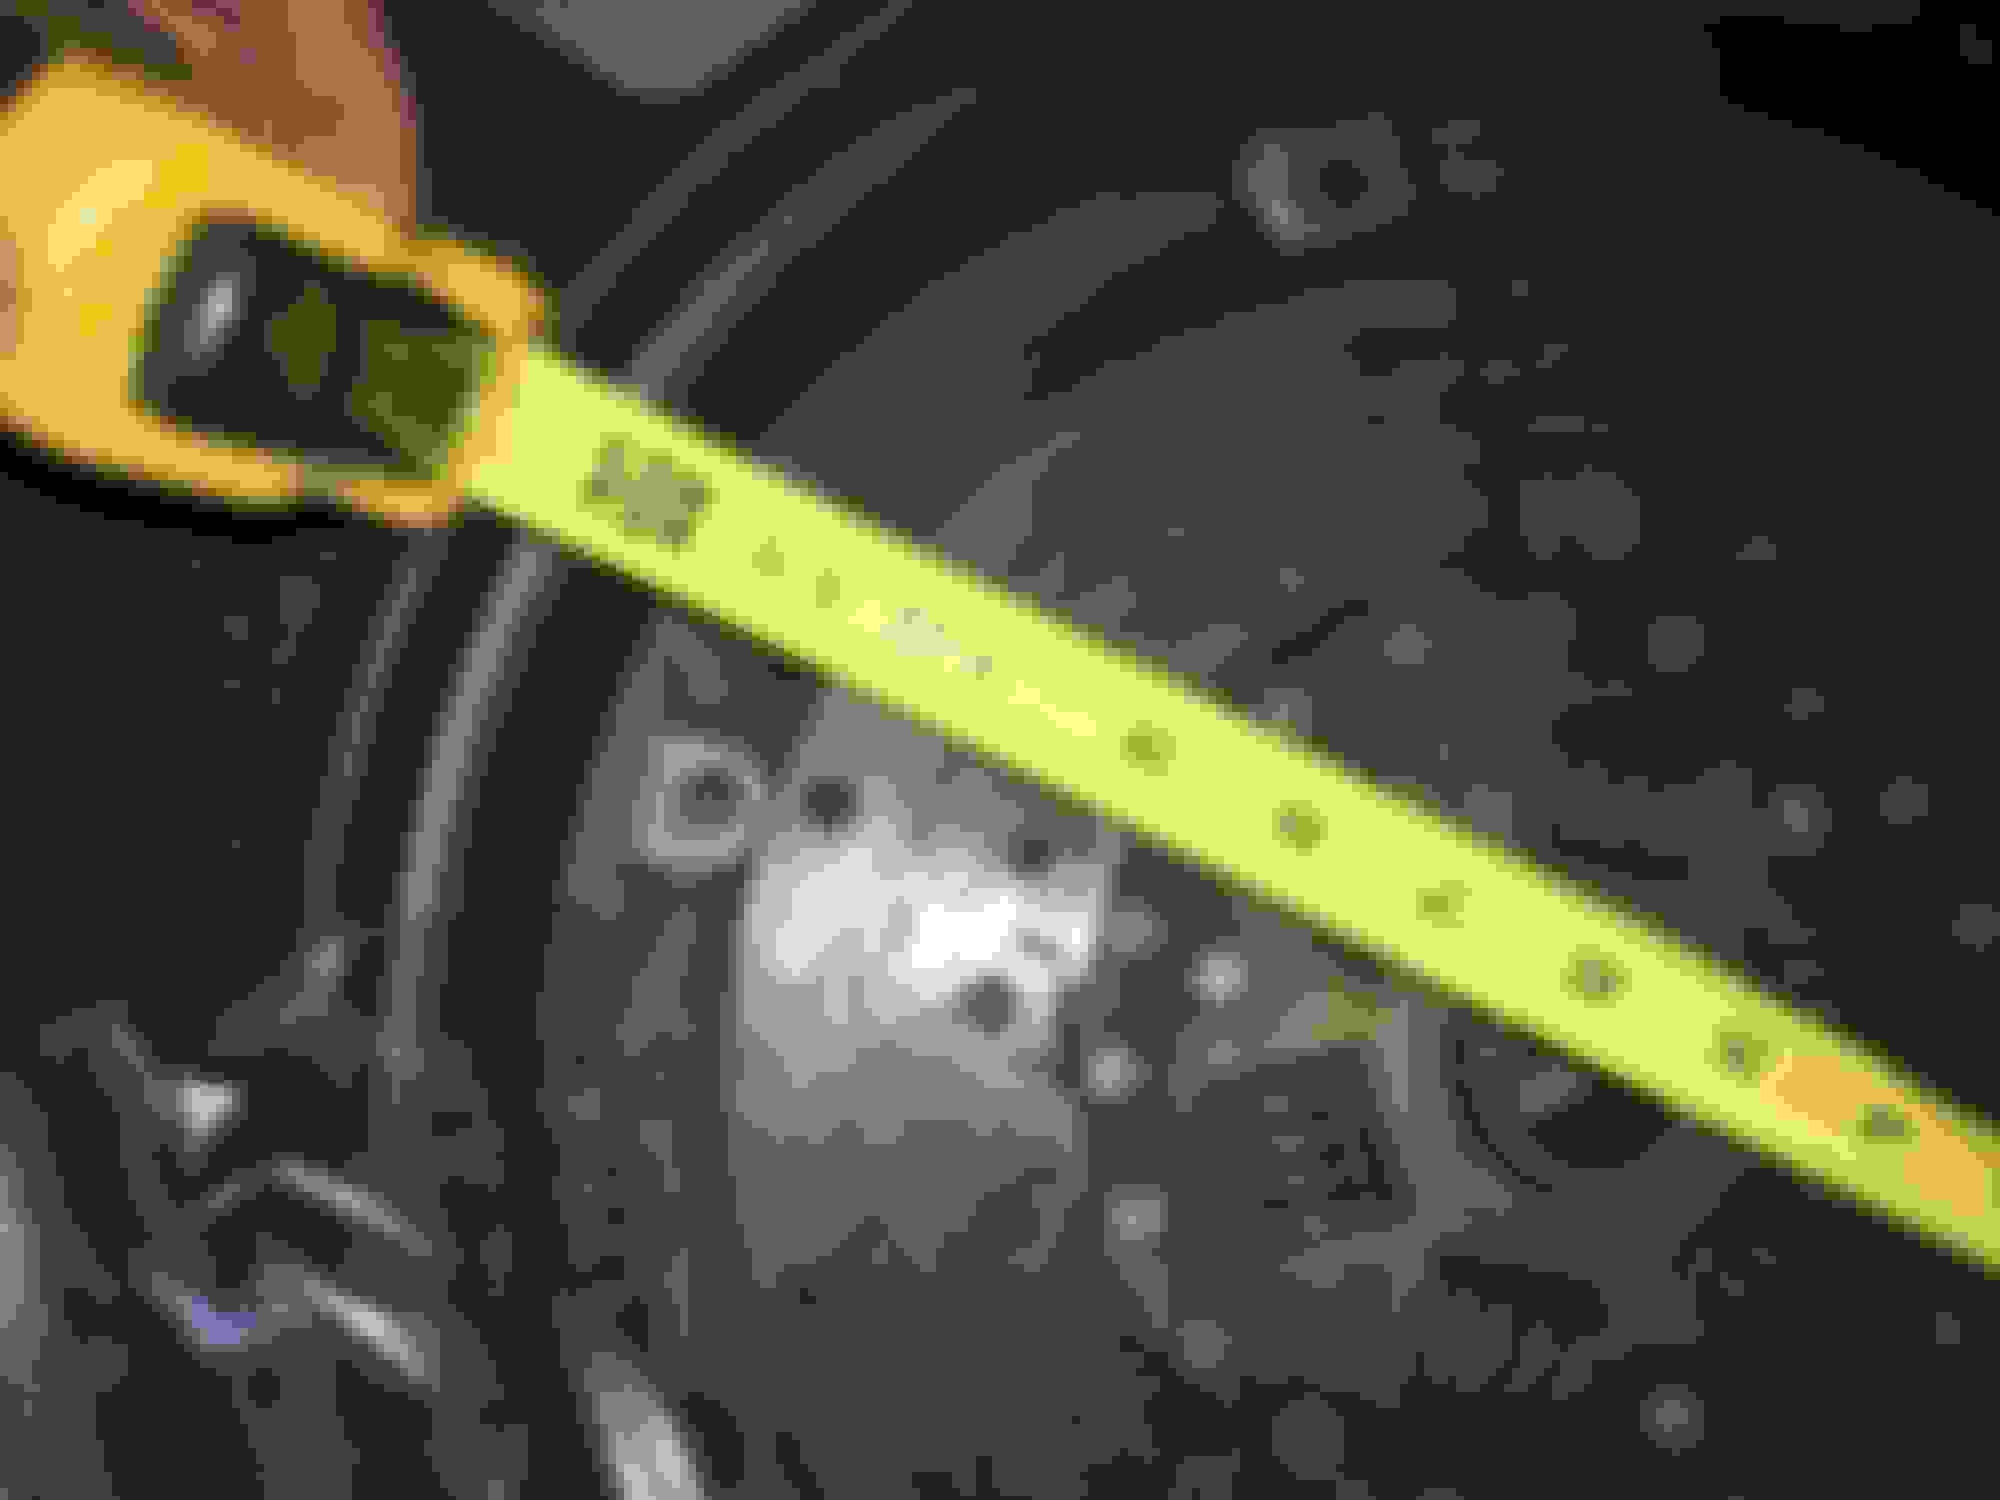
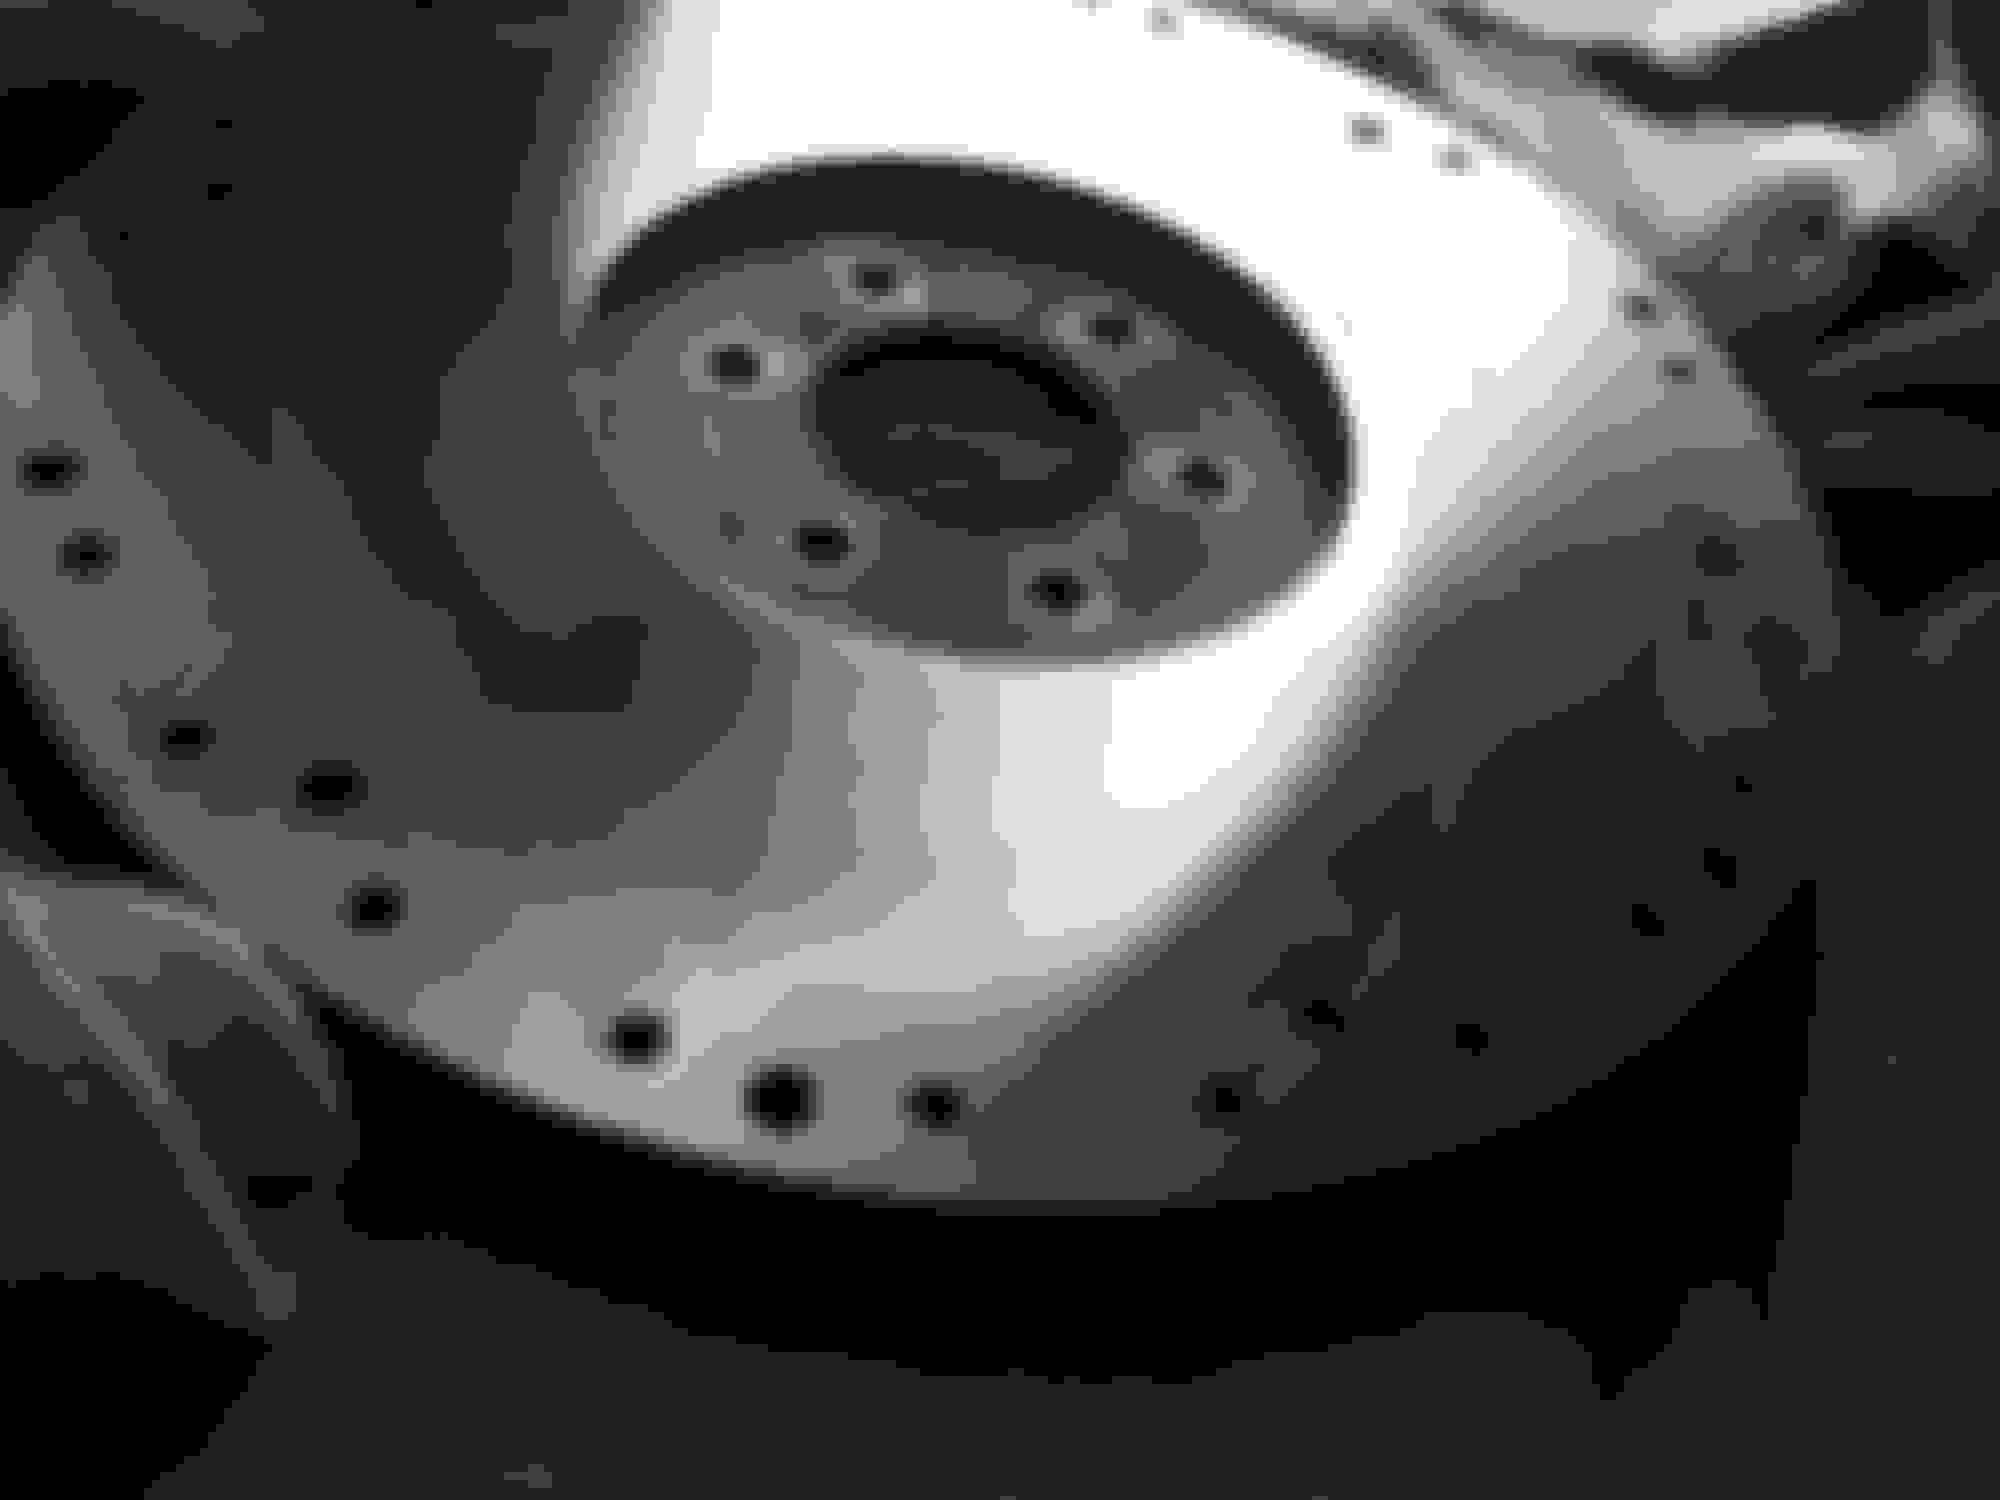
press in bearing is toast - what am I looking at to remove the remainder of the shell? I read something about a brass bushing as opposed to the press in bearing ... thoughts? I’d really rather not pull the motor to drill the crank if possible - the input shaft was shaved down to accommodate the automatic crank anyways - how would that effect the set up if I did drill crank and use correct bearing? Would the input now be too short to reach the correct bearing? Flywheel surface Doesn’t look like the press in bearing from dick Miller held up so good Another shot Clutch - flywheel side Clutch - pressure plate side Profile Pressure plate Had a hard time measuring - really looked like 10.75 which isn’t an option - needs to be 11 but I think it was a 10.5
Tomorrow I need to go to harbor freight To buy a measuring tool And a pilot bearing puller (maybe look at transmission jacks as well) not sure what the inner and outer diameter of the brass bushing (pilot bearing alternative) needs to be so I need to measure the diameter inside my crank and my input shaft - spent a whole day trying to figure that out from various sites 😩 - but I found a place to turn my fly wheel - hopefully the remaining bearing will come out with out too much trouble - get everything ordered - and try and count the teeth on my speedo drive gear - I might hold off on the rear output shaft seal as it wasn’t leaking and I don’t know exactly what I’m doing with it - i’d rather do it right with pulling the motor and drilling the crank and replacing the input shaft on the Muncie (if that is even possible?) but I’m sure that’s not affordable - maybe down the road - next clutch change maybe - hope it just works For a bit - need to enjoy this a little bit more and stress about it a little less
If you drill the crank you will def need a new input shaft. It can be a DIY job, if you are handy, and they are not terribly expensive. I've done several Muncie rebulds myself. While you are at it, MAW install new bearings, synchros, seals and gaskets. Again not real expensive, especially if you do it yourself. There are lots of tutorials on the web.
If you drill the crank you will def need a new input shaft. It can be a DIY job, if you are handy, and they are not terribly expensive. I've done several Muncie rebulds myself. While you are at it, MAW install new bearings, synchros, seals and gaskets. Again not real expensive, especially if you do it yourself. There are lots of tutorials on the web.
thanks Randy - I will read up on it - not feeling real confident at the moment - thinking about going the brass bushing route for the time being - my boys growing up fast and I want him to learn to drive stick on this car - clocks running out and I’ve been busting my *** on This car for 3 years + straight and it still isn’t pretty lol - Next clutch swap I’m making it my goal to do just what you said
Another question - this car has no clutch return spring - csm shows the location on the original starter where this red circle is - if I order a clutch return spring kit - do I attach it to this bolt? Can I even remove this bolt without screwing up the starter? Or is there another location for it?
Last edited by 72442455; June 2nd, 2020 at 05:36 PM.
I'm thinking that yours is a replacement starter, and not OEM. AFAIK, only the OEM starters were drilled for the bracket for the clutch return spring. The bolt you have circled and its friends hold the field windings in the starter, don't remove them. A new hole can be drilled and tapped in the starter case if you are careful where you drill. The starter needs to be removed from the car and the case opened up so you can see where to drill. I have successfully drilled and tapped 2 starters for just this reason. I don't currently have one to show as an example, so maybe another member can post a pic of where the hole is located.
Last edited by RandyS; June 2nd, 2020 at 08:41 PM.
Haven't done this but will try if needed to remove the pilot bearing. Pack it with grease (thicker is better) then using a tool the size of the opening, strike that tool sharply into the hole. The concept is that the pressure generated by trying to compress the grease will force the bearing outward.
A socket backwards on an extension may work well for driving into the hole.
Wear eye protection! And the puller when this won't work...if you try it please post the result.
I'm thinking that yours is a replacement starter, and not OEM. AFAIK, only the OEM starters were drilled for the bracket for the clutch return spring. The bolt you have circled and its friends hold the field windings in the starter, don't remove them. A new hole can be drilled and tapped in the starter case if you are careful where you drill. The starter needs to be removed from the car and the case opened up so you can see where to drill. I have successfully drilled and tapped 2 starters for just this reason. I don't currently have one to show as an example, so maybe another member can post a pic of where the hole is located.
thanks Randy - I worded my statement poorly - yes it’s a replacement starter - the circle is roughly the area it shows in the csm for the spring - I’m looking online trying to figure out how this kit attaches the spring
Haven't done this but will try if needed to remove the pilot bearing. Pack it with grease (thicker is better) then using a tool the size of the opening, strike that tool sharply into the hole. The concept is that the pressure generated by trying to compress the grease will force the bearing outward.
A socket backwards on an extension may work well for driving into the hole.
Wear eye protection! And the puller when this won't work...if you try it please post the result.
Good luck!!!
thanks sugar bear. Going to try the puller first. If that doesn’t work I’m going your way - I will let you know - hopefully today
One trick when you reinstall your transmission is to take a couple 1/2" bolts and cut the head off them and screw them in the bellhousing where the upper bolts go attaching your transmission. They will support your transmission when you slide it in place. You could also use all thread. When you transmission is in, put the bottom bolts in and then screw these out and install your upper bolts holding the transmission in. Old trick I learned many years ago when I was a teenager.
One trick when you reinstall your transmission is to take a couple 1/2" bolts and cut the head off them and screw them in the bellhousing where the upper bolts go attaching your transmission. They will support your transmission when you slide it in place. You could also use all thread. When you transmission is in, put the bottom bolts in and then screw these out and install your upper bolts holding the transmission in. Old trick I learned many years ago when I was a teenager.
thanks for sharing! I’m all about making it easier
Here is my present setup, the spring rides on a bushing. The small hole is where my original anti rattle spring ran from there to the clutch fork, my headers interfered with the spring, so for awhile I used a shorter spring hooked to a radiator clamp on the header pipe.
[QUOTE=dc2x4drvr;1254529]
Here is my present setup, the spring rides on a bushing. The small hole is where my original anti rattle spring ran from there to the clutch fork, my headers interfered with the spring, so for awhile I used a shorter spring hooked to a radiator clamp on the header pipe.[/QUOTE)
got it - thank you! I’m going to order the kit and see what I can come up with like that - will let you know
got the flywheel turned today - didn’t have any luck with the old pilot bearing - the harbor freight tool bottoms out on the crank before going deep enough for the forks to grab the inside of the bearing - the hydraulic method didn’t work either - I had a pretty good fitting extension that I hammered on vigorously and it wouldn’t budge the bearing at all - I went to town on it too! 😩. I went and borrow step dads bench grinder and I ground off some of the depth of the harbor freight tool - hoping that will do the trick without weakening the tool too much - out of gas for today - work tomorrow - we will see - maybe Saturday I’ll be able to get back to it - thanks all for the help!
got the flywheel turned today - didn’t have any luck with the old pilot bearing - the harbor freight tool bottoms out on the crank before going deep enough for the forks to grab the inside of the bearing - the hydraulic method didn’t work either - I had a pretty good fitting extension that I hammered on vigorously and it wouldn’t budge the bearing at all - I went to town on it too! 😩. I went and borrow step dads bench grinder and I ground off some of the depth of the harbor freight tool - hoping that will do the trick without weakening the tool too much - out of gas for today - work tomorrow - we will see - maybe Saturday I’ll be able to get back to it - thanks all for the help! Actually, they ground it on a rotary surface grinder.
If the bearing is pressed into the crank and it hasn't come out yet, you'll probably need to grind into the race (with a die grinder and carbide tip) without going completely through. The idea is to weaken it and then pry it out. I would recommend 2 places 180 degrees apart. Wear PPE when grinding !!!!!!!!!!
 May 31st, 2020, 08:24 AM