When you click on links to various merchants on this site and make a purchase, this can result in this site earning a commission. Affiliate programs and affiliations include, but are not limited to, the eBay Partner Network.
How bad would it be to just twist those out, ruining the press fit, and tack welding the heads of the new bolts to the frame?
You have quite the imagination. I'm glad you reconsidered before moving forward w/ that idea. Must be that hot summer sun clouding your thinking - happens to all of us.
You have quite the imagination. I'm glad you reconsidered before moving forward w/ that idea. Must be that hot summer sun clouding your thinking - happens to all of us.
It's 70 degrees out there today, lol.
So I've tried heating the frame and spray-freezing the bolt and with a 4 ft pry bar, I'm moving the frame or the engine, one of the two, but that bolt won't budge.
I use PB Blaster all the time, for many things. In your case, I'd use a 50:50 mixture of Transmission Fluid:Acetone. You only need a small amount - it works great. Mix 1/4 cup Trans Fluid: 1/4 cup Acetone. Mix well and apply directly to nut/bolt. Let it sit 15-20 minutes.
Yeah, no, that ain't happening. No room for a hammer or I would have let 'er have it by now, lol. I'm going to saw them off short enough to get the arm off but long enough to have a 1/4 inch or so still sticking out. Then I'm going to make a press out of an old C-clamp and a socket.
I've been soaking these bolts in PB Blaster for a week. If this doesn't work, I'll have to spin them out and weld the new ones in. No other choice.
Try this, if you can get the wood past the header. When I did mine on the Cutlass it was quick and easy. As you mentioned, had to get around the headers though to get to the block. Post 43
Try this, if you can get the wood past the header. When I did mine on the Cutlass it was quick and easy. As you mentioned, had to get around the headers though to get to the block. Post 43
Haha, I have that picture on my phone! Rob is always the trend setter! But nope, no amount of prying was getting those out. After almost 2-1/2 hours of trying, I got out the sawz-all, chopped the bolts, removed the control arm, and pressed out the bolt heads with the correct size socket (on the bolt head) and a C-clamp. Took about 12 minutes. If you ask me, this should be the standard procedure for removing the UCAs. It was so easy!
Tomorrow I start on the other side. But I think I'll slow down a little. Been going at breakneck speed for a week.
Glad you have it apart. I'm not good with pics. Camera, click. Chip out, computer in. File. Search for stupid file. Search for stupid picture. Study nomenclature for transportation of said picture. Hopefully attach photo in correct compartment. Send. The Muskrat does it in seconds, me, call Muskrat for HELP.
Lol, yeah man, it takes practice....and patience (which we use up on our cars). At least Photobucket isn't holding our pictures hostage anymore.
Does anyone know off hand; the sway bar end links - to - A arms, how tight should the linkage at the a-arm be? I've never worked with this kind of linkage and there seems to be a lot of play between the welded-on brackets. I'm assuming it should be able to pivot easily but not slide back and forth between the brackets.
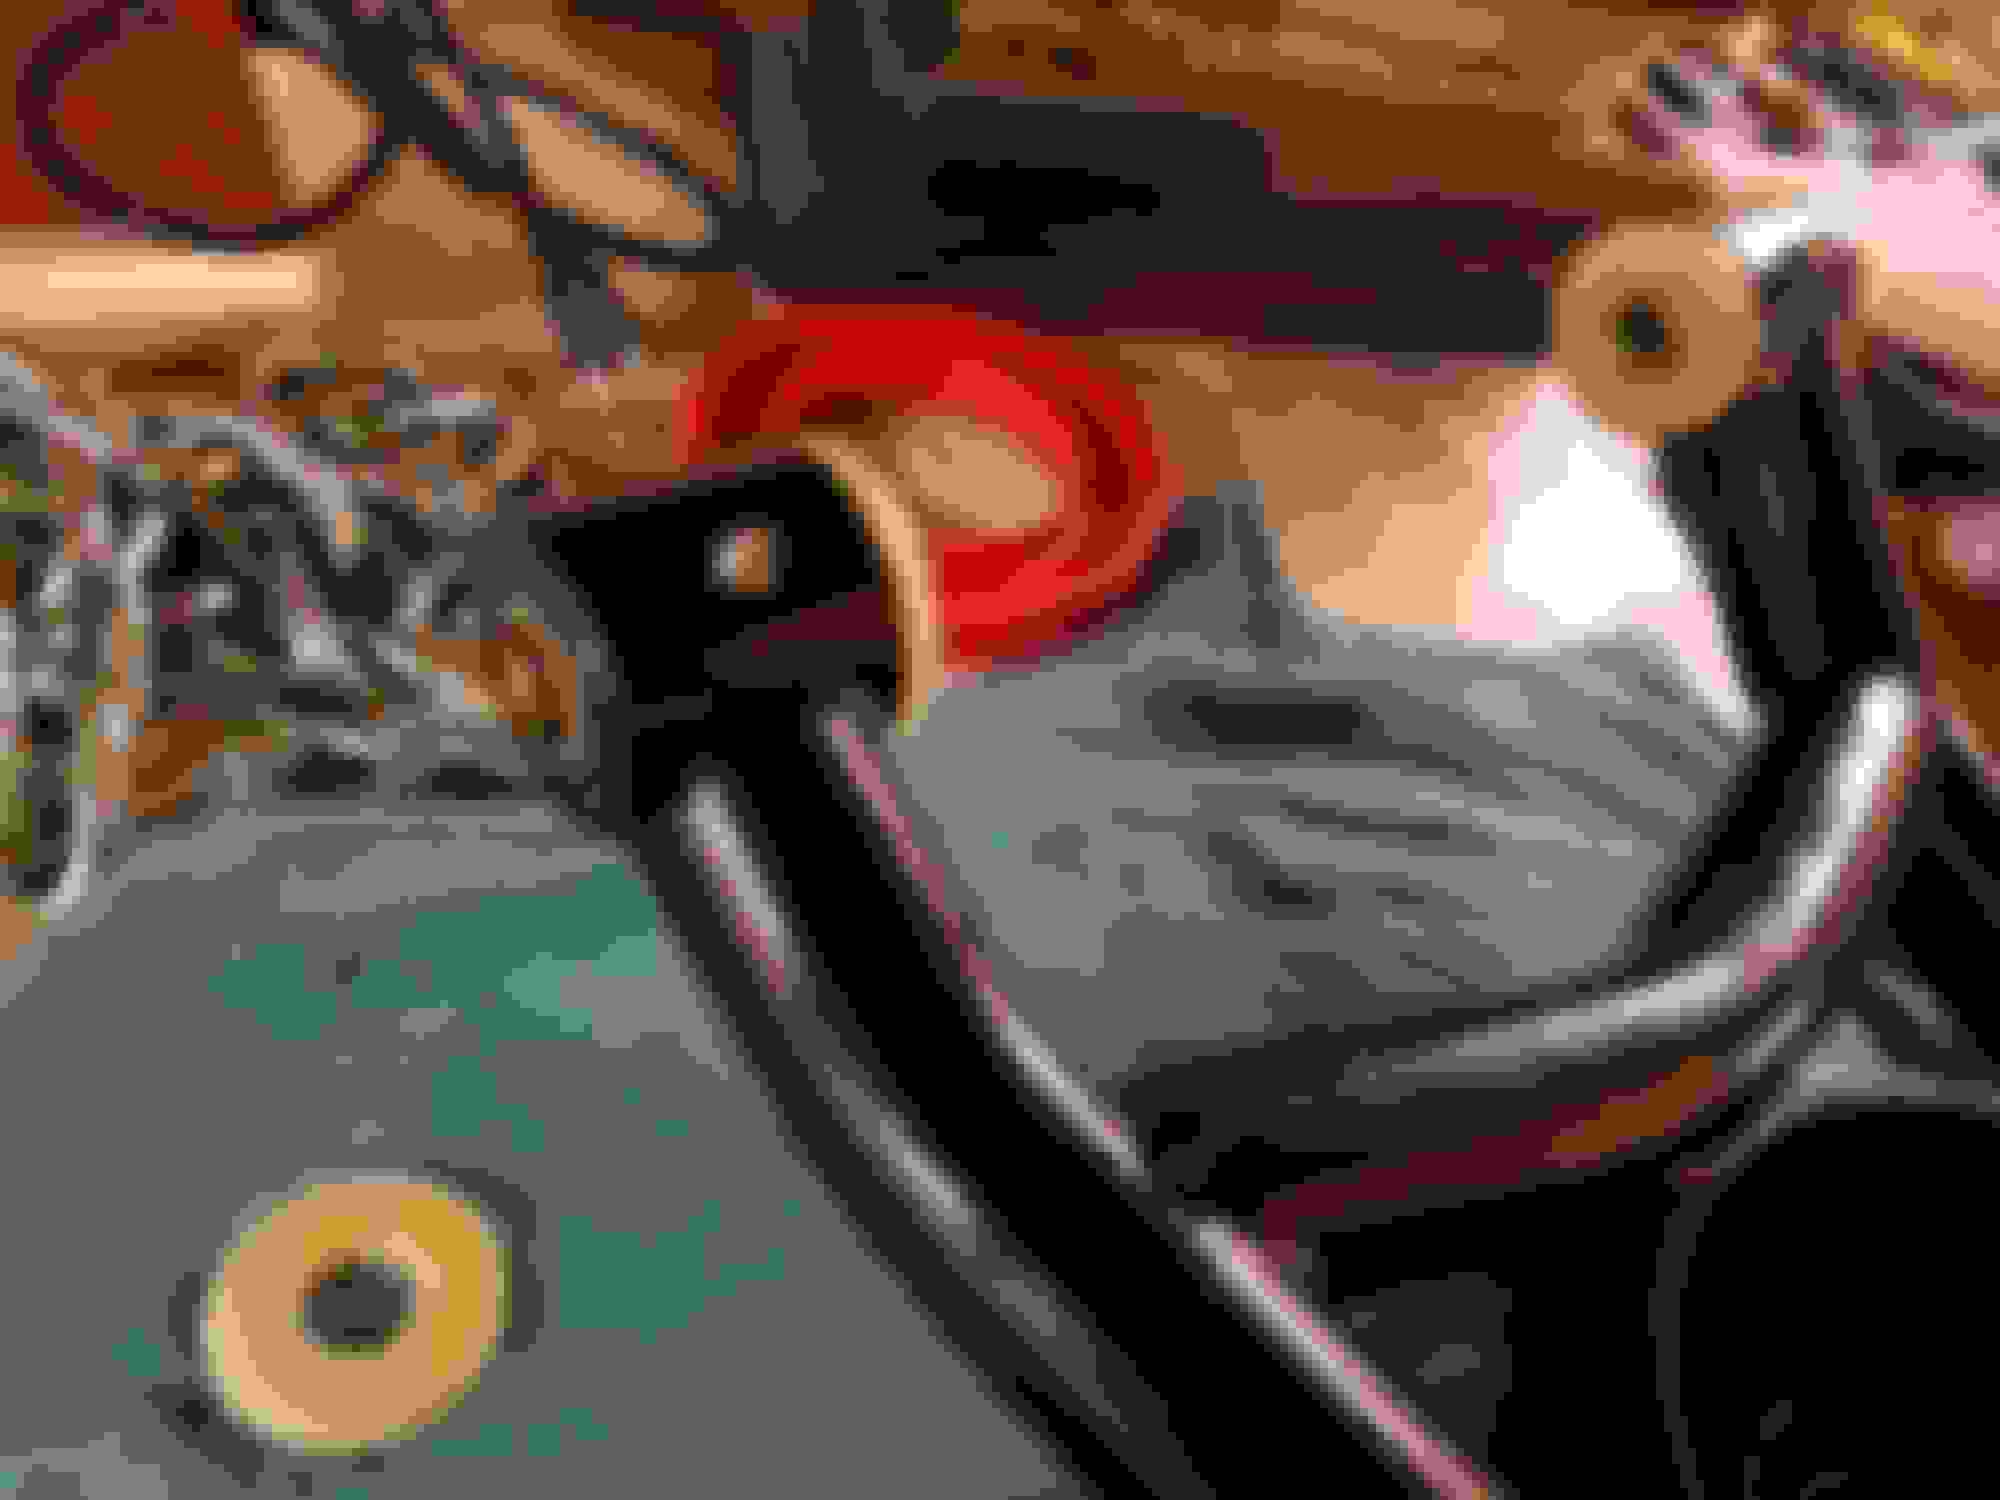
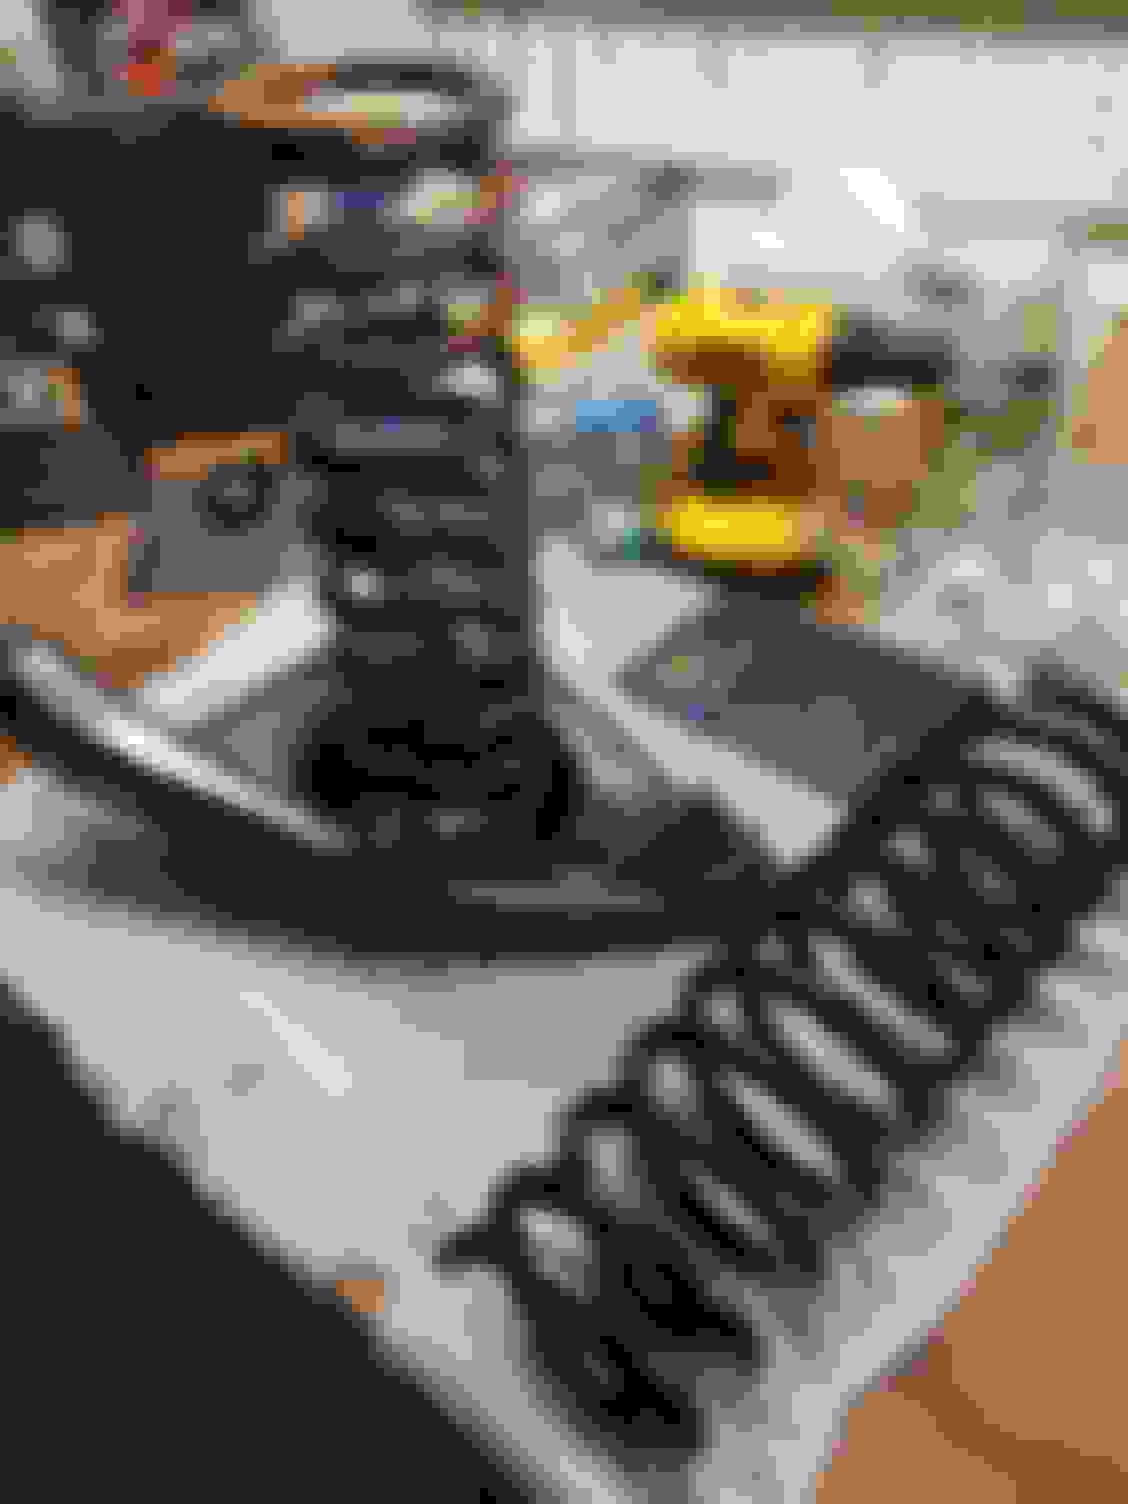
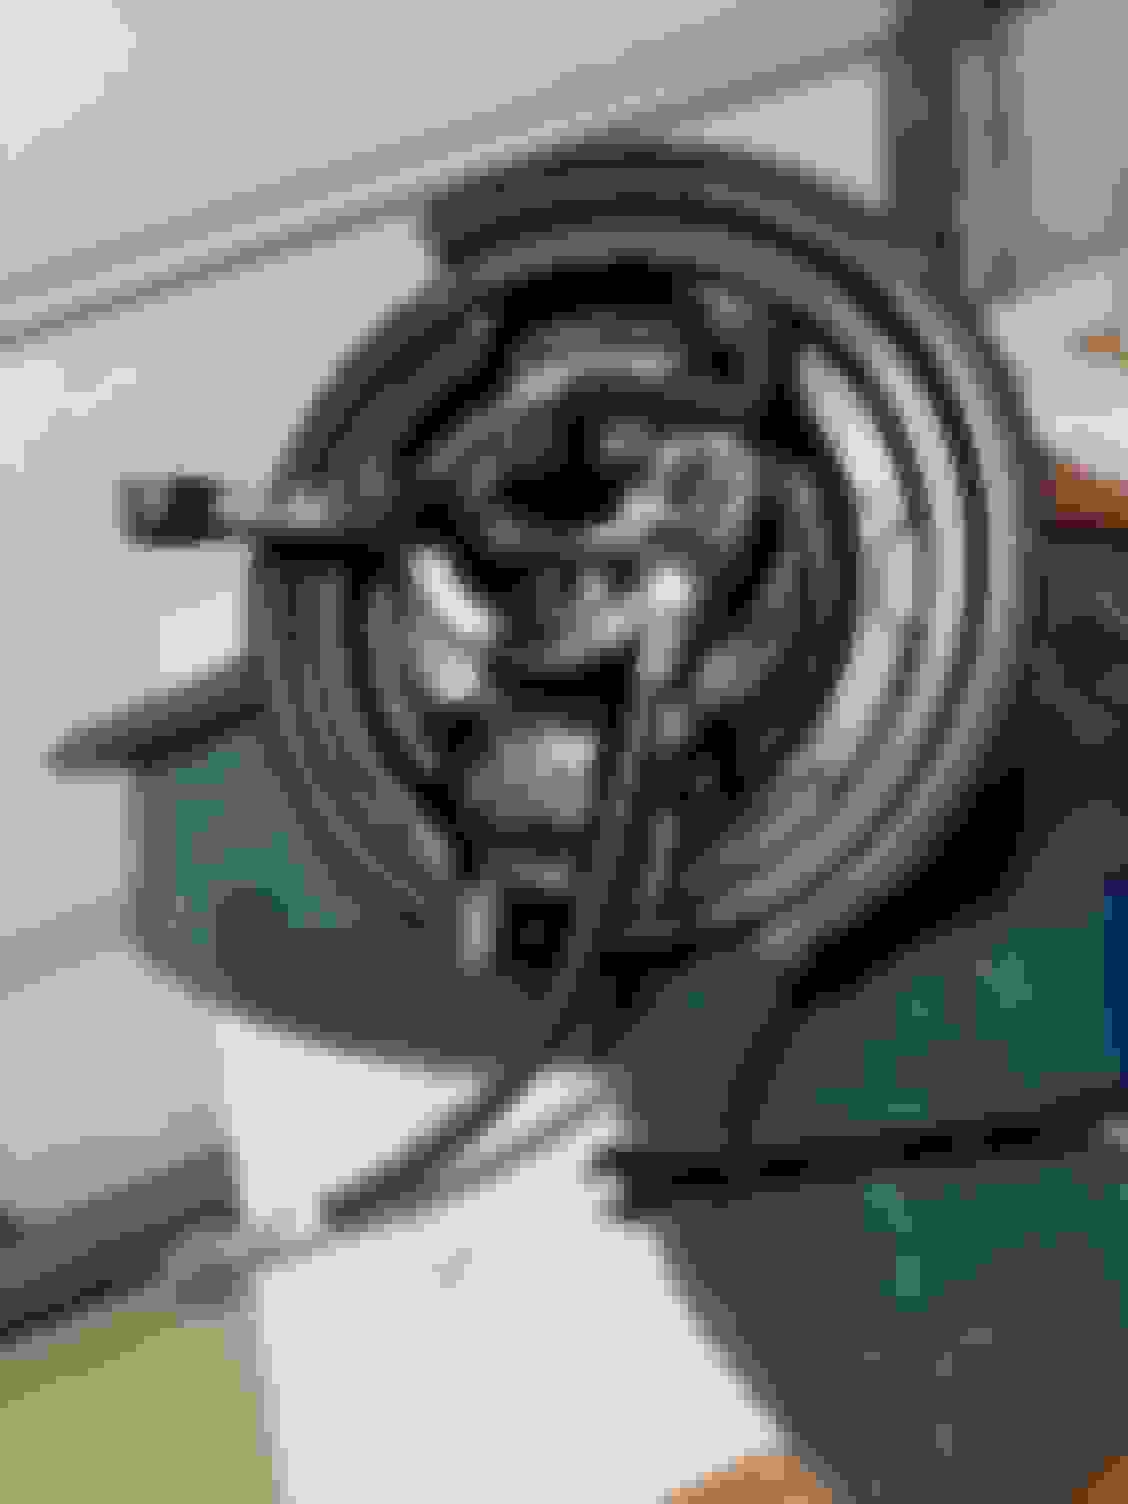
Sorry folks, another question; I'm trying to index the new springs for my tubular control arm install. The CSM gives indexing procedures for the stock control arm but says nothing about the spring pocket in the frame. And where the coils terminate on the new springs isn't the same as the stock springs so I can't go by that either. The spring pad in the tubular arm can be easily clocked but there's no way to know where to put it. This is for a '71 Supreme hard top. Shouldn't there be an index in the frame spring pocket? Also, as you can see in the first pic, the top of the stock spring has been ground flat, whereas the new spring, stock replacement for 455 w/ AC from Rockauto, is not ground flat. The coil just terminates and is blunt on the end.
I found (actually, thought through) my answer to the spring clocking question. It doesn't matter. The top pocket is flat and doesn't need clocking. The contoured spring pad in the tubular can be clocked anywhere I want it. I'll just look for a "best fit".
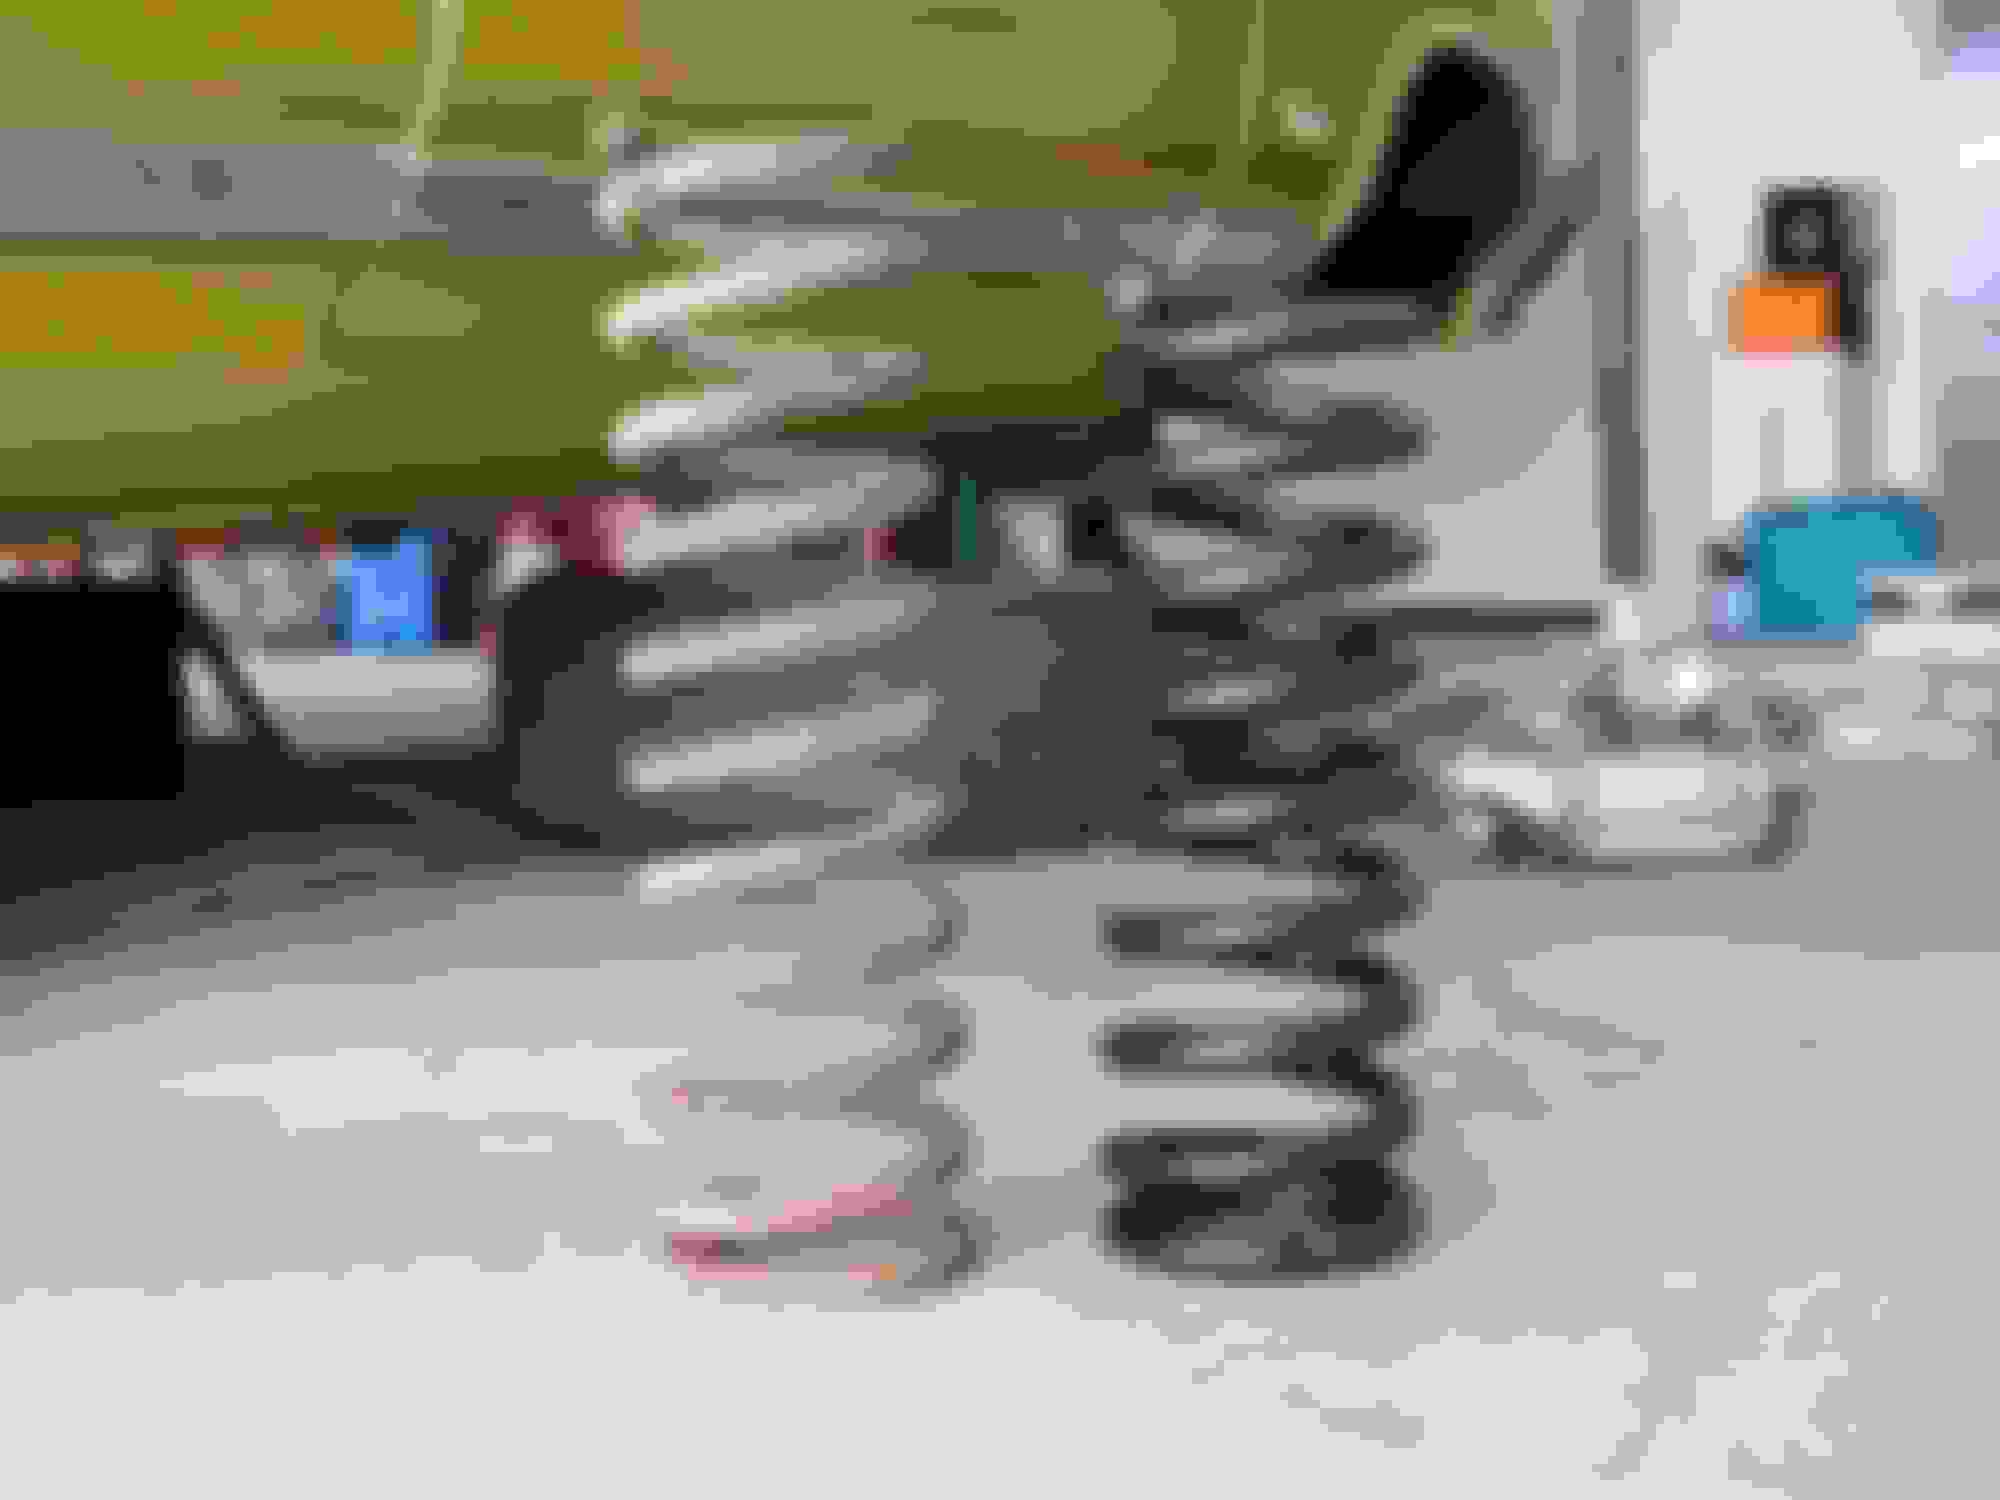
Mac, your new springs don't look right. The Moog 5536 that I installed in my car were flat on the top, just like the originals. They are turned upside down in the pic so they would stand up.
Mac, your new springs don't look right. The Moog 5536 that I installed in my car were flat on the top, just like the originals. They are turned upside down in the pic so they would stand up.
What grand /part number springs do you have?
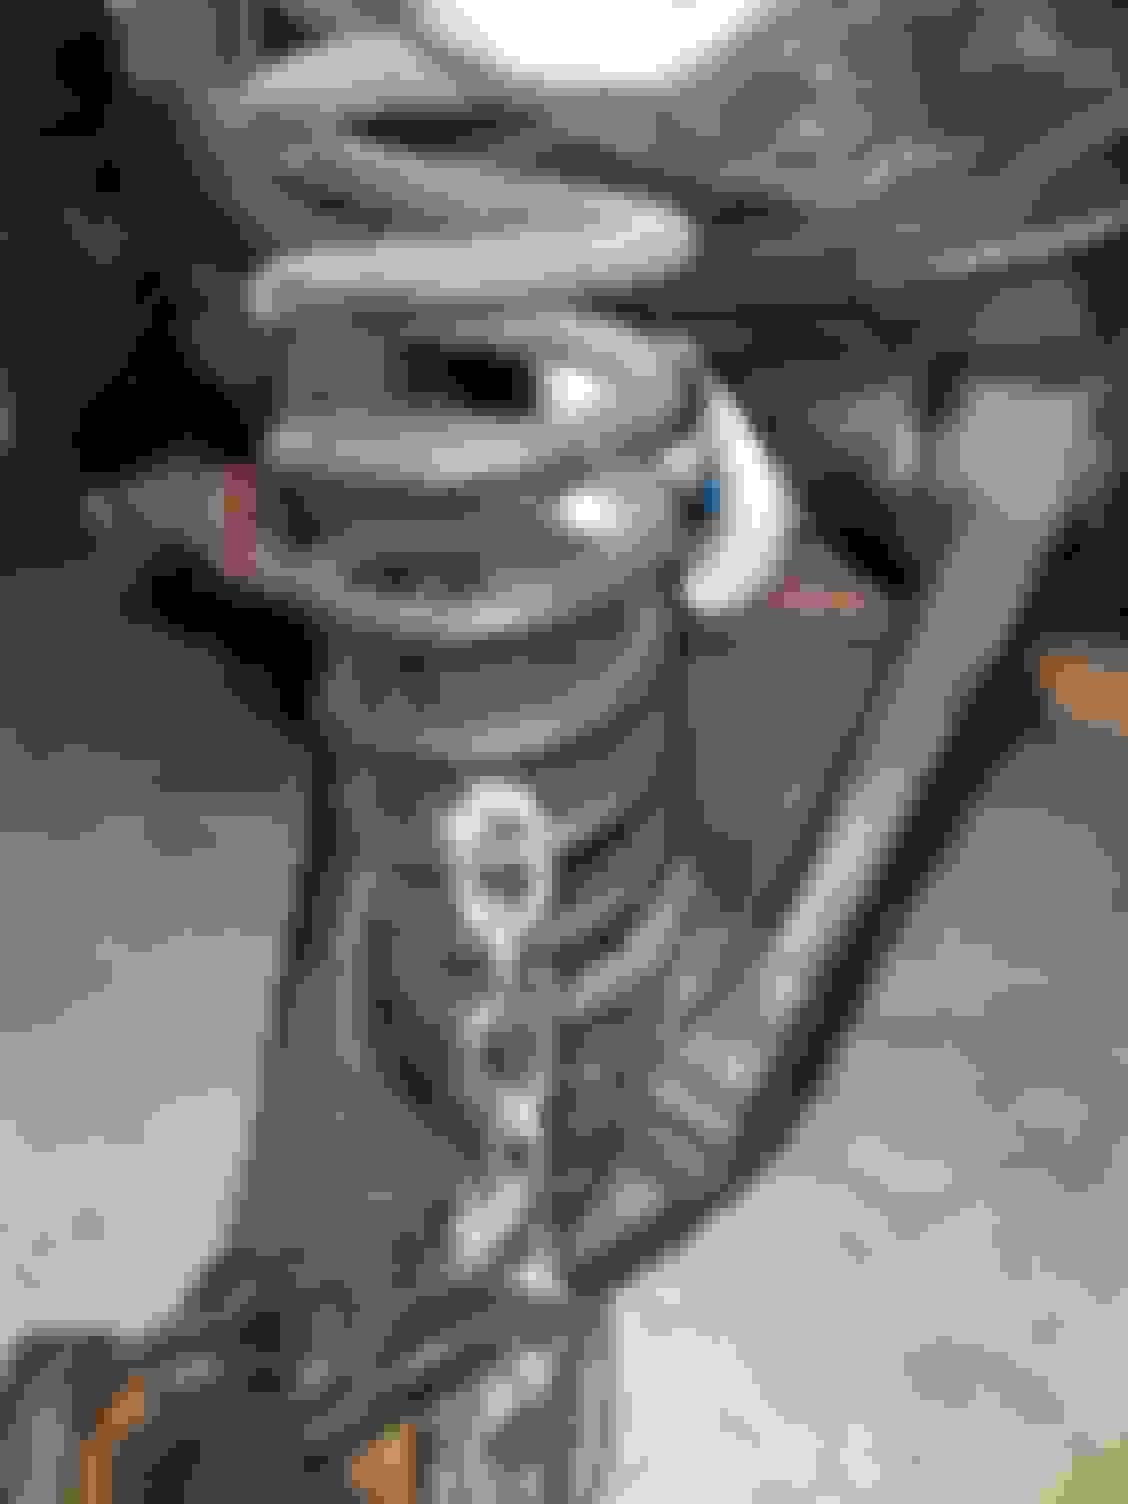
Mine certainly aren't ground flat on the top. It looks like yours are? And no part number on the box that I can see so no way to verify. I haven't been real happy with Rockauto this time around. They also sent me three inner tie rods and one outer.
Yeah, they were relatively easy to install. I just had to get the top in place, the push the bottoms into the control arm pocket.
I was surprised at how short they were compared to the originals, but the ride height was the same as the 40+ year old originals due to the much higher spring rate.
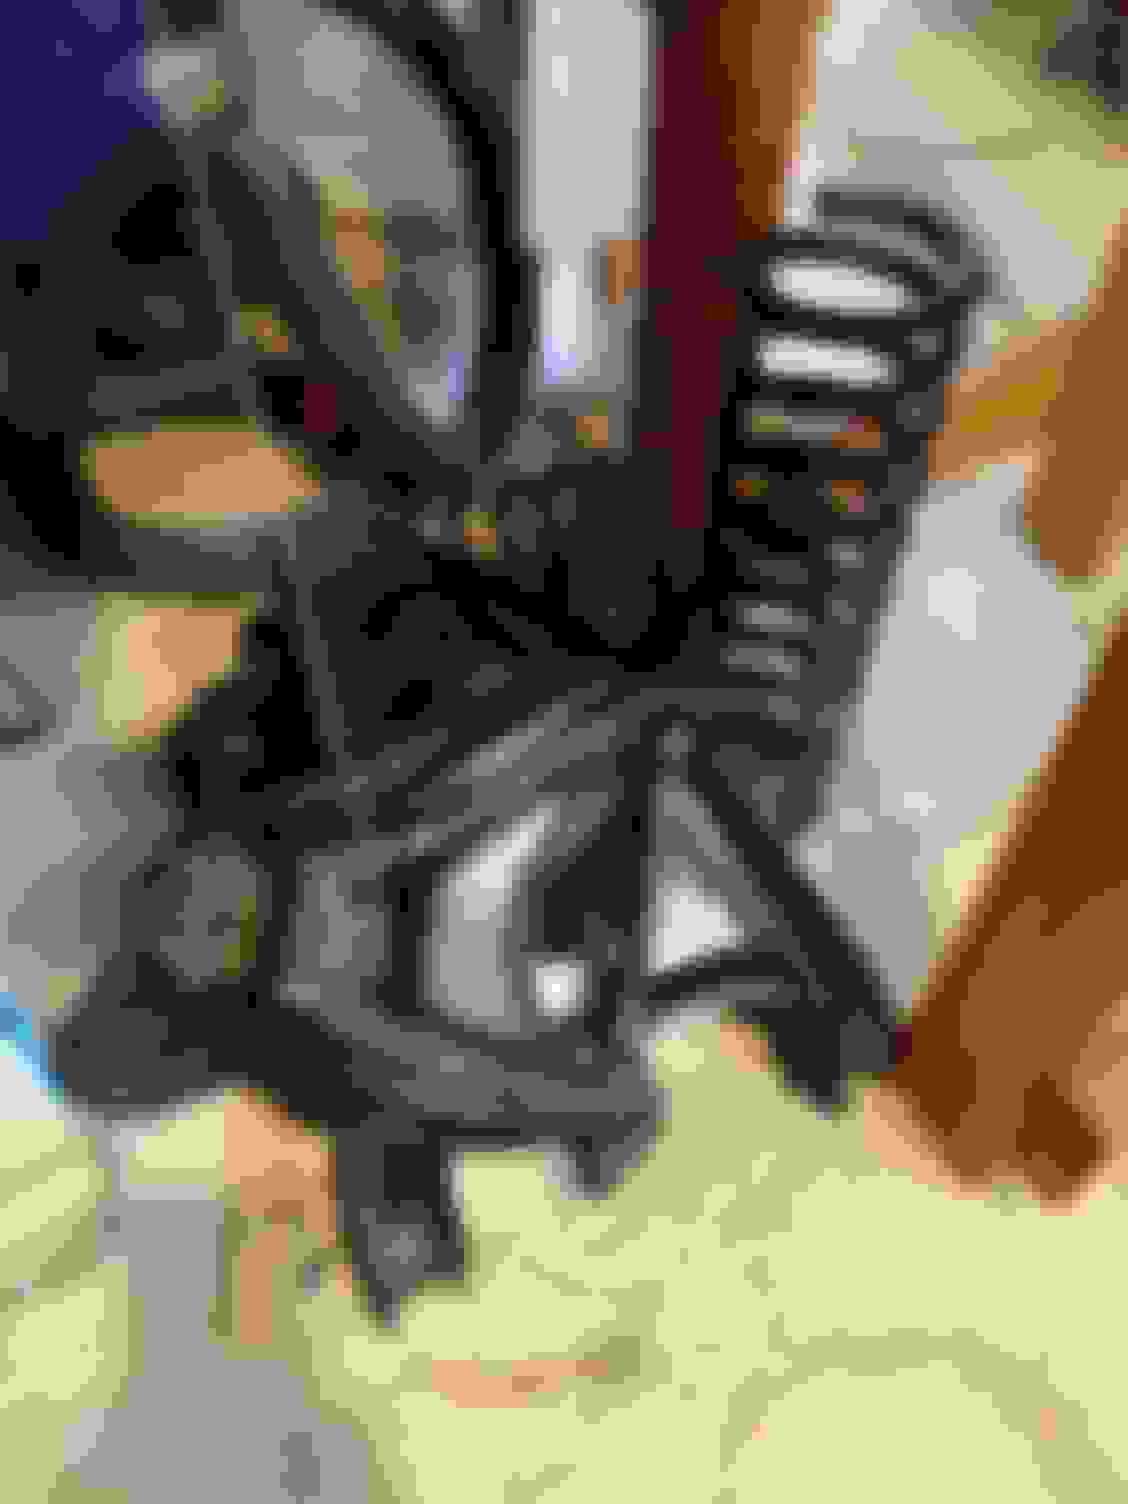
Today's work:
Unbolting the header made the passenger side so much easier. The control arm pivoted all the way down, no tension on the spring, and just popped it out with a pry-bar (I could see space between the spring and the LCA so I knew it was loose).
Here's the weird thing for today; I went to cut the UCA bolts with my sawz-all and a new blade, like I did on the driver's side, and three toothless blades later I was only half way through the first bolt. I sawed through the driver's side bolts, both of them, with one blade that was still usable when finished. So I thought I'd try to pry-bar and they popped right out with maybe half the force I was applying to the driver's side. And these bolts had less time soaking in PB Blaster. Just kinda' odd.
Sadly, I'm not doing a brake conversion to discs this dance, maybe next summer, but I did get the assemblies all cleaned and painted and new lines on one (the other tomorrow). Last summer I did the bearing but I'll double check them before I'm done with this job.
I'm ready to install the tubular control arms. Wondering if it's something I can do by myself. I am going to use my spring compressor on the new springs so I'm hoping that helps.
Just saw your thread as well Mac - good luck with the rest of your front end! Scary stuff on the springs! Thanks for the pics I got some ideas for reinstall of my springs with chain placement and what not - Joe R.
You can... I just tighten the nuts (goodntite), line up the castle nut and cotter pin hole, slip the cotter pin in and I'm done. Its a taper fit.
Thanks Eric. I'll probably use my torque wrench since I paid good money for it, lol. I'm also not a brute like some of you folks on here. My "tight" may not be as much as yours.
Originally Posted by 72442455
Just saw your thread as well Mac - good luck with the rest of your front end! Scary stuff on the springs! Thanks for the pics I got some ideas for reinstall of my springs with chain placement and what not - Joe R.
Yeah Joe, this job has made my heart pound a couple of times. I'm planning on using the spring compressor for the re-install since I'll more than likely be doing it all by my lonesome. I saw a video where the dude laid the spring flat on the floor and laid a board over it, plywood I think, and knelt on the board as he tightened. Seemed legit so I'll try it but my heart will still pound. I'll just have to make sure I don't put the compressor up to high in the spring or I'll never get it back out.
For reinstalling the springs on my car, I inserted the top of the spring into the frame pocket, then levered the bottom into the control arm pocket (the difficulty factor will vary depending upon your spring height and stiffness). After that I just used the floor jack to raise the lower control arm until the ball joint was lined up.
For reinstalling the springs on my car, I inserted the top of the spring into the frame pocket, then levered the bottom into the control arm pocket (the difficulty factor will vary depending upon your spring height and stiffness). After that I just used the floor jack to raise the lower control arm until the ball joint was lined up.
The LCA spring pad is pretty soft for crow-barring and I'd fear damaging it. But I'll certainly look at that possibility first.
Anyone see a problem with using anti-seize on the spline part of the new bolts for the UCAs? I mean, in case they have to come out again? I have commitment issues
Well, they're supposed to not turn. The lock should come from the lock nut, yes?
Another question; is there any reason I can't reverse the direction for the LCA bolts; with the heads towards the rear instead of the front? This way I could remove them, if necessary, without having to unbolt the headers.
Lastly, I spent a little time today trying to get the first LCA in by myself and one of the problems was that the [outer polyurethane bushings?], the white discs that fit over the sides, kept falling off. So I used some grease to hold them on. But then I thought maybe there shouldn't be grease in there. Thoughts?
Another question; is there any reason I can't reverse the direction for the LCA bolts; with the heads towards the rear instead of the front? This way I could remove them, if necessary, without having to unbolt the headers.
Make sure they will clear the downward part of the fame. I think I remember that being an issue with the rear LCA bolt on mine.
I don't think you will have any issues with the grease. Grease is your friend with poly bushings.
Well, they're supposed to not turn. The lock should come from the lock nut, yes?
The splined part of the bolt is supposed to lock into the frame when they are tightened the first time.
Another question; is there any reason I can't reverse the direction for the LCA bolts; with the heads towards the rear instead of the front? This way I could remove them, if necessary, without having to unbolt the headers.
The bolts can go in from either side.
Lastly, I spent a little time today trying to get the first LCA in by myself and one of the problems was that the [outer polyurethane bushings?], the white discs that fit over the sides, kept falling off. So I used some grease to hold them on. But then I thought maybe there shouldn't be grease in there. Thoughts?
Last question (for the night), does it matter exactly where the bump-stop on the UCA contacts the frame? These tubulars contact a little further towards the rear. Of course it hasn't been aligned yet so who knows where they will contact in the end.
So, my "plan" of making this job easier by buying the tubulars so I wouldn't have to deal with bushing and ball joints wasn't my best decision. I ended up raplacing the cheap joints with Moog, replacing the grease zirks with right angle, and now I had to modify the backing plates of the brake assemblies to clear the LCAs, which are much thicker in the ball joint area. But I'm committed now so I'll see it though.
Yesterday I spent the day gettng one LCA in, one UCA in and shimmed (using the original distribution of shims), finishing the replacement of brake lines on the assemblies, and modifying the backing plates. Oh, and wire brushing small parts. So much wire brushing! Lol.
Note: I realize that the modifications to the backing plates are not ideal and I'll have to be extra careful about avoiding rain. Next summer I can look into a disc conversion but that's just not in the budget right now.


 I'm glad you reconsidered before moving forward w/ that idea. Must be that hot summer sun clouding your thinking - happens to all of us.


")