When you click on links to various merchants on this site and make a purchase, this can result in this site earning a commission. Affiliate programs and affiliations include, but are not limited to, the eBay Partner Network.
Hope this will help anyone out there. Experts please correct me if I am wrong. This is following the chassis manual pages 6D4-4 and 6D4-5 Step 1 observe the hole u see in the picture is aligned with the rotor Step 2 keep the cap on the dustributor body (now u can't see the rotor) and rotate the shaft so that bottom hole of previous photo gets in the middle of 1 and 8 plug leads and hold the shaft right there Step 3 Borrow your wife's old nail polish (good if u have correction fluid) and keep marks on the dustributor body and rotor on the previous alignment Mark on the rotor Step 4 pull out spark plug number 1, put your finger in that spark plug hole and rotate the engine so that you can feel compression on that finger. Get the pulley mark aligned to 0 Step 5 Keep the cap and note that 1 and 8 leads are best positioned towards the firewall. So the rotor has to look south when going in. Step 6 When you push the dustributor in, it rotates about 30 degrees clockwise. Therefore you rotate about the same counter clockwise before installing and then push the dustributor in so that when it seats properly, rotor points towards the marks you have put earlier. Now you can see the piston #1 at tdc and rotor between 1 & 8 leads.
Last edited by kuseetha; Apr 10, 2018 at 08:56 PM.
Looks good to me. That should get you in the ballpark as far as timing but you should make final adjustments with a timing light. You should replace that rotor. They should be available at any parts store and pretty cheap.
Looks good to me. That should get you in the ballpark as far as timing but you should make final adjustments with a timing light. You should replace that rotor. They should be available at any parts store and pretty cheap.
Thank you Greg. Could you help me on this too?
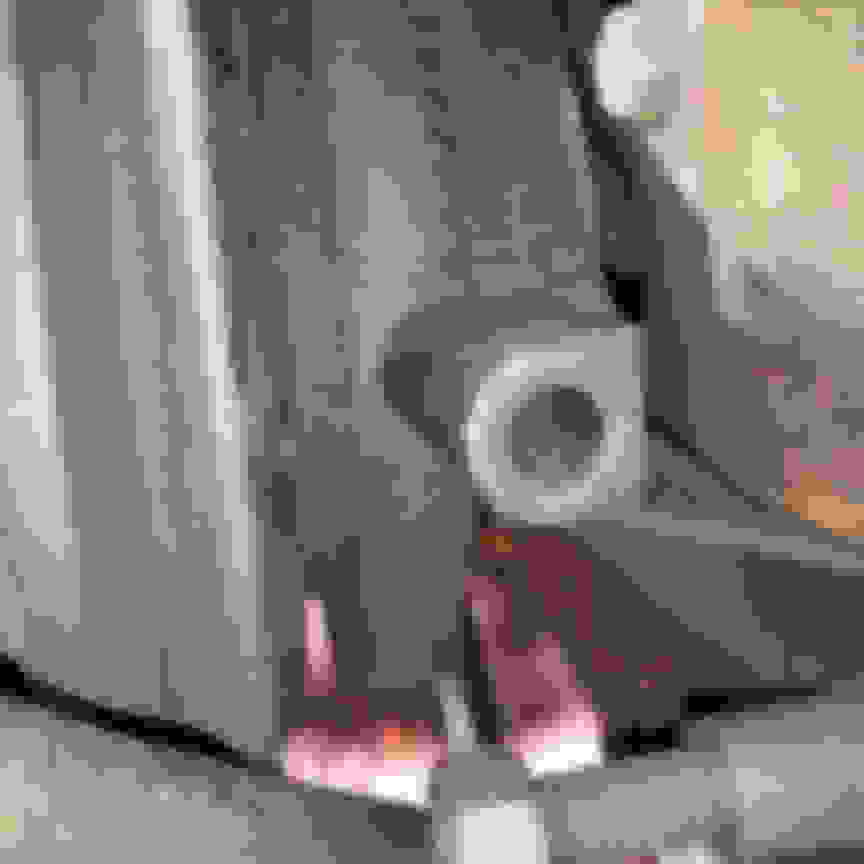
I have removed the 3 pin connector (you can see in the photo) and failed to make a note of the direction.
On the distributor cap, you get C- GRD and B+
GRD of course makes no difference since it is in the middle.
Which one is the pink wire according to the picture? Is it C- or B+?
The distributor does not care where the body is positioned only where #1 is. I would position the body of the distributor so the wires exit on the drivers side, and not chafing against the intake. Then install it so the rotor is pointing to #1 towards the firewall.
You should replace that rotor. They should be available at any parts store and pretty cheap.
X2 The rotors are somewhat balanced, that is why the body of the rotor is so big. It looks like someone has used epoxy of some kind to hold the electrical connector to the rotor and that will effect the balance. The rotor also has some dirty hand prints on it, that can lead to crossfires inside the distributor. Clean it real well or replace it.
X2 The rotors are somewhat balanced, that is why the body of the rotor is so big. It looks like someone has used epoxy of some kind to hold the electrical connector to the rotor and that will effect the balance. The rotor also has some dirty hand prints on it, that can lead to crossfires inside the distributor. Clean it real well or replace it.
The place on the cap (under the coil) which holds the carbon contact on the rotor was melt when I had it started last time (first time I started it). I read somewhere that it is because the plug gap is bit large. Both the cap (and then the rotor) too has to be changed. Also some insulation damage is there on 2 of the HT leads. Putting things back this way is only to get it running (this is a swap) and have to import all the parts needed at once. Thank you all for your comments!