When you click on links to various merchants on this site and make a purchase, this can result in this site earning a commission. Affiliate programs and affiliations include, but are not limited to, the eBay Partner Network.
Hey there forum members, I wanted to start a build thread on my 1972 cutlass base that I am turning into the 442/W-30 I always wanted. This will be an ongoing project as I get time here and there.
In short here is the plan and what I have:
1972 Cutlass w/ 350/TH350, AC, power steering, 85K miles - Rust Free !
I purchased a 72 date correct 455 motor off Craig’s list - started the motor build - details below
I purchased a TH400 off Craigslist from a 69 Firebird - needs rebuild
Car is yellow with brown vinyl top and brown interior with bucket seats
Converting the car to black on black w/ black vinal top
converting the 4 wheel drum to 4 wheel disk
Things I have already begin and/or started:
I have replaced the following parts w/ new:
Inner tie rods
Outer tie rods
centerlink
idler arm
pitman arm
steering gear box (CPP 500 series)
upper control arms (new w/ ball joints and bushings)
lower control arms (new w/ ball joints and bushings)
sway bar bushings
I had carburetor rebuilt so I can drive it here and there while I build the 455 and work on the interior. I am luck that National Carbuertor is here in Jacksonville fl so I could just drop off and pick up - they do a great job !
Now for the Motor - sourced the motor on Craigslist for 500 bucks and tore it down. I am working with Cutlassefi (Mark) as well as I have all machine work done by Mark Hedrick (Horsepwoer by Hedrick) also located in Jacksonville.
My block is back at the house now and the following has been done:
bored to .060 over - now 468ci
line honed
decked
sonic checked and manga fluxed
ring gaps set
internally balance
Mark H also installed the oil gally plug for the dizzy w/ the .40 hole for me
I also got bored after the kids went to bed last night so I assembled 2 pistons. I will take better pics today of the motor on the stand.
So for now....I will be building the bottom end as well as converting the interior to black. Then maybe around December I will work on the transmission rebuilt. I have to pace myself so the wife doesn’t ask to many questions on $$$
Thanks for stopping and reading/following
Brian
Last edited by Brians1; August 26th, 2018 at 05:19 AM.
Imagine that car with everything else untouched - looking the same way externally as it does today - with that engine in it - has got me thinking for a future project.
Good Luck!!!
Last edited by costpenn; August 26th, 2018 at 07:14 AM.
I made some great progress on trying the SEM brand Landau Black, I pulled the A pillars out, cleaned them really well and then scuffed them just a bit with the rough side of a dish sponge, I didn't get to take great pics because as soon as I let it dry the crazy rain storms started here in FL.
I also assembled the rest of the pistons (connected the rods and secured the wrist pins)
More to come and more pics this evening when I get home from work and get the kiddos to bed
Wow, that car is in nice shape. I don't think I've seen a brown vinyl top before. That also has to be the nicest 2GC I've ever seen.
Are you keeping the original 350 after you swap in the BBO?
Thanks ! Im going to sell the 350/TH 350 once the transplant is done. National Carb here in Jacksonville FL does a really great job on the carb rebuilds, and they are motor tested and tuned before they hand it back so all I have to do it bolt on and go.
All I have done to the 350 it is replace some vacuum hoses, the rebuilt 2 Barrel, new plugs, cap, rotor, wires, coil, and I got rid of the points and put in a pertronix unit. run's decent for 85K original miles.
The previous owner had the brown top installed (left the receipt in the glove box), not sure if it was same color from factory or not, but as mentioned its going to get torn off for a new black one
Well I dint get to do anything this evening, Wife had a "errand" for all of us to run...now we have a pink mustang in the garage, and it goes a super fast 5mph Its a Disney princess Mustang LOL. My son had a C7 vette power wheel when he was 3 (now hes 7)...so only fair his little sister got a set of wheels too as she just turned 3.
What I was able to do is check on the kick panels I painted with the SEM ....looks pretty good If I say so. ** The glare from the overhead shop light makes it look like a streak but its not. **
I will try and do some motor build work tomorrow evening..fingers crossed LOL
Brian
Last edited by Brians1; August 27th, 2018 at 06:13 PM.
Hey there gang...So I have all of my rotating assembly ready to go and all of the items to button it up. Since Monday is a work holiday for me, I plan on letting the kids go to grandma and grandpa's so I can work in the garage and knock this out. Here are pics of all the parts I have to make the bottom end a done deal.
** For the rear main seal, I read a lot of threads about the Ford 429/460 2 piece rear main seal - hope I bought the right one
*** Since im paining the block the proper Olds blue...i got the plane Jane oil pan from summit, figured whats the diff I can save some $$ since all im doing is painting it
2 piece rear main seal
Melling HV pump and pick up
freeze plugs and cam plugs
Main bearings
oil pan gasket
oil pan bolts
oil pan
rod bearings (upper and lowers)
rings already gapped per cylinder
balancer
view of the cam bearings
some nice stamp work on the mains Mark Hedrick did while doing the machine work @ Horsepower by Hedrick
Internally balanced, heavy metal slugs added and polished
some more nice stamp work for torque setting for main bolts Mark Hedrick did while doing the machine work @ Horsepower by HedrickBrian
Last edited by Brians1; August 30th, 2018 at 06:13 PM.
Be sure to rotate the seal up, so it blocks the part line, does that make sense? Also, use sealant on both sides of the seal before installing the rear main cap..
Location: Edmonton, AB. And "I am Can 'eh' jun - eh"
Posts: 24,525
You're doing beautiful work and documenting your build incredibly well. You have such a fantastic blank canvas to work with too. I have to ask about this:
In short here is the plan and what I have:
I purchased a 72 date correct 455 motor off Craig’s list - started the motor build - details below
The 455/400 is an excellent choice unless you decide to go with 200 4R. Both will take the 455 without much effort. BUT, why on earth are you putting a 2GC back on the 455? A 7042251 Quadra Jet will flow much better (750 CFM) and deliver much better performance at low and high end. I had a 2GC on my 72 Cutlass S and changed over the manifold and carb to 7042250 (350 application). It increased performance and mileage noticeably. I also found that the 2GC wasn't always that great at staying properly tuned so the QJ was a welcome change.
You're doing beautiful work and documenting your build incredibly well. You have such a fantastic blank canvas to work with too. I have to ask about this:
The 455/400 is an excellent choice unless you decide to go with 200 4R. Both will take the 455 without much effort. BUT, why on earth are you putting a 2GC back on the 455? A 7042251 Quadra Jet will flow much better (750 CFM) and deliver much better performance at low and high end. I had a 2GC on my 72 Cutlass S and changed over the manifold and carb to 7042250 (350 application). It increased performance and mileage noticeably. I also found that the 2GC wasn't always that great at staying properly tuned so the QJ was a welcome change.
Im not putting the 2 Barrel back on...I had the 2 barrel rebuilt so i could drive the cutlass now (take the kids to the store, quick ride, etc)...It was rough so it was worth the 200 bucks and when i sell the motor ill get it back. I wanna run OAI and the ram air hood so Im on fence about the Q Jet or aftermarket (CutlassEFI - Mark and i have traded some emails on this too) so yes a 4 barrel is def going on the new 455
Last edited by Brians1; August 30th, 2018 at 06:43 PM.
Be sure to rotate the seal up, so it blocks the part line, does that make sense? Also, use sealant on both sides of the seal before installing the rear main cap..
So if i interpret this correctly, you mean don't let the seal where the 2 join/touch be in line with the block and the cap...offset them like you would the piston rings so there is no chance of seepage at the joins...that what you mean ?
So if i interpret this correctly, you mean don't let the seal where the 2 join/touch be in line with the block and the cap...offset them like you would the piston rings so there is no chance of seepage at the joins...that what you mean ?
New update...Lots of progress today, things went very well up until I messed up the cam plug install...have to buy a new one now, but I was able to get it out (see the image of how it went in too far and crooked - too much goop was issue # 1 for sure)
The Main bearings went in easy, I did question the # 1 bearing as it protruded out just a hair, but after verifying things with cutlassefi (Mark) via text, im good to go.
I also installed the oil pan to catch any of the assembly lube that may fall down, plus im glad I did, it needed to be aligned to the holes...was a tiny bit out of shape.
Block cleaned and wiped down
freeze plugs went in very easy, small amount of goop per plug
you can see here, went in too far from having too much goop to slide in. took it out and back on the stand it went. Order already placed to summit racing.
setting the main caps into the block
close up of the main bearings
2 piece rear main seal...offset to avoid the seams in parallel. Also added a small amount of goop/sealer to ensure the 2 piece joins and seals
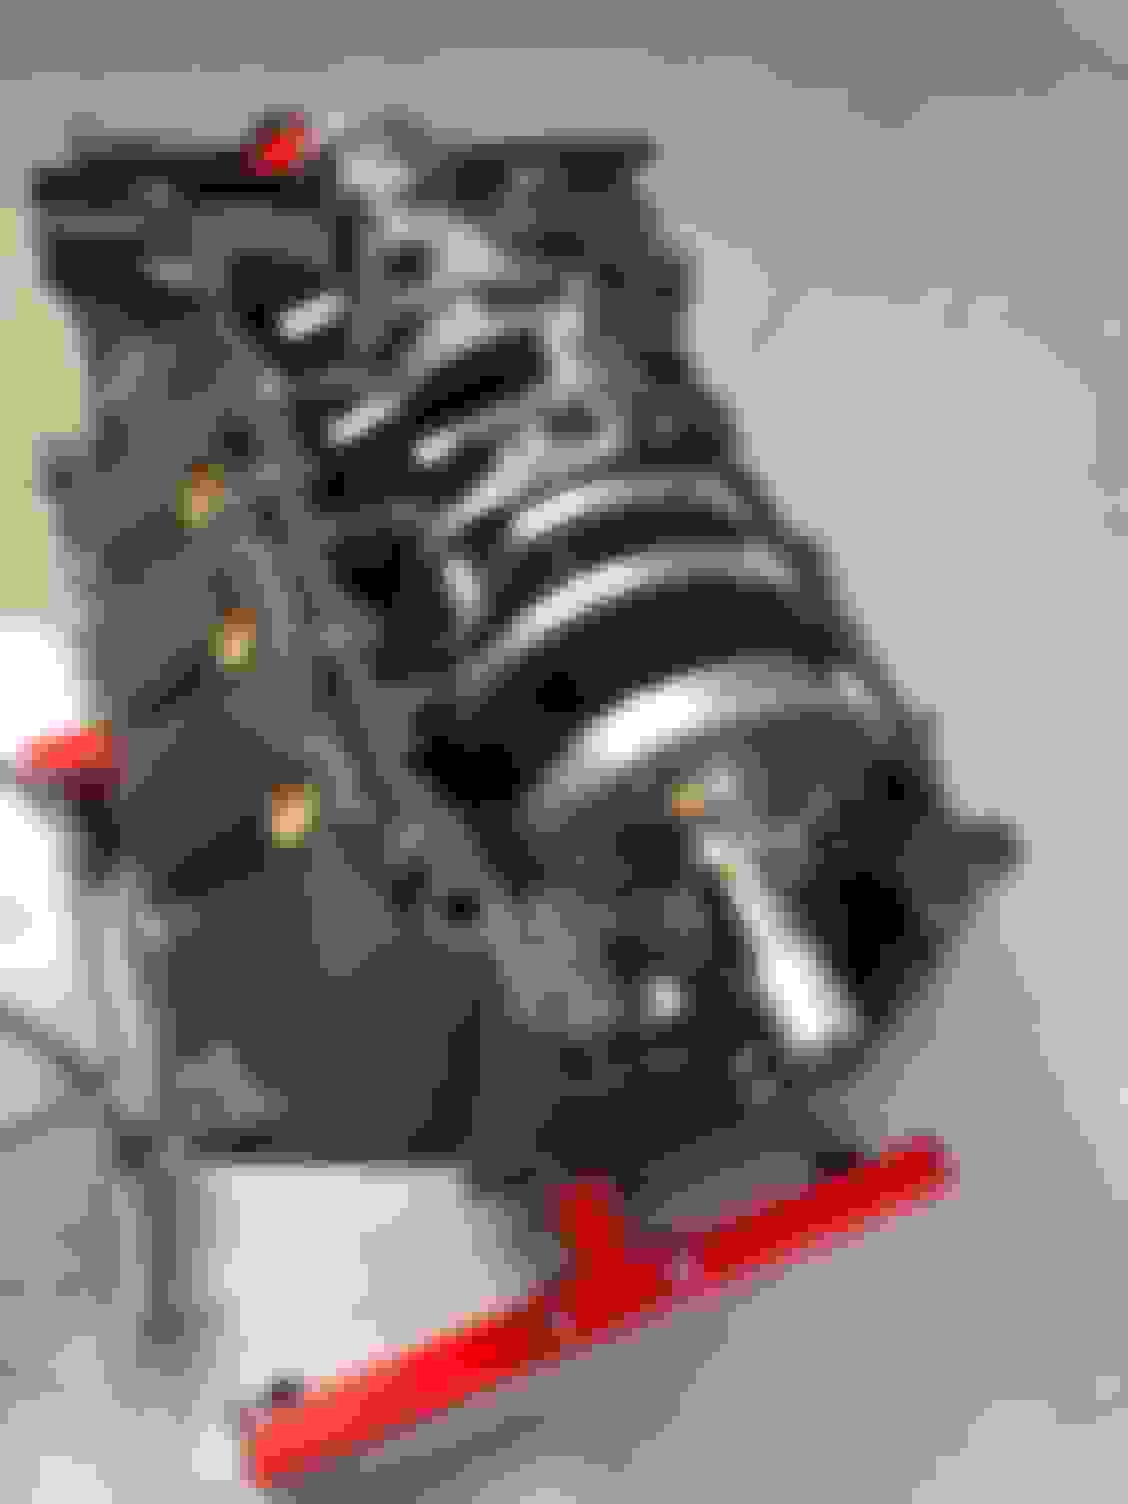
crank is in
main caps and bearings installed
as mentioned this is # 1 and you can see the protrude I was speaking about. The tangs are alined and crank moves freely.
Melling HV oil pump and pickup installed.
another view w/ oil pump
Oil pan needed to be aligned so I put it on just enough to get some thread engagement. It will sit like this for now
tucked away safe and sound for now LOL
Buttoned it up after I got the cam plug out. Ill do the piston rings tonight after the kids go to bed.
Brian
Last edited by Brians1; September 3rd, 2018 at 01:40 PM.
That pan doesn’t fit, I suggest a Milodan pan, they sit flat on the block..of course you can pull that pan down, but I’ll bet it leaks.
‘Or find a stock olds pan.
jusy my .02
Last edited by dc2x4drvr; September 3rd, 2018 at 03:50 PM.
That pan doesn�t fit, I suggest a Milodan pan, they sit flat on the block..of course you can pull that pan down, but I�ll bet it leaks.
�Or find a stock olds pan.
jusy my .02
yea I was thinking about returning it ....I dont like the fitment the more I think about it.
Well just a small update here . Since the kids went back to school they gave me cooties and I have been under the weather, so while I did not yet get the piston rings installed, I did get the new oil pan in. I ordered the Milodon and it’s a perfect fit. Thanks for the suggestion dc2x4drvr !
ill get the piston rings and pistons installed this weekend and update again.
I got some quality work done yesterday. I installed all of the rings on the piston's and I was able to install the rear cam plug correctly this time (it was a real PITA!). After I got the cam plug installed I took a pic from the inside and you can see plenty of clearance to the rear cam bearing. I also put #1 Piston in before I had to stop for the day.
Today I am going to install the rest of the piston's and do the final torque. My new control arms finally showed up to (Upper and lower) so in the next week or 2 I will head over to my buddy's house who has a lift and we will finish up the front suspension.
** I also threw some more assembly lube on/around the crank and bearings - its cant hurt **
i can't see all the pics, but if you didnt know there is a hole (.040) in the screw in plug that goes in the block near the distributor. That hole allows oil to the dizzy.
Nice work! Are you checking clearances as you assemble the shortblock?
I had Mark Hedrick @ Horsepower by Hedrick check and verify all clearances before I took everything home. He gapped the rings for me as well.
One snag yesterday, my cheap ring compression tool broke on putting # 6 piston in, as a result I crack and broke the intermediate ring on the piston, it hit the surface area of the block/head. Mark (Cutlassefi) is sending me a new single cylinder ring pack so i can get the bottom end finished up.
Hey guys - sorry for delayed update...busy weekends back to back since I coach my sons Baseball team. I am still waiting on my single cylinder ring pack to show up (I think it arrives tomorrow - got a UPS notice today). I really wanna button up the rotating assembly so hope it gets here tomorrow.
here are some pics of the rod's connected up from the pistons that are installed.
Also thanks to Florence, my lower controls arms got routed to OR vs FL...??? Oh well small price to pay for those impacted by Florence
hey guys - my single cylinder ring pack came in today - I now have all 8 pistons installed. I have not done the final torque yet as I needed to get back inside and wrestle these kiddos for a bit before their bedtime. Plus I told he wife I was only gonna be 10 min in the garage - which I was right...10 min and #6 was in.
** I did a few turn's using the balancer bolt and the crank and pistons move freely, no binding, etc. Will triple check clearances as well this weekend when I do final torque.
Hey there members - well I have an update here, but its a borning one LOL.
My lower control arm set that I ordered from Summit (its an OPGI part bundle - but 100 bucks cheaper via Summit) back in August, shipped Sept 7th and guess what still not here. FedEx has lost it after it left the GA Summit facility’s headed for Jax FL (I get orders in 1-2 days max being so close). The box left GA and then went to NJ, OR, UT, NE, MO, and now back to GA and Lost.
I called FedEx and they have a trace open with no hope of finding the box.
I called Summit and they are sending me new ones asap.
So for now I just turn the motor over and add some additional assembly lube as I do it to all moving parts.
Well I Id some great progress last night, the lower control arm is in on the passenger side. Man that was a PITA !....getting the new busing in exact position for the bolt...had to use combination of floor jack and 2x4 LOL
and I am very happy I made the decision to bolt on brand new arms with the bushings already done versus trying to mess with my listing ones. Take a look at this pretty sure I made the right decision
ill tackle the upper control arm tonight after the Jaguar game...currently have some PB Blaster soaking on the upper bolts.
Well...Passenger side is complete and back together - man that was a royal Pain ! - Back is killing me LOL..sitting on the floor hunched over for a few hours is no fun, but I am really happy i did this. The time and effort to mess with the old arms vs the new ones, worth every penny !
I do need to get a new set inner fender liners ? (that the right name?) as you can see here mine are dry rotted and torn from the removal/install of the upper control arm.
The car is def sitting higher now on the passenger side as the spring is brand new, but that was expected. The shocks the previous owner had on here are not the right ones and they are so cheap they are shot, I will order up a new set in the next few days.
Also I will tackle the drivers side next weekend, this weekend is my sons birthday so its a full weekend of fun in store vs sweating in the garage
Brain if you didnt know wait to torque the suspension arm fasteners until the weight of the car is on the suspension this will avoid preloading the rubber bushings
Brain if you didnt know wait to torque the suspension arm fasteners until the weight of the car is on the suspension this will avoid preloading the rubber bushings
that�s exactly what I did ...all snug for now but not torqued until I get driver side done and a lap around the block to make sure all things are seated.
Ok finally some more progress, I completed the driver side setup this am. The car is definitely sitting up higher but it has to be due to the springs being brand new and haven’t even taken it around the block yet for a road test before i sung things down.
I put new shocks on it as well. I can definitely see the rear springs and shocks need to be replaced now.
next up I buying a used disc brake setup from a former member’s 72. This will get me going and I won’t have to spend crazy amounts of money on a namebrand conversion maybe a year or two from now and the car is done I can look at doing that. I will also be pulling out the dashboard and painting it black so be on the lookout for lotta updates coming
Hey guys...back with some new progress. I got a set of used Disk brake spindles from a forum member, and got the rest of the HW new. Started the assembly last night of the spindles, shield, caliper bracket, etc.
After the kids get done trick or treating I'll prob finish up the passenger side and then work on the new brake booster and MC install, run some of the new lines..see how far I get.
Progressing along, got the new pads and caliper in and the new rubber brake hose attached.
Starting to remove old brake lines and got to the current distribution block, threads are rusted on pretty bad. I have sprayed with PB Blaster, will see how they react tomorrow after work.
Depending on where those caliper brackets are from, you may have an issue when you put the wheel back on. I had an issue where the wheel would rub. I didn't feel like grinding on a brand new part so I decided to return them and had my original brackets replated. Good luck.
Depending on where those caliper brackets are from, you may have an issue when you put the wheel back on. I had an issue where the wheel would rub. I didn't feel like grinding on a brand new part so I decided to return them and had my original brackets replated. Good luck.
I'll check wheel clearance tonight for sure. I got these from OPGI

 August 26th, 2018, 05:13 AM