When you click on links to various merchants on this site and make a purchase, this can result in this site earning a commission. Affiliate programs and affiliations include, but are not limited to, the eBay Partner Network.
The column shift linkage has way more travel than the floor shifter and bell crank mechanism allows so I drilled the hole higher on the arm to shorten its travel. I was able to positively feel each detent and it went firmly into park and reverse. I won't be able to road test it for another week or so, we'll have to see how long the harness takes to swap over. I want everything to plug in and work as factory. I cant wait to see the interior light up when I open up the door!
The wiring harness project has taken a turn......I was able to buy a complete and unaltered 61 Starfire wiring harness! Unbelievable luck and again never left my keyboard lol. I haven't gotten a pair of tennis shoes dirty yet building this car.
I was already in the process of installing and testing my Frankenharness when I found it but I couldn't pass it up.
It did need some repair but I had enough spare parts from the 62 harness to fix it. Everything will plug in just as factory with correct connectors and wire colors. If you cant tell I'm pretty excited. Interesting the differences in the two different year harness, same colors, different connectors and the 61 adds a separate harness where in 62 some of those features are incorporated into the main harness. The good news is I can add power windows now and the correct wiring for the power seat. The more i get into this project the more important it seems to try and do everything as correct as possible.
I will need a new or NOS ignition switch. Any good source? My original harness had been altered to incorporate a generic switch and my harness still has the plug. I don't want to cut it if I don't absolutely have to. I would actually make a jumper to the aftermarket switch to the original plug if I cant find a switch right now.
Just talked to Larry at Delmar Wire http://www.delmarwire.com/ and ordered all new fuse holders for my fuse box. Part # is 18-91 (single wire) and 18-90 (two wire). They aren't cheap, he said the price just went up (naturally lol) but these things are getting hard to find so you may want to stock up. I bought a few extra, you never know.
The old ones were just too rusty. I'm actually switching fuse boxes because one of the others has perfect lettering on it and the Starfire box lettering has completely worn off. I cleaned the new box and shot some clear over it to preserve the lettering.
Last edited by 61Bat; Jan 29, 2018 at 09:12 AM.
Reason: Added image
You'll need to find a floor shift steering column too .
To get rid of that shift lever .
The "bracket " that goes in place of the shift lever housing is the same 1961 & 62 .
The steering column mast jacket , unfortunately is 1961 Starfire only .
Believe it or not Charlie I lucked out and found these pieces! They are on their way, along with the elusive Starfire dash emblem, so stoked!
Also found a fellow who happened to have the ignition switch escucheon I needed. I've been so fortunate to find some really obscure and rare parts to make this car as close to a factory Starfire hard top as possible. At least on the inside.....
Good things come to those who wait .
Now,,, you're gonna have to ask Santa for a set of Jaswest panels for Christmas .
I also put on a rear sway bar yesterday. I had an old sway bar laying
around I believe is for a 66 or 67 Chevelle and fabricated some simple angle iron mounts and mounted it to the existing lower control arms using two of the three bolts that hold the halves together.
I also put on a rear sway bar yesterday. I had an old sway bar laying
around I believe is for a 66 or 67 Chevelle and fabricated some simple angle iron mounts and mounted it to the existing lower control arms using two of the three bolts that hold the halves together.
Can you post some more pictures , Please ?
Last edited by Charlie Jones; Feb 25, 2018 at 01:27 PM.
Okay, here's a couple of photos that illustrate what I did pretty clearly I think. It's pretty crude at this point as I will replace the bolts with better grade 8 bolts of the proper length this is what I had laying around the house. I'm also going to trim some of the excess metal, round the corners and paint them. Let's just call this proof-of-concept I want to drive the car and make sure everything is good before I finish them.
The angle is 2x3 in . I may reinforce it with a gusset in the center also.
well chevelle didn't use a rear sway bar til 70 so it's not for a 66-67.but i think the 442 and 70 chevelle are the same bar.if i remember correctly the 73 up chevelle rear sway bar bolts from the bottom up,so if its wide enough you might not need those angle irons.
There is a slight difference in the angle of the LCA's and the sway-bar, the angle iron allows me to compensate by the bolt holes not being parallel with the edge of the sway-bar. Looking at the pics i think I will run a long bolt through the top and nut and washer it and then put the sway-bar bracket on with an additional nut. 7/16-24 for the LCA bolts and the sway bar bolts will be 12-20 and I'll probably weld the nuts to the angle iron bracket. After i trim it the top will be trapezoidal in shape with all corners radiused. I'll post a finished pic off the car.
I've heard the LCA's on these cars interchange with 68-72 A body's? I had a 69 GTO and this bar is left over from that i never used it. I had a pair of Southside lowers on that car and this bar wouldn't fit those.
I find these LCA's very intriguing. Were they designed like this to alter pinion angle? Or to compensate for different wheelbase'? Pretty ingenious design IMO, I'm not sure of the strength but I don't think I'll ever be able to hurt them.
I also see the car has a pinion snubber. I may remove it and fabricate a stealthy adjustable one, a reverse version of the Mopar pinion snubber if you are familiar with that.
well the A- body sway bar bolted to the side of the lca.and looking at your bracket it looks like the front of the lca sticks out farther to fit the wider frame of the b-body car.so if the A-body lca do in fact work you would not be able to use a rear sway bar from an a body.also beings it does have a wider frame which i should have thought of you might try the 73-76 impala/caprice i believe they also bolt from the bottom up.
How many differences Can you spot? I'm actually surprised to see differences in the castings. At first it looked like the only difference was the Starfire peace was just not machined for the gear shift indicator it even has Provisions for the screw that holds in the lens. But they are different.
How many differences Can you spot? I'm actually surprised to see differences in the castings. At first it looked like the only difference was the Starfire peace was just not machined for the gear shift indicator it even has Provisions for the screw that holds in the lens. But they are different.
Nice score on that piece. Been looking a long time for that.
One more shot of the rear swaybar. I replaced all the old hardware with grade 8 1/2-20 bolts and nylock nuts. Round off the corners and fog it black. I'm calling it done.
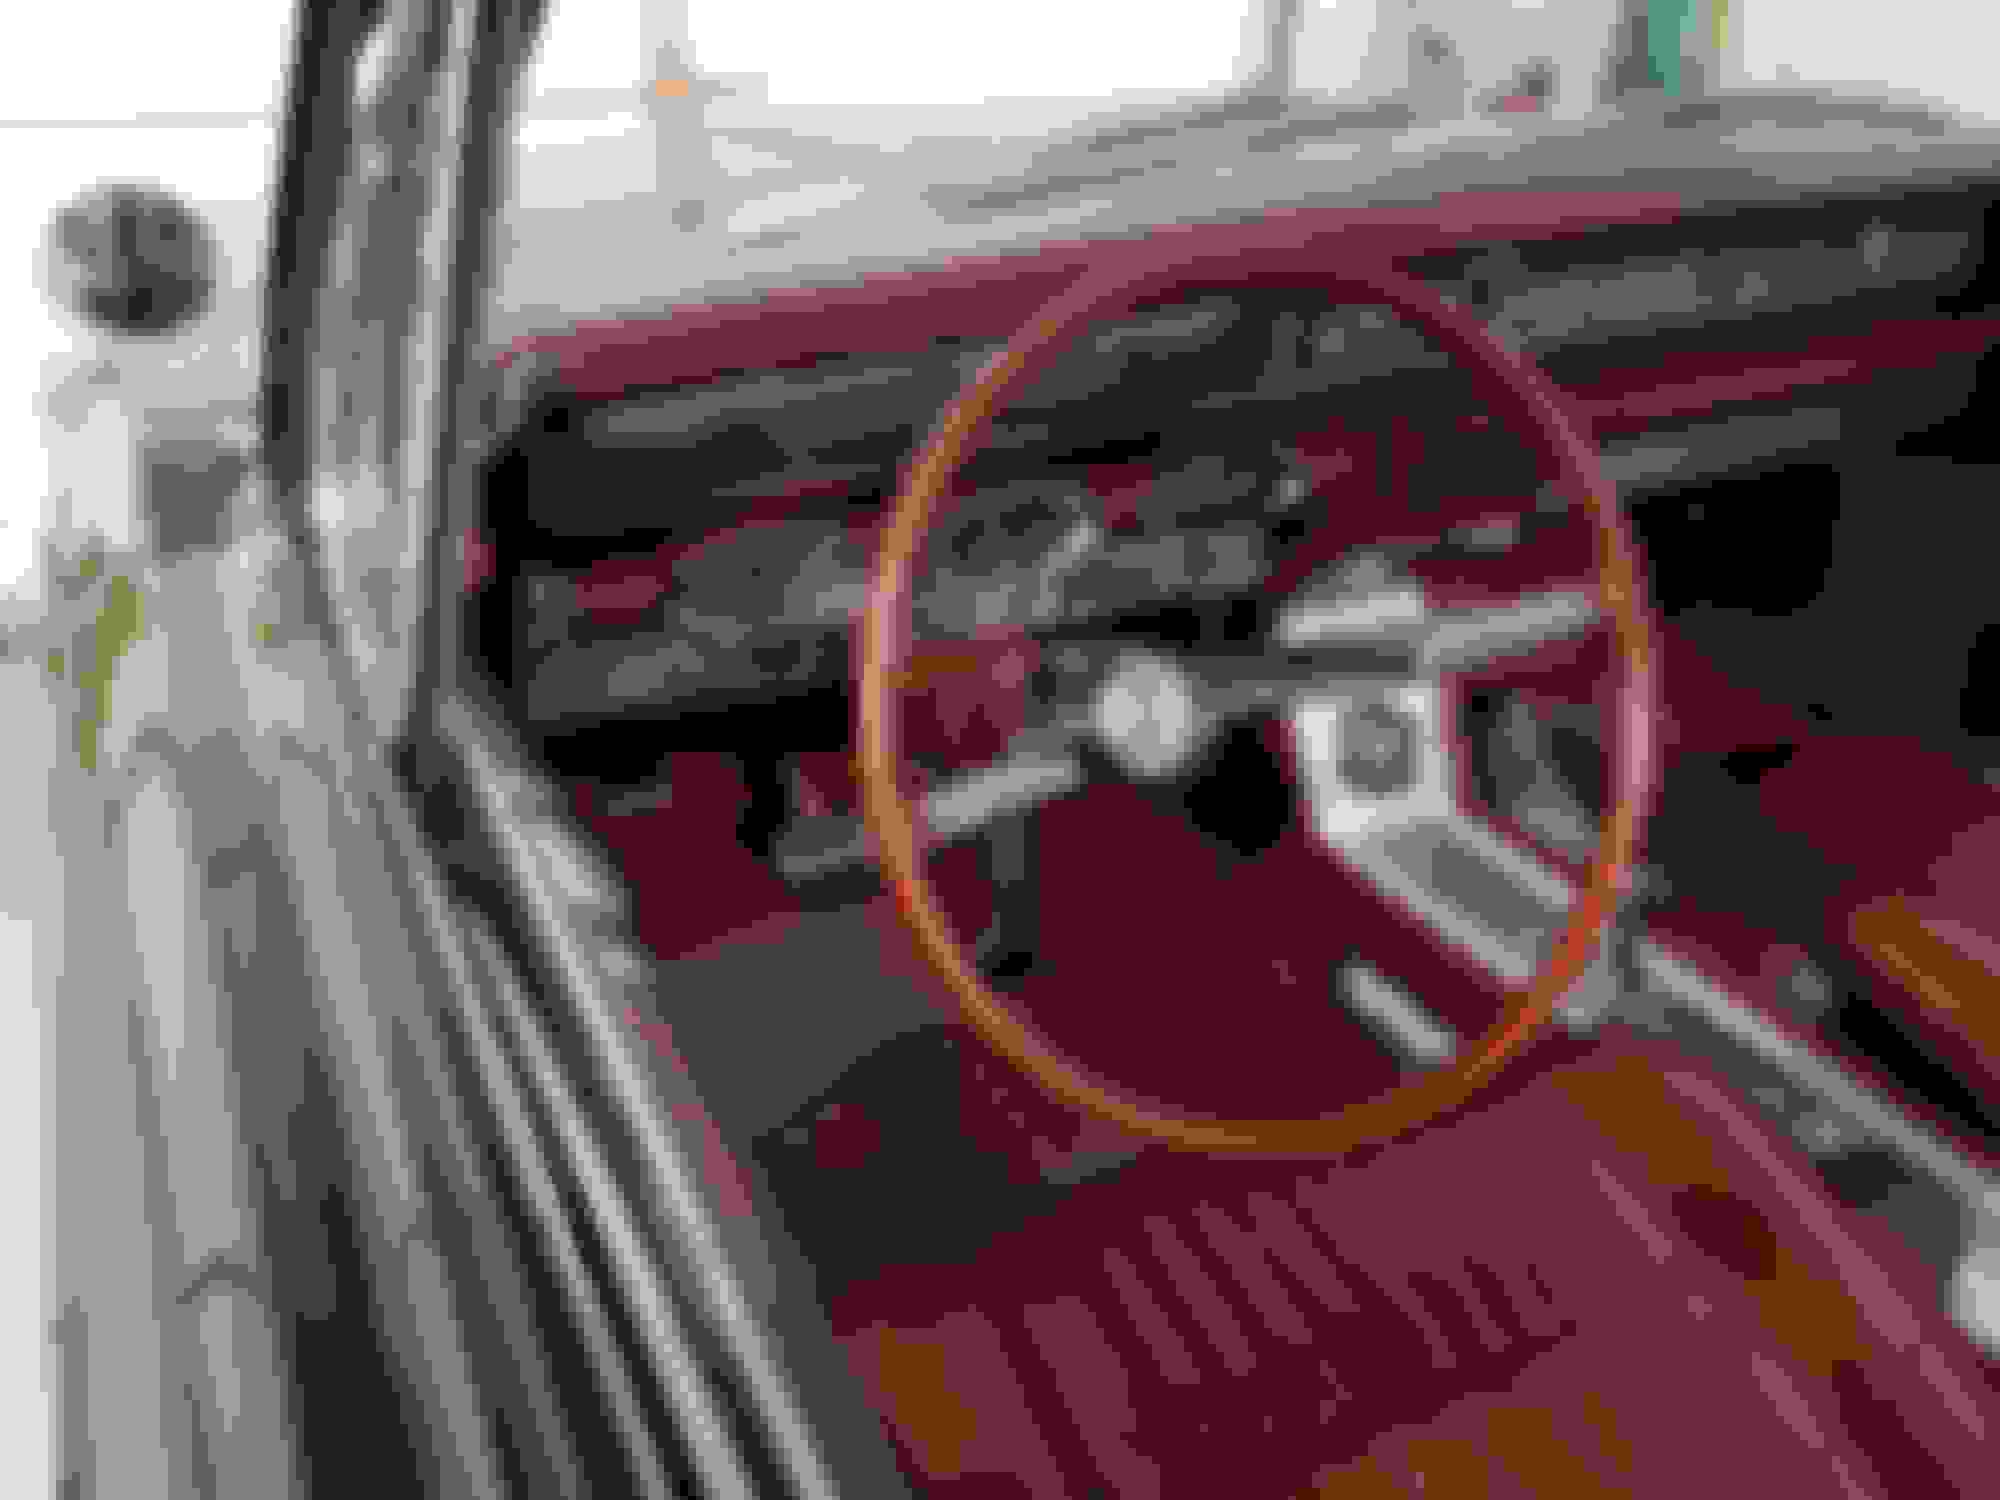
finally the interior is coming together. Column drop is installed, looks like it came that way. Restored steering wheel and Polished up all the Chrome. I also repainted the needles red. All that's left is to trim up the passenger side carpet and tuck a few wires out of the way. Still waiting to find tjat Starfire dash emblem and the correct door panels. I did just find the rear ashtrays.
Drove it today we wth the wife and daughter. As I got on the highway, coolant gushed into the passenger compartment on the passenger side. Ugh, my first thought there goes the heater core. I flipped it around and headed home. When the car came to a stop steam came up everywhere. Long story short it was only a loose hose clamp to the heater core and it had squirted in the car and on the exhaust. I tightened it up and we were good to go.
Everything works great, the car drives fantastic and the rear sway bar made a huge difference. The car corners amazingly flat! Took a long turn at 65+ that felt super stable that before at 55 felt like we were going to tip over. The bucket seats are so much better than the bench too. My wife said she needs a grab bar now.