When you click on links to various merchants on this site and make a purchase, this can result in this site earning a commission. Affiliate programs and affiliations include, but are not limited to, the eBay Partner Network.
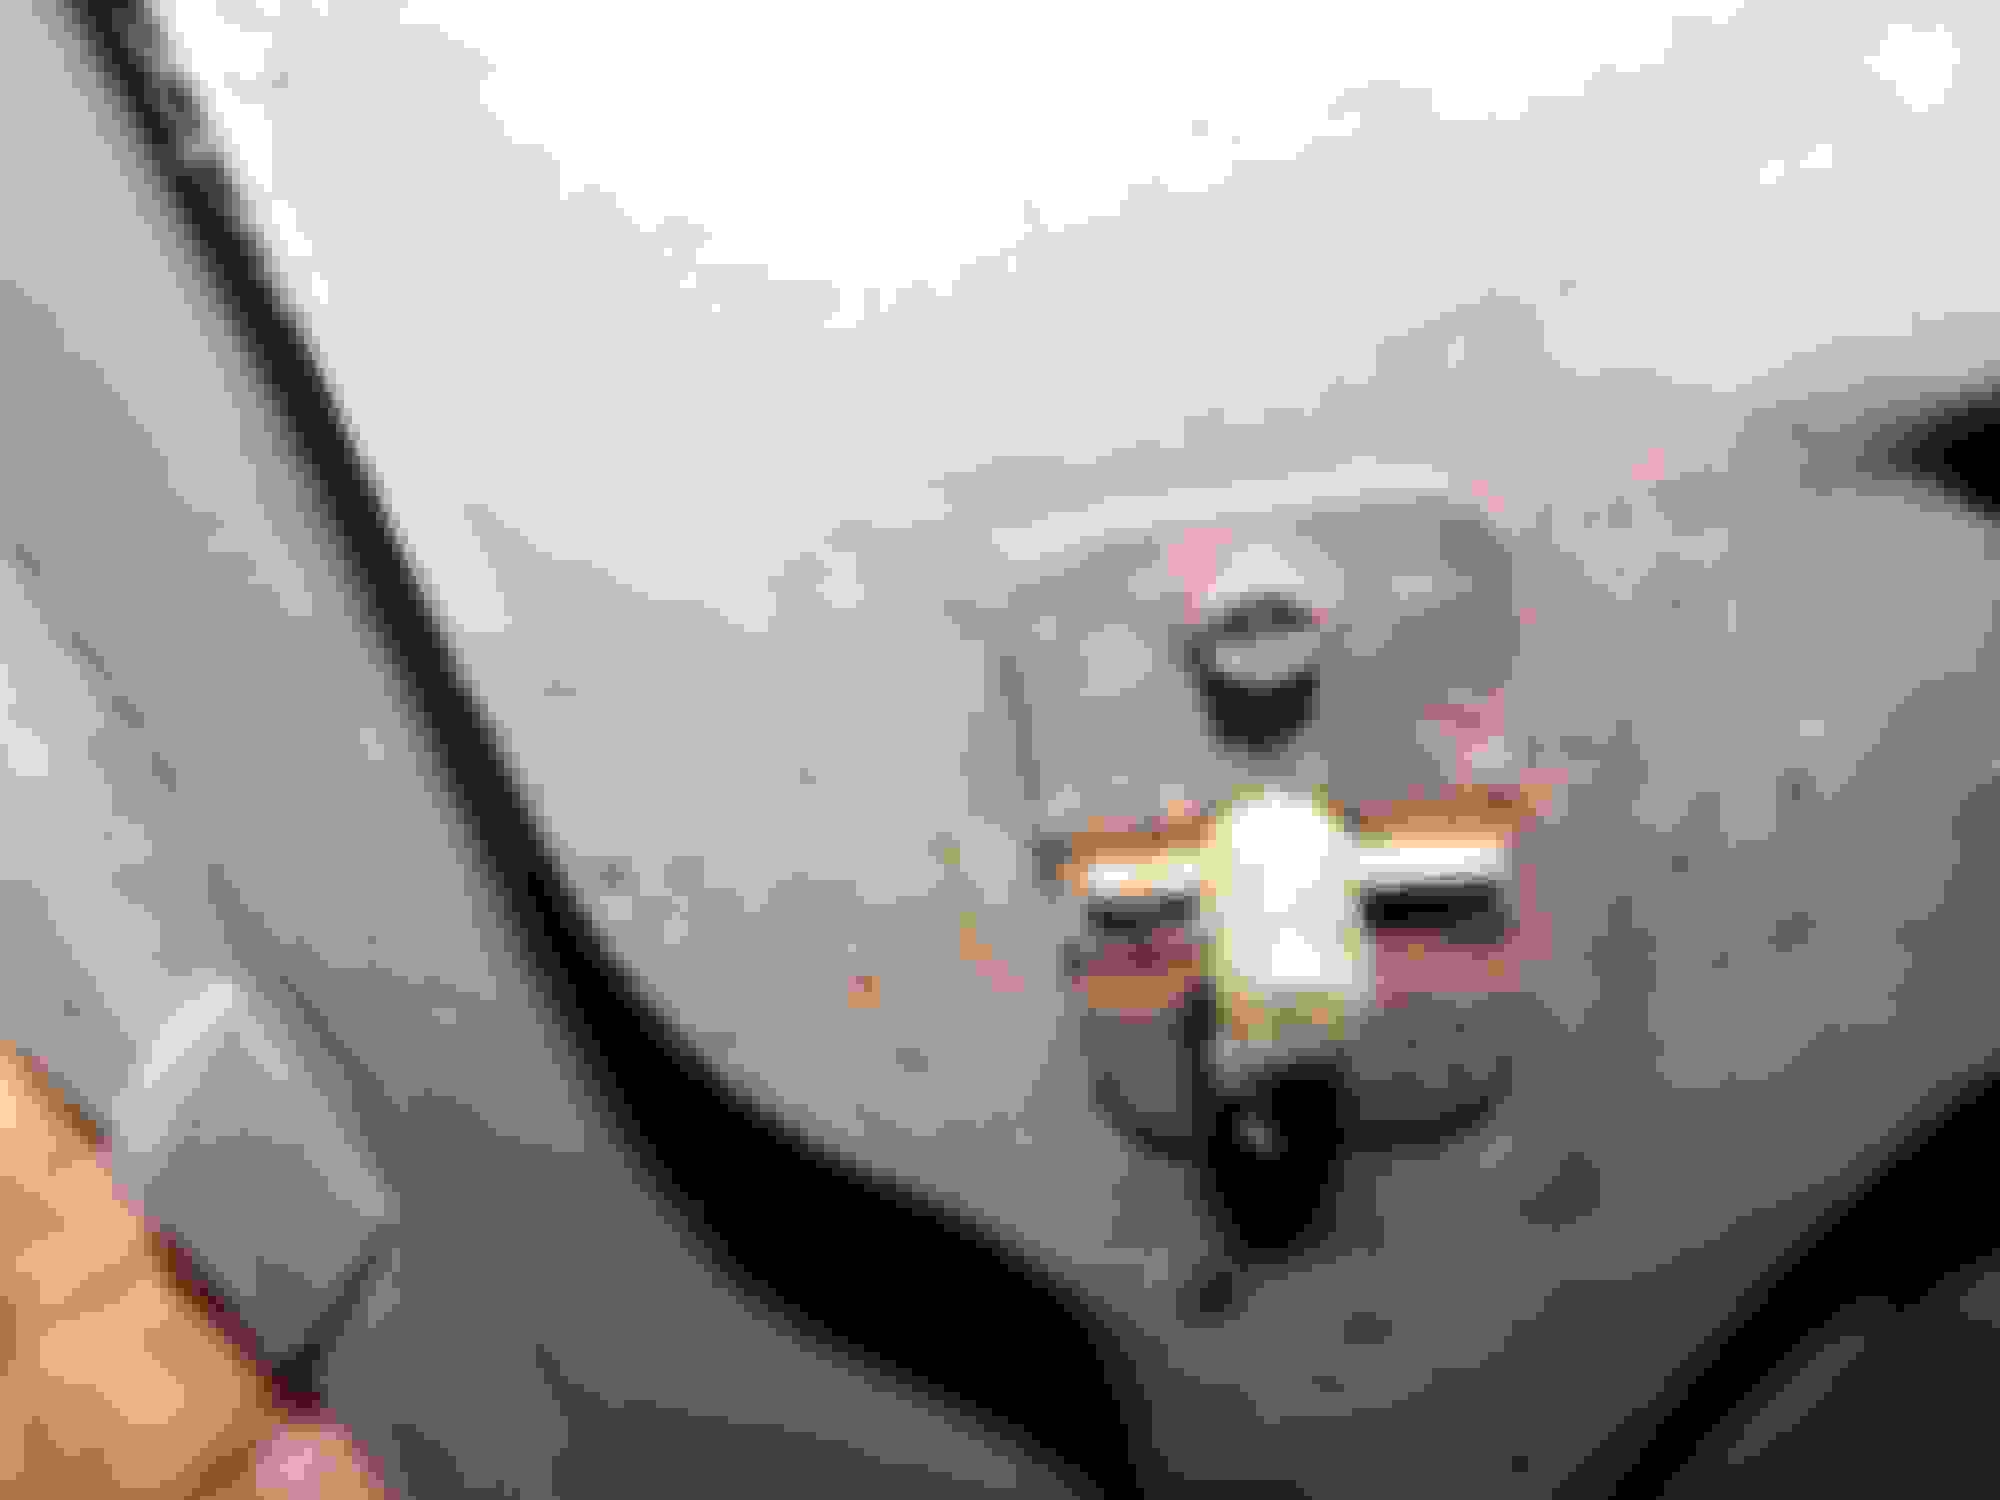
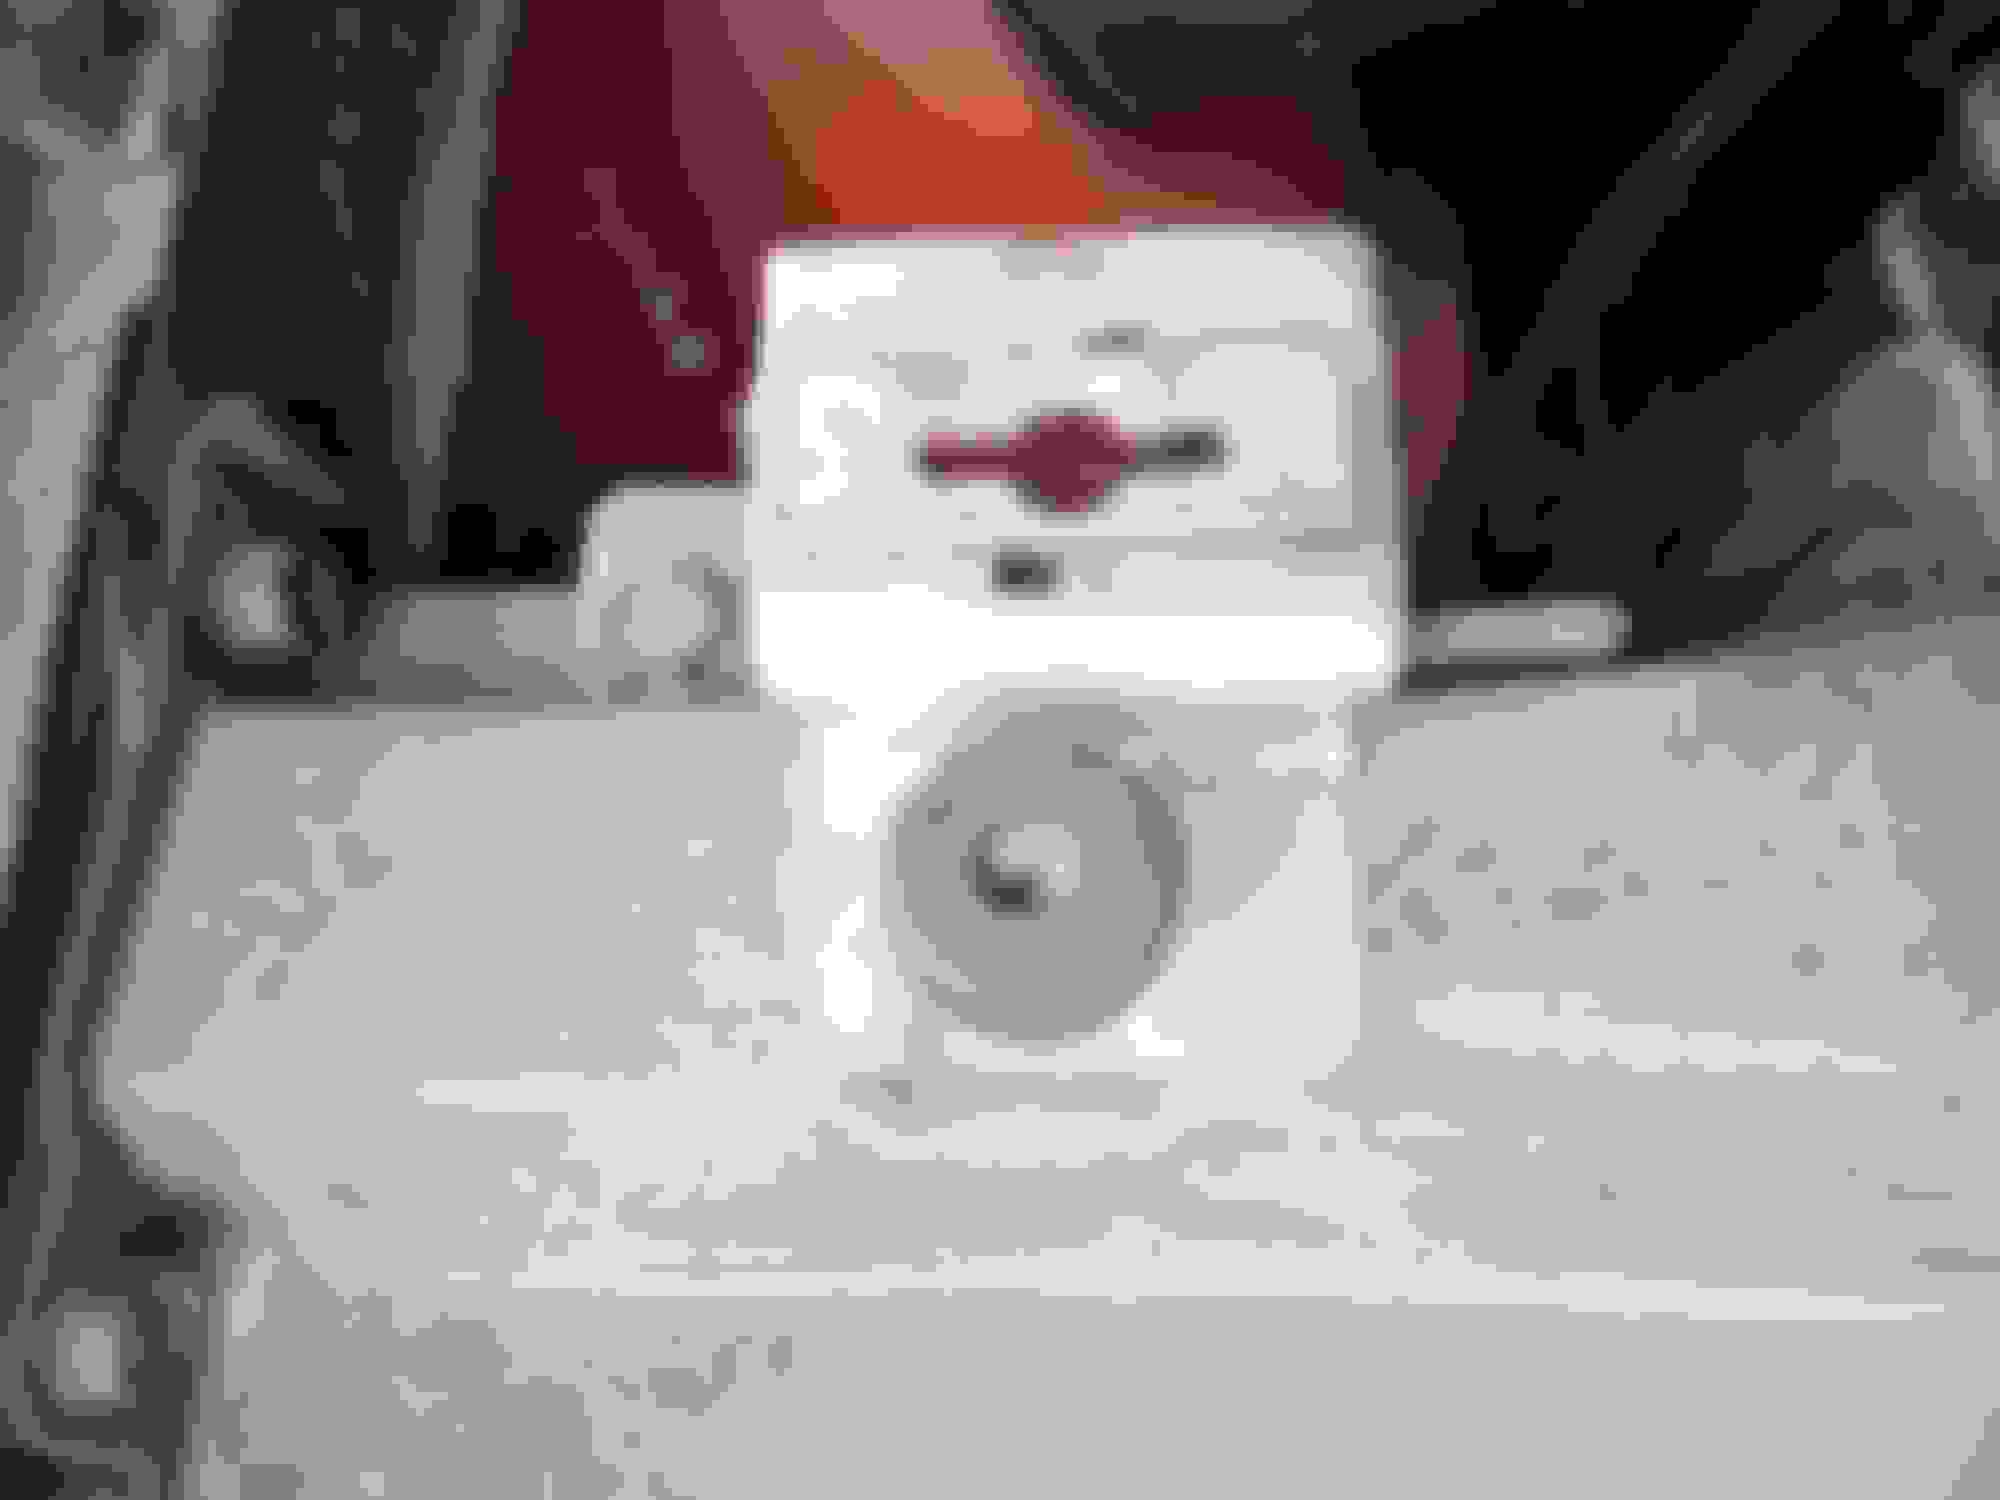
My wife was kind enough to buy me a twist **** kit with the lighter springs for my Glasstek OAI hood. Unfortunately the kit came with no instructions. I have most of the install figured out buy I am not sure about a few parts. It appears the twist ***** on the bottom of the round disk looking piece that is below the spring I am to remove a round piece of plastic which then leaves behind an adhesive sticky part that I presume will allow the twist **** to be attached to the hood. Currently my good has a round disk that looks like a large thin washer already in the recess hole where the twist **** is to be placed, is that correct?
Also included in the kit were two of the pieces I have attached a photo of, what are these for as I have no idea?
Its been years since I installed a set of these. But I'm pretty sure your right about the thin washer looking piece having adhesive on the back side and going under the big chrome ****, against the hood. The metal tabs in your picture need to be bolted to the underside of the hood. Did you have fasteners with them? I'll see if I can come up with a photo for you. John
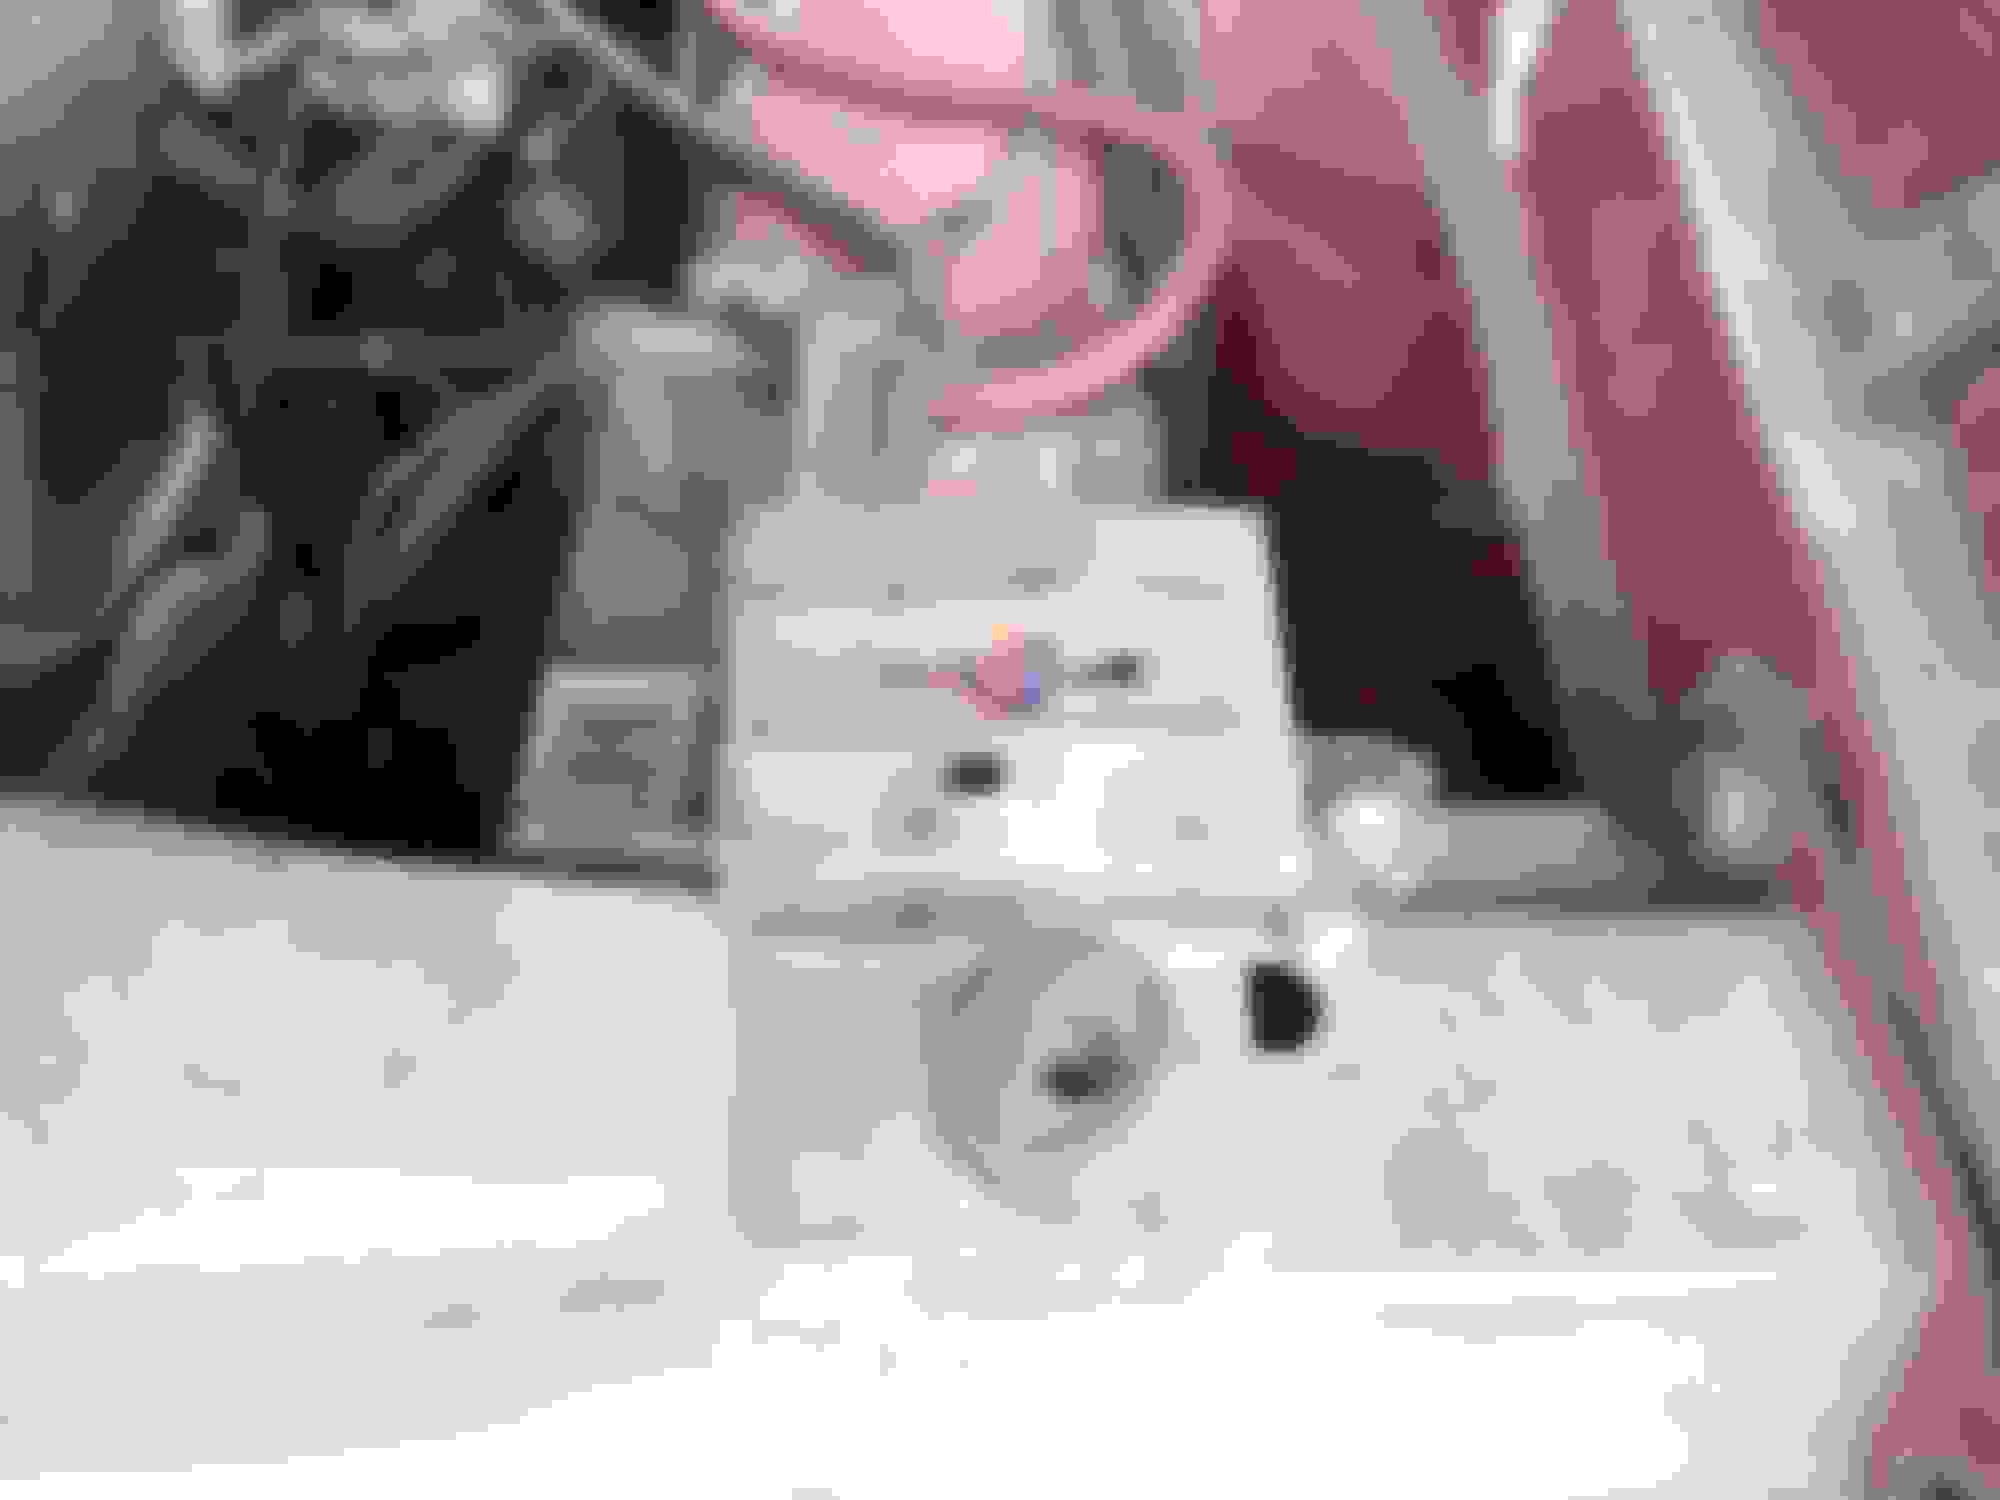
Yes, the washer thing goes under the ****, with the spring between them. Then the tab attaches to the underside of the hood as I'd thought. Here's some pictures to help see what I'm describing. John
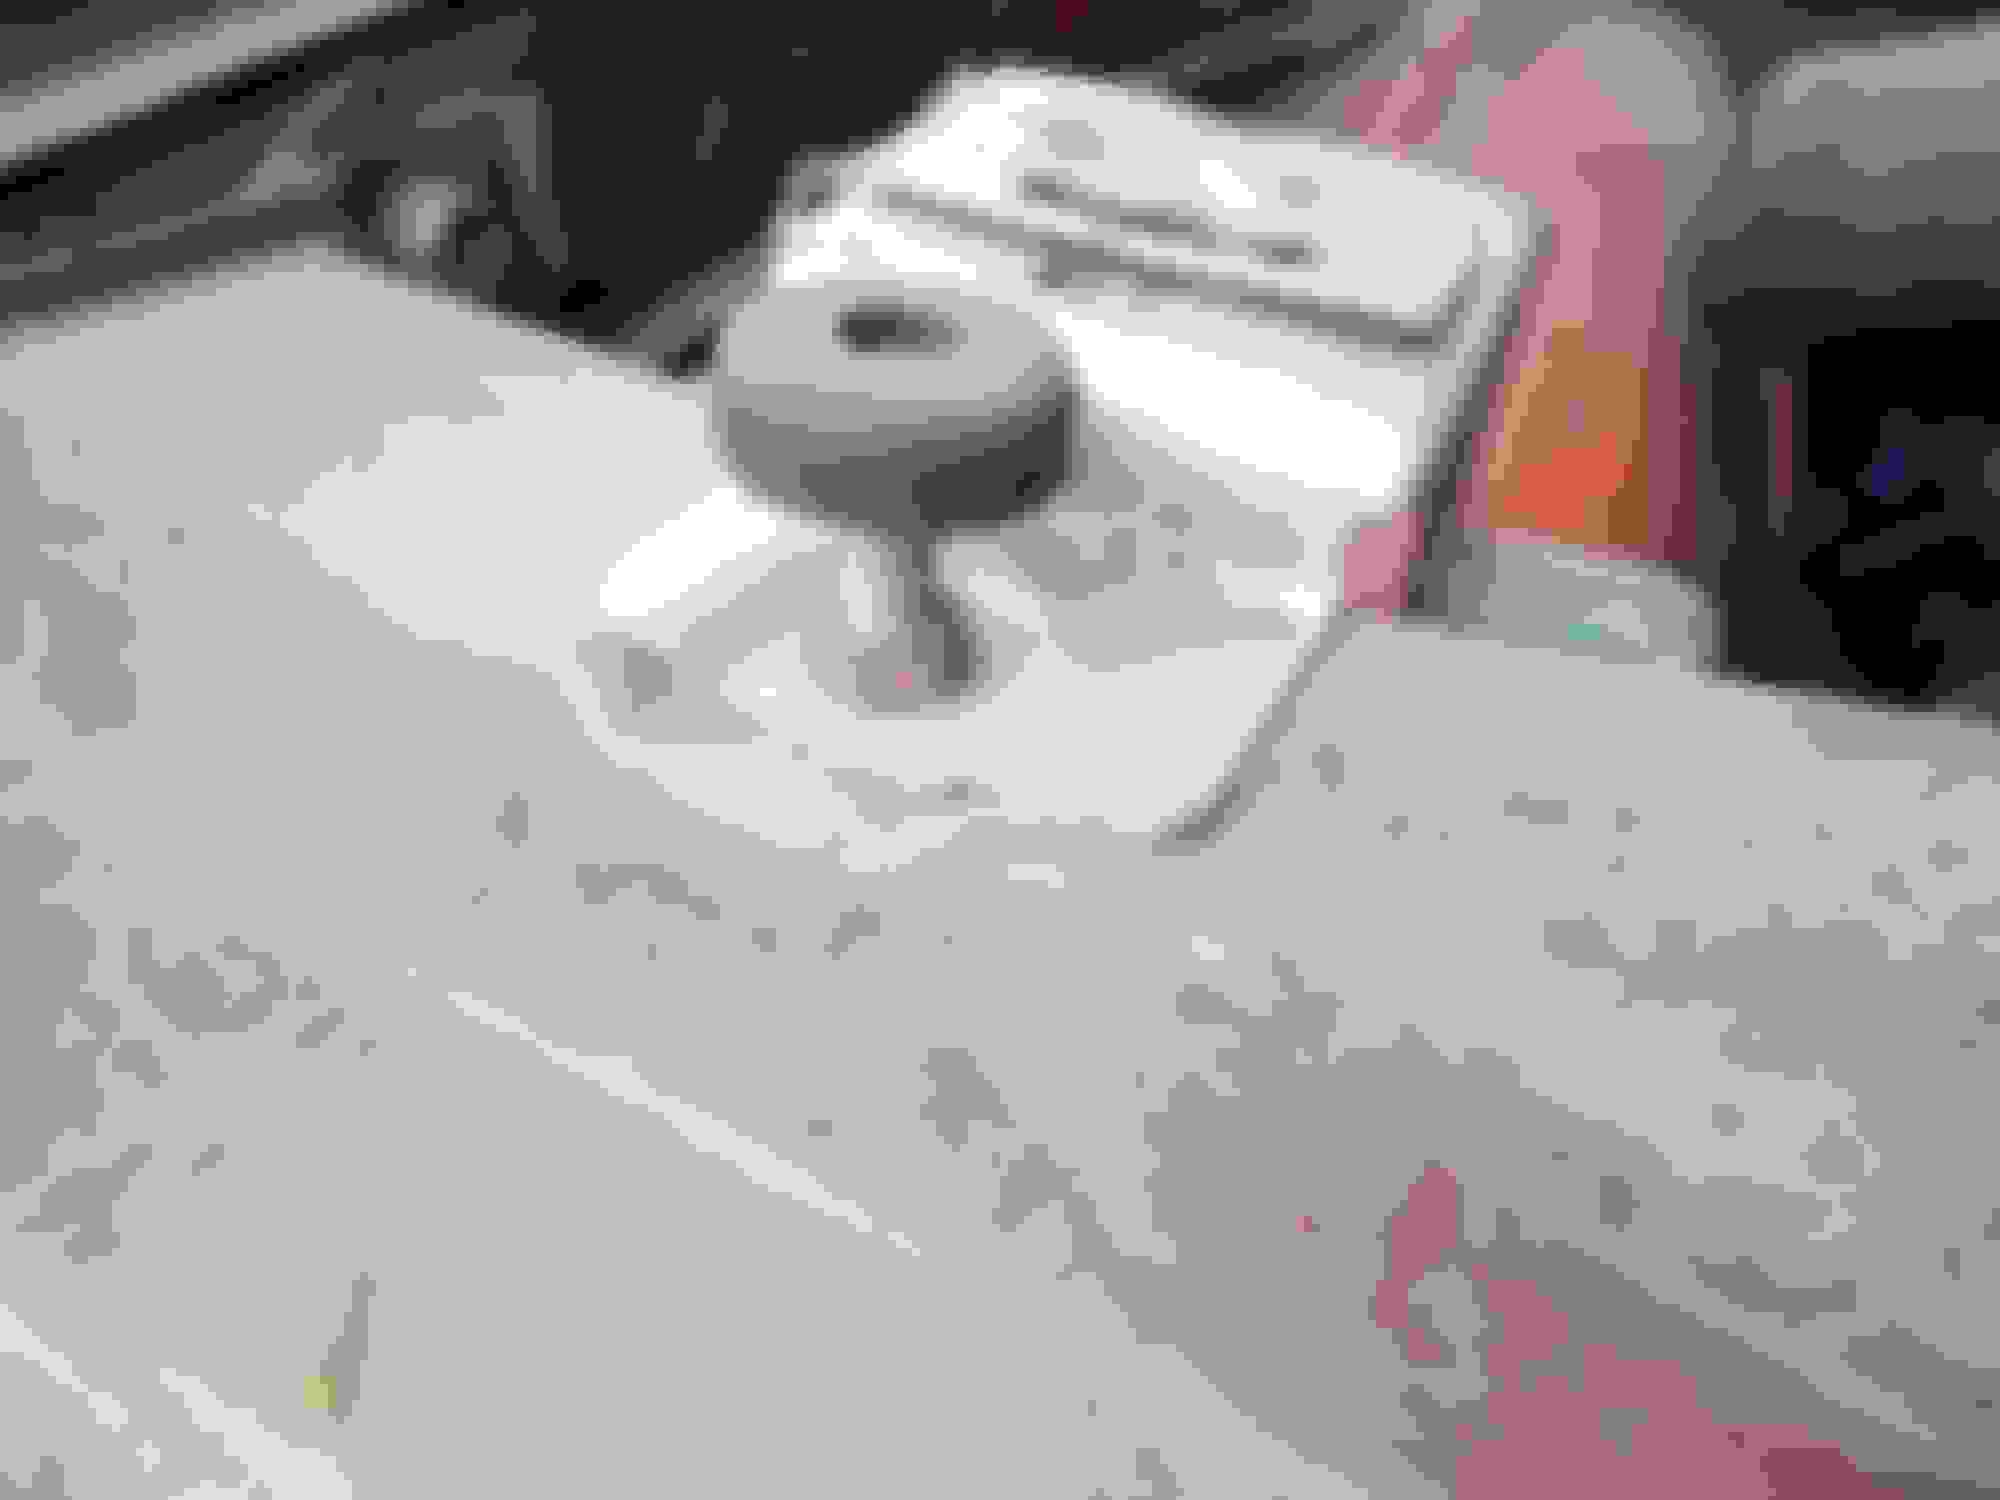
2blu442 in the second picture that you sent, the tab piece you mention only has a half of a notch yet the twist **** has two "ears" and needs two notches, what am i missing?
Originally Posted by 2blu442
Yes, the washer thing goes under the ****, with the spring between them. Then the tab attaches to the underside of the hood as I'd thought. Here's some pictures to help see what I'm describing. John
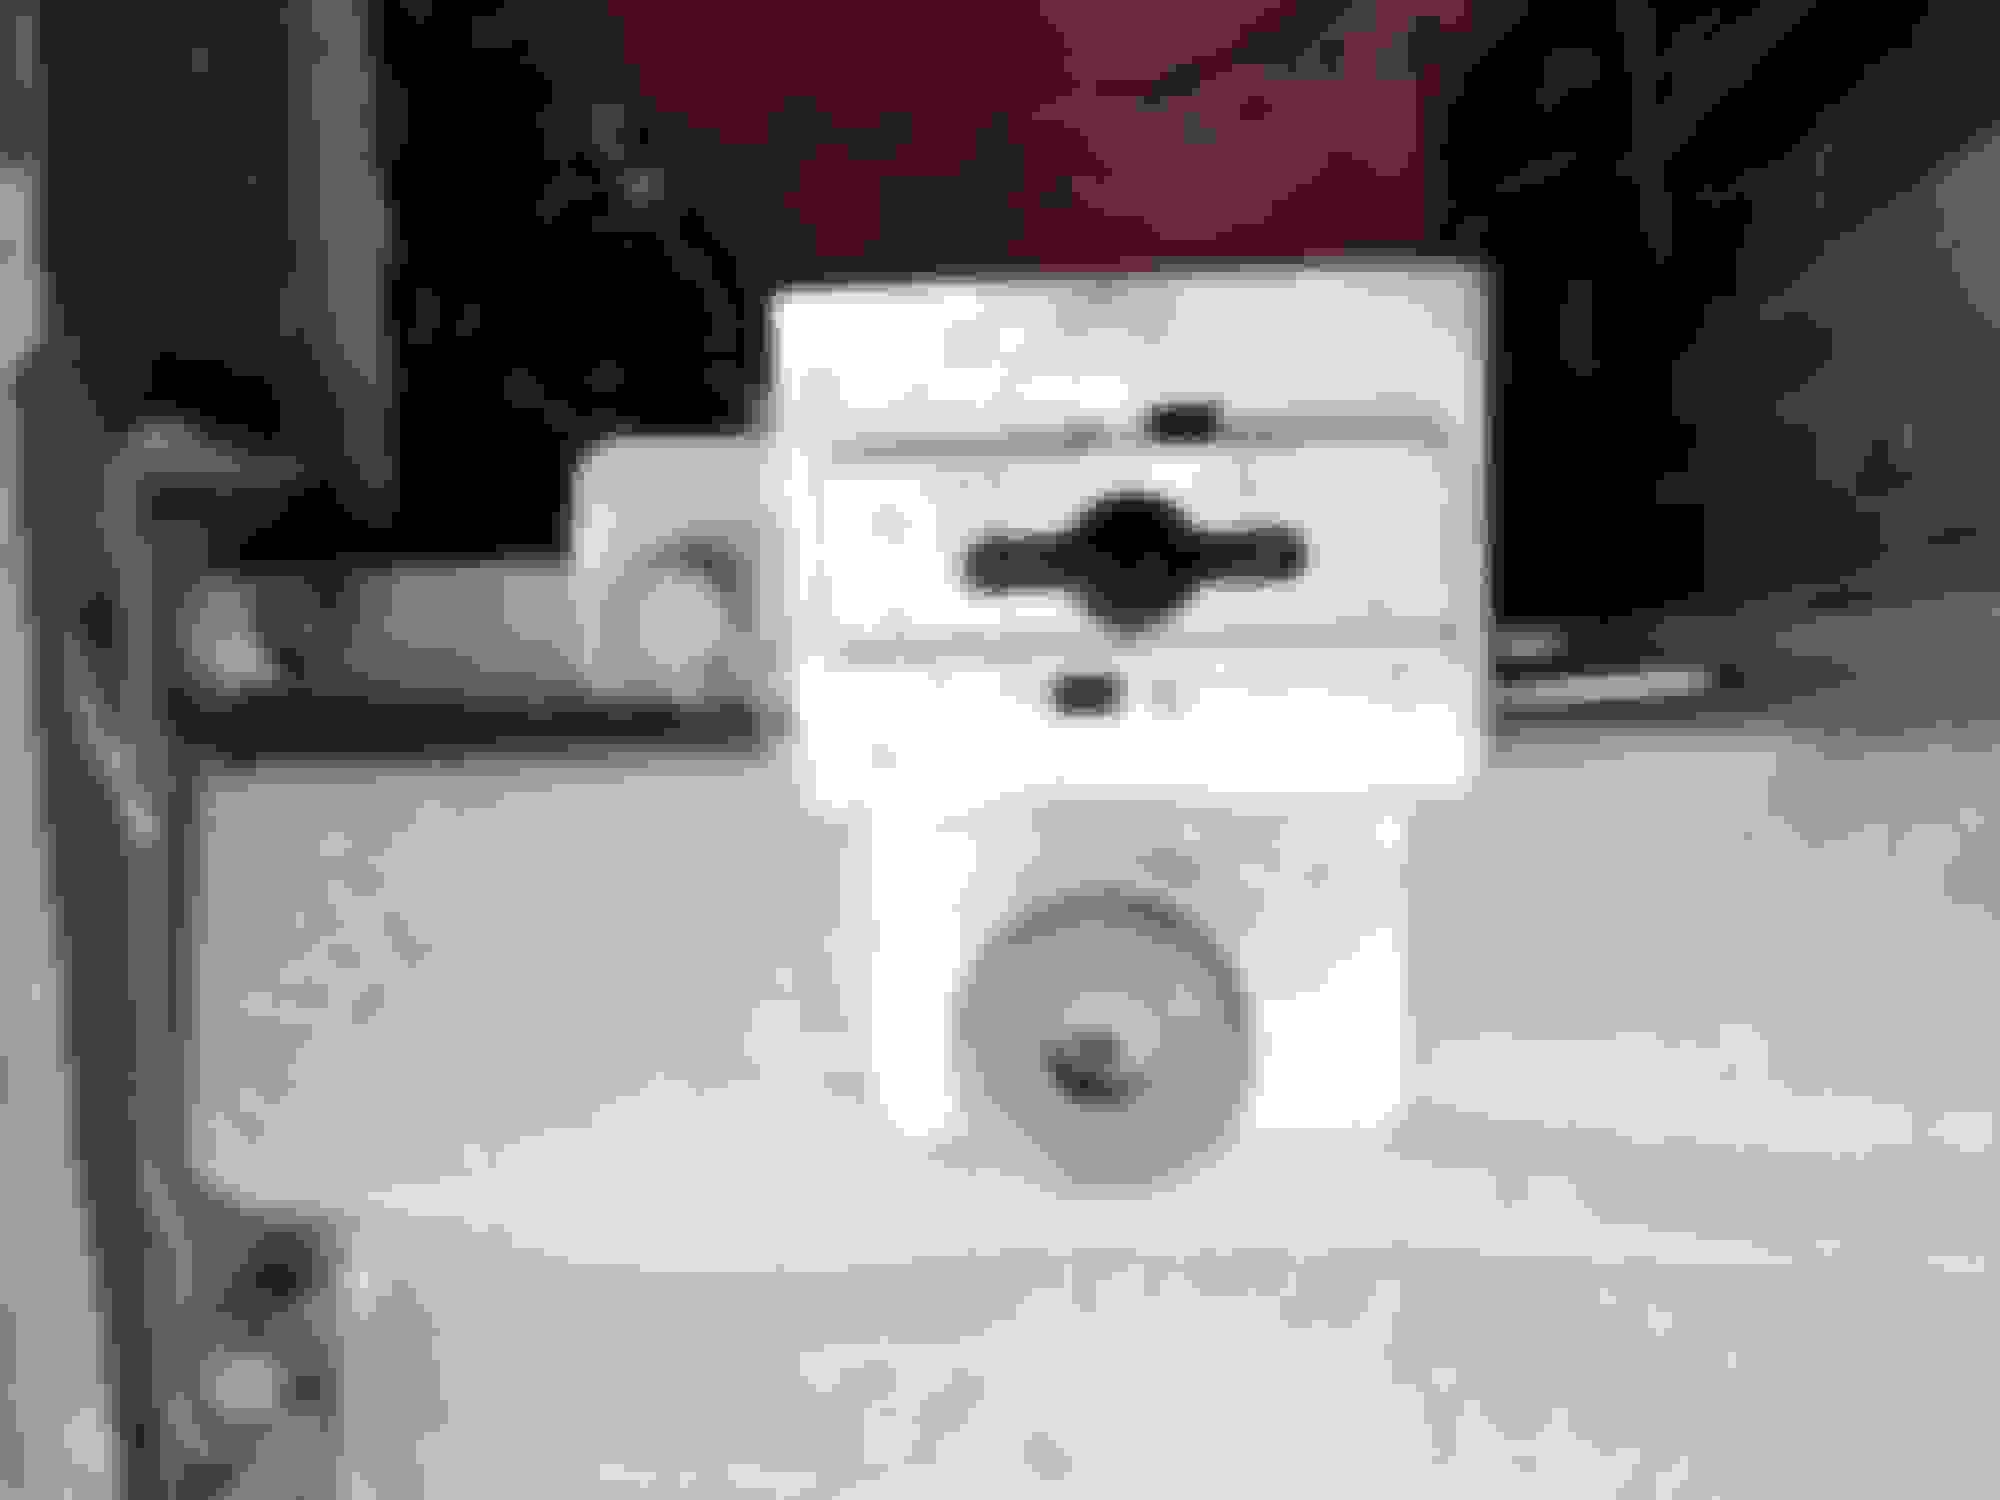
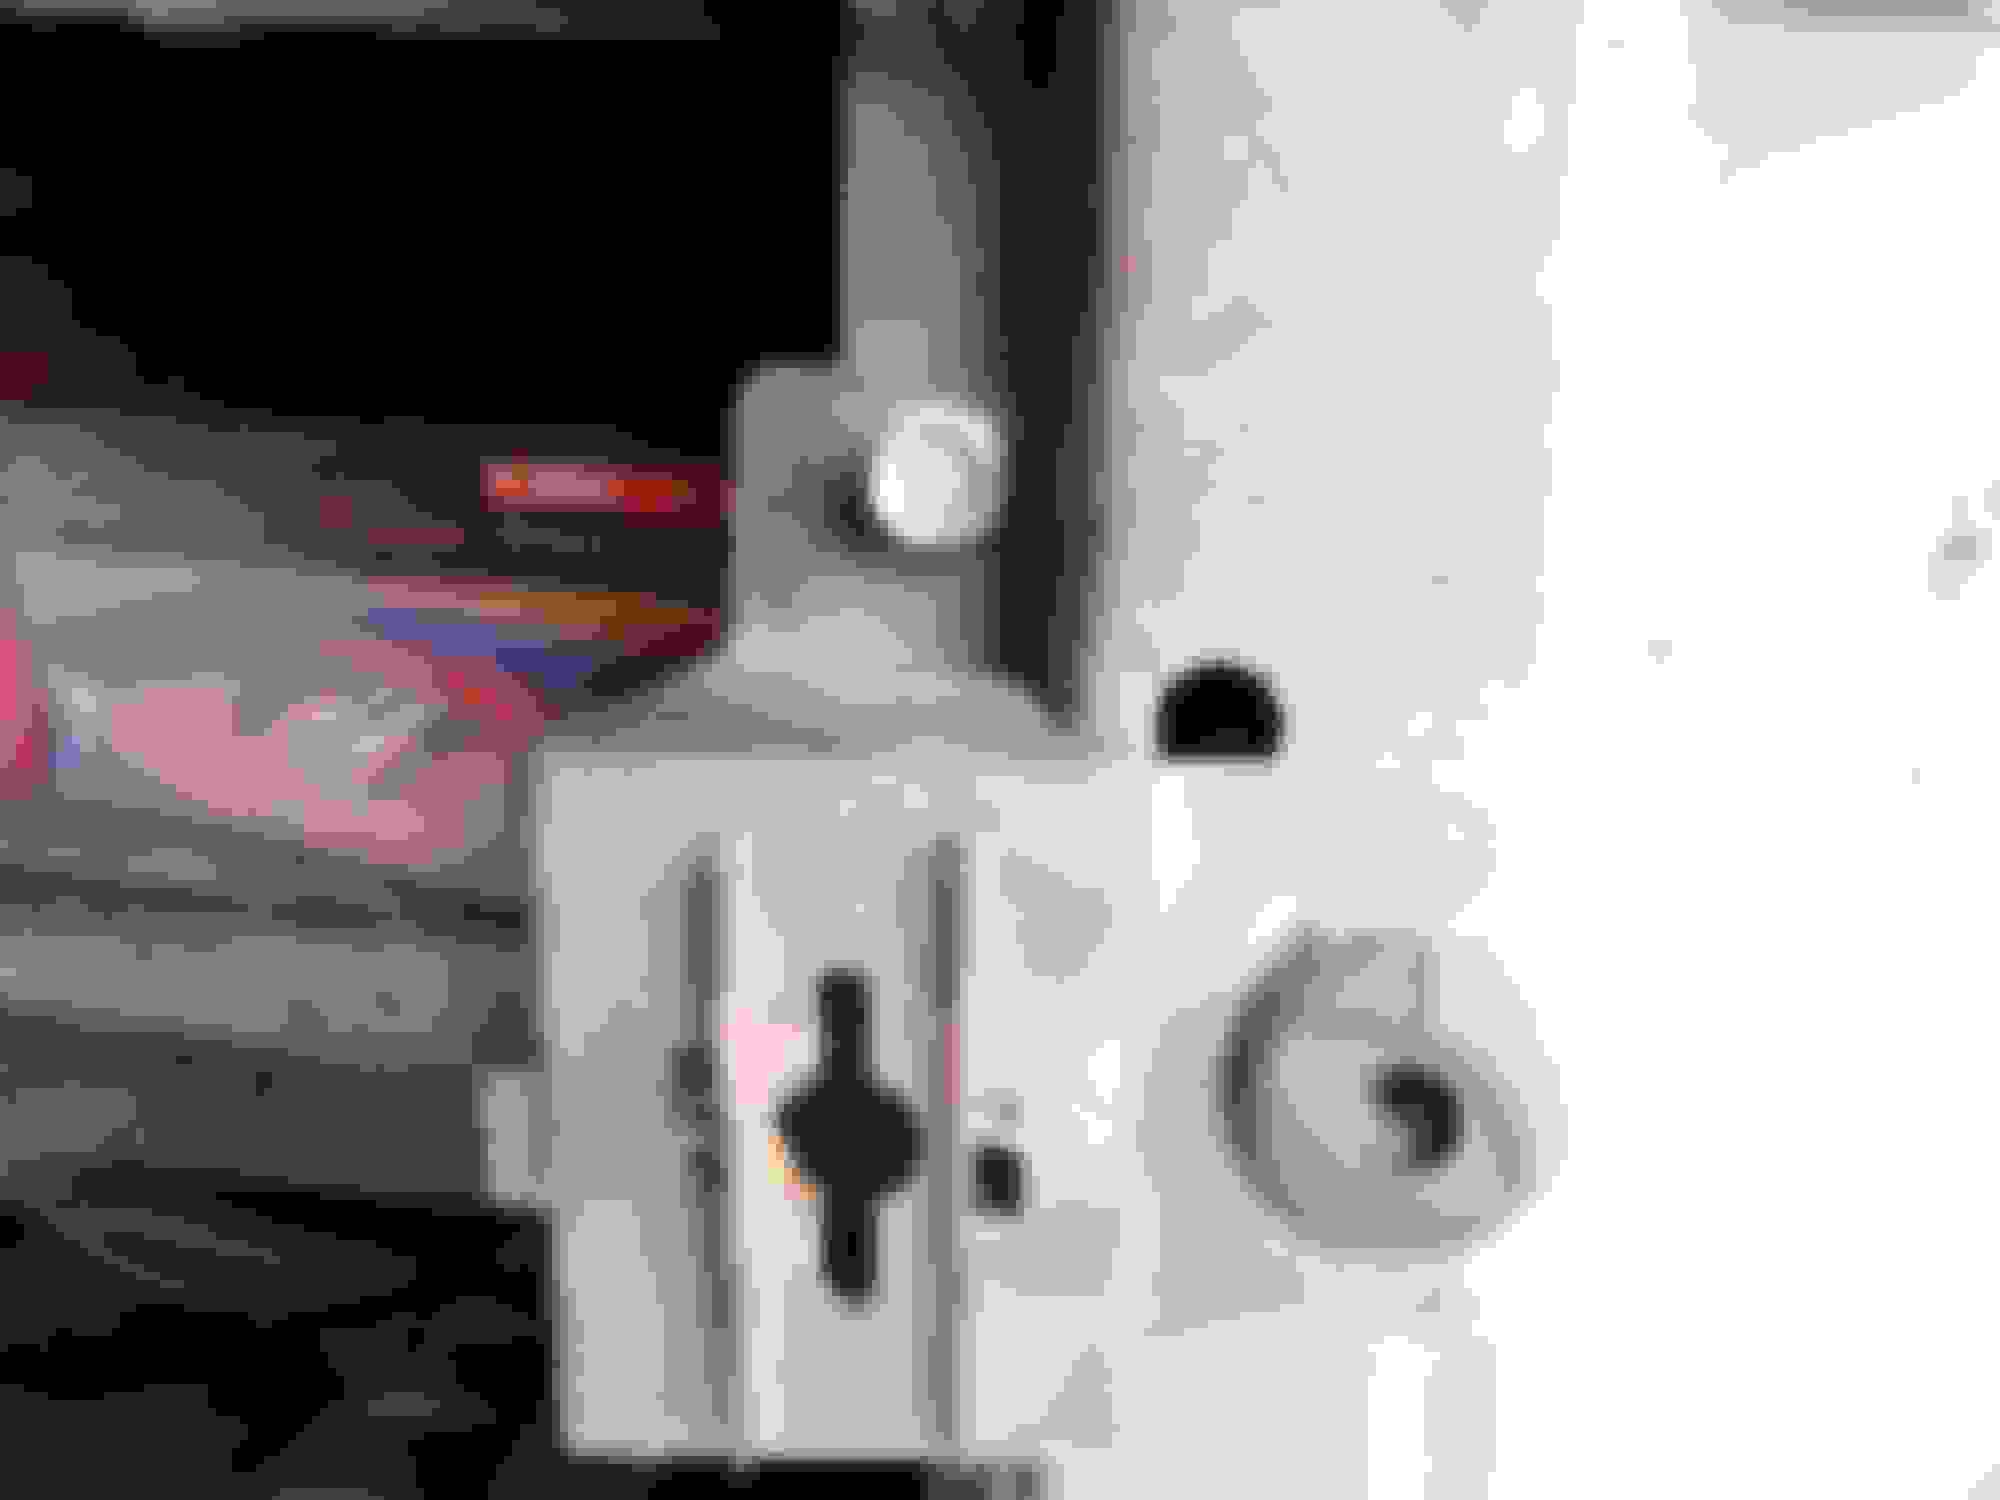
the screws that hold those little retainer plates in, are those just self-tapping screws or maybe sheet metal screws that a pilot hole is pre-drilled and then the screws are screwed into the hood?
Sorry, its a factory hood and already had the holes in it. Yes they are sheet metal screws, I don't remember for sure, but don't think they were self tapping. The tabs, put them through the pin before bolting them on the hood, That way you put one end of the ear through, rotate it and get the other end through. Its been 35 years since I worked on this hood but am pretty sure that's the way it was done.
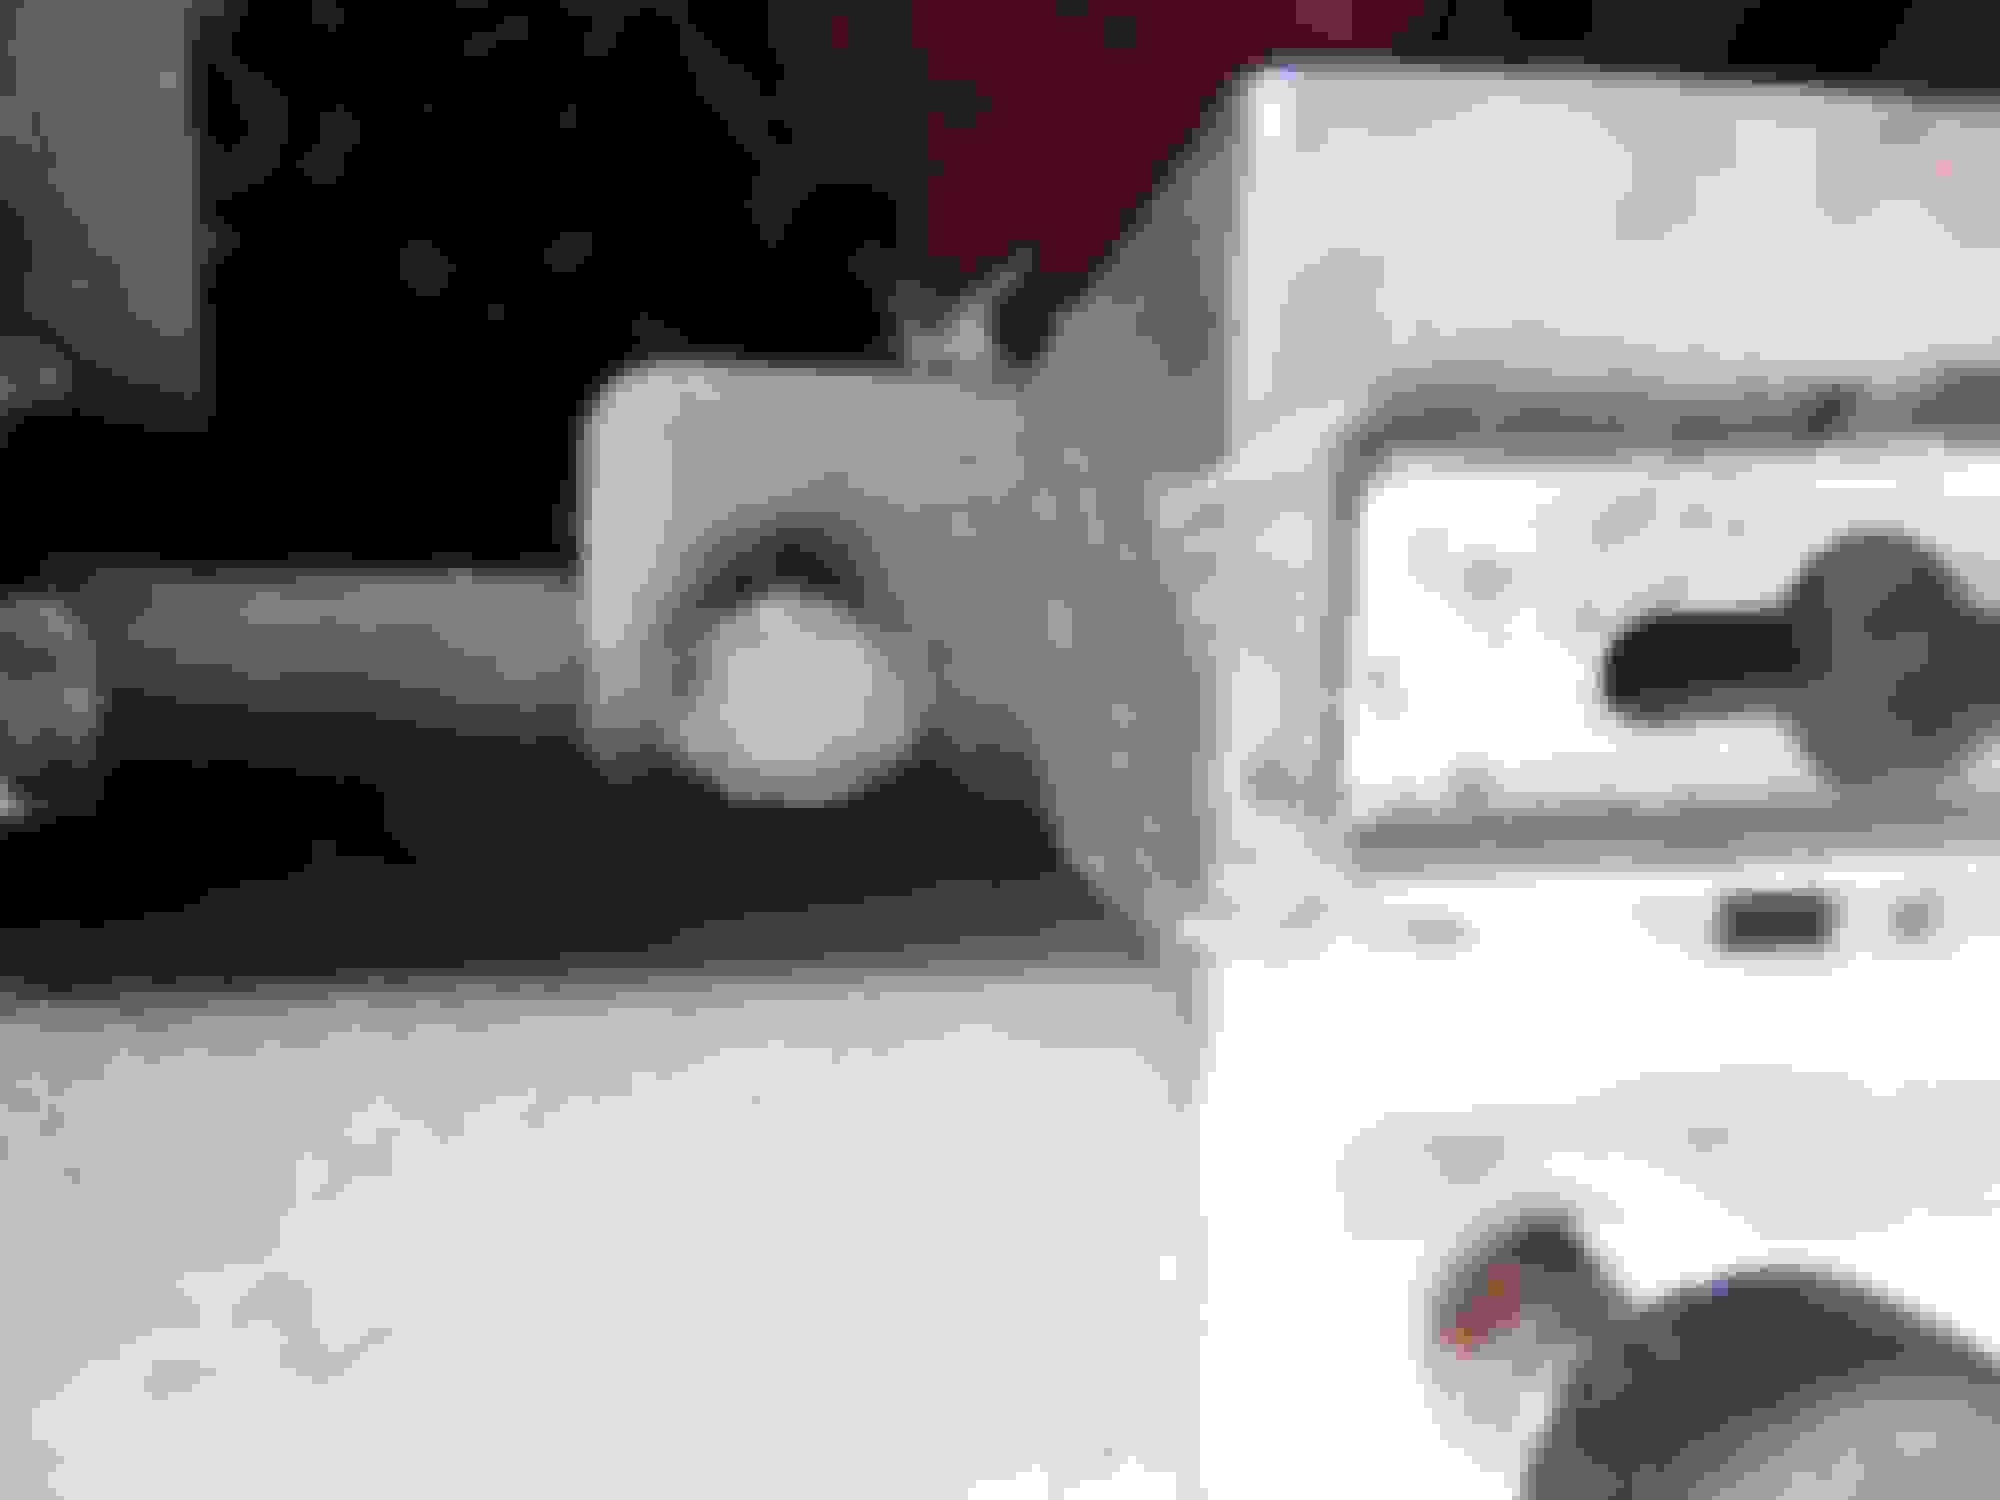
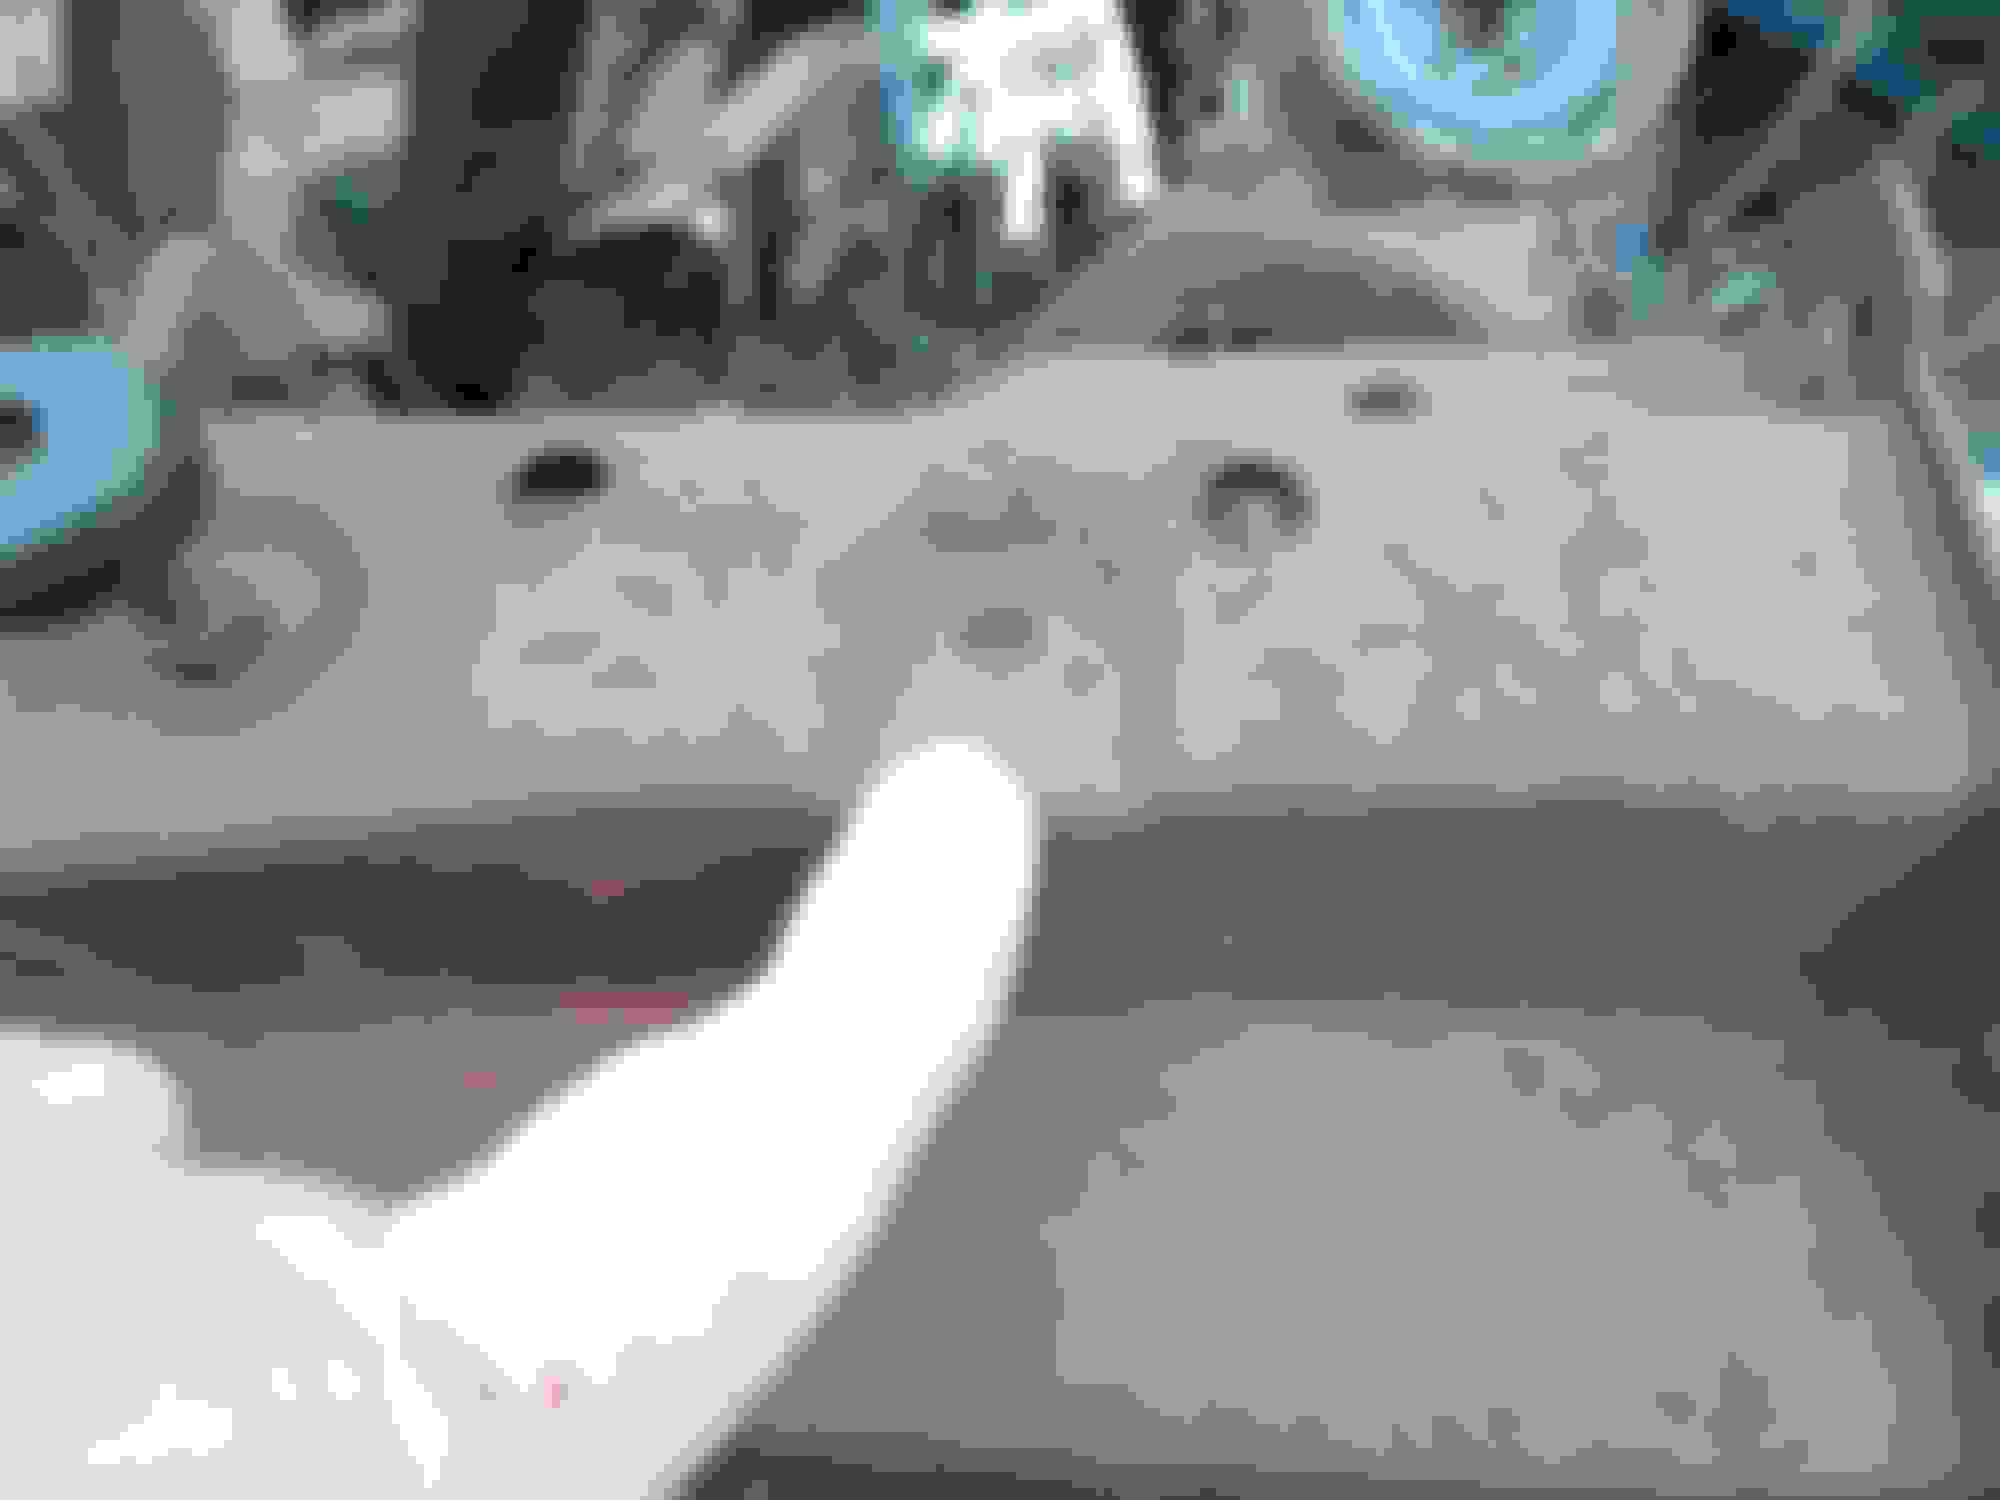
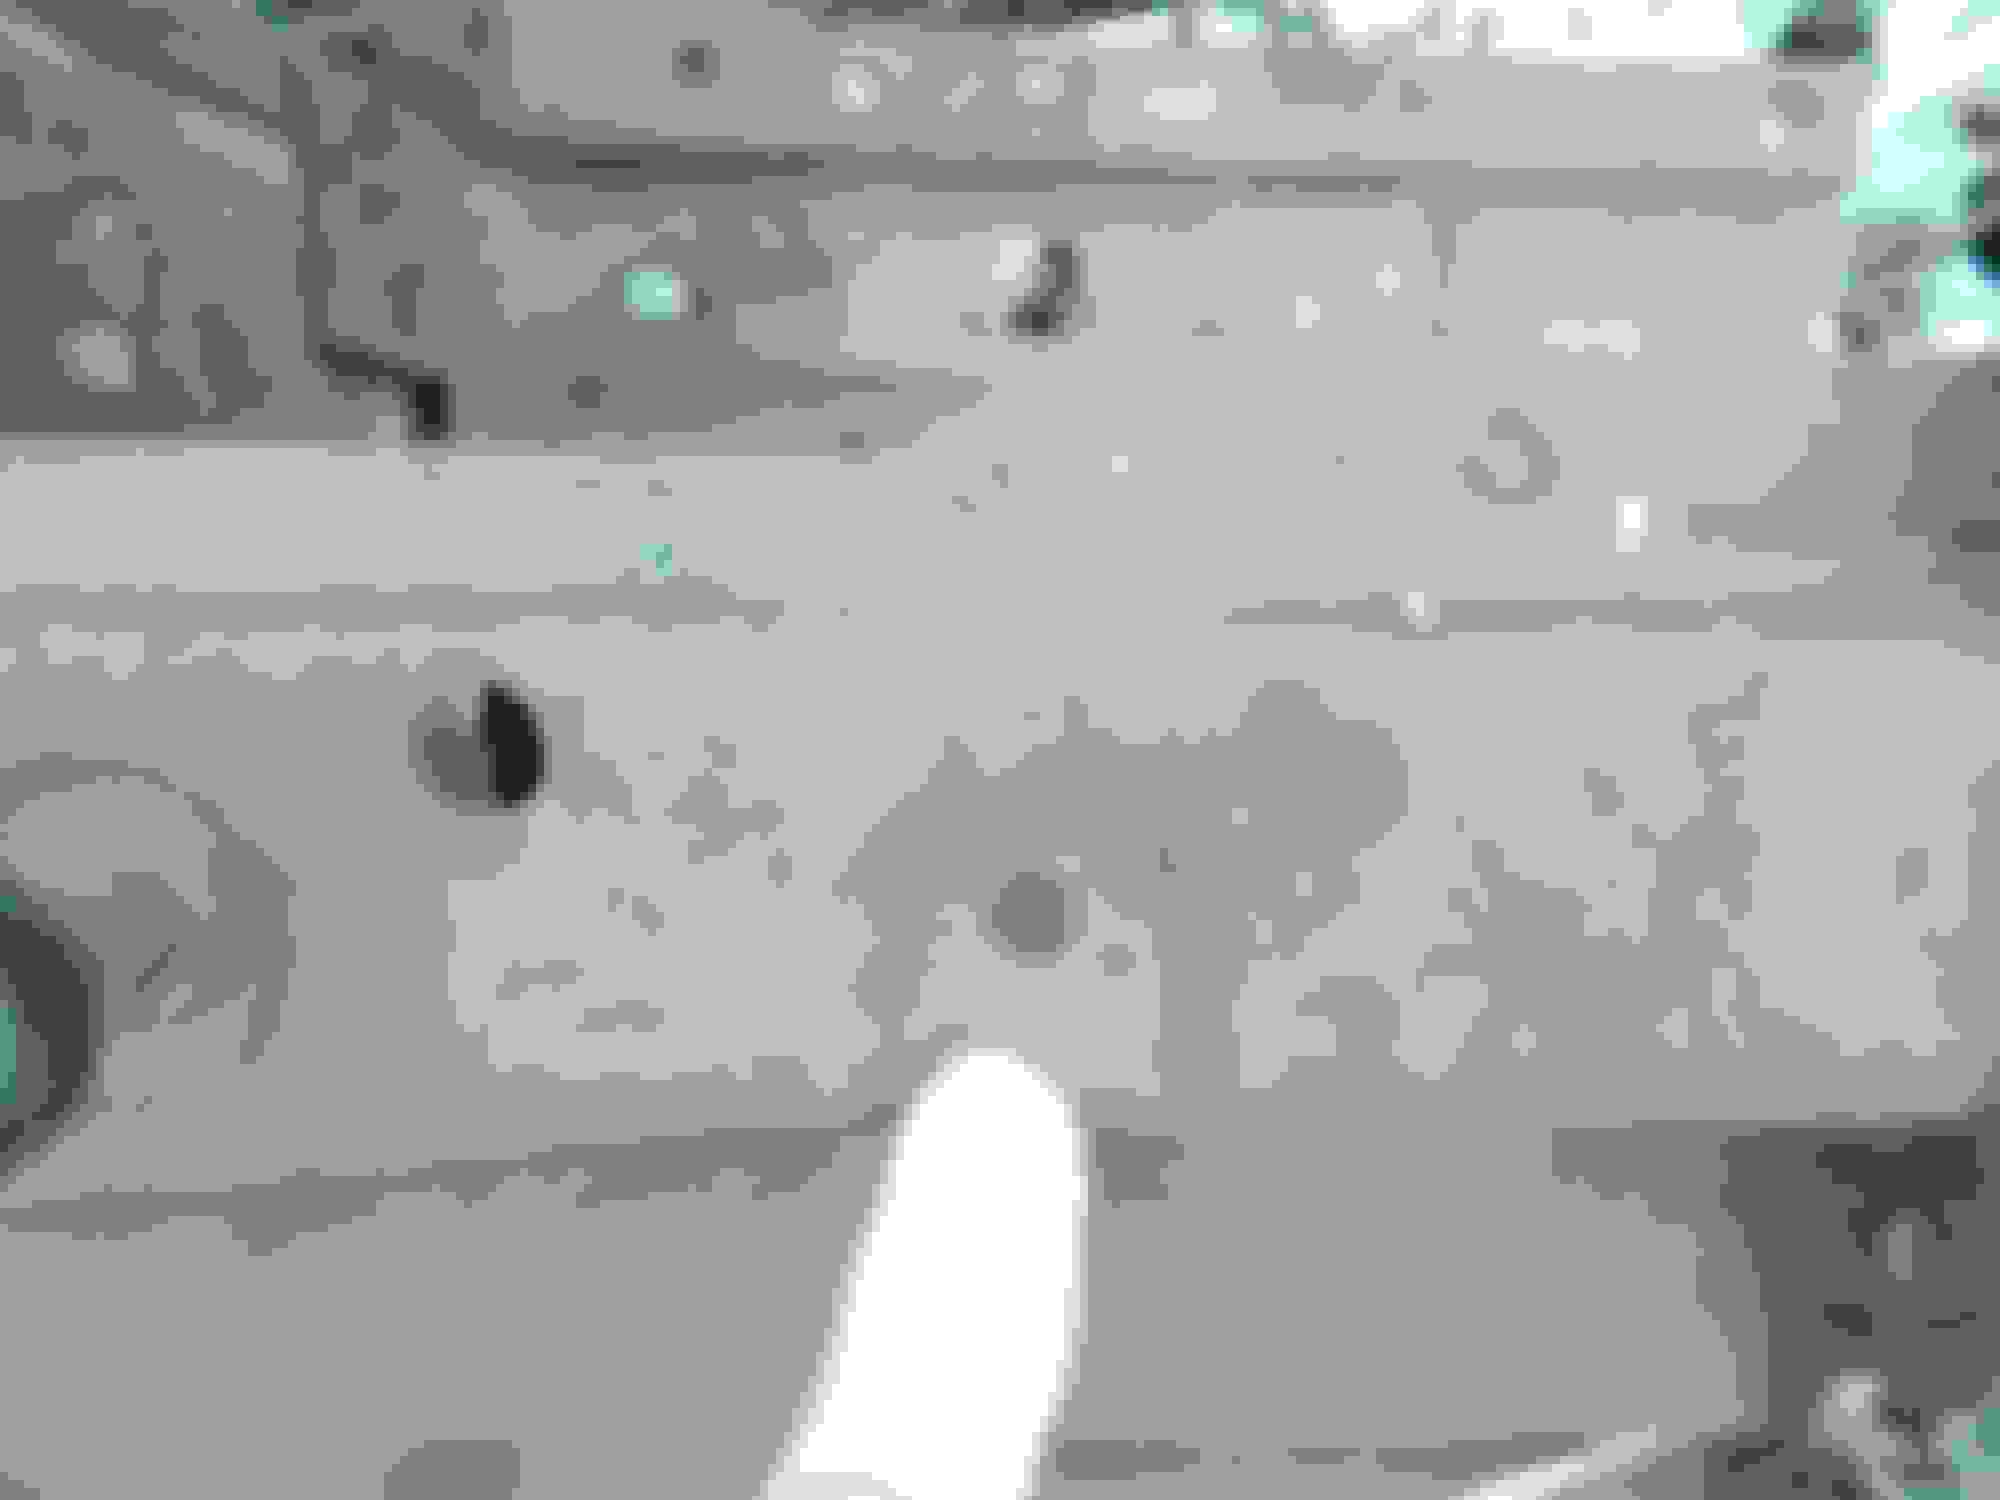
2blue442 can you send me pics of the piece that is bolted on the the radiator support I believe that the twist **** actually secures into, I take it there are holes that the anchor pieces are bolted into.
Sorry for the delay, these pictures are on a 1970. I'm not sure if 1971-72 are different, but I believe the key is the hole where this car has the hood bumpers mounted. The car had some custom work done on it in the 1970's so I can't say for sure if this was the way it came or not. Let me know if you have any more questions after this. John
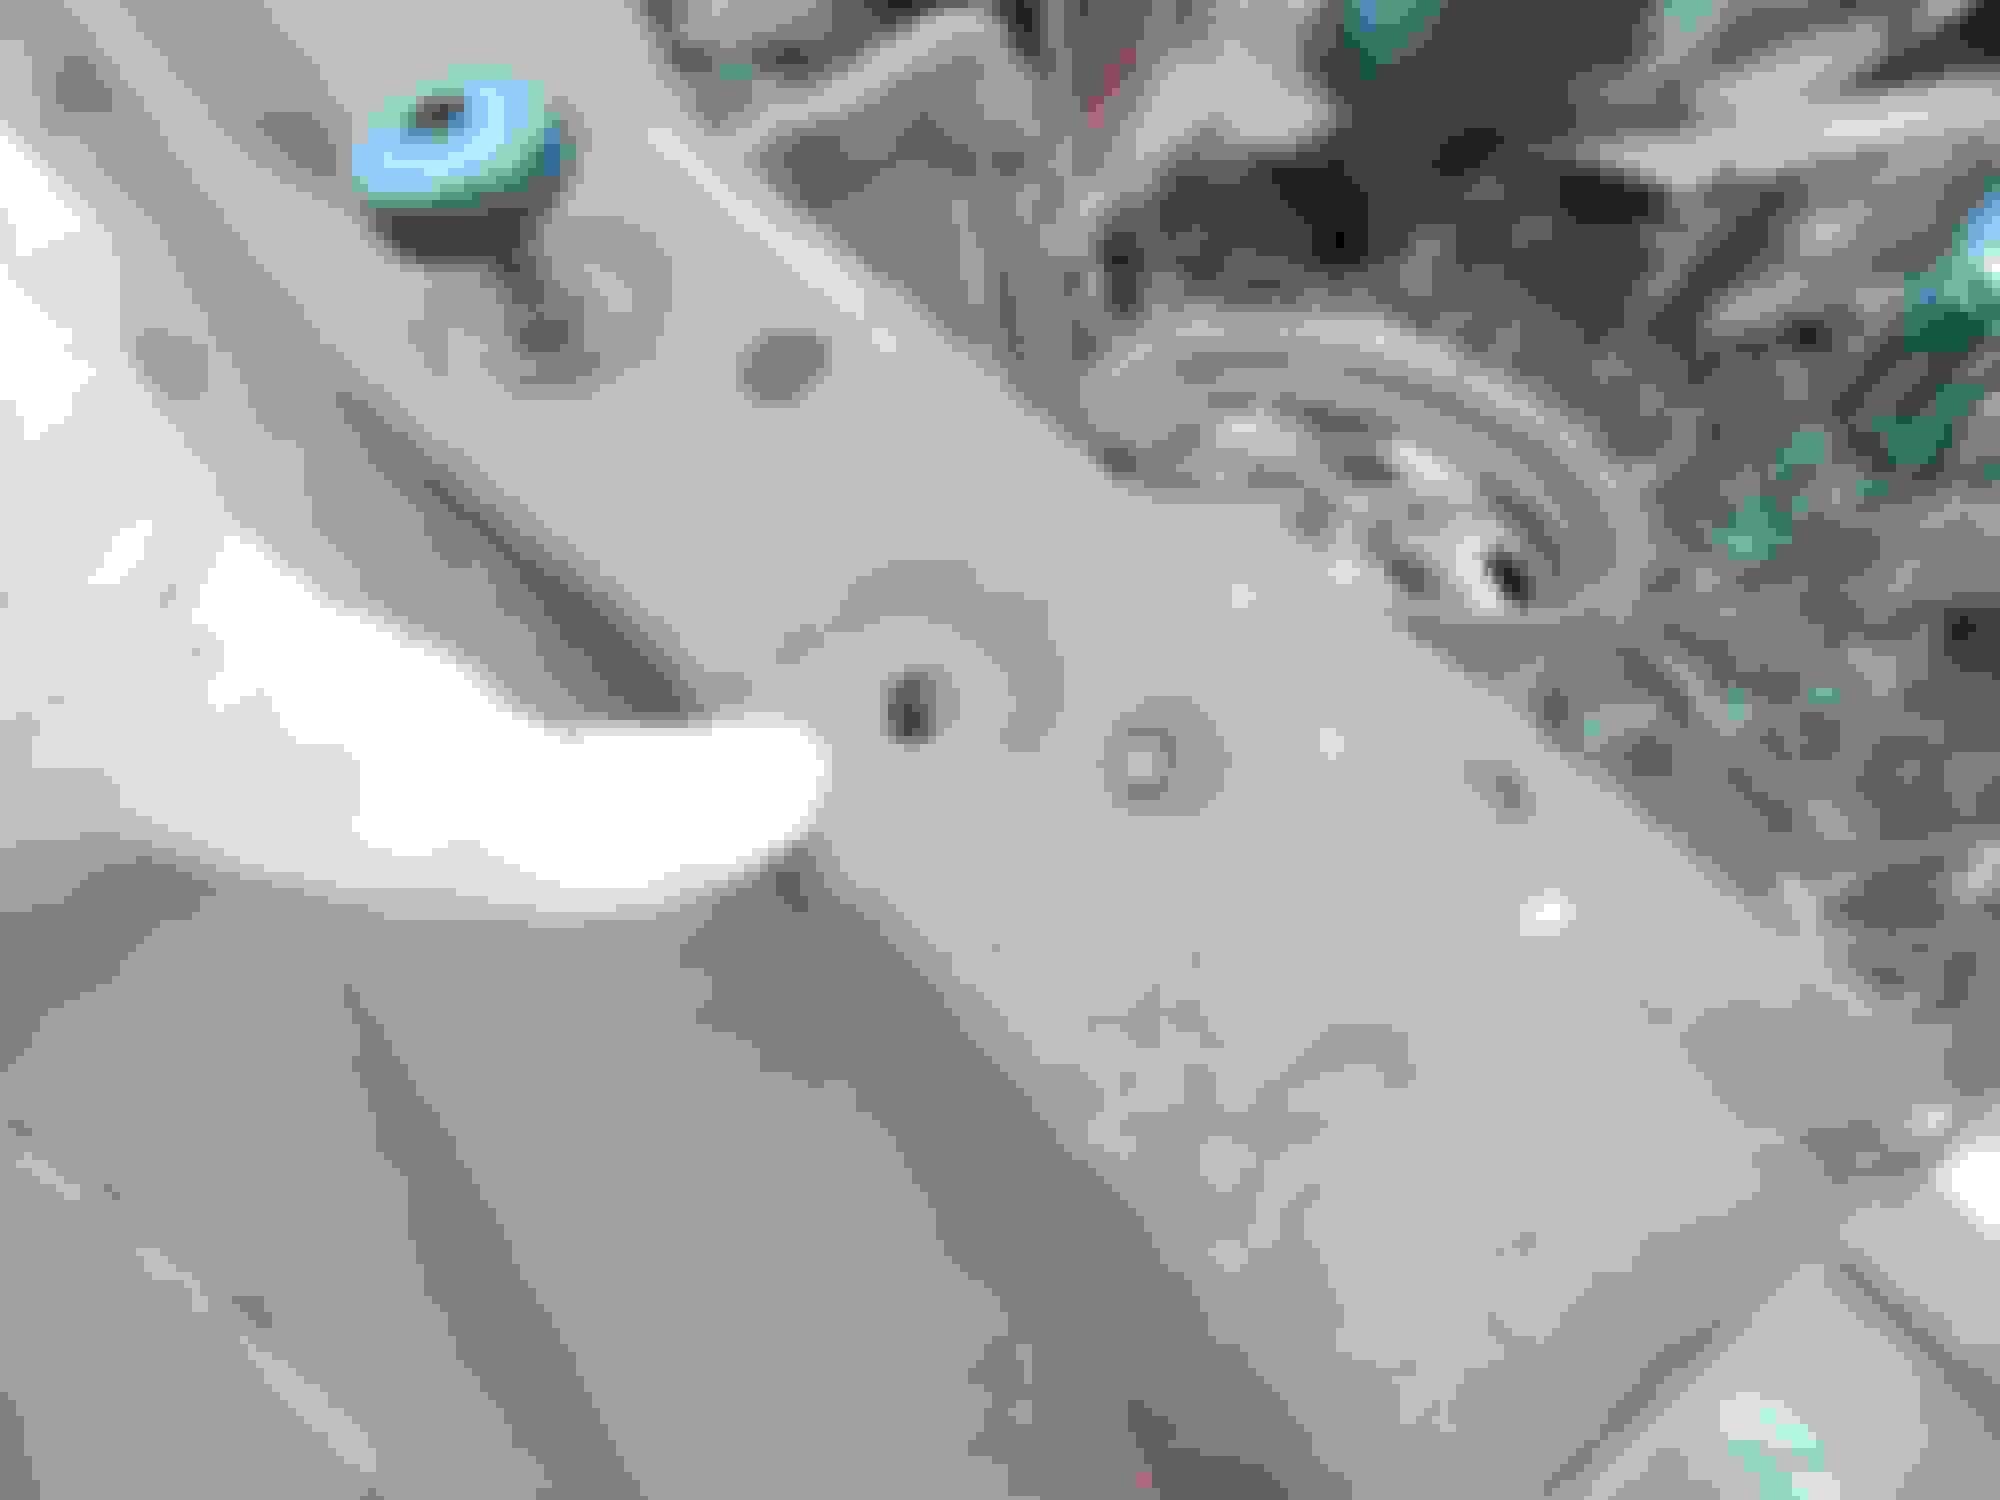
Then here's a 1972 core support. It looks like the hood bumper is in a different location, but it also has the same holes for the hold down brackets. I think the key will be to start with the hole on the top, that has the depressed area. Then line up the other two holes after that.
 December 26th, 2017, 02:54 PM