When you click on links to various merchants on this site and make a purchase, this can result in this site earning a commission. Affiliate programs and affiliations include, but are not limited to, the eBay Partner Network.
Hi All,
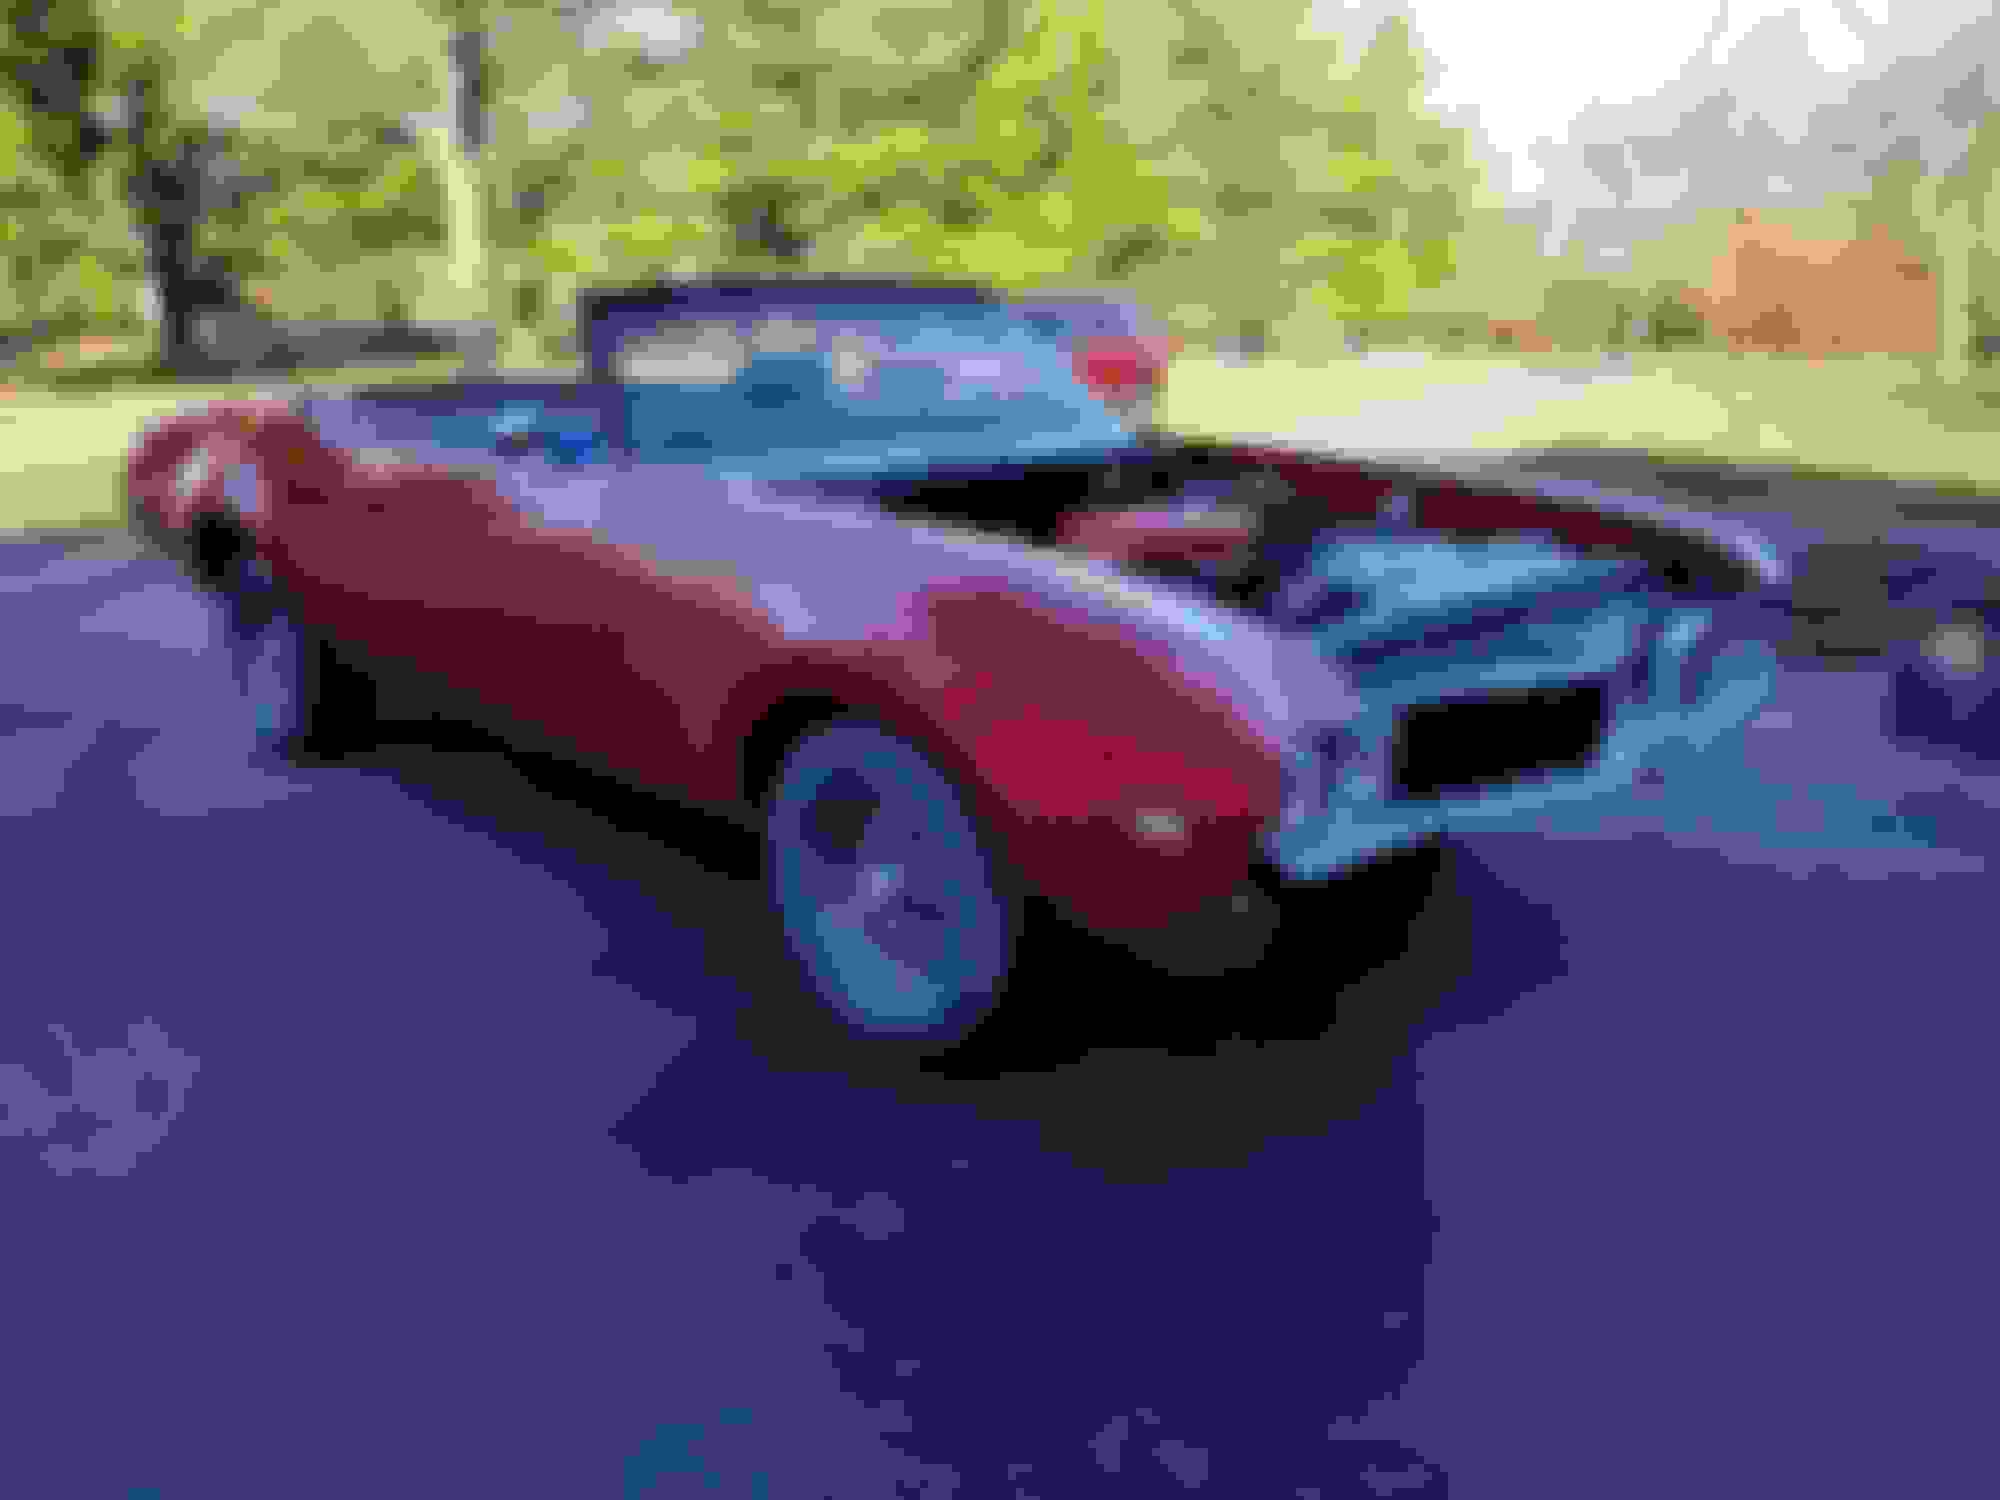
I am presently restoring a 1969 442 convertible. I am doing the entire restoration myself. Mechanically, I am done, and I painting it a few years back. It is time for the new top to go on. I have the 1969 GM service manual and watched several videos, it looks fairly straight forward to do. I understand exactly what I need to do except for one thing, the location of the center bow in relation to the rear bow. All the bows are stationary except for the center bow, that one can rotate slightly. The entire top and pads have been off for several years, and I failed to take that measure when I removed them. Section 13 of the service manual suggests making a spacer stick to snuggly fit between the rear and center bows. However, the manual does not give the exact stick length. A figure shows how to make an adjustable length stick ranging from around 13.5 to 16 inches. The manual indicates to install and lock in this spacer stick before removing the side pads as they maintain the center bow in a certain location. Ooops! I have been unable to determine the distance between these 2 bows and I can't install the new pads and top until then. Does anyone know that distance? please help.
Thanks Tom
I'm happy to help. From shops I've talked to about top replacement I got the impression it's an 8 hour job. But you usually want to walk away from it a bit. Reasonable shops charge $1,500 for L&M. I've done a lot of the restoration on my car myself but occasionally disappointed with the results so I plan on letting a shop do mine. There a few very good post on this site doing step by step replacement.
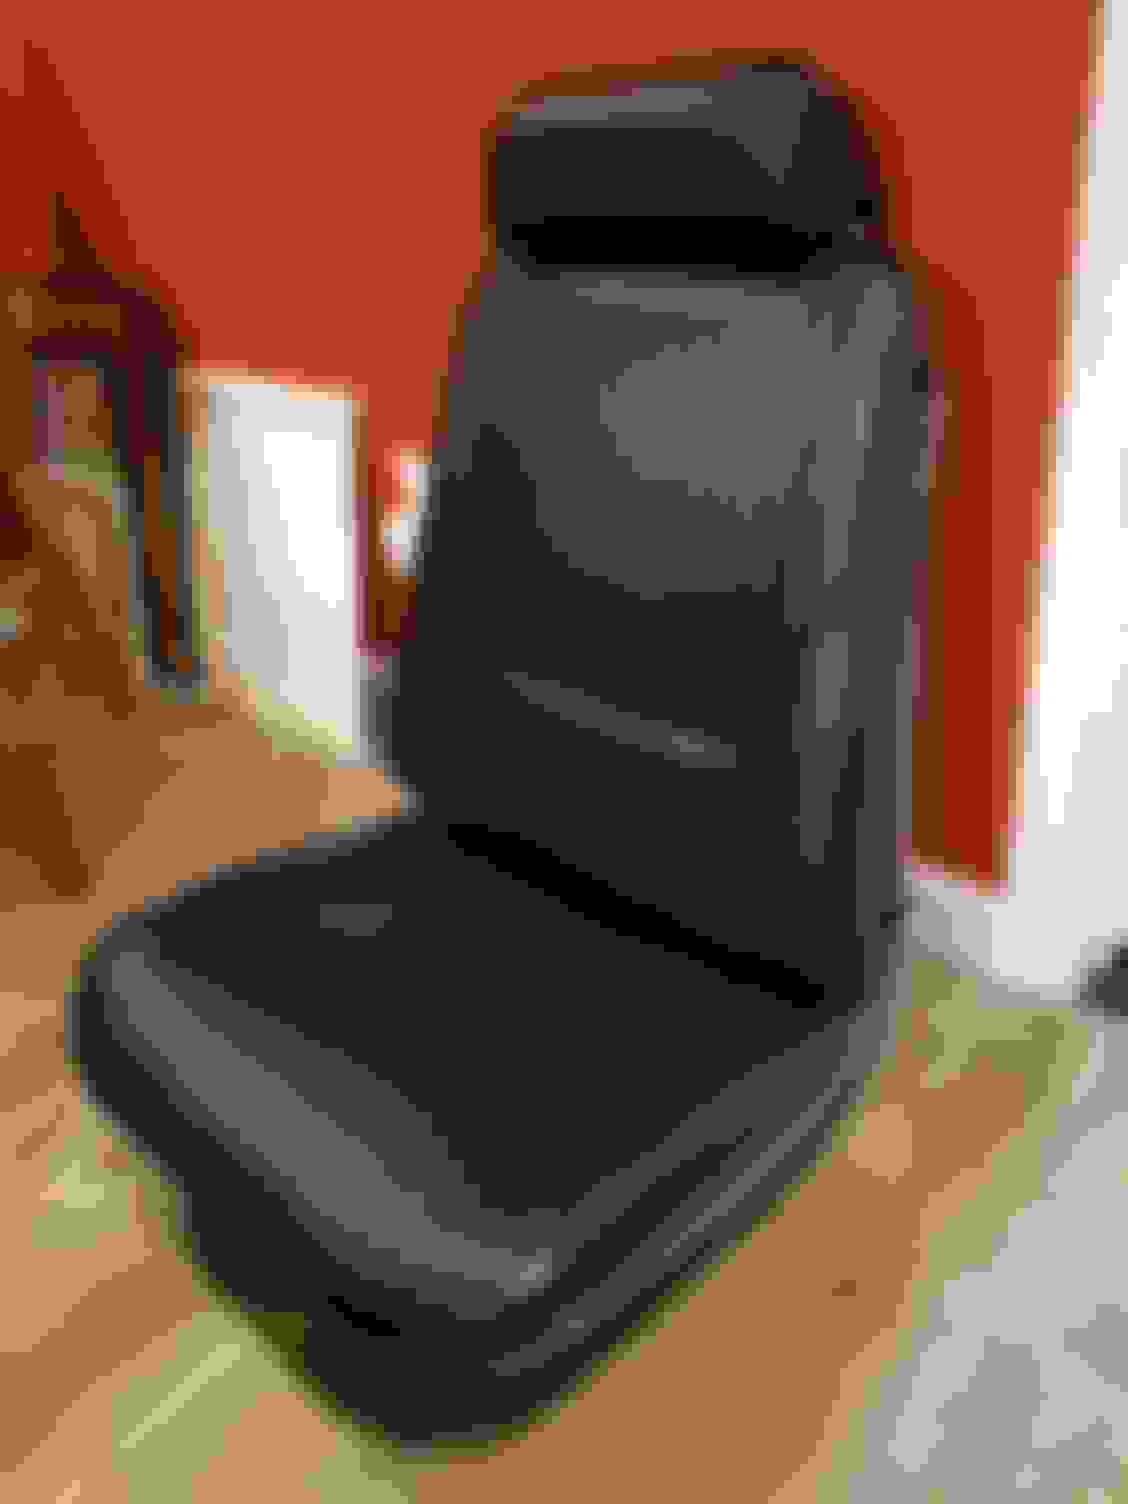
I figured I would attempt the top. The new top was around $700 included glass section, well liner, top and cables. A while back I decided to do the seat upholstery also and it came out really nice. No sewing just hog rings so very straight forward. I replaced seat springs and foam. I enjoy doing these new things.
I will keep you updated on top install and offer you any advice as to whether or not to attempt it.
Attached is the new seat upholstery photo.
Tom
Tommy, if you know what brand top you have you can look up the rearmost bow measurement. That measurement varies from one company to another. Look at the Electron catalog online and you can see how to measure and their spec. But Kee can be different, Robbin's, etc. Some tops are slit at the last bow's corners and those cuts have to be where the bow is. I agree, the seats look great!