When you click on links to various merchants on this site and make a purchase, this can result in this site earning a commission. Affiliate programs and affiliations include, but are not limited to, the eBay Partner Network.
I swapped a 6.0 with 4l80e into my Cutlass and at first I didn't want to post here cause of all the purists and negative comments, but I thought somebody could use the information. I will not go into every little detail of the swap, but I will list the parts I used and try to explain what I've done.
Somewhere in mid December my 463 started loosing oil pressure. It used to have 35psi hot idle, it started dropping slowly, and ended up with 12psi hot idle before I parked the car and yanked the 463 out. In 5-6 years since I've installed it, I've put on about 15k miles on the car so obviously I drive this car a lot.
Being that this is my 3rd Oldsmobile engine that took a crap in 10 years, I was done.
I had the local shop re- build my 350, which lasted about 3k miles, same shop built it again and this time I babied the crap out of it but I was never happy with the power and being dusted by stock mustangs. So I went to one of the best in business, and had him build a 463 which was a blast to drive while it lasted.
Needless to say I've tried, I've spent more money on engines for this car than I ever spent on my Chevy.
I decided I'm done messing with old iron and wanted something reliable.
This is definitely not one of those "I swapped it for $1,000" threads. I will try to list all the parts I used in the swap. Holley/Hooker line of LS swap parts are designed to work together, and I didn't have to cut or bang anything. It was very straight forward.
I bought a 6.0 LQ9 from a friend for $800. LQ9 is the same thing as LS2 with iron block instead of aluminum. Engine was in running condition but I still had a machine shop go through it. I kept the stock rotating assembly, block got honed and they installed new bearings, piston rings, LS7 lifters and trays, hardened pushrods, Cam Motion Titan 4 Camshaft, BTR platinum springs, and new OEM oil pump.
ARP bolts on rods, mains and heads.
Heads got a new valve job and minor clean up on the ports.
Cost of the rebuild was $2,300 plus the cam and springs. This machine shop does a lot of builds for my family so cost might've been cheaper than average....I can't tell.
When I got it back to the house first thing I've done was CHE trunnion upgrade on the rockers. Stock caged roller bearing assembly is known to spill the needle bearings with performance cams. This was very simple and easy to do, press the old bearings out and install new ones, no special tolls needed.
After cleaning the frame a little bit, I installed Holley/Hooker Forward mounts. They are designed to work with F body motor mounts and they move the engine forward to provide clearance for transmission. Bolts for the install were included, long bolts for mounting the engine were bought separately.
Holley Frame Mounts - 71221006HKR
Motor Mounts - Anchor 3064
Engine mount thru bolts - 71223015HKR
Holley Oil pan and OEM water pump got installed. I had to cut part of the (truck style) windage tray to provide clearance for the pickup, but instructions were pretty clear.
I used a water pump from a 2010 Camaro that has the same spacing as the truck accessories. The water neck is in a different position too, which gives me more options for radiator hoses.
Holley Oil Pan - 302-3
Oil Pan Bolts - ARP 134-6902
Oil Pan Gasket OEM - 12612350
Dipstick OEM - 12669528
Dipstick Tube OEM - 12625031
Oil Filter - WIX 57060
Water Pump - ACDelco 251-734
Water pump bolts - ARP 134-3202
Tensioner Pulley OEM - 12628025
Knock sensors and valley pan installed as well as all the sensors going on the engine.
Majority of OEM parts were bought from RockAuto or Scoogin Dickey's. SD doesn't charge tax and shipping is free over $100, often they would beat RockAuto on bigger orders. Amazon is also good, especially if you have Prime and no patience.
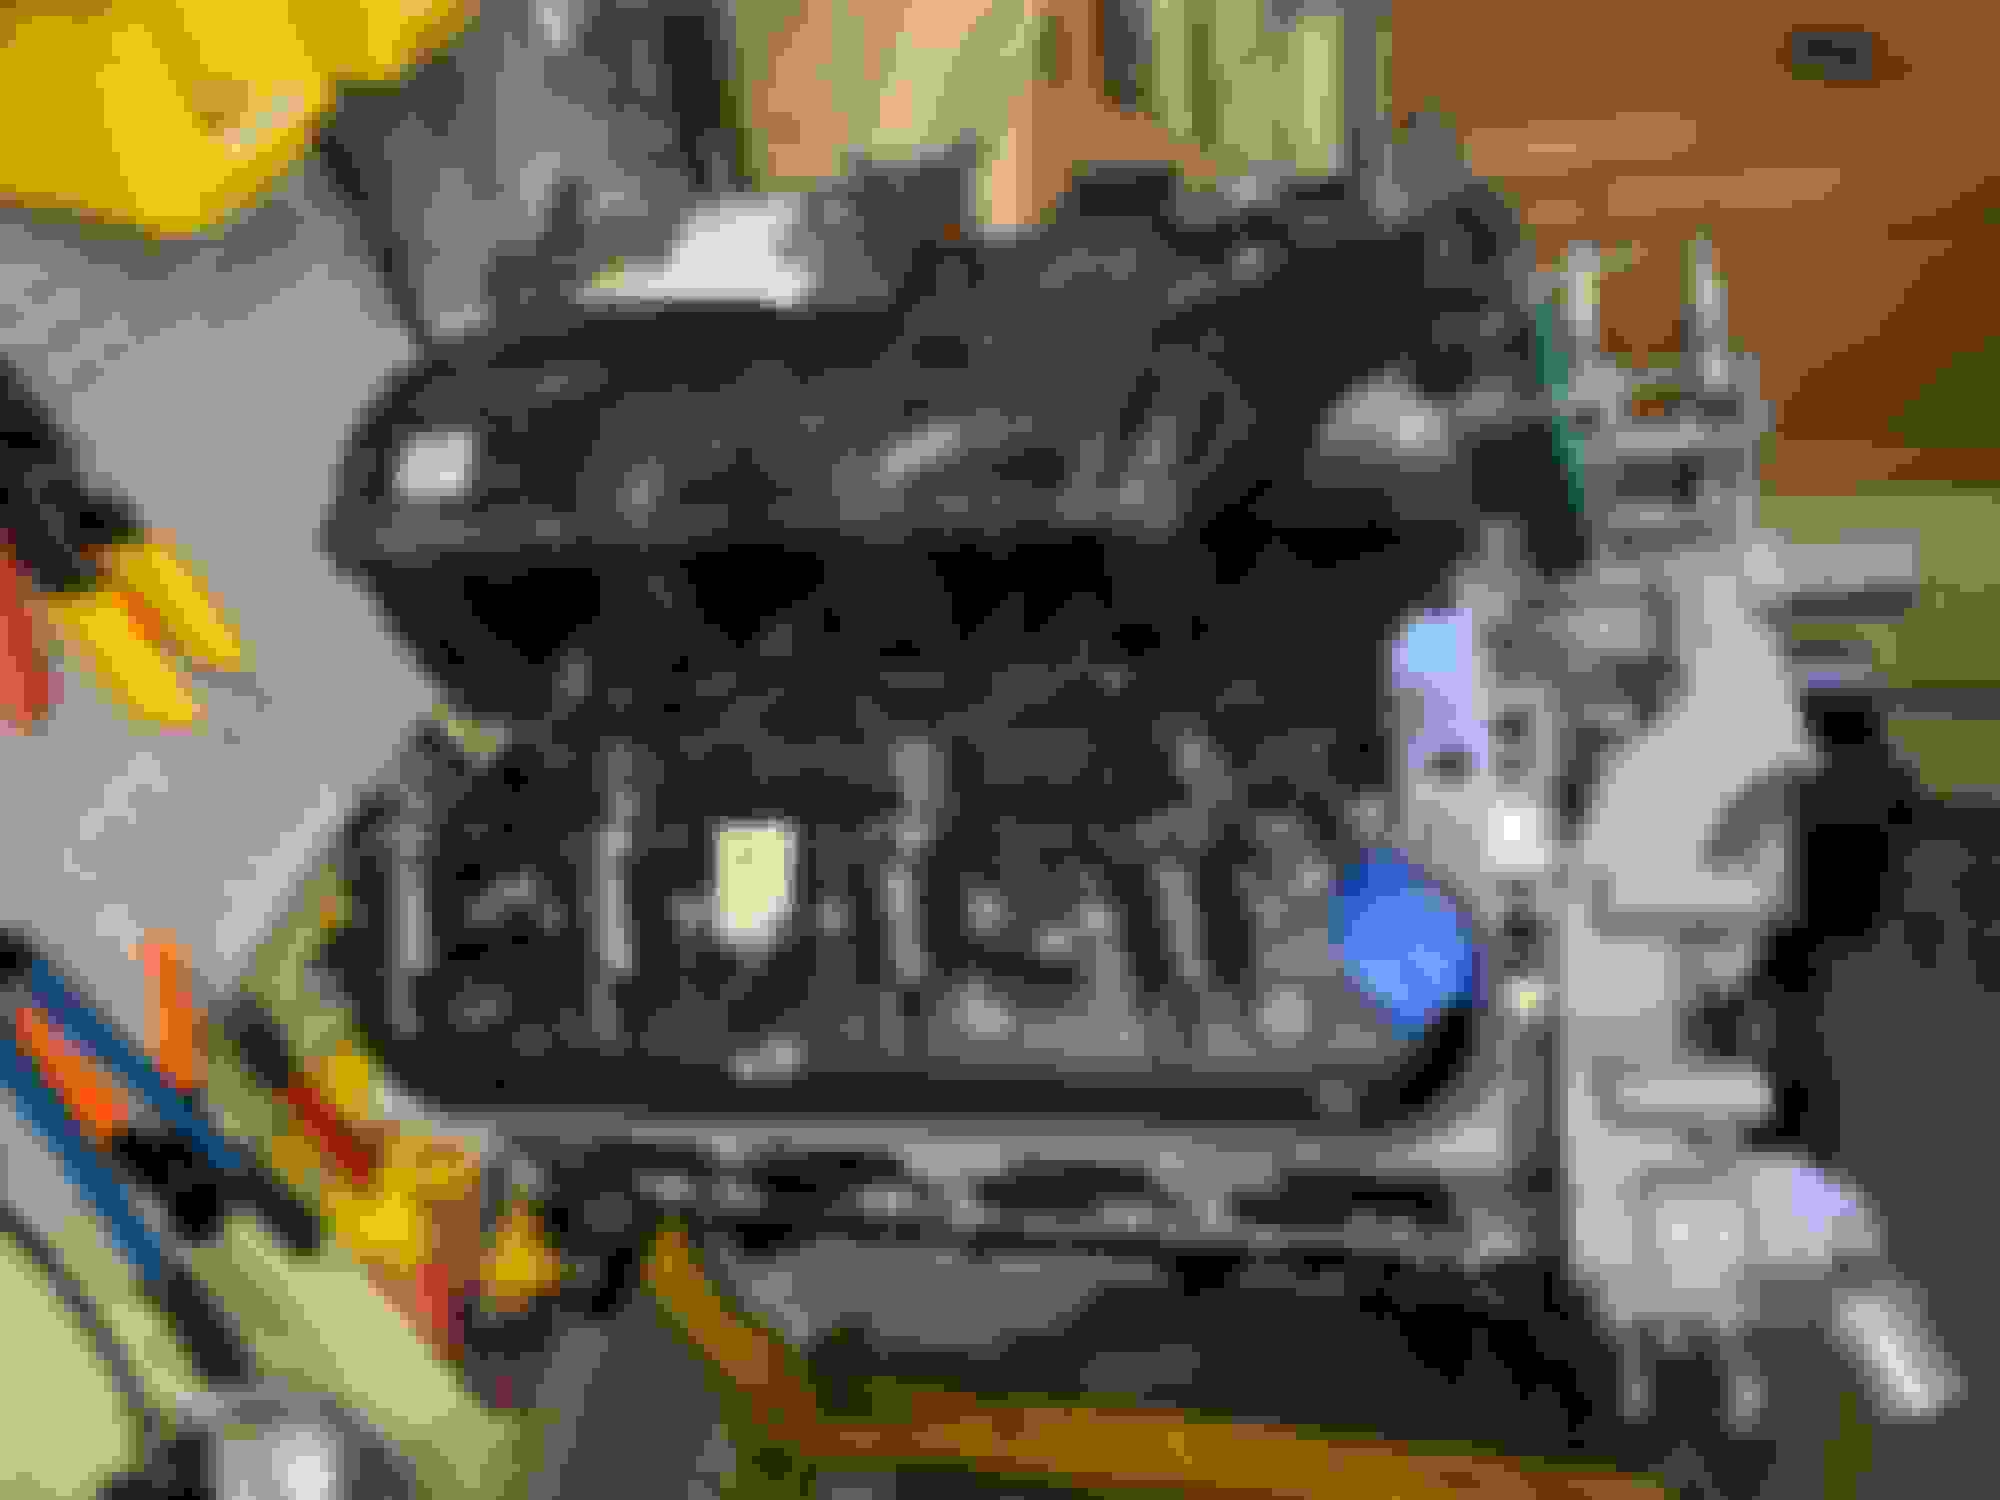
Valve covers in picture are on temporarily, I will be using a different OEM set that have improved design.
I didn't have an intake so I bought a Trailblazer SS intake, fuel rail and injectors included. TBSS outflows many car intakes, it has 90mm throttle body opening, but it's butt ugly. At first I was planning on shaving it, but boost will come later so it will stay ugly cause I'm worried that shaving it will weaken the structure.
My engine didn't come with harness and coils on it were crap. I bought D585 coils with brackets and harness. These are the bigger ones with heatsink on top, from what I understand, D585 is supposed to have a slightly hotter spark than the coils I had. Not sure how true.
I cleaned the coils, painted the brackets, wrapped the harness.
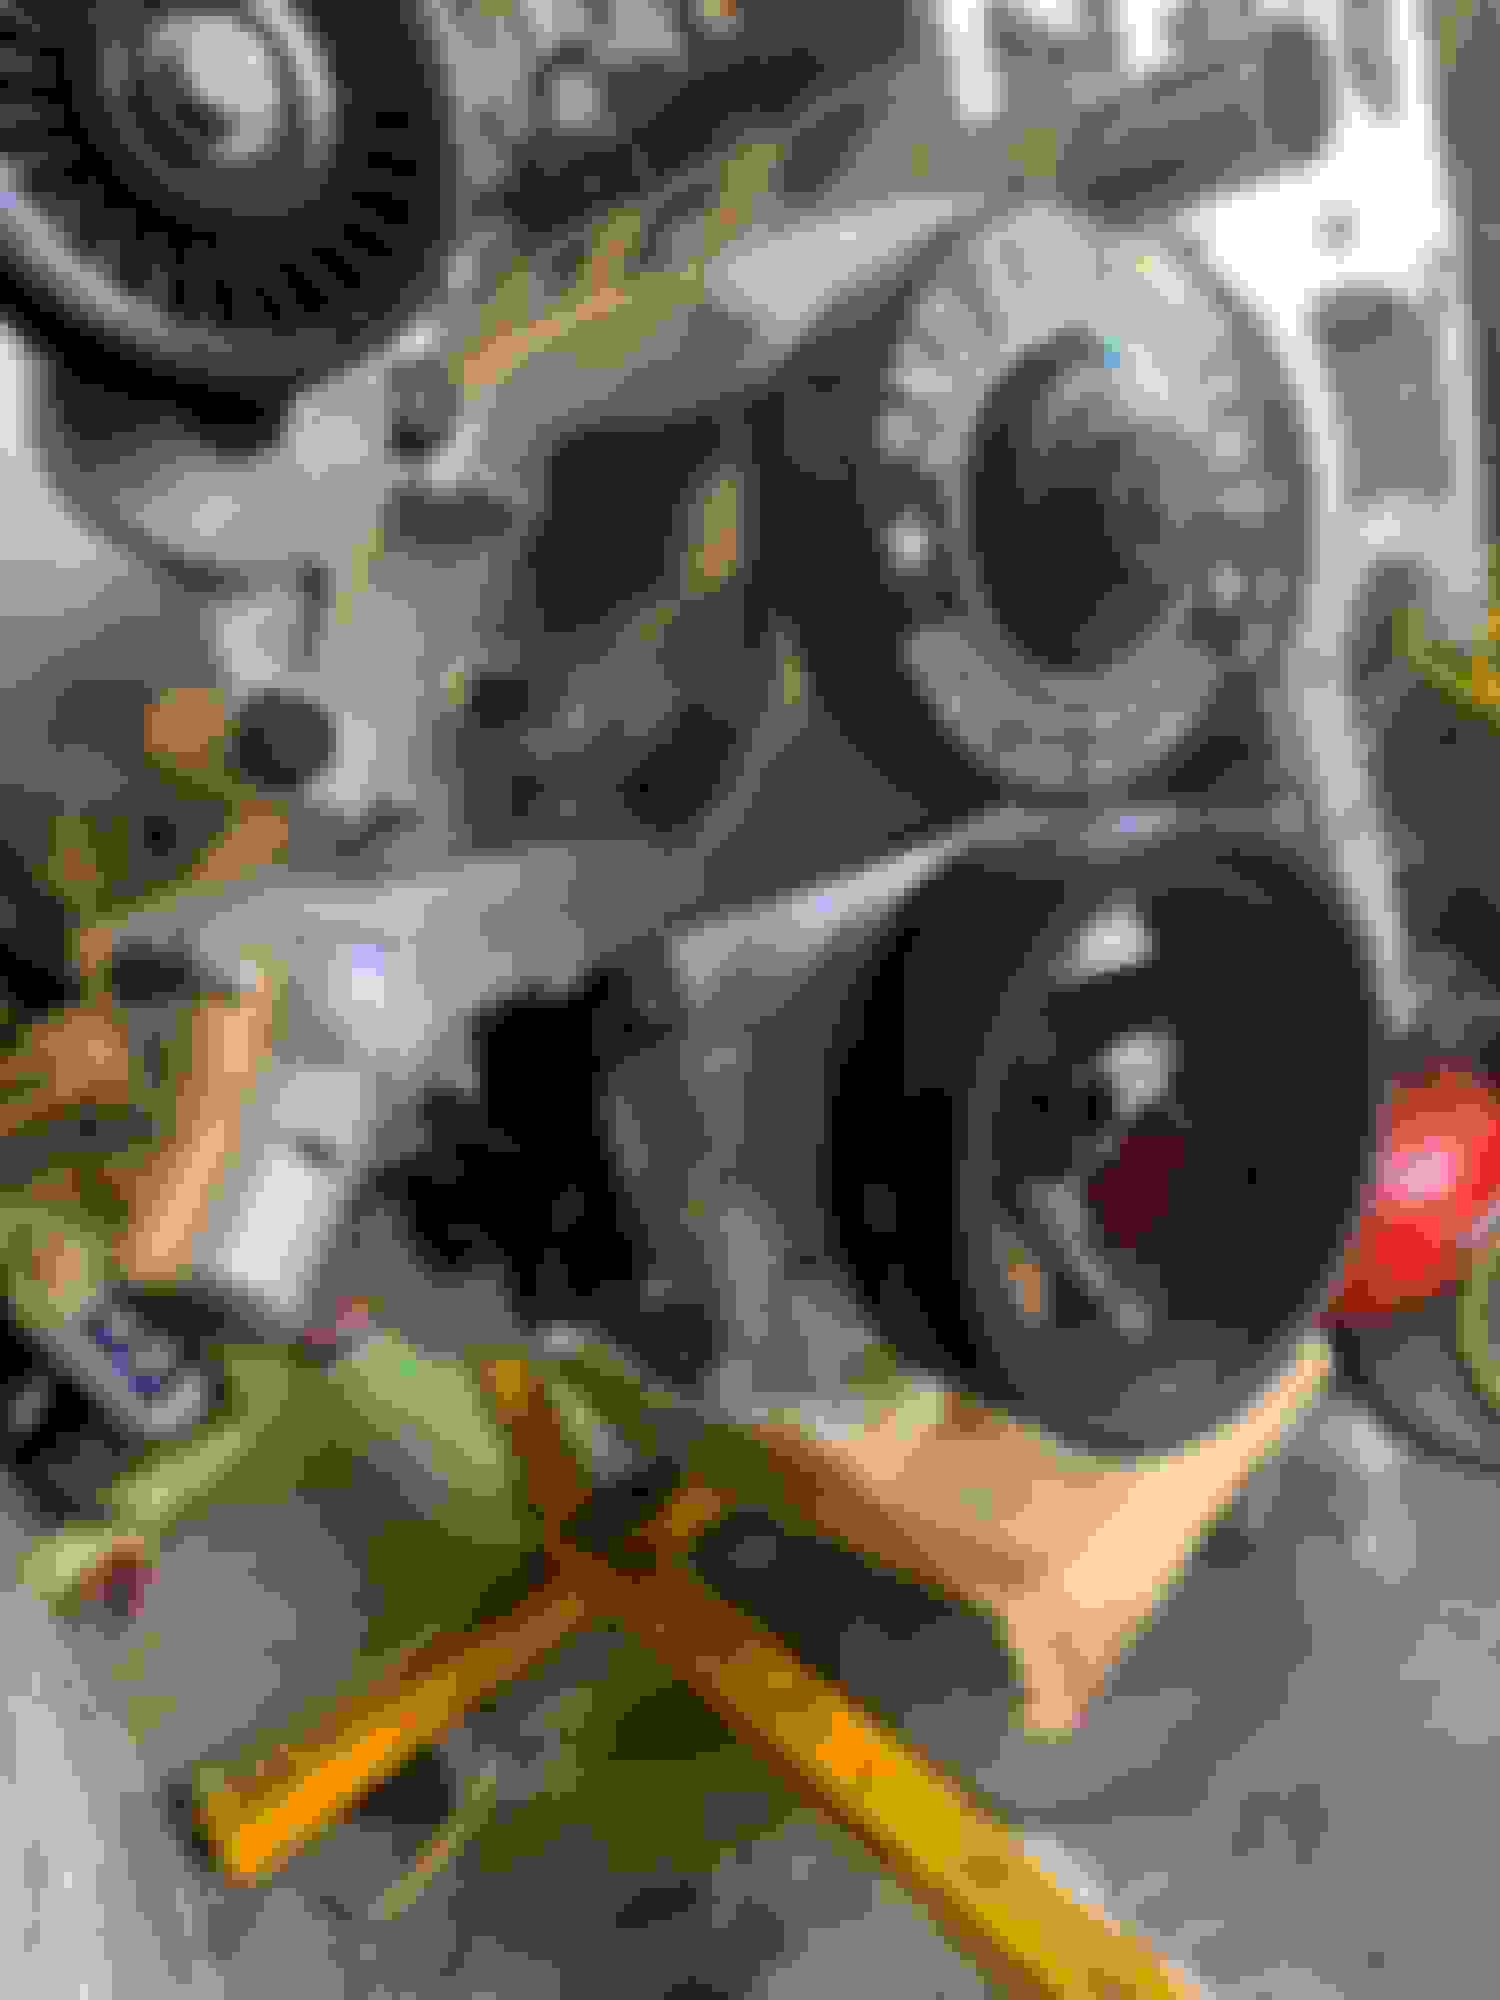
When using truck accessories and pulley alignment, PS pump pulley hits the steering box. Some guys buy a smaller pulley, I decided to buy a relocation bracket from ICT billet. I will be running Power steering and hydroboost, and I wasn't sure how would smaller pulley affect that. PS pump is OEM (escalade) for hydroboost with dual returns, and alternator is 145 Amp Remy OEM replacement part. PS Pump pulley came from ICT billet and it's same size as stock.
4 corner steam vent crossover from Jegs got installed as well. It fits good around the intake.
Throttle body is just for mockup.
I am posting thing in the order it got done. I was looking for a 4l80e, and around here a core goes for $6-700.
Found one that was rebuilt by GM dealer in 2015 for $1k. Seller decided to go with 6L80E for his Camaro, so it never got installed.
I also bought a CK Performance Master recalibration kit for it. A friend of mine, that built my th350 which lasted behind the big block for 30k miles, installed everything.
For the converter I went with Circle D 245mm billet converter with 3200-3400 stall. OEM flex plate and spacer, ARP bolts were used to bolt flexplate to the engine.
Crossmember is Holley/Hooker part #71222007HKR
Everything fit like a glove, no room to spare but it fits.
There is very little room for cooling lines on the transmission, I used banjo fittings bought on Ebay ($40), and 6an line kit from Amazon ($80).
Transmission cooler got installed on 2 brackets that I bolted to the AC condenser mounts.
Transmission mount is OEM for f body.
For shifter I kept my His/Hers Hurst Dual gate and hooked it up using Shiftworks conversion kit, which was perfect.
Transmission cooler - LPD47391
Mount - Anchor 2817
Shiftworks conversion kit for dual gate - SIW-C371
Headers are Holley/Hooker part number 70101518-3HKR. These have dark ceramic coating finish which is finest chinesium coating money can buy. I'm scared if I breathe on it too hard it will come off. I should've went with stainless, but they cost more.
However the fit is perfect, they can be installed with the engine mounted from under the car. I kept the bags they came in on them while installing to protect the finish.
Excellent writeup! You have assembled a very good combination of parts for a street build! You have very close to the setup of my LQ9, but with a better intake/throttle body combo and a little higher stall converter. I am running a lower lift cam motion cam with the same duration, spec'd by my builder (.586/.595) and my heads were cnc ported 243's by Advanced Induction. Really looking forward to your thoughts once you get it on the road. Guessing now you will be about 400tq and 430hp at the wheels.
by the way, i have the same escalade ps pump running hydroboost on a smaller diameter pulley with no issues for the last 2 years.
Thanks man. I'm keeping my 317 heads for the time being to keep the compression down, cause I was planning on installing a supercharger later. If that doesn't pan out I have a set of 799 heads that I can send to AI for porting. They are pricey but best in business IMO.
Good to know about PS pulley, I couldn't find any info about how it so I played it safe, just in case.
For fuel system I wanted to go with Rick's restomod tank that uses OEM ZL1 Pump and PWM Module, but Rick's discontinued restomod tanks, with no info whether they will bring them back.
Next best thing IMO is Aeromotive Stealth II tank. I bought the one with 340lph pump. I believe their Stealth II design with the pump in the center of the tank wrapped in foam and bladder is much better than Tanks inc. tank.
I have tanks inc. EFI tank (notched corners) on my Chevelle and it sucks in air every now and than when the tank is below half full.
For fuel lines I used ANfittings lines and fittings - total cost for 25' of PTFE line, and all the fittings was around $200. I bought couple of extra fittings because I had no clue how the lines were going to be routed through the frame. Their lines are much cheaper than any major brand, but they are not as easy to assemble. Once I finally got them assembled, I tested the lines to 140 psi left overnight, and they held up fine.
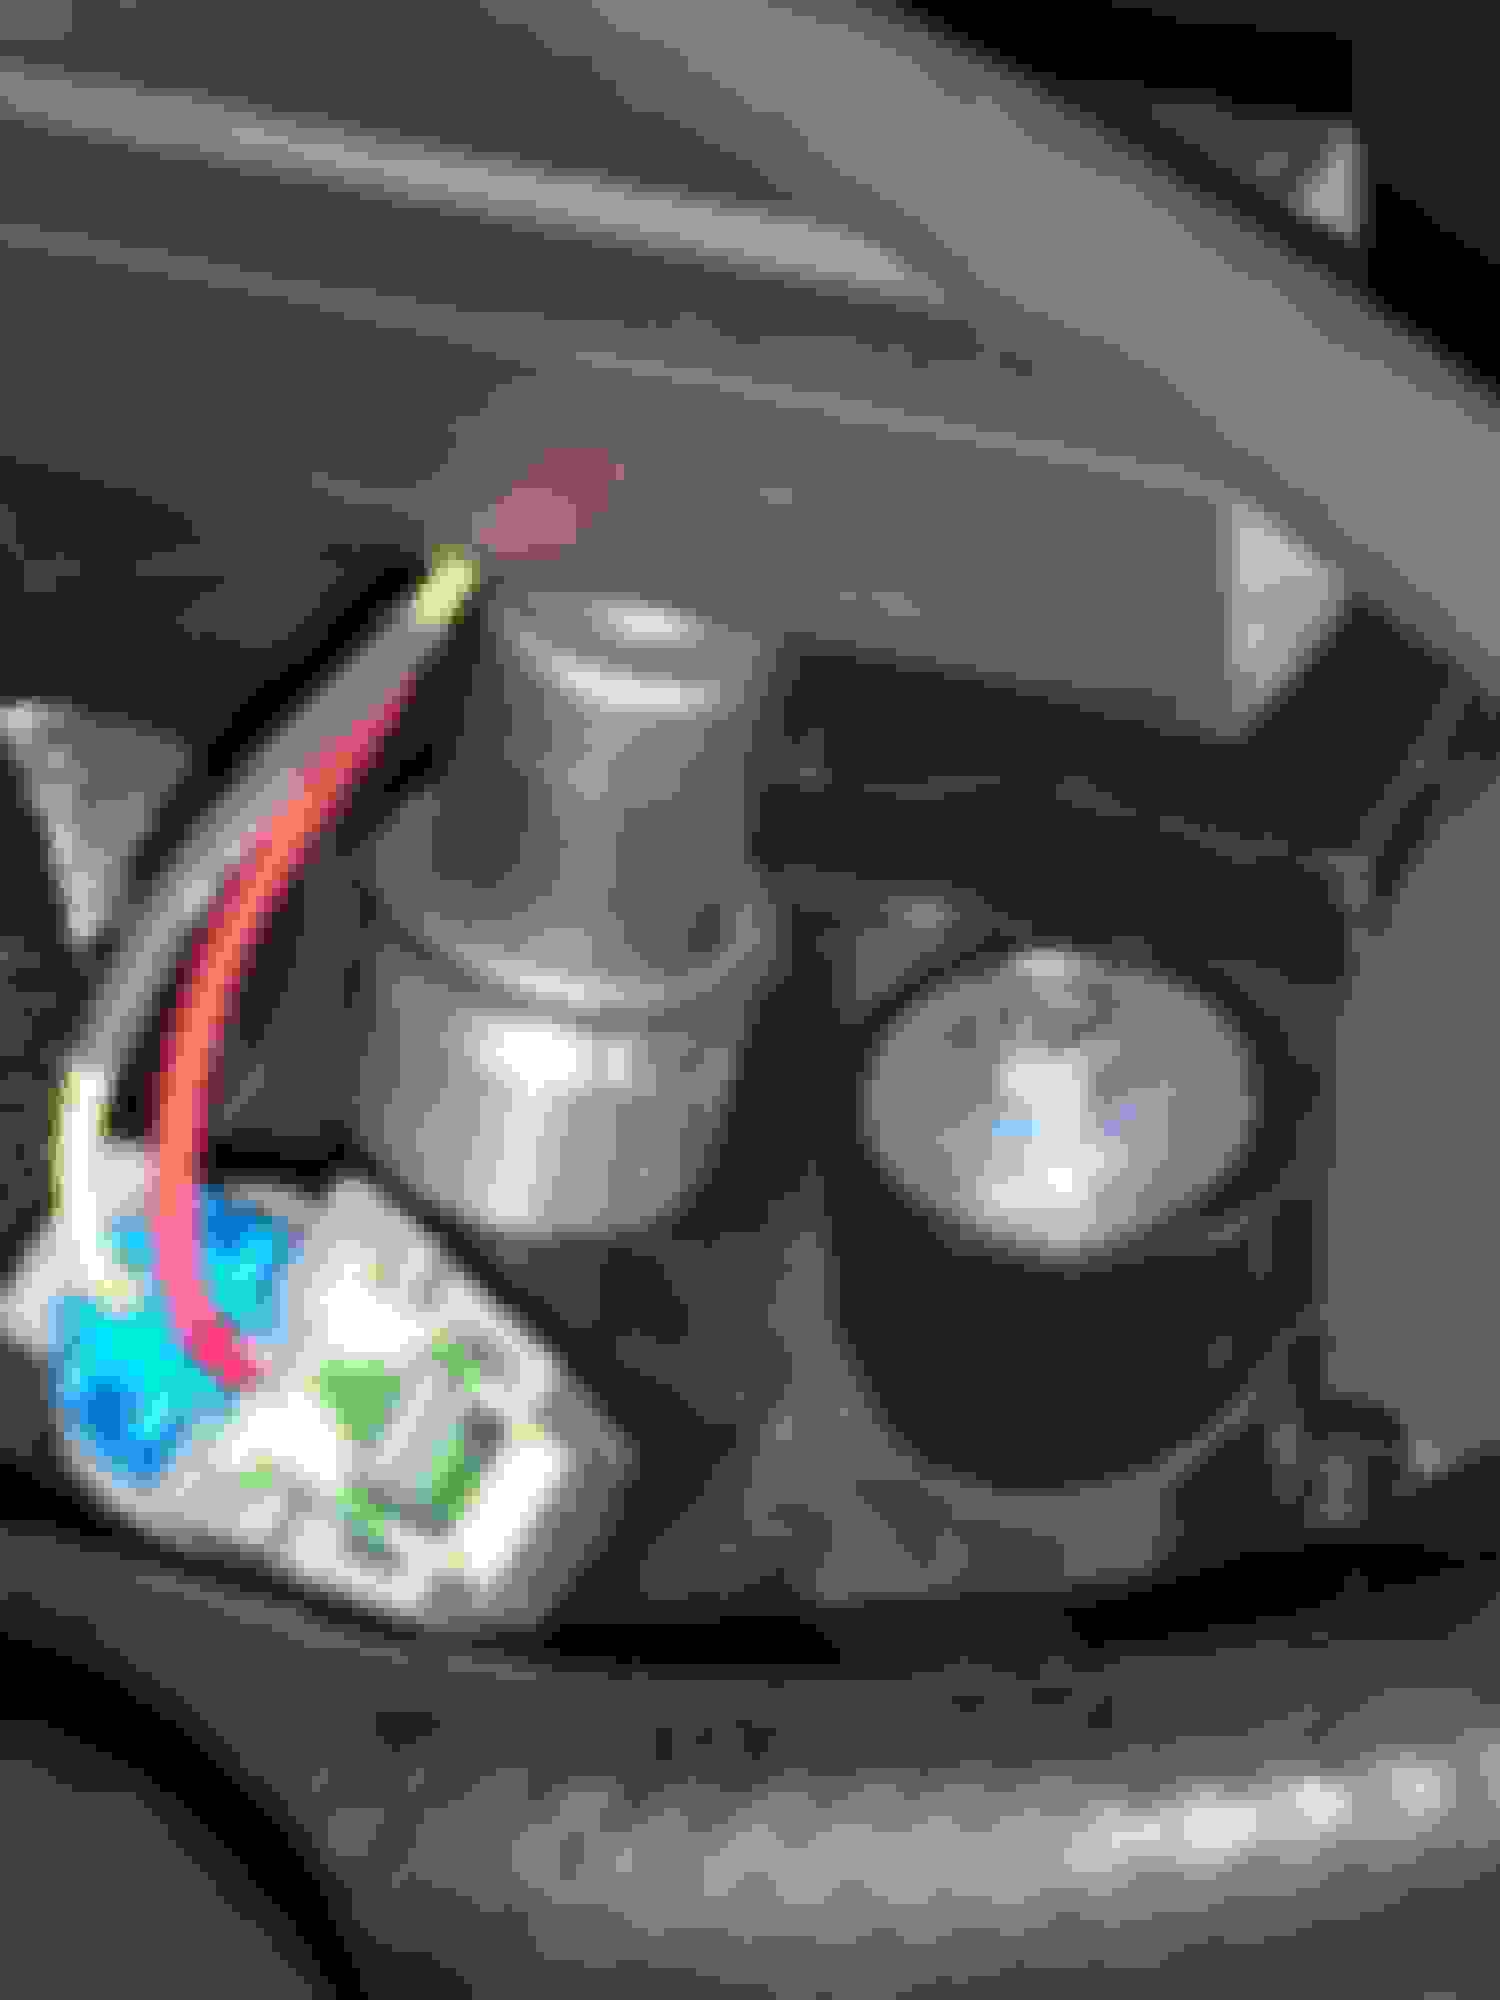
The fuel line got routed through the frame over the rear wheels to the firewall. At first I installed Holley Filter/regulator combo (part #HLY-12-876) that turned out to be just an expensive version of Corvette filter/regulator. It couldn't handle the flow of the pump and fuel pressure was 70psi, instead of 58 that it's supposed to be.
So back to square one. I had an Aeromotive 10 micron high flow can filter on the shelf, and I bought a MagnaFuel's adjustable regulator. That worked like a charm.
I couldn't find a convenient place to mount it, so it got mounted on the firewall. To connect to OEM fuel rails I used a push-on to AN adapter, 6an male/female fitting with 1/8" port for fuel pressure sensor, to which I connected the fuel line coming from the regulator.
To wire the fuel pump I used Aeromotive wiring kit that came with everything needed.
With intake finally installed and fuel rails figured out, I needed injectors. A friend had brand new OEM LS3 flex fuel injectors but they were shorter than truck injectors.
They flow 58 lb/hr at 58psi, and they leave plenty of room for future upgrades. Paid $200 for them.
To mount them I bought ICT injector adapters. Spark plugs and wires got installed as well. Wire sleeves are from Amazon $15.
I really want to take full advantage of electronics that LS platform offers so I decided to keep the Drive By Wire system. For DBW I installed LS3 throttle body and pedal from Cadillac CTS.
The bracket to mount the pedal came from Scarebird.
From what I understand pedal from late model Impala is direct bolt in, but I didn't try it.
I like the Scarebird bracket better because it uses existing gas pedal pad mounted on CTS DBW. That way it doesn't look out of place and it bolts in the existing holes.
DBW Throttle body - OEM 12605109
DBW Pedal - 10379038
Mounting Bracket bought from Scarebird $75
It just keeps getting better! I don't want to sound like a downer, but those wire socks will kill those MSD wires in no time. Not sure why, but they must hold in just the right amount of heat to really put a hurt on the silicone or rubber or whatever MSD uses for their boots. I burned up 2 sets before figuring that out and might have some that I can send pics of. That's with none of them in direct contact with the headers. I have since switched to some Taylor 45* ones that are doing fine after years of use.
Good to know, I will get rid of them. They were cheap so not a big loss.
Please let me know if you see anything else.
New driveshaft was done by a local shop ($400), for exhaust I bought a Y pipes (i think that's what they are called) for cutouts, H pipe kit, S bends, and 4' long exhaust tubing. Little bit of cutting and welding, exhaust was done for around $200, but it has H-pipe crossover and it's ready for cutouts. Exhaust is dumped at the rear axle for time being. Later I will install Borla mufflers and run it to the bumper.
I like Summit brand Y-pipes cause the mounting flange for cutouts is floating, not welded. This way cutouts can mounted in any position.
I have a set of 45* accell ceramic ones that didnt work with my headers I could send your way if you think they would work. If interested PM me your address.
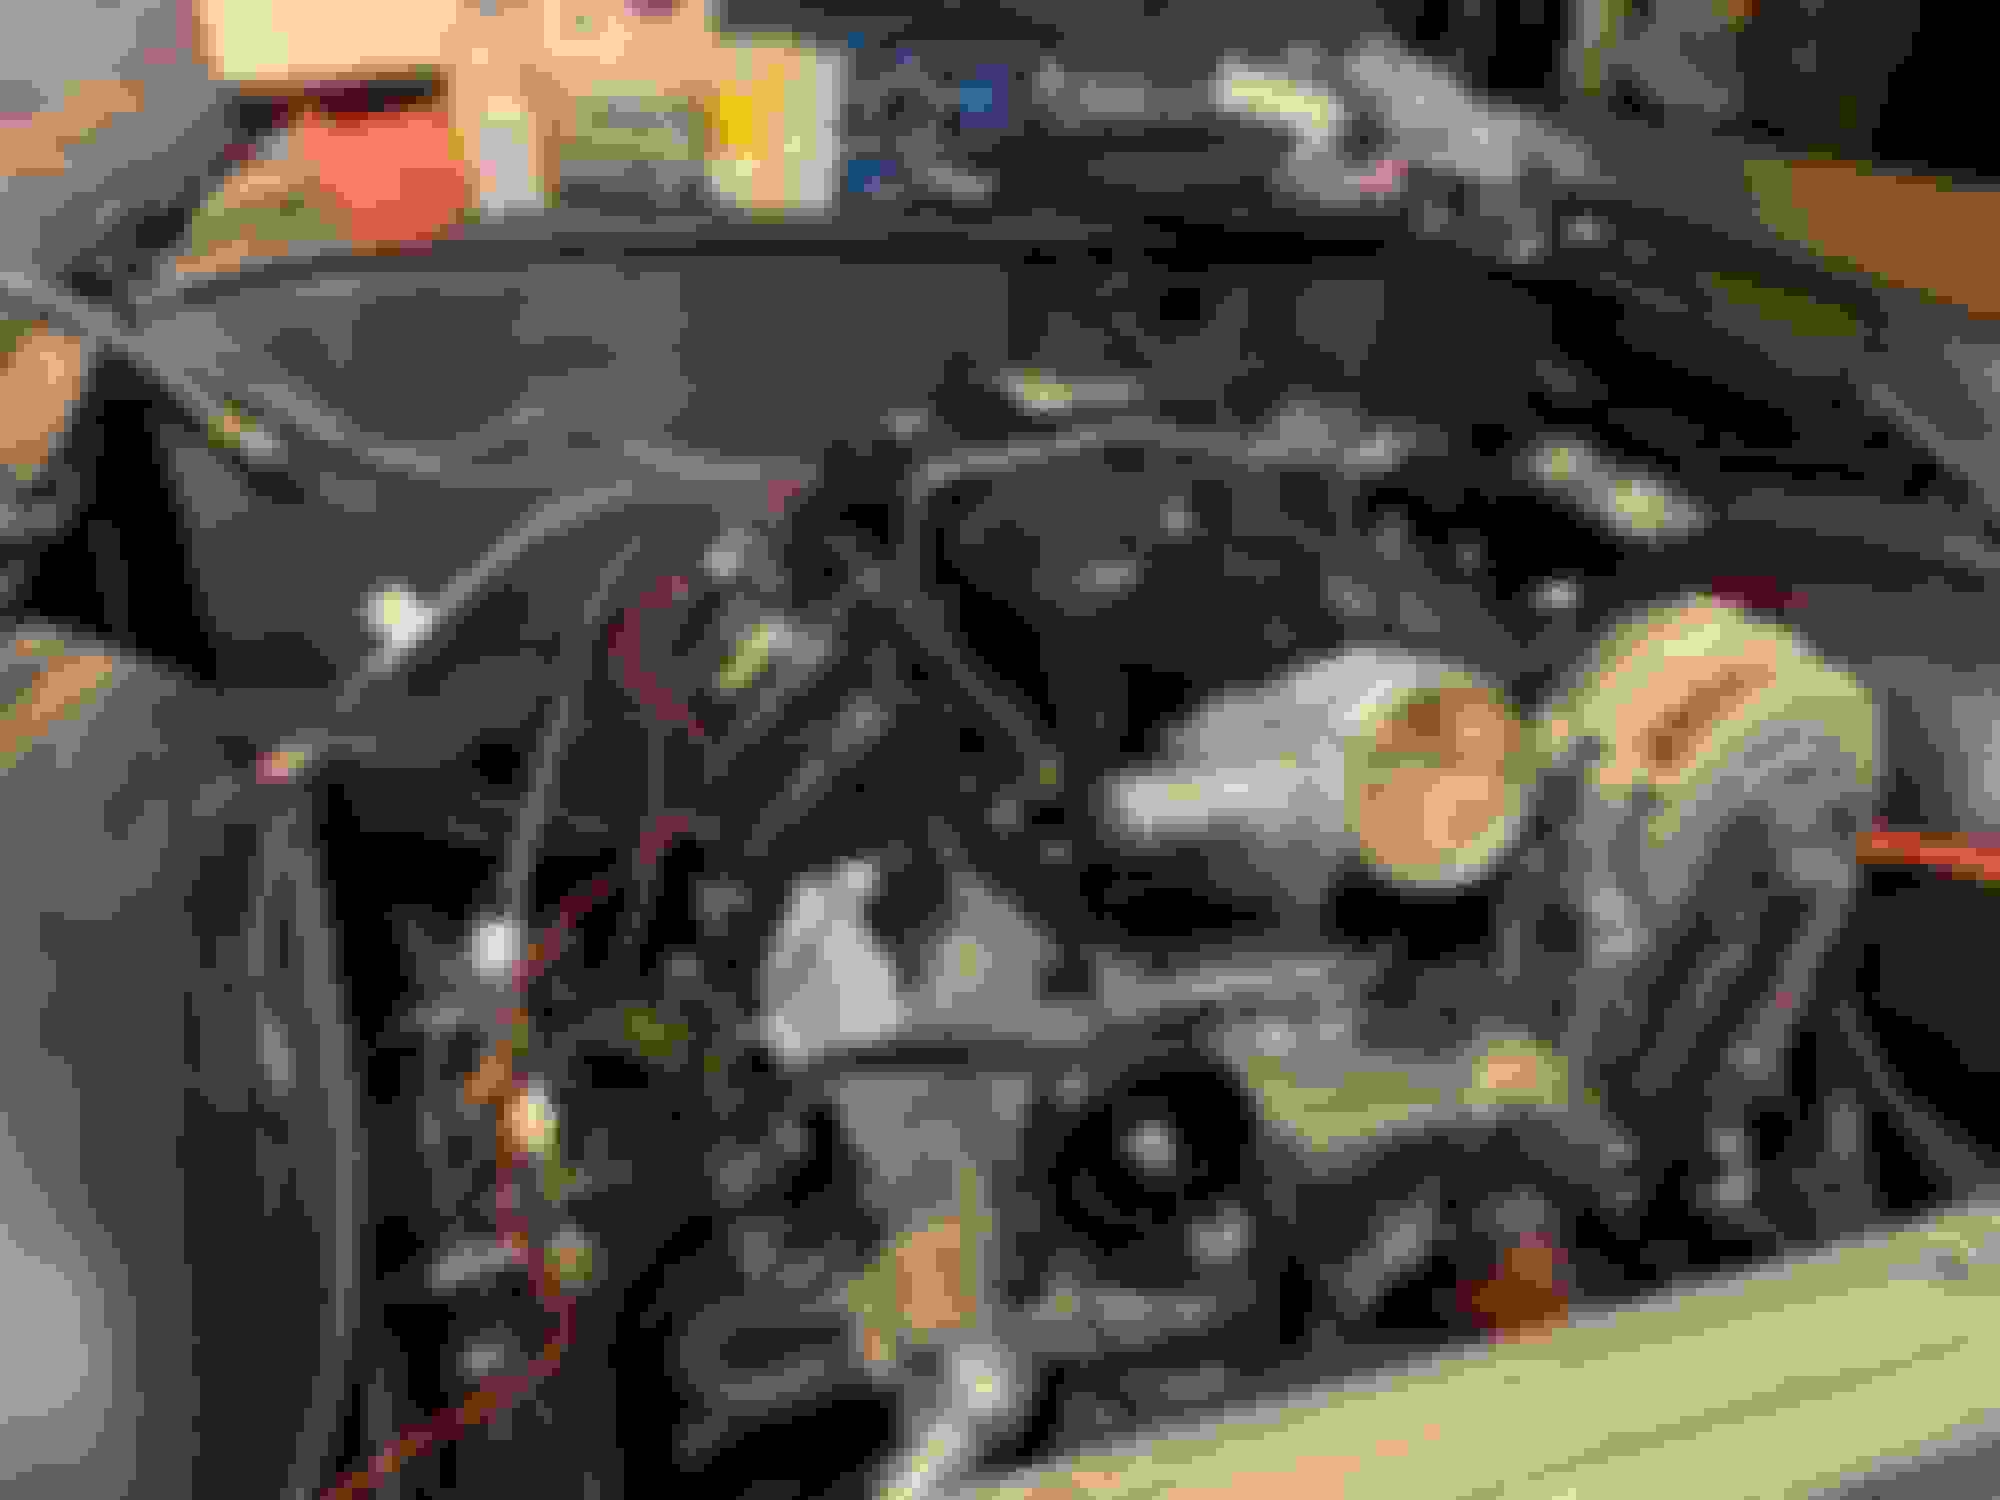
With the engine and transmission in, it was time to do wiring. Since my LQ9 didn't come with harness or ECU, Holley Terminator X made sense, or Terminator X MAX in my case cause it will control my transmission and DBW. I bought the setup from R&D Performance Fabrication, LLC. I paid full price for it, but they promised 2 hours of free remote tuning. Given that some guys charge up to $400 for tuning, I thought it was a good deal. My system came with 3.5" display that is used for tuning and/or displaying the vitals.
ECU was mounted under the dash on passenger side. I drilled 2 2.5" holes right behind the intake, to run the wires from ECU to the engine.
The system was pretty easy to install. Harness is labeled, and instructions were very clear and straight forward. Having good ground to the engine is important, as well as running the positive wires directly to the battery. OEM sensors are compatible with Terminator, engine side of the harness is plug and play for the most part. ECU has an onboard MAP, and vacuum line can be run from the back of it to the intake. I choose to use the MAP on top of my intake, for which I needed an adapter cause it was newer style. I had to add another fuse box and bunch or relays so I made a bracket to mount on the plastic inner fender. I'm not too happy with the way it came out, but it will do for now. I'm planning on replacing the fenders in near future, and at that time I will move everything to under the dash.
O2 sensor came with the bung that can be welded, my headers came ready for O2 with bungs installed on both side. I plugged the passenger side and used driver side for O2 sensor.
On 4l80e there are 3 connectors that are used, main connector, Vehicle speed sensor and Trans. output speed sensor. I had to wrap transmission harness at the connector to protect it from heat, cause headers are tight to the floor, and exhaust pipe is about an 1" away from the harness. There is 1 wire in transmission harness that goes to brake switch to control lockup. It's supposed to hook up to the wire that's hot when brakes are engaged, on my car that wire is grey.
Terminator requires a MAT sensor to be installed before or after throttle body. I used Holley Hly-534-20 and installed it in the air intake elbow.
When I ran into a hiccup, Lance from R&D Performance was quick to reply to my message.
For the air intake I used a early 2000 Silverado intake that was $50 on ebay. Flipped it backwards and cut the mounting brackets. installed a bung for vacuum line that goes to the passenger side valve cover, and I used Spectra short filter. I had to buy a longer silicone elbow to clear the tensioner pulley.
To cover the ugly intake I cleaned up and painted the engine cover that came with the engine. Had a Oldsmobile decal custom made to fit the cover where Cadillac logo used to be.
After double and triple checking all the wiring, fuel lines, hydroboost lines etc. I filled it up with all the fluids and it was ready to start for the first time. For break in I'm using Driven BR oil, after that I will switch to Valvoline VR1, later after I put on 2-3 thousand miles I will switch to Synthetic. For transmission fluid AC Delco Dexron 6 and PS royal purple.
I cranked the engine for a few seconds at a time to see if it builds up oil pressure, I was happy to see 40psi.
Before 1st start, Terminator X needs to be programed.
I connected my Laptop to the ECU and Lance from R&D joined via Team viewer and set the basic parameters. It took him about 15 minutes to get everything setup and engine started on the first try.
Here is a link to the video of the car idling.
Overall I'm extremely happy with the swap. Holley/Hooker line of LS swap parts made everything really easy and straight forward. No cutting, no welding, just bolt on. Except block machining, tuning and driveshaft I was able to do everything my self. It was nice to work with parts that just fit and connect, without having to modify anything.
Terminator is very user friendly, and they have a lot of baseline tunes already loaded in the system. I'm sure I could've got it in the ballpark but tuning came as part of the package.
Lance at R&D was great with tech support and tuning.
Only issue I've had was that Holley billet Filter/Regulator couldn't keep the pressure.
Finding out about a Shiftworks kit that allowed me to keep my Hurst Dual Gate was the biggest surprise of them all.
I absolutely love the way it drives. It's little different than my 463, it doesn't have that monster torque, but it's extremely fast. I also finally learned what it's like to have a good Torque Converter. OD transmission is awesome, going on the freeway is not a hassle anymore. 85mph and engine just purrs, you can barely hear it.
I know these swaps can be done much cheaper. I aimed for reliability and some wiggle room for future upgrades.
I did not want to get into every little detail of the swap, cause there are plenty of those threads across forums, just wanted to cover the basics.
Nice touch with the rocket logo. Have you driven it yet?
Yeah, I've been driving it everyday for a week now. it drives way better than I expected. Plenty of power, I think that cam is just right. I thought I would loose some low end torque, but it starts pulling and it doesn't stop until I shift at 6500. Had to open it up couple of times to get the rings seated.
Had to have it identify as Olds. LOL.
I had planned a custom cover that would feature Olds Logo, we had rough cut made, but the wild fires that we've been having here burnt down my friends shop 2 weeks ago.
Congratulations on a well executed plan! You seem to have done a good amount of research ahead of time by the well matched combination of parts in your build, and your attention to the small details makes your swap really shine. What did you decide to use for gauges?
Congratulations on a well executed plan! You seem to have done a good amount of research ahead of time by the well matched combination of parts in your build, and your attention to the small details makes your swap really shine. What did you decide to use for gauges?
Thank you. Yeah I did researched the crap out of it. You helped me a lot too, by pointing me in the right direction and words of encouragement.
For right now I have a mix match of gauges from other projects. Autometer Tach, Ebay GPS speedo, and stock fuel gauge. I'm planning on getting gauges from Speedhut.
I connected my smaller Autometer gauges that are mounted under the dash. Trans temp sender in the line, engine temp sender in the "other" head, oil pressure using ICT billet adapter for the oil pan. I was messing around with carbon fiber wrap.