1969 Hurst Olds Convertible Tribute

Thread Tools
 
Search this Thread
 
Old Jan 21, 2015 | 04:37 PM
  #1  
timholliday's Avatar
Thread Starter
Member
 
Joined: Sep 2009
Posts: 308
From: Howell, MI
1969 Hurst Olds Convertible Tribute

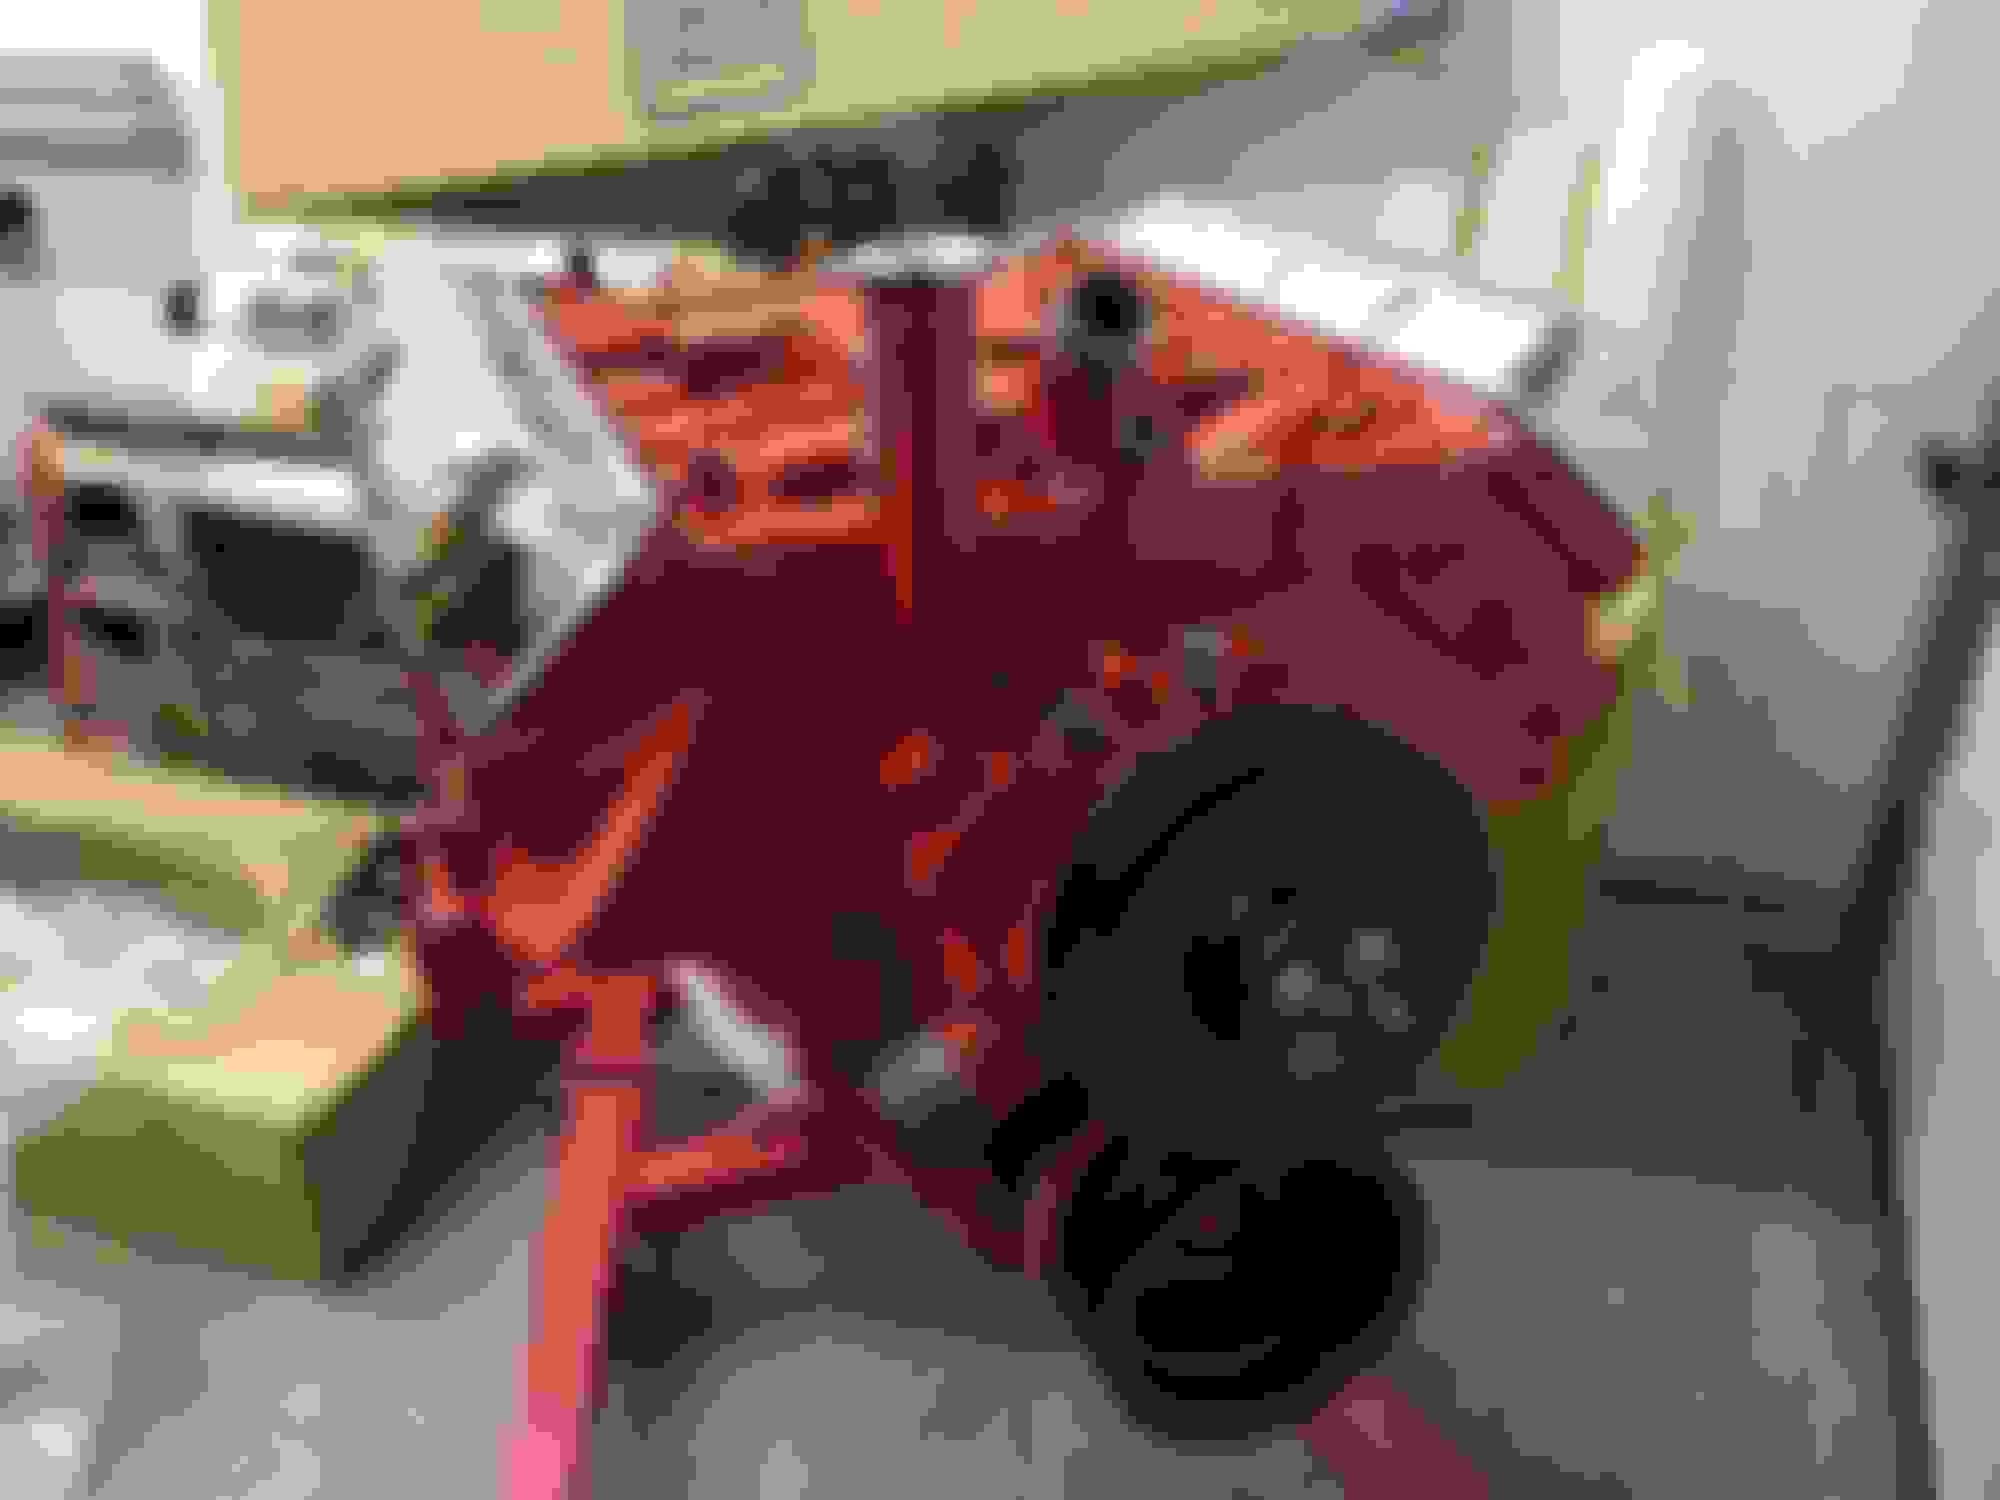
Hey guys just thought I would start a thread about my Oldsmobile. I've owned the car about 8 years and enjoyed many miles in it. I bought the car with the paint scheme, hood scoop and wing already done. It was made from a cameo white 442 with a white top. It has a 05B build date and black bucket interior. The car is a 4 speed with the original 400 in it. I've added most of the Hurst Olds specific items to the car including wheels, mirrors, OAI, and front disc brakes/master cylinder. The car is definitely driver quality with marginal paint and body work including plenty of filler.

This winter I am in the process of disassembling the car to have the body work done right and new paint (both out-sourced). I have been putting together a 455 with original D heads and a replica 405233 intake. I also plan to replace the 4 speed with a TH400 trans and an original '69 H/O dual gate.

Attached Images
File Type: jpg
IMG_1707.jpg (43.2 KB, 733 views)
File Type: jpg
IMG_1726.jpg (84.2 KB, 175 views)
File Type: jpg
IMG_1827.jpg (67.8 KB, 194 views)
File Type: jpg
IMG_1850.jpg (83.8 KB, 179 views)
File Type: jpg
IMG_1851.jpg (81.3 KB, 166 views)

Last edited by timholliday; Jan 22, 2015 at 05:28 PM.
Old Jan 21, 2015 | 04:51 PM
  #2  
pacekar's Avatar
Registered User
 
Joined: May 2013
Posts: 215
looks good like it is to me
Old Jan 21, 2015 | 05:57 PM
  #3  
Eddie Hansen's Avatar
Registered User
 
Joined: Jan 2008
Posts: 3,515
From: South River, New Jersey
alright alright alright...

Well tim that is the plan for my cutlass as well, I will be following along, mightbeaskingyou a tonof questions too. Mine is also a factory 4 speed, I upgraded to 4 wheel disc, and have just putthe body back on the frame and am in the process of doing the body, replaced the quarters so far.. anyway looking forward to your build

Last edited by Eddie Hansen; Jan 21, 2015 at 05:59 PM.
Old Jan 21, 2015 | 07:04 PM
  #4  
Octania's Avatar
Registered User
 
Joined: Dec 2011
Posts: 7,286
NICE job on that replica intake.

:-)
Old Jan 22, 2015 | 05:22 PM
  #5  
timholliday's Avatar
Thread Starter
Member
 
Joined: Sep 2009
Posts: 308
From: Howell, MI
VIN and Trim tag

Attached Images
File Type: jpg
IMG_1852.jpg (57.2 KB, 44 views)
File Type: jpg
IMG_1853-1.jpg (80.2 KB, 658 views)

Last edited by timholliday; Jan 22, 2015 at 05:29 PM.
Old Jan 22, 2015 | 05:27 PM
  #6  
timholliday's Avatar
Thread Starter
Member
 
Joined: Sep 2009
Posts: 308
From: Howell, MI
Me and my car with a couple friends.

Attached Images
Old Jan 22, 2015 | 06:16 PM
  #7  
Octania's Avatar
Registered User
 
Joined: Dec 2011
Posts: 7,286
Linda Vaughn and Elvis Presley?
Old Jan 22, 2015 | 07:23 PM
  #8  
ctosiflying's Avatar
Registered User
 
Joined: Dec 2009
Posts: 223
From: Enterprise , Florida
Hurst Olds Tribute

Hey Timholliday, I like your car! I guess that's why I'm in the middle of building a frame off 1969 hurst convertible tribute myself. Although I'm adding a twist and going restomods on my build. Hey if I can't afford the real thing I'll build one.
Attached Images
File Type: jpg
image.jpg (80.3 KB, 90 views)
Old Jan 22, 2015 | 07:26 PM
  #9  
ctosiflying's Avatar
Registered User
 
Joined: Dec 2009
Posts: 223
From: Enterprise , Florida
Is your tribute the one that's been on you tube in NJ?
Old Jan 22, 2015 | 07:47 PM
  #10  
timholliday's Avatar
Thread Starter
Member
 
Joined: Sep 2009
Posts: 308
From: Howell, MI
Originally Posted by ctosiflying
Is your tribute the one that's been on you tube in NJ?
No ctosiflying that's not mine. I am located in Michigan.

Originally Posted by Octania
Linda Vaughn and Elvis Presley?
Chris I hope you recognize Doc Watson.
Old Jan 23, 2015 | 06:09 AM
  #11  
Eddie Hansen's Avatar
Registered User
 
Joined: Jan 2008
Posts: 3,515
From: South River, New Jersey
Originally Posted by timholliday
No ctosiflying that's not mine. I am located in Michigan.


Chris I hope you recognize Doc Watson.
Very cool tim, I didnt know that was doc watson, linda is always linda
Old Jan 23, 2015 | 07:10 AM
  #12  
oldcutlass's Avatar
Administrator
 
Joined: Oct 2009
Posts: 42,513
From: Poteau, Ok
Cool pic
Old Jan 23, 2015 | 08:00 AM
  #13  
tru-blue 442's Avatar
Old School Olds
 
Joined: Nov 2008
Posts: 9,272
From: Marble Falls TX
Awesome pic. One to cherish for sure. Nice car too!
Old Jan 23, 2015 | 03:08 PM
  #14  
timholliday's Avatar
Thread Starter
Member
 
Joined: Sep 2009
Posts: 308
From: Howell, MI
Another photo with Linda

Attached Images
Old Jan 23, 2015 | 03:32 PM
  #15  
Eddie Hansen's Avatar
Registered User
 
Joined: Jan 2008
Posts: 3,515
From: South River, New Jersey
Tim that is so cool, I have to ask, asyour cris a reall 442 4 speed convertble, why not just restore it as a 442? I would think it would be worth more than as a ho clone? Dont get me wrong it is a beautiful car and I guess a much better " tribute" or a clone because as the original it is made from a 442 , regardless I love the look, and I am looking forward to your build .
Old Jan 23, 2015 | 04:00 PM
  #16  
oldolds88's Avatar
Registered User
 
Joined: May 2012
Posts: 1,503
From: laingsburg mi
sweet car tim,cant wait to see it in person
Old Jan 23, 2015 | 04:31 PM
  #17  
timholliday's Avatar
Thread Starter
Member
 
Joined: Sep 2009
Posts: 308
From: Howell, MI
Originally Posted by Eddie Hansen
Tim that is so cool, I have to ask, asyour cris a reall 442 4 speed convertble, why not just restore it as a 442? I would think it would be worth more than as a ho clone? Dont get me wrong it is a beautiful car and I guess a much better " tribute" or a clone because as the original it is made from a 442 , regardless I love the look, and I am looking forward to your build .
I've got to admit that my heart belongs to the '69 H/O convertible. Since the originals are pretty much unobtainable, my plan is to be as true to the original as possible. As a side note, the car was not originally a 4 speed. There is no hump on the tunnel and the z bar bracket is welded on to the frame.
Old Jan 23, 2015 | 04:36 PM
  #18  
schmee's Avatar
Registered User
 
Joined: Jan 2015
Posts: 26
From: Denton, Tx
Very nice looking car!
Old Sep 24, 2015 | 07:30 PM
  #19  
timholliday's Avatar
Thread Starter
Member
 
Joined: Sep 2009
Posts: 308
From: Howell, MI
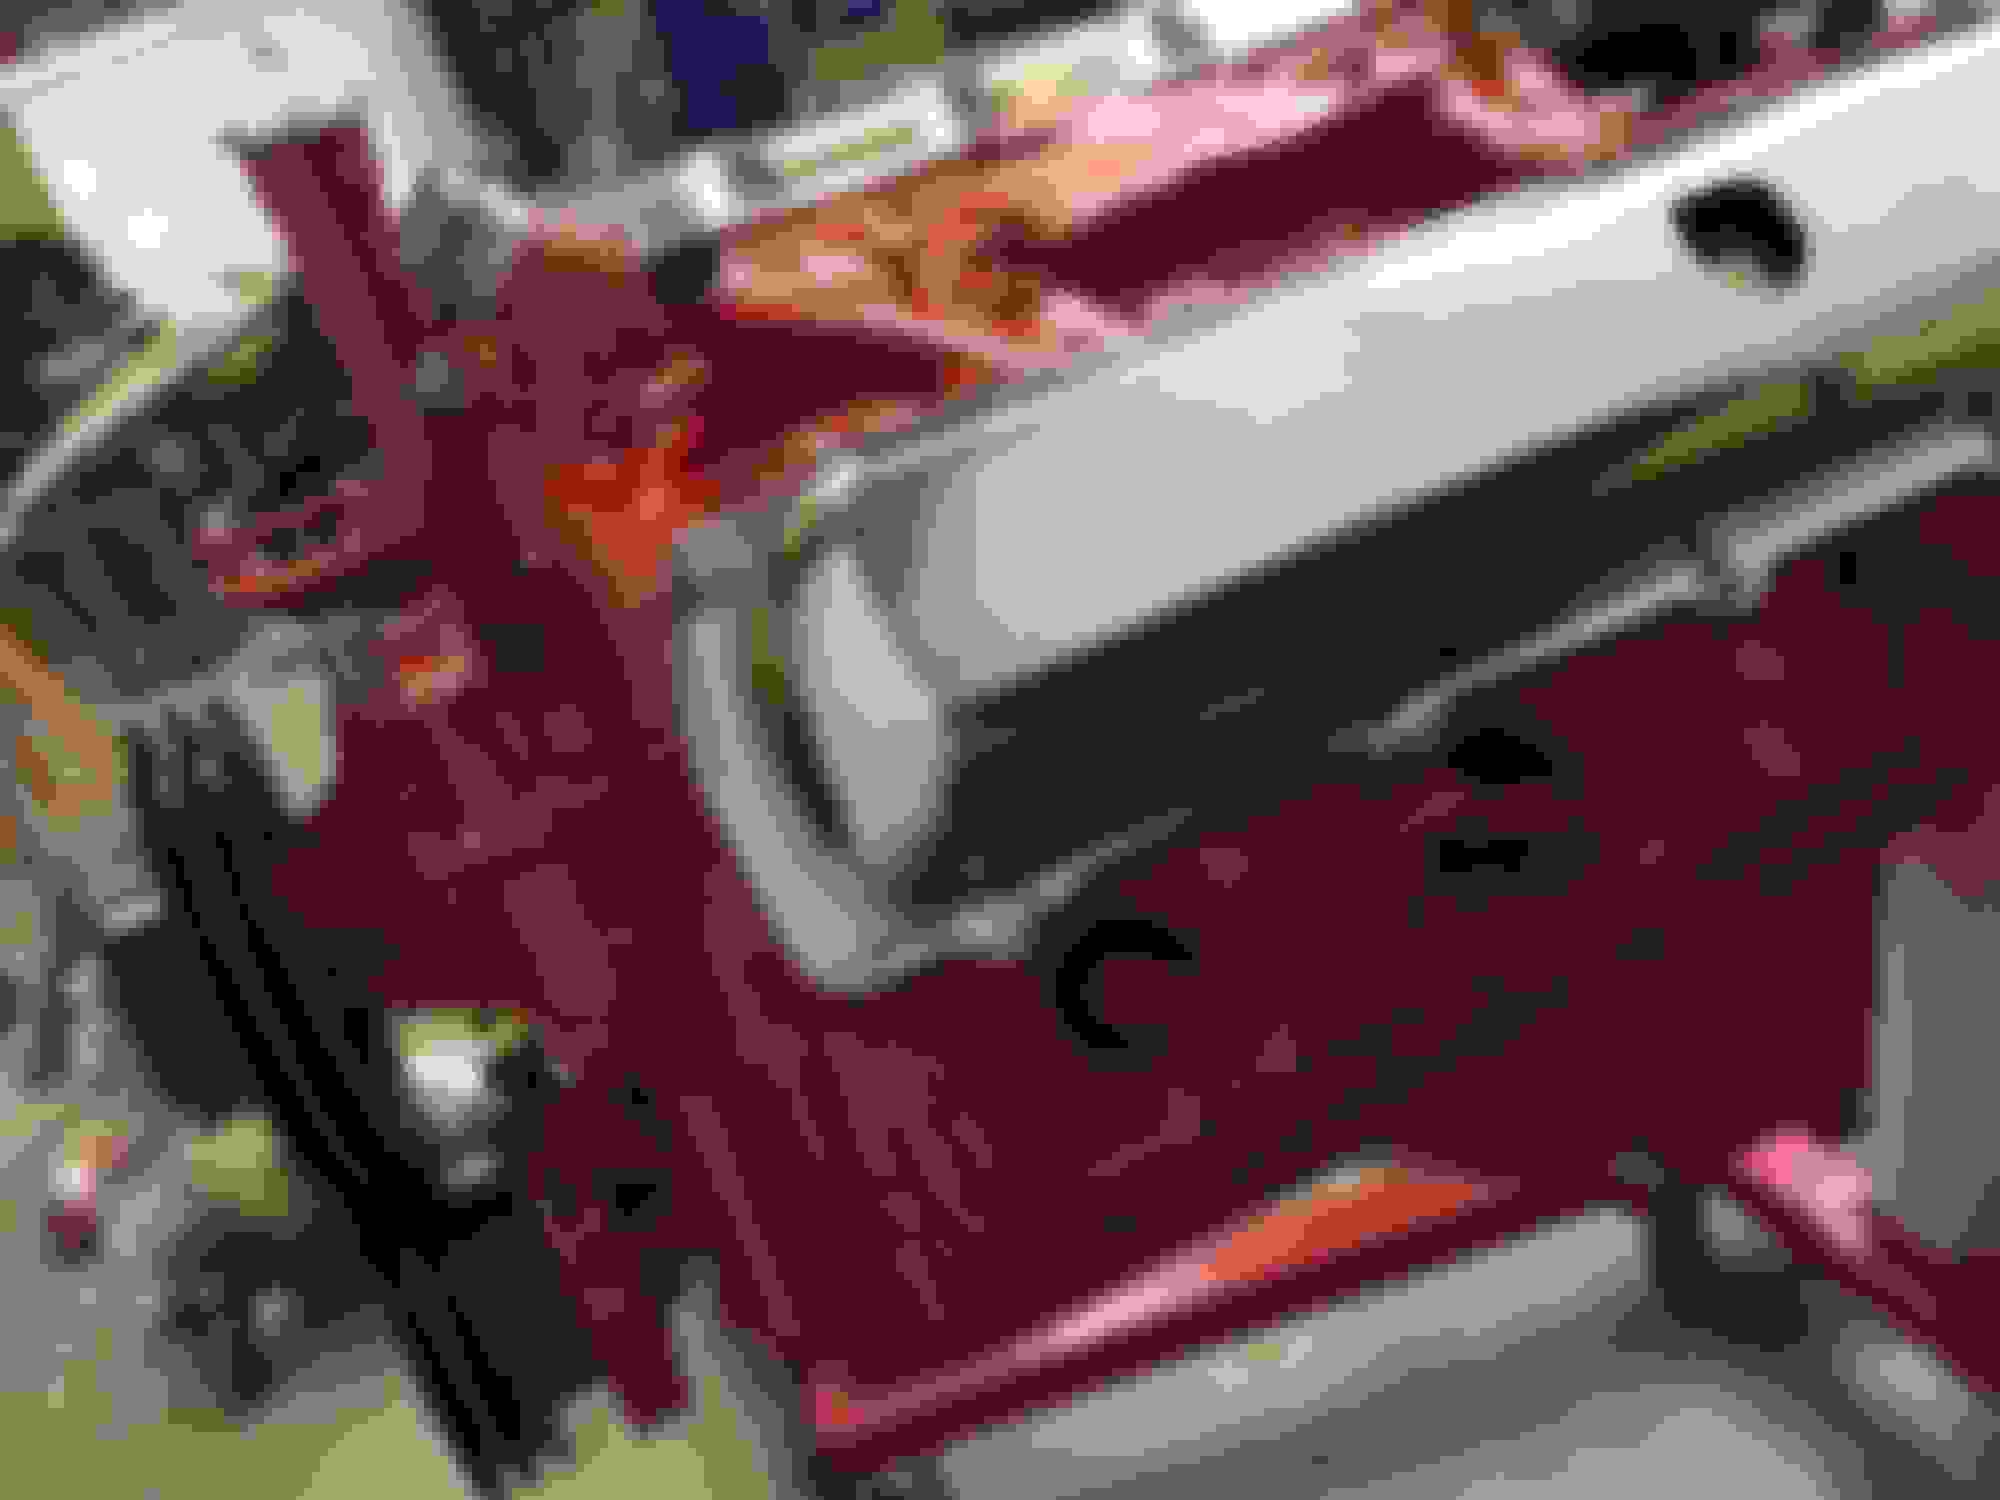
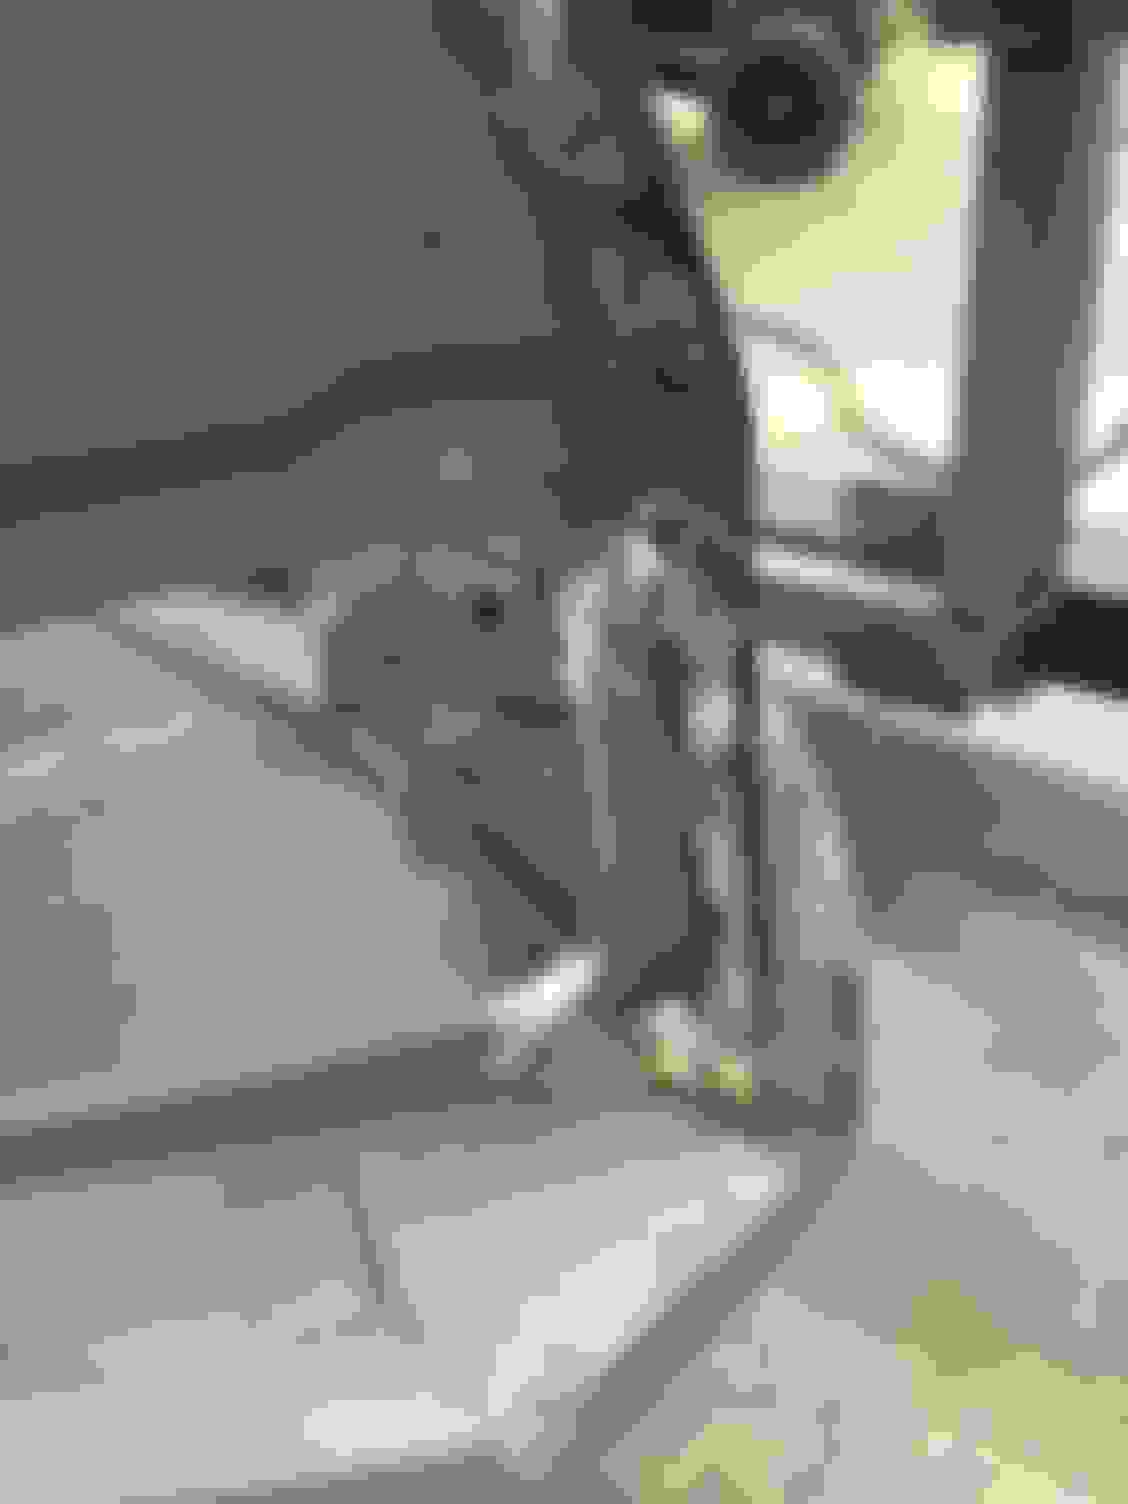
Sorry for the long delay since my last post...life got in the way. I delivered the car to the restoration shop this week to have the body redone. Unfortunately, the floors were worse than I thought so it looks like new pans are in order. The interior is out and the motor removed.
Attached Images
File Type: jpeg
image.jpeg (725.3 KB, 40 views)
Old Sep 24, 2015 | 07:33 PM
  #20  
timholliday's Avatar
Thread Starter
Member
 
Joined: Sep 2009
Posts: 308
From: Howell, MI
Motor finally out
Attached Images
File Type: jpeg
image.jpeg (904.7 KB, 60 views)
Old Sep 24, 2015 | 07:35 PM
  #21  
timholliday's Avatar
Thread Starter
Member
 
Joined: Sep 2009
Posts: 308
From: Howell, MI
Firewall
Attached Images
File Type: jpeg
image.jpeg (793.4 KB, 54 views)
Old Sep 25, 2015 | 12:40 PM
  #22  
JpMotorsports's Avatar
Registered User
 
Joined: Oct 2013
Posts: 435
From: Clinton Twp, MI
Very cool build! Its going to turn out awesome. Do they have a ETA on their end?
Old Dec 23, 2015 | 05:25 AM
  #23  
timholliday's Avatar
Thread Starter
Member
 
Joined: Sep 2009
Posts: 308
From: Howell, MI
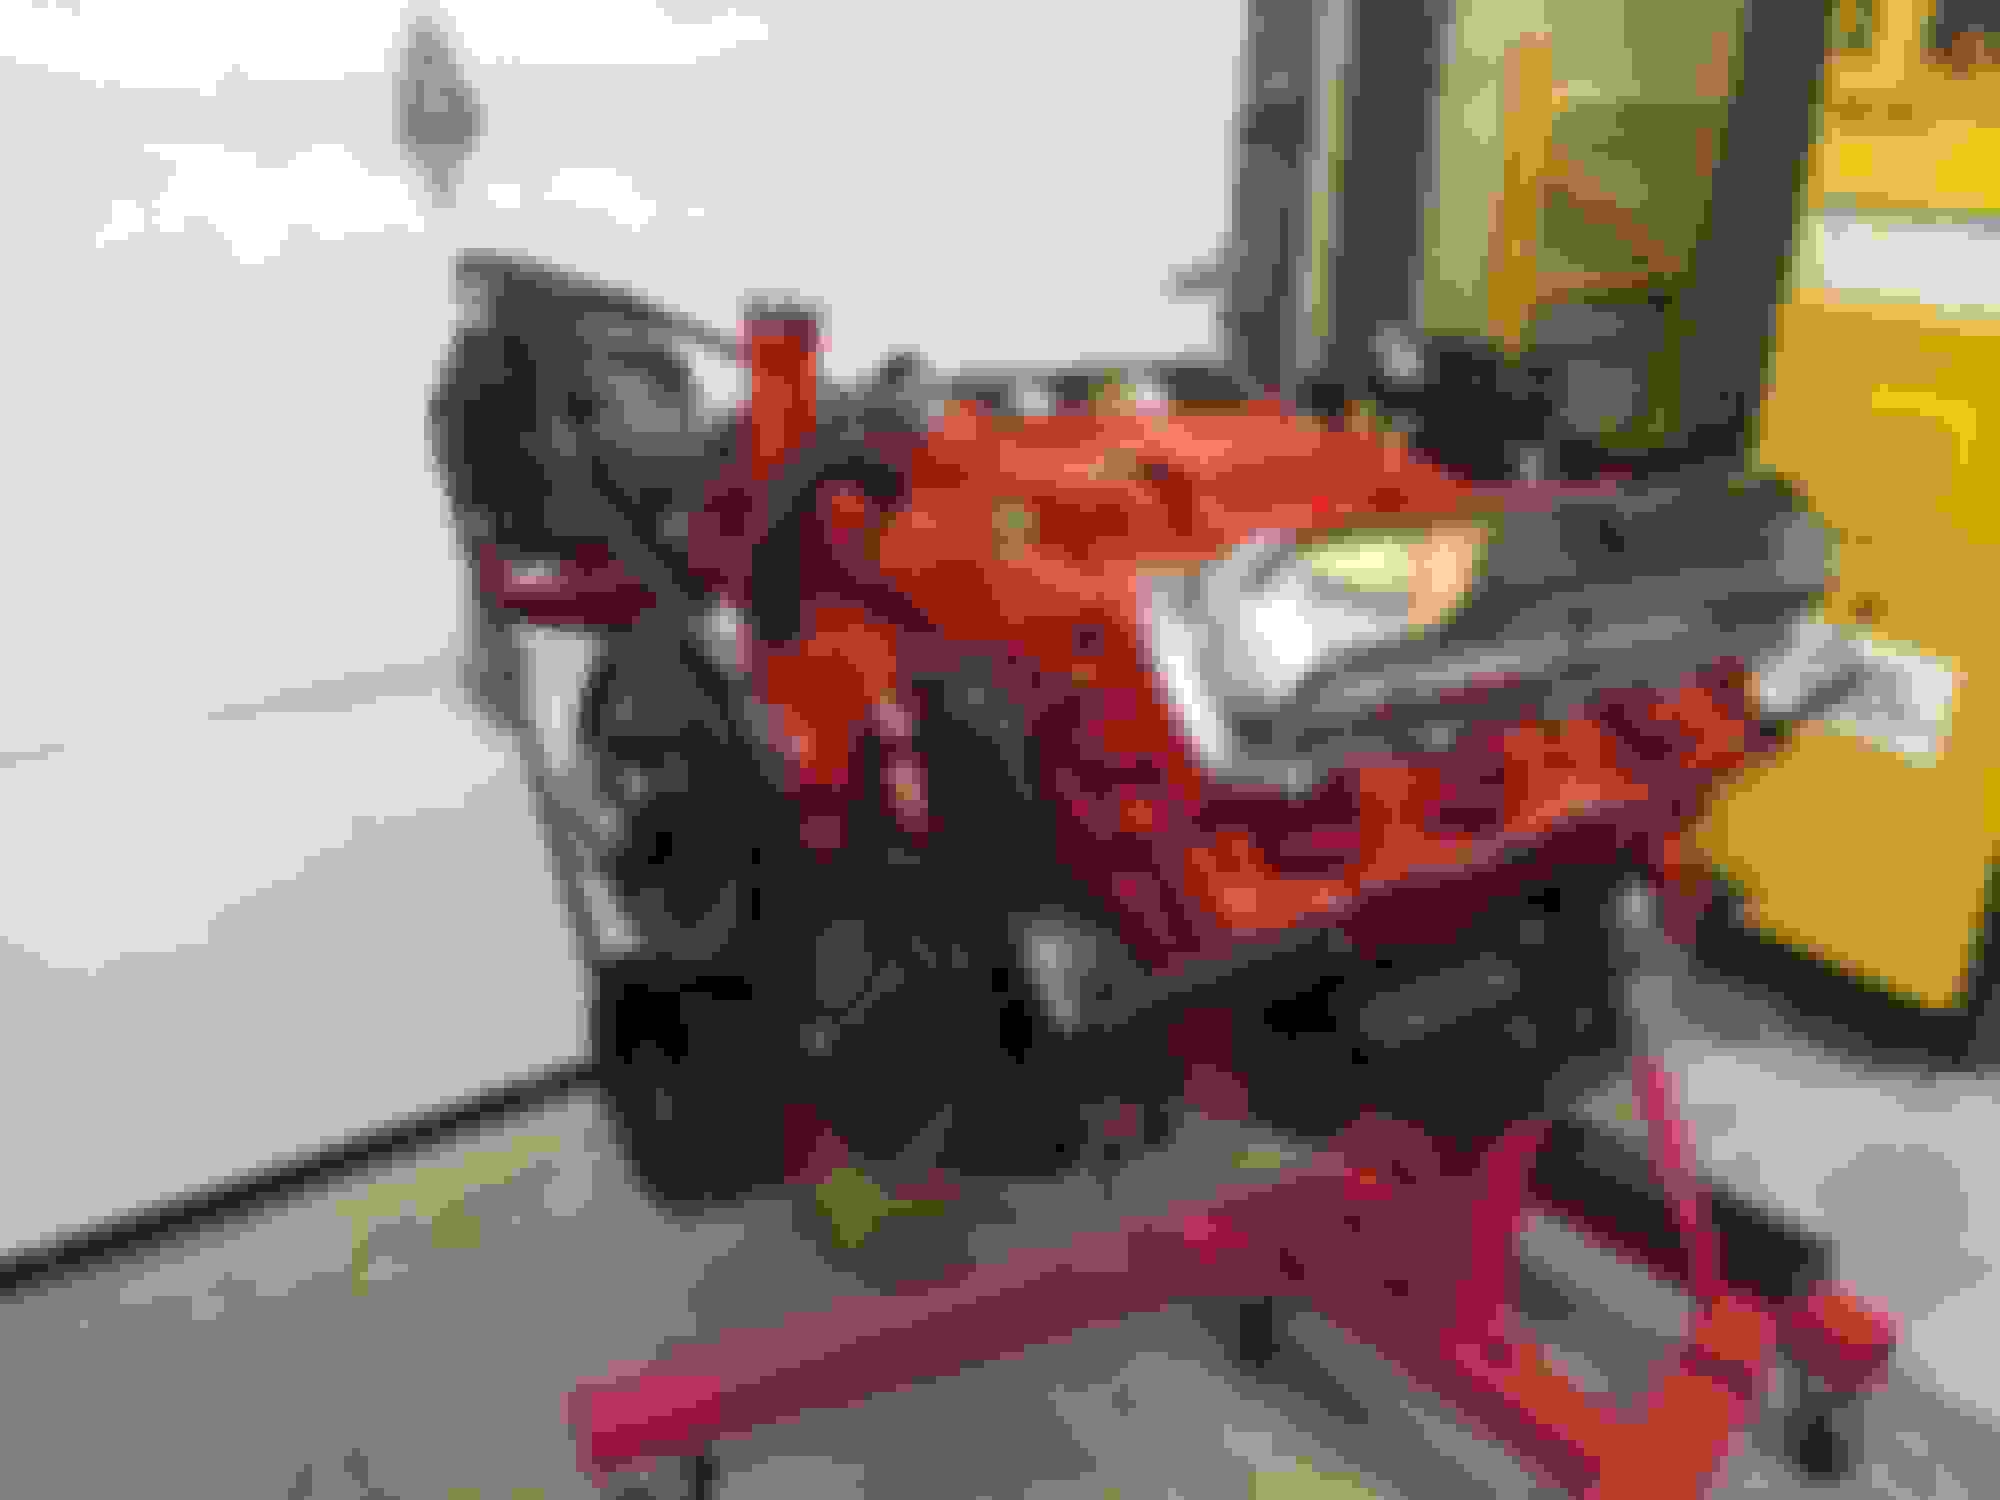
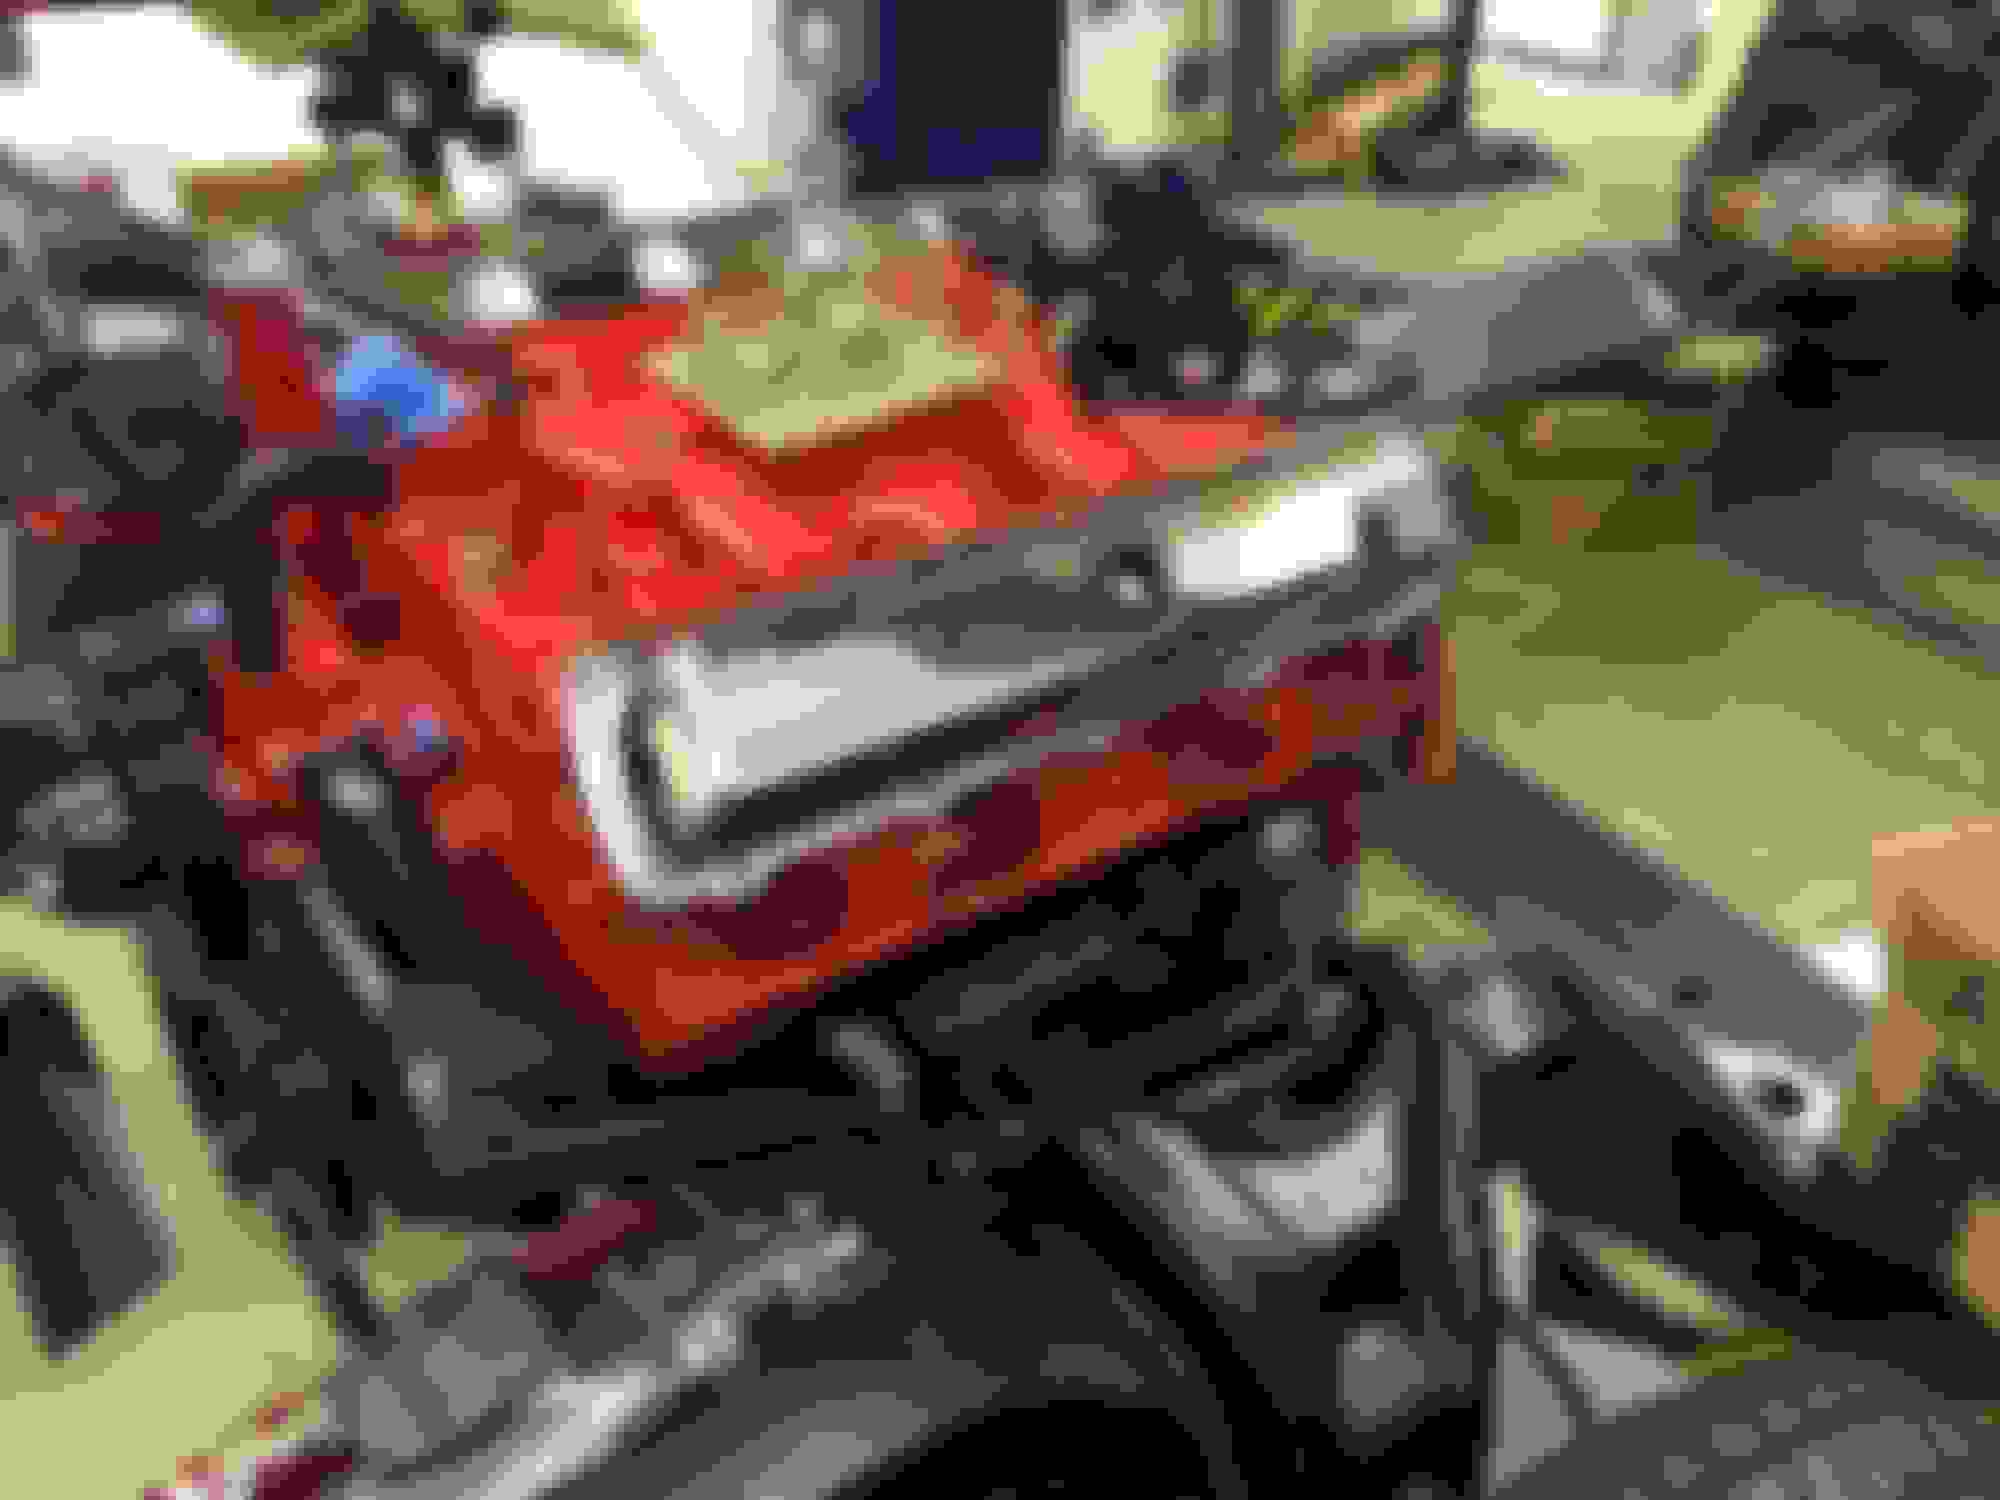
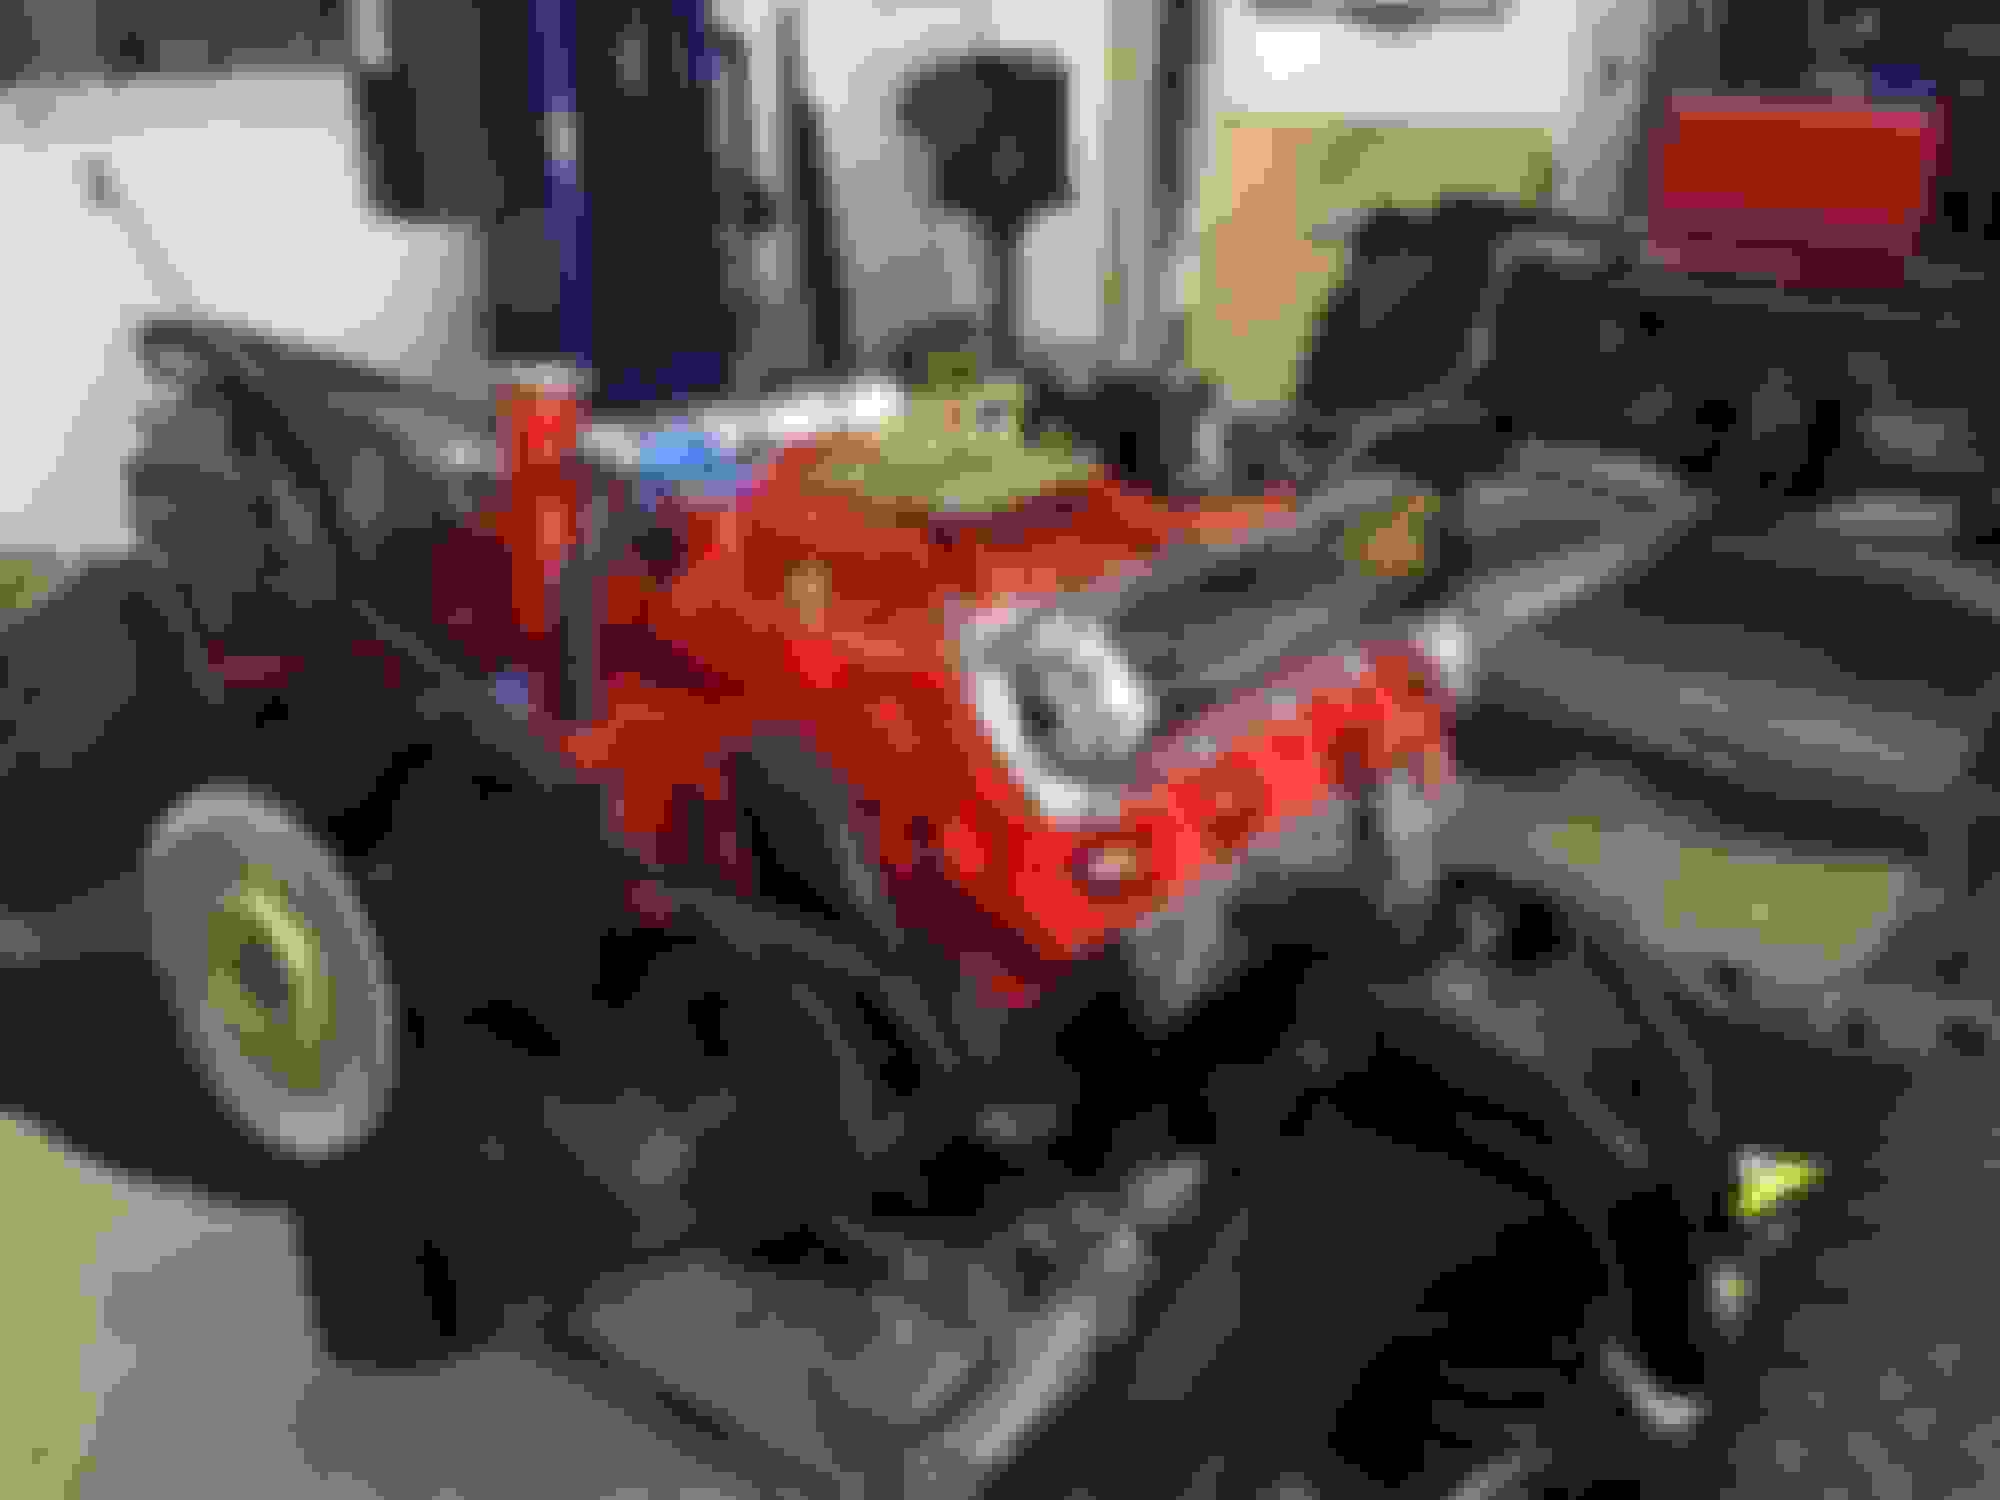
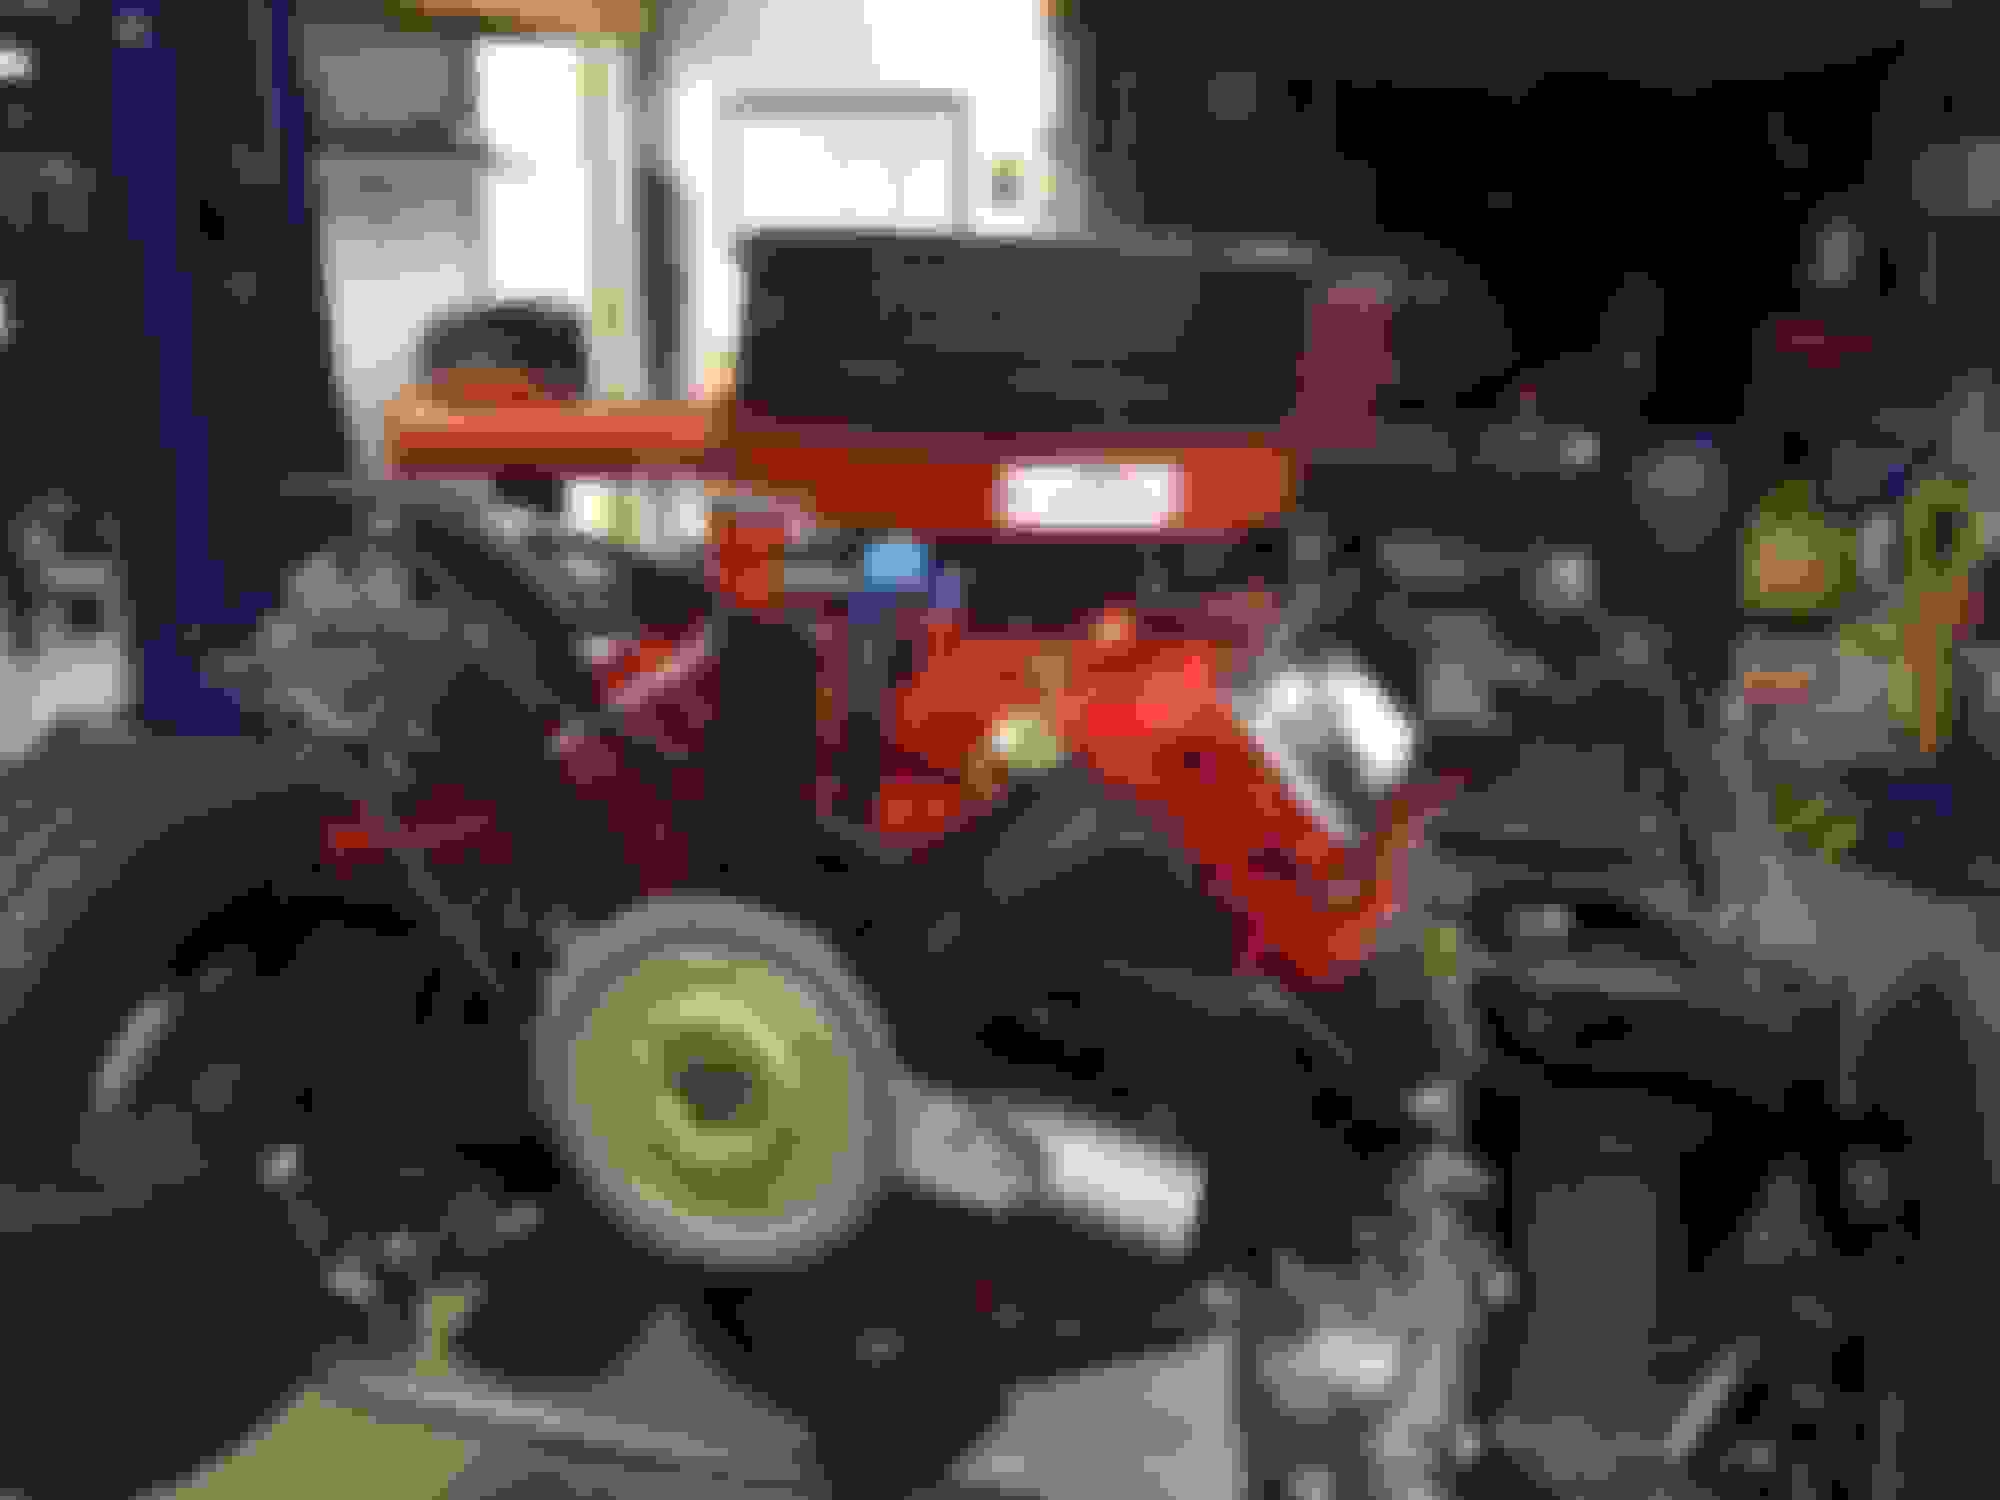
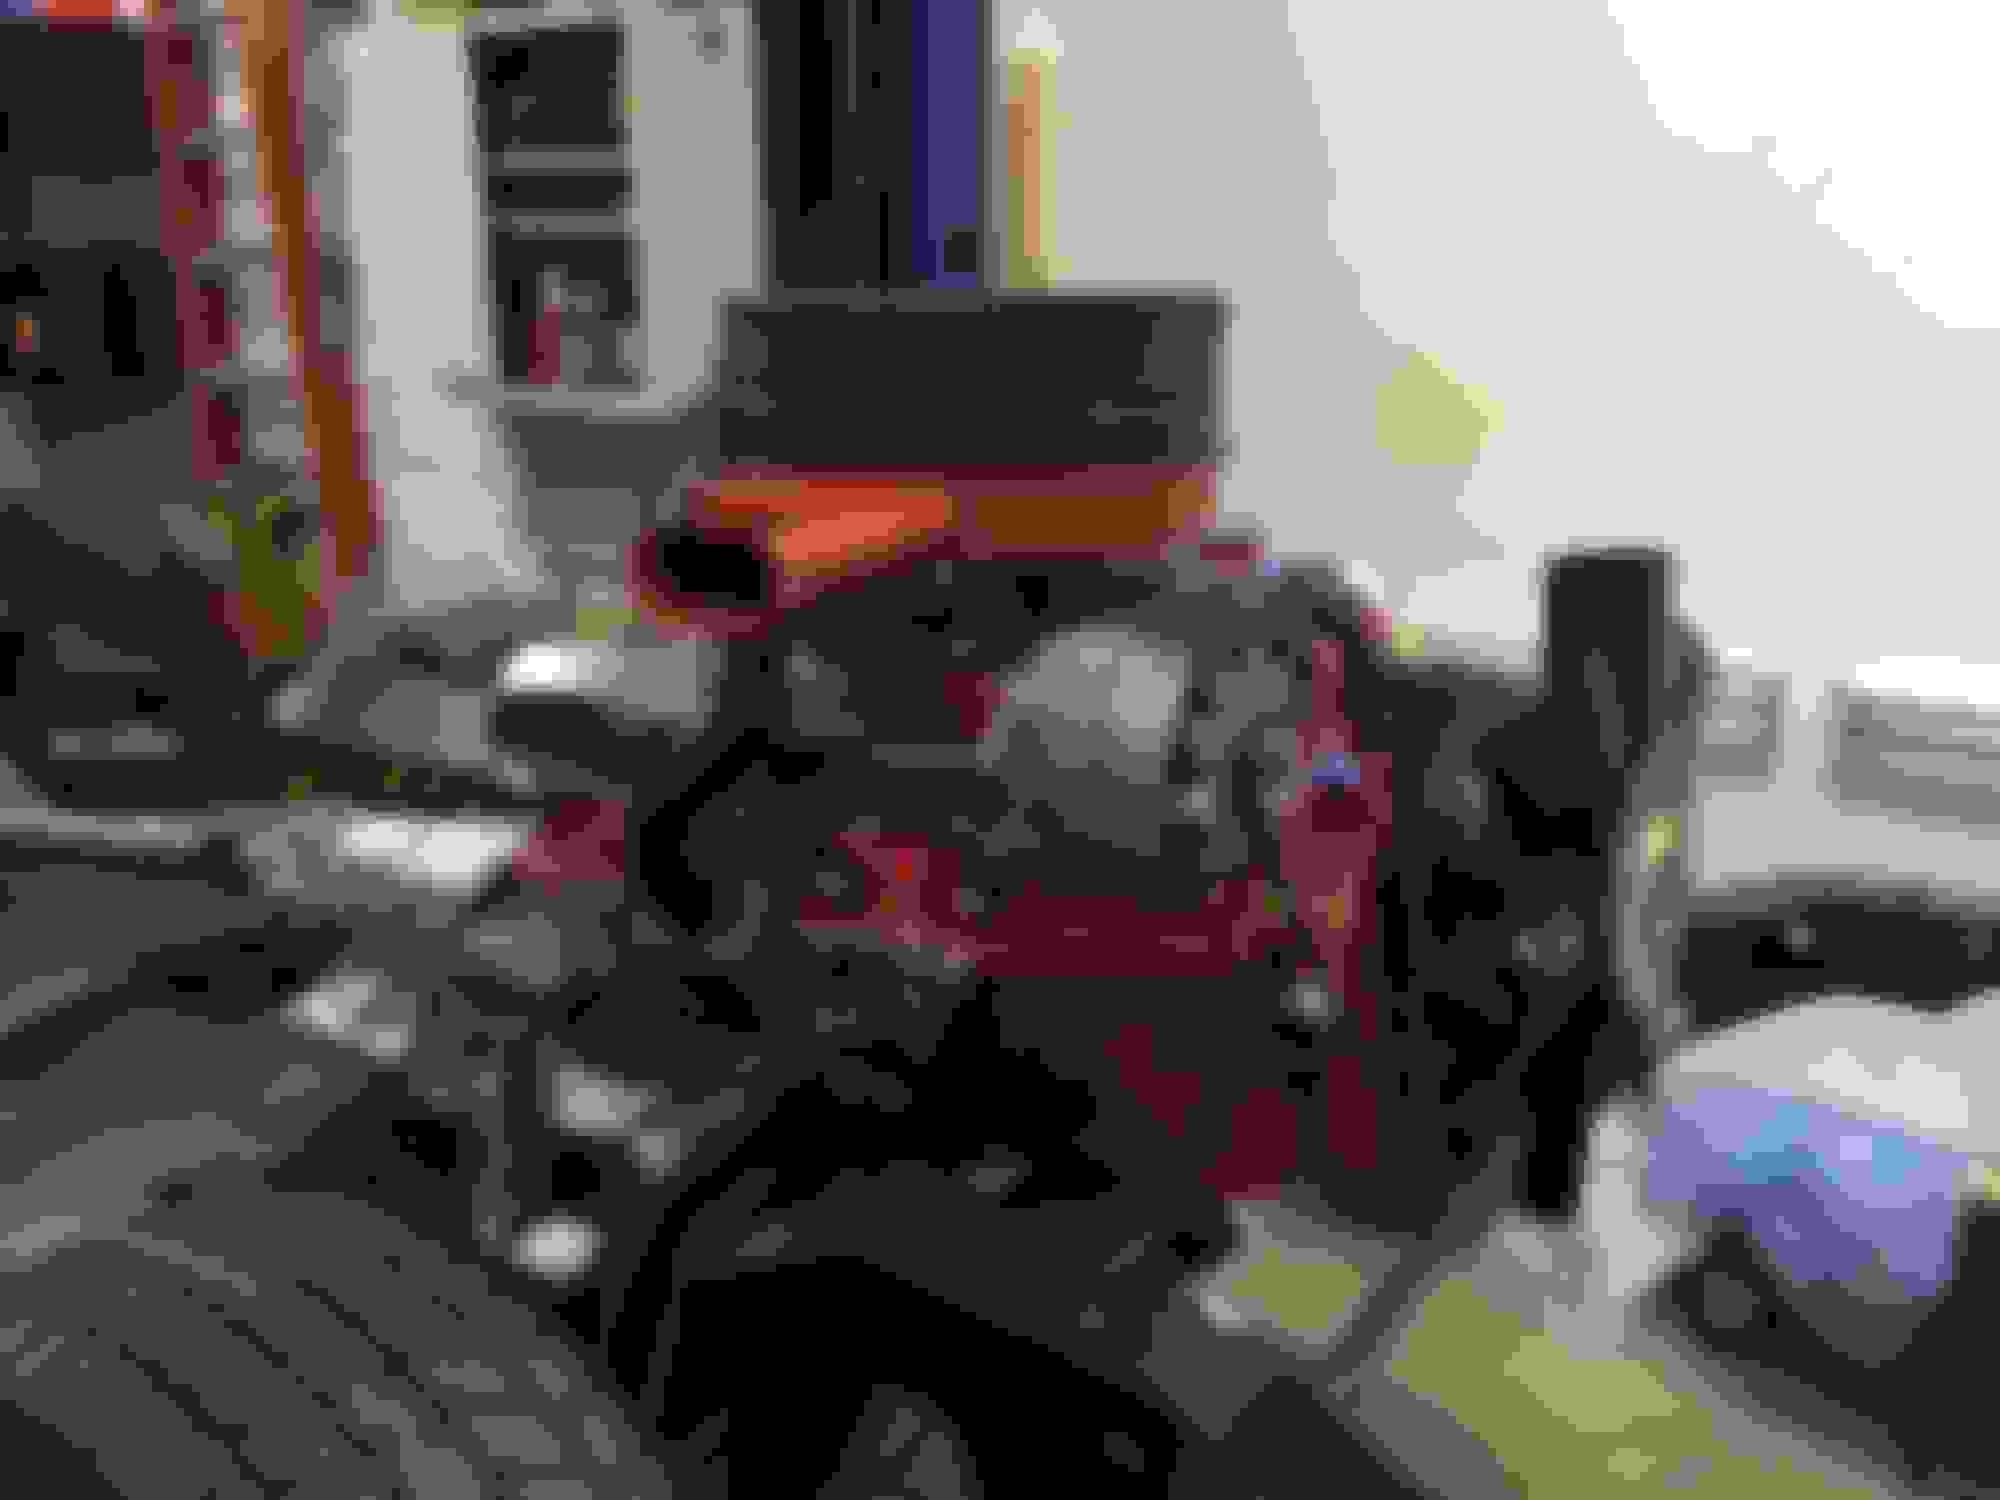
After a long delay I am happy to report the project is back on track. It has been a flurry of activity with metal work, blasting, accumulating parts, power coating, and a small amount of assembly. The engine is buttoned up and repainted.


Old Dec 23, 2015 | 05:36 AM
  #24  
timholliday's Avatar
Thread Starter
Member
 
Joined: Sep 2009
Posts: 308
From: Howell, MI
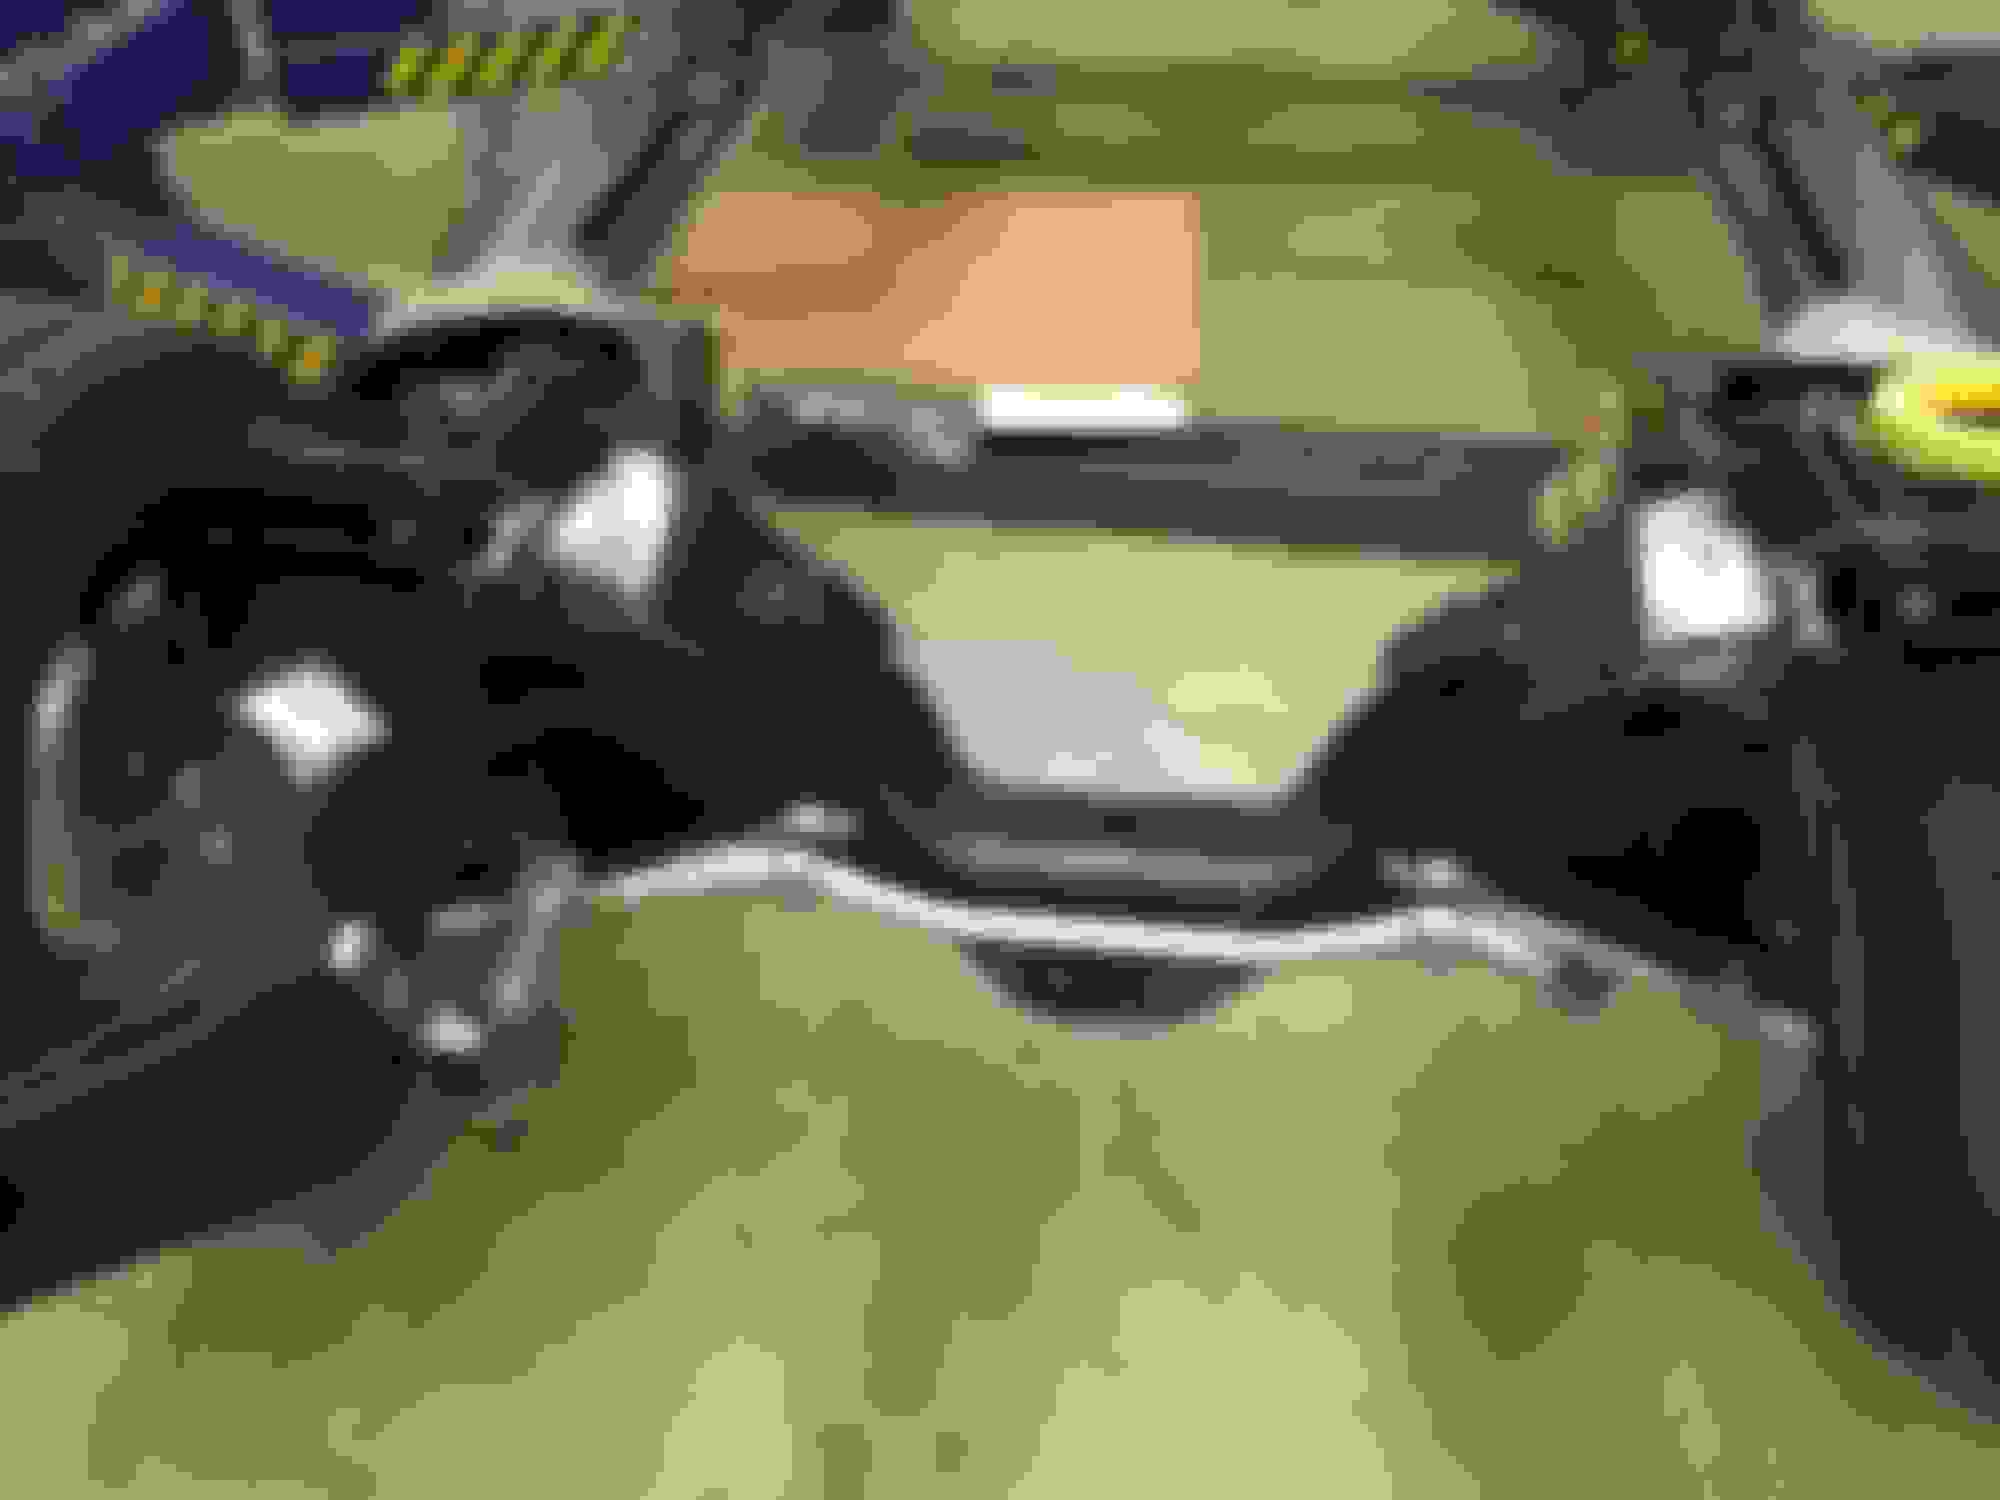
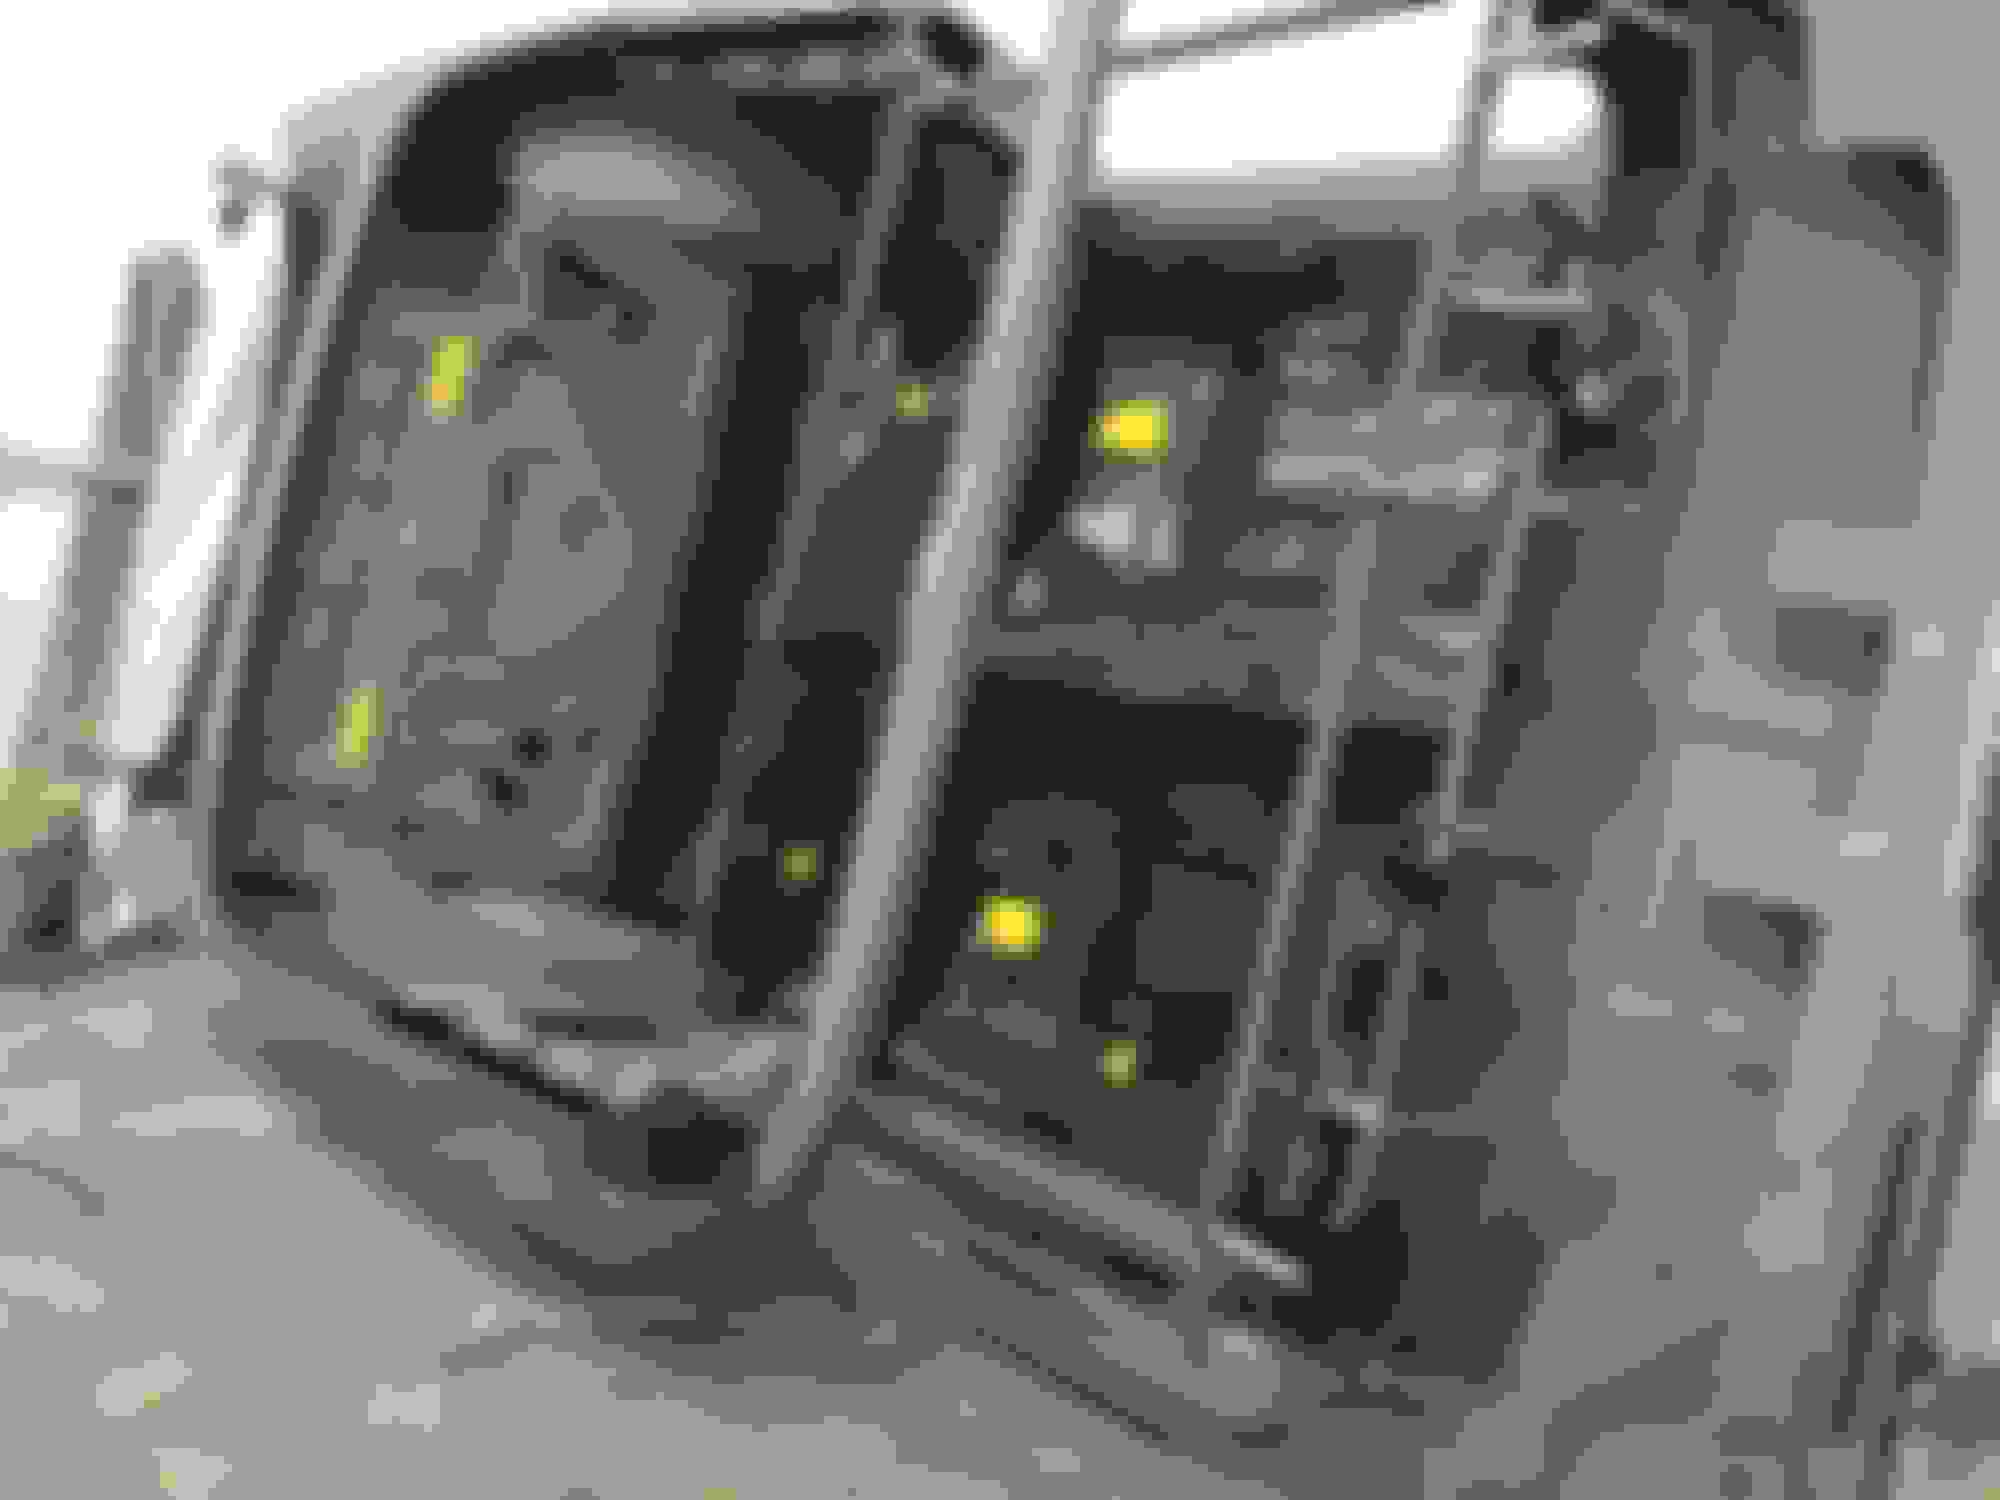
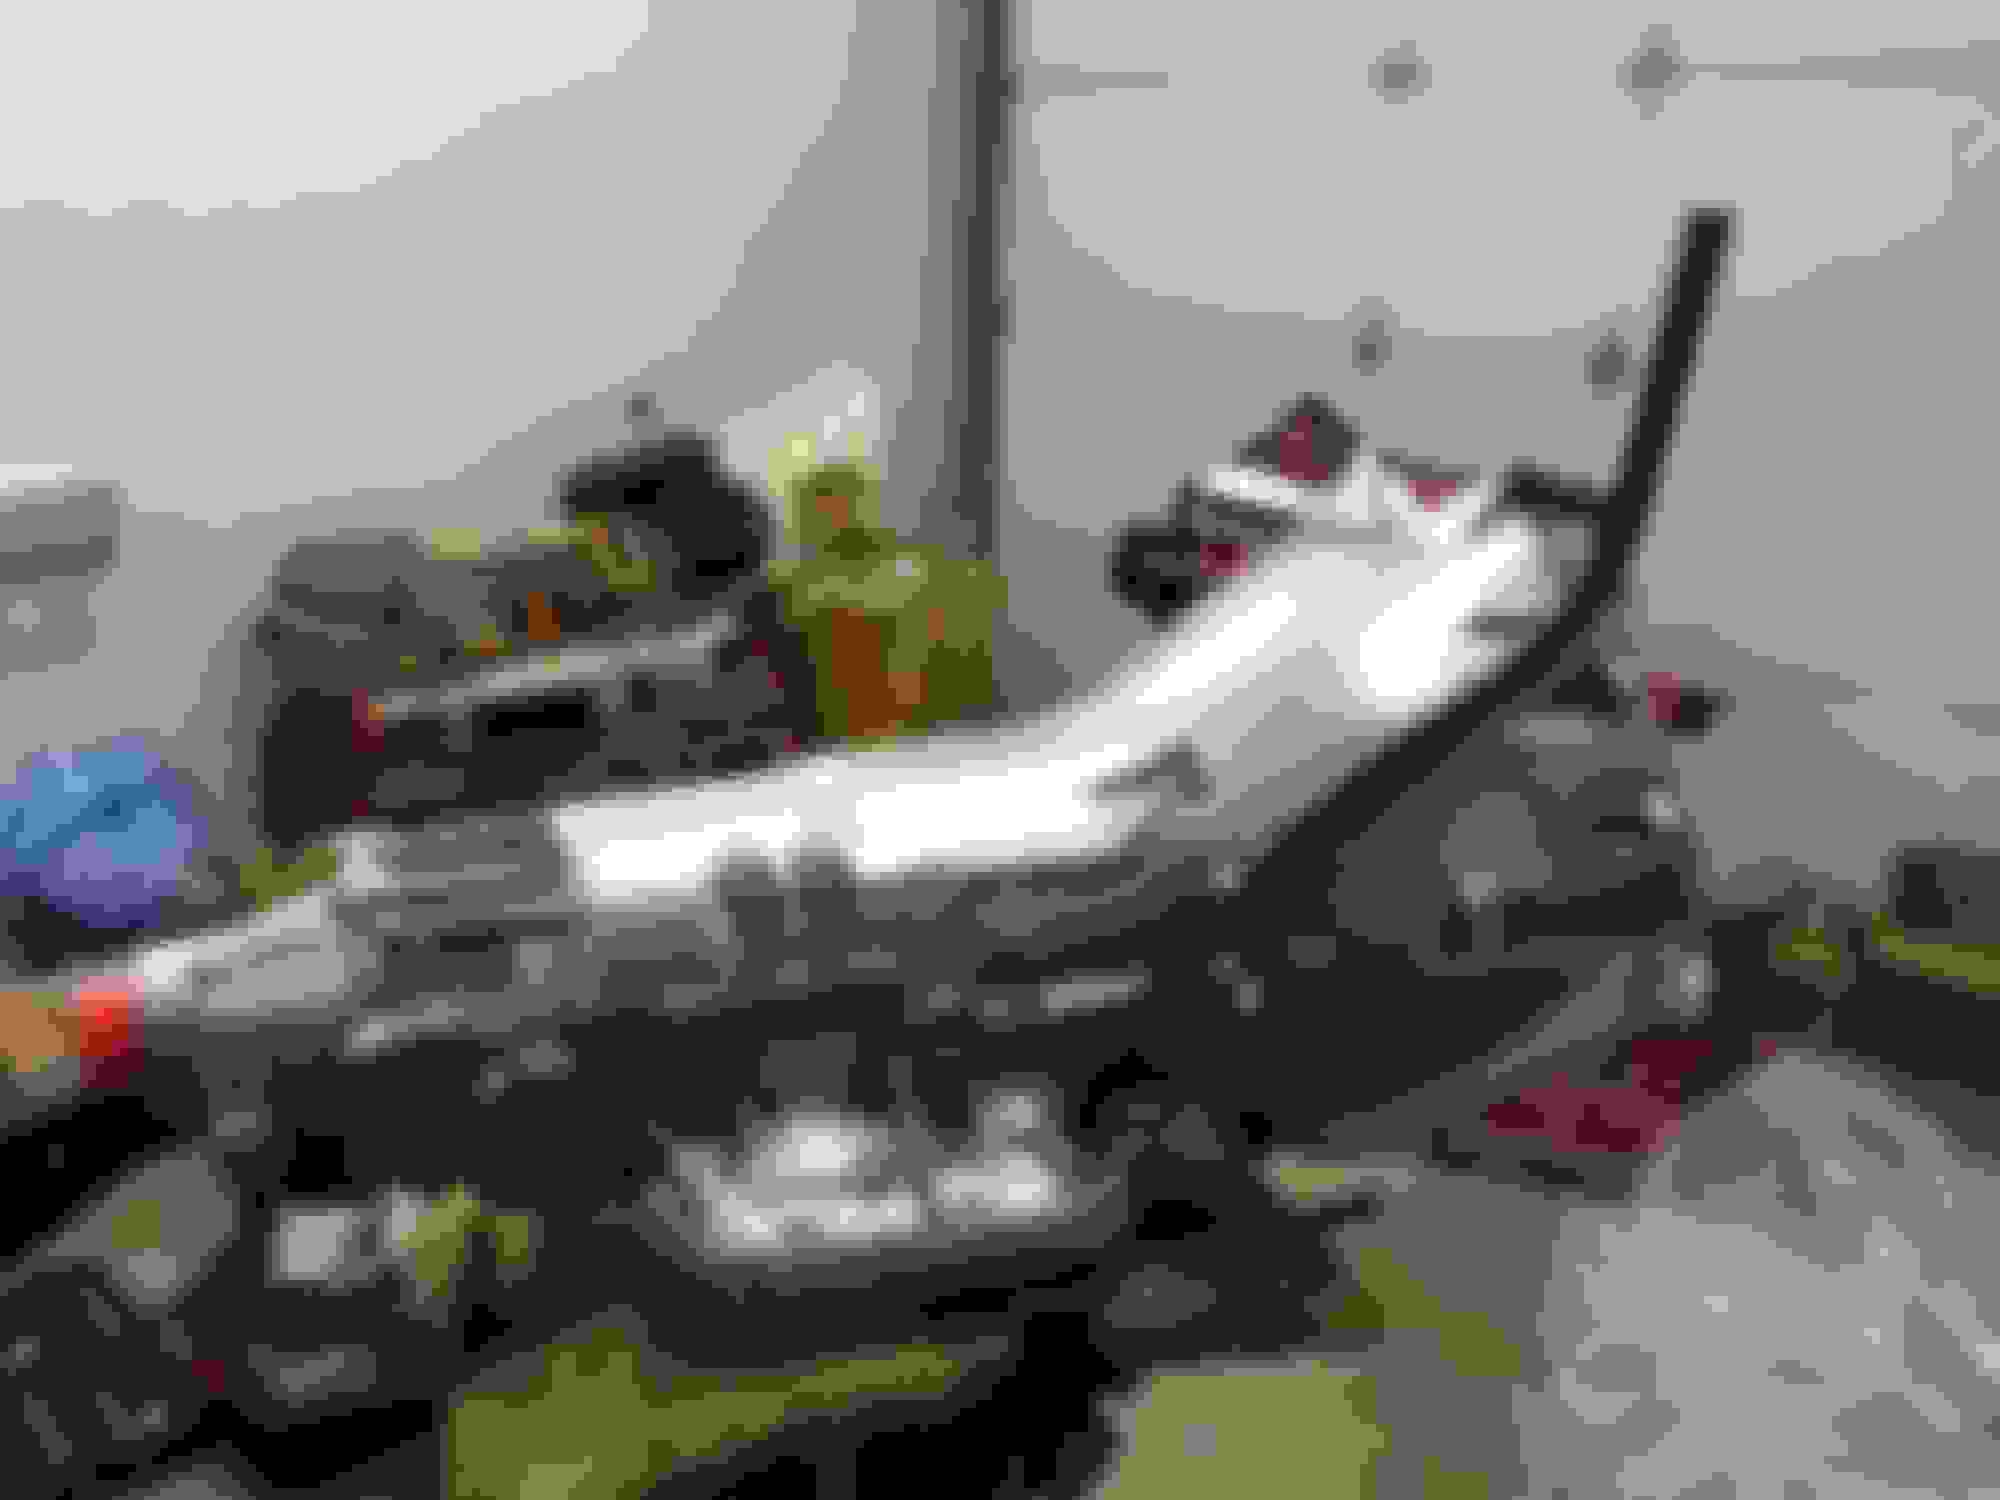
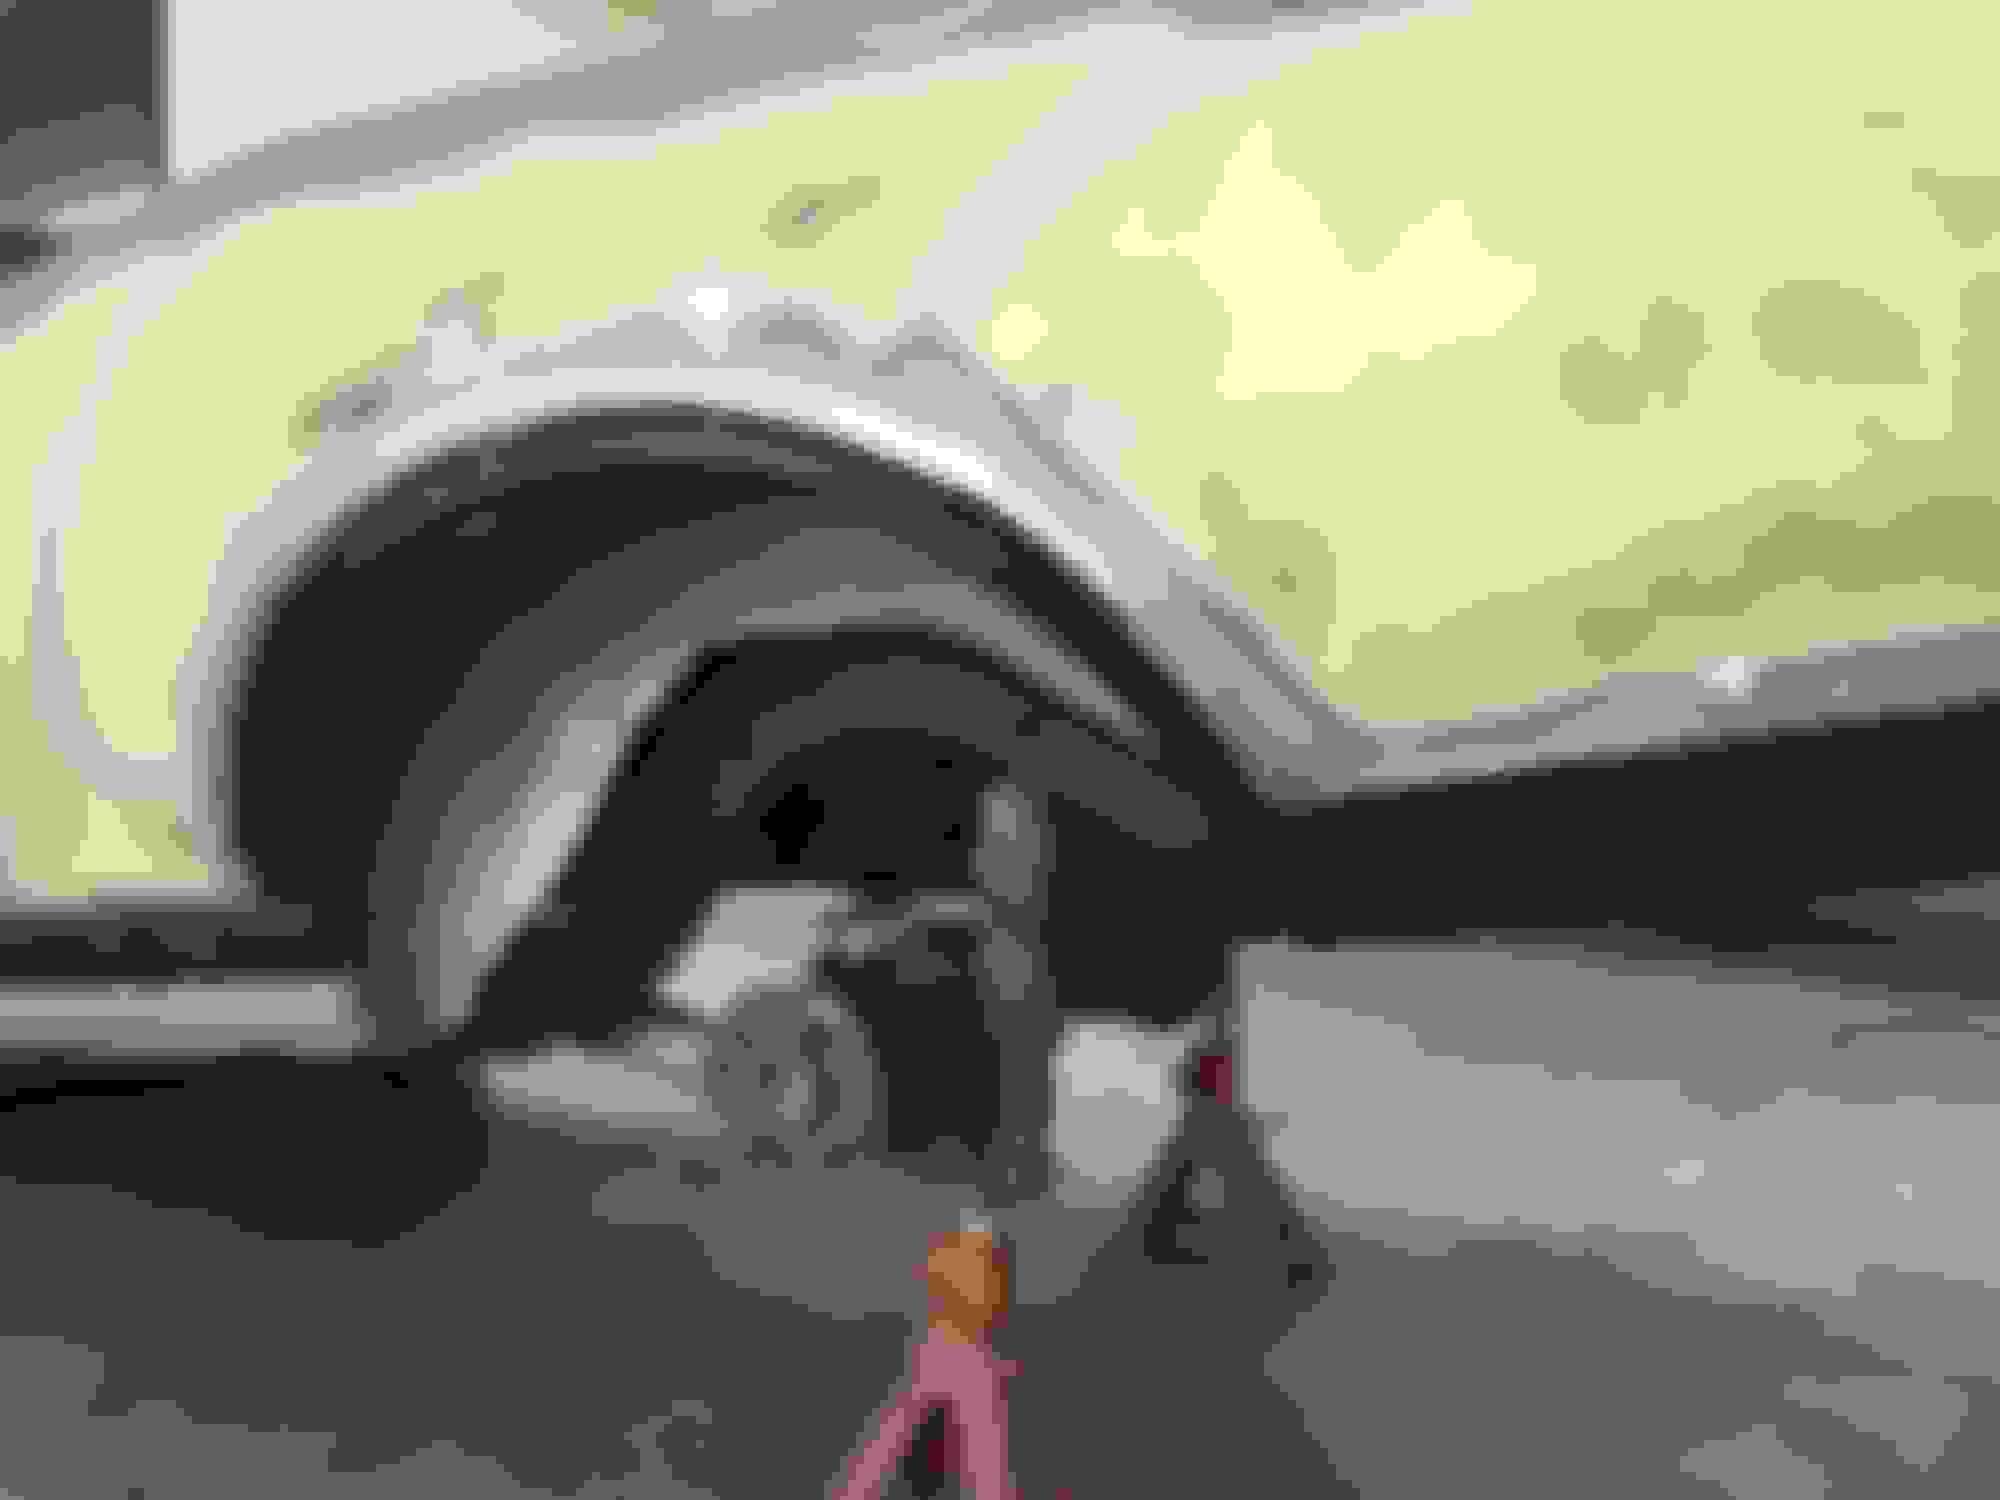
The body was removed from the frame and the frame was media blasted. Then to powder coat and finally reassembly. The wheels in the photo are not the ones that will be on the car. My H/O wheels are stowed away.


Old Dec 23, 2015 | 05:44 AM
  #25  
timholliday's Avatar
Thread Starter
Member
 
Joined: Sep 2009
Posts: 308
From: Howell, MI
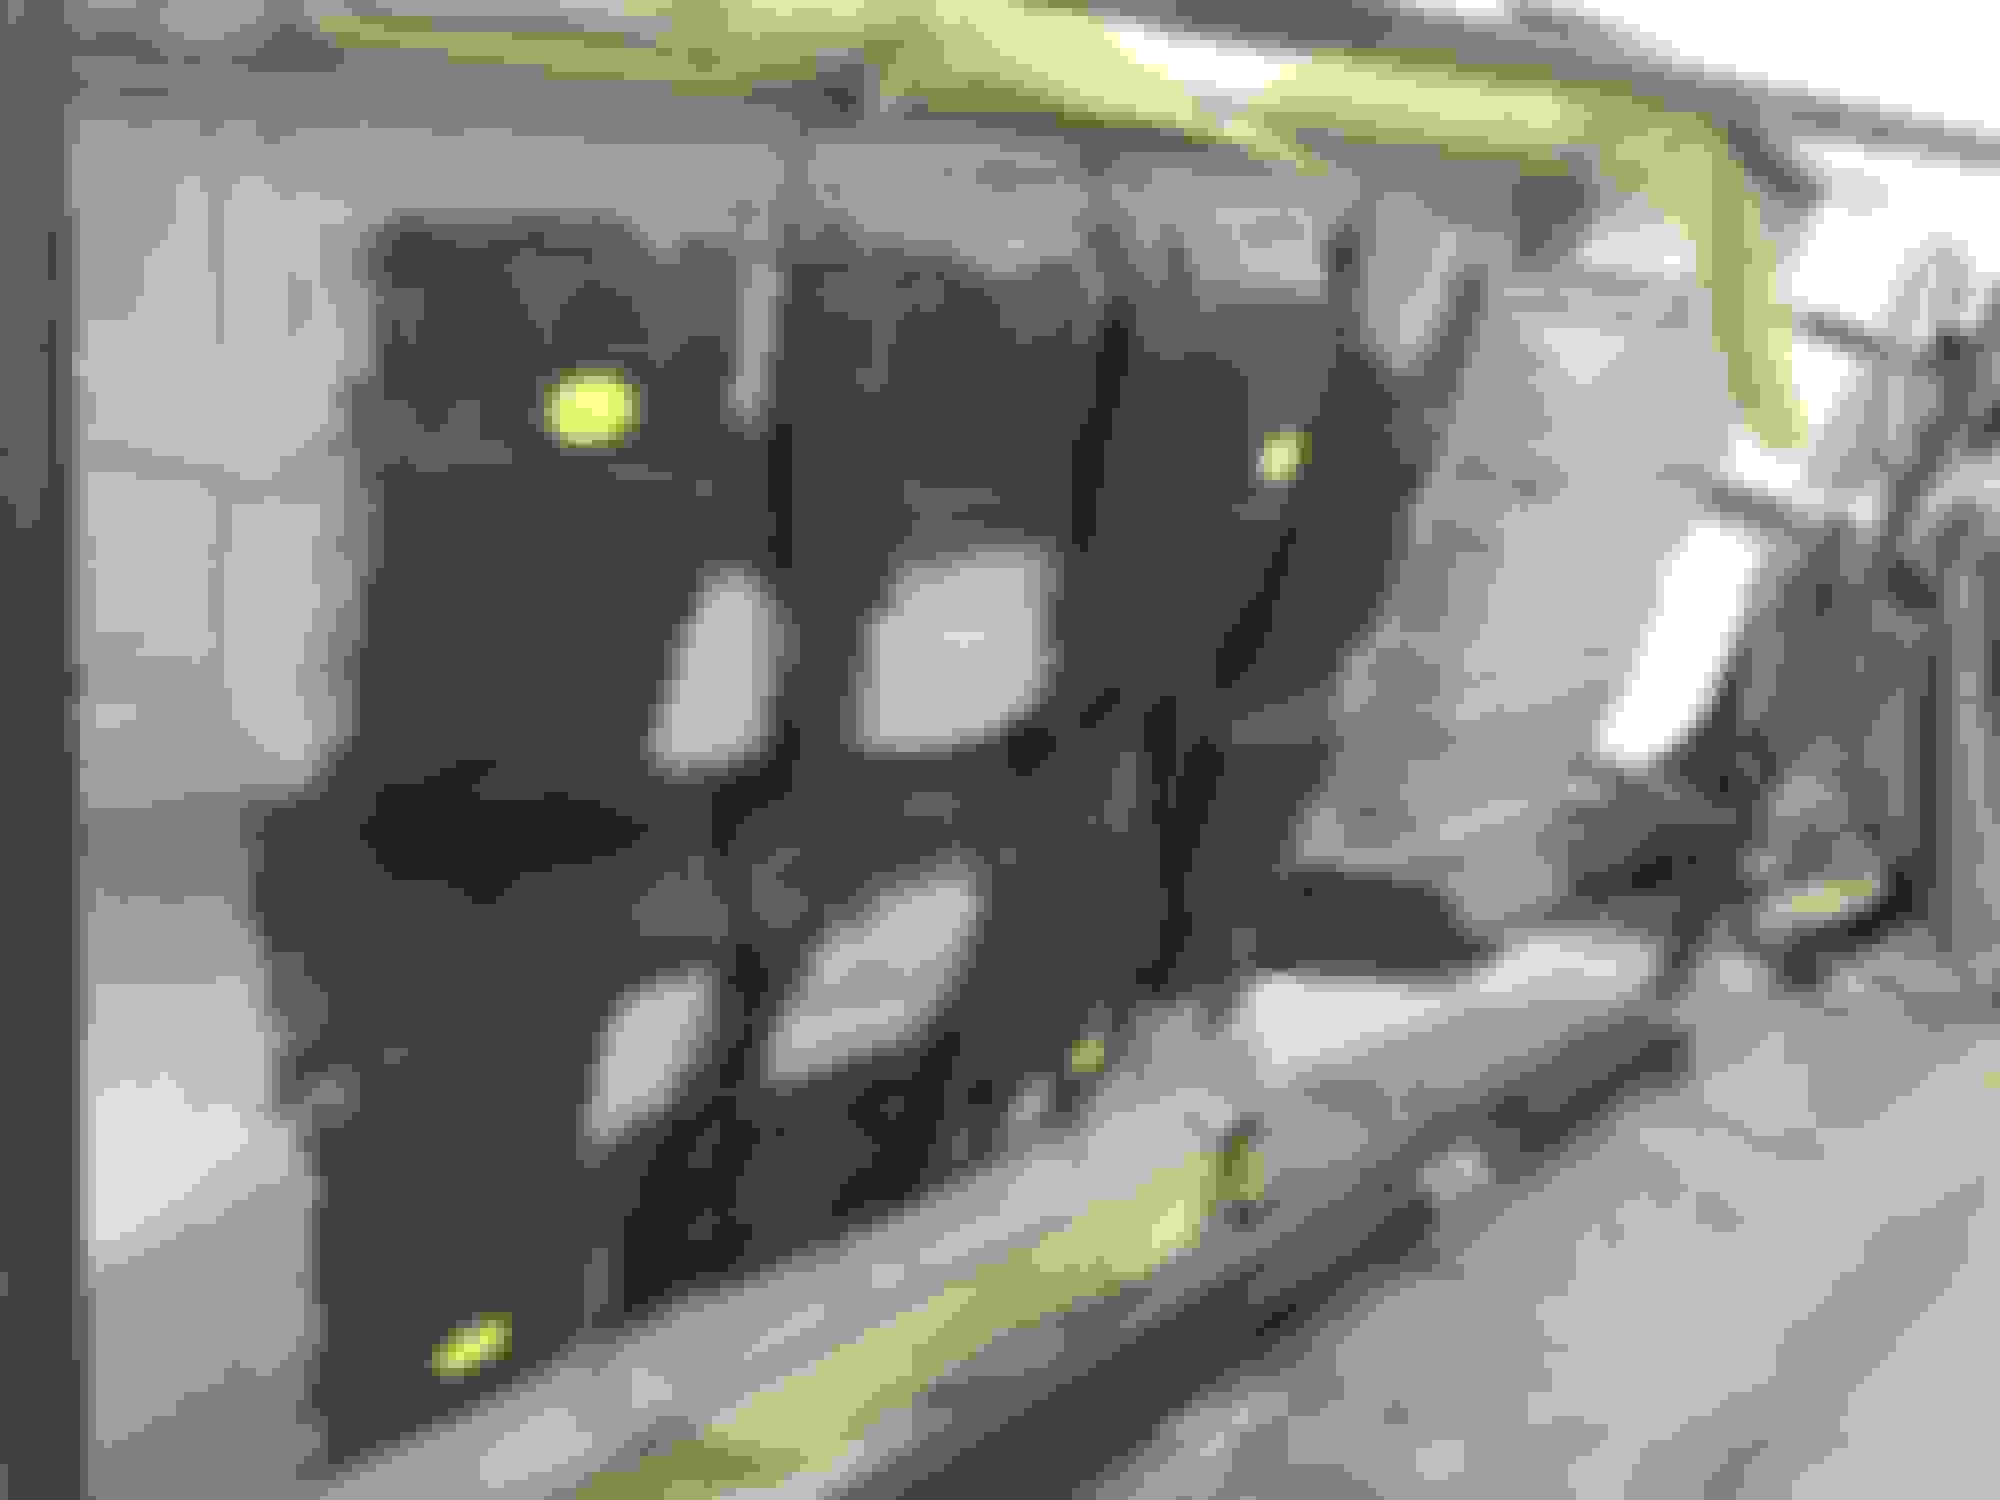
Body work is in progress. Tub was blasted and floor has been replaced. Also some repair has been done to the trunk edge and tail light area. Rear quarters and dash/cowl top still need attention.


Old Dec 27, 2015 | 03:27 PM
  #26  
timholliday's Avatar
Thread Starter
Member
 
Joined: Sep 2009
Posts: 308
From: Howell, MI
Underside painted.

Old Dec 27, 2015 | 03:29 PM
  #27  
timholliday's Avatar
Thread Starter
Member
 
Joined: Sep 2009
Posts: 308
From: Howell, MI
VIN derivative on frame.

Old Dec 29, 2015 | 05:21 PM
  #28  
bigin1978's Avatar
North Coast Rockets
 
Joined: Apr 2011
Posts: 576
From: Medina, Ohio, USA
WOW! looks amazing. I will be following along!
Old Dec 29, 2015 | 07:24 PM
  #29  
oldcutlass's Avatar
Administrator
 
Joined: Oct 2009
Posts: 42,513
From: Poteau, Ok
Looks sweet. What brake shoes are you using?
Old Dec 29, 2015 | 08:01 PM
  #30  
timholliday's Avatar
Thread Starter
Member
 
Joined: Sep 2009
Posts: 308
From: Howell, MI
They are Raybestos PG Plus.
Old Dec 31, 2015 | 07:43 PM
  #31  
timholliday's Avatar
Thread Starter
Member
 
Joined: Sep 2009
Posts: 308
From: Howell, MI
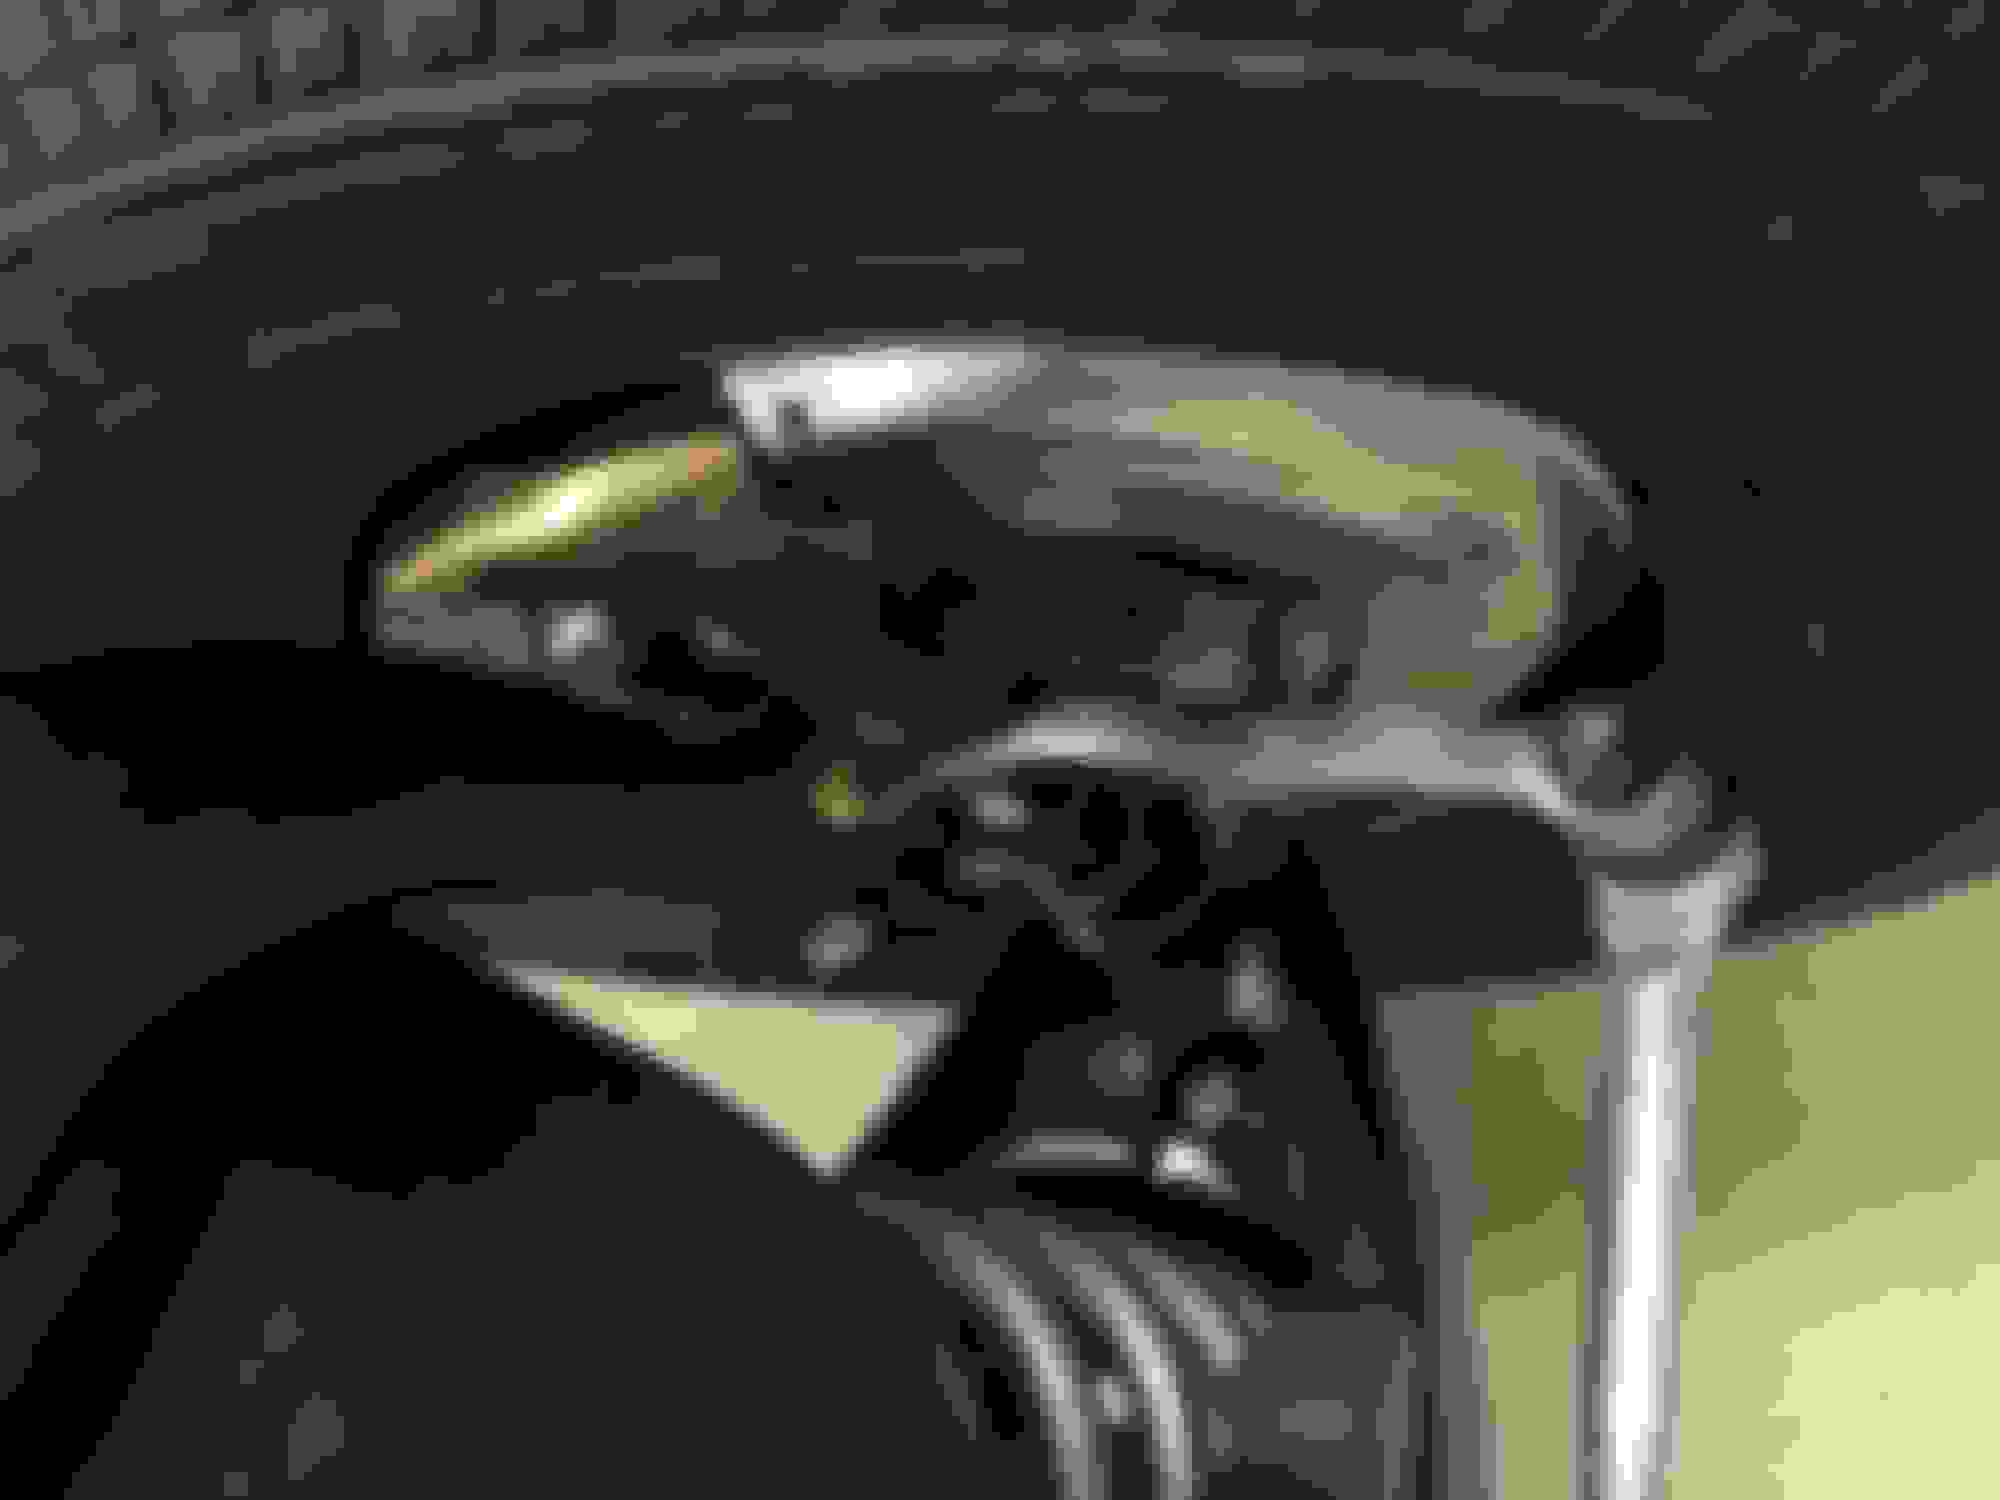
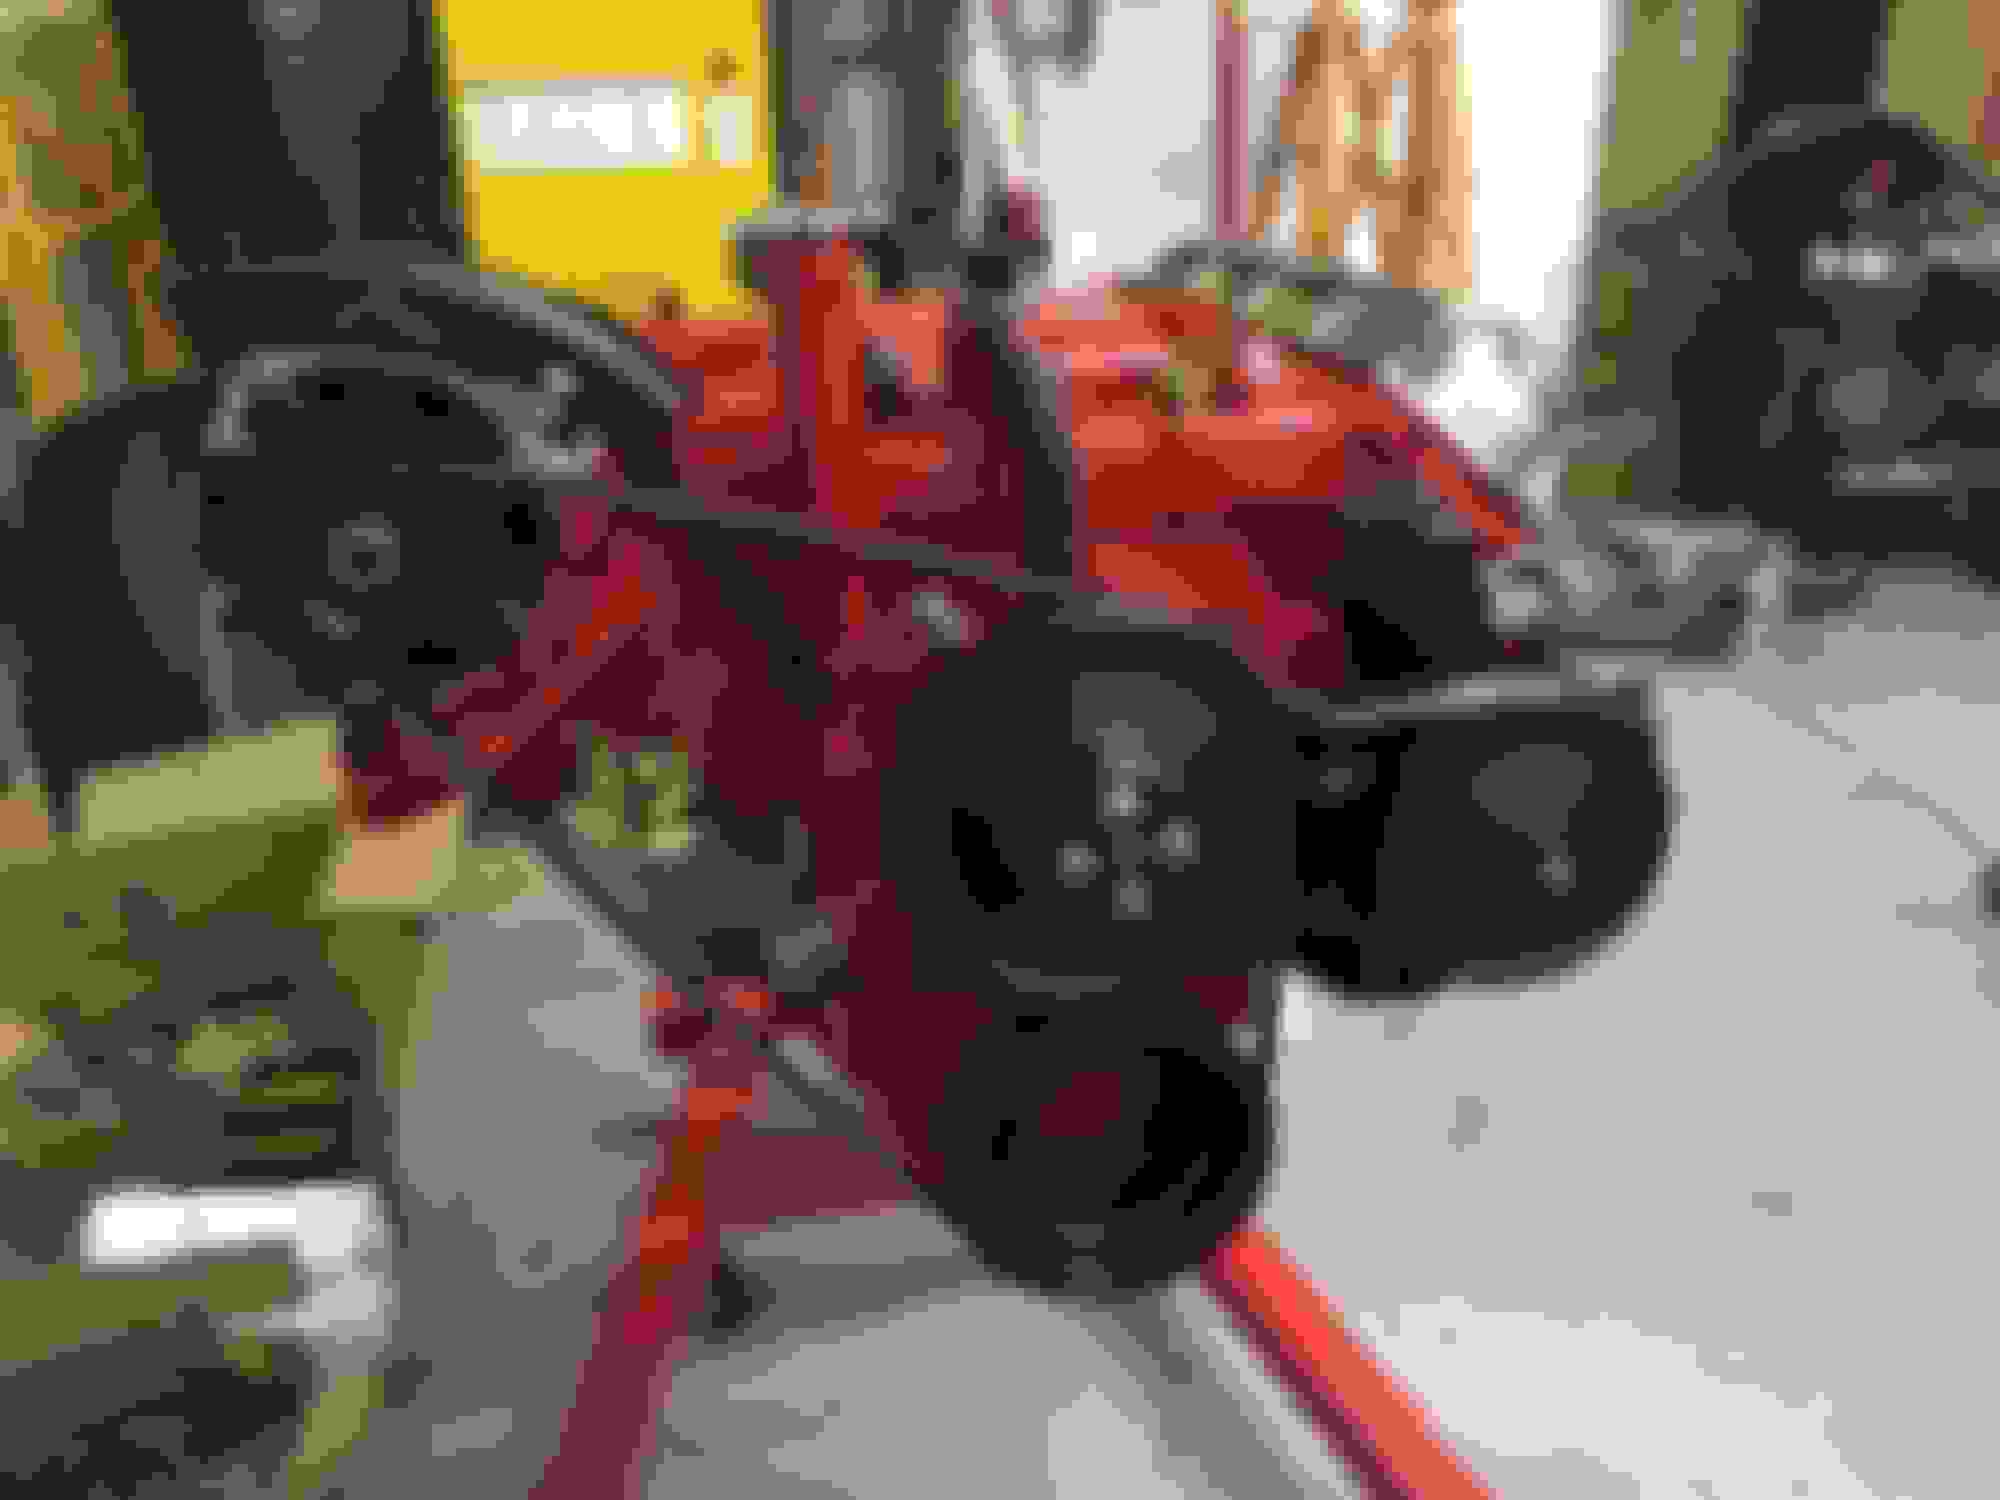
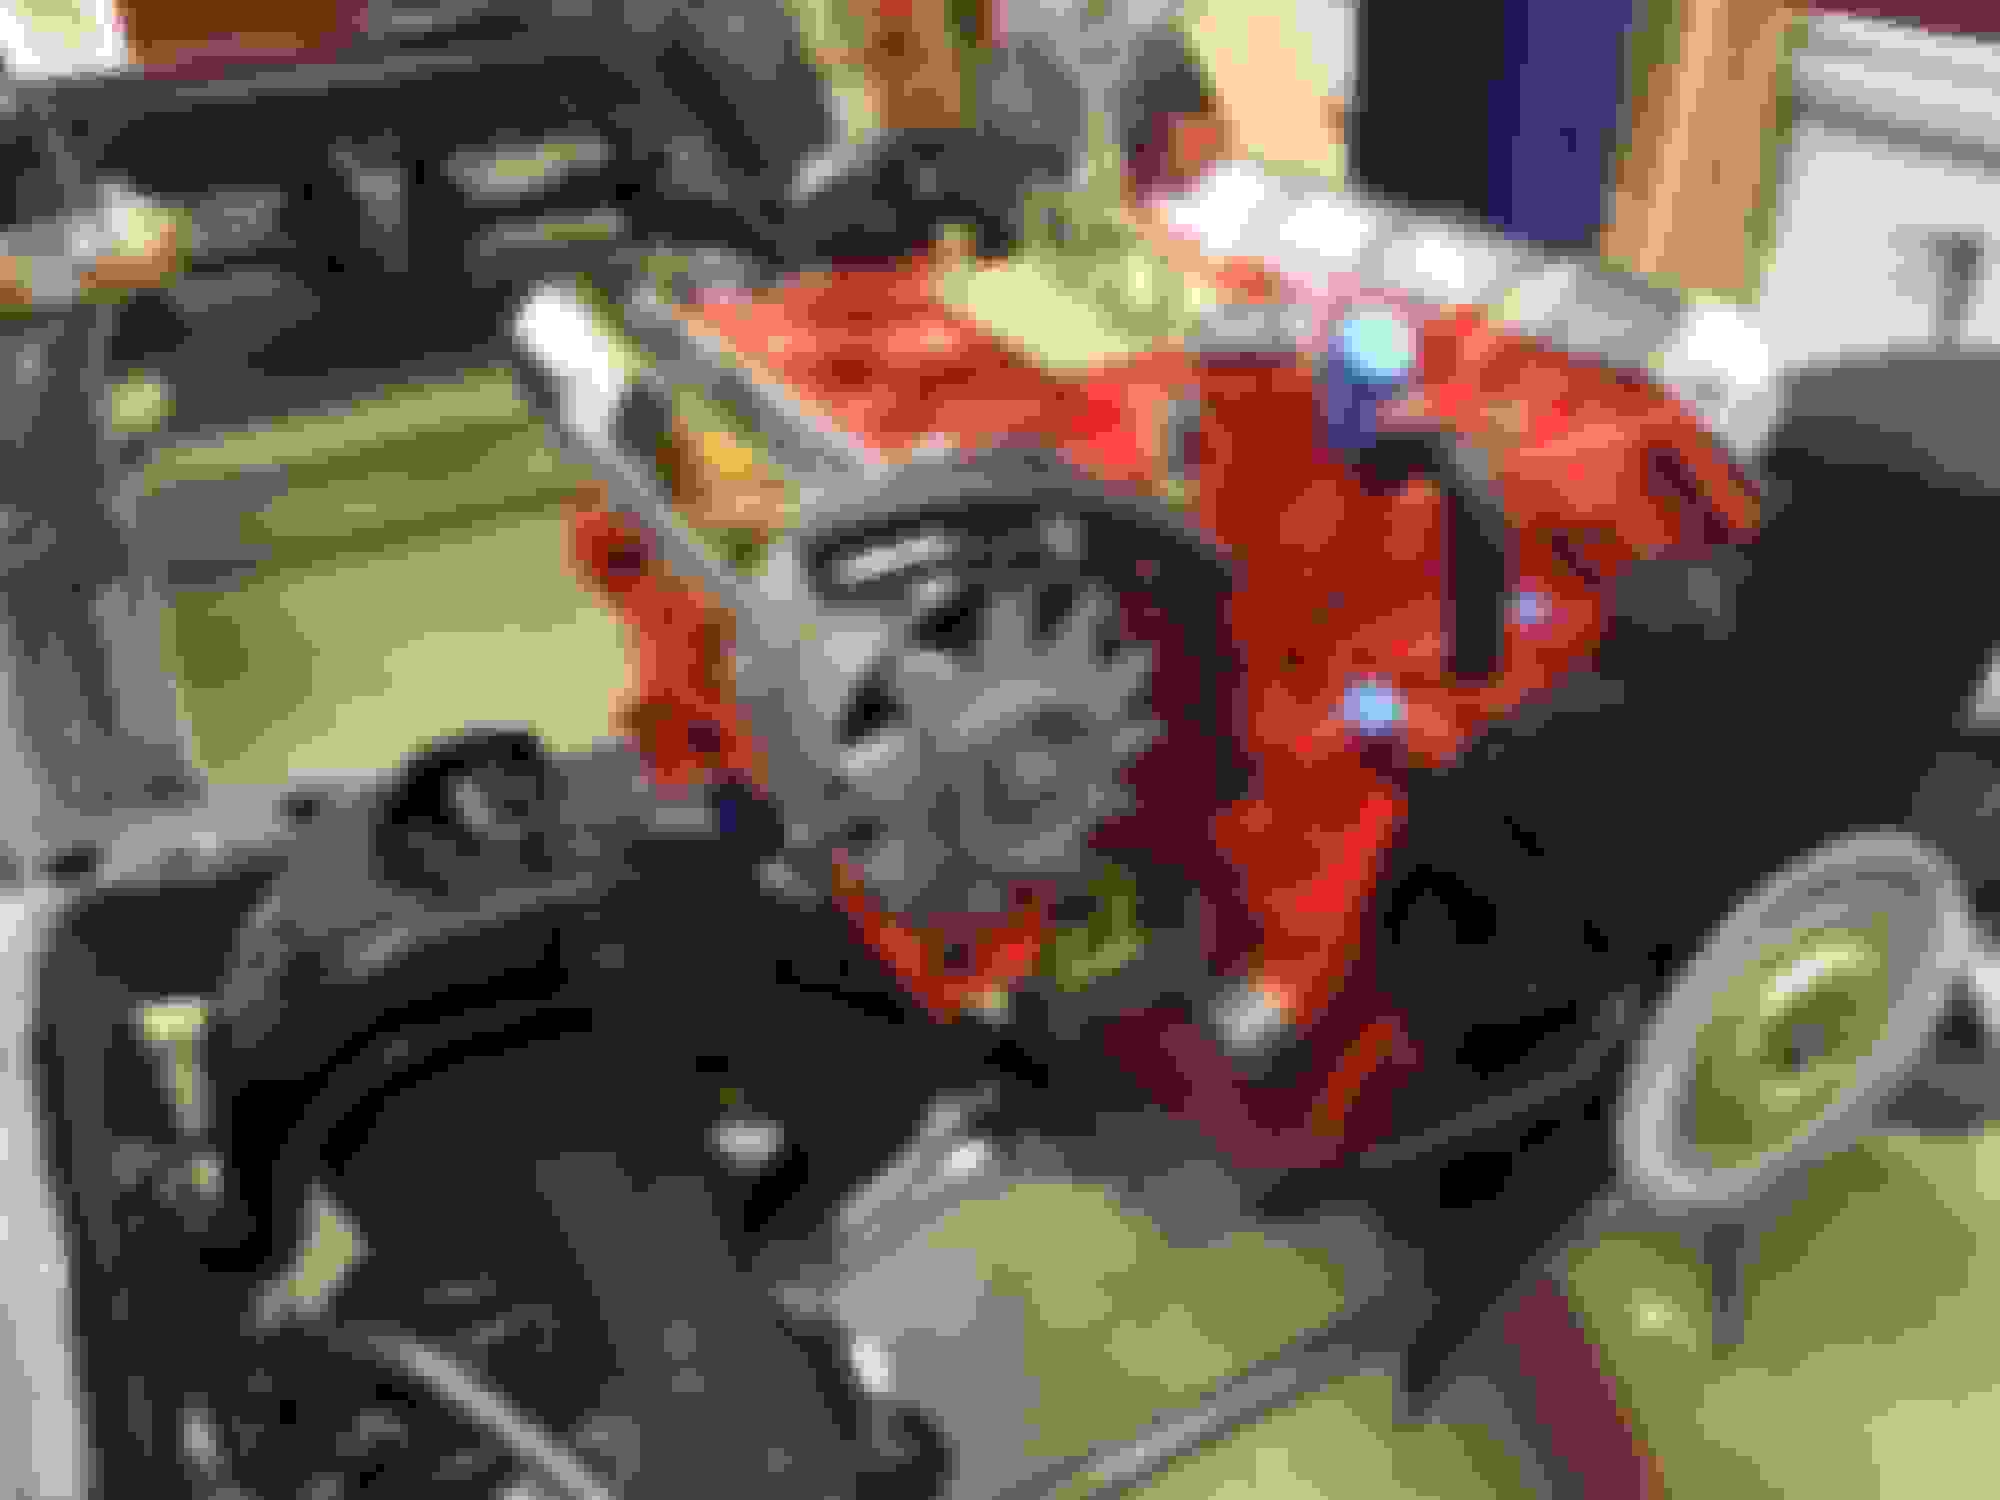
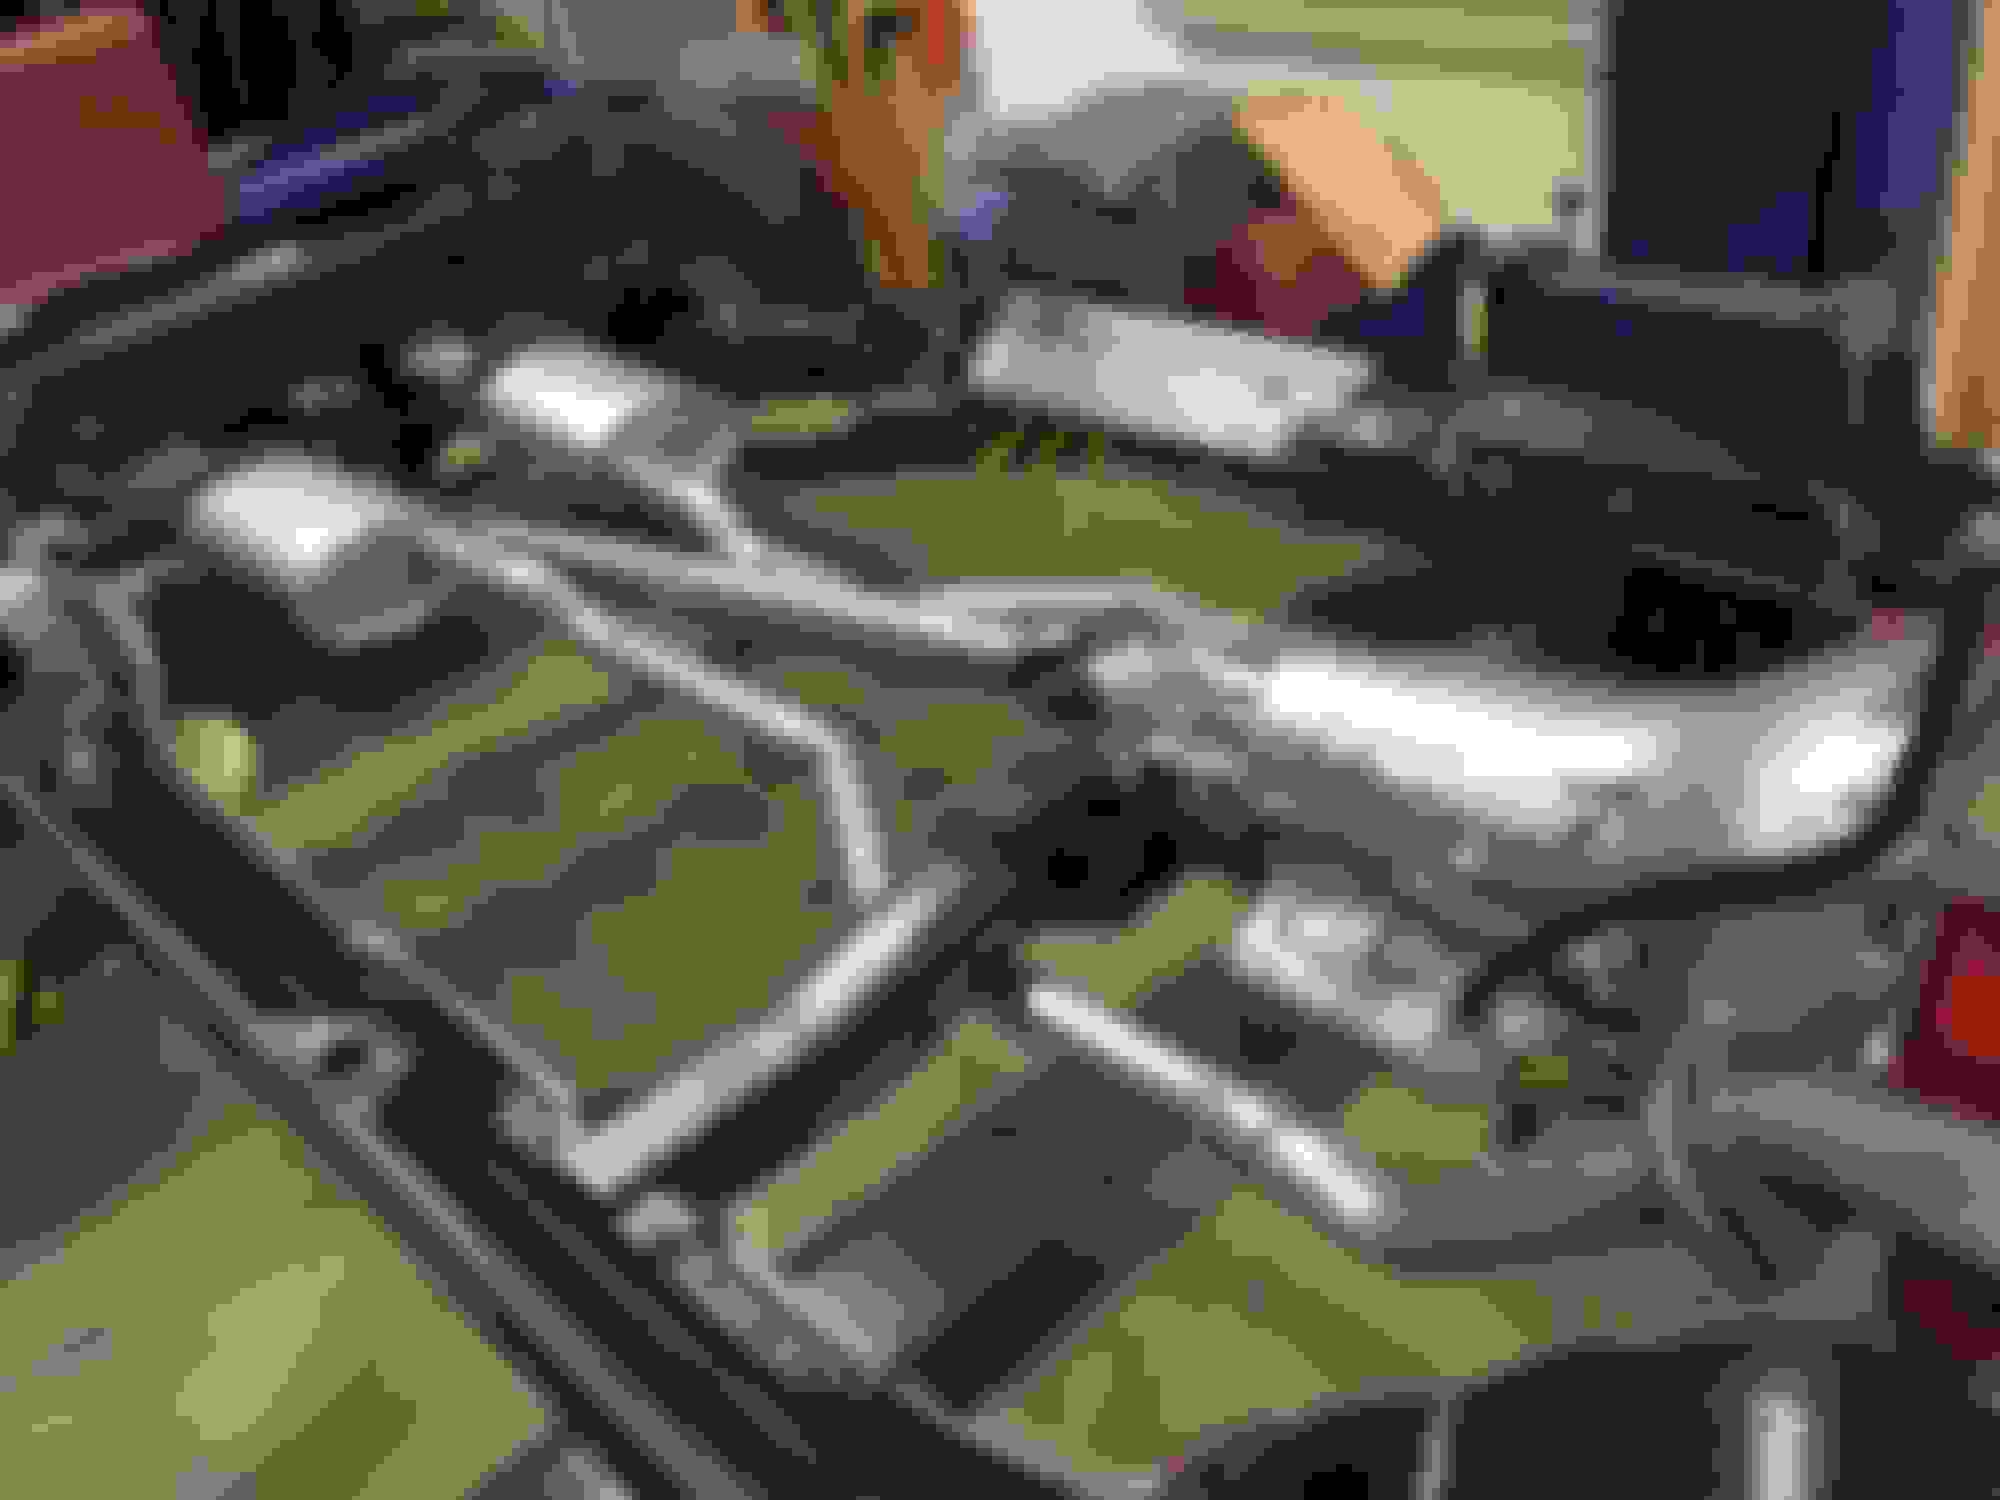
Did some work on the engine and transmission today. Installed the power steering pump as well as the alternator brackets. Tried to fit a MM belt but for some reason it seemed way to small. Couldn't even get it over the pulleys. The alternator belt looks like it should work fine. I also cleaned and painted the transmission. I plan on replacing the chrome pan with a stock steel pan.


Old Jan 1, 2016 | 11:48 AM
  #32  
JpMotorsports's Avatar
Registered User
 
Joined: Oct 2013
Posts: 435
From: Clinton Twp, MI
Awesome progress!
Old Jan 2, 2016 | 08:08 AM
  #33  
Don R.'s Avatar
Registered User
 
Joined: Feb 2011
Posts: 1,193
Looks great, I'm subscribed.
Old Jan 2, 2016 | 09:05 AM
  #34  
Hairy Olds's Avatar
Shoveling Snow
 
Joined: Aug 2008
Posts: 2,733
From: Yoder-Hey-Land
Were you looking for a OH trans decal?

DSC07333_zpsbppb2bgp.jpg
Old Jan 2, 2016 | 09:52 AM
  #35  
timholliday's Avatar
Thread Starter
Member
 
Joined: Sep 2009
Posts: 308
From: Howell, MI
Definitely looking for a OH trans decal. Was thinking I would need to have one made. Any leads would be appreciated.
Old Jan 4, 2016 | 07:01 PM
  #36  
timholliday's Avatar
Thread Starter
Member
 
Joined: Sep 2009
Posts: 308
From: Howell, MI
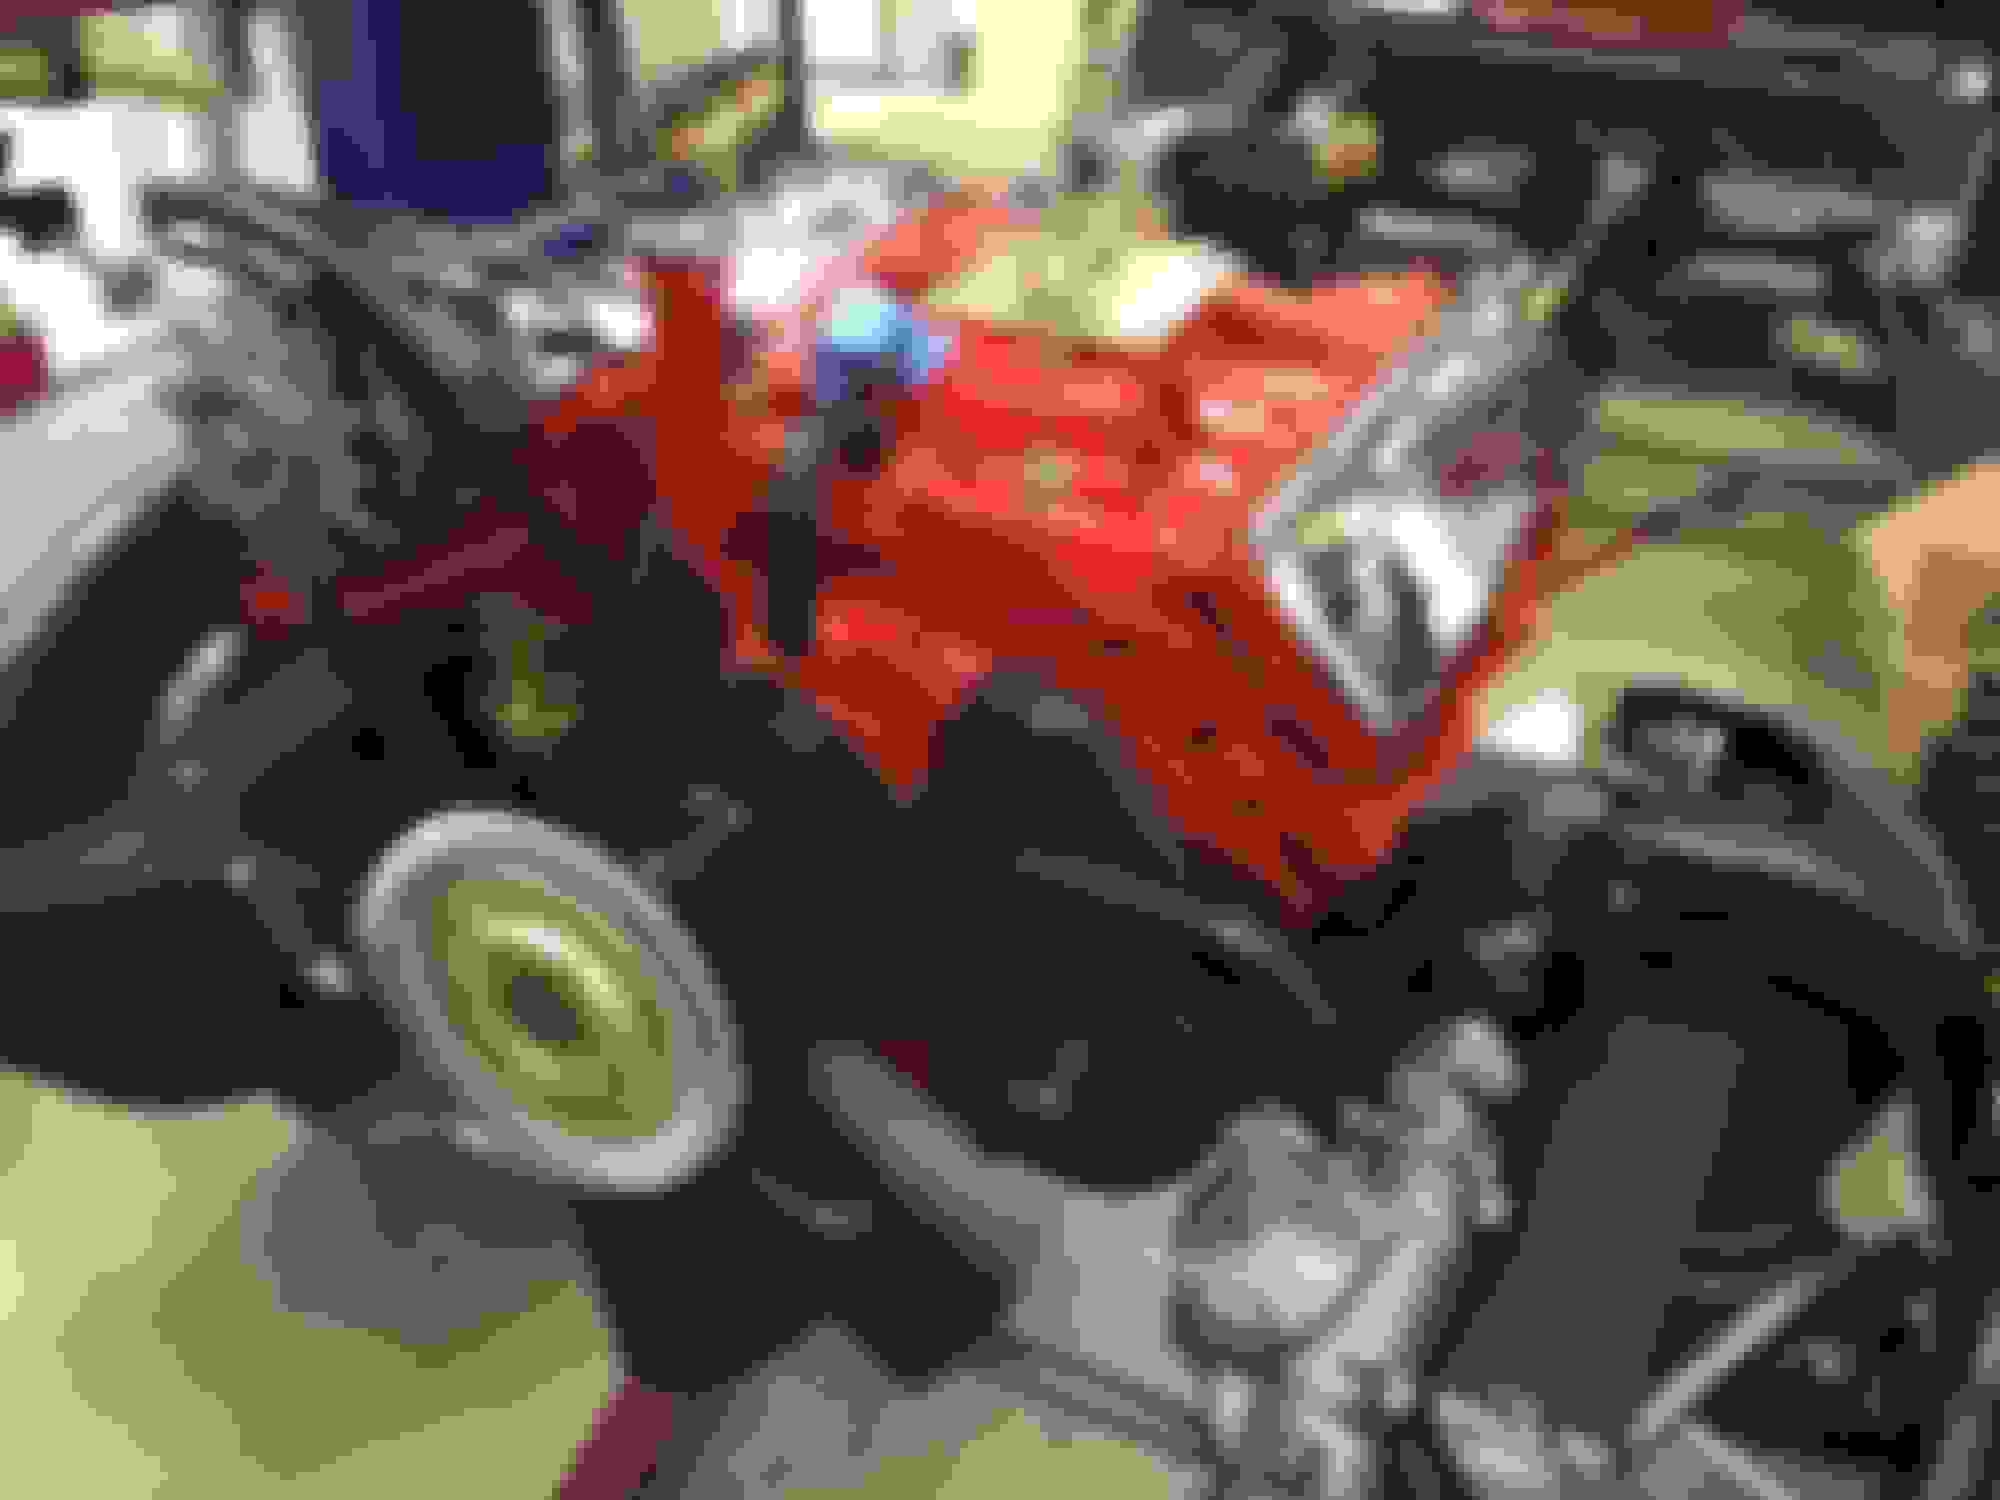
Got a little bit more done on the engine yesterday and today. Re-did the Alternator to get rid of the black fan and pulley. Installed the clutch fan, flex plate, and battery cable tube. I will be running the positive battery cable along the valve cover. Purchased the tube from TPP but needed to rebuild it to match the assembly manual. Got the motor installed on the frame tonight. Would have been done earlier but had the wrong motor mounts...


Old Jan 6, 2016 | 08:55 PM
  #37  
timholliday's Avatar
Thread Starter
Member
 
Joined: Sep 2009
Posts: 308
From: Howell, MI
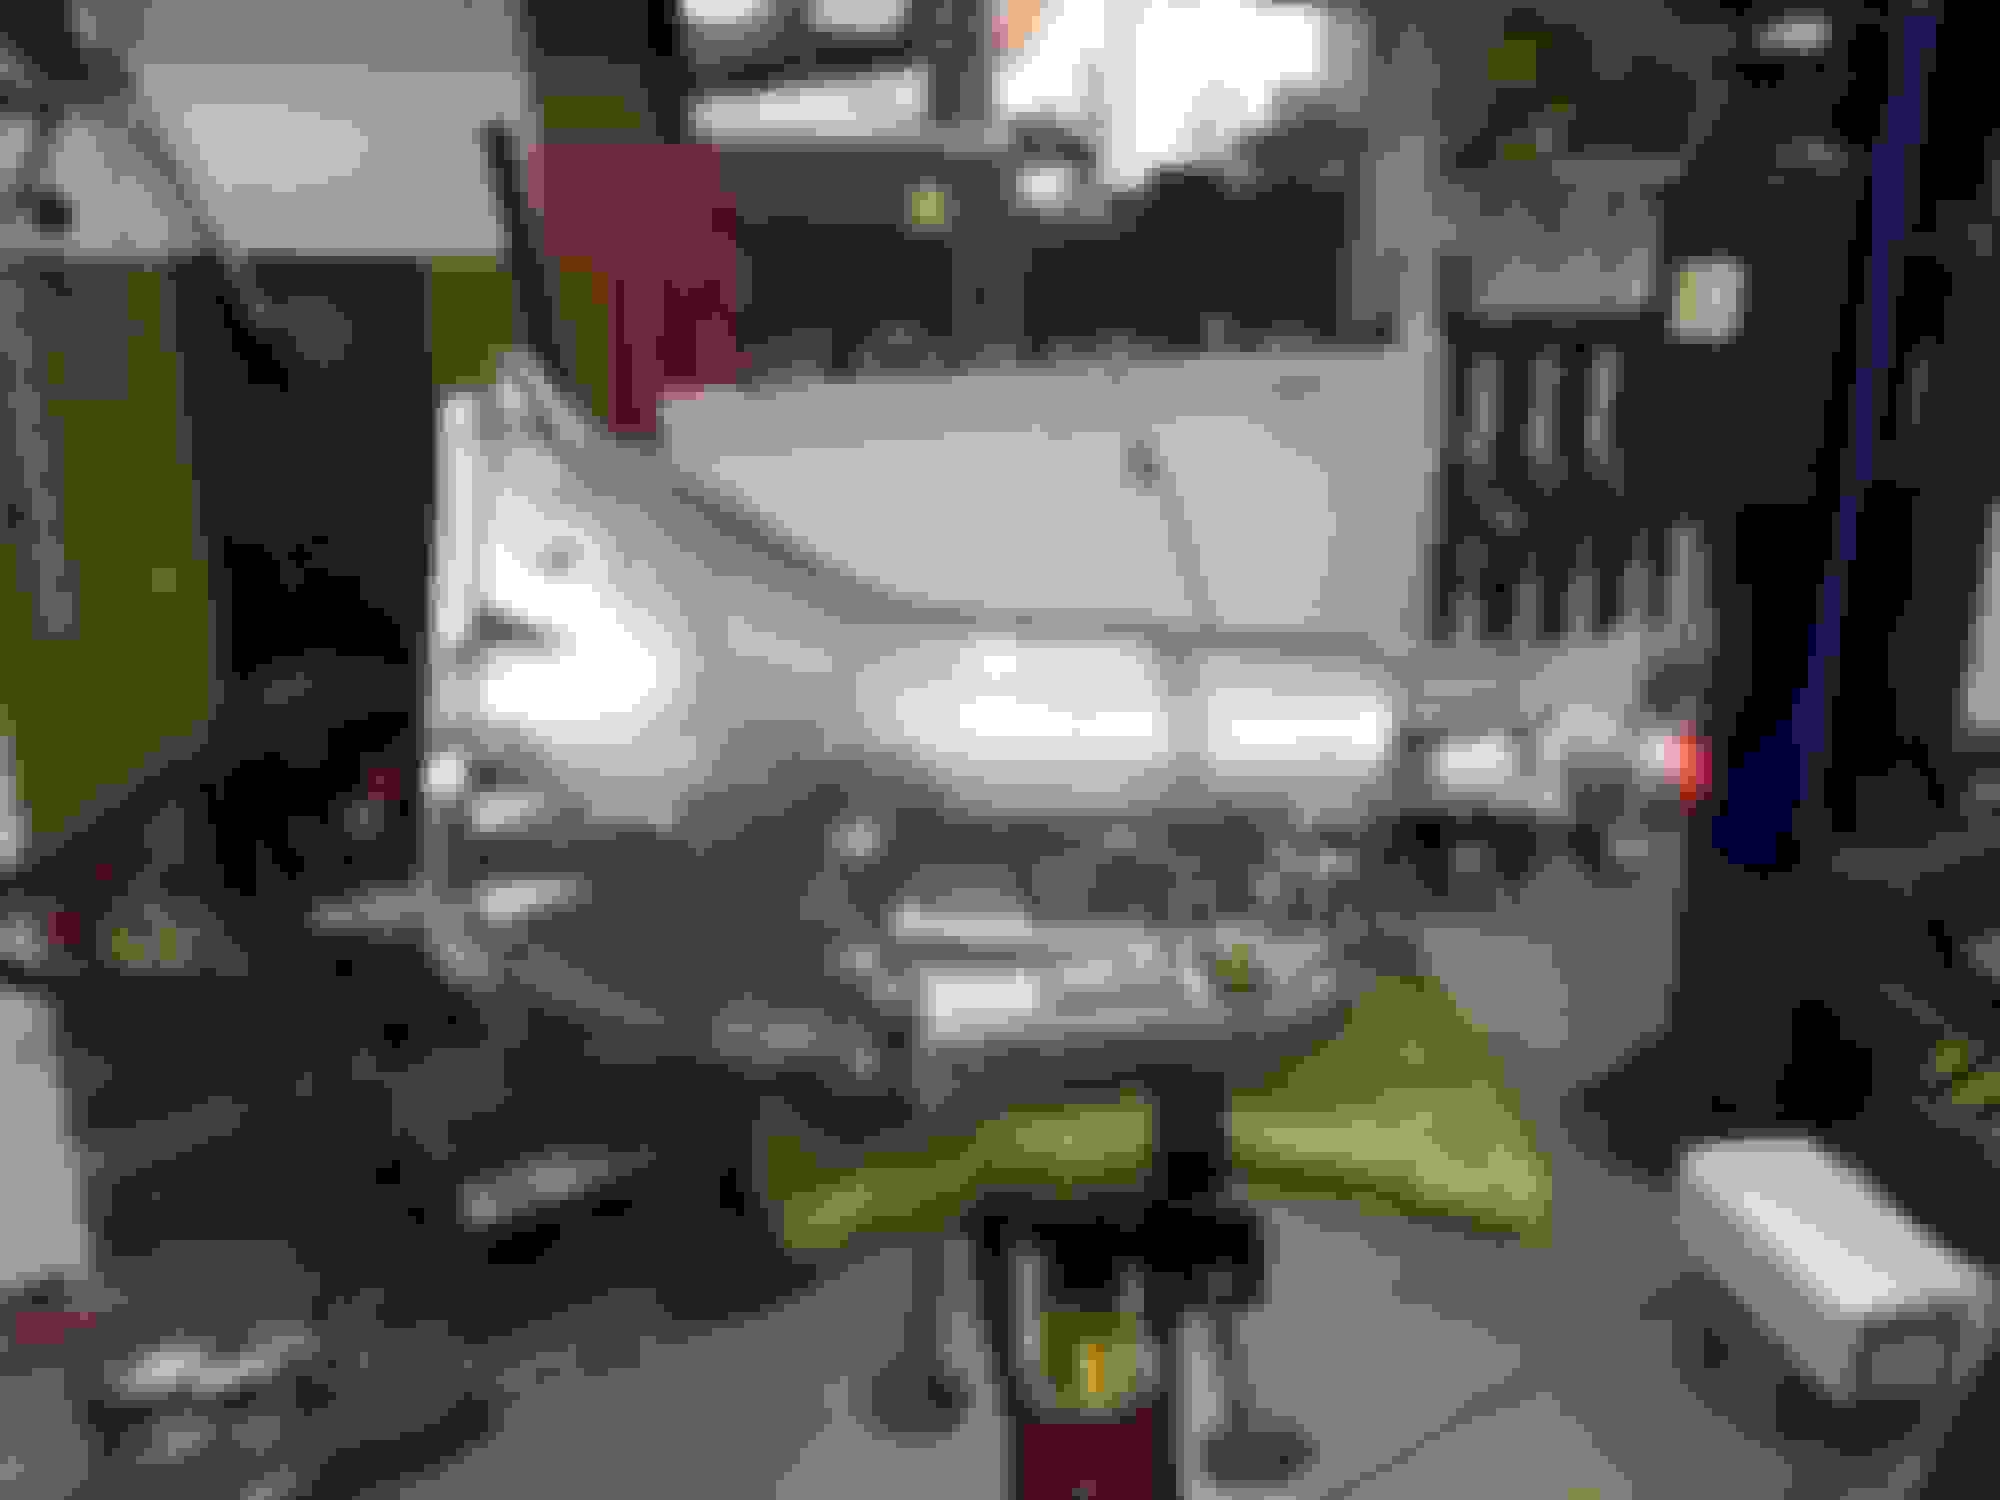
Worked on the engine and driveline today. Installed the manifolds, heat riser shield, transmission, and driveshaft. Had to unbolt one of the motor mounts and lift the motor to install the shield. Also got the belts installed. The power steering belt was a bear. Took 2 people to get it on. Hopefully it stretches a bit. Body wise one of the rear quarter patches is in and the top cowl/dash is close to done.


Old Jan 8, 2016 | 07:33 PM
  #38  
timholliday's Avatar
Thread Starter
Member
 
Joined: Sep 2009
Posts: 308
From: Howell, MI
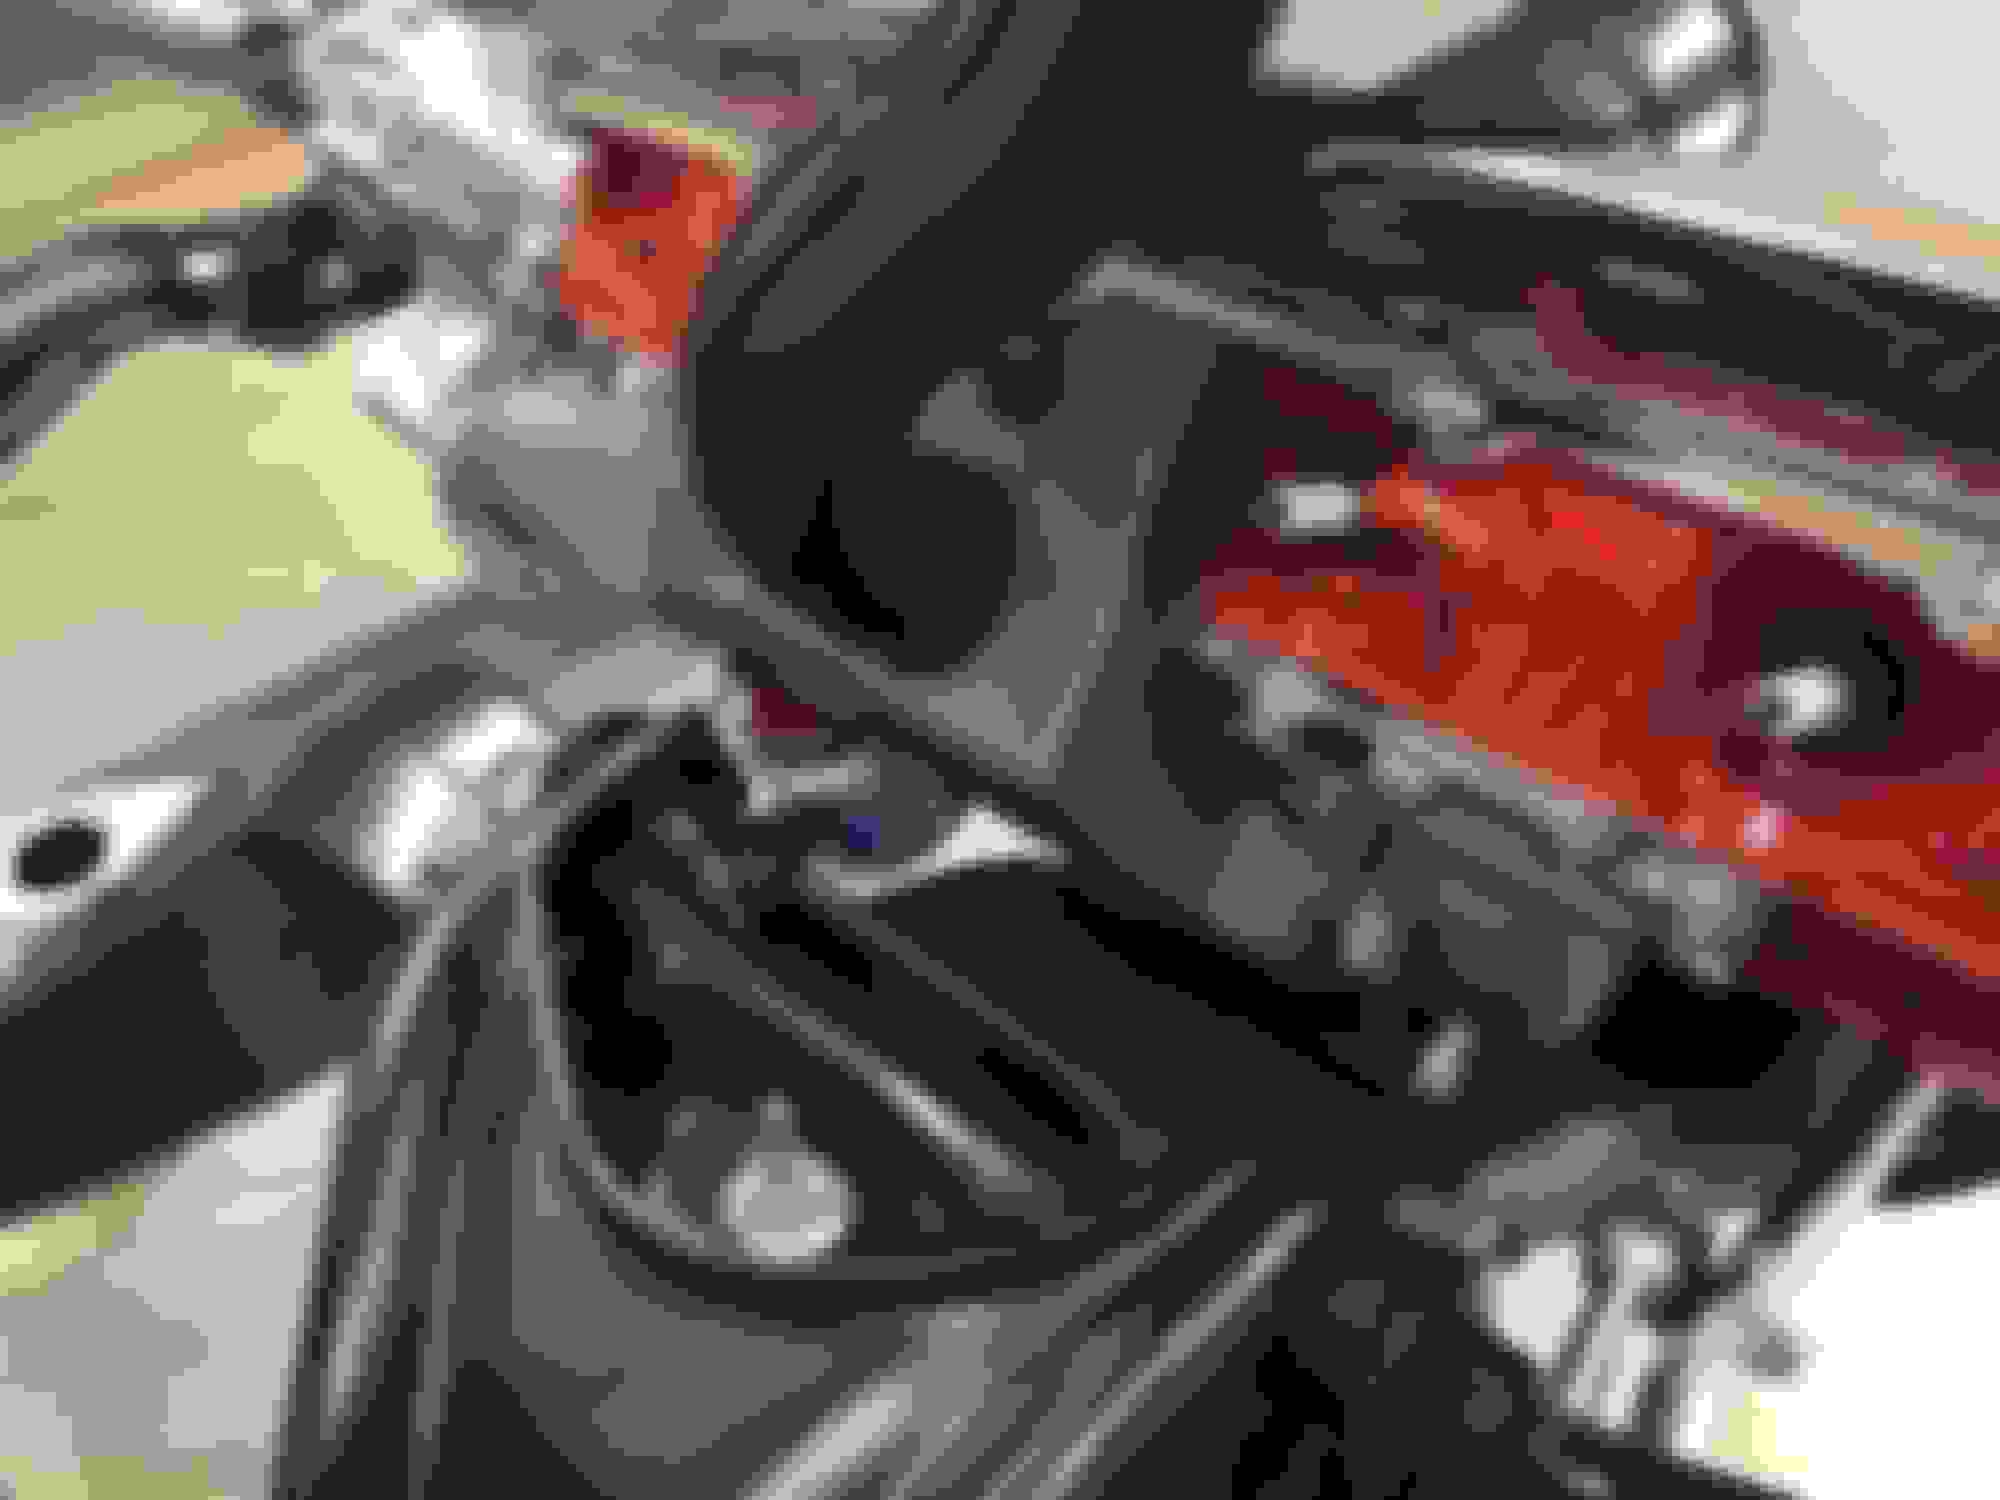
Mocked up the air cleaner/breather to make sure everything fit. Installed the power steering lines and fuel lines. Put on the carb to fuel pump line, needed a little persuasion to fit properly. Installed the exhaust pipe back to the muffler. Had a little trouble bolting up the driver side to the manifold but finally got it.

Added 4 quarts of fluid to the trans to check the pan seal. Also added oil and break in fluid to the engine. Removed the distributor and ran the oil pump with a drill. My valve covers leaked so I removed them, cleaned them up, and reinstalled using right stuff. Let's hope that works.

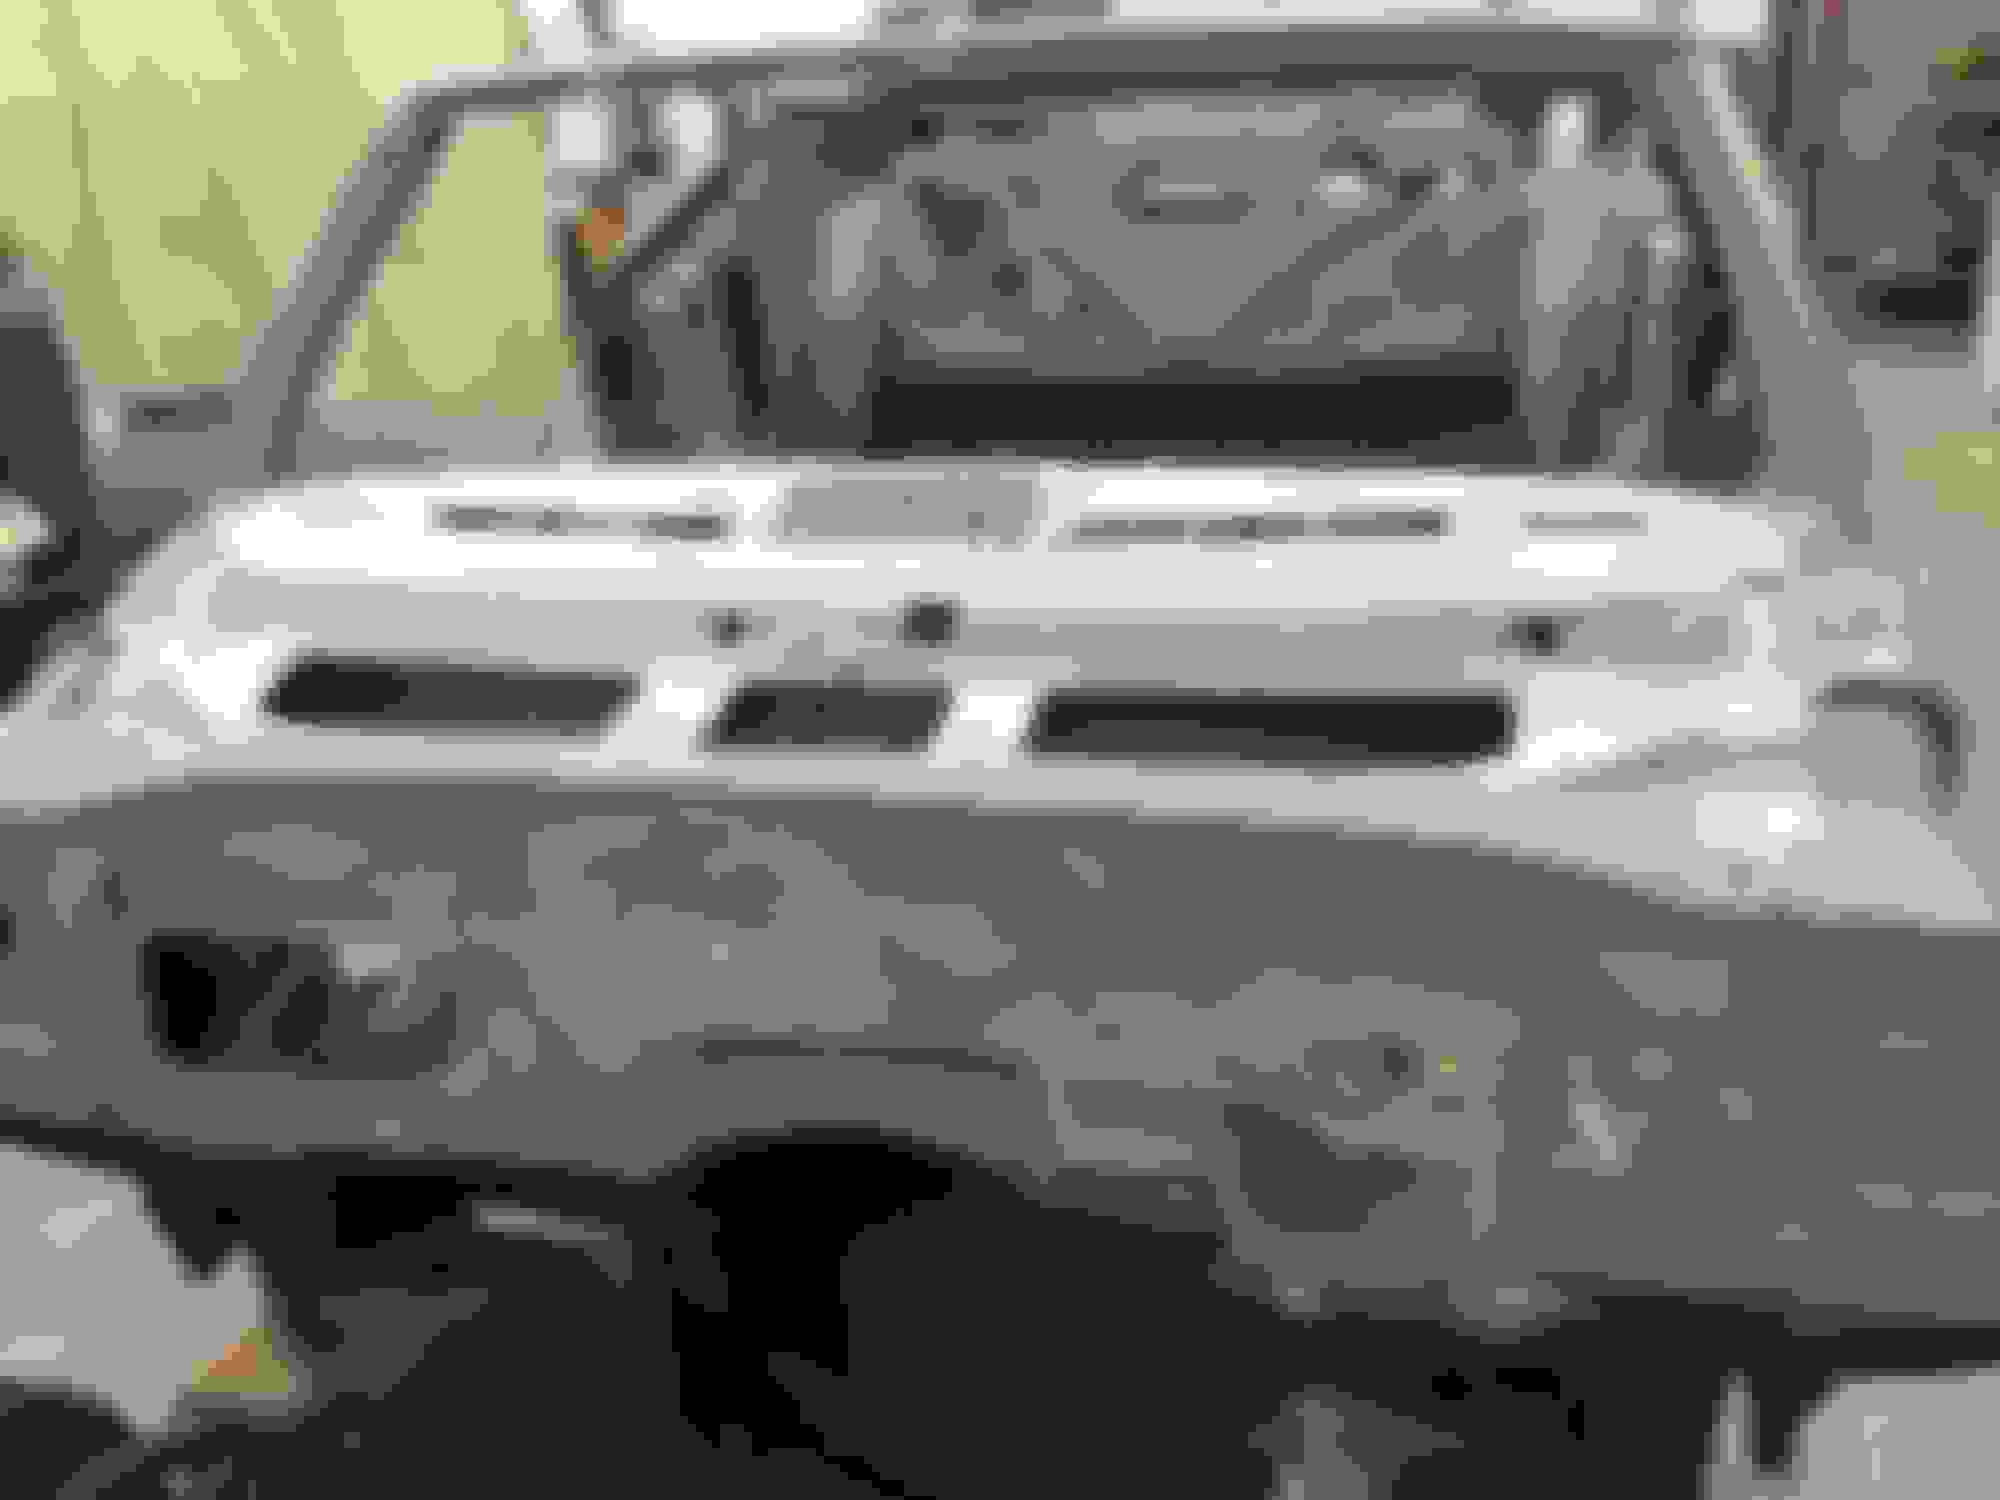
Tonight I blasted the rear bumper brackets and etch primed them. They are pretty pitted so I may need to do some filler to smooth them out.

Next up is to rebuilt my hinges so we can hang the doors.


Old Jan 8, 2016 | 08:07 PM
  #39  
tru-blue 442's Avatar
Old School Olds
 
Joined: Nov 2008
Posts: 9,272
From: Marble Falls TX
Beautiful work Tim.
Old Jan 8, 2016 | 08:31 PM
  #40  
timholliday's Avatar
Thread Starter
Member
 
Joined: Sep 2009
Posts: 308
From: Howell, MI
Thanks true-blue. It sure has been a learning experience.


All times are GMT -7. The time now is 05:06 PM.