When you click on links to various merchants on this site and make a purchase, this can result in this site earning a commission. Affiliate programs and affiliations include, but are not limited to, the eBay Partner Network.
Hi All,
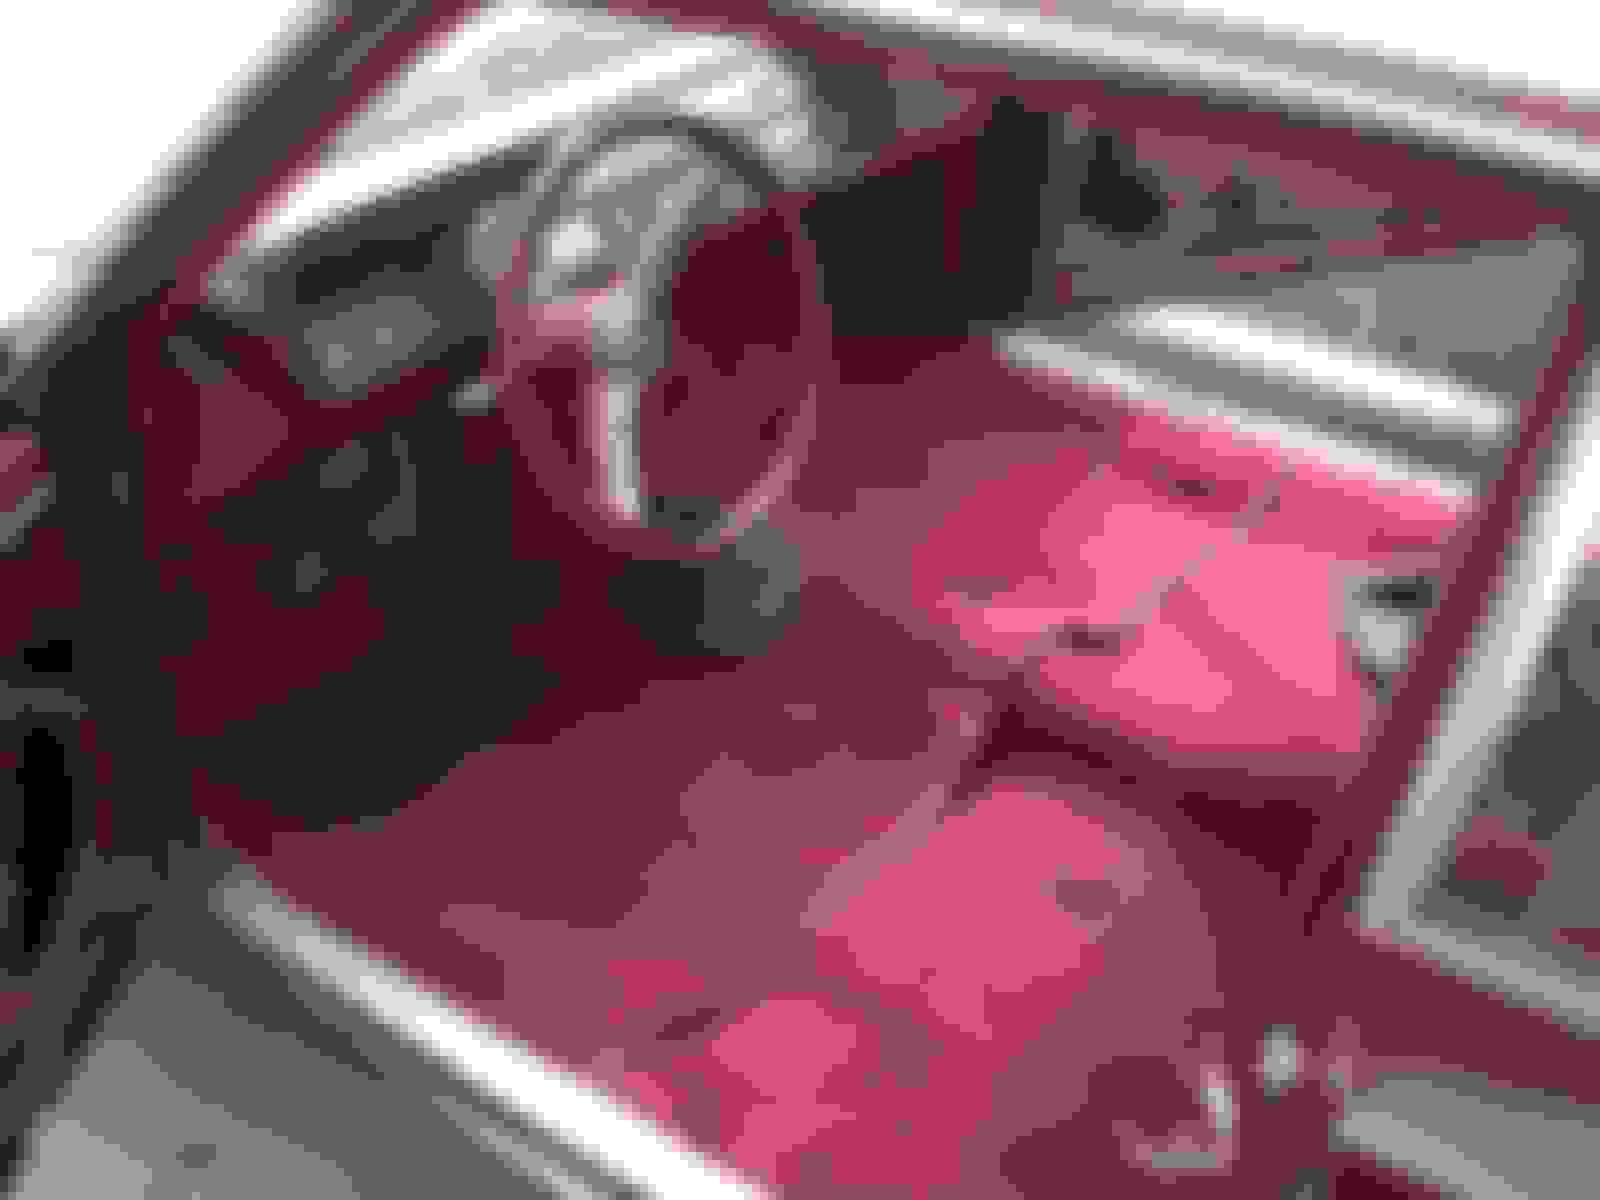
Figure I would start a single thread for my 65 442 resto. I had been updating my combined thread for my 64 Cutlass and the 65. Just about finished with the new trunk floor install and moving forward on the center floor cross-brace and a small section of floorpan repair. With the rain being off and on here in CA, I have had a few garage days to repair and replace some interior parts. Just finished having the seats recovered and also replaced the carpet at the bottom of the door panels. I had to make a new board for the passenger side as the cardboard had gotten wet and was pretty warped. Lucked out on the driver side, as the cardboard was just a little warped and was able to steam it back to almost flat. Once the floorpan repair is complete, I can install new carpet and the seats and start on getting the drive-train squared away. Here are a few photos.
Spo
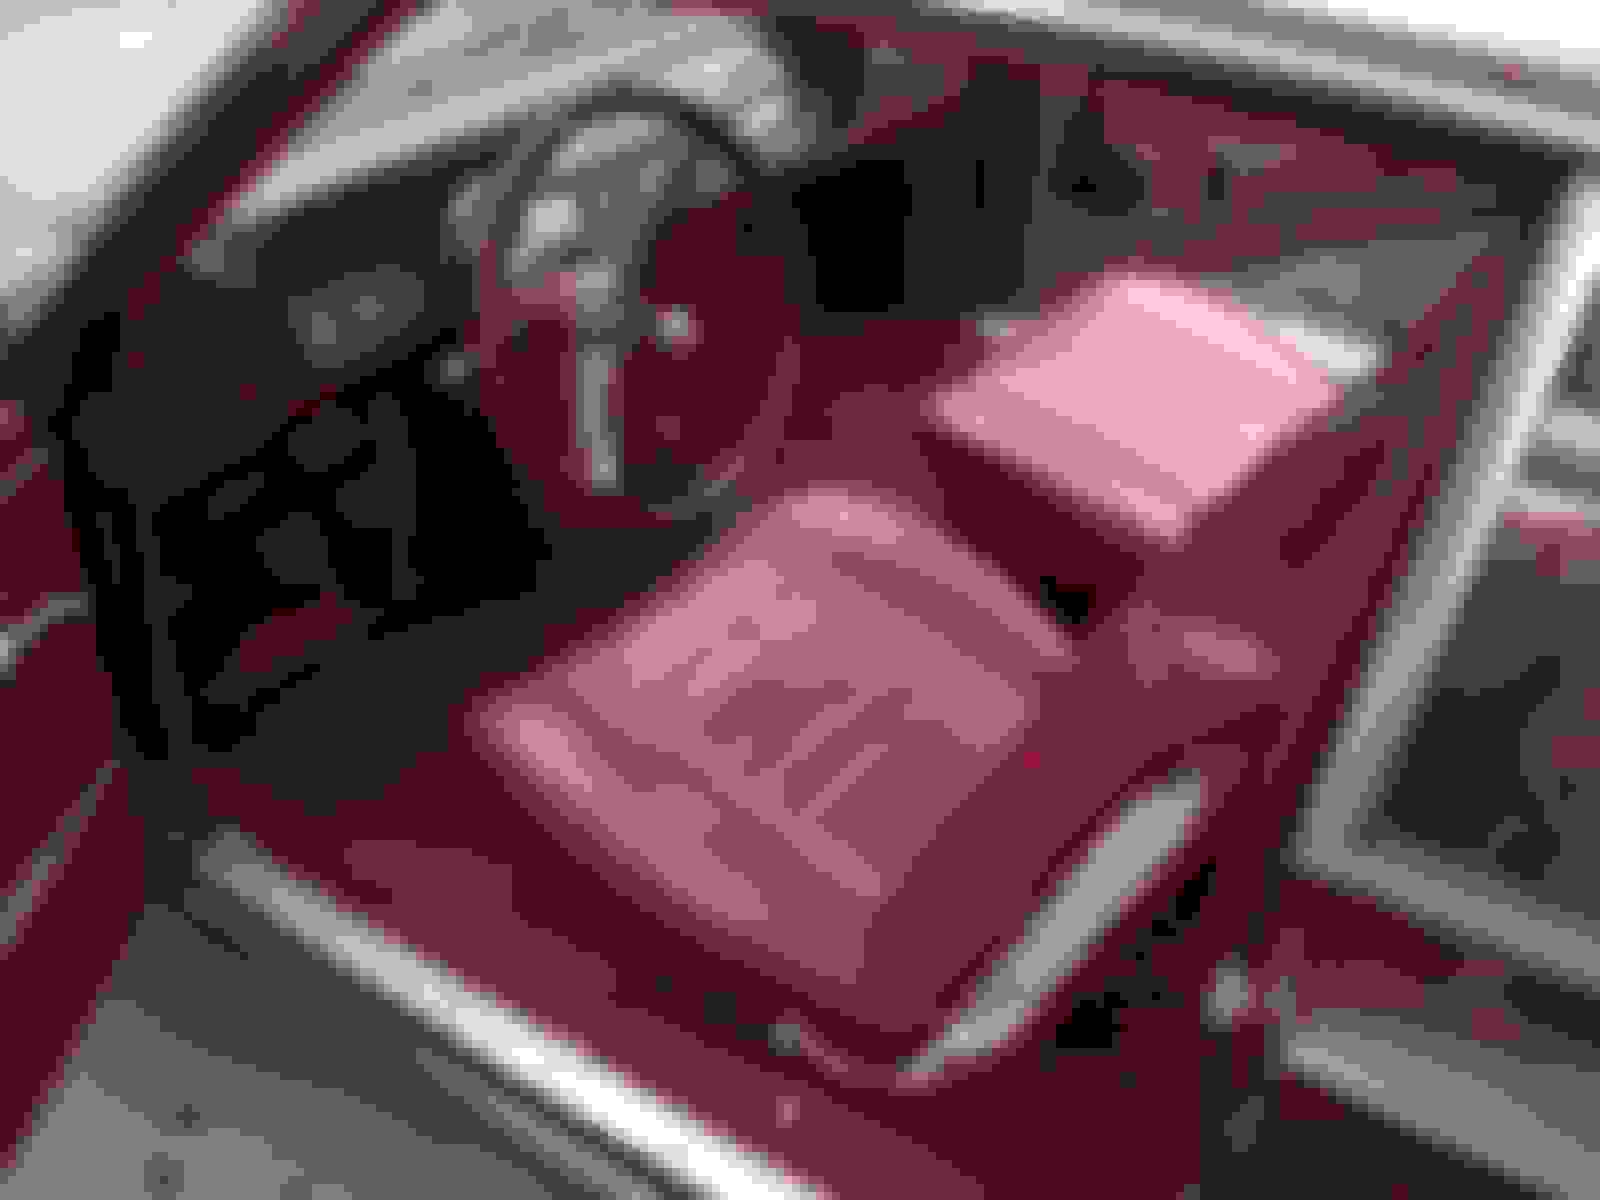
So I had a few days this weekend and the weather was nice. Was supposed to go to the GoodGuys in Pleasanton in the 64, but friends had to work. I figured I would dig into the 65 as the center floor brace and floor pan had rotted away from so many New York winters. The front and rear braces were fine and the pans look fine too. I bought a new center brace and dissected out the old one from above. Installed and welded in the new one and a donor pan I got out of a 65 my friend is cutting up. Went smooth and seamed sealed up everything after grinding back the welds. Installed the new back carpet section and cleaned the original rear seats. Installed the freshly recovered drivers seat to see how the colors matched. The PUI metallic red is a little lighter in shade, but will work. Now that she is drive-able again, I hope to get her in the big garage this next week end and finish the carpet install.
Looking at the 442 bro site, the 955 red was used on the Cutlass Holiday Coupes and convertible. My trim tag lists the interior as a 945 code for Cutlass sport coupes, which is what l have. The color listed by PUI is metallic red. The carpet is ACC in number 13 maroon. It was the closest I could find that matched floor and door panel carpet..
Thanks for that. When my father first got the car in '91 I remember the carpet and lower door panels being darker like the carpet you have. The dash top in my car is dark red / maroon also so the 2 tone would match.
Trying to finish up the interior so I can move on to the mechanicals. Was able to get some time yesterday to work on the carpet. I used an ACC maroon carpet for an auto sedan, even though I have a 4 speed. This was based on what others had said about too much material in the hump area. It took a while but I was able to get it smoothed out pretty well. There is still more material needed over the trans hump and without a console, you cant pie section to hide. The shift boot does cover most of the extra, but very hard to get the contours right. It came out very well, with all considering.
Now that the 64 is complete and in the process of being moved to a secured location, work on the 65 can get underway. Plans are to remove the engine and freshen up with a reseal and new accessories. Will need to get the block cleaned and repainted in the correct bronze color. Engine is the numbers matching 400 with a Muncie M20 4 speed. I have been stockpiling parts for the engine resto, so mine as well get going. I can now start to address the rust around the front and back windows, since it's in my garage. Hope to have all the rust repair done by Christmas, but will have to see how long the engine takes. Will update the thread as I make progress. Steve
Thanks for the Kudos. 64 is on a trailer awaiting a 5 hour drive tomorrow to its winter home. Thanks for the info Gerald, I might be able to stop by next Sunday on my way home. I'll give you a call Sunday morning.
Hope for some updates by next weekend.
Spo
Here's an old "circa 1971" picture of my maroon 65 442 post car I put a 425 in. Cannot remember which junk yard in Milwaukee I pulled it out of. but it had the crank already drilled out for the Muncie. Way back then I can safely assume that it was factory drilled and it was in a big car. Car in front of it was my 69 Grand Prix J model. The helmet on the trunk belonged to my buddy Lenny-he a had a Harley Sportster...
Here's an old "circa 1971" picture of my maroon 65 442 post car I put a 425 in. Cannot remember which junk yard in Milwaukee I pulled it out of. but it had the crank already drilled out for the Muncie. Way back then I can safely assume that it was factory drilled and it was in a big car. Car in front of it was my 69 Grand Prix J model. The helmet on the trunk belonged to my buddy Lenny-he a had a Harley Sportster...
That 425 wasn�t a non ac and a 65 was it do you still have the alt bracket if so lol
if we could go back in time and never sell what we wish we could have kept
First weekend in the garage, so let's get started. The 64 is in hibernation for the winter at my folks place. Started this weekend on rust repair. This meant removing the front and back glass for access. Because the interior is pretty nice, i'm going to have to protect it as we move forward. Will be following Therobski's threads as he had to replace the rear trunk panel under the window like I have to. He had a good detail on getting this accomplished. More to come next weekend.
After removing the glass for rust repair, it made sense to pull the engine for access to the front cowl area. Figured I would go through the engine and see what the condition was. It ran well and had no leaks, so maybe just a reseal and cleanup. Engine looked to be all original, still had the nylon timing gear in place. Inside was very clean with no major sludge or deposits. Ordered new Cloyes double roller and checked the balancer for separation, all good. Did not realize that the early 400 balancers had timing degrees around the balancer, kinda cool. Been cleaning everything up and going to start reassembly. Will update as I move forward.
Steve
Note: if by chance down the line you replace the Harmonic damper with a new aftermarket one, you need to change the pointer too. I just bought a 455 timing pointer...
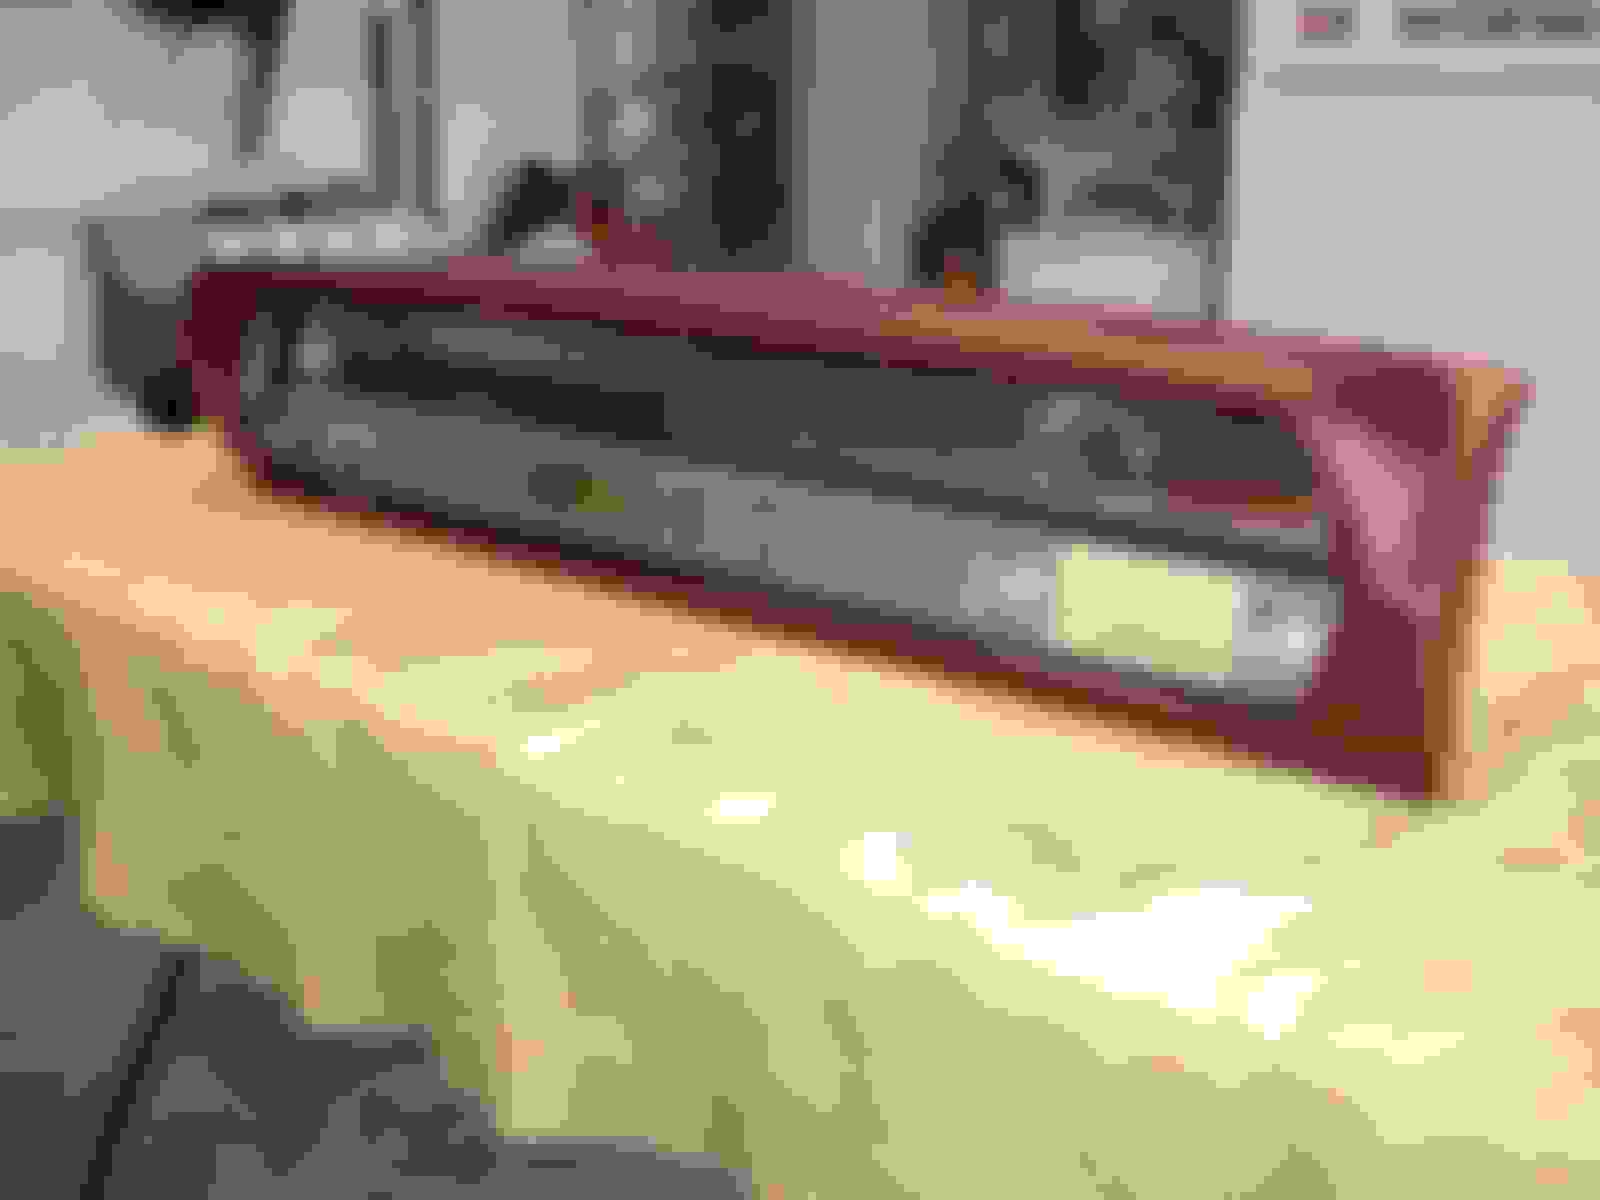
Well it's been a few months since an update, so I figured it was time to post some photos. Engine has been resealed and new or original parts cleaned and installed. Sitting on the stand waiting to go back in. Completed the rust repair on the front windshield channel, but had to remove all the dash components due to the welding and grinding. Had the dash pad and glove box door recovered in the Metallic Red vinyl, so its ready to go. Starting the strip down of the dash and components for painting but noticed the original paint line with the metallic red on the bottom and a matte finish on top of the dash. I'm going to repaint all Metallic Red, as this won't be a daily driver and I don't think the glare will matter.
Steve
Thanks All for the words of encouragement! One area I'm not sure how to tackle is the defrost vents on the dash top. Looks like these have been bent out of shape over the years. They seem almost too long now to be straightened. Was thinking of trying some heat and then quick cold to shrink them maybe. Not sure how else to pull them back into shape?
Steve
Last edited by Big Daddy Spo; Jan 18, 2020 at 01:06 PM.
Reason: spelling
Hi All,
Completed the rust repair to the windshield channel and got the dash repainted with a Metallic Red paint. Used Matte clear on the top and gloss clear on the front and bottom. Starting to rebuild and repaint to other components. Have a new firewall pad ready to go in and then the column and dash panel. Hope to have some time in the next couple of weeks to finish this up. Then on to the rear window channel and the rust there.
Steve
I ended up using the general eBay panel for Chevelle, Pontiac Olds and Buick. fit Ok with some work. Still need to tweek a little to get the cowl cover in place. Found a company that makes the channel for the rear window, but only the channel. I think my trunk cover panel is gone too. More to come.
Steve
The company I found is call Belden Speed. Their website has a lot of good information for restoration of the glass channels, plus a lot of the materials. The link is below:
Well in the uncertain times, I can always find something to do in the garage. Was laid up for a few weeks with some stomach trouble, but feeling good now. Finished welding up all the unneeded holes in the firewall, Gave it a good clean and new paint. Was able to save the original OK stamping on the firewall during the repaint. Installed my firewall insulation and got the fuse panel and wiring all back in. Restored my dash panel and all new switches to complete the dash. Loaded it into the newly covered pad and ready for install next weekend. Hope everyone is making through these uncertain times.
Spo
Looking great! Where are you getting your new interior parts from? I will need carpet, door panels, seat covers, and shifter boot. I hope my car turns out as well as yours.
Thanks Oldsmoboogie, The seat covers are PUI as they are the only ones that make the Sport Coupe (Post Car) pattern in a close enough Metallic Red. Carpet is ACC Maroon as well as the door panel carpet. Door panels are original and so is back seat. The shifter boot is from Fusick for a Non-Console car. It uses a retainer around the base of the boot to hold it in place. Fusick sell these as well. Steve