
Update progress on 64 "Post" trunk pans

Thread Starter
Registered User
Joined: Jul 2009
Posts: 3,191
From: Dallas-Fort Worth
Update progress on 64 "Post" trunk pans
Man this has taken along time to get this far with everything else going on but here are some pictures updating the progress on the restoration of the trunk. I never got involved to this point on body work on any project, that's a BIG part of the reason I believe it's taking along time to update the progress, taking my time asking alot of questions reading other posts on simuliar projects I am basically at the point-semi-final fitting the three floor pieces with sheet metal screws, aligning the body 4 trunk floor braces to each other and the frame. Tons of rust removal, primer, triming pieces. While the whole trunk was cut out I did take the opportunity to completely restore the rear brakes, install new brake lines, shocks and removed the upper control arm-sandblasted them and installed new bushings. I also boxed the rear section of the frame-practice welding!!IMG_0262-1.jpg[IMG]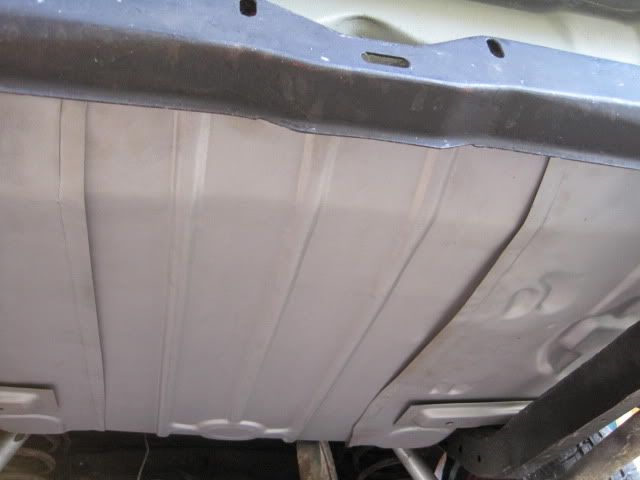 http://i119.photobucket.com/albums/o136/therobski/IMG_0263.jpg[/IMG]
http://i119.photobucket.com/albums/o136/therobski/IMG_0263.jpg[/IMG]
Thread Starter
Registered User
Joined: Jul 2009
Posts: 3,191
From: Dallas-Fort Worth
Few more pictures, have one of the floor pans cleaned up and primed, going to do the other one today. It' was 105 yesterday, was out side in the shop for 5 hours, plenty of fans and cold water!!!!IMG_0263.jpgIMG_0269.jpg
Thread Starter
Registered User
Joined: Jul 2009
Posts: 3,191
From: Dallas-Fort Worth
another update on Granny's F85 post
Putting in alot of time on the post here are some up dates, please fwwl free to add some advice, I need it!!!IMG_0274.jpgIMG_0270.jpgIMG_0279.jpg

Registered User
Joined: Jul 2010
Posts: 9
The method that works well for me is to lay the new section over the old. Using a thin cut off wheel, I cut both pieces at once. This gives me a perfect gap for mig welding. I will weld in just a few tacks to keep the panel in place. I will do one side at a time so the new panel does not fall through. My two cents.

Thread
Thread Starter
Forum
Replies
Last Post
81 regency
Parts For Sale
0
Apr 21, 2011 06:18 PM


