When you click on links to various merchants on this site and make a purchase, this can result in this site earning a commission. Affiliate programs and affiliations include, but are not limited to, the eBay Partner Network.
Tom,
Top and headliner look great.
I just picked up some headliner bows from Scott (Oldspackrat ) last weekend so headliner will be getting installed soon.
My sail panels are from Legendary as well but have not tried to test fit them yet. Now I'm worried they won't fit. I'll probably head to the garage tonight and see what's up.
Thanks Rick, I'd appreciate knowing what you find out. The shop owner was saying he's been in the business for 30 years and has never had a problem with installing them until now. I tried searching here but was not able to come up with any installation threads on the sail panels.
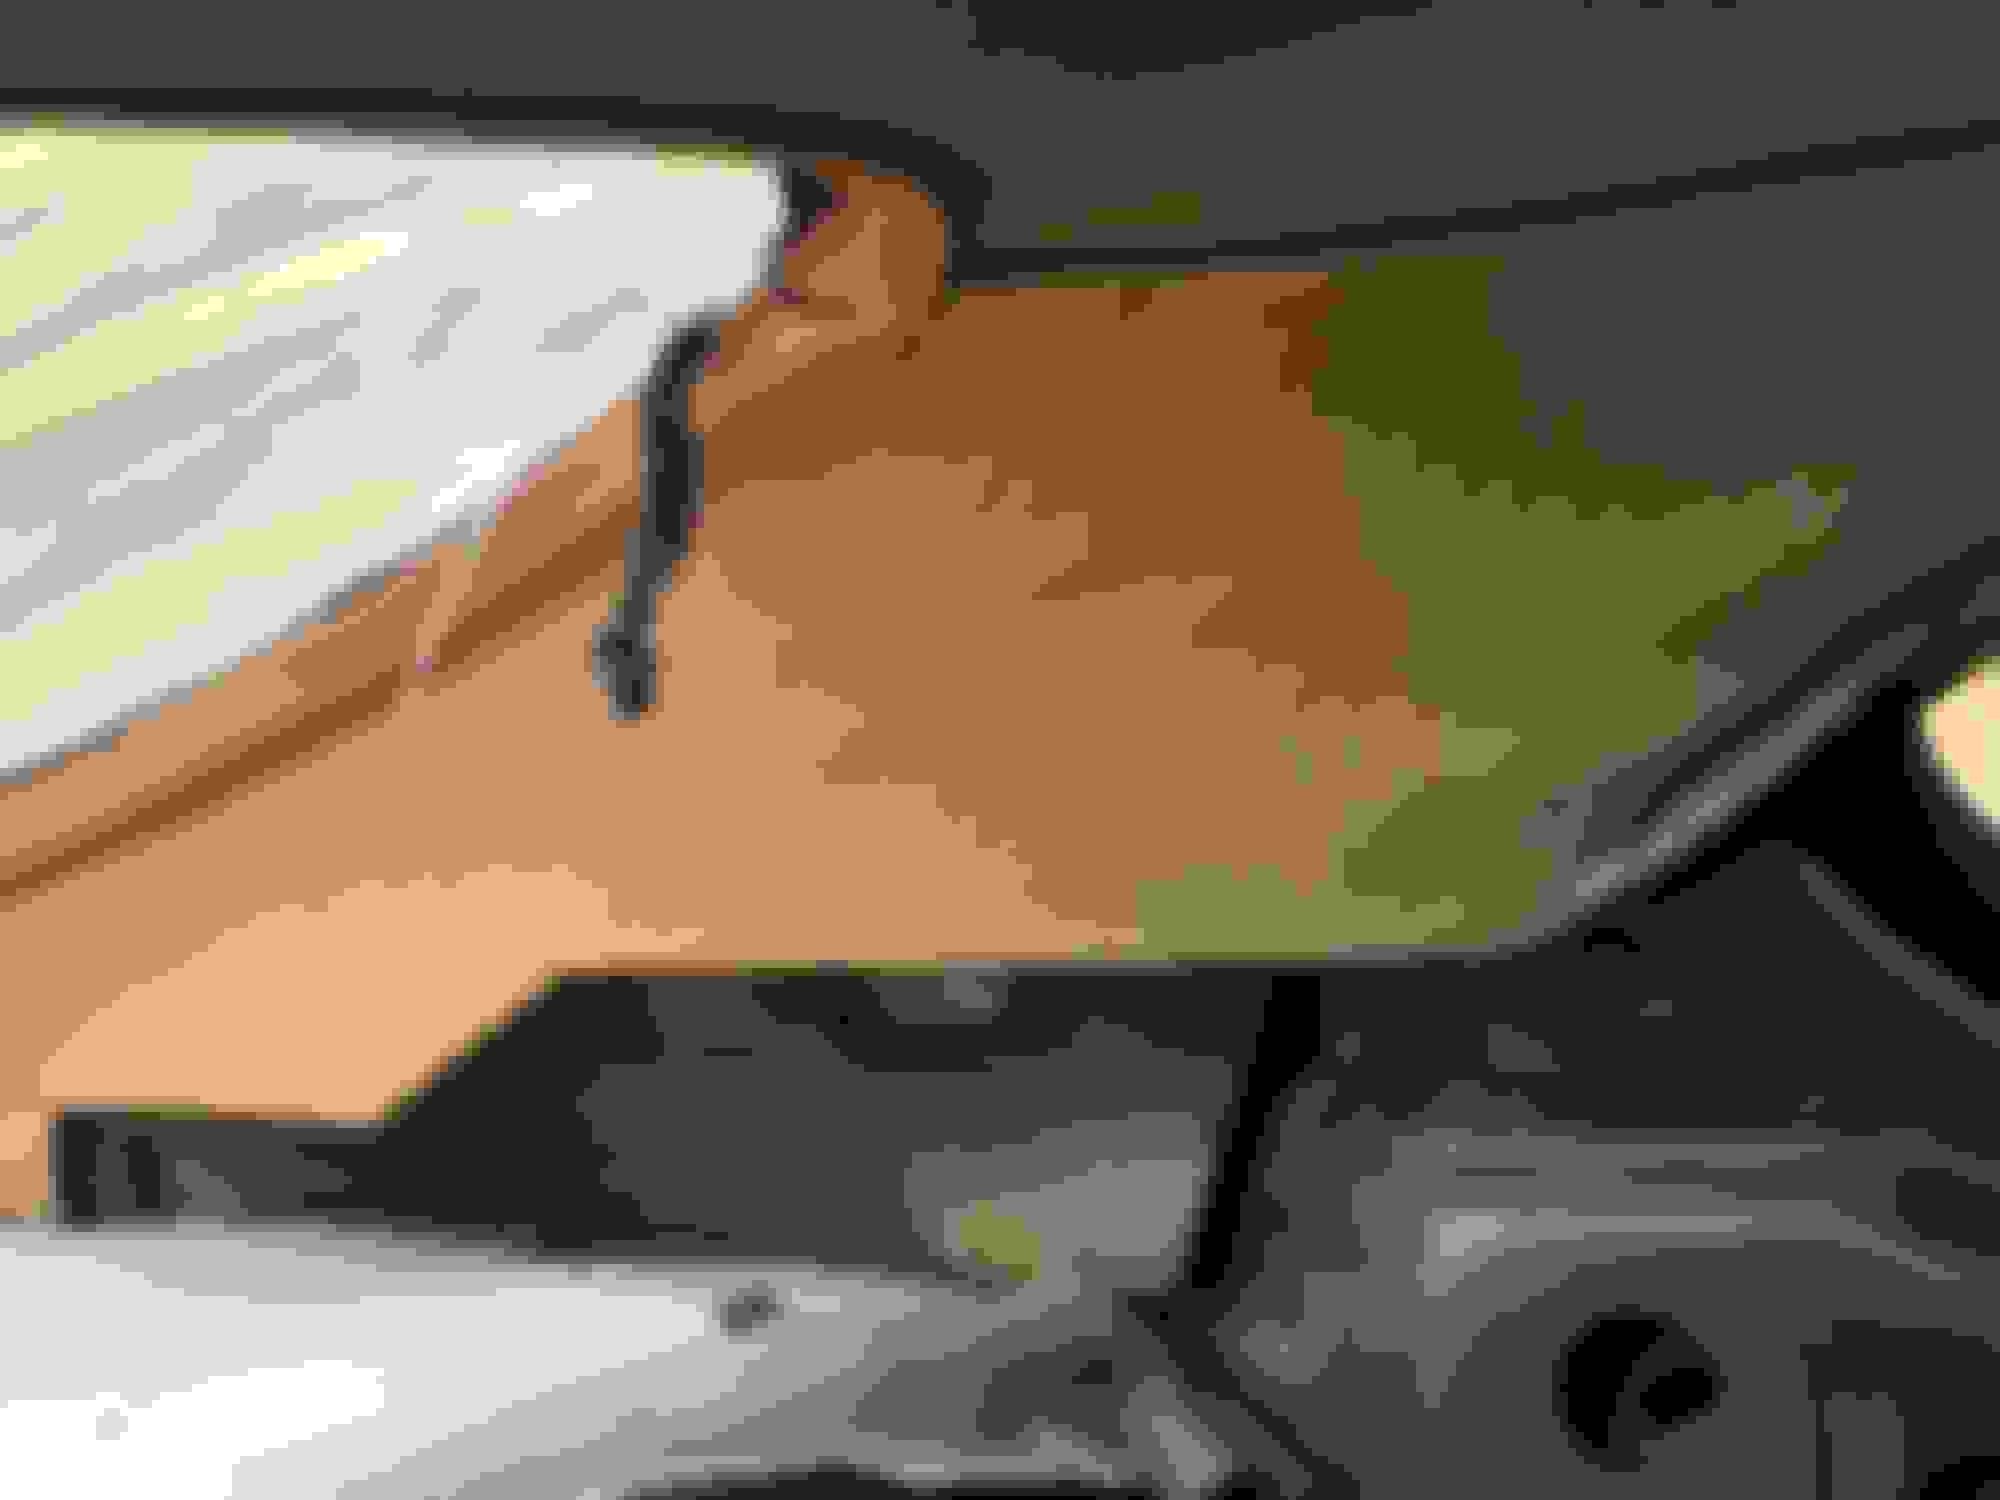
Tom, I went through the same puzzling experience doing my 71 442. I used all Legendary pieces as well. They are correct but don't appear to be. Note there are heavy original insulators that you must reuse in the sail panel area, and then the pieces from Legendary go over them. I happen to have a picture showing the position of the finished sail panels. Hope this helps. Your 442 looks fabulous. The best color offered that year. A friend of mine had a 70 SX W32 in Twilight Blue with a blue top and blue interior.
Tom, I went through the same puzzling experience doing my 71 442. I used all Legendary pieces as well. They are correct but don't appear to be. Note there are heavy original insulators that you must reuse in the sail panel area, and then the pieces from Legendary go over them. I happen to have a picture showing the position of the finished sail panels. Hope this helps. Your 442 looks fabulous. The best color offered that year. A friend of mine had a 70 SX W32 in Twilight Blue with a blue top and blue interior.
Do you have a picture showing the heavy insulators that need to be used? My interior was completely stripped when I got the car so I have nothing to reference this item.
Tom I looked at my restoration pictures but unfortunately I couldnt find any of the insulators. Perhaps someone on the forum is doing a restoration and can send you pictures. Every A-body should have them, so they should be fairly easy to come by. Maybe check with Scott Winn in Indianapolis.
Tom I looked at my restoration pictures but unfortunately I couldnt find any of the insulators. Perhaps someone on the forum is doing a restoration and can send you pictures. Every A-body should have them, so they should be fairly easy to come by. Maybe check with Scott Winn in Indianapolis.
Thanks Rick, I'd appreciate knowing what you find out. The shop owner was saying he's been in the business for 30 years and has never had a problem with installing them until now. I tried searching here but was not able to come up with any installation threads on the sail panels.
Tom,
I looked at mine tonight but I'm not going to be much help. I actually ordered the sail panels as an extension of the rear panels. They are one piece instead of two. They seem to fit as advertised.
It's hard to tell from your picture but they look correct. I should be back at the shop tomorrow night so I'll take some pics and get some dimensions.
I'm hoping Brian is talking about the back boards "insulators" that the vinyl is wrapped around.If not, I may be missing something too.
Tom I looked at my restoration pictures but unfortunately I couldnt find any of the insulators. Perhaps someone on the forum is doing a restoration and can send you pictures. Every A-body should have them, so they should be fairly easy to come by. Maybe check with Scott Winn in Indianapolis.
That's them! We had a hell of time figuring how to get the headliner/sail panel area tight on my 442, until I accidentally stumbled upon them. I had forgotten about them when reassembling. I had a notion somebody may have reproed them. Tom will be happy.
That's them! We had a hell of time figuring how to get the headliner/sail panel area tight on my 442, until I accidentally stumbled upon them. I had forgotten about them when reassembling. I had a notion somebody may have reproed them. Tom will be happy.
They're missing from my car too so I'm glad you chimed in on this thread. Good timing because my son keeps asking me what i want for Christmas...
That's them! We had a hell of time figuring how to get the headliner/sail panel area tight on my 442, until I accidentally stumbled upon them. I had forgotten about them when reassembling. I had a notion somebody may have reproed them. Tom will be happy.
Brian, how did you assemble the two pieces - does the extra material on my sail panels get glued or stapled over these backer boards?
Last edited by tdhill01; Dec 10, 2016 at 02:21 PM.
Reason: spelling error correction
Tom,
Here are the pieces that I have. Does yours look the same? I'm going to start a thread in the upholstery section to see if I have every thing I need.
Tom,
Here are the pieces that I have. Does yours look the same? I'm going to start a thread in the upholstery section to see if I have every thing I need.
Mine does look the same as yours. I will be following that thread to see if I'm also good on my end. Thanks again for the assistance on the missing sail panel boards.
Brian,
I have some left over Dynamat. Do you think that would work in it's place? I think it's about an 1/8" thick.
No I don't think it would, as Dynamat is very flexible and the backer panels are stiff and are needed if I remember correctly to act as a support for the sail panels.
Brian, how did you assemble the two pieces - does the extra material on my sail panels get glued or stapled over these backer boards?
I forget what we did exactly, as my upholstery guy worked all night once he came to my garage and I was a zombie by the time we were working in that area. I would just trial fit the backer with the sail panel installed per my picture. I would use spray adhesive as required. I know we didn't staple anything. It should work out fine for you once you get those oddly shaped backers. Good luck.
I went out to my parts car. I am pretty sure it had a new interior put in it at one time. The sail panel was not glued to the filler board. My 442 only had one piece of interior and that was a sail panel. I seem to remember there was a piece of Velcro on the back of it. Unfortunately, I didn't keep that piece.
No I don't think it would, as Dynamat is very flexible and the backer panels are stiff and are needed if I remember correctly to act as a support for the sail panels.
I went out to my parts car. I am pretty sure it had a new interior put in it at one time. The sail panel was not glued to the filler board. My 442 only had one piece of interior and that was a sail panel. I seem to remember there was a piece of Velcro on the back of it. Unfortunately, I didn't keep that piece.
Hope it helps.
Troy,
Your pic of the backer board is perfect. I seem to remember some remains of the backer boards in my car. I still have the velcro pad on one side that holds the sail panel on. The Legendary kit includes new velcro with the panels.
I went out to my parts car. I am pretty sure it had a new interior put in it at one time. The sail panel was not glued to the filler board. My 442 only had one piece of interior and that was a sail panel. I seem to remember there was a piece of Velcro on the back of it. Unfortunately, I didn't keep that piece.
This was the square I was talking about that was Velcro like. There was another one like it on the back of the sail panel.
I don't think I should have any trouble now plus the upholstery guy said he would come over to my house to help in the installation once the backer board gets in.
Hi guys! Im new here and couldnt find the way to ask someone where and how to post so anyway Im here now and I need your help. I own 67 Delmont 88 and want to know more about it. Like what engine it has and all possible details. The title I have says 425twin delta88 but on body it says delmont 88 and under hood super rocket. I was told by previous owner that every and each part is original and seems like it when i look at pic on web but want to know more from people who actually owned it or do now. Thank you and if Im in the wrong place dont be mad pls.
Bumming, I took down my gas tank today only to find no build sheet. While it's down I will take a wire wheel to the underside and rails and clean it up a bit. I was hoping that since the car came out of the Linden plant that I had a chance of finding the sheet. Oh well, at least the vin is proof enough. Heading out tonight with the wife to do a little X-mas shopping and I will be making a side trip to look at propane heaters for the garage to keep me warm this winter while I'm out there putting her back together.
While working under the car scraping the rear frame I noticed a plastic clasp on the right side rail right before the tire. I don't know what it belonged to or whether it even belongs there, can someone chime in and tell me what it was/is used for? Thanks!
Last edited by tdhill01; Jan 13, 2018 at 05:29 PM.
Three months into the new year without a post, time passes by so quickly. I have been working on the car when I can but my new position at work, family commitments and old man winter had left me little time to pay much attention to it. I thought a week maybe two to install a new gas tank but it has taken me three months. I finally got the tank in place yesterday, I added a new sender and hoses along with a pad from Patton. I bolted the straps in place with the help of my wife on Saturday and I finished it up today.
The reason it took me three months is when I took it down and started cleaning and scraping a little bit I saw I had a lot of room to do different things to the underside of the vehicle. I scraped the rear frame rails, and I paint them with a rust preventer (rust bullet) and then a top coat of rust bullet Blackshell. I then decided to also do the side rails since I had my rear tires off (still need to hit it with the Blackshell top coat. After that I decided to clean up my rear axel and went about scraping and cleaning it (the axel code "SF" is more visible now) before painting it black. I was able to fix an issue I had with the rear brake line and I added a vent tube on my axel. Also during these three months I finished up the final pieces of my interior with completing the upholstery and painting my armrest pads and bases with SEM paint. I started practicing polishing up some stainless steel pieces too, the pieces I chose were five inner rings for my SSII rims and the small quarter panel trim ends. I think they came out pretty nice for my first time trying to polish with different compounds. I also took time to paint the two rims that I took off the car while working on the gas tank, I was going to have these painted by the body shop I used but I decided to go with 15" SSII rims for them to paint instead. The tires on these 14" rims are 12 years old so I figured they were fine for some spray paint from Supercars Unlimited - I like the color much better than the yellow. I will probably switch over to the 15s once the car is completed with its pin stripes hopefully before summer rolls around.
I just received back my 7040257 carb that I had Mark (Quadrajet Power) rebuild and I'm looking forward to installing it. I hope I can do that next Saturday as the temperatures are going to be in the 60s here in my area and I still need to add the front fuel lines that go through the frame. Well hopefully my next post is prior to June
Last edited by tdhill01; Jan 13, 2018 at 05:29 PM.
Finally a nice sunny weekend day and I was able to put my final coat of paint (Rust Bullet Blackshell) on my frame rails along with later in the day I was able to get my rear bumper on. I will still need to do a final adjustment on my bumper but it's pretty good where it sits now. I'll be moving forward now with my work on the car. My next project is placing the wheel well trim on the rear quarter panels and then I'll tackle my doors & glass.
I came across a problem today and it was with trying out a template kit I bought for my 442 numeral positions. The shop that did the body work used the templates for the fenders and I was okay with how they came out but they will still need some tweaking. I tried the trunk template today but on a piece of cardboard and they came out with equal distance - go figure. I'll need to search the threads to see if someone has posted measurements in the past. Well with my bumper on it's beginning to make me feel that I'm getting closer to the finish line.
Last edited by tdhill01; Jan 13, 2018 at 05:29 PM.
Thanks allyolds68, I see in 68 they have the numbers spaced equally going across but in 70 the 4's are closer in spacing than the two is. I wonder if the distance between the bottom of the trunk lid and the side of the lid is the same for 70 too?
Thanks allyolds68, I see in 68 they have the numbers spaced equally going across but in 70 the 4's are closer in spacing than the two is. I wonder if the distance between the bottom of the trunk lid and the side of the lid is the same for 70 too?
No. i posted on my phone and for some reason I thought you had a 68. I just went back and deleted it.
Looking really good Tom. I know it has to feel good to get back to it.
I still need to put my deck lid numerals on as well. My buddy has an untouched factory 70-442 deck lid at his body shop that we are going to make a template from. I'll post the info once its done. Maybe this week?
I see you have your exhaust tips on. What size tail pipes are you running? I need to find tips for a 2.5" pipe.
Keep plugg'in away and you'll have it back on the road before ya know it!
...I see you have your exhaust tips on. What size tail pipes are you running? I need to find tips for a 2.5" pipe.
Keep plugg'in away and you'll have it back on the road before ya know it!
Thanks Rick, the tips on my car are 2". They were there when I bought the car and I have not done anything with the exhaust system yet - still up in the air what I'm going to do.
I took my dash out today and it came out without much of a problem. I did find that my dash was used for a living space by some small creature. My main harness was pretty much intact except for a cut yellow wire - I believe this wire is used for the radio if I remember right and the wire going to the lighter was melted and was spliced with a different plug head. I found the metal frame that the dash pad attached to is in good condition except for some surface rust. I will be cleaning that up and then painting it. I did notice that my harness for the speedometer carried 5 wires and not four which leads me to believe the car had the speed minder / Safety Sentinel option. I know in my previous cars they all had only four wires in the harness.
Last edited by tdhill01; Jan 13, 2018 at 05:29 PM.