When you click on links to various merchants on this site and make a purchase, this can result in this site earning a commission. Affiliate programs and affiliations include, but are not limited to, the eBay Partner Network.
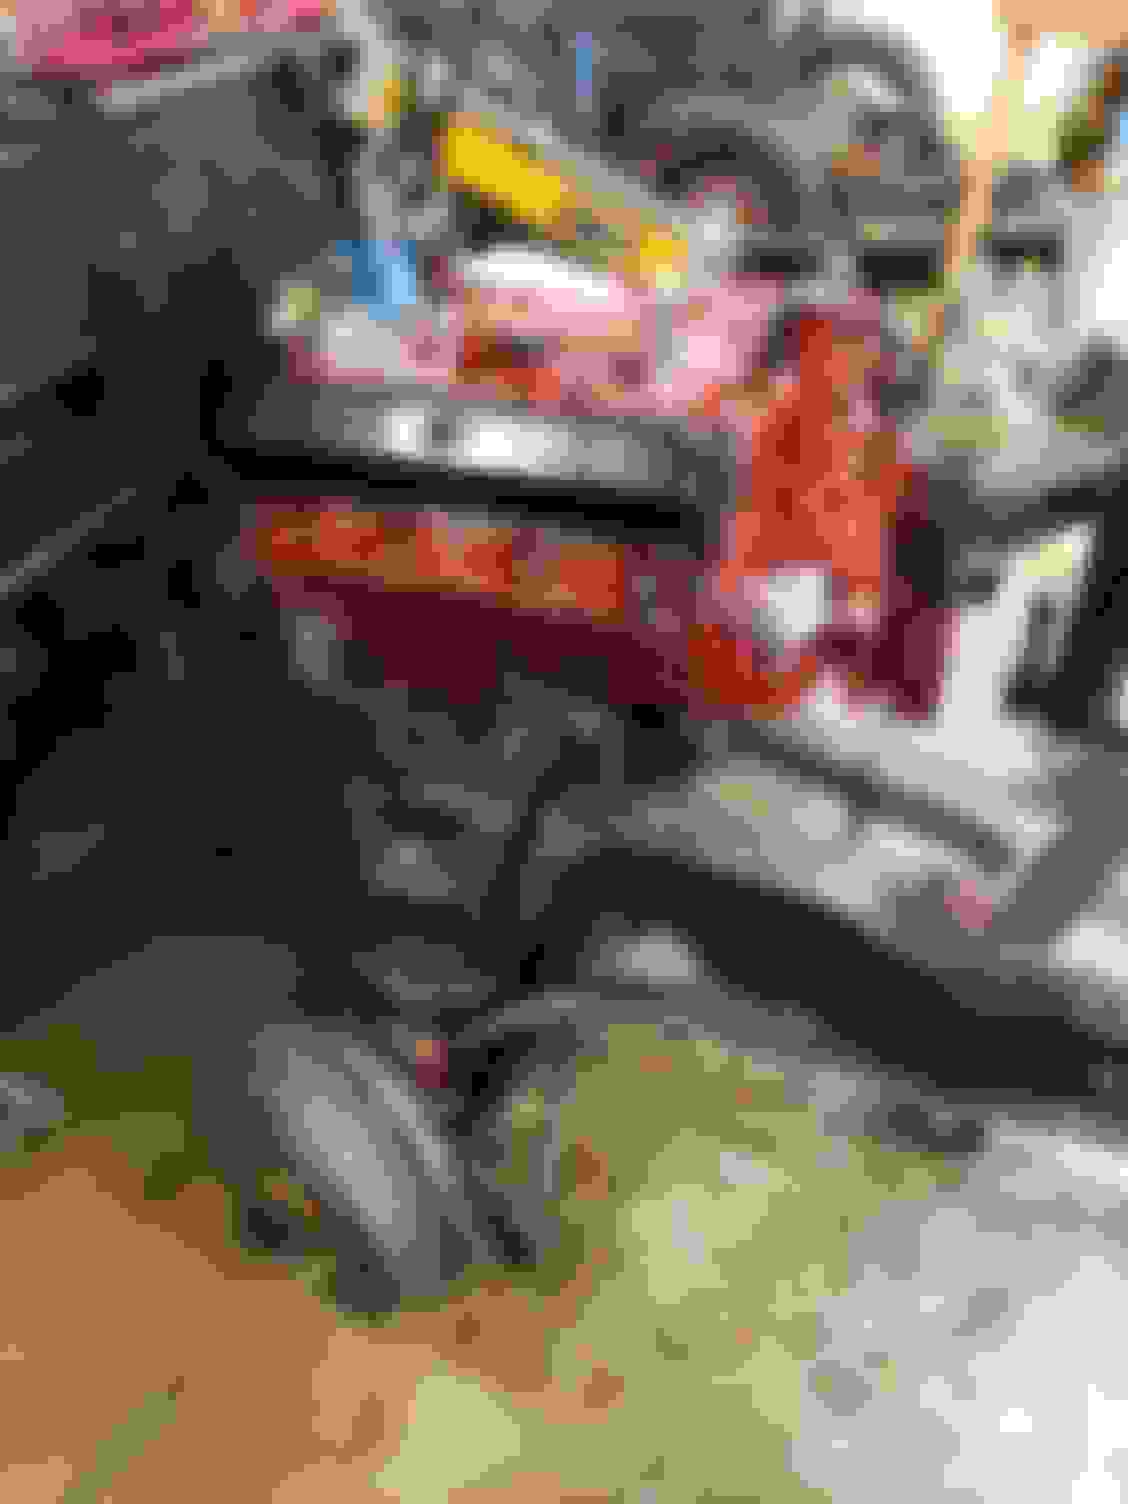
Got the engine in. Took 2 days to get both bolts in. Hopefully I can catch a break or two and get it firing soon. Still a lot to do and I go back to work soon. Off by that much and it took me an entire day to get it in.
I painted my 350 black w gold valve covers i thought it looked good. I did my 455 in OLDS BBO blue also nice.
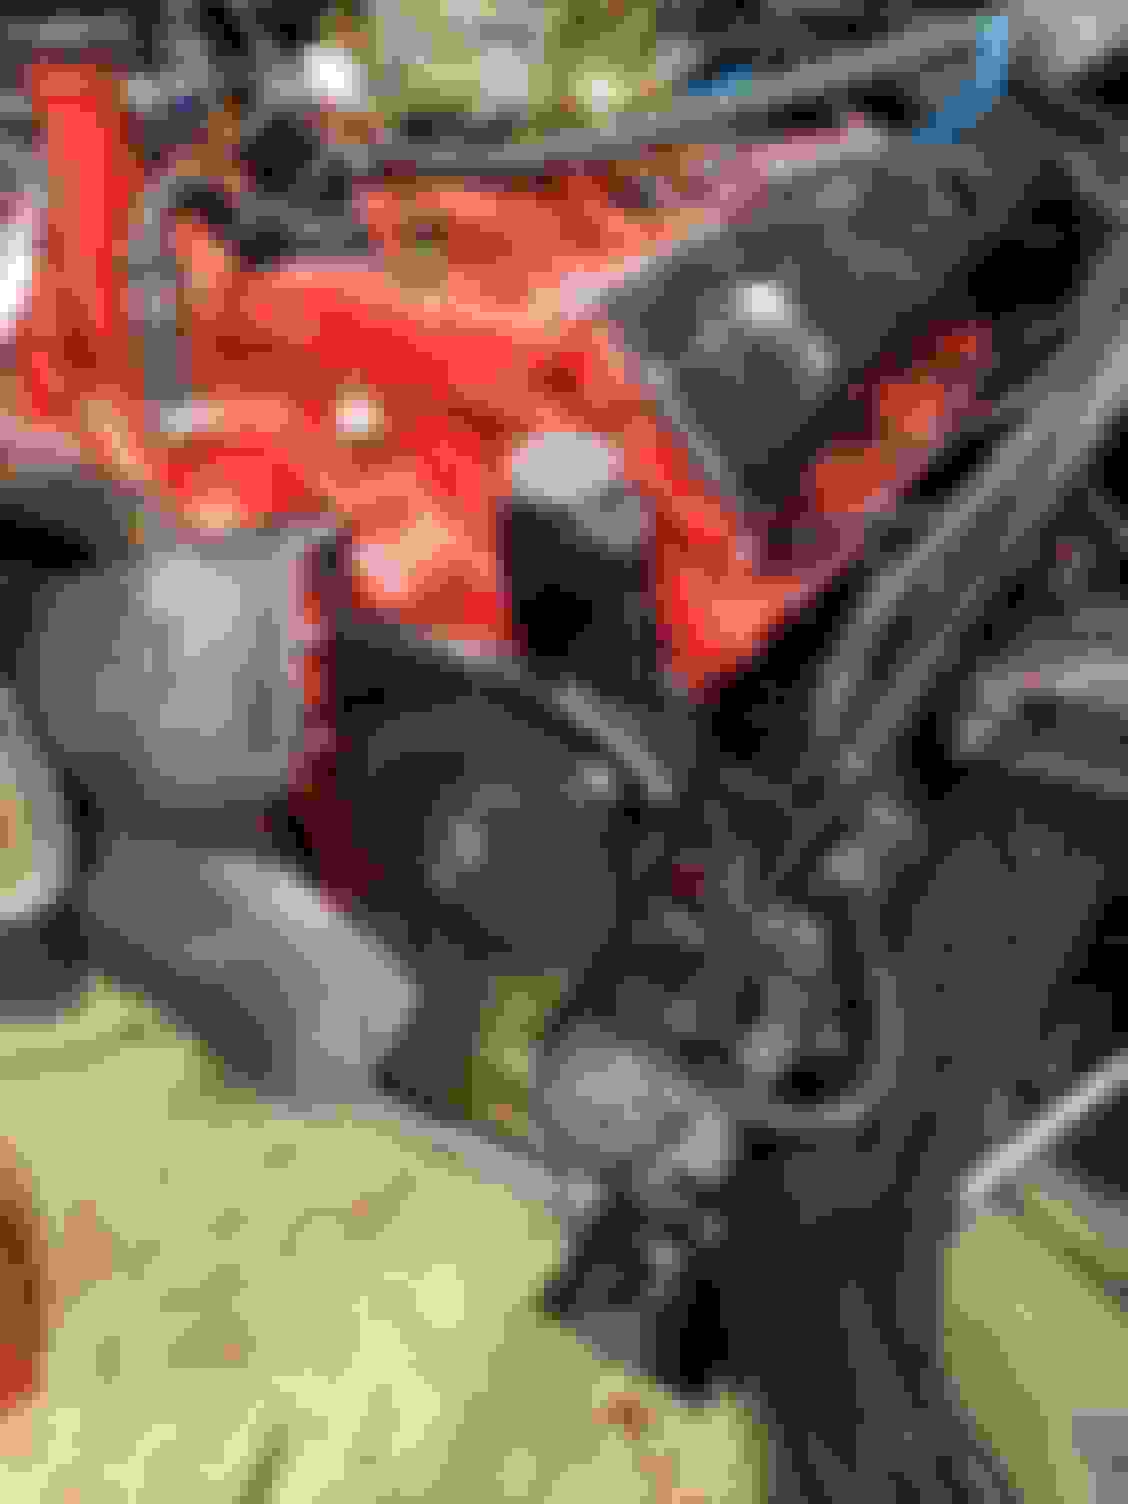
Im no 69 expert but i think only big cars and the HO got a red engine, the 400 was a bronze color
I dont mind if you make it your own tho...as long as its not chevy orange it OK w me.
I thought 455s were red in 69. At least I thought I had it sort of right. I did take some liberties on the valve covers and a few other parts. I am not a purist and I have never liked the engine to look all one color. I know its blasphemy, but I look at it most, so I want it to make me smile, and that engine makes me smile. Well most days. I am with you on chevy orange, uglyiest engine color there is IMO. I always thought the engine should be matched to the car, not to the cheapest slop the manufacturer could find.
bob
on the motor mounts if you loosen the bolts to the block you can jiggle the mount to frame pad and get it to line up then tighten the mount to block bolts
Finally got another day to work on her.
got the correct manifolds installed along with the power steering pump. More importantly, i got it to the point I could try to turn it over, but either I have a starter, ground or battery problem. Can't troubleshoot it, Brewers are starting. Entirely possible to get it to run by sunday. But I won't get my hopes up. She is getting impatient.
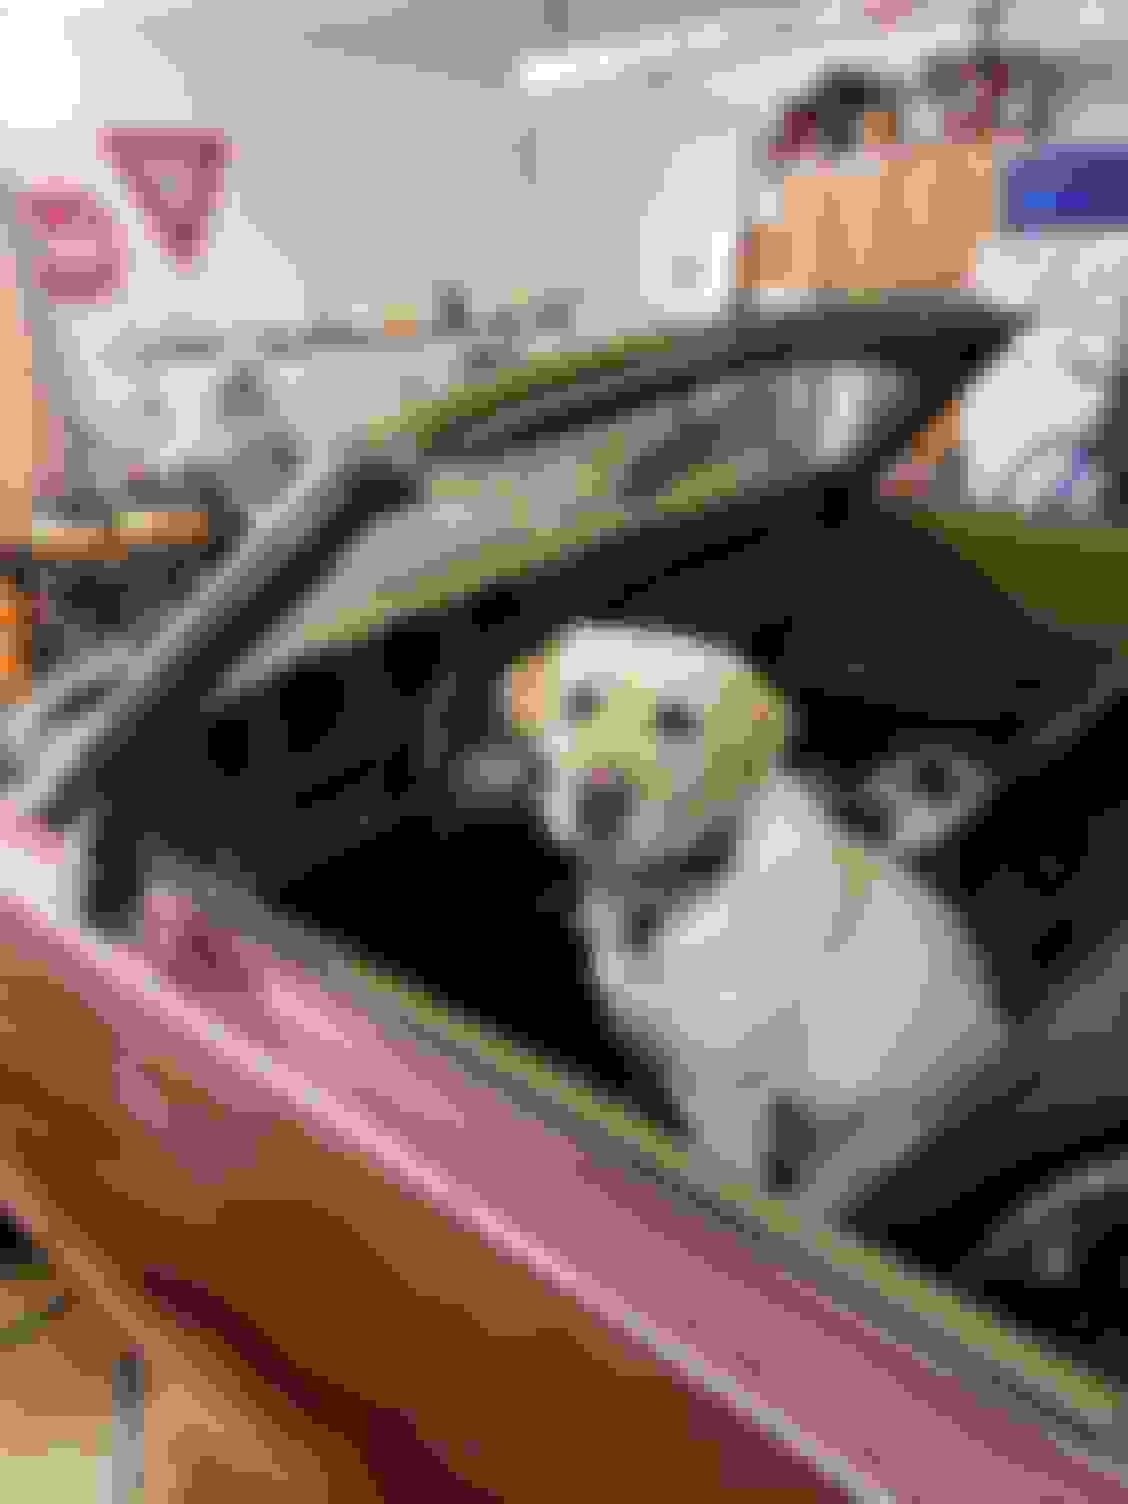
Shock collar on a Lab ? I had a shock collar button stick on my dog wasn't good. Two days on the mounts is that right.
GO DODGERS
invisible fence collar, i doubt she needs it anymore, but it gives peace of mind.
and yep, 2 days. Would have been quicker if I had an extra set of hands. But I tried every trick I read about and made up a few others and finally got them. This series sure has been a good one, no doubt tonights game will be good too.
bob
I am giddy. I have never had an engine pop off this easy before. Still a ton to do, but what a feeling! My video is an MP4, so won't upload or I don't know how. I will try to change the format.
bob
Well I have been slowly making progress on her. I rebuilt the carb and did a compression check. I also hung the first couple parts of the front end. That is where I stopped on that end. I was not the one who took it apart, so I have never seen where or how it all goes together. That has made progress on that end tedious and a bit overwhelming at the moment, so I started in on the back. I already pulled the tank, so figured I should just finish back there. Here are some pics. The carb rebuild in progress. The you tube video was incredibly helpful. The rear end is out, currently at the sandblaster. If anyone can tell me what route they took to replace the brake lines here I would appreciate it. The springs look a bit worn. On of them actually had a homemade bracket to hold it in place. View from under the rear, here are a few pics. It may not look like it in the pics, but it is a solid car underneath. One of the main reasons my uncle bought it 20 years ago. The underneath is solid, fenders are another matter. I knew the right rear had some bad work done that is pretty much falling apart. The bottom was done with fiberglass that is cracking up. As I was cleaning up the frame i seen this inside the fiberglass. This is where i pulled it out. I can only assume it was used to get the right shape out of the fiberglass. I found that the bushing tools i used on the front did not work as well as the front. I ended up using the drill bit method pointed out to me by a member here to get the rubber out. Then I used a socket in the vice and a hammer. Tighten, hit, tighten, hit and it came right out. It is starting to look like a real car
thanks for looking
Nice work! I kinda partial to this year and body style
by the way you were correct that the 455 is red in 1969 the 400 was bronze and the 350 is gold only the hurst olds got the 455 in 69 the rest of the 442s got the 400 but a 69 delta would have a red 455 as You surmised
Nice work! I kinda partial to this year and body style
by the way you were correct that the 455 is red in 1969 the 400 was bronze and the 350 is gold only the hurst olds got the 455 in 69 the rest of the 442s got the 400 but a 69 delta would have a red 455 as You surmised
Its funny how it works out, i seen the engine looked red or orange originally, read that 455s came in red, then painted it. If I would have researched more I probably would have used the correct color for the car. But seeing how the entire drivetrain is not original, I like the idea of paying tribute to the history of a non original car. Hell to be honest it seems members here enjoy identifying different year stuff on cars (i don't mean that as an insult). I think for now, i am going to embrace the evolution of my car. After all, the donors are what kept this car from being gone forever.
Bob you did use the correct color LOL..."IF" there was a 455 Option in the cutlass/442 it would have been Red, that's why the Hurst/olds motors are red in 1969 (68 too I believe) do what makes you happy I'm on board with that.
Oh yeah, i misunderstood what I read on your post. I definately do things the way I like. Although there are times I agree with the purist mentality. Rare or special cars I think should stay original or period correct. My car is about as unspecial as a convertible 442 can be. I am trying to enjoy the process as much as the result. I have found that I am way more concerned with doing it right on this car than my last 2. I think some of that is just from reading on this site and seeing how much olds owners love their cars. Given that my last project was a 914, I should have expected it.
Your work has been fun to follow along with; thanks! The pics are awesome. I have almost the exact same set of pics from my own ongoing resto
Also, another take on the red 455.. I have a project-in-waiting, red from-the-factory, 455 out of a 1968 Toronado, so there is one more use case. The VIN derivative on it is 38M600945.
My 1969 Ninety-Eight engine was RED from the factory... If I remember correctly 455 engines designated Ninety-Eight's for were pulled off the assembly and installed in the 68 & 69 Hurst Olds... that's why some had C heads with air ?
What is the street rod project in the background? Looks to me like a Chevy, somewhere around 33-35. I am building a 46 Ford with Olds power and a Muncie 4-speed.
What is the street rod project in the background? Looks to me like a Chevy, somewhere around 33-35. I am building a 46 Ford with Olds power and a Muncie 4-speed.
it is a 33 chevy rat rod project. It is next. I plan to use the 330 that was in my 442. Should be a fun car to just do whatever I want with.
Painting inside the ears of the differential and control arms is a mistake. You're going to need to clean that out for bushing installation. Also use a bit of light oil on the bushing and mating surface to help it seat easier.
In post # 38 that sure looks like Trophy Blue to me.BTW, That's the color of my 69 442 drop top
FWIW, I'd go with the red engine also
i have seen trophy, twilight and viking all look close to eachother. I think there are many variables both in the paint and the picture that make them look lighter or darker. I like that twilight has that deep almost teal hint to it.
Cleaning the underside is a Thankless, godforsaken,Miserable, ***** truker of a task, reading your thread is giving me flashbacks LOL.... but great work ! it is worth it in the end, I cleaned the entire underside of my 69 convertible while lying on my back when the body was off the frame, pure misery
but great satisfaction when done
I am kinda partial to red Engines myself,
this is a 69 455 that was rebuilt for me by Hansen Racing, ( no relation) and I justsent it back to be checked over because it is taking me effing forever to build my car
Cleaning the underside is a Thankless, godforsaken,Miserable, ***** truker of a task, reading your thread is giving me flashbacks LOL.... but great work ! it is worth it in the end, I cleaned the entire underside of my 69 convertible while lying on my back when the body was off the frame, pure misery
but great satisfaction when done
i am a glutton for punishment. My first project car was a 66 mustang. I stripped the entire car with wire wheels on a $12 angle grinder inside a garage only big enough to work 1 side at a time. Man was I limited back then. At least now I can afford to choose to do the crap jobs. I had the parts sandblasted this time so I only had to clean the frame myself.
Painting inside the ears of the differential and control arms is a mistake. You're going to need to clean that out for bushing installation. Also use a bit of light oil on the bushing and mating surface to help it seat easier.
Oh poop. Well the good news is that my level of paint and rust removal with handtools has reached Master level.
Is all that paint POR15? If it is I'd seriously re-think having it on the brake drums. UNLESS it's the POR-15 High Temp. Other reason I wouldn't use POR on the drums is after the wheels are mounted, the heat could melt the paint to the back of the wheel and you'll have a beast of a time getting it off. I would stick to conventional high heat paint for the brake parts. And, just as an FYI POR is not impervious to brake fluid. If you get a leak it will bubble and peel large sections of the paint and it could interfere with the brake shoes. Just my thoughts.
The brakes really kicked my ***, so when I went to take a picture of the axle about to go in, this happened. Thought it really captured how I feel about getting it to ready.
Oh Lordy, I never noticed that. Thought it was just from a smeared lens or something. Hopefully your install goes smooth. I had a bear of a time with mine till i realized that the pinion has to be tilted slightly up so the UCA bolts will slide in nicely.
So far its going smooth. I was worried the upper arms were right and left because they were so far off. When i started to jack it up, the jack was a bit forward, so it pushed the yoke up. I accidentally figured it out. 1 shock and the sway bar left, then on to the tank.
If you can put jack stands under the axle and load up the trunk with some weight to simulate gas in the car, it's easier to tighten/torque the UCA bolts that way.