When you click on links to various merchants on this site and make a purchase, this can result in this site earning a commission. Affiliate programs and affiliations include, but are not limited to, the eBay Partner Network.
Looks like a great project, but please excuse my ignorance- what is a "post" car? Is that short for posi-trac?
It is a Sport Coupe referred as a post car because there is a solid divider (post) between the door glass and the quarter glass. The non post cars have a large opening when door glass and quarter glass is lowered.
Stolen from another thread (Joe) on our site there are additional deltas which separate the posts from non-posts:
...in Olds-speak, a Sport Coupe IS a post coupe. Holiday Coupe = hardtop. Second, as others have noted, there are internal reinforcements that the hardtop has to replace the posts. The window tracks and regulators are different. The glass is different. The vent windows are different. The roof rails and weatherstripping is different. The interior upholstery is different.
It is a Sport Coupe referred as a post car because there is a solid divider (post) between the door glass and the quarter glass. The non post cars have a large opening when door glass and quarter glass is lowered.
I see- I just googled "88 Holiday coupe" and I see what you mean. The 88 Holiday coupe has no post. I imagine there's F85's and Cutlass models similarly with no post- but not yours. Thanks!
Nice ad but doubt I refer to my 442 as a Gay Blade... just sayin.
joe do you know how hard it is cleaning coffee off the computer! I just sprayed mine all over it!!!!! Lmfao you guys all need a check up from the neck up lol
joe do you know how hard it is cleaning coffee off the computer! I just sprayed mine all over it!!!!! Lmfao you guys all need a check up from the neck up lol
Sorry about that Eddie, just some tongue in cheek humor....err... never mind.
A few observations, while under the car continuing with the oil pan removal I see there is no undercoating on floor pans or frame, I thought undercoat was standard. I drained the oil to find about 2-3 quarts extra in the stock oil pan. I removed the starter to find one bolt not original and a stack of washers under the bolt head. I removed the Z bar and see a ball stud on the frame side with a much longer shaft than what I see on the 67 stick cars. This was causing the sharp angle of the pedal rod exiting the firewall however the fork push rod was in line for a straight push on the fork. The fork push rod is slightly bent. I also saw a metal plate bolted under the crossmember at trans mount bolts. I removed it to find molested trans mounting bolt holes. Seems the wrong trans mount was used and the crossmember molested to get the bolts to work. There is a heat riser valve in the driver's side exhaust manifold but the spring tension is so weak to close it is probably just flapping open and closed, it will be removed. There was no spring for the clutch fork. There was the standard bracket/support bolted to the hole in the side of the starter and engine block typically used on auto trans cars. Will get some pictures soon, engine is ready to be raised for oil pan removal.
I thought I could jack up the engine high enough to drop the oil pan but seems there is not enough clearance at the firewall and accelerator linkage. I already pulled the distributer and exhaust manifolds. May as well just pull the engine and trans. This will give me a look at the clutch also and a chance to clean up engine bay as well. The oil pan did drop enough for me to look at the rods and crank....Hmmm seems someone thought they were building a race engine and had the side seams on the connecting rods ground smooth, no evidence though of any shot peening. Also the edges of the crank were taken down with a grinder. So more mystery there is here. All the extra oil in the pan was due to the dipstick tube being upside down and not even extending into the oil pan. Pictures soon.
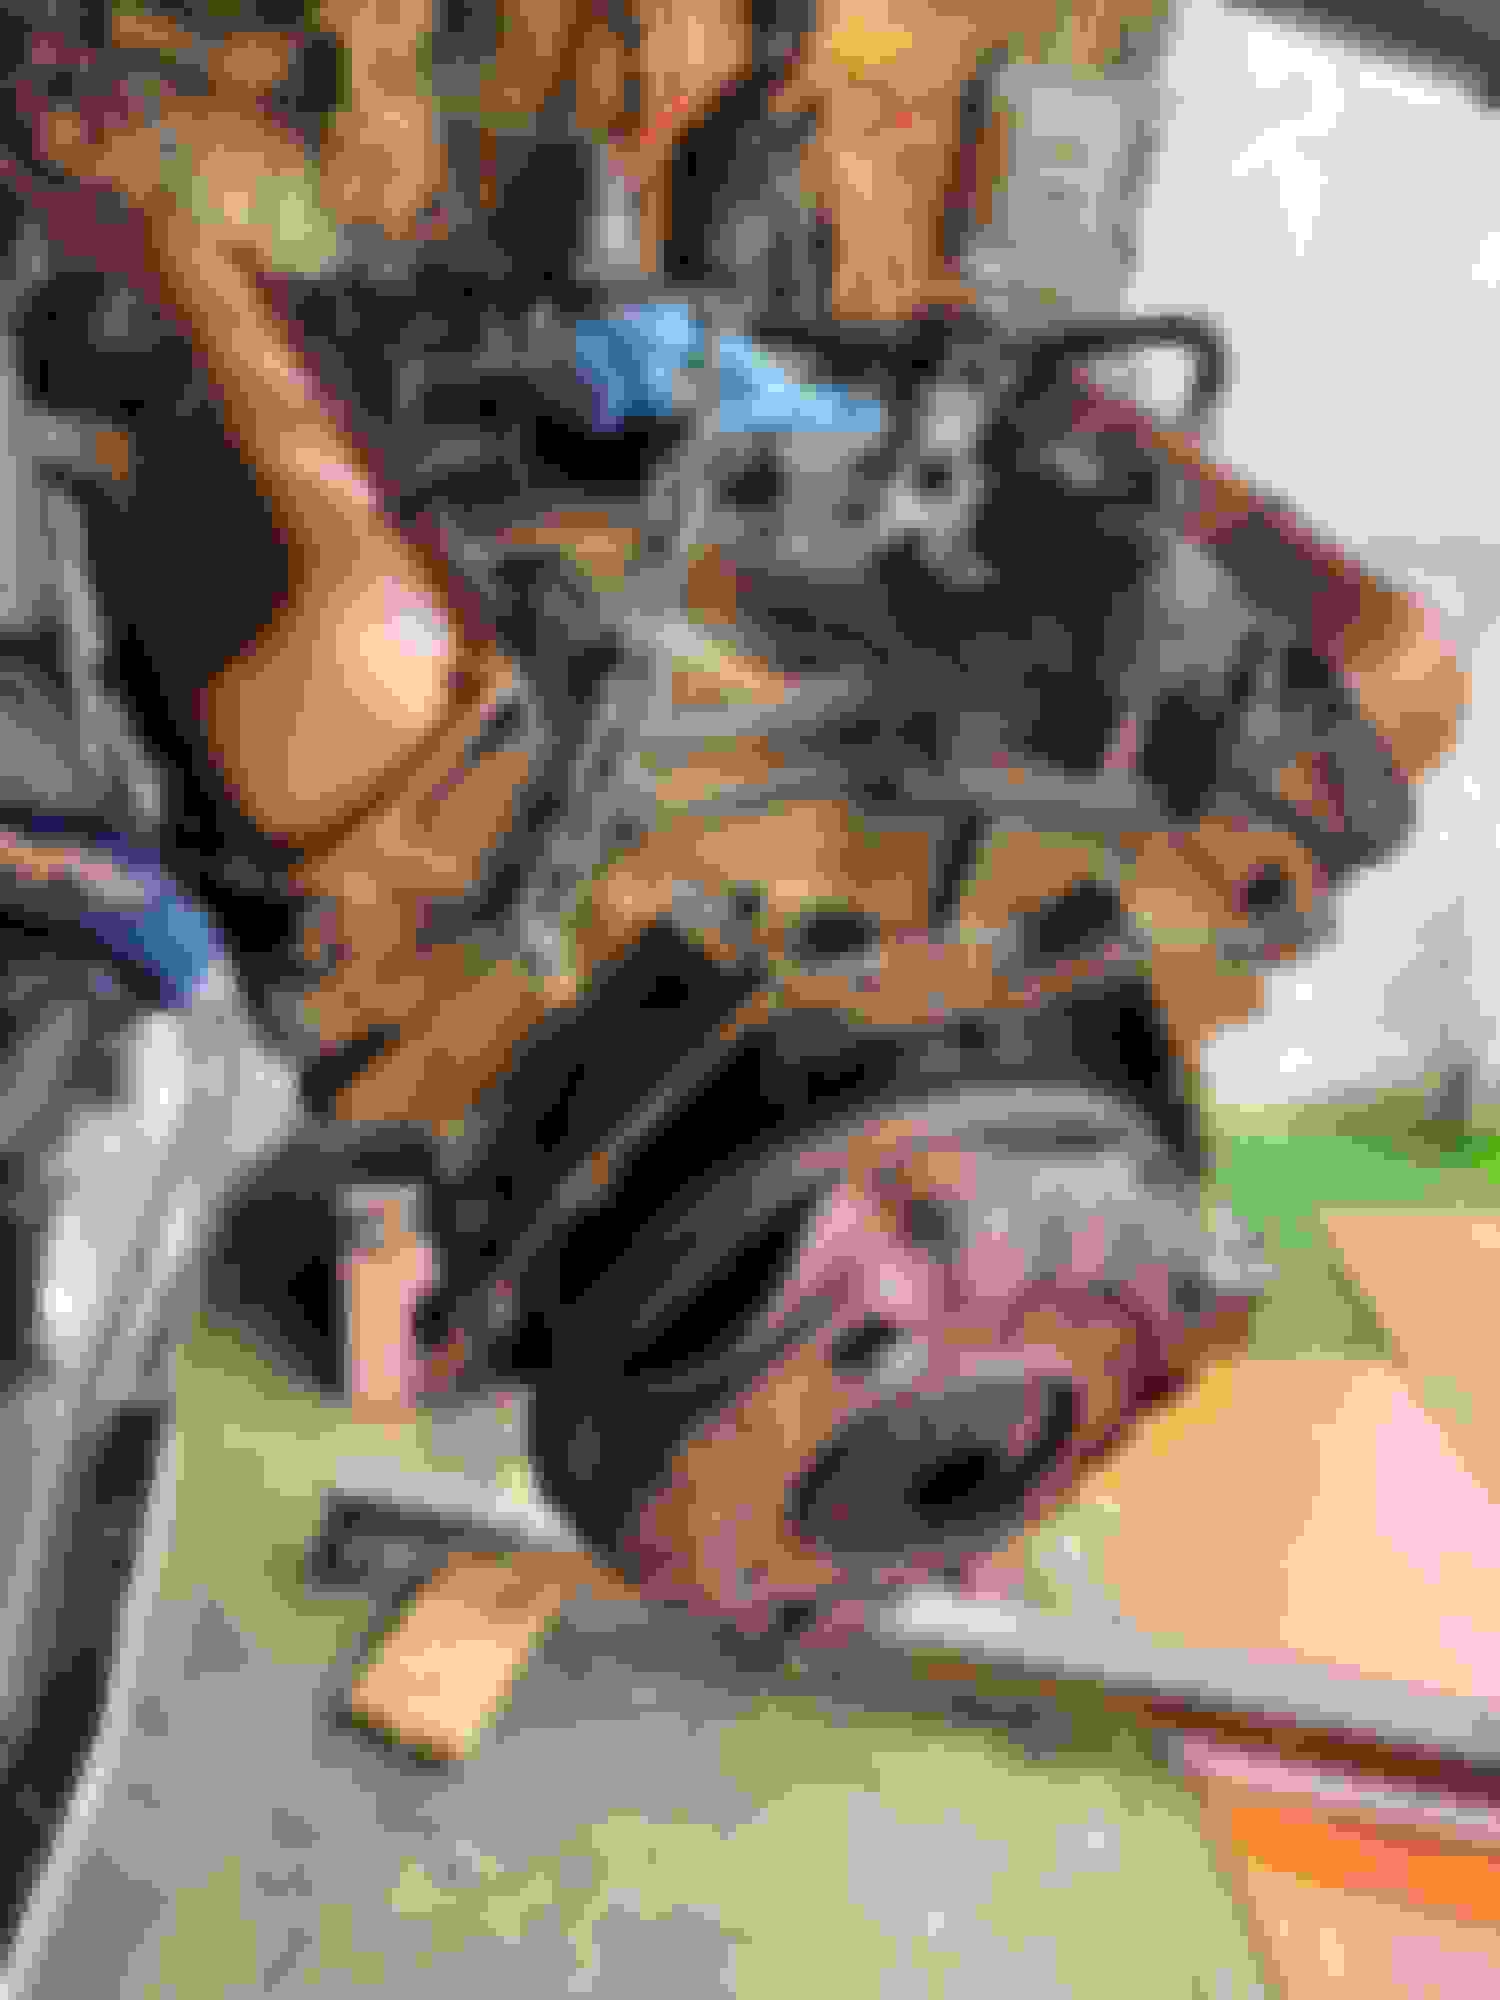
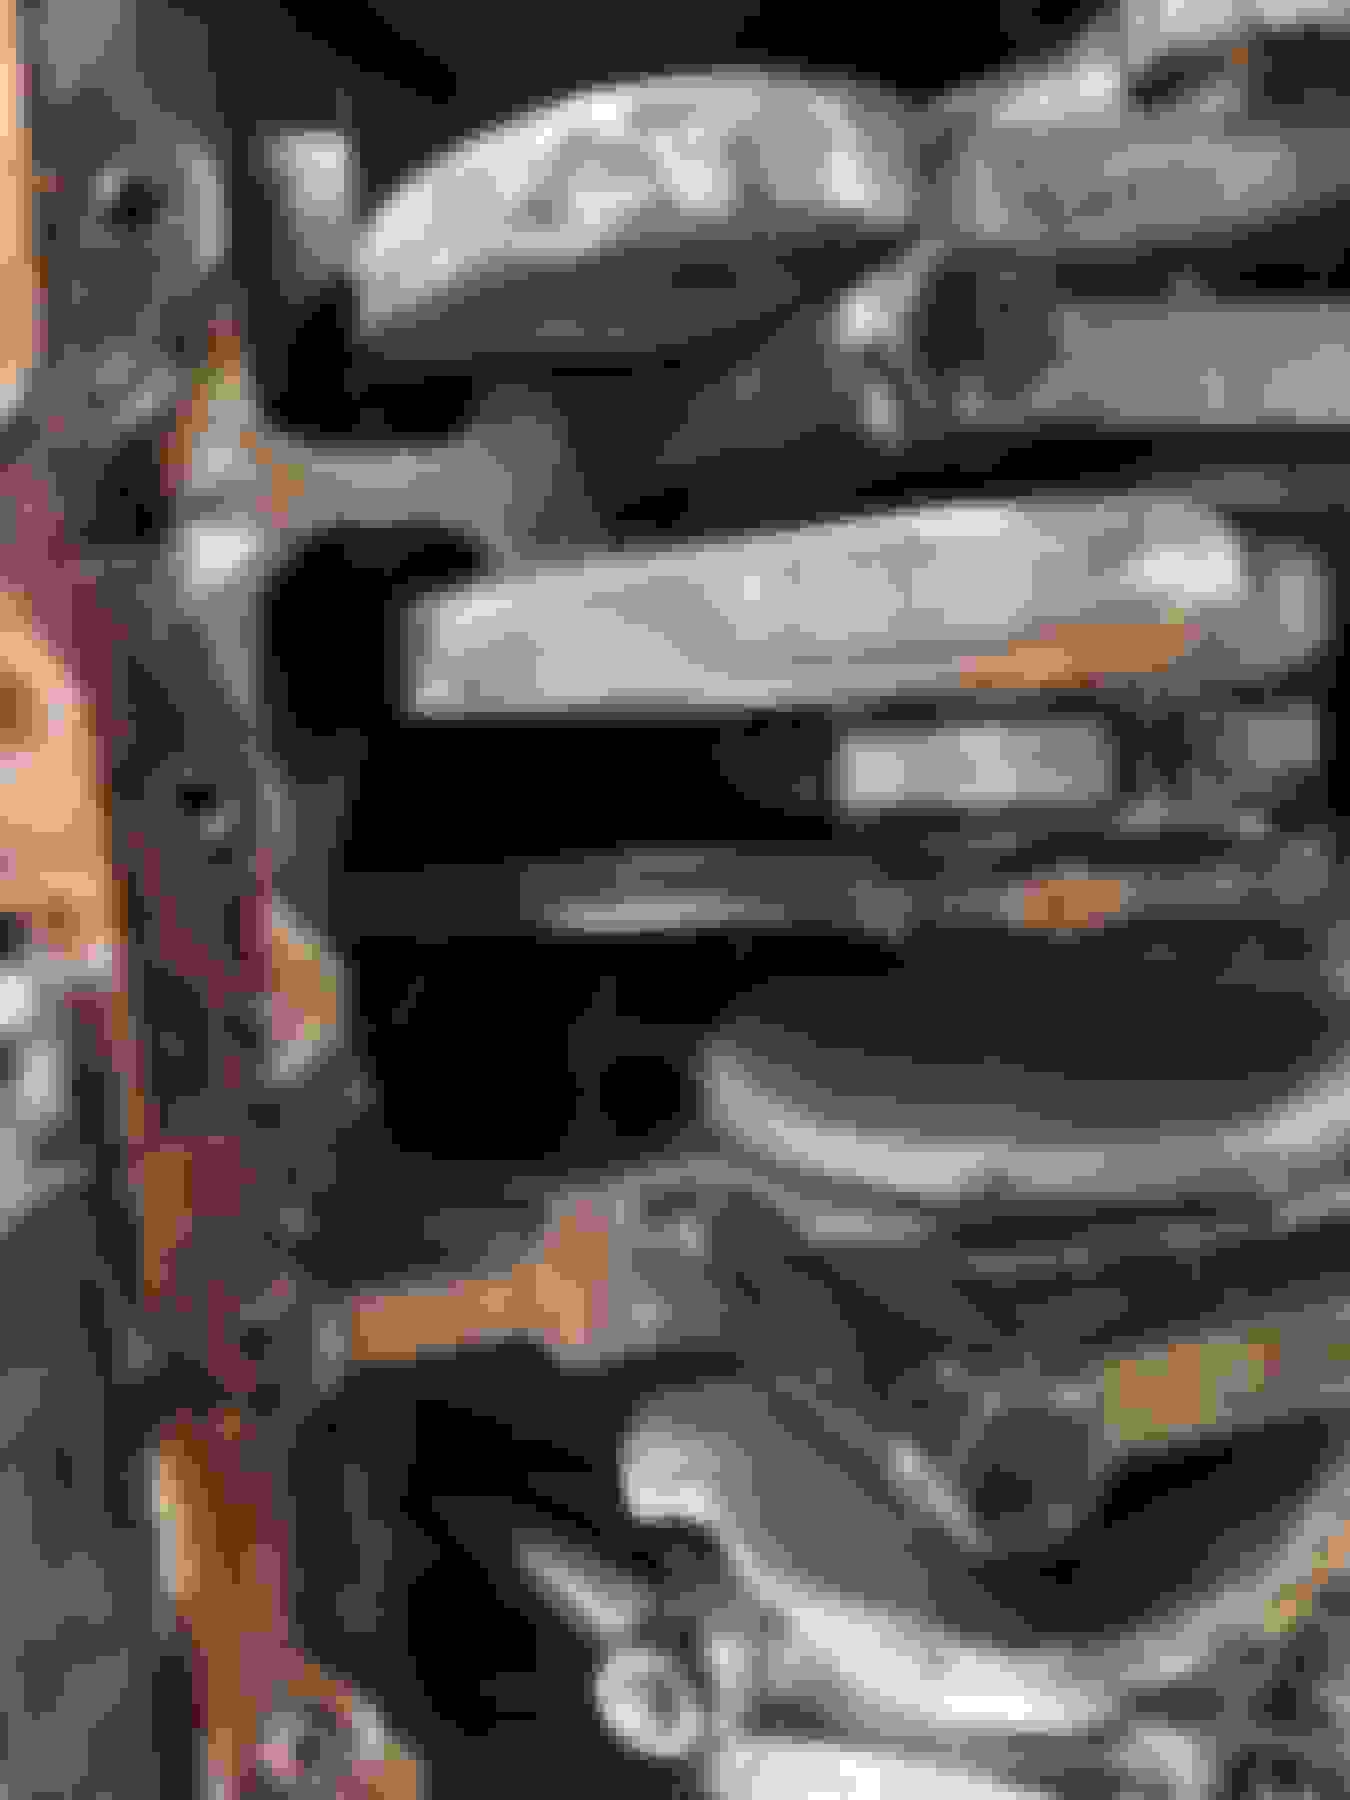
3 speed trans is out, tried extracting engine with the little Harbor Freight crane. Its not long enough with the front end together so need to set up the big one. Here are a couple of pictures that have me scratching my head. You can see the side slotted holes in the crossmember and the ball stud in the z bar appears to have been welded on and made longer. it is for sure longer than any I have seen before. And as mentioned before the thru the firewall clutch rod exited on a angle to the right. So it appears something went on in the past but the reason I cannot think of.
Life keeps getting in the way of the project but I was able to go thru the carb. The little cam that raises the secondary metering rods was missing. I replaced that along with a very dirty fuel filter. Nothing else out of the ordinary was found. With Carlisle coming soon I plan on bringing the trans to Ed Hartnett just to go thru and make sure things are right. I am also going to get a Yukon posi unit for the O 12 bolt, 28 spline rear. The 323 gears will remain.
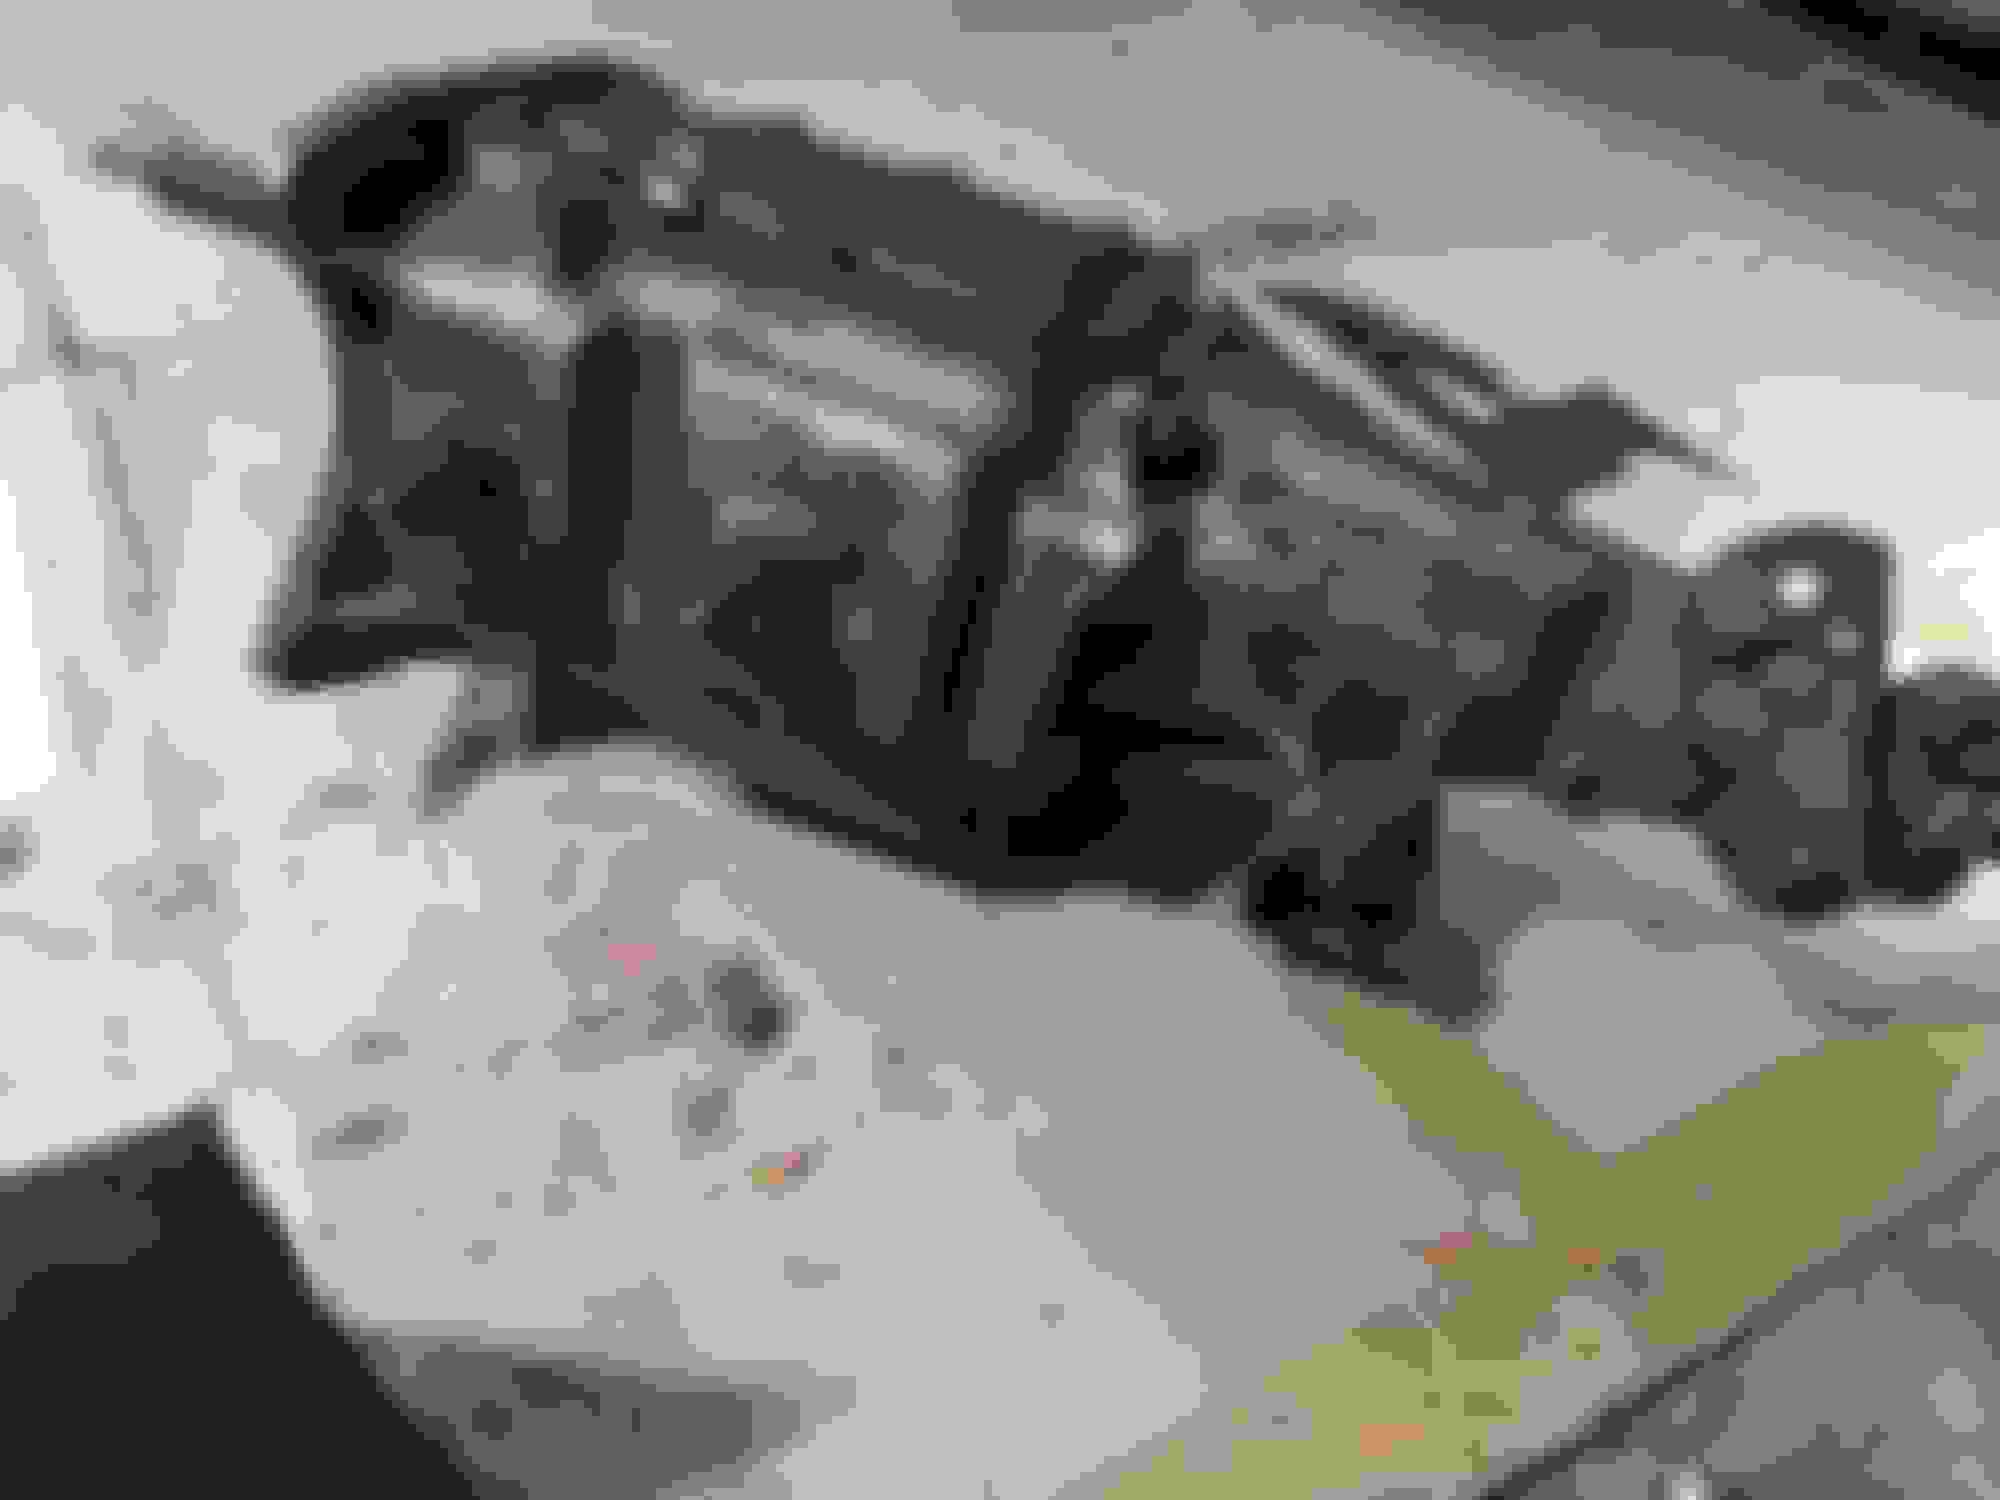
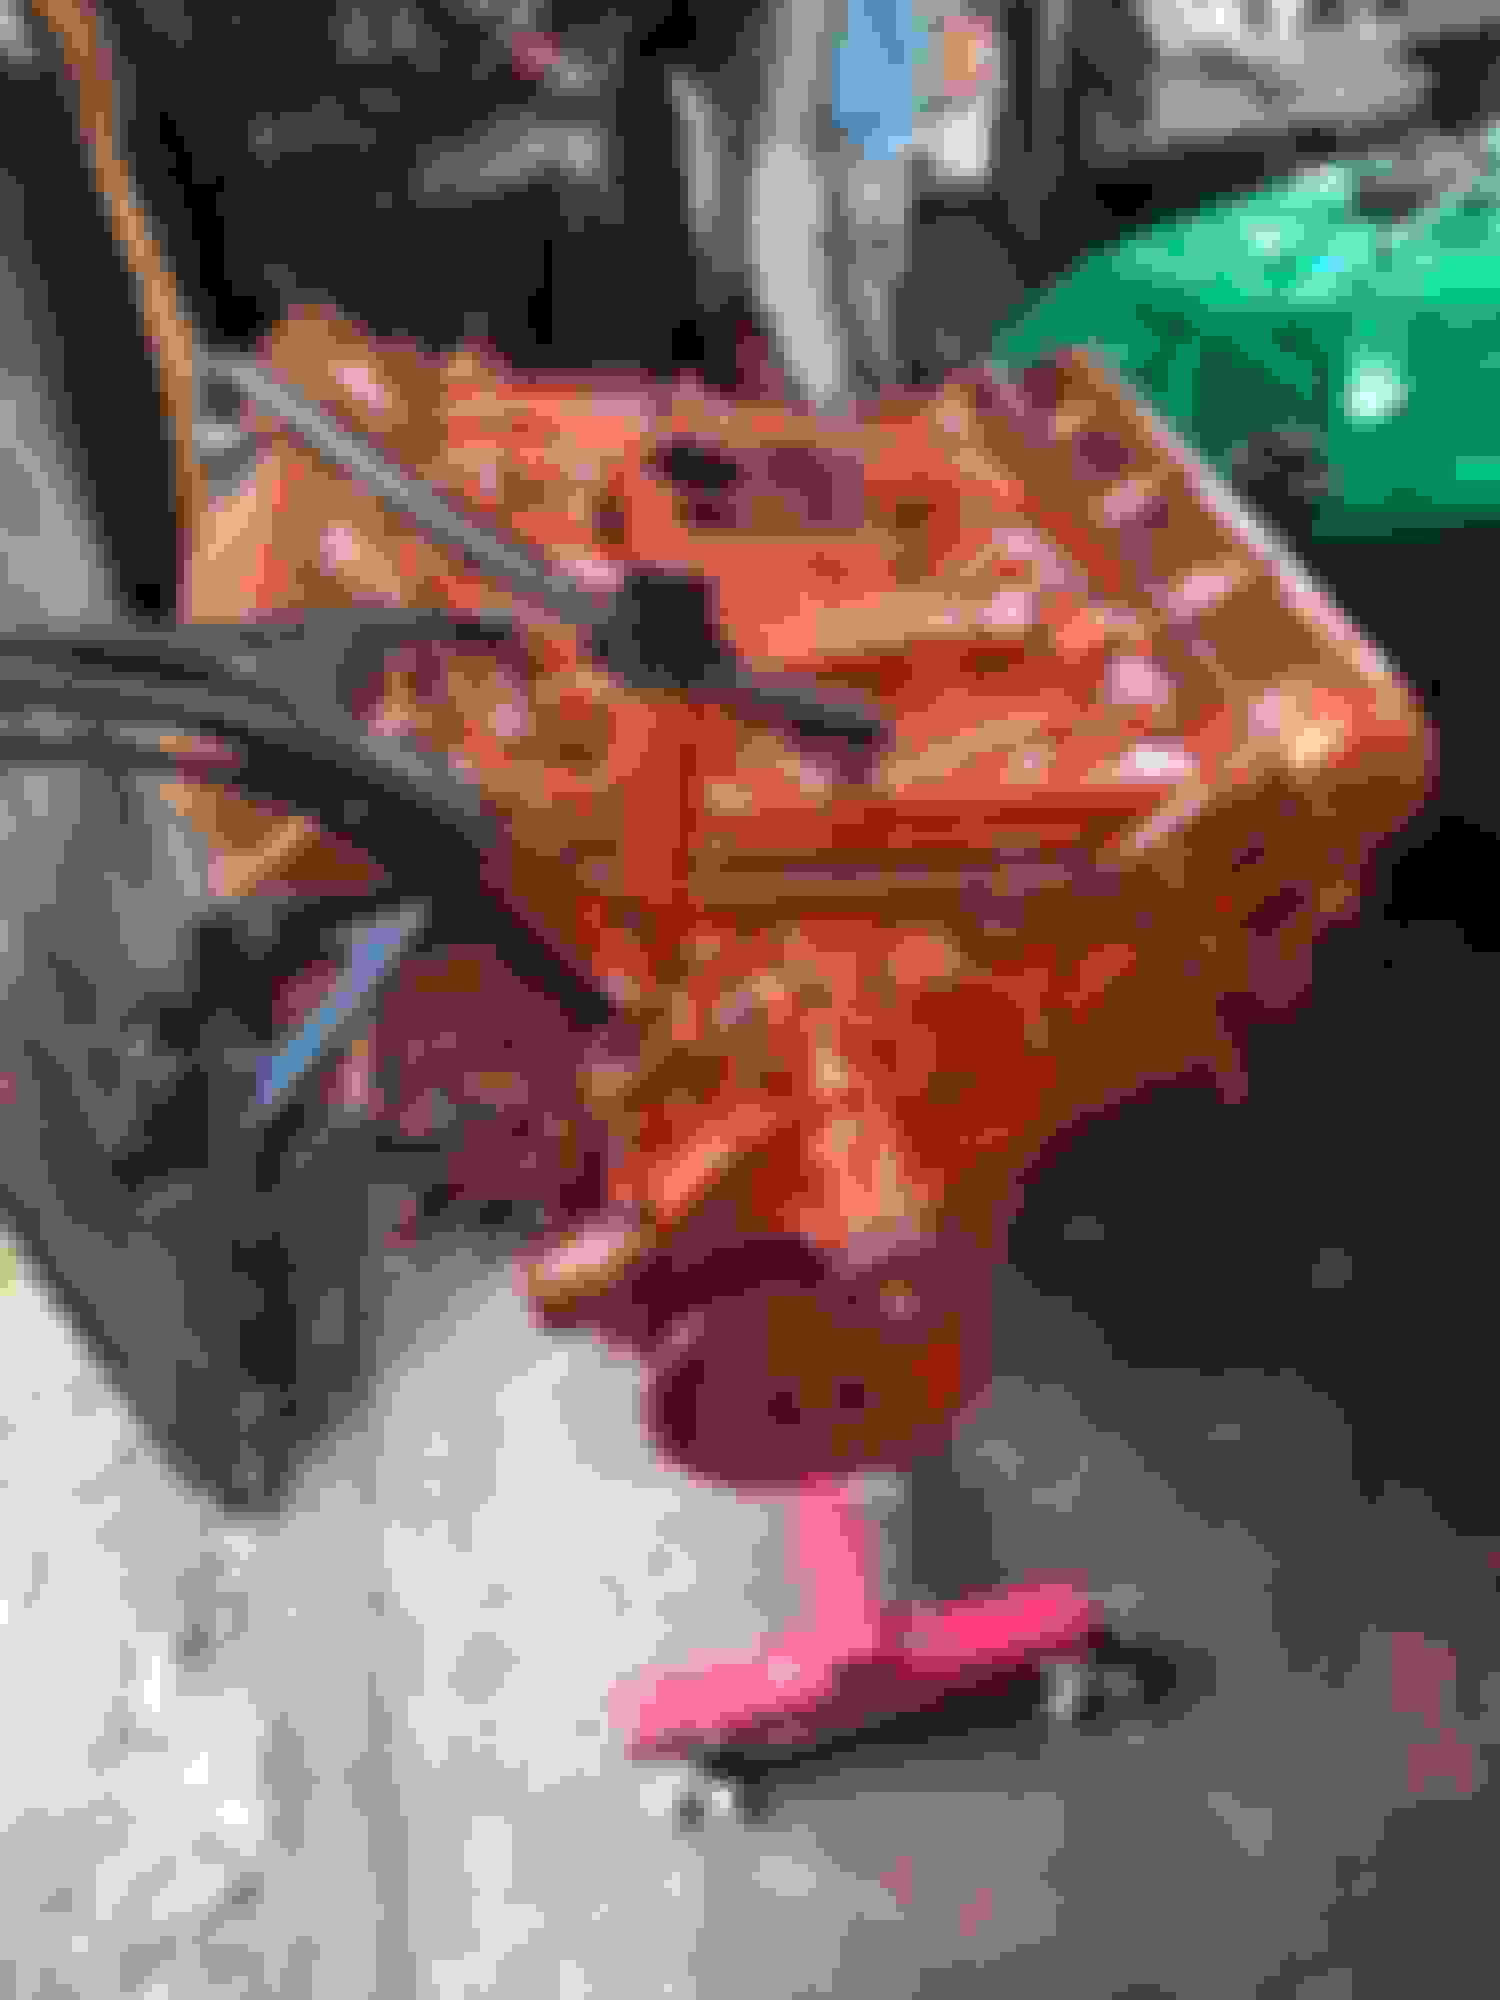
So what better way to spend Easter, got the 400 out and mounted to my new HBF engine stand. A buddy helped and as expected the crank was hitting the oil pan, I dont think it wore through. I hammered out the dent and after cleaning and paint it will go back on. The rest of the engine needs a bit of degreasing and paint as well. Am glad to have found the source of the engine noise!
Last edited by Oldsmaniac; Apr 1, 2024 at 04:07 AM.
Got busy with engine paint, and installed the intake manifold. I looked into new springs front and back. Am going with Detroit Eaton as soon as I get 800 bucks I dont need! Before the engine goes back in I want to remove the hood and windshield. Its so much easier repairing the channel there if needed without an engine there. If all is good at least a new seal for the winshield will be in place.
Started removing windshield trim VERY Stubborn it was to say the least. The entire channel is filled with some kind of hardened sealant causing almost no flexing of the clips when the removal tool is used. Am not sure if the glass was removed and resealed before or did someone just add sealant to what was there. Time will tell when I get all the old stuff out. Thinking a hot knife will be my tool of choice to get the hardened sealant out.
Struggled thru and got the windshield trim off and found I will need a new windshield also. Possibly the molding removal tool was used a bit too aggressively near the top rt and noticed a hair-line crack which grows every week. The glass came out today and the channel itself shows some pitting in spots. When I wire wheel the channel hopefully no holes appear. I dont think the glass was original and for sure it had been resealed with a new roll of Butyl Tape. Am looking for a windshield but may have to go new repro if nothing turns up.
Project has slowed busy with other things but it feels like Christmas in July with my recent purchase! All the goodies needed to get a posi under the 442 and a 342 gear upgrade. Since I dont want my dollars going up in smoke I will have these parts installed by someone with differential tools and knowledge. I just need to pull the O type 12 bolt cover rear and drop it off. Still need to source a windshield ...
Ordered a new windshield from Auto City Classic and will pick up at Fall Carlisle to save shipping but they are charging me 40 dollars to bring it to Carlisle..Ahem! I mean they are going there anyway to vend and will be bringing glass and things to sell... Ok, so I best start making the windshield channel ready. There were some deep pits but nothing that went through. In the past someone worked on brazing the rot holes up with a torch.... They seemed to have done a decent job, I did smooth out some of their work and filled the deep pits with bondo. Oh yeah, went to Autozone to get a small can of Bondo at 18 dollars and the can wasnt even full....! I am also hoping to pick up my 3 speed trans from Ed Hartnett at Carlisle also. I need to call him to see status. I am still basically just "scratching the surface" with this project.
So the thrash is on to remove everything to start the restoration. I pulled the seats and found an old mouse nest behind rear seat top section. Lots of poop back there and a pizzy smell. Original carpet removed also. I see one small floor repair again with a torch, all else looks good so far. Passenger side vinyl top molding removed as well.
Last edited by Oldsmaniac; Sep 1, 2024 at 05:44 PM.
I did install the new shifter floor boot for a console car and got a call that my trans is ready for Carlisle pickup. When I dropped it off I was hoping it just needed a general going over, maybe synchro replacement but it turns out some major things needed attention. Ed Hartnett said someone had been in there before and mucked it up a bit. He salvaged parts from an old damaged unit he had in his shop. So his work will set me back $880. Looking at the failing paint on this car I see it is not the shade of blue originally on the car. I will be sure to get the darker blue when it comes time for paint.
Spent today taking off more parts, bumpers, tail lights, moldings and passenger side fender. Seems to be rot free! Was also able to get the 2 lower underside bolts out without twisting the hidden capture nuts loose. Discovered another mouse nest behind left rear armrest. I will also remove the heater box to be sure there arent any mouse nests there. When that comes out I may as well replace the firewall insulation mat as the original edges are missing pieces. With the Fall swaps almost here I will keep my eye out for a clutch assembly and probably hand over some cash to Fusick for odds and ends needed, one being a rear deck package tray.
Came back from Carlisle swap yesterday with the windshield and Dearborn trans. With the trans were the worn parts that were replaced. It's nice the trans was painted with 3 coats of cast blast. Rebuild cost was $880. I also purchased a package tray from Fusick and my firewall insulation pad arrived from Parts Place.