When you click on links to various merchants on this site and make a purchase, this can result in this site earning a commission. Affiliate programs and affiliations include, but are not limited to, the eBay Partner Network.
All the bolts were torqued to spec already. I dont drive this car except around the block a few times. So I didnt bend all the cotter pins yet because I need to do the alignment. Dont worry, there is a plan in here, somewhere lol.
Re 10 coats, I know the steering linkage gets bulk of the wear, abuse , especially the spindles/ knuckle joint abuse, I ain't playing around here!
I'm aware of the cast color paint, I've seen others use it too up here. Looks stock. This is similar with a little bit of pop.
Backing plates, no idea yet. I can tell these aren't going to hold paint very well. These are new repops from Inline Tube. I'll have to figure this out.
What about rest of steering linkage paint color wise? What is stock colors?
I believe the rest of the linkages are satin black. You have options. Paint with any black and then satin clear, or paint with satin black Rustoleum and be done.
So those backing plates from ILT, they came coated in a zinc finish? If that's the case they sure didn't hold up well either.
Maybe you could explain to me why not bending the cotter pins is better for doing alignment? I'm a bit lost on that comment.
Yes, Backing plates have zinc like finish, they held up ok, no rust being aluminum (I think) and one side looks better than the other. But they need to be done correctly, but I dont know how yet. My concern is they are so smooth they wont hold paint well at all, even with good prep.
I like the satin black in general. I cant powder coat the tie rods I dont think, because of the joint internals involved. (heating oven in P/C process.) Maybe Satin por 15 them for durability.
You have to spin the tie rods in and out for alignment, and I had other plans which require taking steering linkage all apart again. So parts I knew would be coming off or adjusted, just bent them slighltly temporarily so they hold castle nuts in place, and wont fall out, but still can remove cotter pins easy enough. The one I did bend all the way is destroyed now.
The whole front end suspension will need re-adjusting.
So far some of the reviews I've read are mostly very positive. 2 slight complaints were brush on version is better than spray, and above works better in 2 stage process as a top coat over regular por 15...more durable.
bullet proof paint??? WTH is that?? Everything will eventually deteriorate so don't sweat it. As long as it lasts long enough for you to be happy that's the key to success. After all you want this to be a driver not a trailer queen. If it was a TQ you'd be buying a climatic controlled shop and storage facility on very very high ground....
Idk, Por15 stuff is amazing. Zero corrosion anywhere I've used it so far. Amazing stuff. I've used it a lot. Bullet proof so far.
Almost the same with Powder coated stuff. 98%+ corrosion free so far.
I'm thinking Por 15 brush on -self leveling, then maybe spray top coat Por 15 it if I want different color. Reviews out there say that this is Bullet proof...3 steps, Por 15 metal prep, Por 15 chasis coat satin black, them Por 15 spray top coat If you want a different color, more finish look.
I've proven 2 step Por15 is solid.
For me its not about trailer queen or not, but rather best way, right way for best results to do something. Especially after EW fail.
I actually found steering linkage stuff clear was shedding off with rust attached as I cleaned it with wire brush! The moisture penetrated clear coat, got under it and rusted. The clear coat sheddings is actual rust color now.
One thing POR isn't bullet proof against is brake fluid. I used the brush on (and the 3 step process) to do my front chassis. About a year later the master cylinder decided to take a dump which ticked me off since it was new and hadn't been used for anything except to bleed the brakes. The POR lifted in large bubbles everywhere the brake fluid touched it. Other than that it seems to be holding up fine.
It really depends how long the brake fluid stays on Por15. I have a couple spots where brake fluid hit, but I got to it within few days to a week and it slightly discolored it, but that's all. Another spot, rear disc caliper area, and it bubbled the por15 but didnt break through bubble. But Brake fluid is nasty, nasty stuff.
Here is great video of comparison of different rust removers. I use Evaporust, which is cheapest, most effective next to Krud Cutter which works quicker, but more $ per ounce.
Evaporust is good if you leave it at least 12-24 hours, and if you can soak part in it. You can reuse it several times to before it Becomes ineffective.
Muriatic acid works fastest but is very harsh and eats metal fast.
Krud Cutter works fastest safely, but cost 3 times more per ounce than Evaporust.
"Talked to my neighbor tonight (ex wrench puller - in training to be a cop) and he says it just makes sense to do all this once instead of taking it apart again. Wish I'd started in July or August though... This might take a month to get done." From Allan R.'s Front Suspension thread.
On the front steering parts, I trusted what seemed good EW clear products, EW blackening kit, some factory paint on new parts, etc. All failed to one degree or the other. Some just a tiny amount, some ridiculously.
Now Im painting and clear coating after EVERYTHING.
(Pics to come)
PS...cant find torque specs of lower bolt/nuts for brake backing plate to main knuckle, to steering knuckle. Looked everywhere, ASM, Chiltons, web. Can you tell me, and also where the reference is? The 71' ASM in section 5-108 says there is a "Knuckle Shop ASM" breakout, but I cant find it anywhere. Driving me crazy. Really want something like attach pic but cant find it in 71' ASM.Thx.
Steering components Redo 90% done. Sway bar and Idler arms, pitman arm done with Por 15 semi gloss black. Rest of linkage/ knuckles, backing plates primed with HD zinc primer, various hi heat paints, and VHT hi heat satin ceramic clear. Steering gear box done with Rustoleum aluminum paint. Lesson learned, paint everything, dont rely on fancy clear coats alone.
I've not stopped working on the car since December. Now summer is in full swing down here in So Fla, and it is getting too damn hot to work on the car. 20 mins in the garage and you are soaking wet. So evenings are only time I will attempt to work on her, and the rare cooler, less humid days from here on out.
My son has asked me to fix up the car and make it look like a real car, lmao. I dont care how it looked temporarily as the whole goal was to work towards getting it painted.
But I went ahead and did put it back together some knowing it will only help out in the end, fitting things back together, working out kinks like there always is. And now son loves the car more. Image is everything with a 17 y.o. lol.
Here are past 2 months work done:
Install door panels, rear panels
Painted the primer doors, trunk, and mirrors, playing with the color scheme.
Also put windshield trims back on, and window weatherstrip channels on, more kinks here had to work out.
Painted the hood primer flat
Then had to work on the lines on the nose of hood. It's a bit off on right side, only problem with hood so far.
Installed new rear seat to match the front ones...pretty darn good fit for being born in another car, lol.
Installed temp dash delete ("Dad, I can see all the wires behind there, that ain't normal!" lmao), not going through headache of putting restored dash insert back in yet. Then I installed sons mandatory tunes. Cant cruise without the tunes. Alpine head unit to Kappa Infinty 6.5" front and back via Alpine amp, and a Infinty 12" Sub.
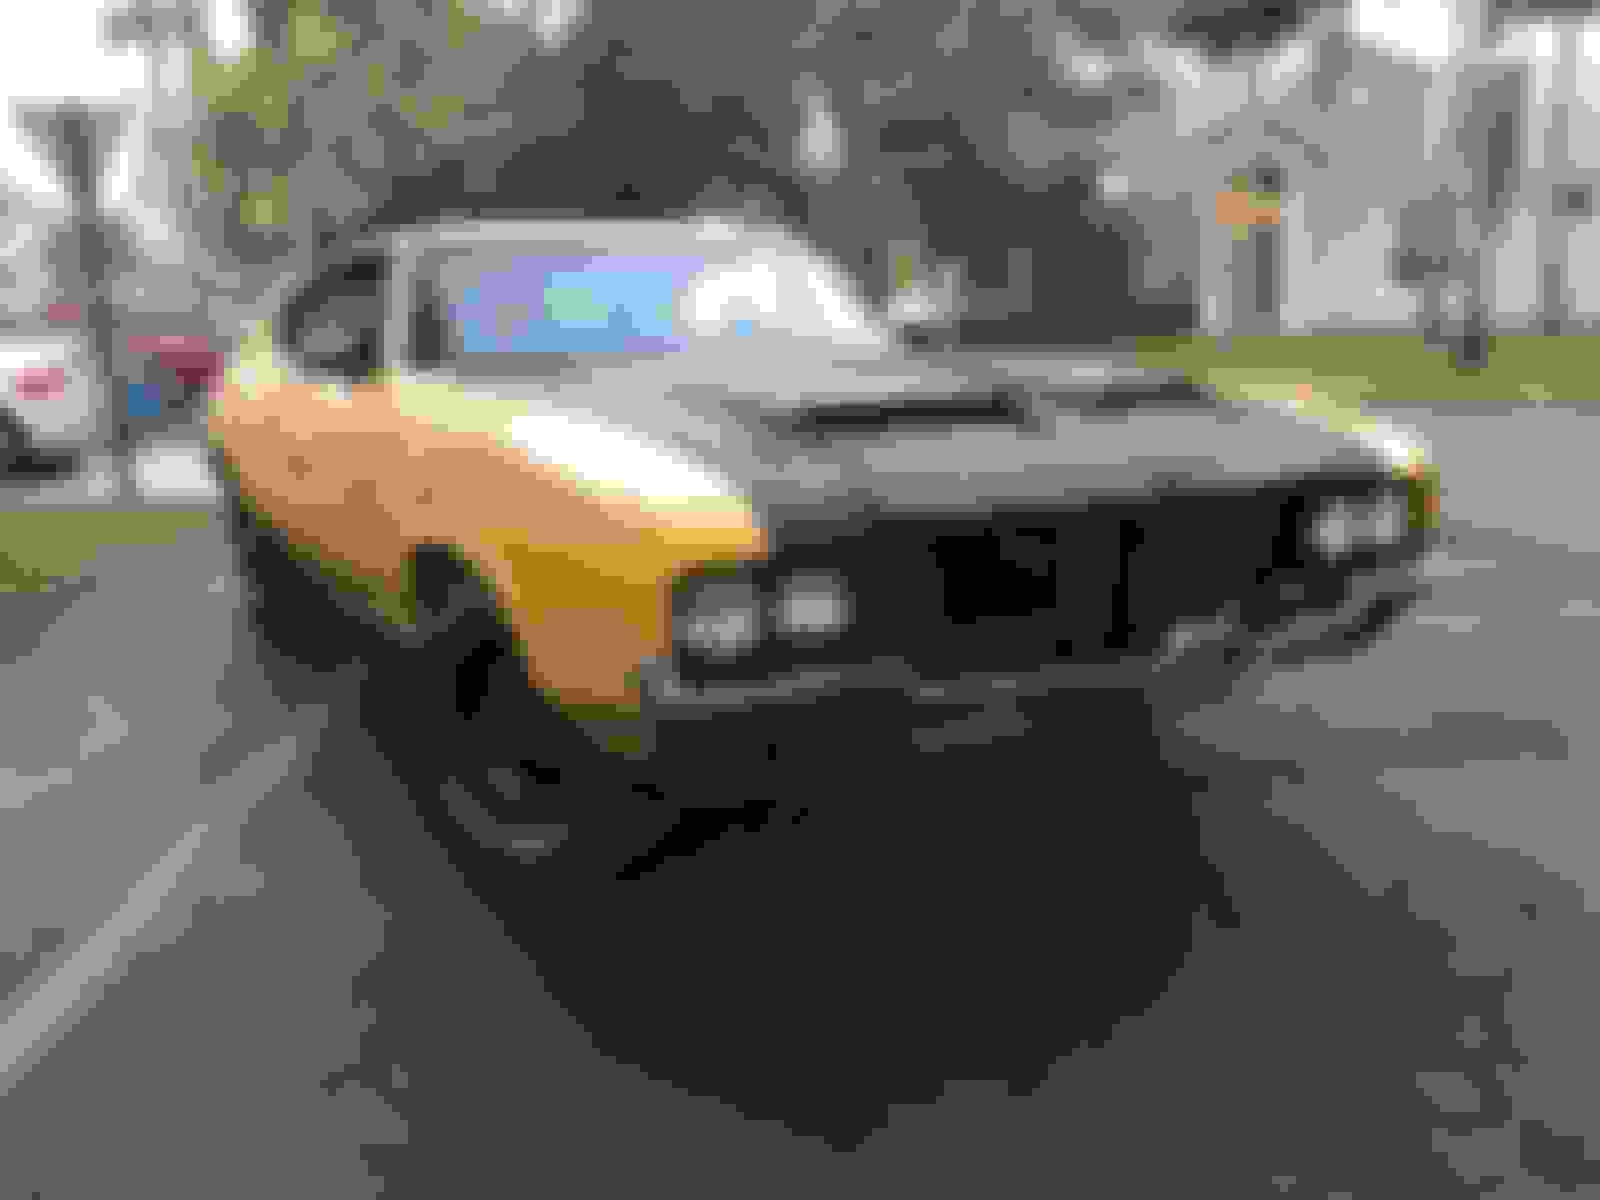
Primed and installed stone shield...and the temp front bumper.
Front bumper needed a lot of tweaking, about 3 hours of work using Jack, 8ft 2x4, and lots of creativity.
What it looked like when I first put it on (below pic). The P.O. I got the bumper from did not disclose it was this bent. It's just a temp bumper, cuz I got new front and back ones for the final stage.
Just a fraction what has been done past 2 months, so many little things, little fixes, tweaks, things that spring up out of nowhere new booster started causing brakes to drag...caliper pins grease got old and sticky from just sitting, calipers wouldnt float right and got tight, tweaking hood alignment/hood locks...or things been waiting to do for years. Just an endless list that I just hit a little everyday.
And a little bit of payoff...took my son and his friends for a joy ride rocking Zeps greatest hits
...great fun by all. One of his pals who is drummer said that is the most Rock n roll thing he has done in years, lol... Classic!
I used a dremmel and with surgeon like skills lol, cut out that middle section of the speaker holes that blocks the sound a bit, but also keeping with the exact radius of the holes.
Then used a fine file to file the edges to make it look like it was made that way.��
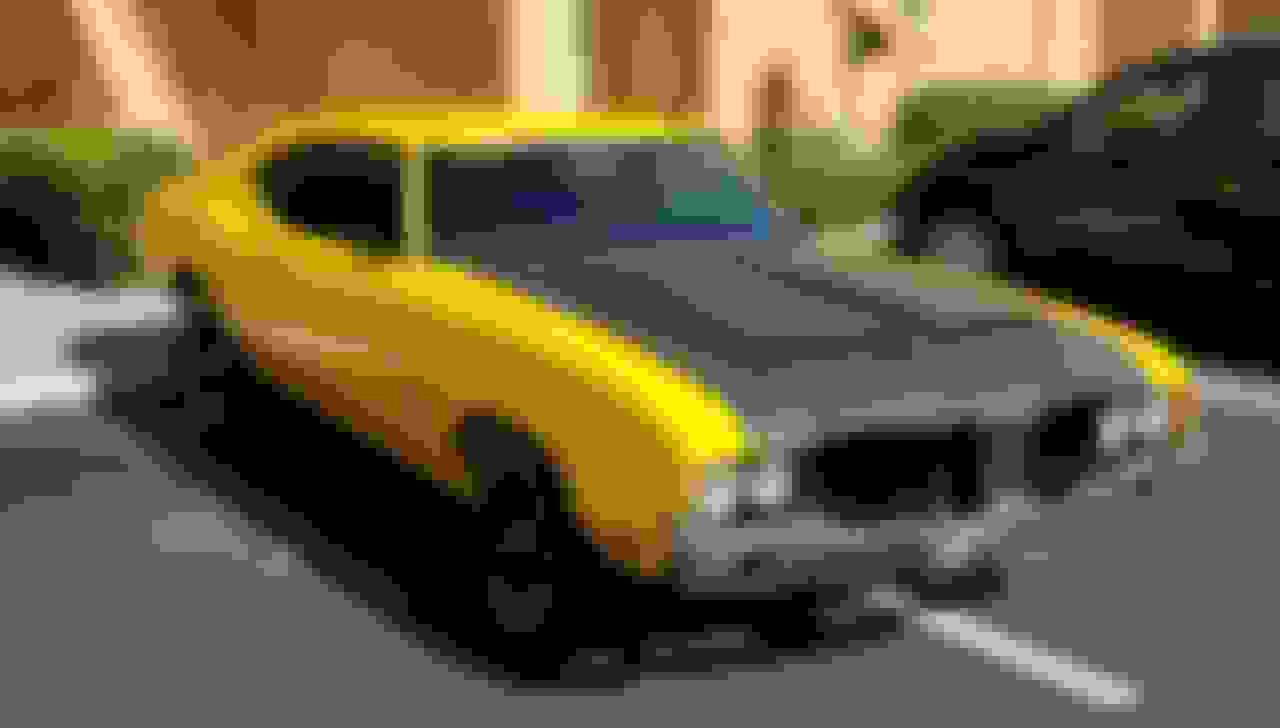
After spending the last 7 years looking at tons of classic pre restoration cars, and tens of 1000s of images online, I really won the lotto on this car. It is so rust free in so many areas, other than the doors, and small section of floorboard on passenger side, this car is a southern relatively rust free car.
Installed headlight housings and polished aluminum surrounds/bezels.
Bezels look good, but I still want to rehit these more. Have about 2 hours polishing into them...good enough for now. (Used dremmel polish wheel, Mothers polish, and rubbing compound...also tried Never Dull and 0000 steel wool, less happy with last two methods)
I think everything I've done assembly wise in past 5 months can be undone in one short day, when that paint day arrives. I think it will pay off test fitting everything first before paint in the long run. Learned alot of tips along the way too.
Almost all hardware was Inline tube or similar, whenever original stuff couldnt be reconditioned. I think I took it to my next level at least, lol.
That's about as far as I'm going for now assembly wise. Still dont have passenger side 71 442 grille to match my scratch and dent repop driver side I got for next to nothing. So cant install grilles yet. Probably wont now, even though I got some very clean S' grilles.
When my son leaves for college this fall, I will finally hit the passenger side floorboard, and a few other bigger things I've been waiting forever to do. But this for now will get us through the fall when he leaves, and we can cruise around now till then
Hello all. The car has gone through so many changes since 2019, including a move to a new state...(owner too, lol)
Another interior/dash restore, new motor, battery relocate, all new Autometer gauges, sound deadener, floorboard, etc. Lot of mods and fabs. And still most are frustratingly hard to do! Mods, even stock upgrades are a PIA. Sweat, blood, scars, 10,000 curse words, but ultimate satisfaction out the other side. Just going to post the pics for those interested. Remember this is a RestoMod.