When you click on links to various merchants on this site and make a purchase, this can result in this site earning a commission. Affiliate programs and affiliations include, but are not limited to, the eBay Partner Network.
I bought the car in 2011 with 18,500 miles. This car was about all original as you can get. Original Saturn-Gold paint [#53] with a white vinyl top.
The car was kept in a garage all of its life and I bought it from the family that purchased the car originally.
I do have the build sheet.
The color looks great in the sun. The color has a hint of green mixed in to the original color.
In the past 10 years and 200+ car shows, I have only seen 4 other cars with the paint code #53. Some of the repainted interpretation of the color were not correct.
Sadly after 50 years, the paint is just cracking and falling off.
Car washes have caused water buildup in the rear window and rust is growing around the base of the window.
The rest of the cars metal is all good. The paint shop was amazed how little rust in on this car.
I am very concerned about the first year "Rear Window Grid Defogger".
The shop will need to remove the rear window to repair the water damage.
Amazingly the 17 Resistor wires on the Grid defogger still works [yes, I have been caught in a few rain storms coming home from distant car shows.]
Goals:
With a very limited budget of $4,000, Repaint the whole body and fix existing rust problems.
Normally, a High-Quality paint job would cost between 8-12k.
I am NOT expecting a Concourse-Quality paint job.
The good news is that this car has very little rust.
Let's see how far $4K will go.
To save money, I will remove 99% of the cars chrome trim myself.
And remove all of the interior that would get dirty from the ton of paint dust.
Regrets:
#1: I decided not to Repaint the Door bottoms and door sills/jams, etc to save about $150.00.
This was a mistake. I now recommend that when you paint the car, always paint the doors/sills/jams etc.
#2: Hand the Paint shop you goals in writing [with pictures].
Last edited by Miles71; May 3rd, 2021 at 11:25 AM.
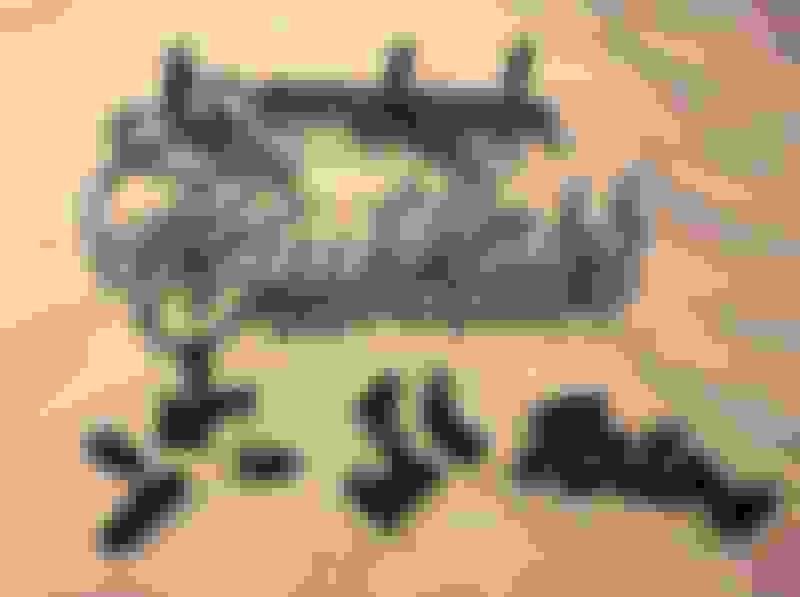
To help keep the costs down, I removed most of the existing chrome trim on the car. Also, there will be less chances of the shop breaking or losing the chrome.
I also removed most of the interior [seats, carpet, panels ] and exterior stuff such as bumpers and grill stuff.
Approximate count of chrome parts = 67,
Some of the plastic parts such as the Stone Guard, will be replaced.
Everything is tagged and bagged.
67 Chrome parts, Not including the screws.
Last edited by Miles71; February 4th, 2021 at 12:05 PM.
The front and rear bumpers are both original. The Front is starting to pit a little. There is no rust on the front bumper. I decided to get the front bumper re-chromed.
I took the bumper to the shop [90 minutes away]. The shop guy looked at the bumper and was surprised at the good condition. He asked, it is an aftermarket?
I said NO, it's the original 50 year old bumper. Expected cost $650. I also bought a new bag of mounting hardware for the re-installation.
Back side.
Front
Last edited by Miles71; February 4th, 2021 at 12:05 PM.
I got into matching that color on my 69 W-Toro when it was done in 1991. Something about a chromium green pigment being unavailable or outlawed made it very difficult to get it right. At the time a friend had an original paint code 53 72 Supreme and the color difference after the respray was noticeable.
I believe the situation with that tinting color is also why it was so hard to get a good 350 gold match.
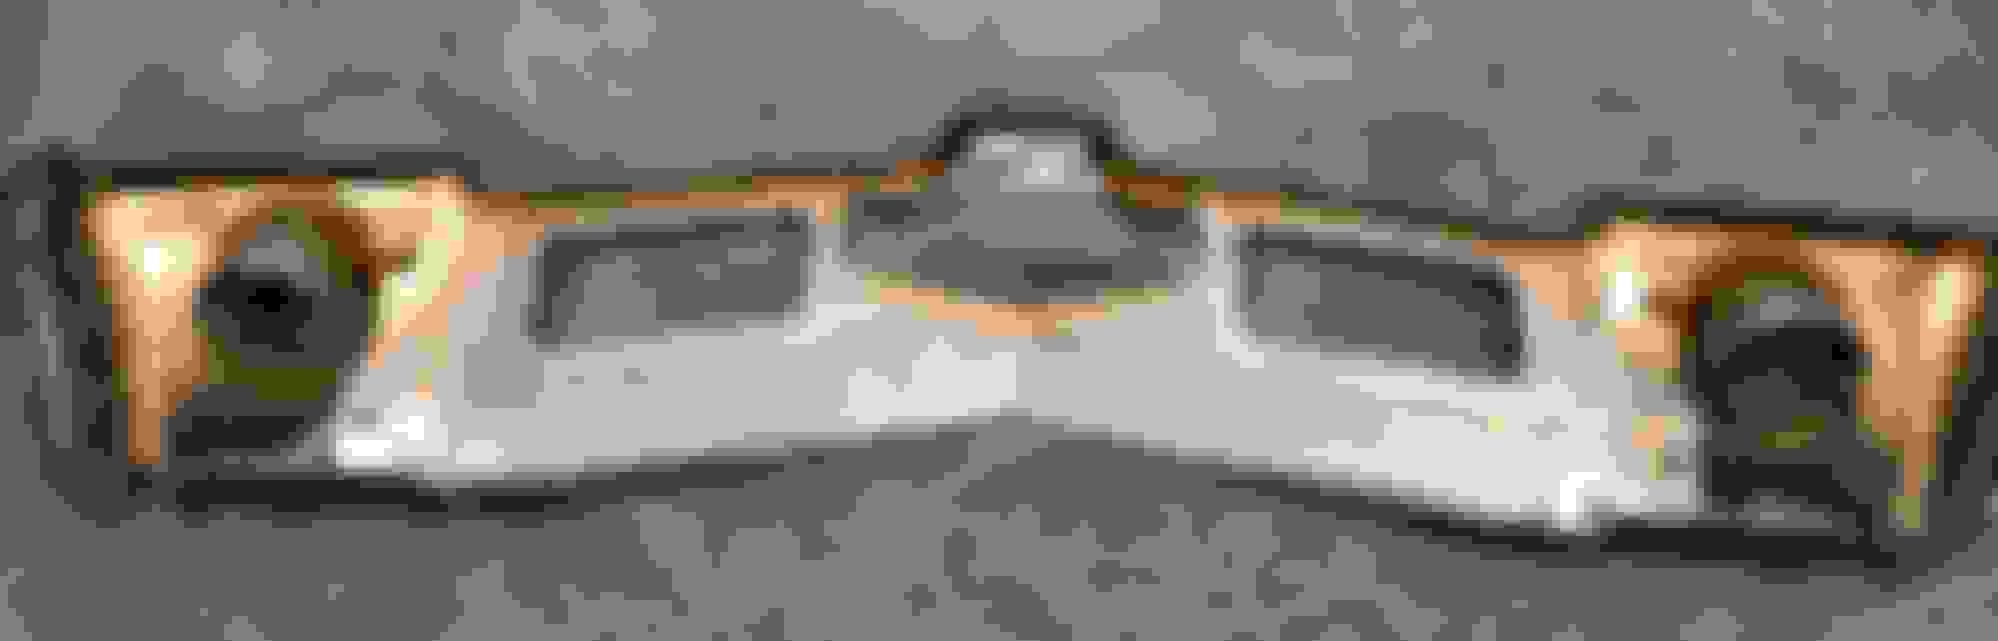
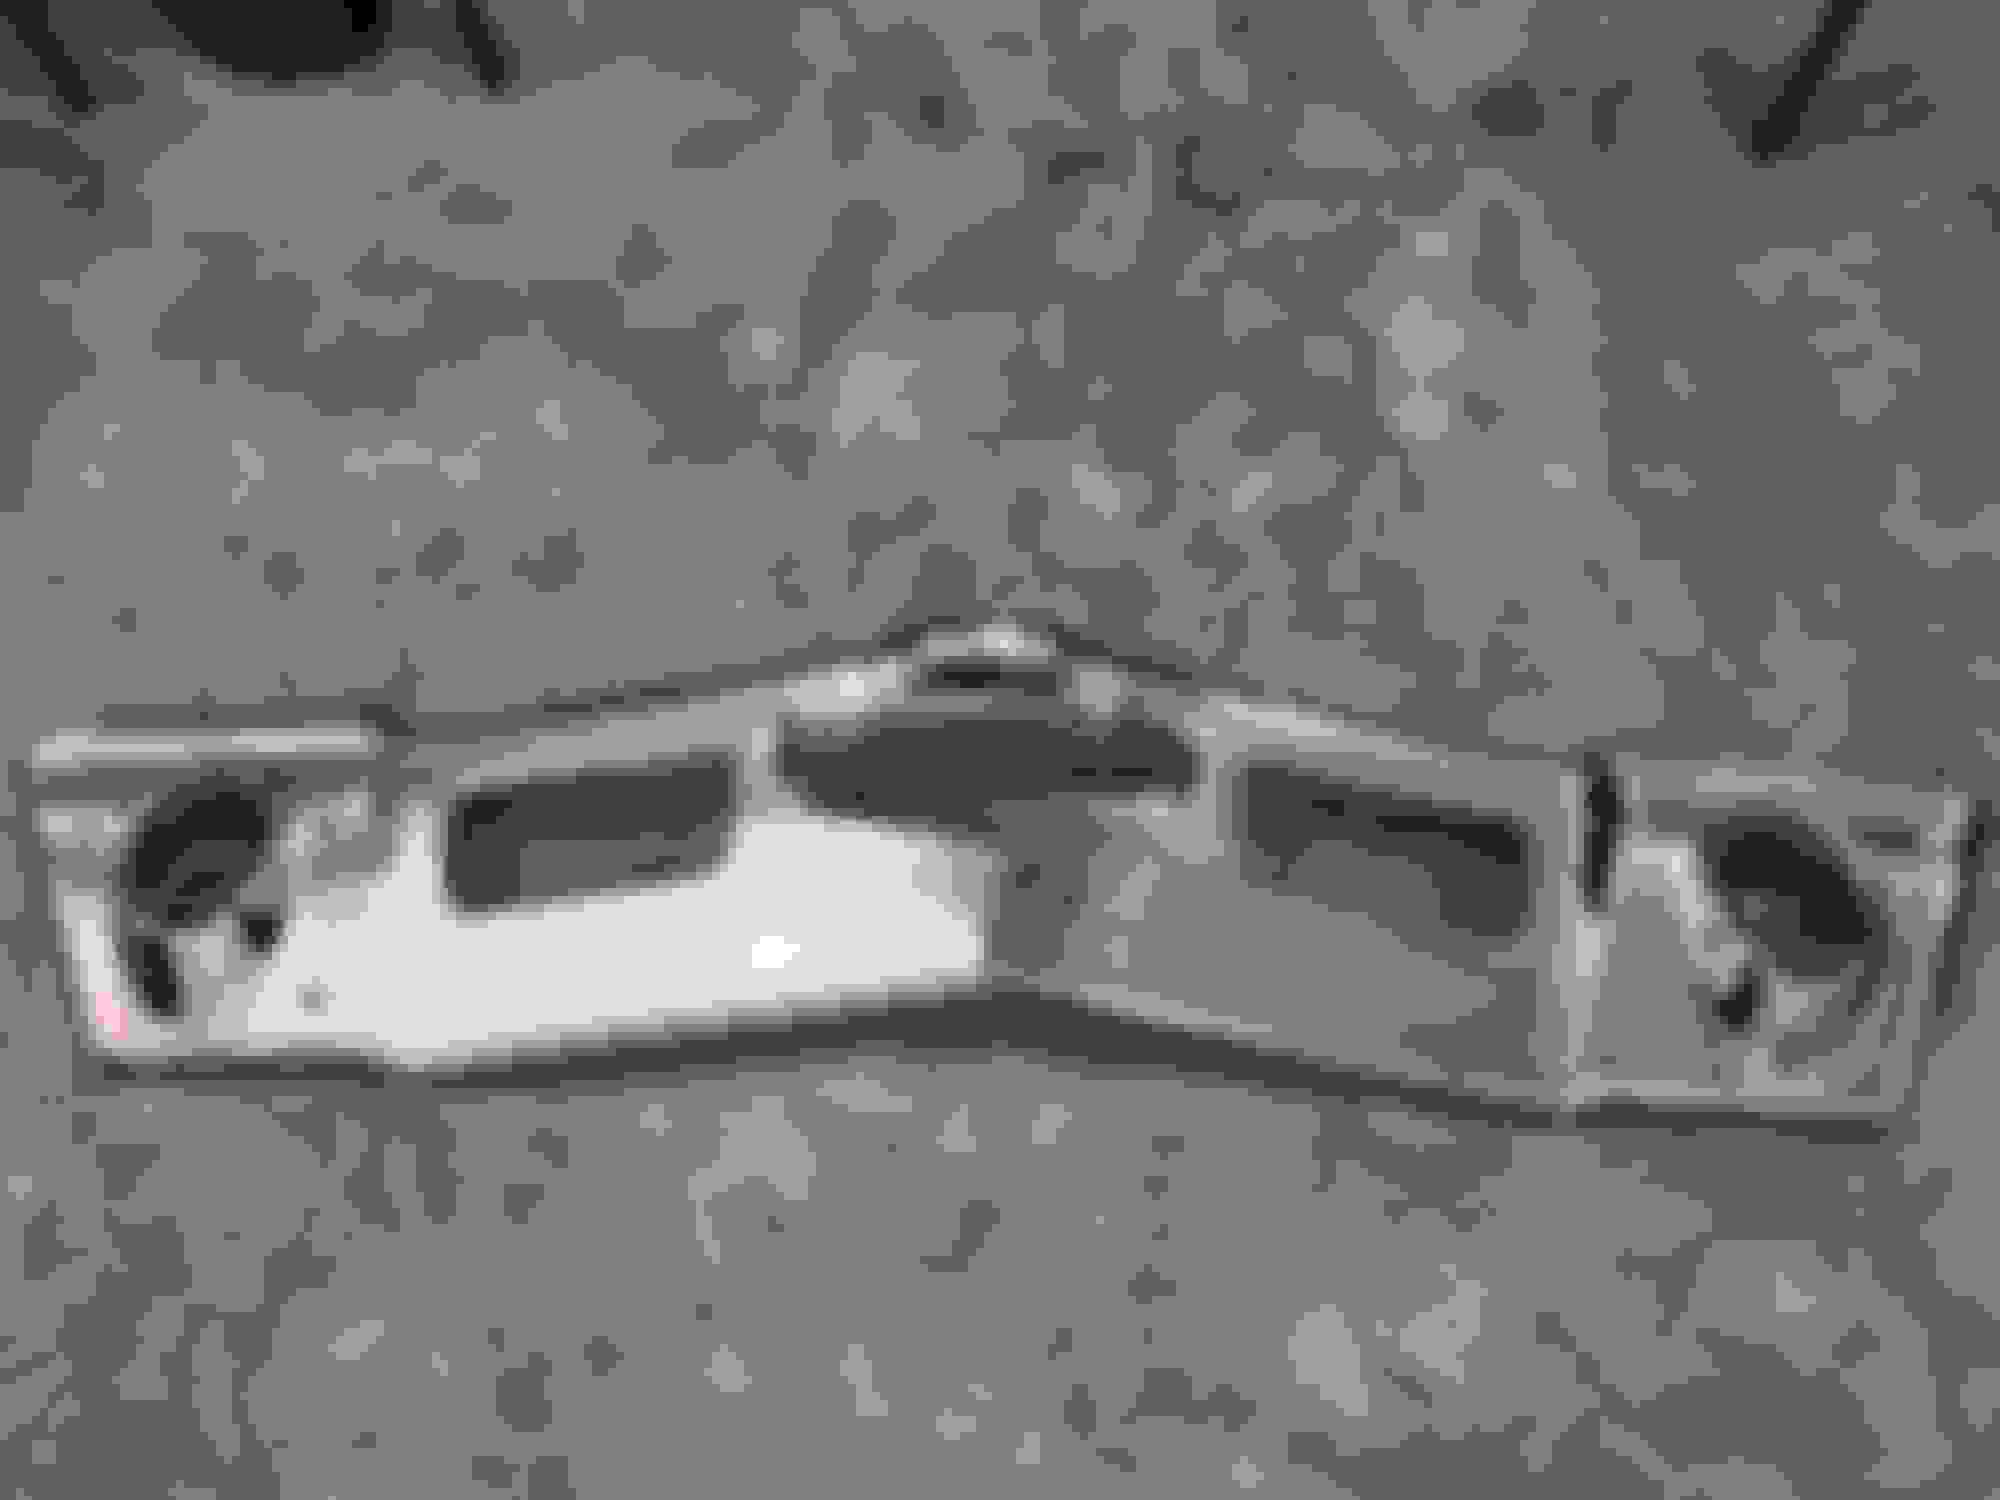
At the base of the rear window is a Rain Gutter. This rain gutter is used to hold clips for the chrome rear window trim. The problem is the designers of the car forgot to add water drains to the rain gutters for the Hardtop cars. The rain gutter for the convertibles is made out of plastic and has two drain hoses that allow water to drain into the fender in front of the rear tire [just below the rear seat window].
The metal rain gutter for the Hardtops, just collects water until the rust makes its own hole into the trunk.
The moisture from the rain gutter soaked the material under the vinyl roof and caused each of the trim studs to rust.
There is also some Rust inside the base of the window too.
Base of Rear window
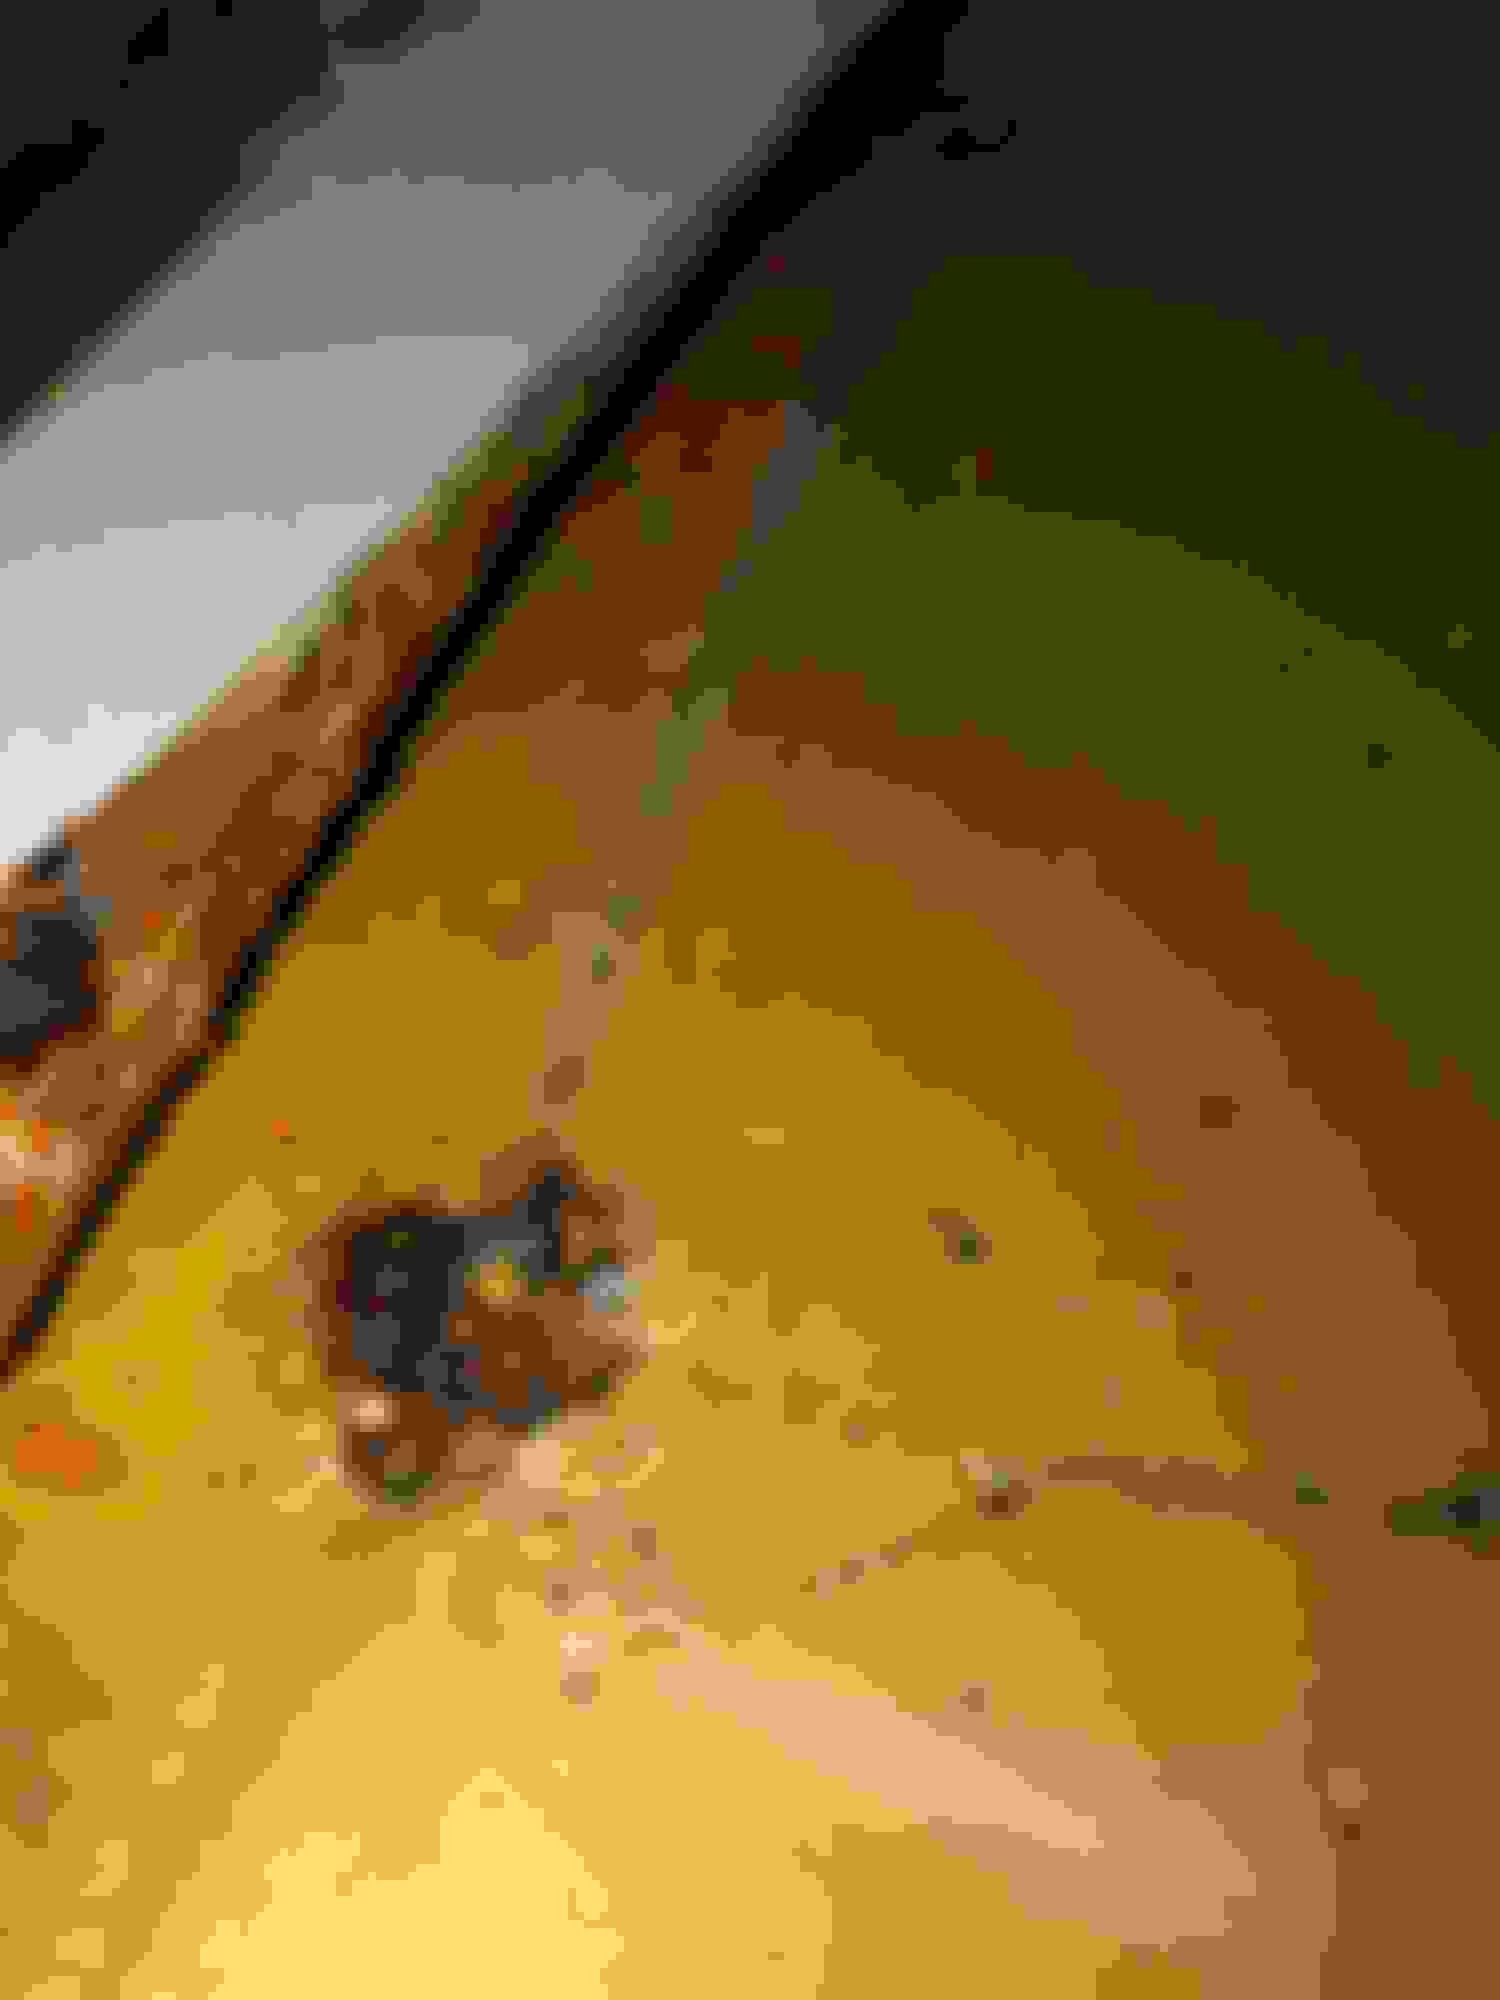
Close up of one of the rusted studs.
Last edited by Miles71; February 4th, 2021 at 12:05 PM.
I got into matching that color on my 69 W-Toro when it was done in 1991. Something about a chromium green pigment being unavailable or outlawed made it very difficult to get it right. At the time a friend had an original paint code 53 72 Supreme and the color difference after the respray was noticeable.
I believe the situation with that tinting color is also why it was so hard to get a good 350 gold match.
The shop is going to paint a few sample cards for me to review and approve. I have use this shop before with good results.
I painted a 69 442 Nasau-Blue and the color came out great. Lets hope the sample colors will match.
The paint in the trunk has NOT faded. So I will use the Trunk as the Master Color.
Color 53 is sometimes called Nugget Gold too.
Most Cutlass Supreme have a chrome strip along the bottom edge of the trunk.
The trim looks nice, but it will cause trunk rot if the car is out in the rain and you have any leak into the trunk.
Humidity will collect inside the trunk. The water will pour down to the seam where the inside and outside metal meet at the folded edge.
Over the years the humidity will rot away the bottom trunk edge.
However, if you remove the chrome trim, and do not fill in the screw holes that supported the chrome trim, the trunk edge will not rot. The screw holes will act as air-vents and will reduce the humidity at this point in the trunk.
Cars shipped from the factory, without the chrome trim, will still have the pre-drilled vent holes inside the trunk and will be less likely to rot at this point.
Since my car was in a garage all its life, there is no rust under the trim.
Note: If you are restoring your trunk, DO NOT fill in the trim screw holes.
This is what the original color looked like when the car was new.
Last edited by Miles71; February 4th, 2021 at 12:06 PM.
I bought a Spoiler.
In theory officially the Cutlass Supremes were never sold with a Spoiler.
It was only a Fast-back option.
However, I have seen hundreds of pictures of Cutlass Supremes and convertible with spoilers.
So I gave in and got one?
It has not arrived yet. It's been on its way for 7 weeks and is expected tomorrow at 9PM.
The paint shop is behind schedule. It should be at the shop in plenty of time for painting.
looks good miles i think it s a good idea to remove the trim etc so it doesnt end up lost or damaged
is the shop going to paint the headlights bezels and quarters extensions and other parts as well ?
If push comes to shove i have a spoiler you can use and replace w yours when it arrives, i bought it for my supreme but never pulled the trigger and put it on
the title says saturn gold but the text says nugget gold are they the same ?
When I sprayed my car back in 1998 the new paint perfectly matched the original paint. I sprayed the door sills almost to the lower hinge and there is no noticeable difference from factory paint up near the hinges. This was just with the paint shop mixing the paint using the #53 paint code they had in the system. Hopefully your shop will be able to match it as easily as mine did.
Last edited by Fun71; January 11th, 2021 at 09:33 PM.
the title says saturn gold but the text says nugget gold are they the same ?
Same color, code and paint formula. First available as Nugget Gold as an extra-cost 1969 Toronado exclusive color. Chevrolet kicked up enough fuss that it was made available for the Camaro mid-year. Think 71 was the year it went into the A-body special colors catalog.
It seems that Saturn Gold / Nugget Gold is a rare color.
A few of the Re-paints I have seen were way OFF.
I have only see 4 or 5 Cars with Saturn-Gold/Nugget Gold in the past 10 years of car shows.
2 other 71 Cutlass Supremes.
one 71 Camaro [Manchester NH Elm Street show].
one 71 Monty Carlo with a white Canopy vinyl roof.[Passed on the Highway, did not get a chance to talk]
Retro-Ranger: Thanks for the offer. I just checked UPS and its scheduled for deliver 1/12/2021 by 9pm. I ordered the part 11/18/2020 from Supercars Unlimited. It looks like the Holidays and the "Revolution" may have slowed delivery
Extra Parts and stuff:
All of the extra plastic parts I bought will be painted at the same time the car is painted.
Same with the Gold Eye-brows and Quarter extensions.
In posting #8, you can see I removed the Eyebrows. Getting the nuts off was tricky. I expect it will be Harder to put the nuts back on.
I think I'll buy an extra long 1/4 extender, and use Masking tape to hold the nut into the socket.
That way the Nut will not fall off the socket while I am trying to screw it into the eyebrows.
Last edited by Miles71; January 12th, 2021 at 07:24 AM.
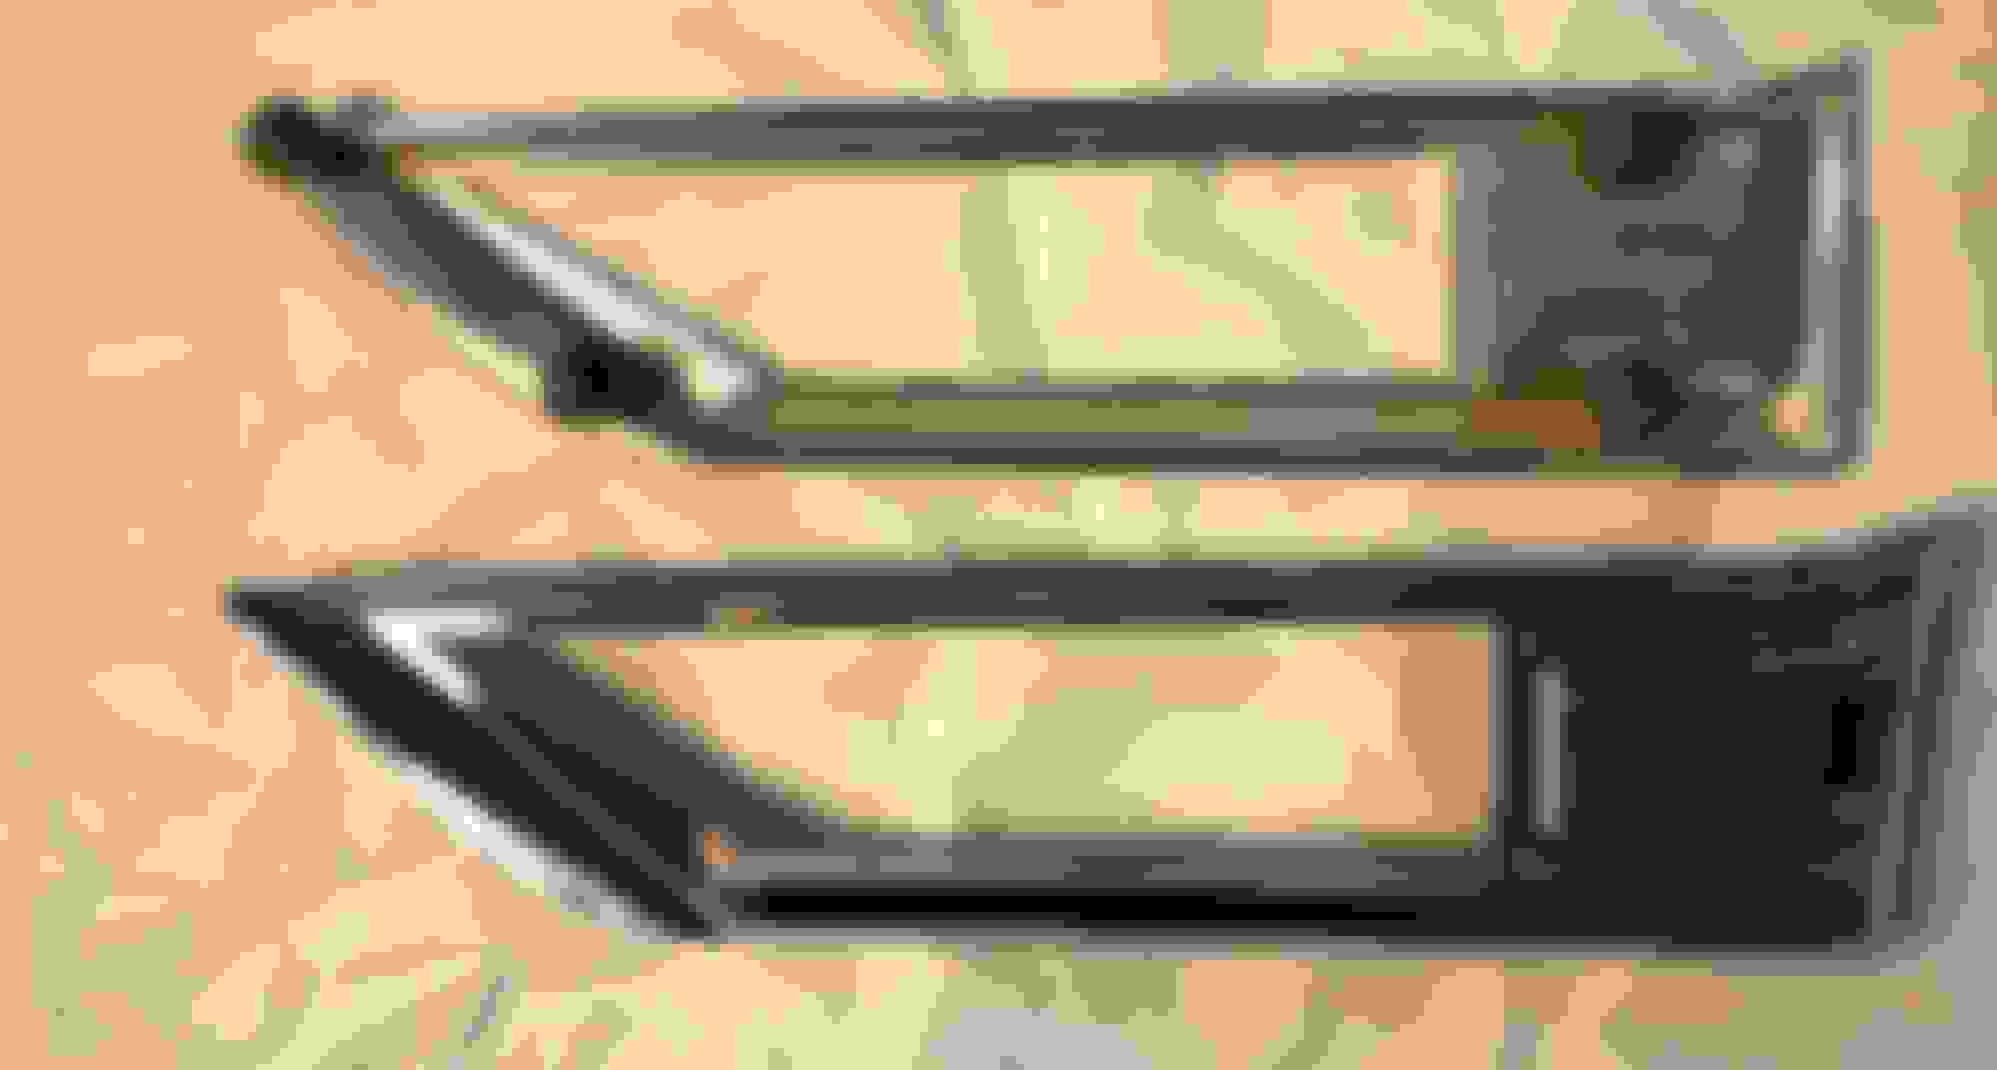
Each of the 5 different lower chrome trim parts are held on by different combinations of clips.
I will try later to show each of the 5 parts with their mounting clips.
Front Side light, Requires speed nuts. Easy Front behind wheel, Requires Special screw-in clips. Difficult. The Cutlass script also requires the removal of the inner fender and uses speed nuts.
Center trim, Screws at either end and 5x Plastic clips. Confusing
Marker Lights
Most parts removed are being clean and sometimes hand painted.
I was surprised to discover that I had two different types of side markers, Chrome and Not-Chrome.
If your car did NOT have the side chrome panels, then you got Chrome side marker lights.
If your came with Chrome side panels, then they gave you Not-Chrome side markers.
The top marker is a Not chrome, the bottom is a chrome marker.
I am guessing the Framingham plant ran low on Not-Chrome markers and installed two chrome markers on my car, Interesting.
I cleaned and painted the not Chrome marker with Krylon #1403 Dull Aluminum spray paint. I use this same Aluminum color in a few different places on this car, "Grill" and "Taillights", and other parts.
Top is painted, bottom is chromed
Last edited by Miles71; May 3rd, 2021 at 12:24 PM.
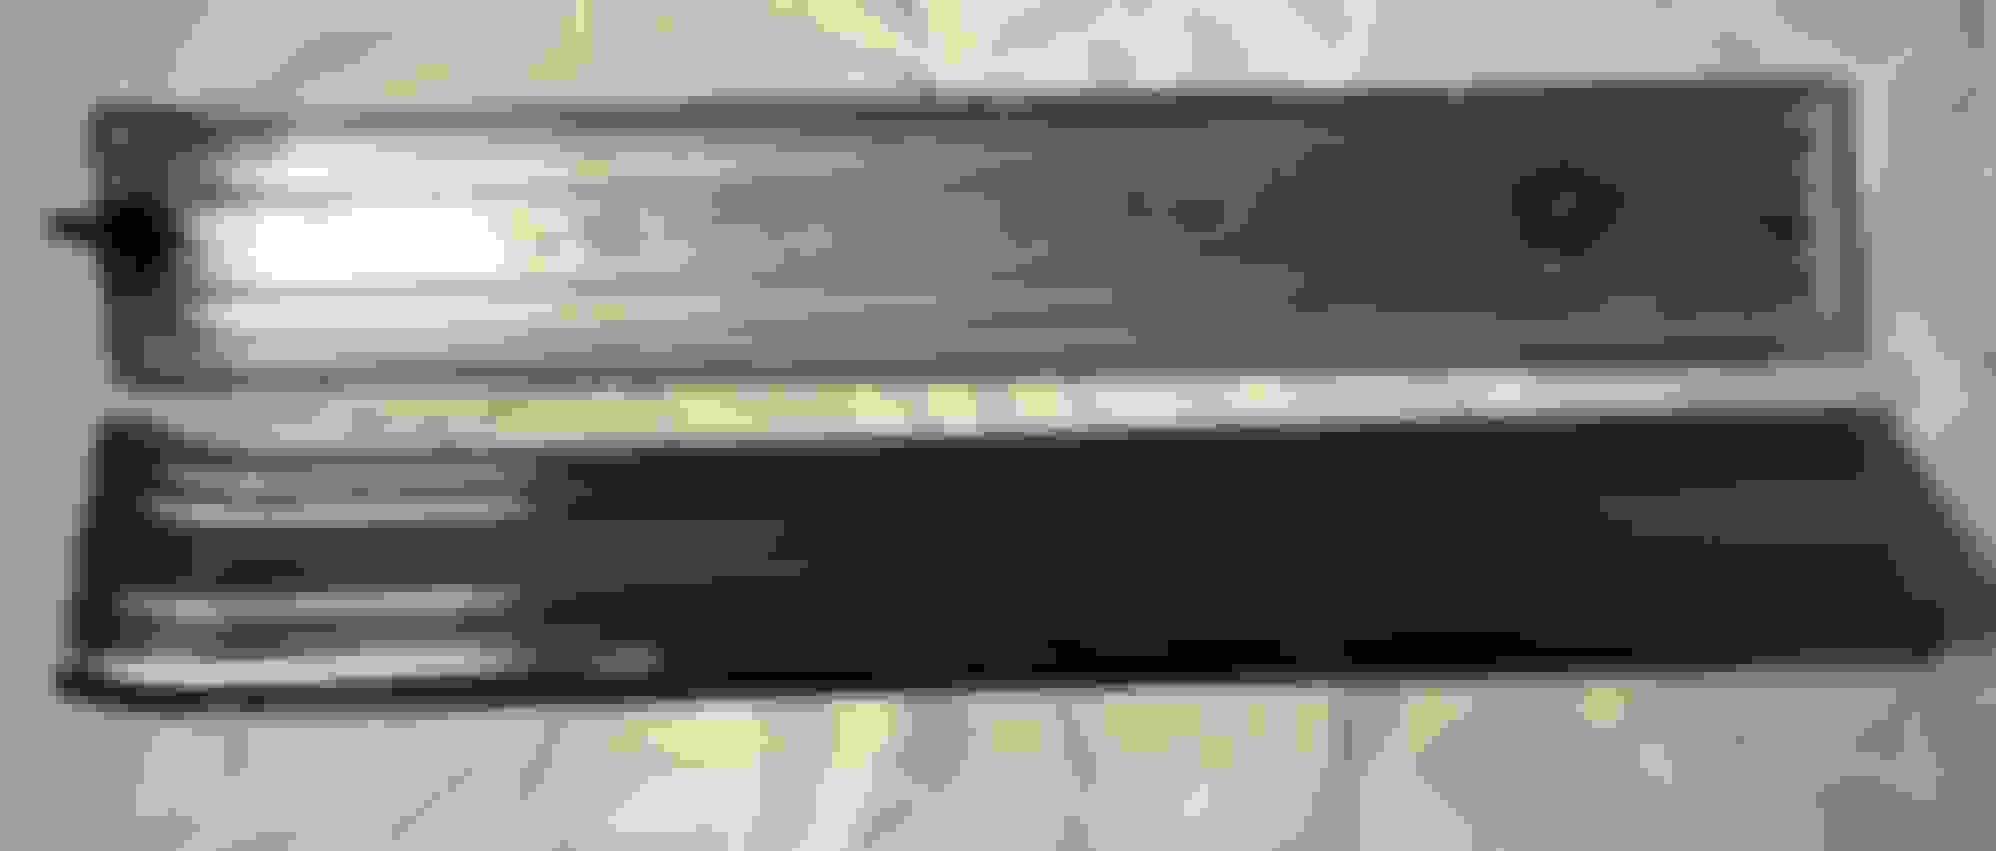
This trim is trickiest to remove and its located on the front fender, just behind the front wheel.
It is held in place by two special clips that are Screwed into the body [somehow].
Each clip has a pre-mounted threaded stud.
There is a notch in the bottom of the trim. You need to slide the trim to align the notch with the rectangle clip. Then the rectangle clip will pop out of the trim.
Then slide in the other direction until you get to the Thin-Spring clip and it should pop out.
I bought a new pair of the Rectangle clips from OPGI, but could not find the Spring clips.
Both of these clips Screw into a threaded hole in the front fender.
I am sure the body shop will fill these holes will Bondo.
I need to find a same Thread Screw and take 4 of these screws to the shop and install them into the existing holes to keep them from getting filled.
I have been able to find most parts online. I was able to salvage most of the original plastic clips and all of the metal clips.
Some parts are hard to describe and are difficult to locate.
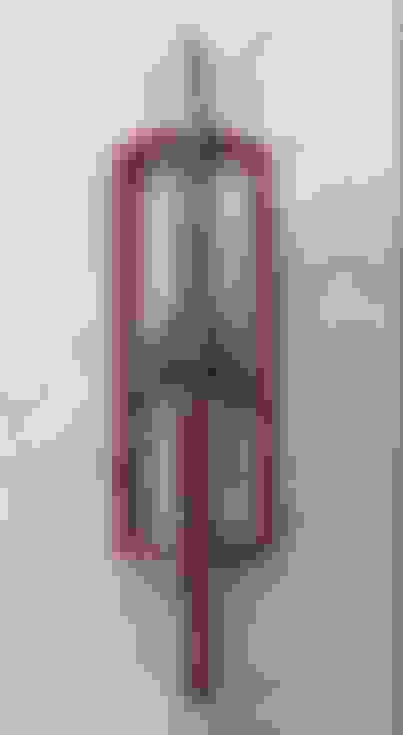
I bought a Barrel Nut kit to help re-install the "OLDSMOBILE" letters on the trunk.
Spoiler:
The Spoiler arrived after 7 weeks. This version is made from fiberglass, not plastic. Its Hollow.
Overall it looks ok. I tried some test-fitting of the hardware.
The Spoiler stands on two support pillars. The bottom of the pillars have pre-installed Studs that will go thought the trunk to be attached with nuts, inside the trunk.
The pillars are hollow, to allow you to insert a bolt from the pillar into a pre-mounted threaded nut, embedded into the spoiler.
It looks like Ill need to re-drill one of the bolt mounting holes. I am not able to install both bolts at the same time, the distance between the holes is not correct.
The hollow pillar is very narrow, and I can't get a socket to fit over the bolt head. I think, I will add a few washers to move the bolt head away from bottom of the pillar. This may allow me more side clearance room to get the socket to fit.
Cost with shipping $333.00
Spoiler Support Stands:
I have never assembled a true Factory spoiler.
This spoiler set with stands does look like a factory original.
The support stand bolt configuring of the aftermarket is different and may actually be somewhat better. You only need to drill a total of 4 holes into the trunk.
I think with a true factory system you may need to drill 6 holes into the trunk [is this true?].
The kit did not contain ANY instructions or hole placement measurements.
The Wide section bolts to the Trunk.
The Narrow section bolts to the Spoiler.
Bolt Socket Problem:
I think this bolt hole is the one in the wrong position.
It is also wedged into the narrow portion of the stand.
The Bolt head is not accessible with a socket, so i can't tighten the bolt.
Possible options:
Add 2-4 washers under the bolt head to raise the head higher up, when there is more room inside the HOLLOW stand to support a 9/16 socket.
If I raise the head too high it may not seat deep enough into the Nut embedded into the spoiler. I may need to replace the 1-inch bolt with a 1.25 inch bolt.
Last edited by Miles71; January 16th, 2021 at 08:39 AM.
Stripes:
I ordered a set of Stripes/Decals for the Hood and Trunk.
This car came with a Painted thin side stripe.
I am not going to put back the thin side strip.
This shop does not have the skill set to Paint strips.
I am not going to install the Wide-Side stripes because it would clash with the existing side chrome trim.
I can always find a separate stripe painter later, if I want the thin stripe back.
The shipping box looks like it got bent in the middle.
When I got the spoiler out, I found a 9 inch long crack down the center of the leading edge.
I contacted the sales agent and we are working on a solution. I have only a few weeks until the painting starts.
This is just part of the 9 inch crack.
The Sales Agent asked for a repair cost estimate. My Paint shop quoted $310 in repairs only.
There are actually cracks on both the center of the Leading edge [the wide part] and on the trailing edge [the thin part].
Damage Theory.
The Spoiler was shipped with cardboard supporting the two Ends of the spoiler.
There was also some bubble wrap supporting the center of the spoiler.
But there was no FIRM support of the center of the Spoiler.
My theory is a heavy box/object was stacked on the center of the box and crushed the center and bending the Spoiler at its center causing the cracks on both sides of the center.
I have about 4 weeks until the body paint begins.
Spoiler Update 1/27/2021:
The manufacture wants me to ship the cracked Spoiler back. I have a UPS return tag.
I gave the Sales company until tomorrow to come up with a viable delivery date for a replacement Spoiler that meets my painting schedule.
Backup spoiler, Plan-B Jan 29
The Fiberglass spoiler was shipped back to the manufacture.
The Sales company was not able to come up with any type of delivery time frame for a replacement Spoiler.
So I canceled my order and requested a full refund.
Thanks to the help of Retro Ranger, I now have an ABS version of the Spoiler.
The two Spoiler have the same basic shape.
The ABS version is a bit more streamline and much smoother than the fiberglass version. Overall the size/shape and contours are the same.
In the picture below, you can see employees of the paint shop testing fitting the ABS Spoiler on the trunk.
The Spoiler will be painted the same color as the body. I will drill the holes and install Spoiler myself some time after the paint has cured.
Spoiler Refund: Feb 2021
I sent the damaged Spoiler back to the manufacturer.
The company that sold me the Fiberglass Spoiler, sent me an email, apologizing for the issues and said they would issue me a full credit.
The Plastic Spoiler is at the paint shop, waiting to be painted.
I will install the Spoiler myself after i get the car home.
Thanks guys, its looking good.
Last edited by Miles71; February 4th, 2021 at 05:28 PM.
Can you document for 72 skytop, a user on here, how your rear defroster wires are run? He is rebuilding one with it.
Good work so far.
Yes. I would appreciate some photos of where the rear window wires are run in the trunk. Plus some real good photos of the firewall showing the location of the relays and wiring.
I will send you a private message. No need to hijack this thread for my questions.
Yes. I would appreciate some photos of where the rear window wires are run in the trunk. Plus some real good photos of the firewall showing the location of the relays and wiring.
I will send you a private message. No need to hijack this thread for my questions.
I will try to find some of my old pictures. I have about 1,000 pictures. Just need to find pictures of the Grid Relays.
Sanding on the car will begin tomorrow. If i get access, Ill try to take some fresh pictures.
I did add some notes from memory to your link. I hope it helps. PM me any new questions. Miles71
Side Trim:
Here are some pictures of the lower side trim, often found on Cutlass Supremes.
I am going to number the sections 1 - 5, front to back.
The easiest sections to remove are parts 1,4 and 5.
These parts are only held on by Speed Nuts.
In most cases the speed nut is easy to access on the inside of the body panel.
#1 Front marker light trim.
The marker light does not need to be removed.
#2 Behind Rear Wheel.
This trim requires the two special Screw in clip plates. Good luck.
The threads are 10-24. To prevent the shop from filling the 4 holes with bondo,
I installed 4x 1inch 10-24 screws into each hole.
#3 Door Trim.
Requires 5 or so Plastic clips to fit over existing mounting studs.
Plus a screw at each end. The screw is attached from the Inside of the door into the trim at each end of the door.
The screw by the door Hinge is tricky.
Replace the screws with new Stainless Steel screws.
Use a plastic washer to reduce rusting between the screw head and body.
#4, Rear window wheel trim.
You need to remove the plastic air vent below the window and reach in with your socket to get the front nut. The rear nut is accessible from the wheel well area.
When you reinstall this trim you may want to waterproof the stud to reduce water going into the body.
There is a Water drain under the rear window.
#5 Rear trunk trim.
This part will need waterproofing on the studs. The factory seals may be gone.
You do not want water seeping in the stud and collecting in the trunk.
That car is in great condition. Too bad about the back window rust. If that didn't need to be addressed, I would have left it alone with the original paint. You may know this already, but most automotive paint suppliers have light/camera tools which can digitally match colors. Your paint shop likely won't have this but a quality paint supplier will. Since your decklid has the original paint, the underside is a perfect place for them to sample because they actually need a fairly large flat surface (like 4"x4") to get a proper 'photo'.
I have a '69 442 that was originally Topaz (also a gold variant). I repainted it a couple of years ago and the current version of the factory code was way too yellow. Fortunately, my decklid also had the original paint on the underside and it was in good condition (most are). My painter had his supplier bring the equipment to his shop and when we sprayed a sample, it matched perfectly.
Due to federal regulations, all kinds of things are increasingly hard to find. This is one reason (quality) automotive paint costs hundreds of dollars a gallon. Rather than have them spend countless cycles trying to do something special, ask if they have access to the equipment that can digitally match the color. You'll save yourself a lot of time and come away with the best match.
Good luck with the rest of the project.
One last thing - everybody has a different opinion on stripes. It's your car so you're free to do whatever you want. Just think long and hard about whether you really want to add them to the trunk!
Hi Acavagnaro:
Thank you for the tips.
I will ask the shop about the Camera tools for paint matching.
I am little concerned about the factory Red Primer under the original paint. And the new paint will use a Light Grey primer.
They did say their computer will adjust the paint biased on the primer color.
The paint shop is going to paint a few Card Samples to match against the trunk for me to choose. I will try to remember to collect a few pictures of the matching process.
This shop did repaint my 1969-442-Convertible, and it came out Great! And the price was good too.
Stripes:
Every since I got my first CS back when "Silly Love Songs" was #1, [1970 Galion Gold, with Gold painted top. 2bbl, 1-wheel drive] I always wanted the white hood and trunk stripes on my car.
I kept visualizing how the Gold and White would look.
The 1971 Cutlass supreme has 6 external badges.
Each badge uses different mounting hardware. Each part is being cleaned and polished.
#1 Nose Rocket logo. Requires two small speed nuts.
#2 Front fenders "Cutlass" scripts. Uses 3x metal barrel nuts to hold studs in fender.
#3 Side Sale "CS" logo. Mounting hardware unknown.
#4 Trunk letters "OLDSMOBILE". Uses small plastic barrel nuts, 2x for each letter or 20 total.
I am in the process of changing the from black to Red.
Found the barrel nuts on OPGI
Side sail badge.
Last edited by Miles71; February 4th, 2021 at 12:04 PM.
Fenders Good Shape:
The body is in good shape.
Only the Driver Side fender needed any metal work.
The rest of the fenders and doors are rust free.
The only bad issue, is repairing the rot around the rear window.
A glass expert will come out soon to remove the Rear-Window with irreplaceable Grid-Defogger.
There is also a chance the original vinyl roof may get damaged in the process.
I am hoping to avoid replacing the top at this time.
Only required a 4x6 patch.
Last edited by Miles71; February 4th, 2021 at 12:04 PM.
Before he removes that back glass is there any way you could post some pictures of where the wires are run in that that trunk? There is a wire on each side of that glass that poke through holes and go into the trunk.
The one on the left is the positive wire and is connected to a purple wire and the connector is push tabbed into a hole. I do not know if this is inside the trunk or goes into the back seat area into the passenger compartment.
The one on the right is the ground wire and is fastened with a ground screw to the body. I do not know if this is inside the trunk or goes into the back seat area into the passenger compartment.
I could really use pictures of the inside of the trunk where these wires go and if they go into the passenger compartment.
Thank you in advance for reading this and any kind of picture you could post.
Hi 72Skytop, that is the plan. I was not able to get to the trunk today. Just had time for a few quick pictures. When the Window is removed, Ill be able to see the wires in the sail/wing section. and ill try to see where the purple wire is routed.
Hi 72Skytop, that is the plan. I was not able to get to the trunk today. Just had time for a few quick pictures. When the Window is removed, Ill be able to see the wires in the sail/wing section. and ill try to see where the purple wire is routed.
The wires are attached to the glass. When the glass comes out, so does about the 18 inch length of wires. That approximately 18 inch long ground wire on the right is important for me to know where the end terminal is bolted to. The black positive wire attached to the glass on the left side I am sure plugs into a purple wire that comes out of that black runner sleeve that runs front to back on the drivers side floorboard and comes out behind the rear seat leanback into the trunk. On the connector end of the purple wire that comes out of that black sleeve, my purple wire, directly beside the connector, has a push tab taped to it that goes in a hole. Where is the exact location of the hole that the push tab goes in? Maybe the glass man will not mess with where the purple feed wire is attached to the car? Now is the time for pictures BEFORE the glass is removed or touched.
Lord. What I would give to have taken pictures of this back in 1992 when I disassembled it. I should have know I would have never remembered.
What ever you can do to help with pictures will be appreciated. Good luck with the build and paint job. I like Saturn Gold. I cut grass for a lady that had a 72 that color and foamed over it constantly. Gold with white top and super stock I's. Those were the days.
Sanding has started.
The guys are searching for and fixing all of the minor dents and dings in the car.
So far, there have been no surprises in the metal work.
Next week the Glass expert will arrive to remove the rear window.
I really hope it comes out ok and does not break.
I hope the guy knows to UNPLUG the electric grid wires.
I will try to get some detailed pictures of the Grid wiring installation and routing at that time.
The Rot around the base of the rear window will need to be fixed.
I will ask the shop if there is any way to install Brass water drains in the rain gutter that I can later hook up to drain hoses later.
If I could install 6-7 brass drain tubes hanging down from the rain gutter.
Then attached them to a 1/2 black painted PVC pipe.
Attach a 5/8 inch hose to each end of the PVC pipe and run the hoses to the front of the wheel well below the rear window.
The water could then pour safely out the water drain below the window.
This is how it works for a Convertible Top.
The Garage door opening, Jumped out in front of me and hit my car.
Hi Retro Ranger,
Thank you again for your help with the spoiler issue.
Since it is 7F outside, I am in no rush to get the car home. The shop is progressing nicely.
It looks like it could be back in my garage in about 3 weeks.
It will then take me 3-4 weeks to put all of the chrome and stuff back on.
I am also going to replace the carpet and headliner.
The front bumper was sent out for Re-chroming and is expected to be ready in about a week or two.
The two big possible delays could be the Vinyl top and the rear window.
If those get damaged in the repainting, it will cause some delays.
I will check with the shop next week about the possibility of replacing the vinyl top, just in case.
Overall, I am on schedule for driving the car in April 2021.
Even with the Covid-19, Small car shows in New Hampshire are expected to start in May 2012.
I am not sure when small car shows will start in Massachusetts.
In the attached picture you can see the different layers of paint used by the GM Framingham Mass factory.
The First layer was a Red-primer, then a Grey-Primer and finally the Saturn-Gold top coat.
Most of the work at this shop is on NEW cars [less than 10 years old].
However they do like to work on the Old stuff two.
As I look around the shop I can see at least 6 cars that are over 40 years old and one car that's about 70 years old.
3-years ago I had my 1969-442 Convertible in the shop for paint/body work.
One day I came in to see the work after the paint had been removed and the car was in Grey and was surprised by seeing the Cutlass tag on the glove box.
There were 2, 1969 convertibles in the shop at the same time, one 442 and one Cutlass supreme.
Minor dents and dings fixed. Original primer colors seen in top right. Red and Grey
The rear window Grid-defogger has been removed.
The shop said the glass did "NOT" break.
The rusty studs at the base of the window have been fixed.
The rusted-out rain-gutter has been fixed. It was like Swiss cheese.
I asked the shop to install water drains into the rain-gutter, with 1/4 metal tubes hanging down from each corner, so I can run drain hoses. The mounting of the drains must be the lowest point in the rain-gutter.
They are looking into a solution.
I was not able to get access to the trunk to observe the wires for the Grid-defogger.
I did notice that the Driver-Side positive wire to the Grid-defogger had broken away from the spade terminal.
This means I will need to remove the inside sail-panels [Where the side interior lights are mounted], and dig in and find the broken wires.
I will assume the wire on the Passenger side wires are also broken.
My Front Bumper is still at the chrome shop and is not expected until the end of February.
Last edited by Miles71; February 4th, 2021 at 02:29 PM.

 January 11th, 2021, 04:05 PM