When you click on links to various merchants on this site and make a purchase, this can result in this site earning a commission. Affiliate programs and affiliations include, but are not limited to, the eBay Partner Network.
Sometimes to get gaps perfect. you need to cut and weld. in the past, I have cut a slit in the jam just under the top of the quarter and rased the top edge 1/16" or so. Once you weld the slit closed, you will never see the difference side to side, but the trunk gap will be perfect. I had to weld and grind the front and back edge of all 4 doors and the rear fender edges on my vista to get to a point that I was happy with the gaps.
Last edited by Loaded68W34; Dec 4, 2022 at 06:41 PM.
Sometimes to get gaps perfect. you need to cut and weld. in the past, I have cut a slit in the jam just under the top of the quarter and rased the top edge 1/16" or so. Once you weld the slit closed, you will never see the difference side to side, but the trunk gap will be perfect. I had to weld and grind the front and back edge of all 4 doors and the rear fender edges on my vista to get to a point that I was happy with the gaps.
Thanks Loaded.
I will go back and see what is needed.
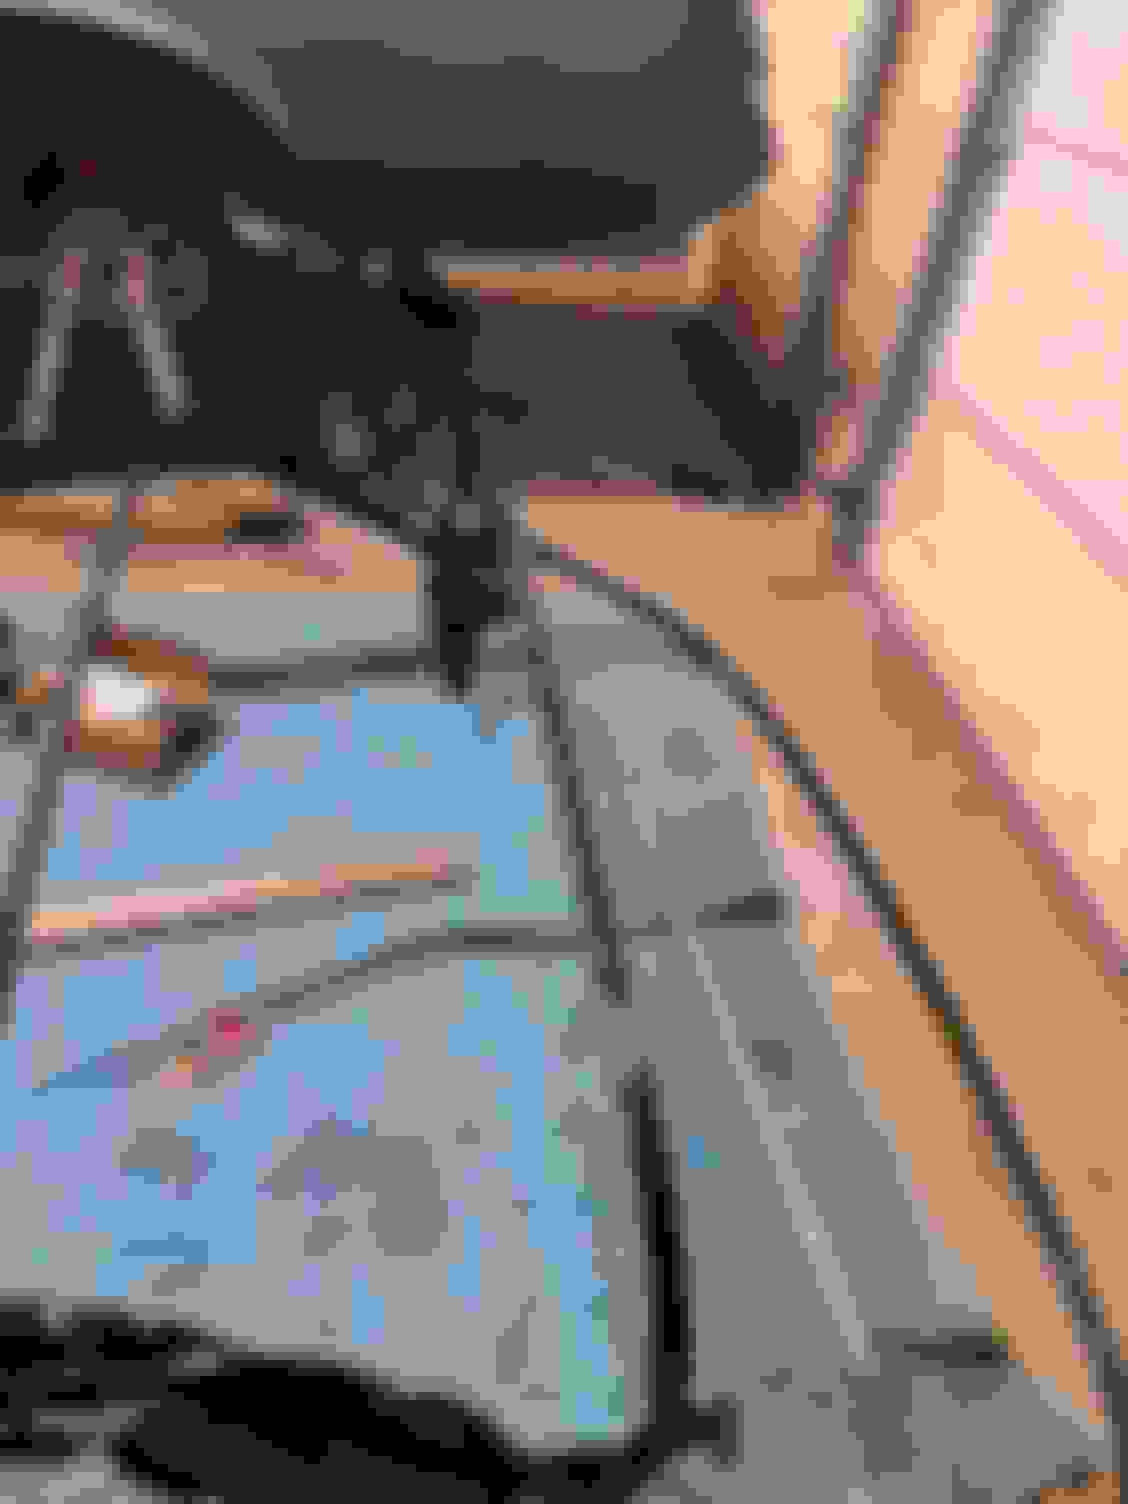
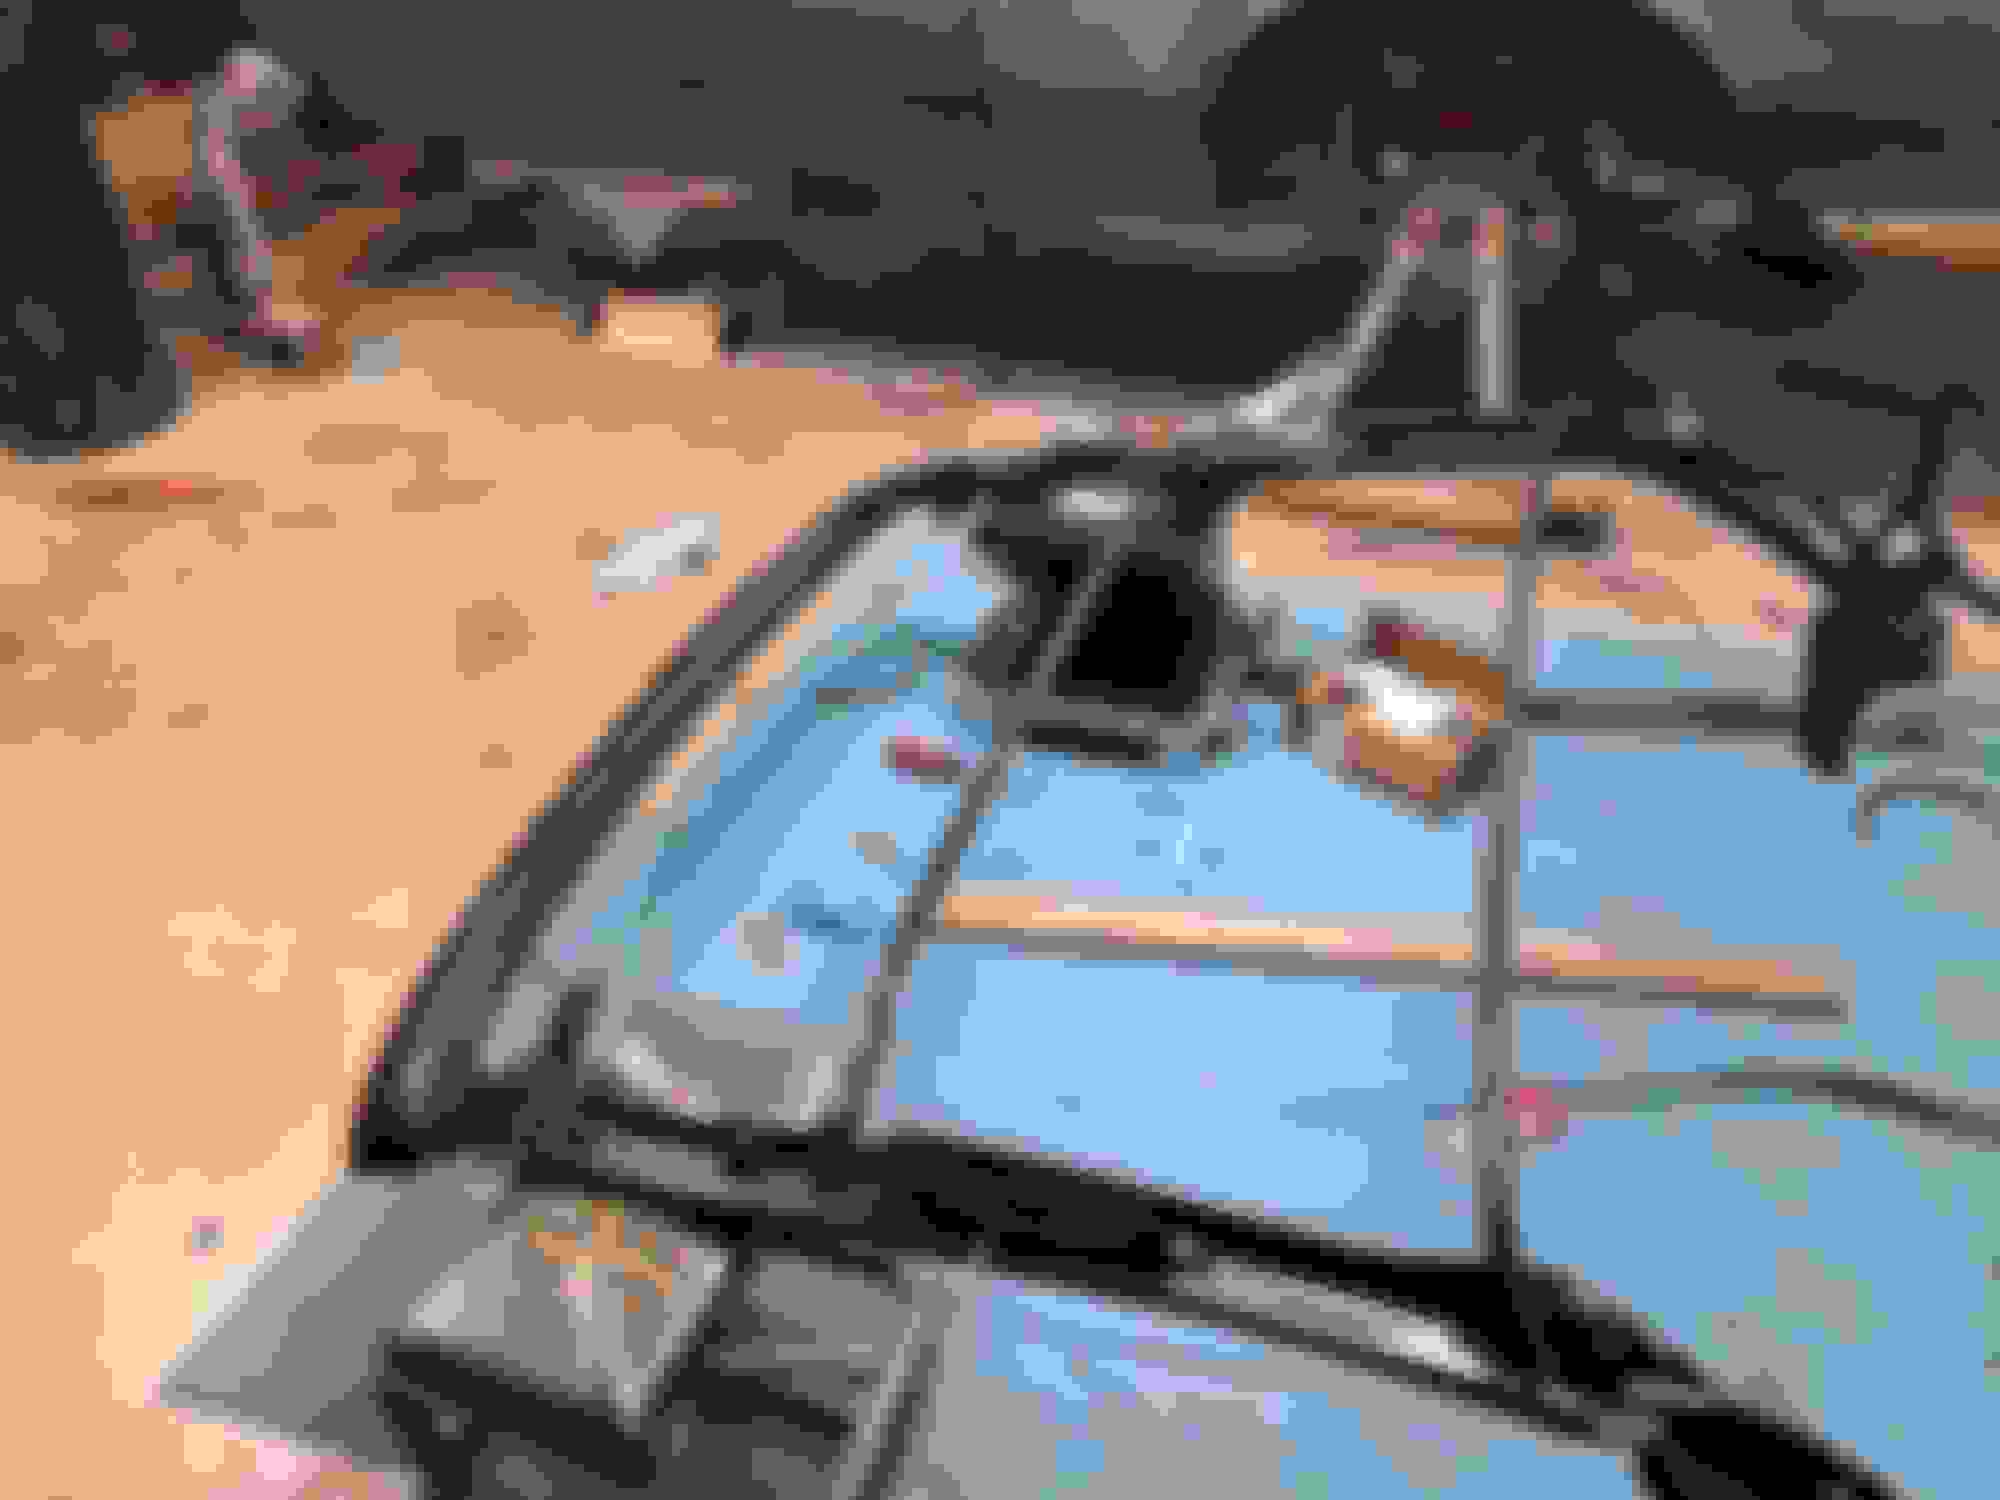
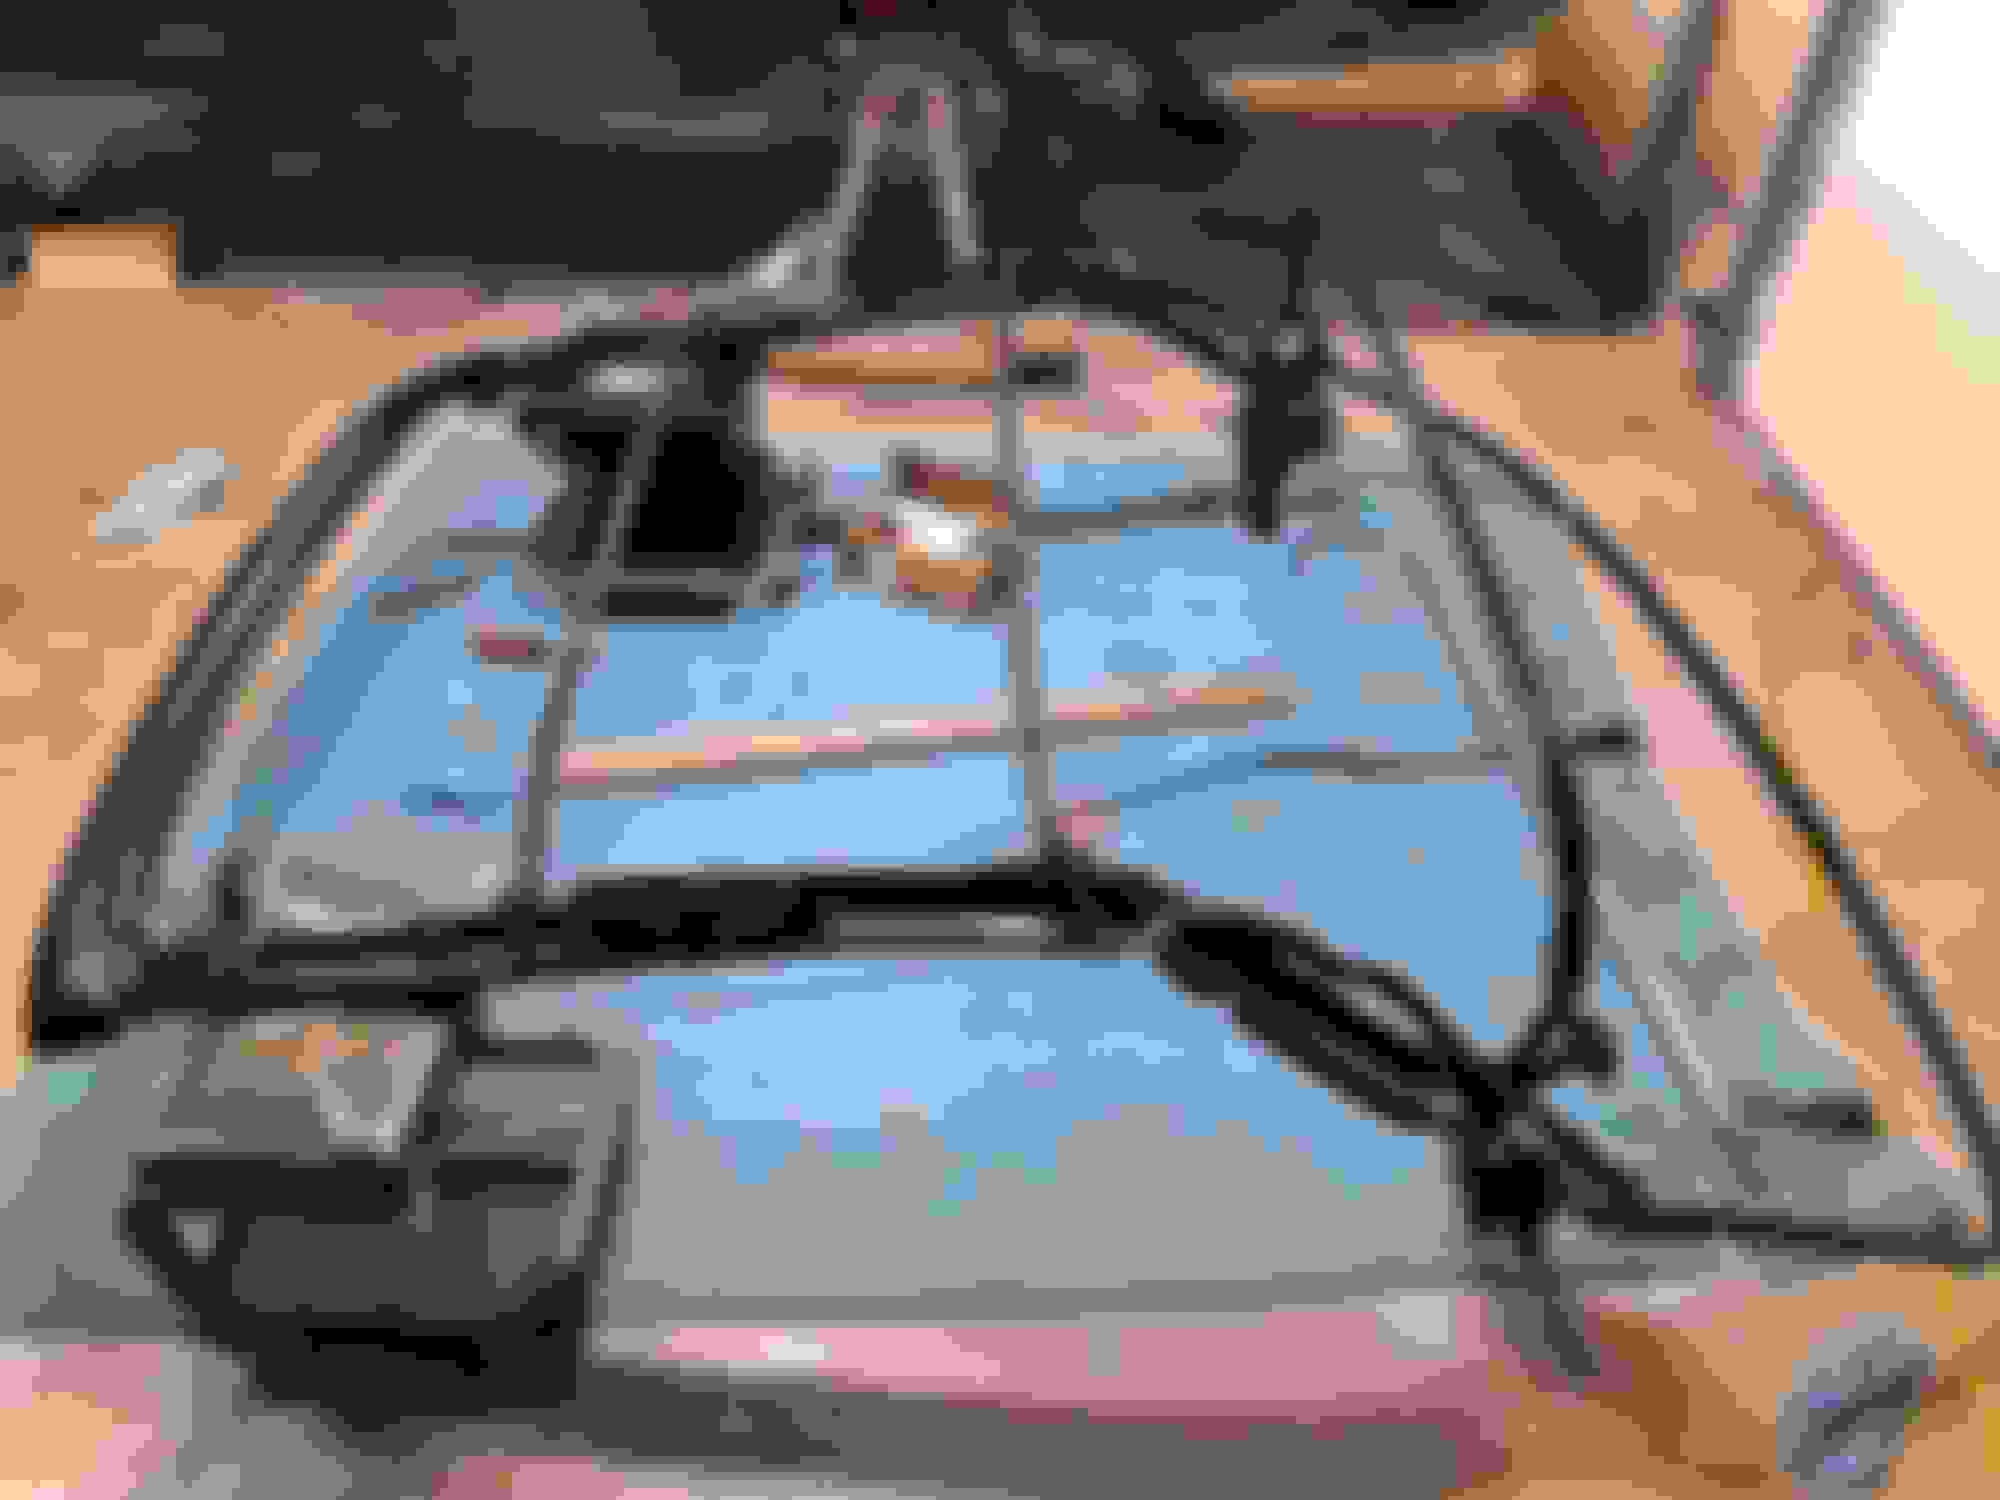
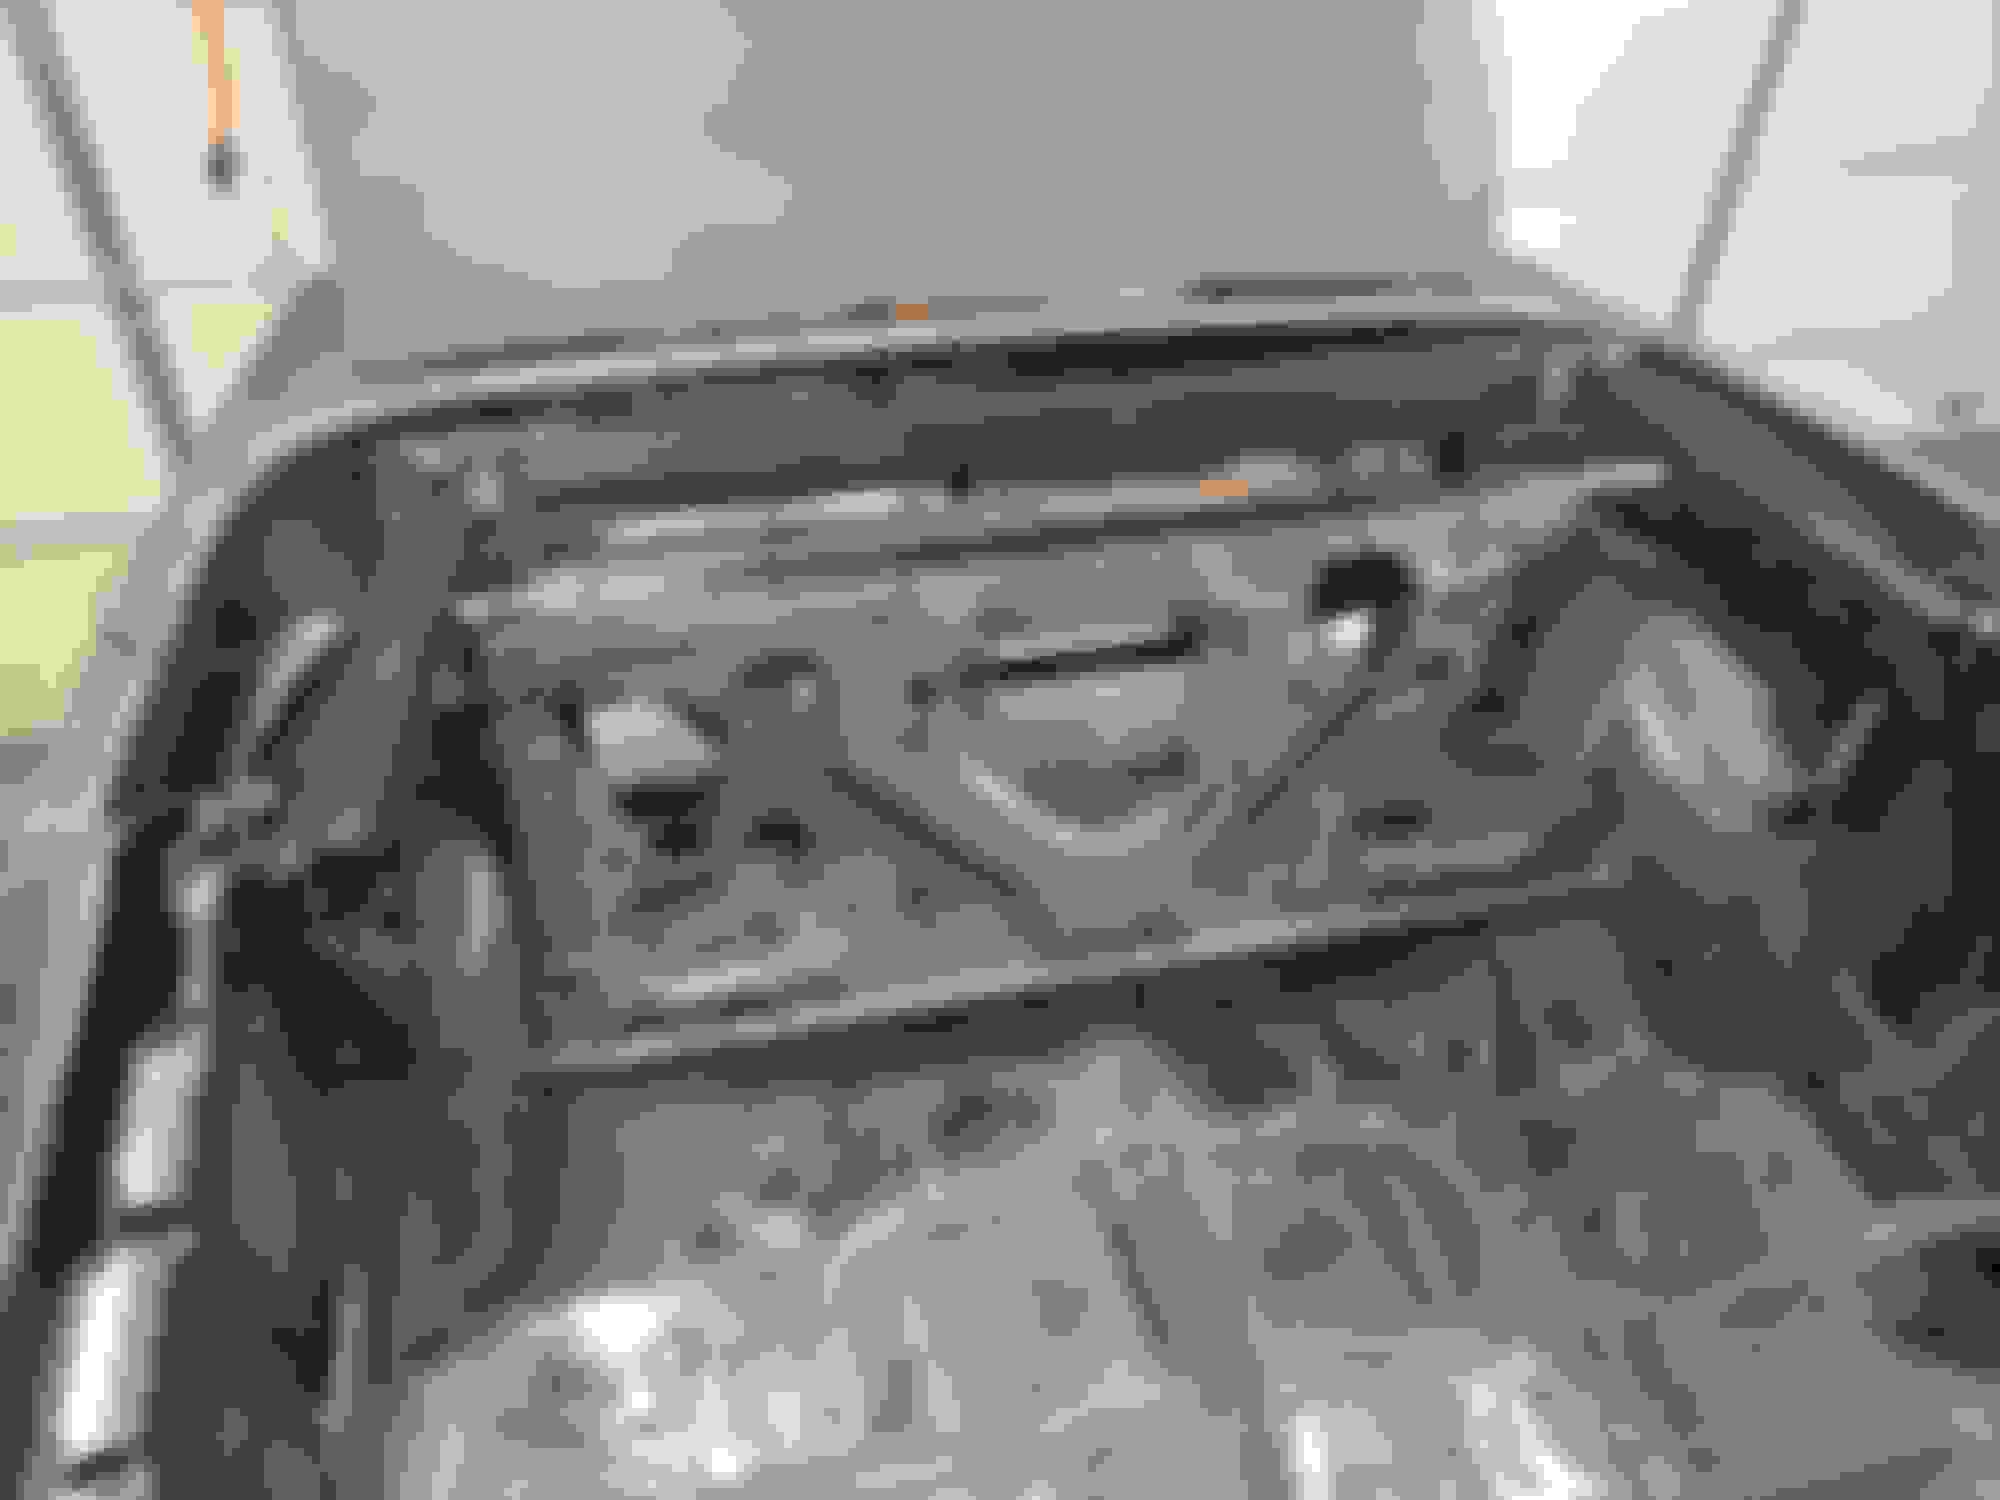
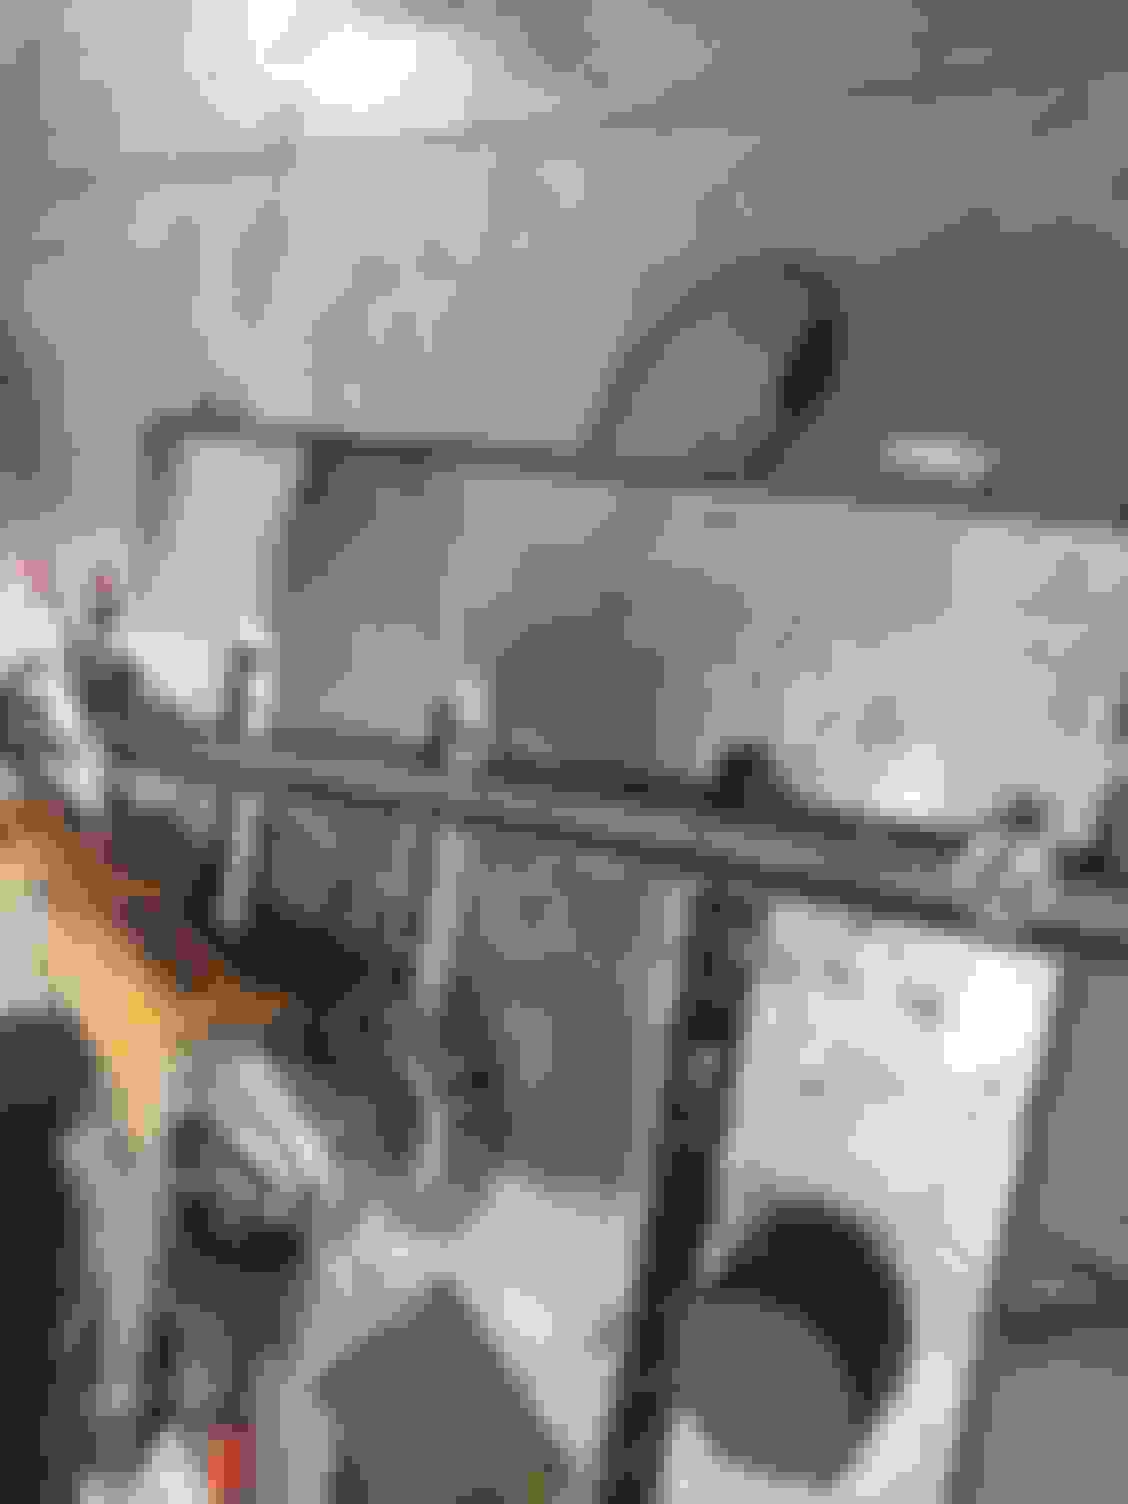
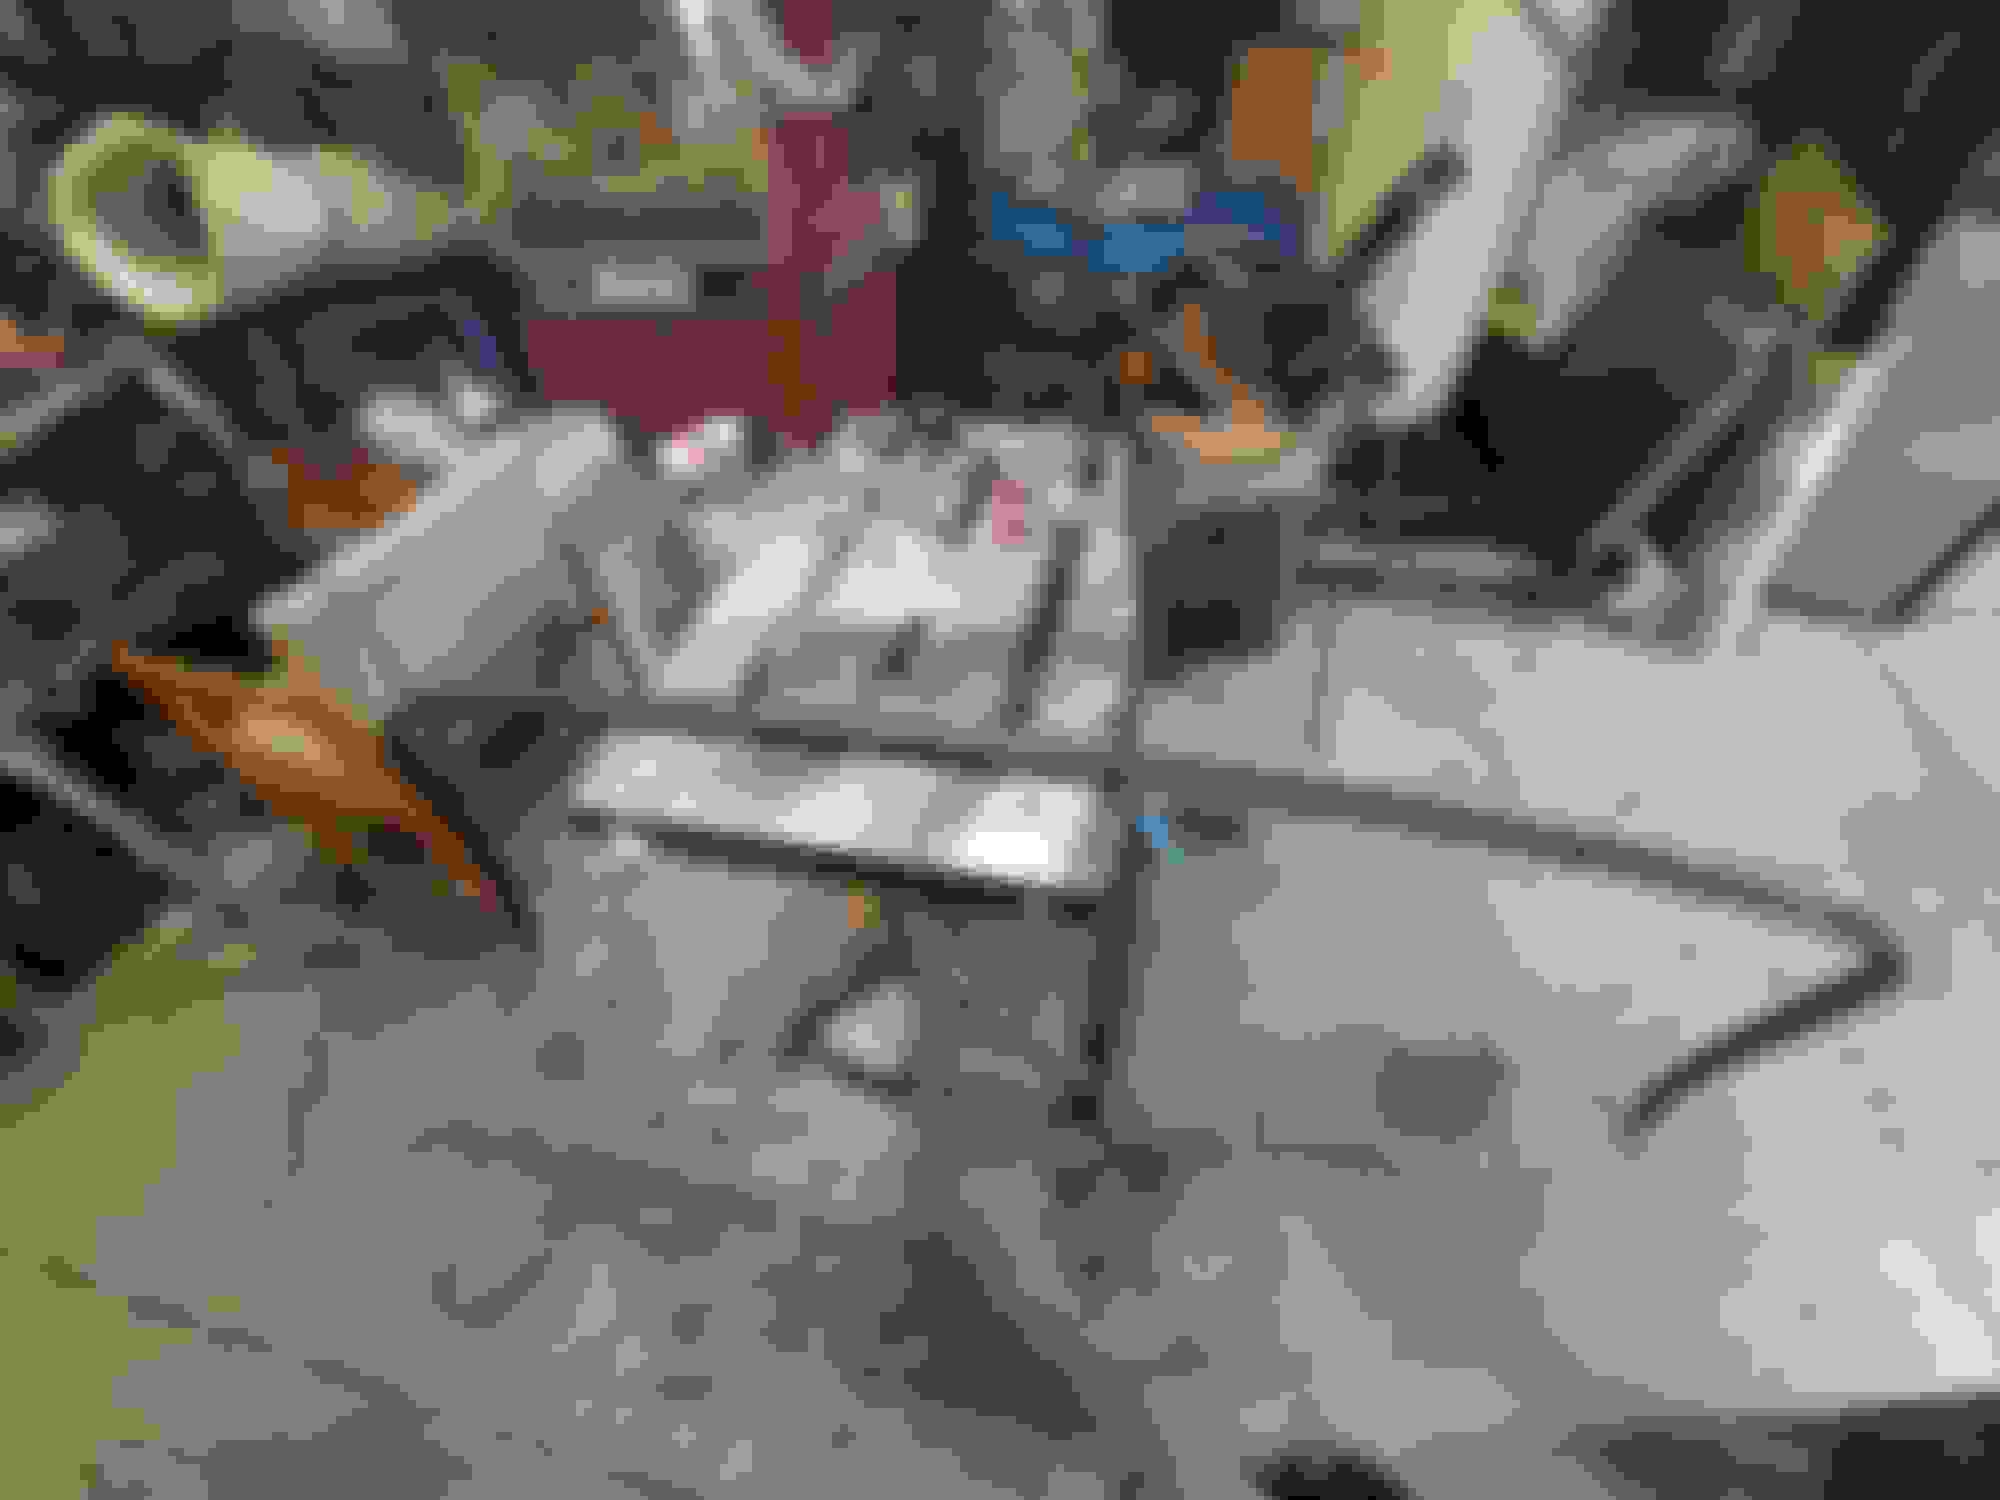
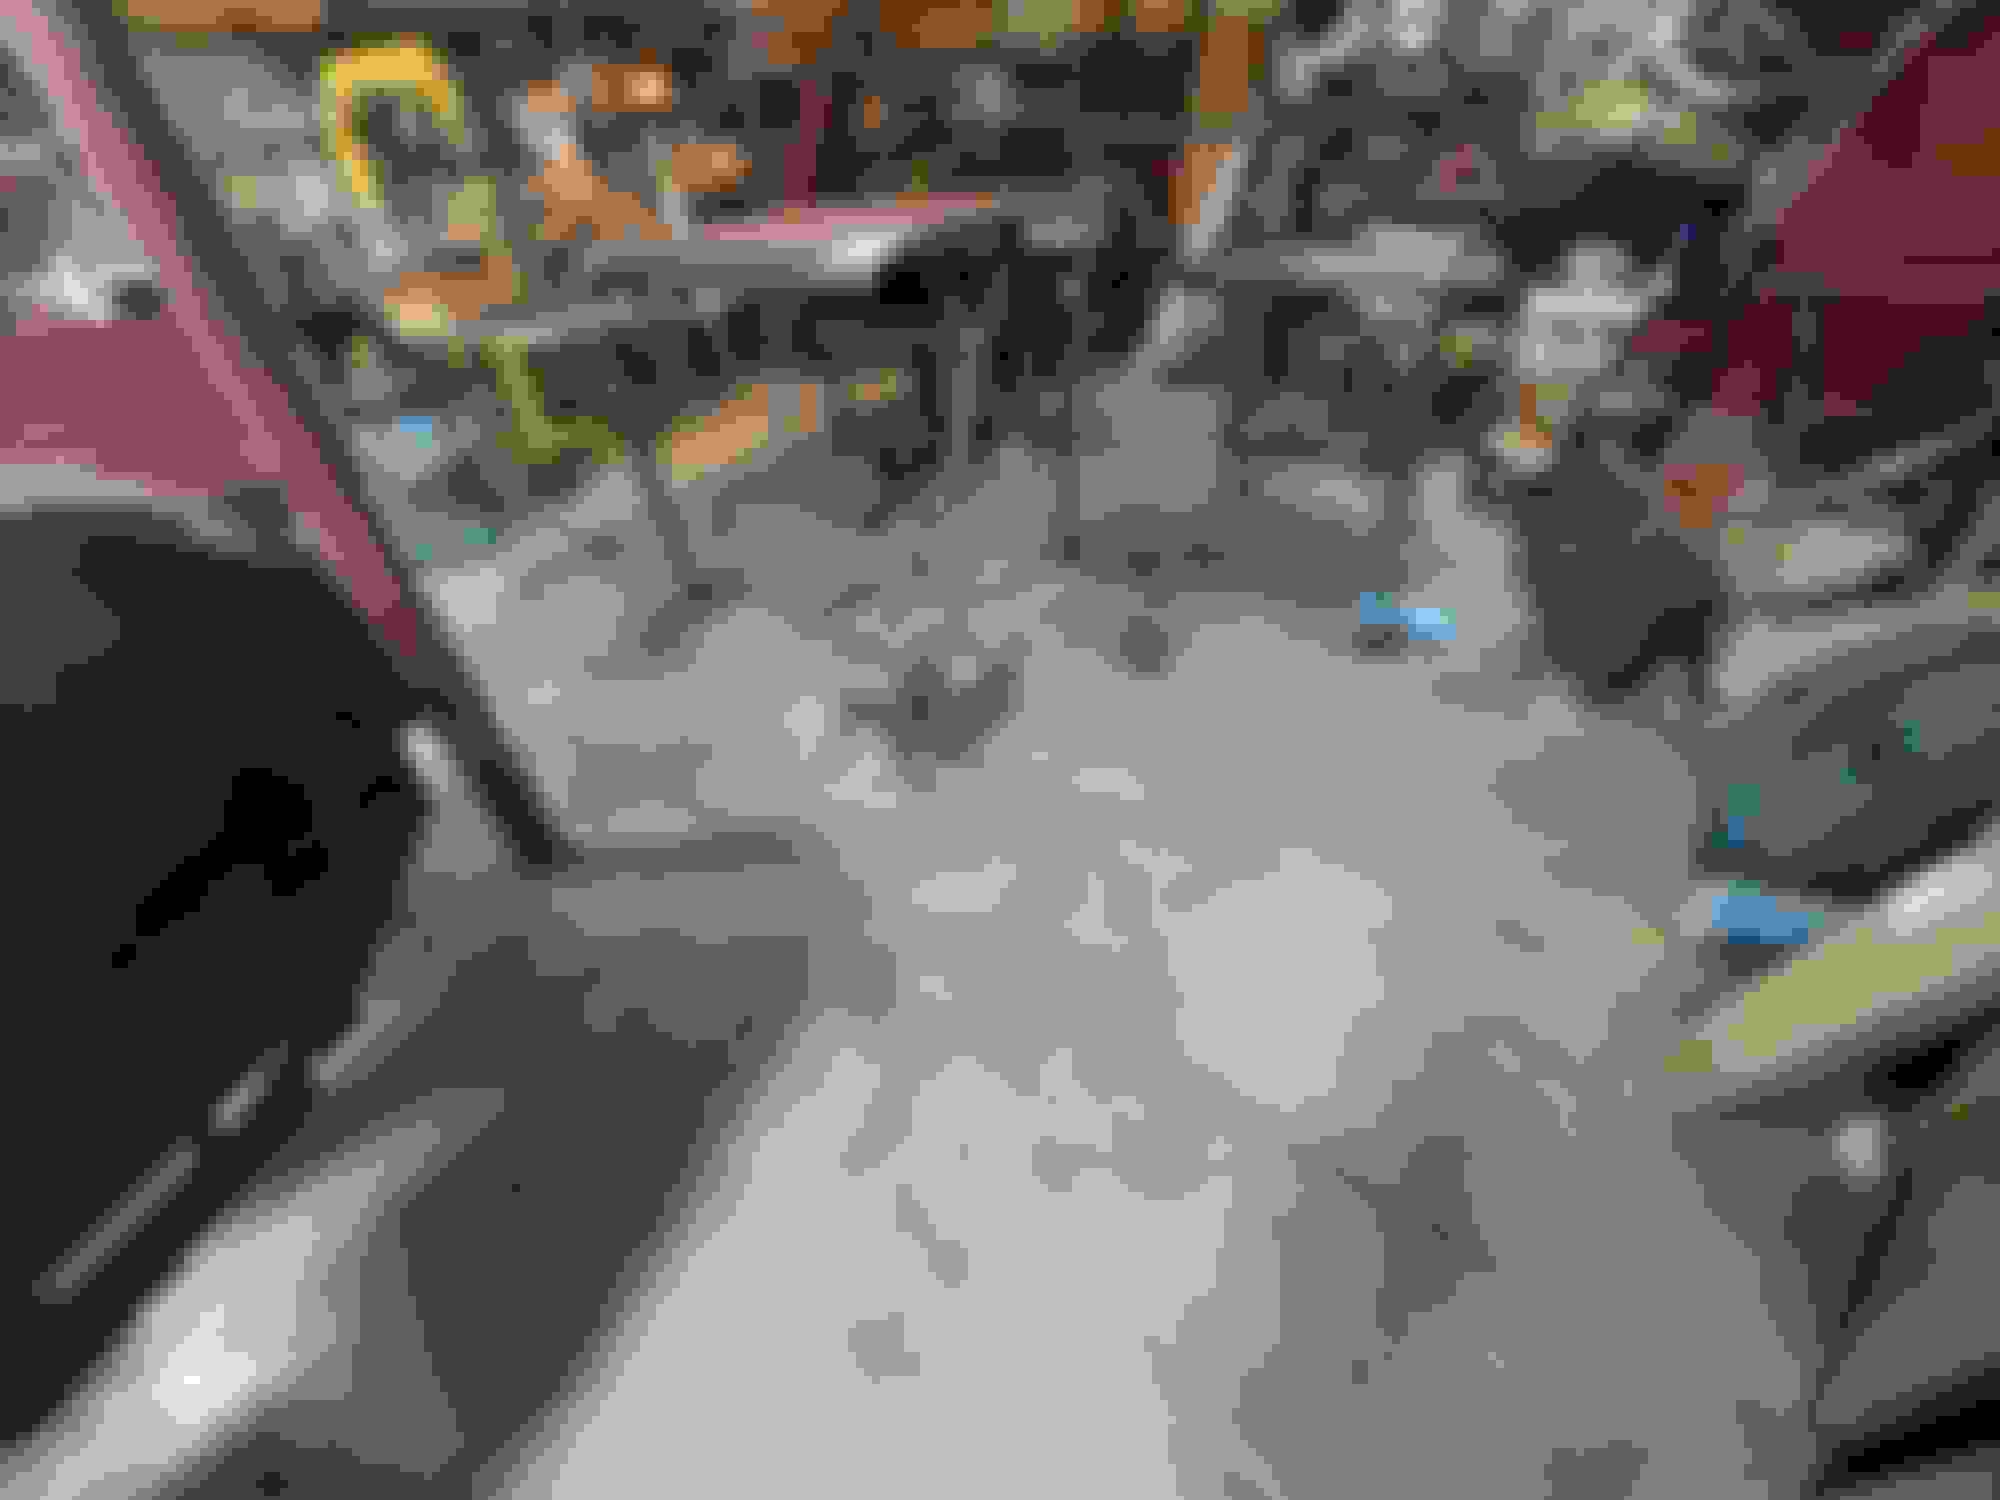
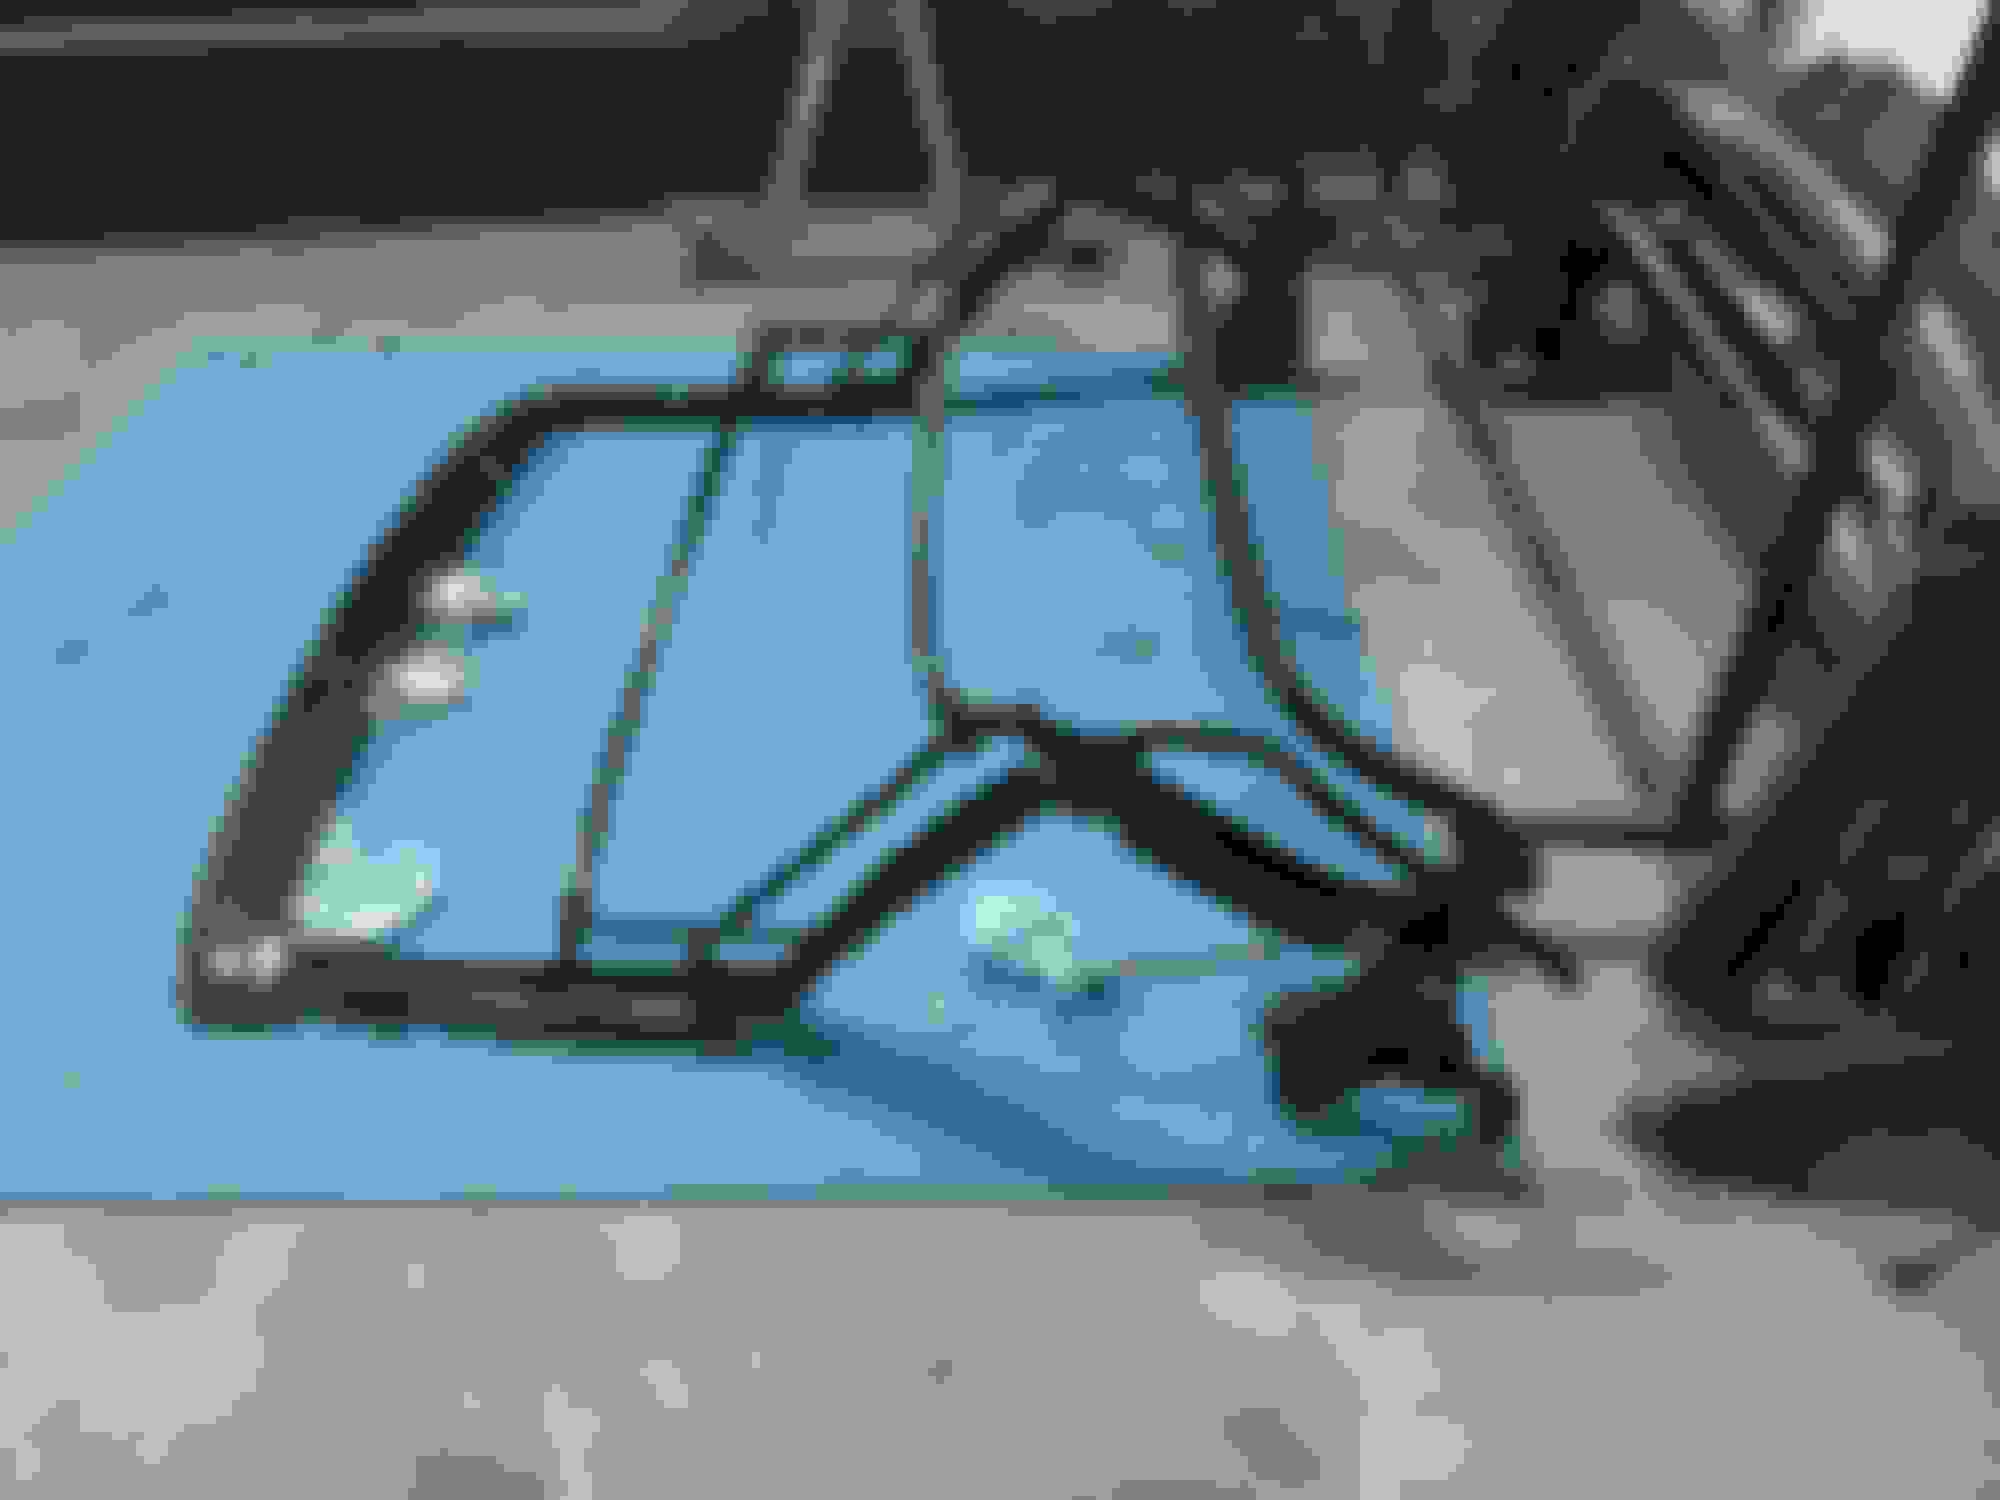
Taking a break from body gaps I disassembled the top frame and started to clean and blast.
I hope I can put it back together, took plenty of pics. Fortunately, I have another frame as a reference.
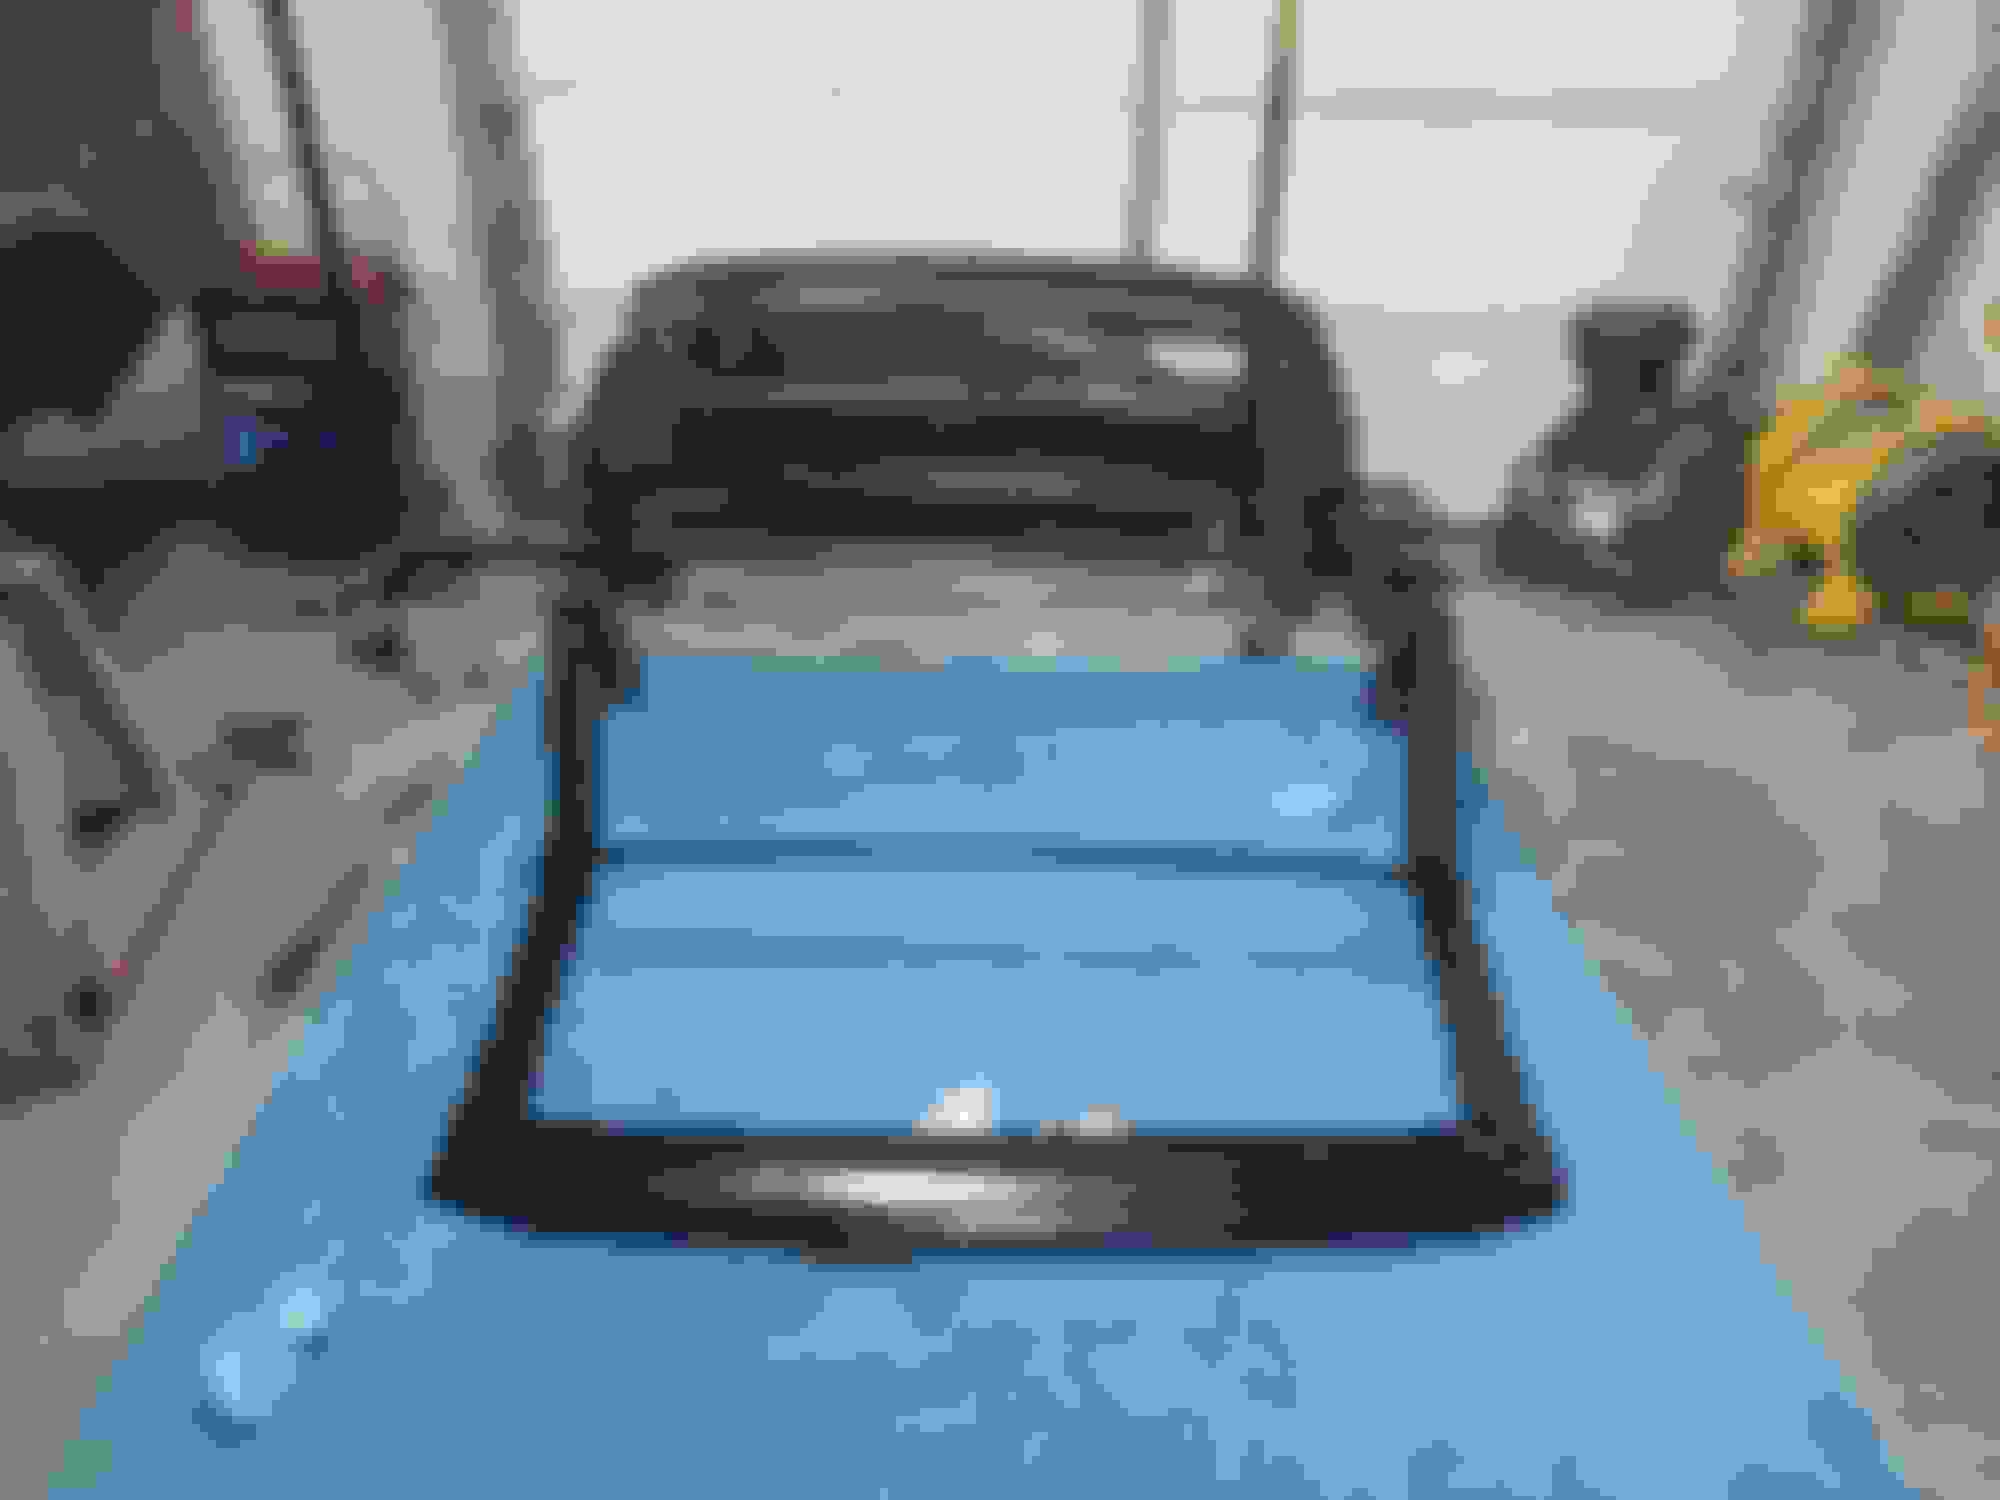
The frame is in pretty good shape.
Don't hesitate to ask me for help when you're ready to reassemble "the puzzle" as Eddie put it. I started taking my top frame apart with the intention of blasting each section and repainting everything. Working from the mounting points forward, about half-way into it I had a major panic attack when I realized I didn't fully understand the connection points well enough to put it back together! I spent the next 1-1/2 hours trying to put it back together (and it was only partially disassembled). At this point I made a 2-min, walk-around video with my phone so I could document the nuances of each hinge point; rotating the camera from the outside to the inside of each hinge point. For me, the most difficult part of the reassembly process was figuring out the direction and sequence of the bushings and wave washers. Some hinge points were not that intuitive and the cell phone video answered most of these questions.
Rodney
Rod that�s what I�d be afraid of lol , my frame isn�t rusty I may just scuff and shoot when time comes lol check the bushings and only dismantle what absolutely has to be done
Having another top frame for reference is the ultimate memory crutch! Sounds like a good plan though.
Lord Knows I need memory crutches.
my frame isn�t rusty I may just scuff and shoot when time comes lol check the bushings and only dismantle what absolutely has to be done
Eddie, I thought my frame wasn't rusty either, however, the original tack strips hold moisture, basically cardboard and there is a good chance there is some rust hiding.
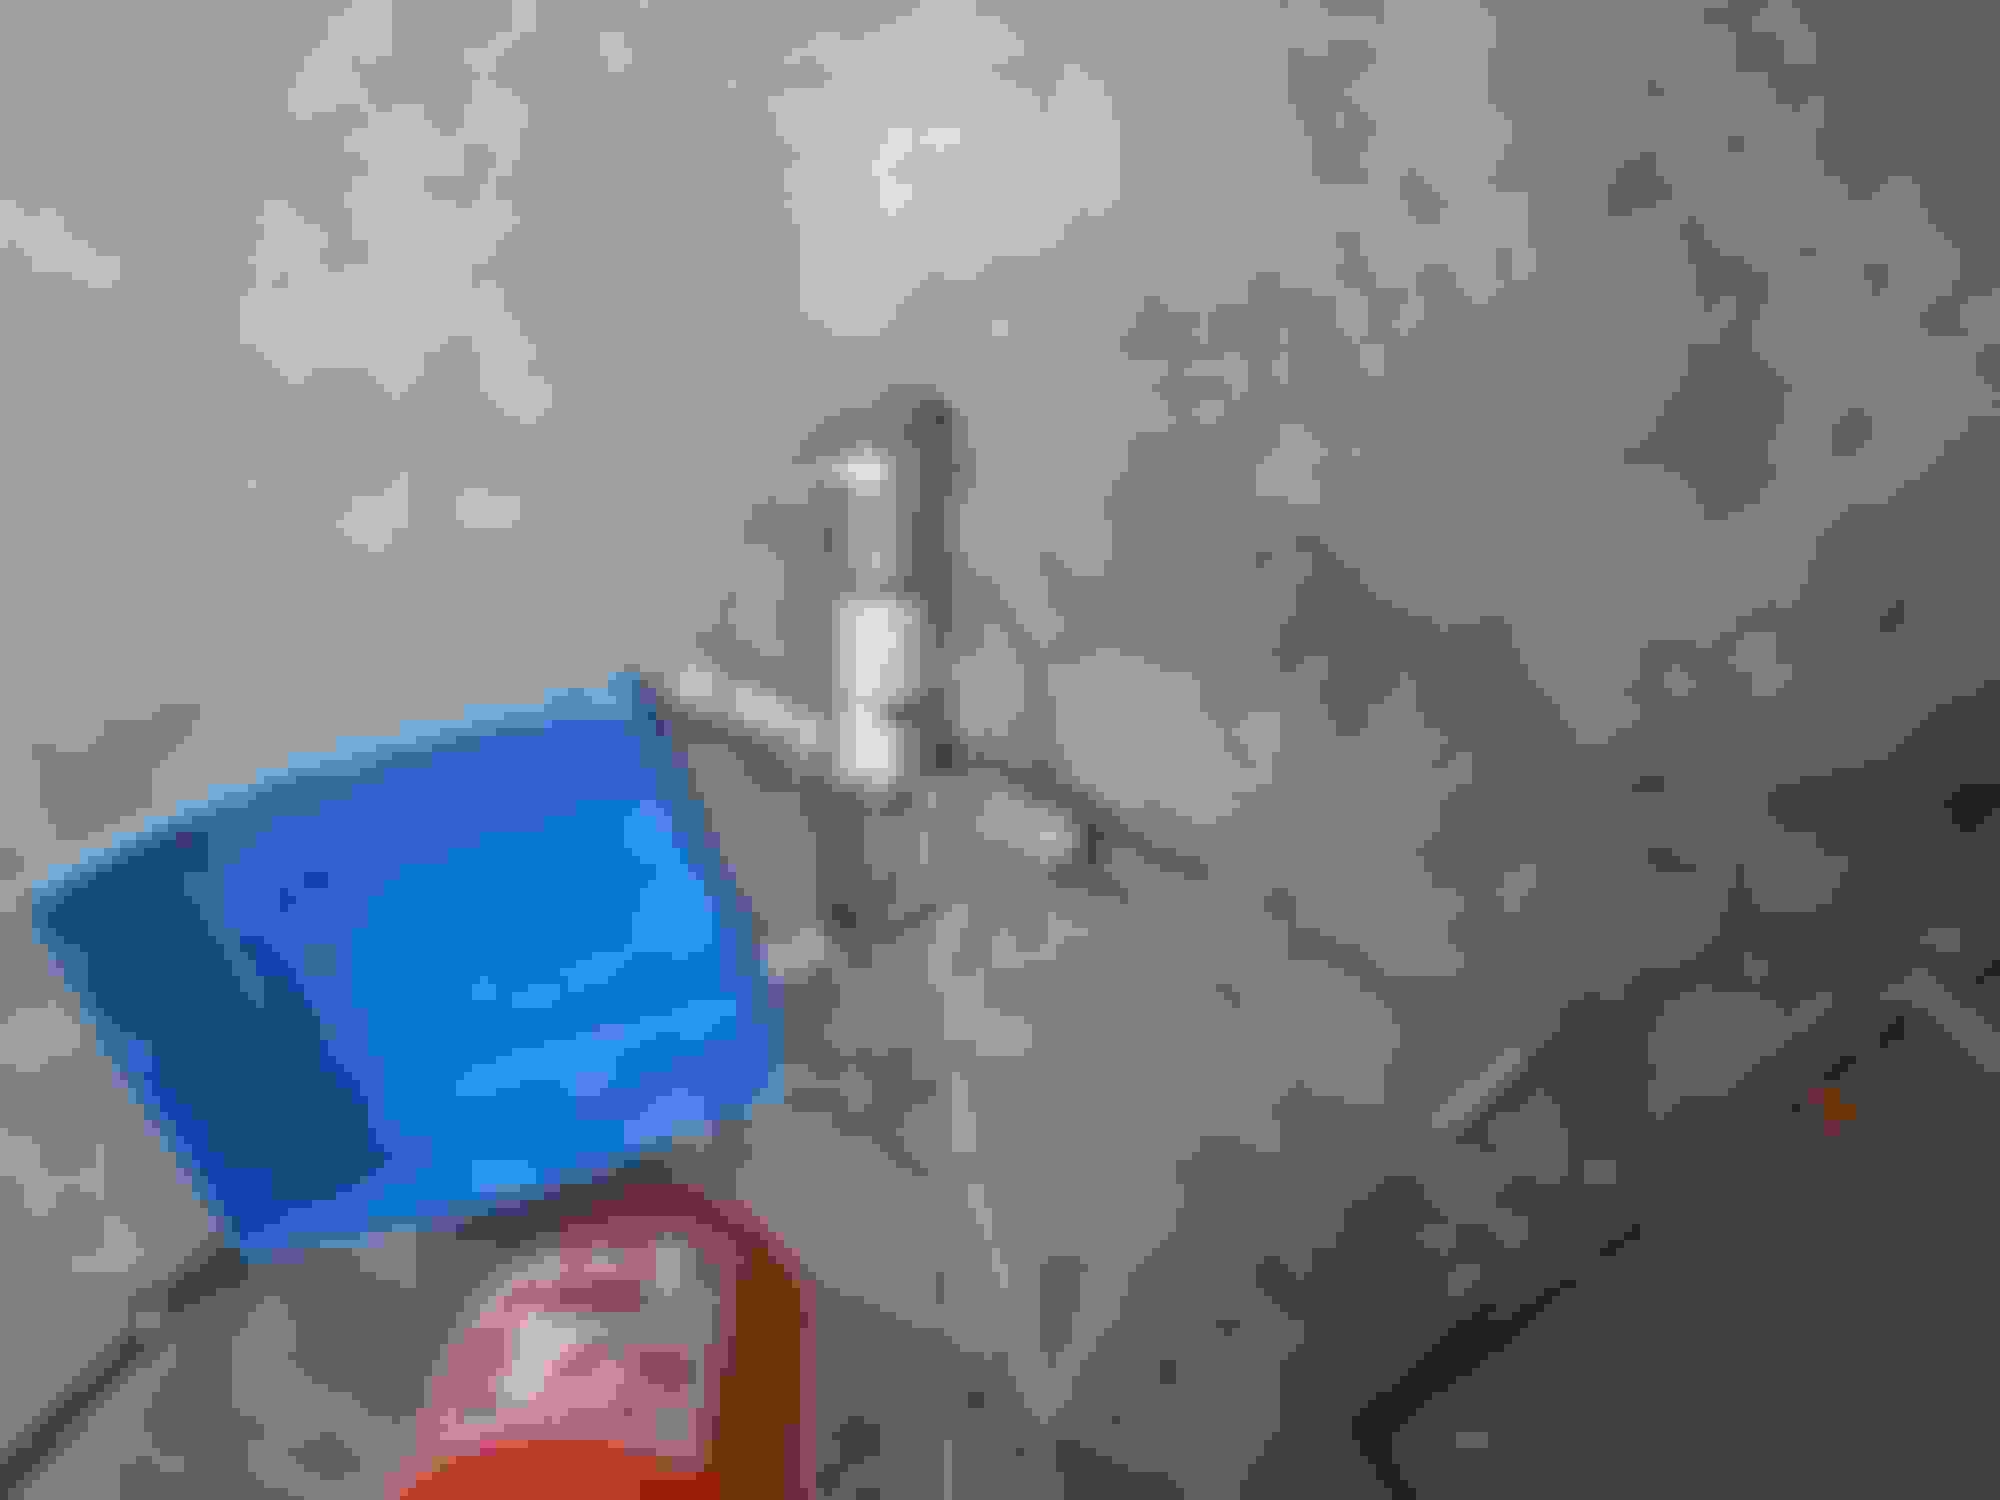
Took a couple of hours to chisel out the tack strip on the floating bow, half of it turned to dust.
Worked on the floating bow, wire wheeled, and got a ton more dust/rust out.
hit it with rust converter.
The bushings came in so I started to assemble the puzzle.
I left one side of the rear section assembled to use as a template, ( Eddie you may consider doing one side at a time)
A couple more pieces to blast and paint along with the bow then I can complete the assembly process.
Got the top frame mostly assembled.
Waiting on the tack strip.
Rebuild of the pump is next.
Having another frame was key, still had some head-scratchers. think I got it right.
There were a couple of missing bolts, hopefully, I can get what I need from the spare frame.
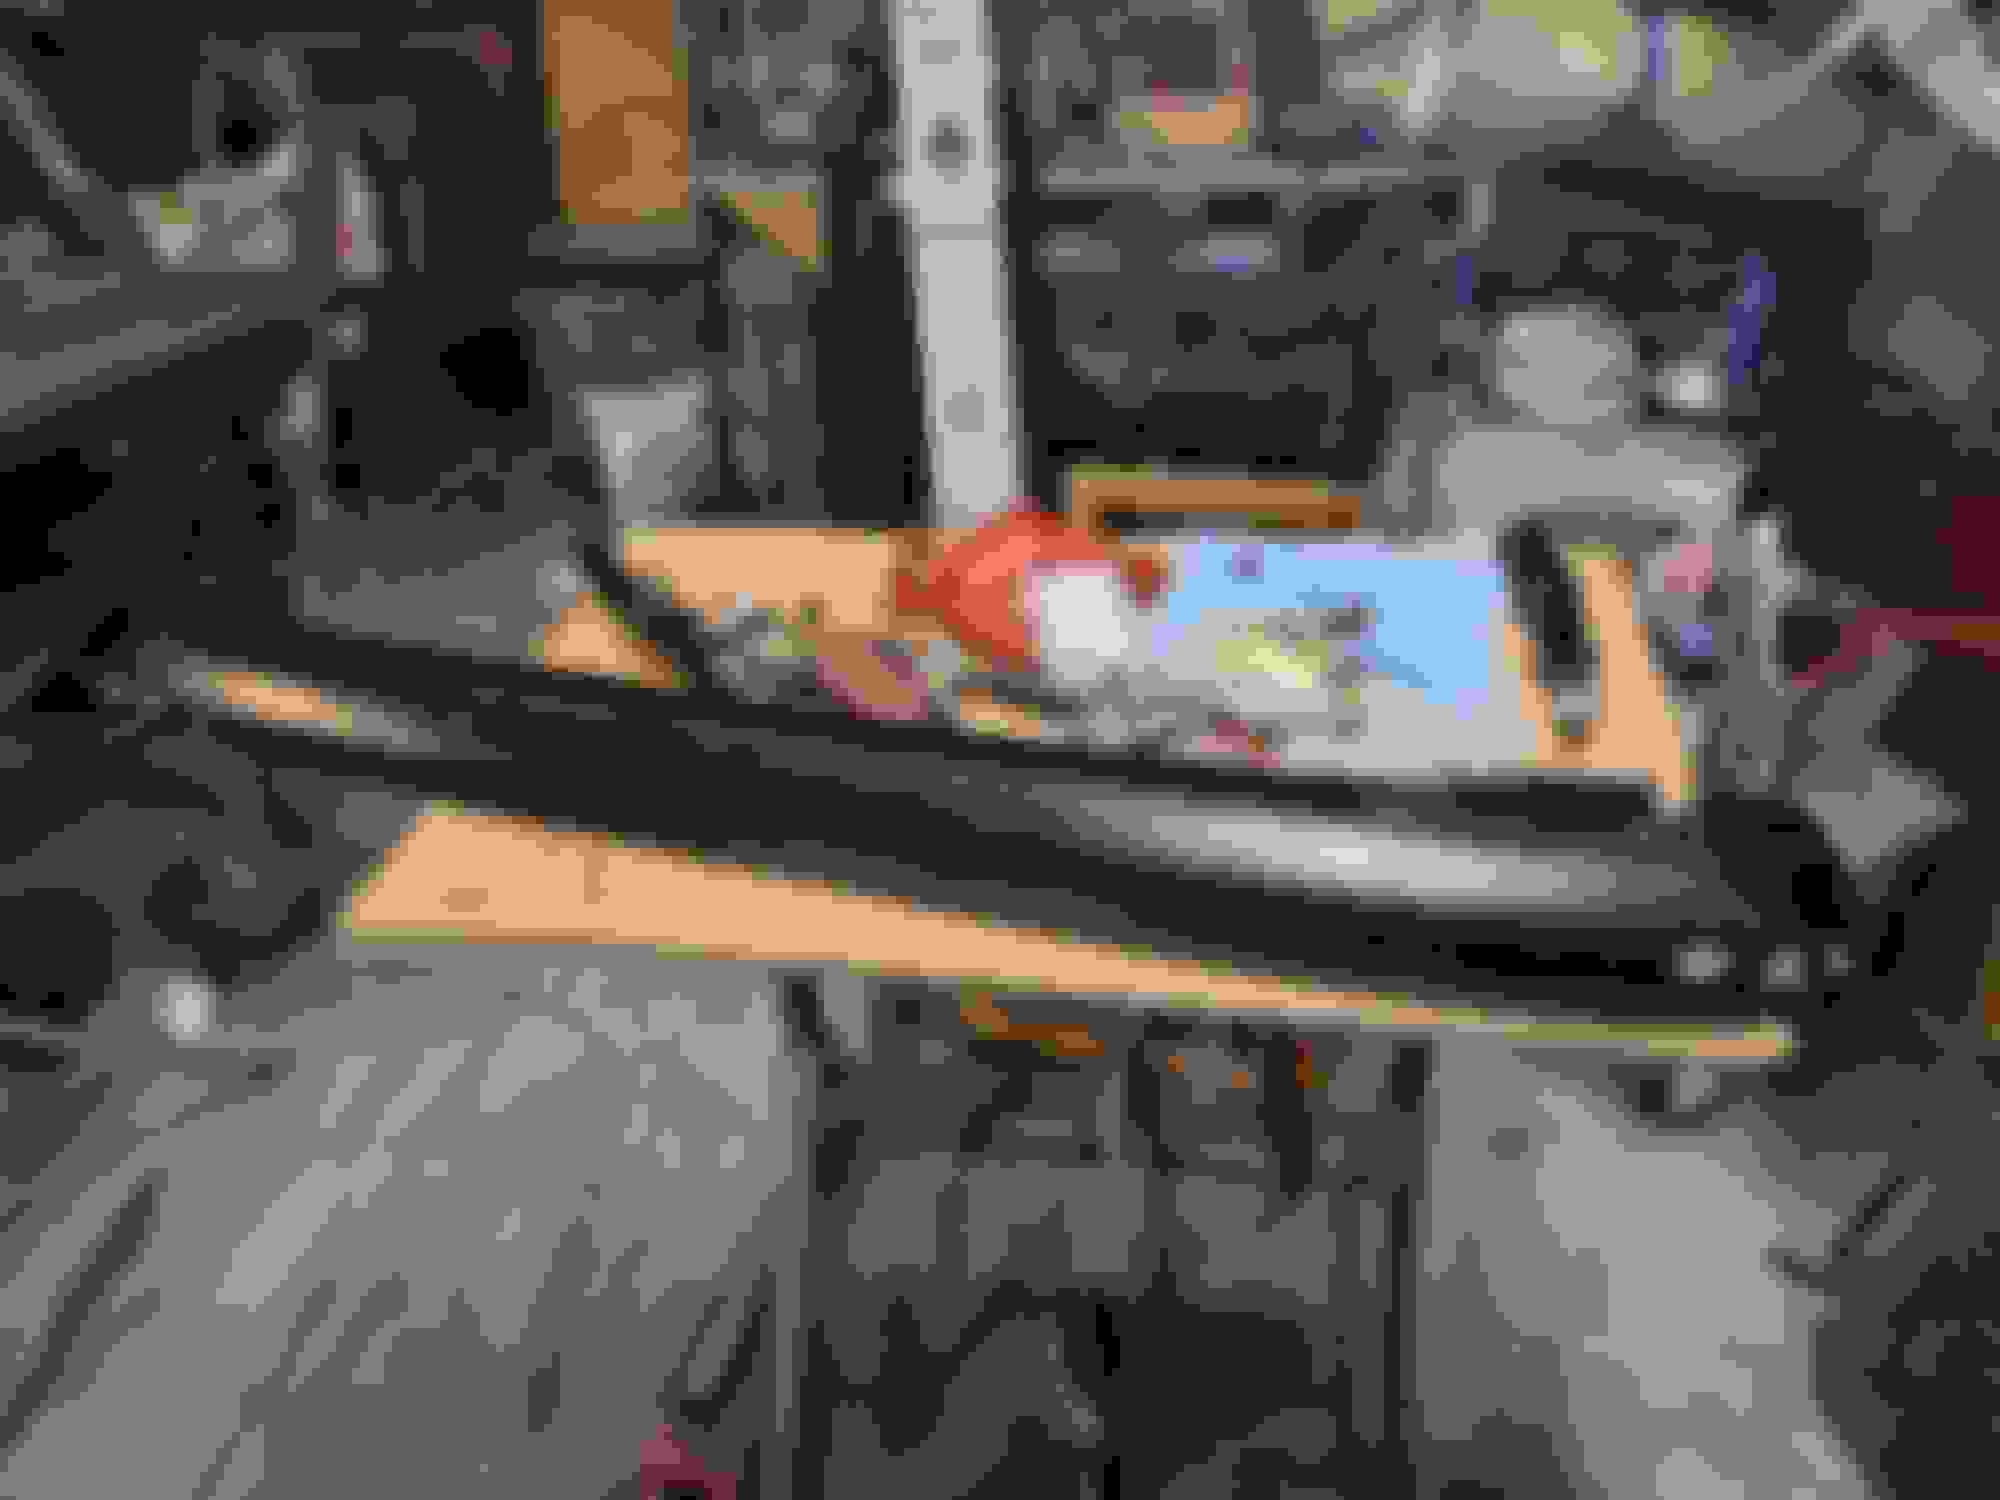
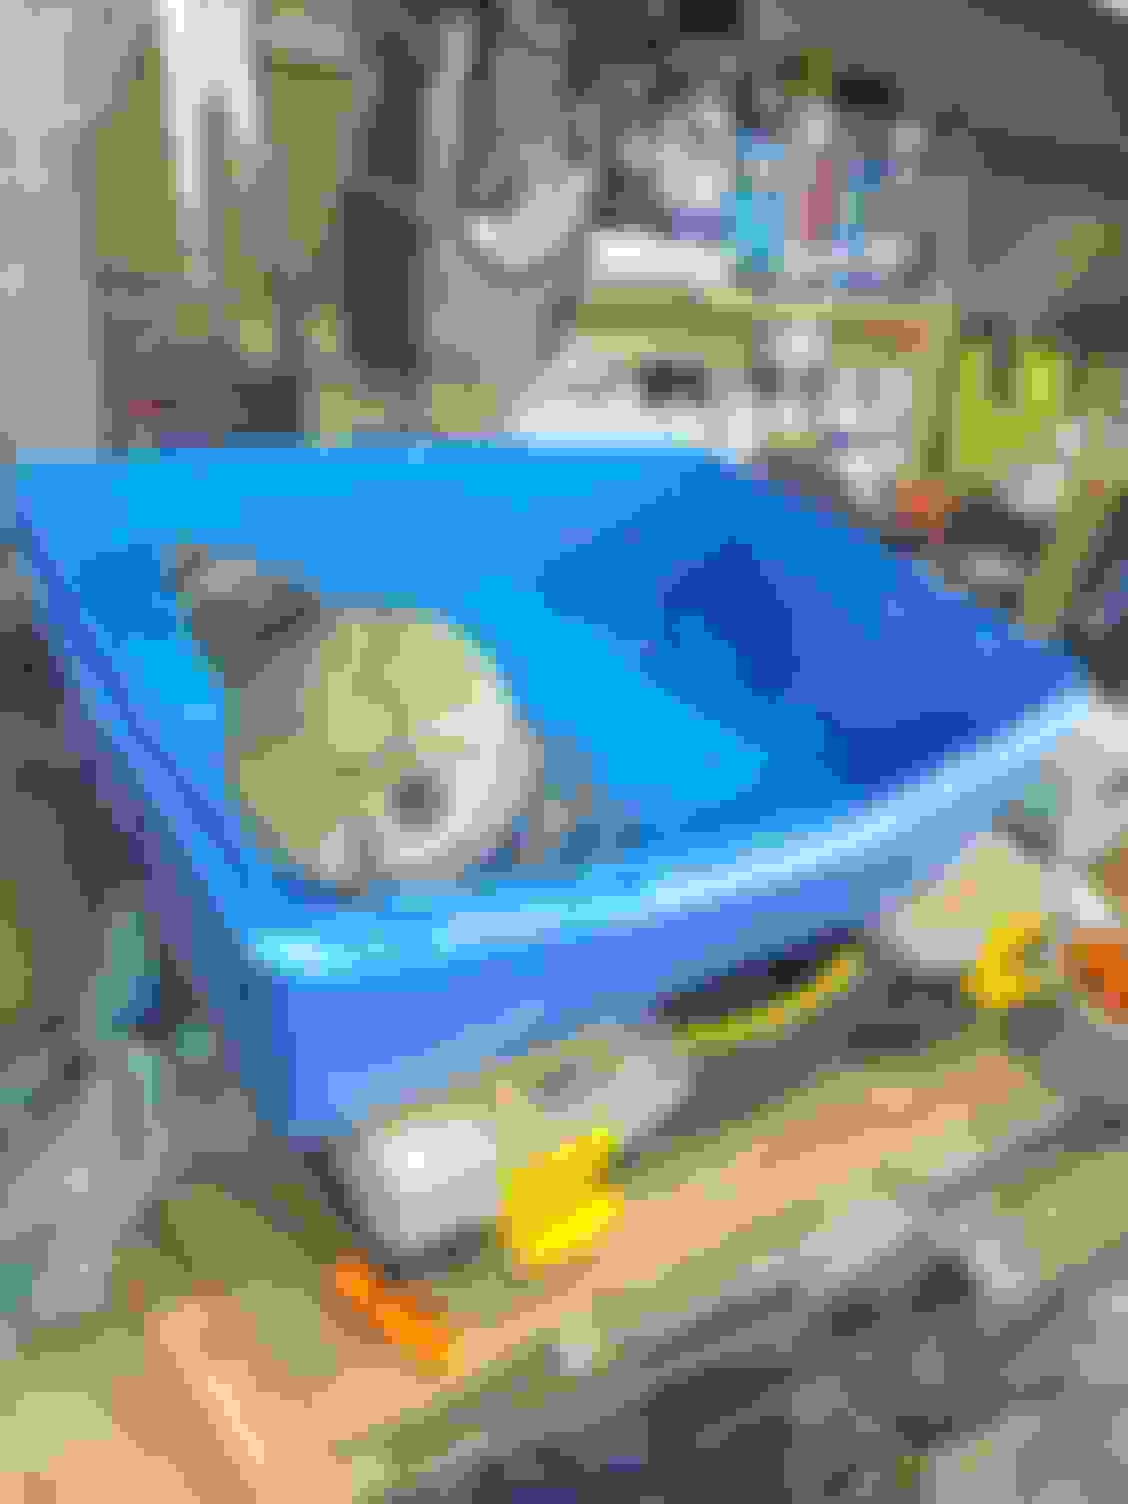
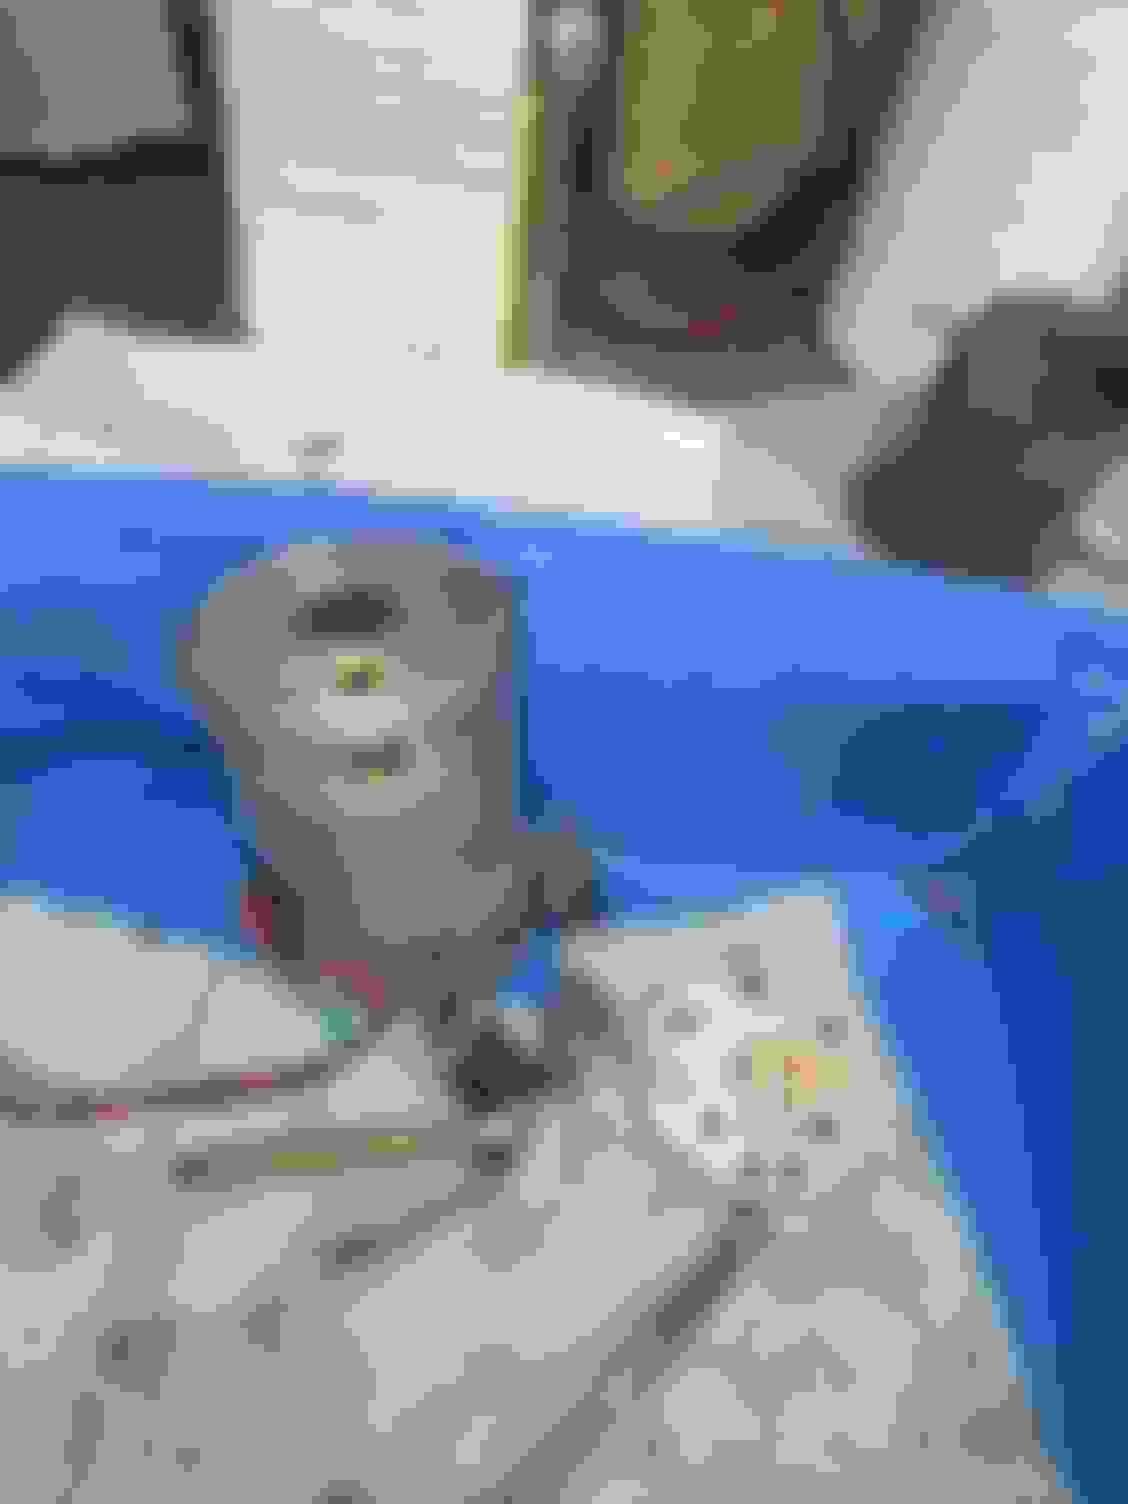
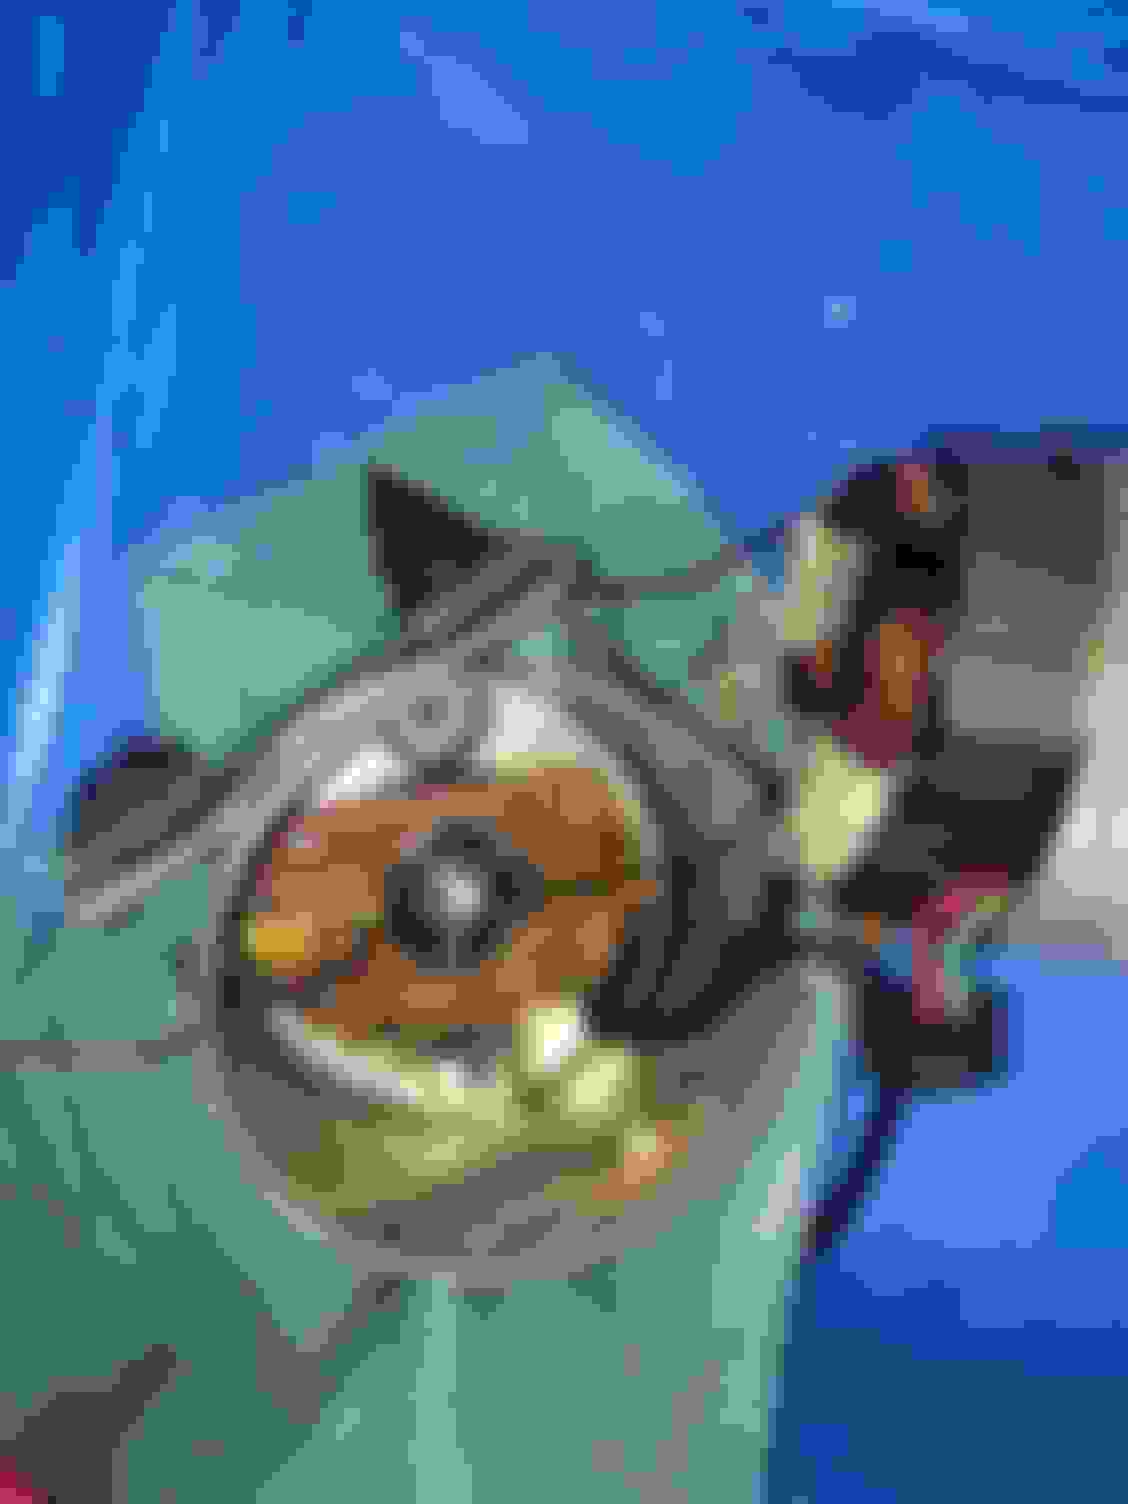
Rebuilt the hydraulic pump.
Not sure if it had been rebuilt before but it was very clean, not sure if it was because it used tranny fluid.
I ended up with an extra washer so I took another pump apart that used brake fluid and it has a lot of build-up/gunk.
As some other posts mention it's a little tricky at first to get the brushes held in place in order to put the armature in.
The pumps are very simple and there are some good resources.. https://autobodystore.com/forum/show...ly-and-rebuild
I knew something did not look right with the rear bow.
Turns out I had the rear bow in backward.
rear bow facing the wrong way the mounting bracket angles incorrectly backward rear bow facing the correct way the mounting bracket angles correctly forward
I just finished reading your build from the beginning and really nice work you have done there. I know this is old news but you definitely made the right decision switching bodies. I thought mine was rusty until I saw yours! Maybe one weekend I can take a ride down there so we can talk cars. I can't imagine you are more than a couple hours away from RI.
I just finished reading your build from the beginning and really nice work you have done there. I know this is old news but you definitely made the right decision switching bodies. I thought mine was rusty until I saw yours! Maybe one weekend I can take a ride down there so we can talk cars. I can't imagine you are more than a couple hours away from RI.
Thanks! Glenn
Be happy to have you. I am about an hr from providence.
I was surprised at how much rust/Bondo I found on the second body. Still have that rusty carcass and close to enough parts to make another. So you never know it may someday come back to life.
I haven't been on here in a long time. I just read thru your build up to this point. Very impressive. It looks like you are doing a great job. Keep it up and don't get discouraged, these things take time. I just finished my 72 supreme rebuild that I started back after I got rear ended in 2014. Lots of work.
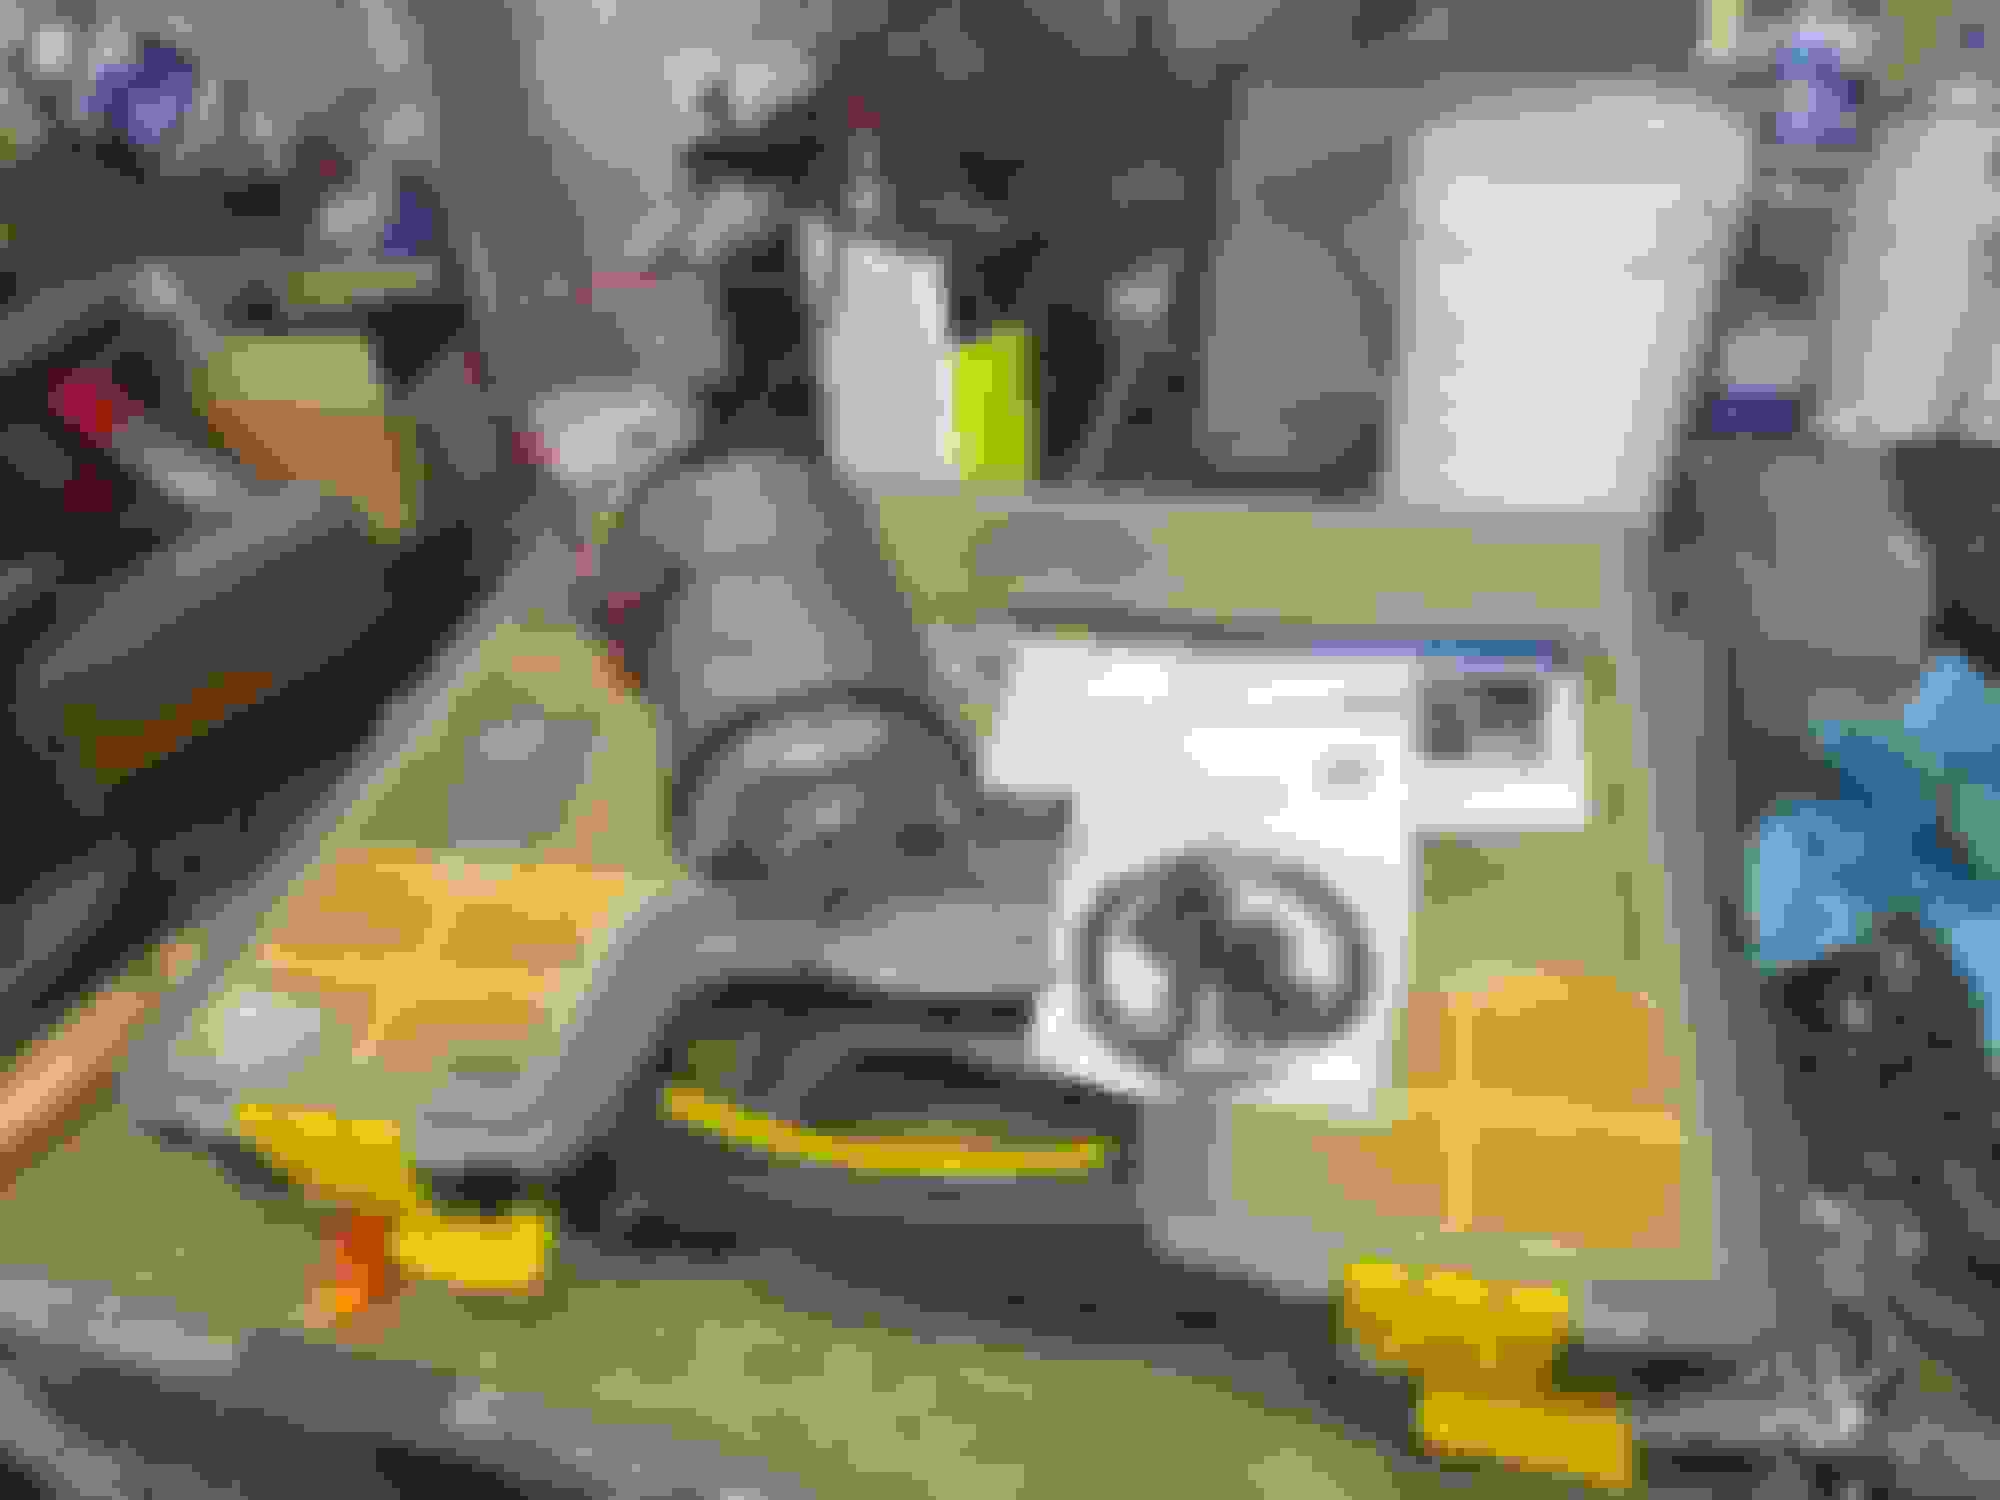
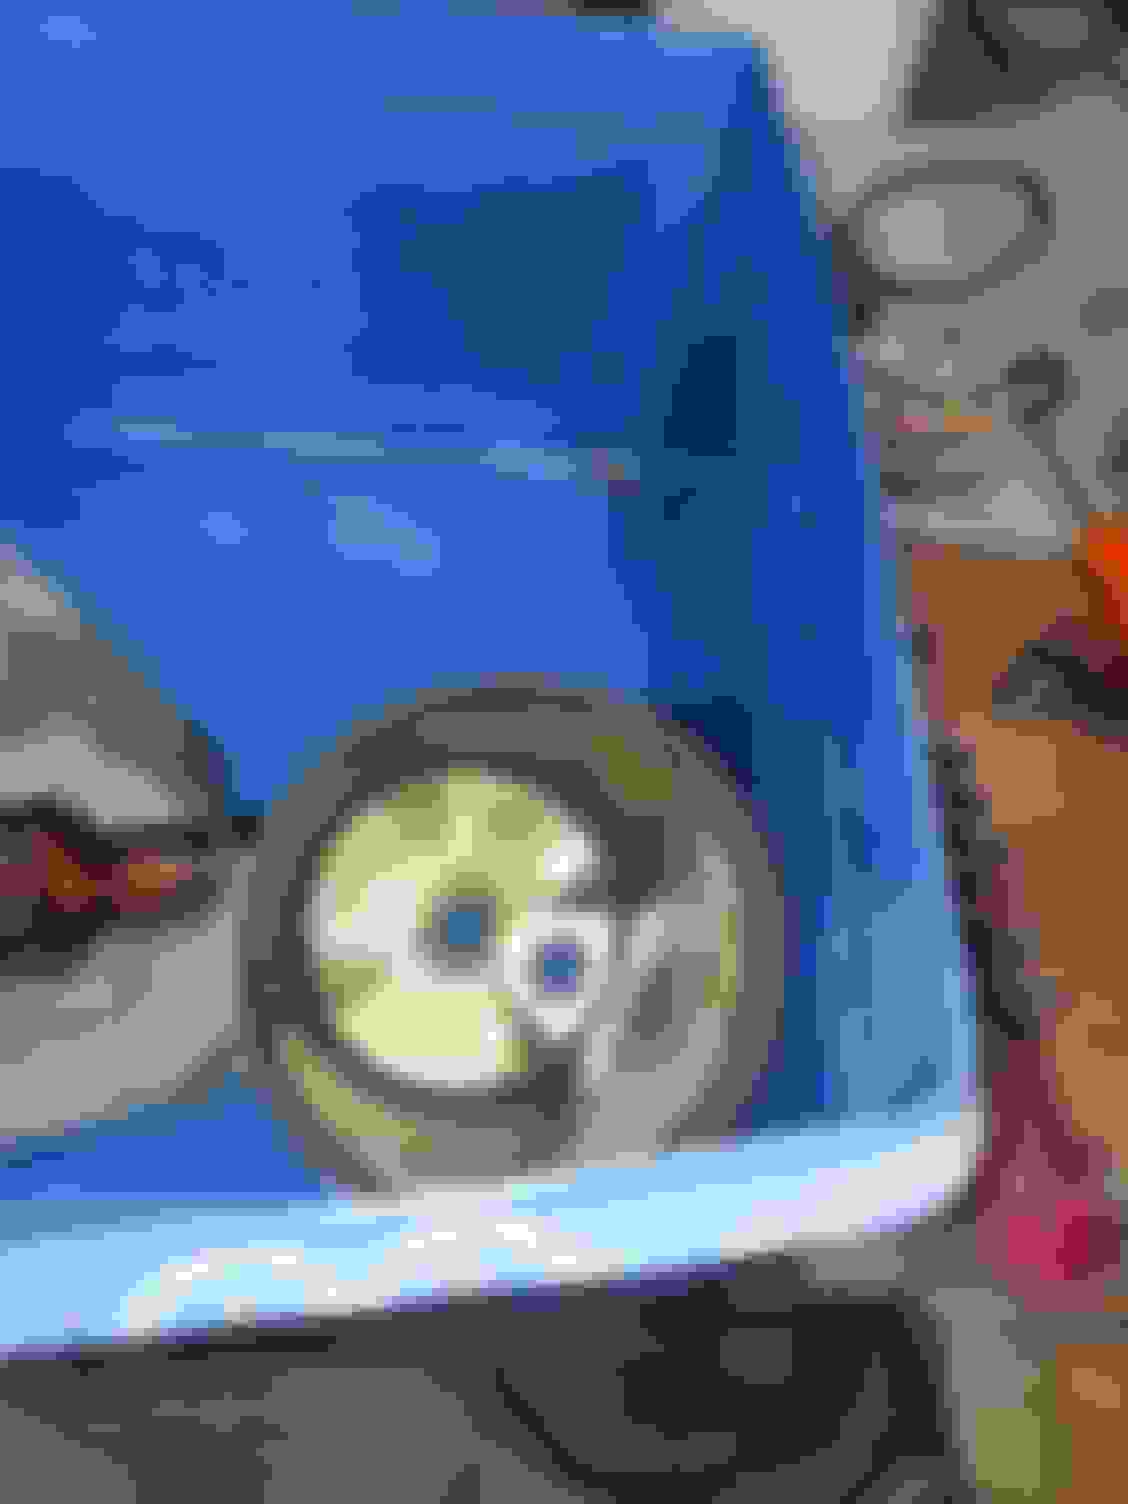
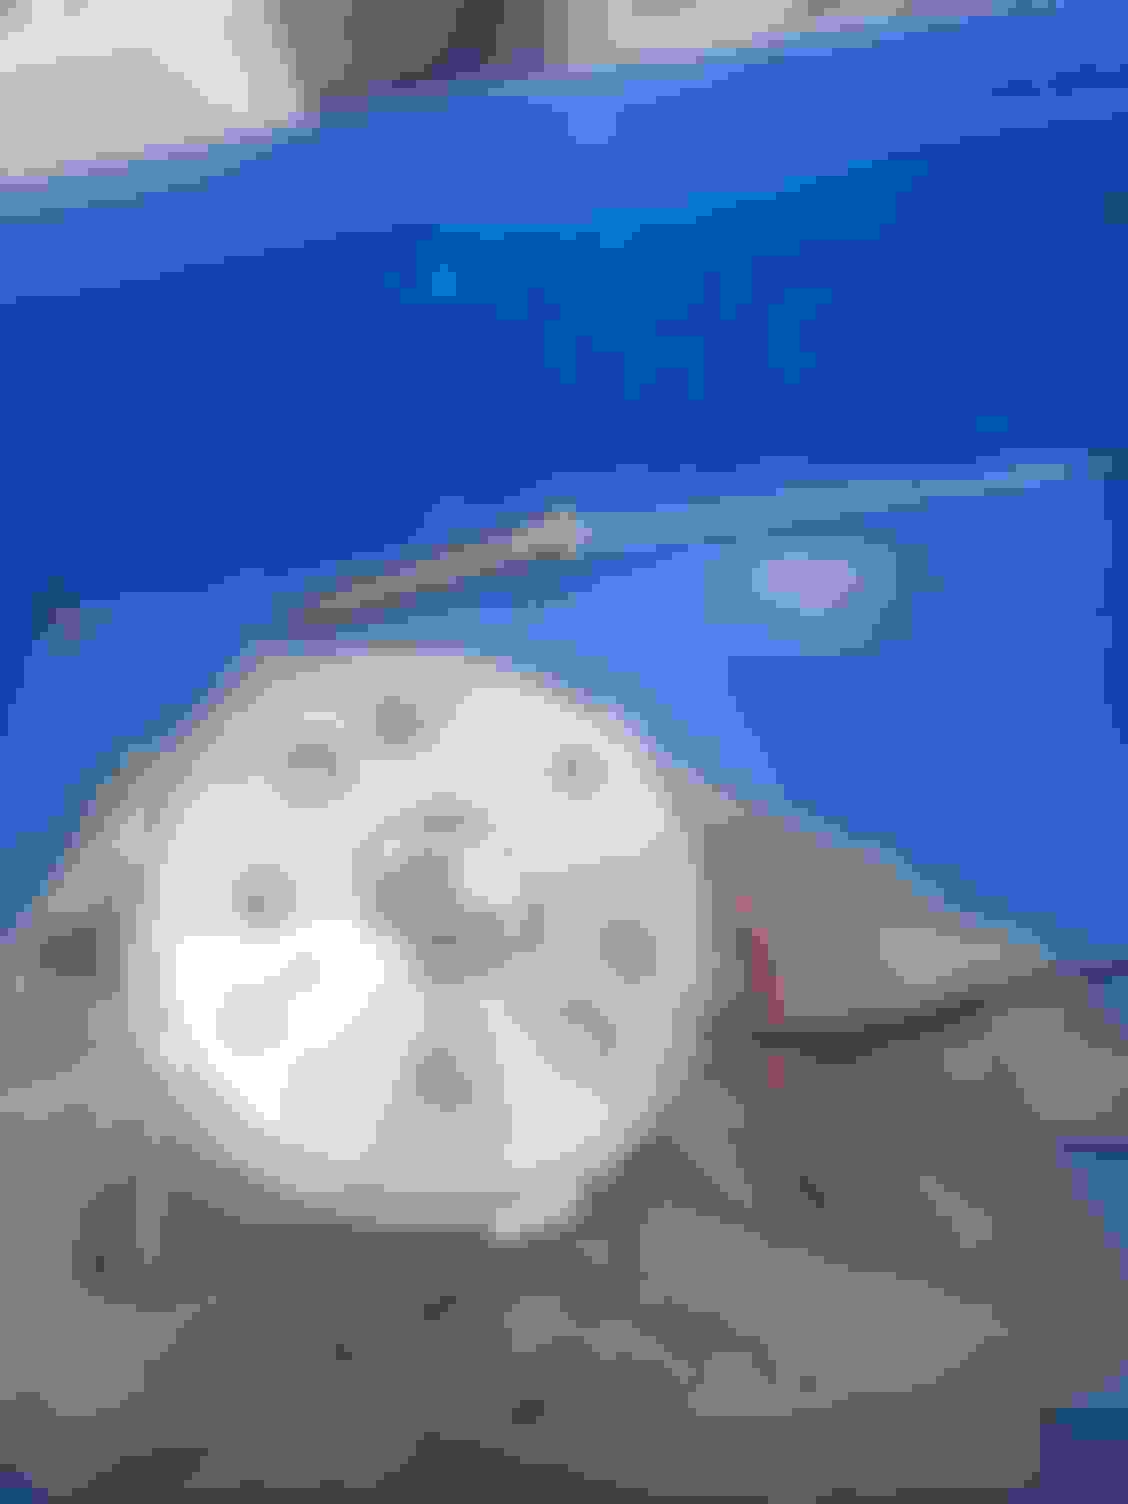
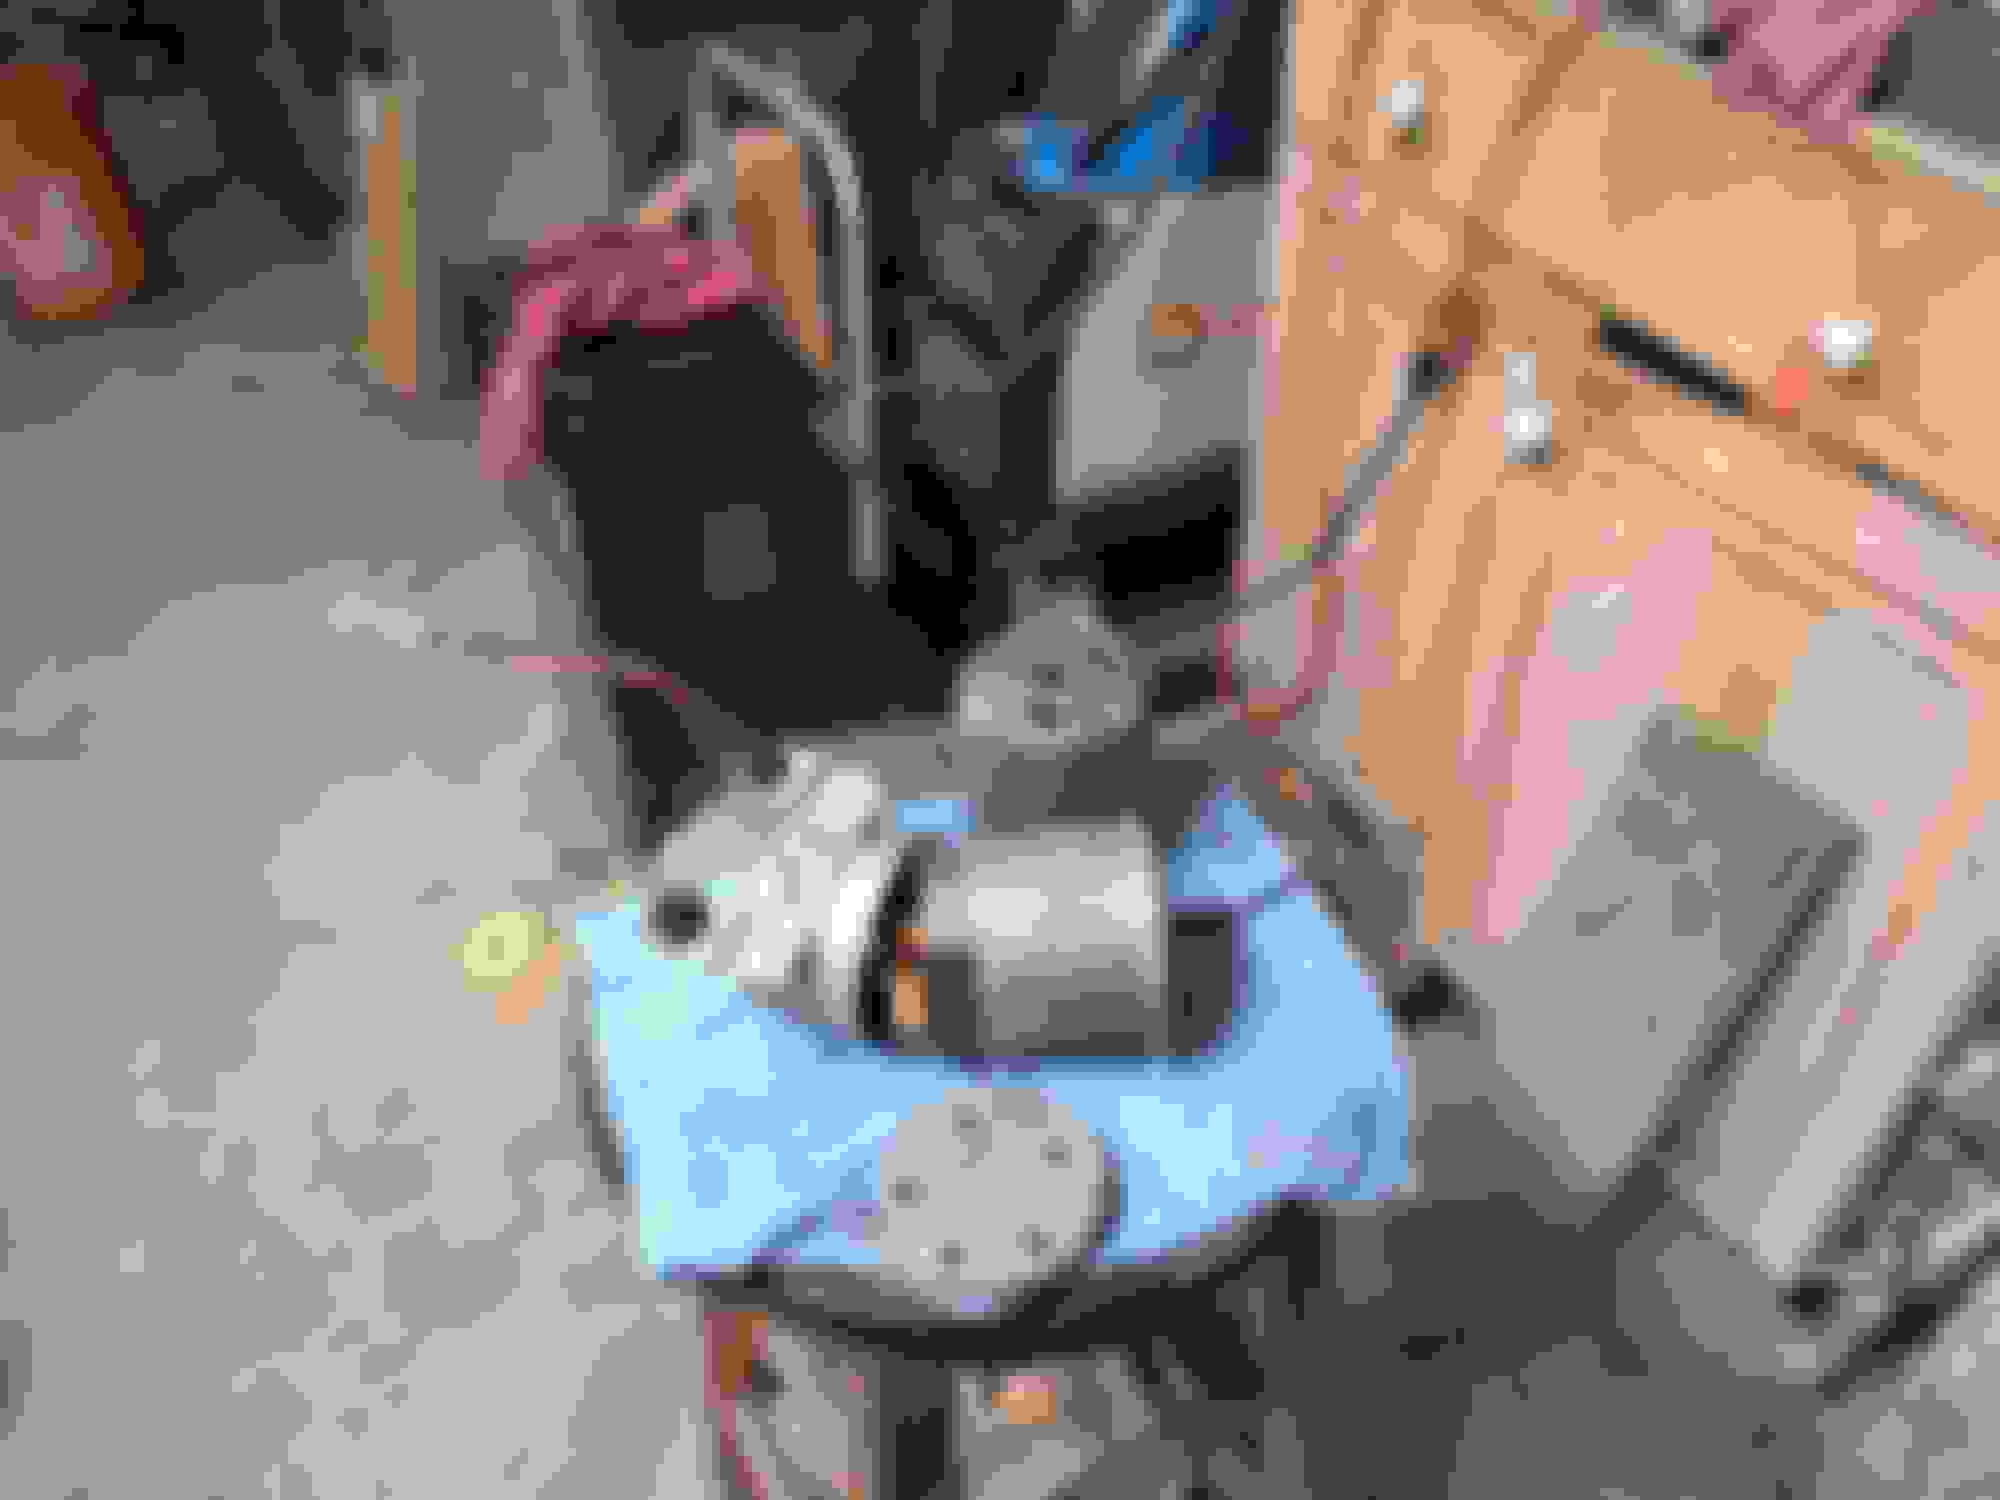
Got the first pump finished up and tested.
Working on a second pump I had laying around the gelled brake fluid was a task to remove.
After scraping and soaking for days, first in water then again in evaporust, it finally came out clean.
I have a third that is pretty rough, with luck I will have three working pumps.
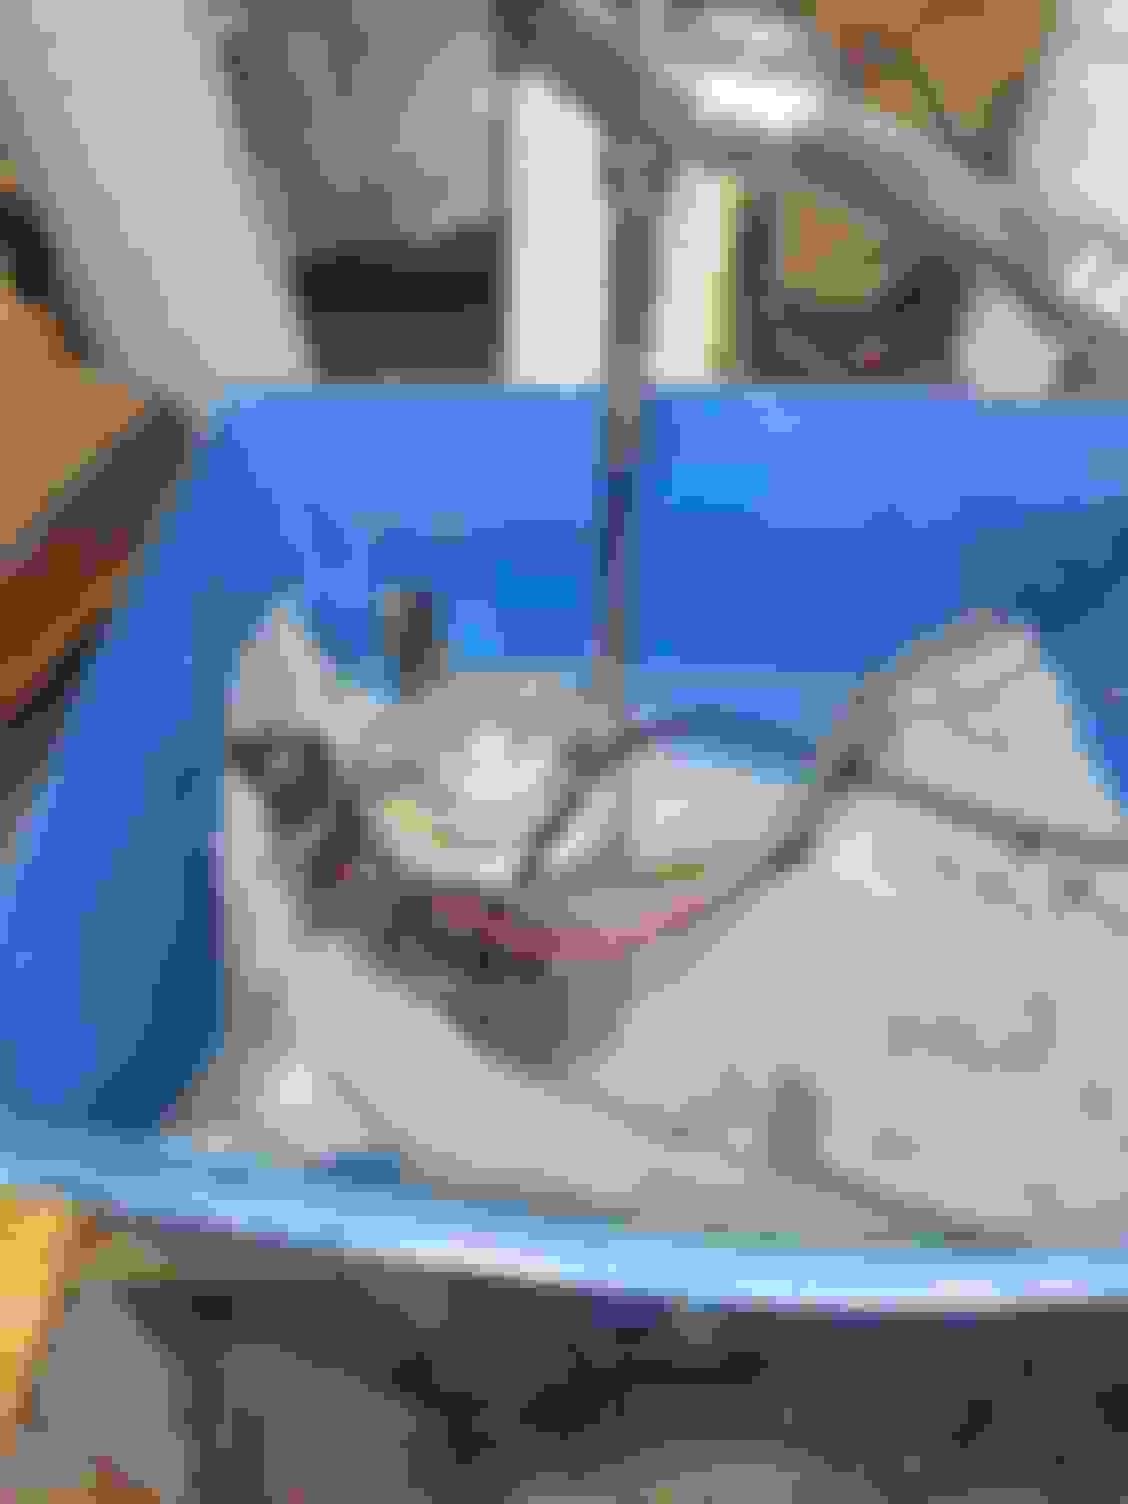
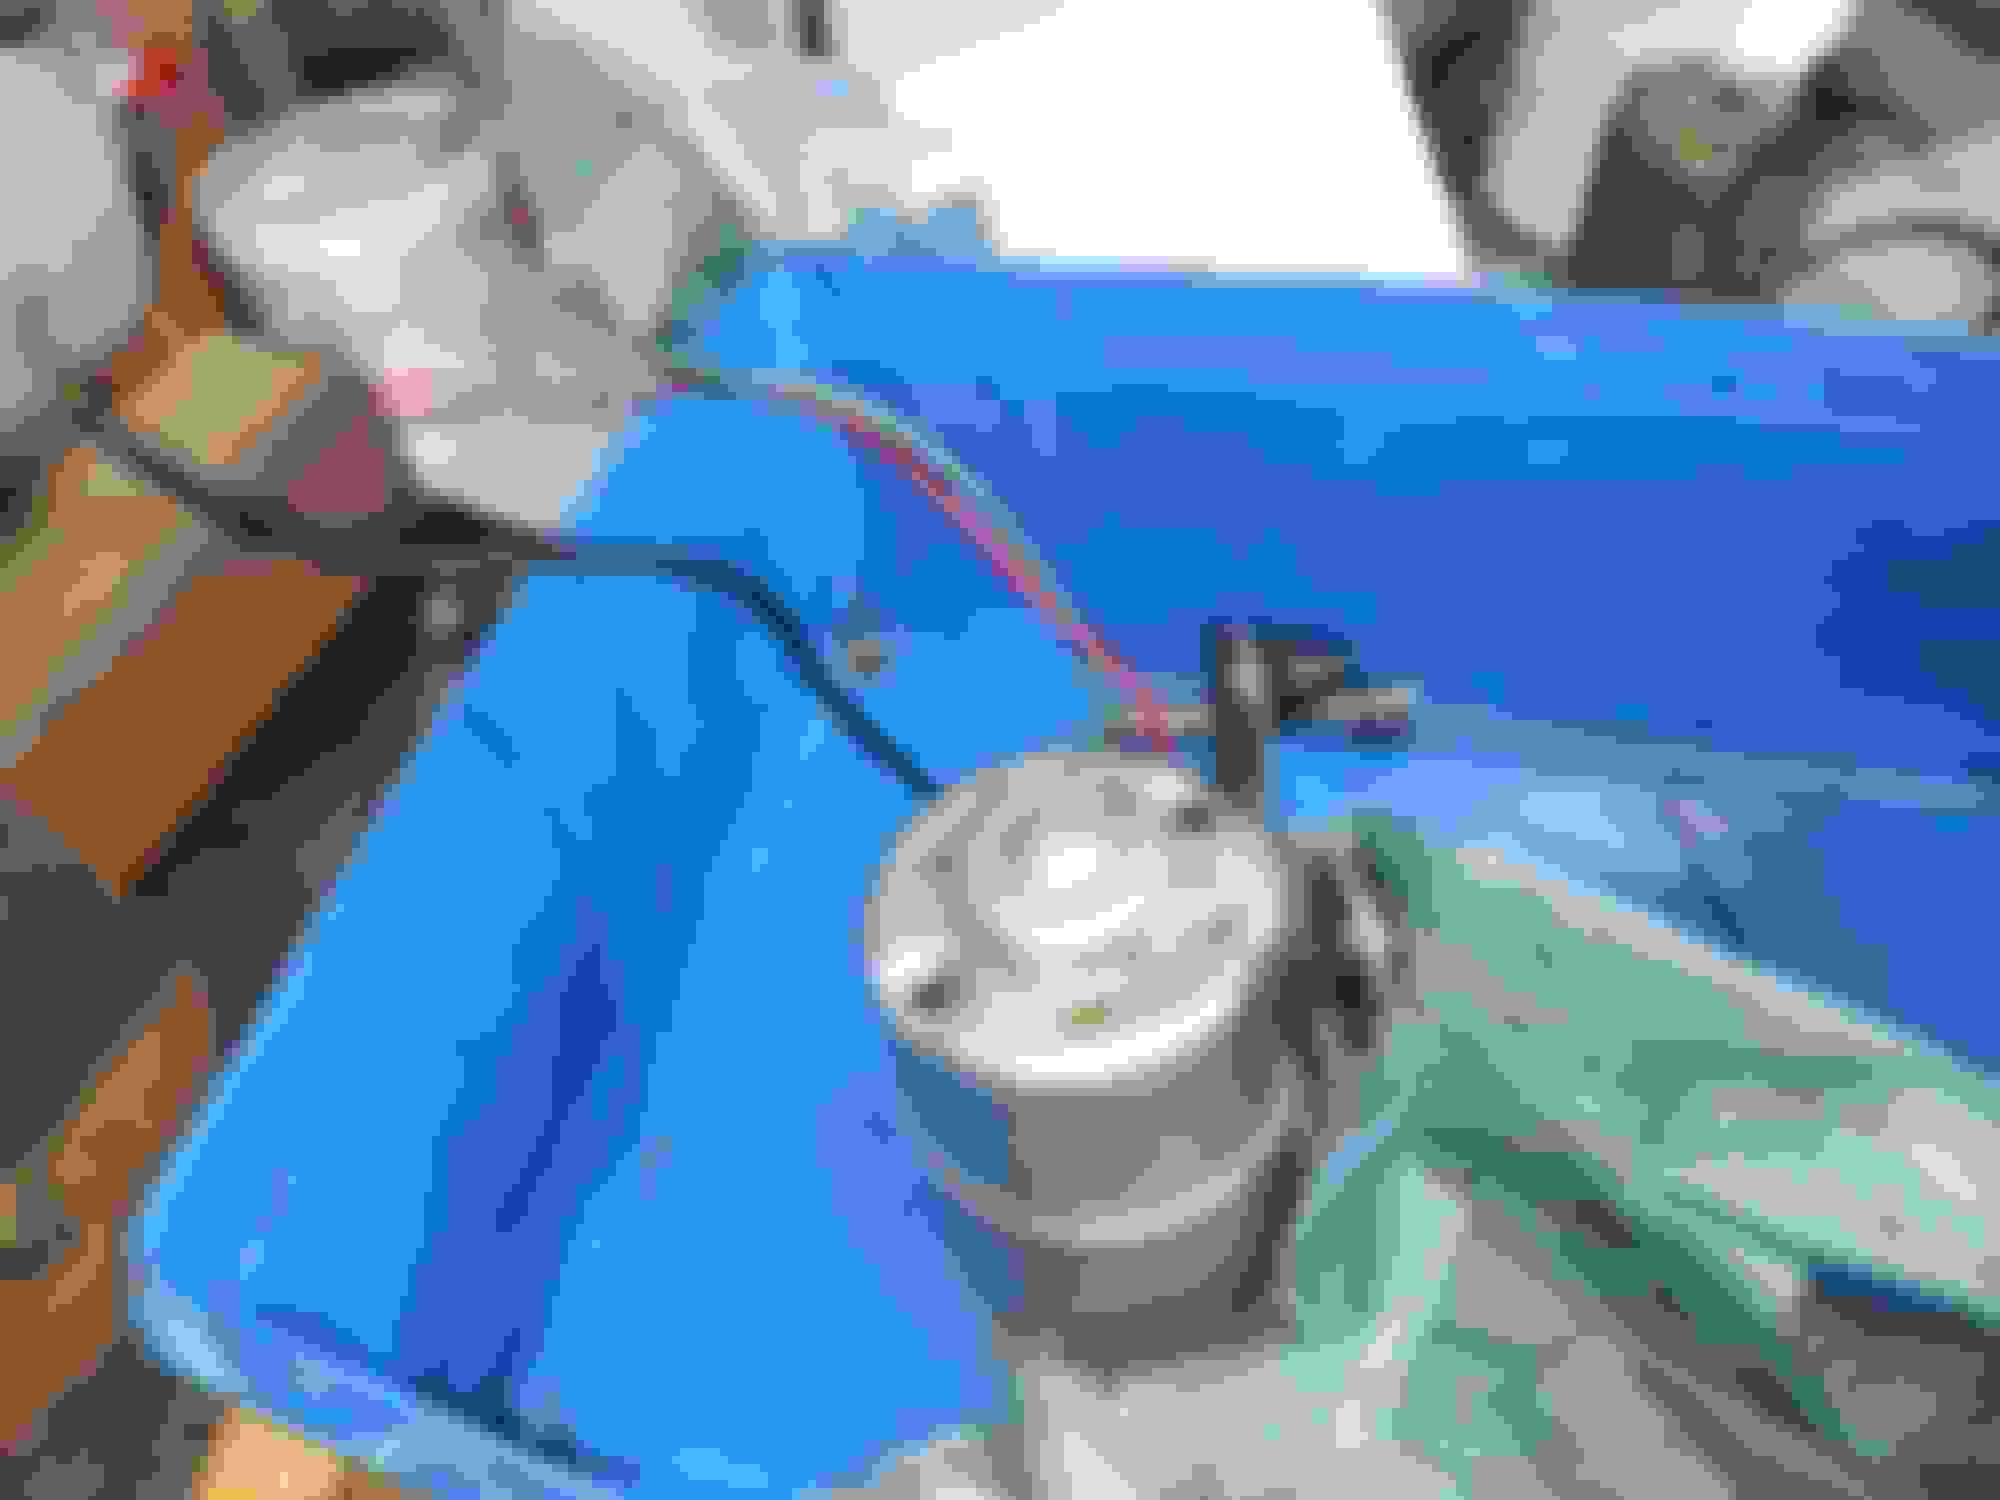
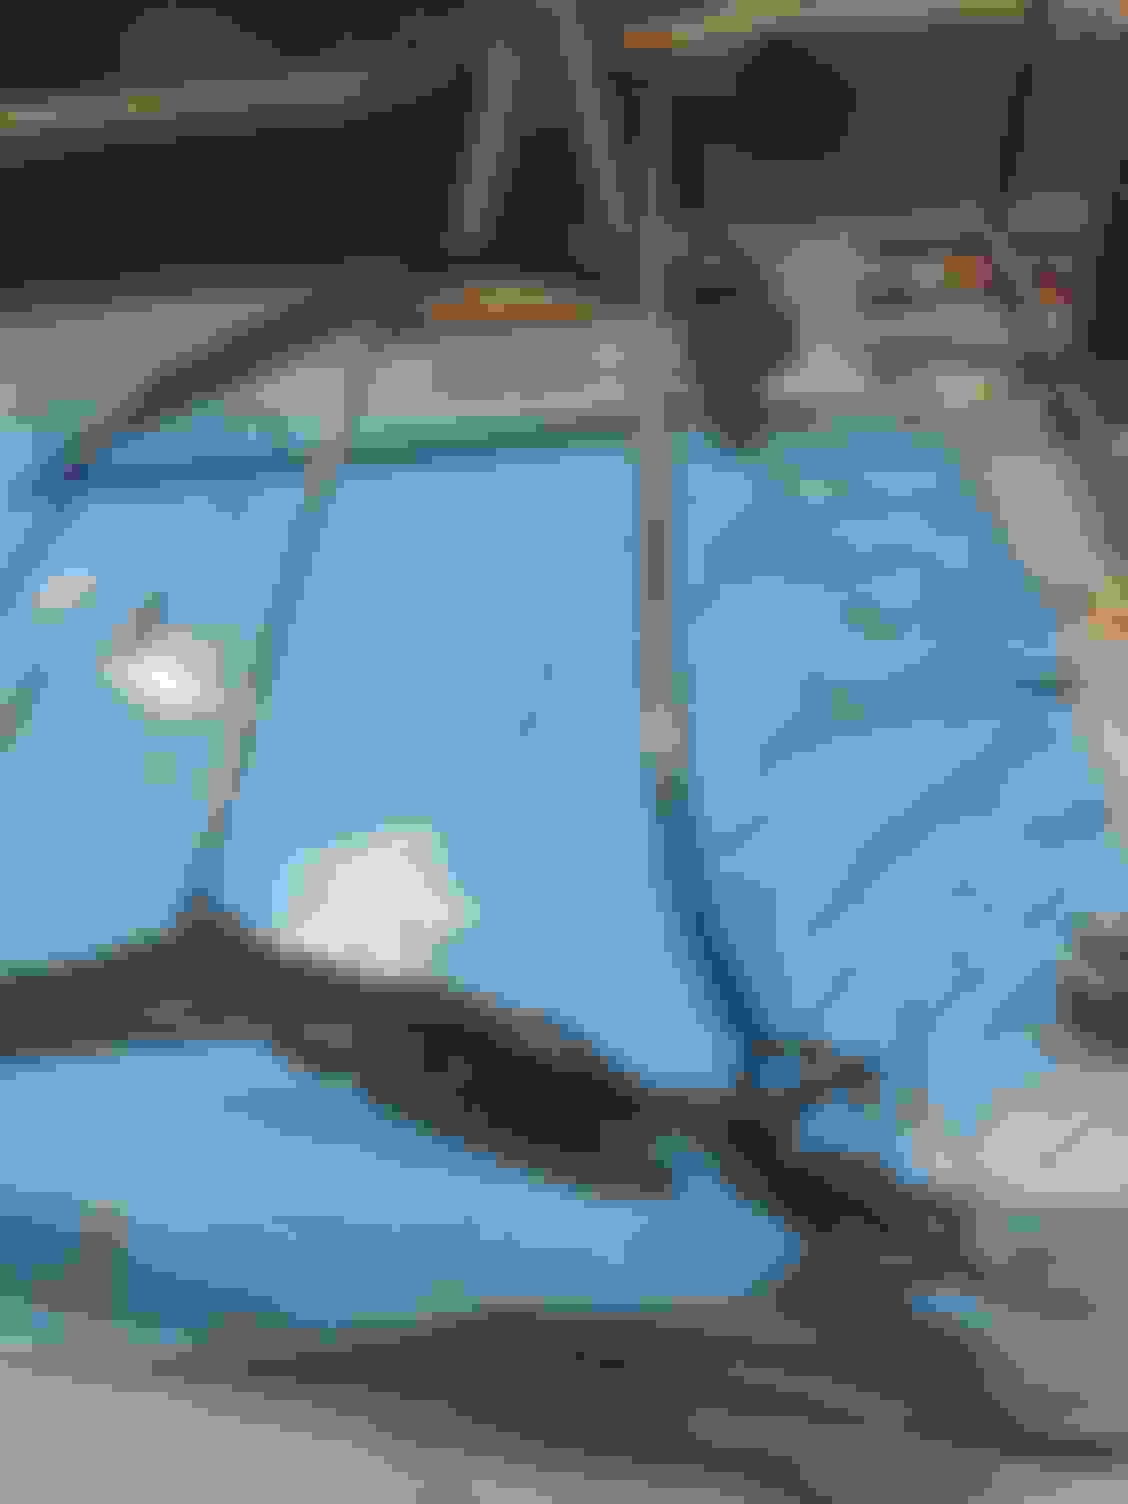
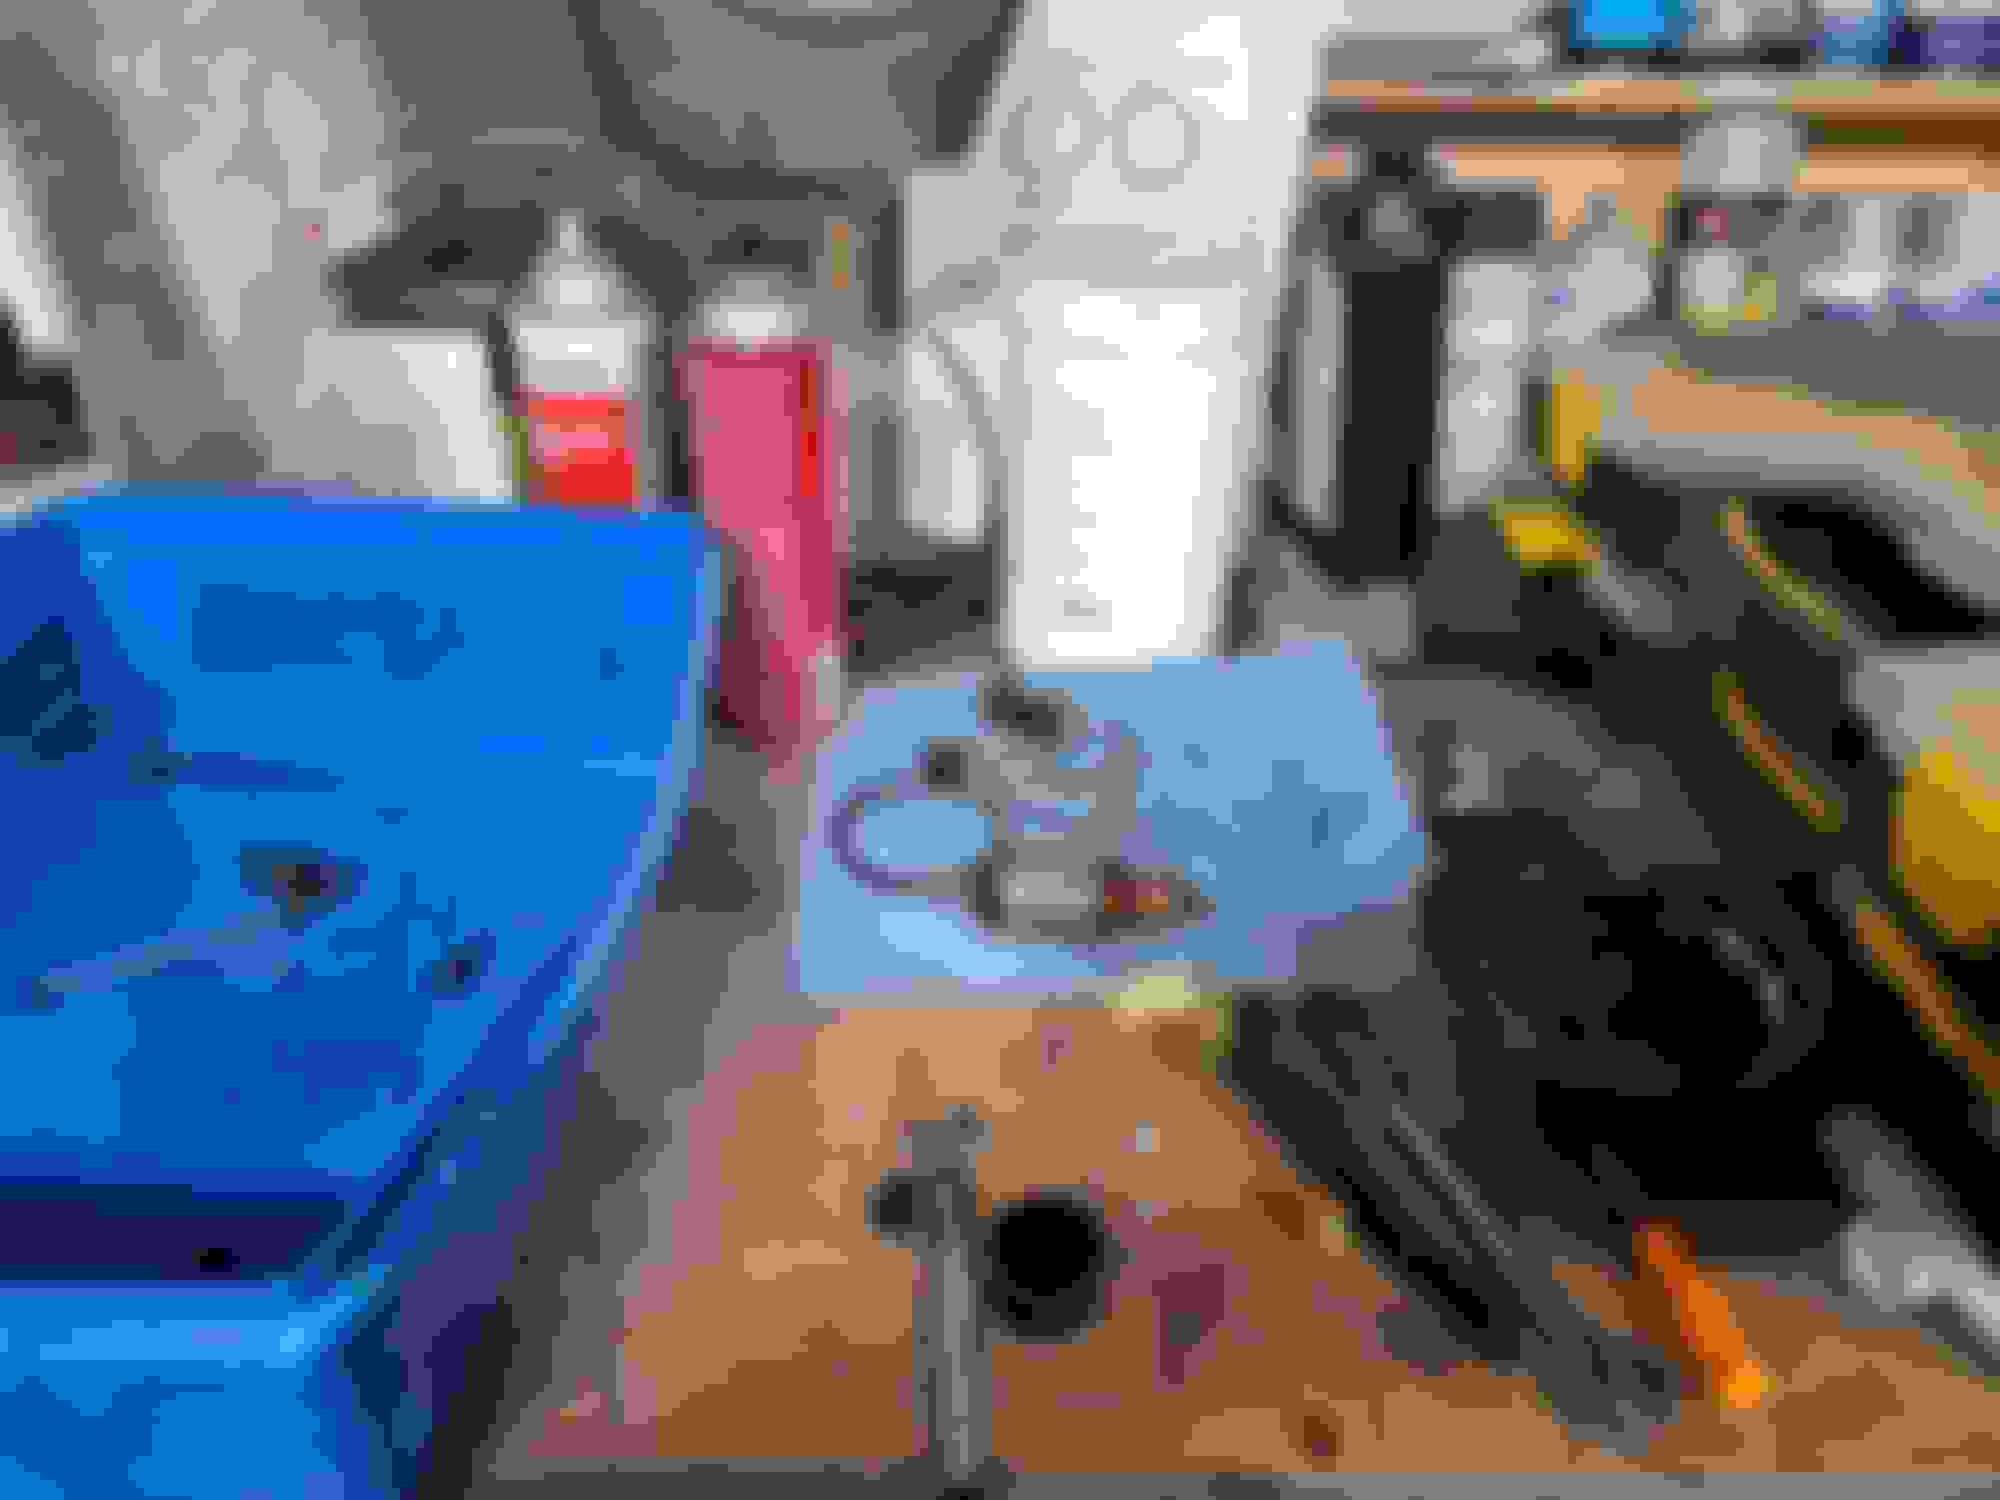
Got the cylinders and hoses hooked up.
Started to bleed the system.
Making a mess with the tranny fluid.
Went with dextron iii at around 5 bucks a quart, could not see paying 12.50 for dextron VI.
Tim:
It looks like you connected the hydraulic lines and primed the system before installing into the car. How did this work out for you? Any tips or words of wisdom on this approach? I'm about to install my top frame along with the pump motor and ram cylinders.
Thanks in advance.
Rodney
Tim:
It looks like you connected the hydraulic lines and primed the system before installing into the car. How did this work out for you? Any tips or words of wisdom on this approach? I'm about to install my top frame along with the pump motor and ram cylinders.
Thanks in advance.
Rodney
From what I have been reading, they suggest not attaching the cylinders to the top until you're finished priming.
Being the slob that I am I figured to make a mess outside the car.
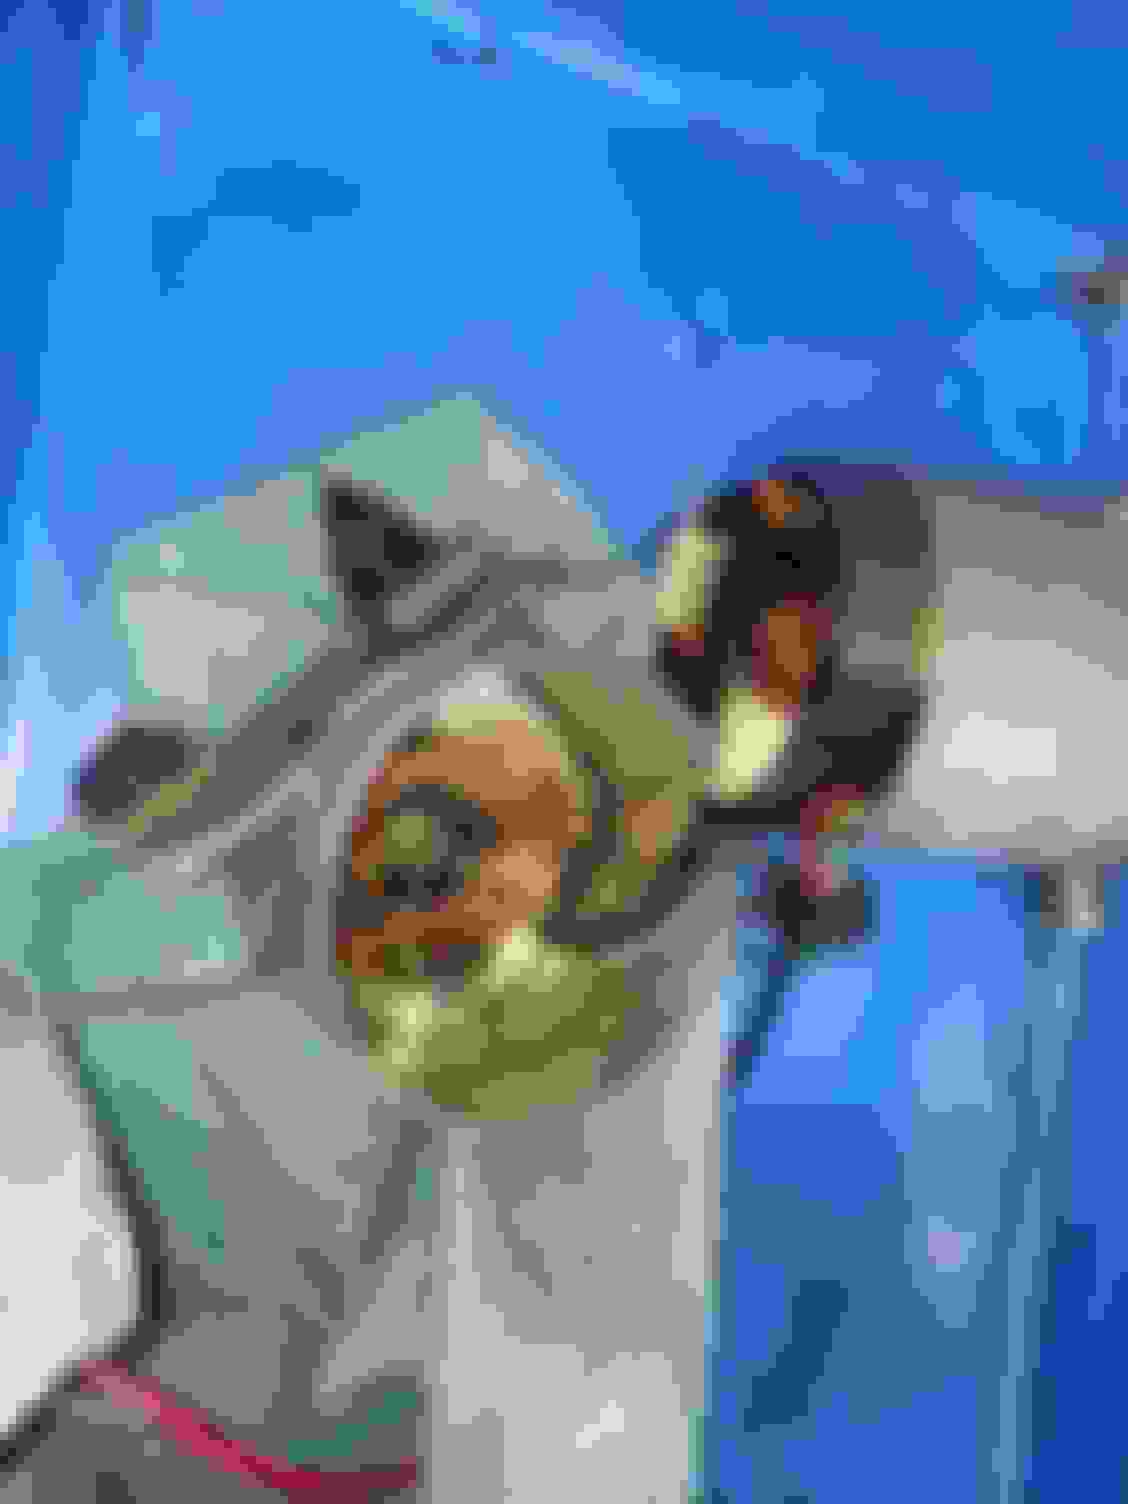
After making a big mess I had the wife pick up a turkey baster to finish filling the reservoir.
I just happened to put the pump on a table to make it easier to fill, not sure if it helps the priming, but having the pump higher than the cylinders allows the air to rise.
I left the cylinders extended overnight so I am hoping any leftover air has bled out.
If not a couple more extensions in and out should finish it.
You can leave the plug out until finished, however, be careful when you retract the cylinders you may end up overflowing the reservoir.
Since I purchased the cylinders from these guys. I used their instructions (kinda) https://www.convertiblecylindersdire...cylinders.html
Finished up the priming seemed best to let the bubble come to the top and run the pump in the same direction for a second or two to push fluid through the air bubble vs going back the other direction where it looked like it just pushed the air bubble back into the cylinder.
I need to verify/fix the lines I think the long line goes to the bottom of the cylinder which I had it that way to start then switched it.
Also I think I have the hoses reversed on the pump.
Summary:
When priming let the pump cool between runs.
Don't over-tighten lines, finger tight then quarter turn.
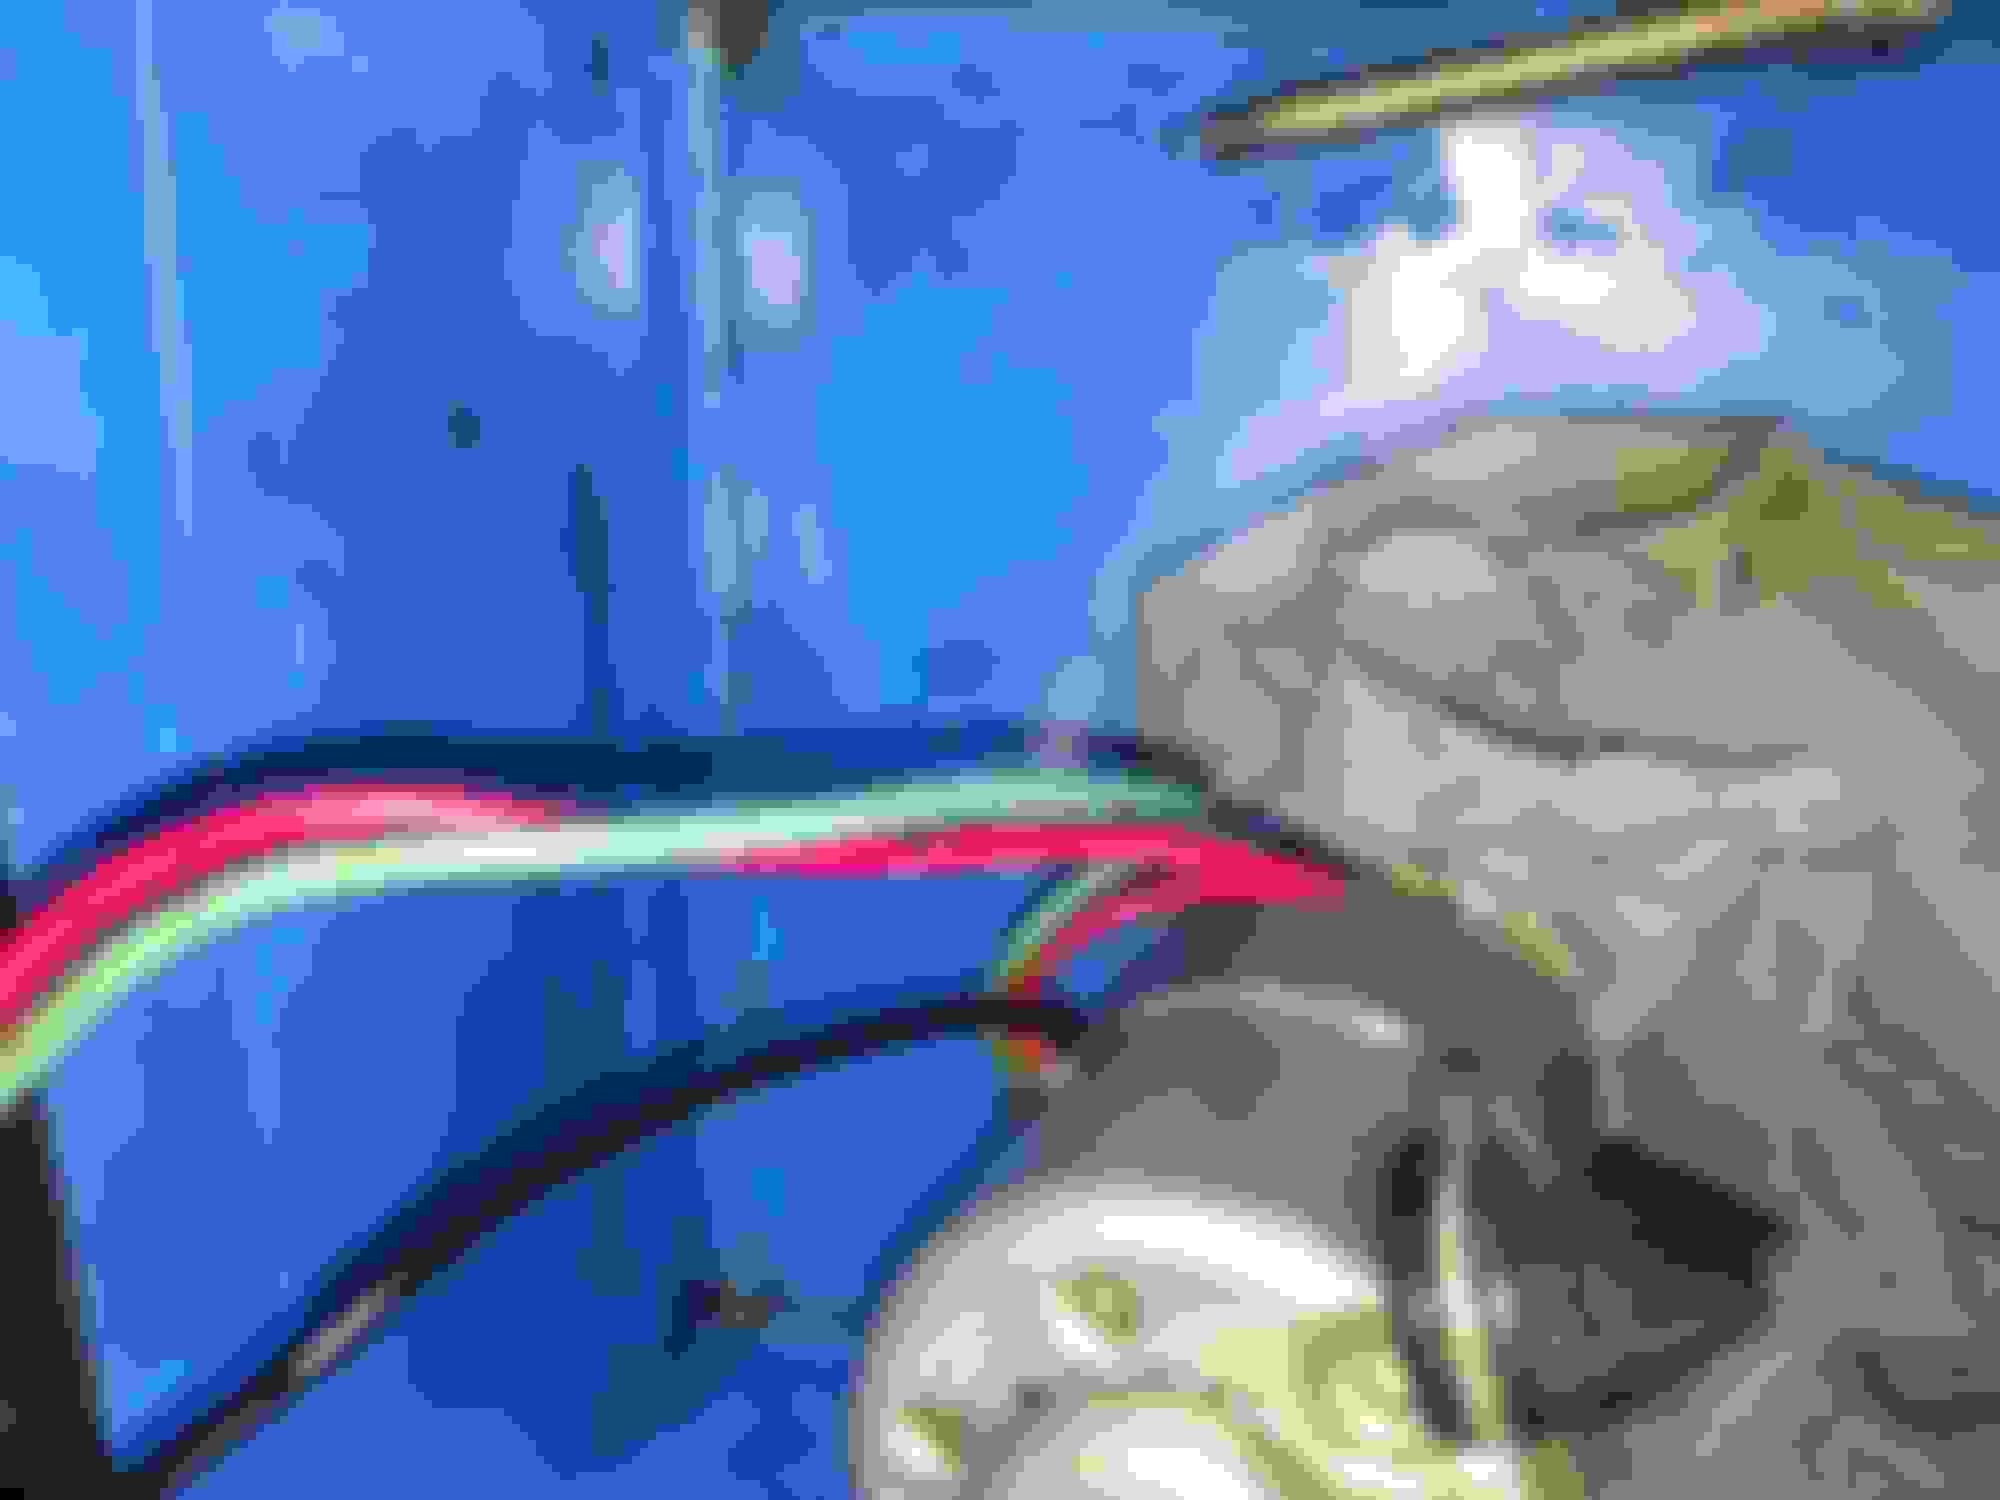
Be careful not to power both green and red lines at the same time.
Red is up
Green is down.
long line to the bottom of the cylinder
the shorter line to the top
top line goes closest to the wiring.
confirmation that long line goes to bottom of cylinder
Last edited by tkcutlass; Jan 15, 2023 at 10:32 PM.
Reason: added pic
Swapped out the lines so the short line goes to the top and the long line goes to the bottom.
Stopped by an area Upholstery shop to review the convertible top pricing.
he suggested/stated:
bringing car prior to painting.
Install tack strip, or pay $100/hr for him to do it.
Will take longer to install due to no padding from the previous install for measurement. (For those with good frames probably best to leave old top material attached )
The rear glass I saved is worthless without the attached fabric.
That's just two pieces of trim I glued together for the top of the header bow.
I glue the two pieces together and trim the width of the thinner piece.
The paint sticks help hold the pieces together in the vice.
Looking good. You might want to install the firewall pad at this point. The black plastic "square" under the gas pedal actually holds the pad in place, so you will need to remove the gas pedal assembly before attaching the pad to the firewall.
Looking good. You might want to install the firewall pad at this point. The black plastic "square" under the gas pedal actually holds the pad in place, so you will need to remove the gas pedal assembly before attaching the pad to the firewall.
Thanks Loaded,
I am glad you brought that up, anything else to consider while I am at it.
I'll have to check out the padding, I think it came with push pins to attach it to the firewall, do you use any adhesive as well?
You don't really need to use adhesive for the firewall pad, but it might not be a bad idea. You will need adhesive for the "under dash insulation". That is the padding that is on the panel above the firewall pad.
Looks like I was supposed to put the firewall pad in before the steering column as well.
I have the pad but rather than removing the column or cutting the pad I may just use some of the dynamat I have.
I have reviewed a few threads using dynamat in their convertibles, I plan on using it on the floors etc. I am hoping it is worth the cost and effort in a convertible.
The bolts for the male top hinges showed so I mounted the convertible top frame, not sure if you can install the frame with the floating bow installed, I ended up removing it.
It's not really a 1 man job especially if the car is painted.
I am going to have to move the car or lower onto tires for the top to clear the garage door rails in order to open it,
I am thinking I should get all the bodywork/gaps set and the jams painted before I go too far with the inside of the car.
So I am working on the passenger fender, some of this is a repeat of my 70-72 Passenger Fender stick upward in back thread
I want to repeat some key info here.
In order to compensate for the missed stamped passenger fender I removed the fender bracket that mounts behind the door.
I attached the bracket with the bolt in the door jam trying to center it in its adjustment pattern.
I positioned the fender with the desired gap and clamped it.
I drilled a couple of holes for cleco fasteners. to keep the alignment / realign after repair and prep.
I traced the original and new position the bracket moved approx 1/4 inch forward and about an 1/8 th inch down. (see pic).
Before After
A little more tweaking and It should be good to go.
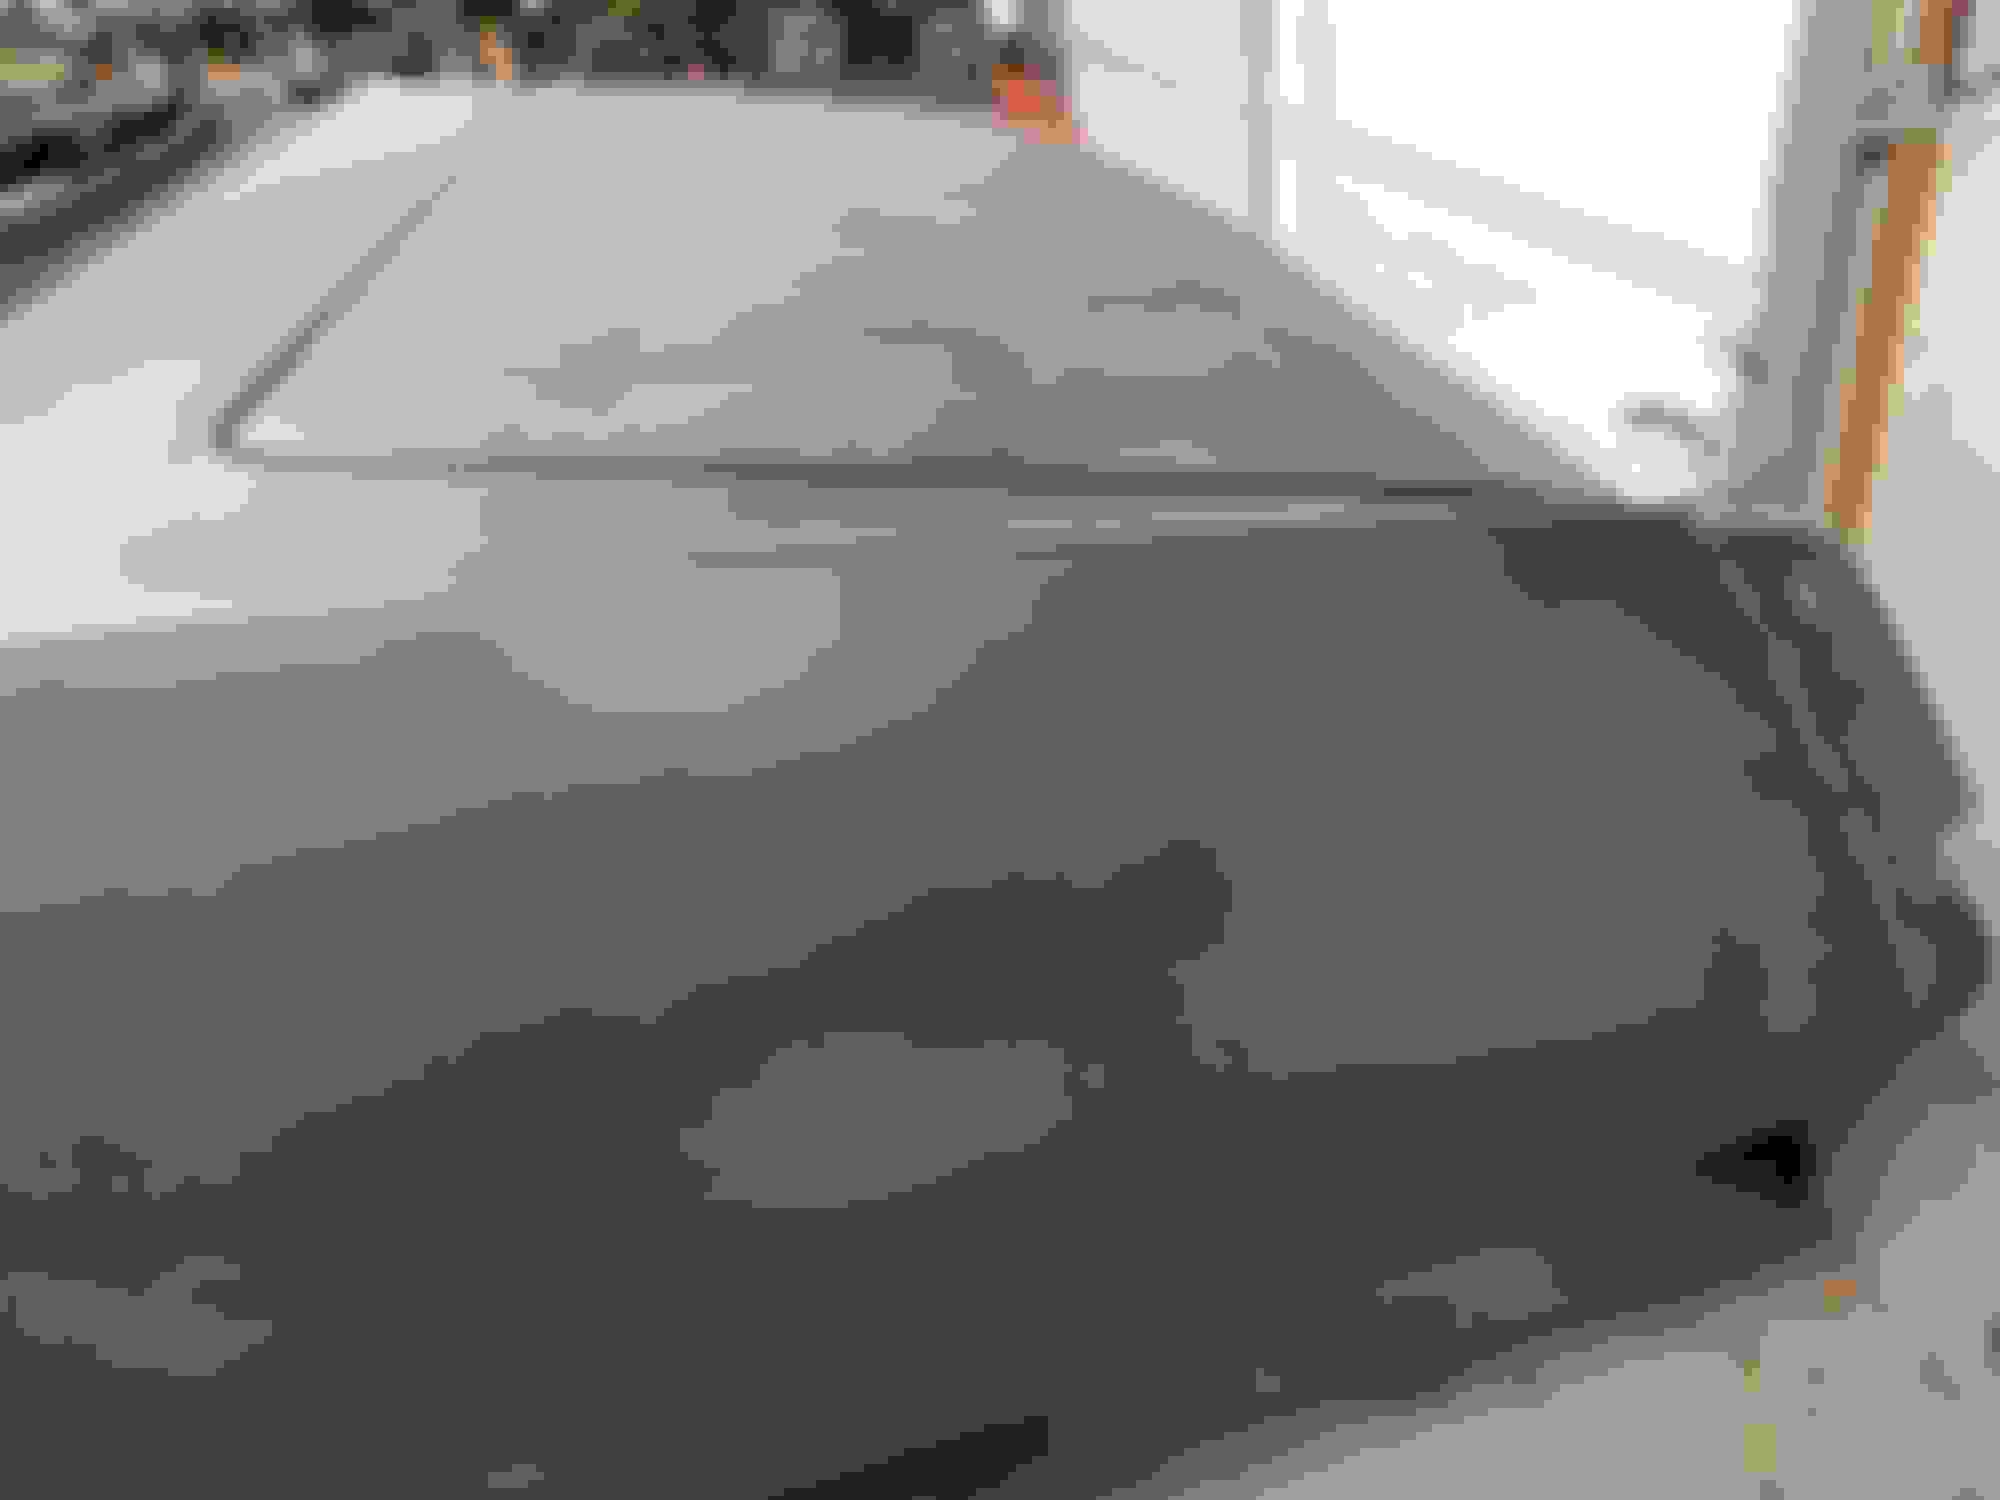
Tweaked the gaps a little more, not sure if I can get them any better than this. (might have to get that passenger fender down just a tad)
Hood and deck lid next.
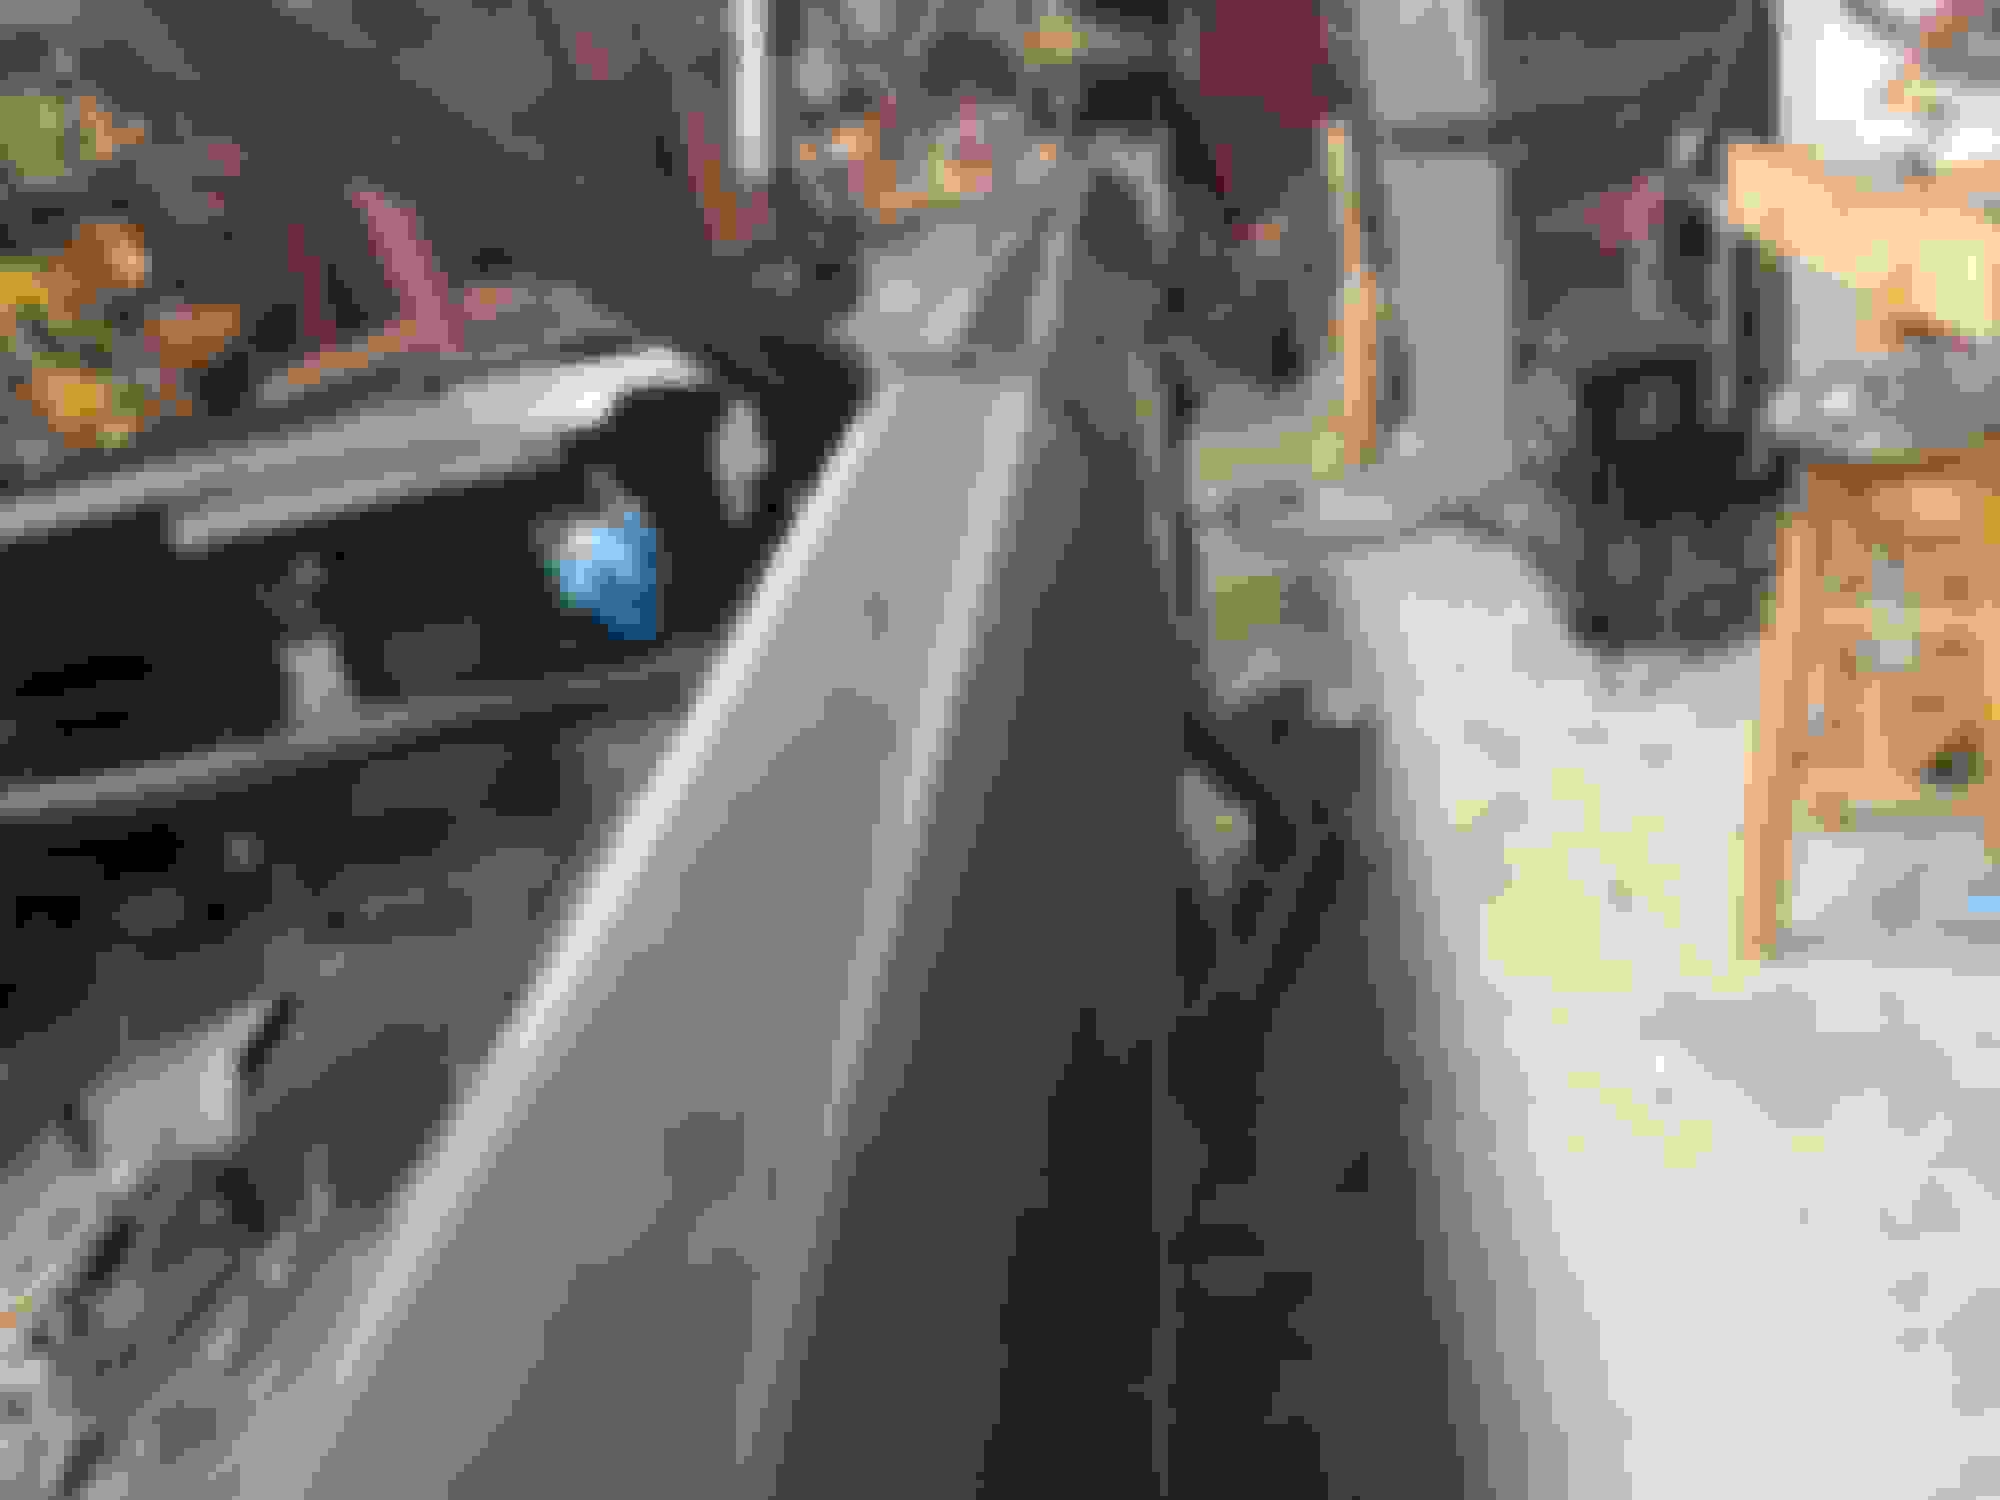
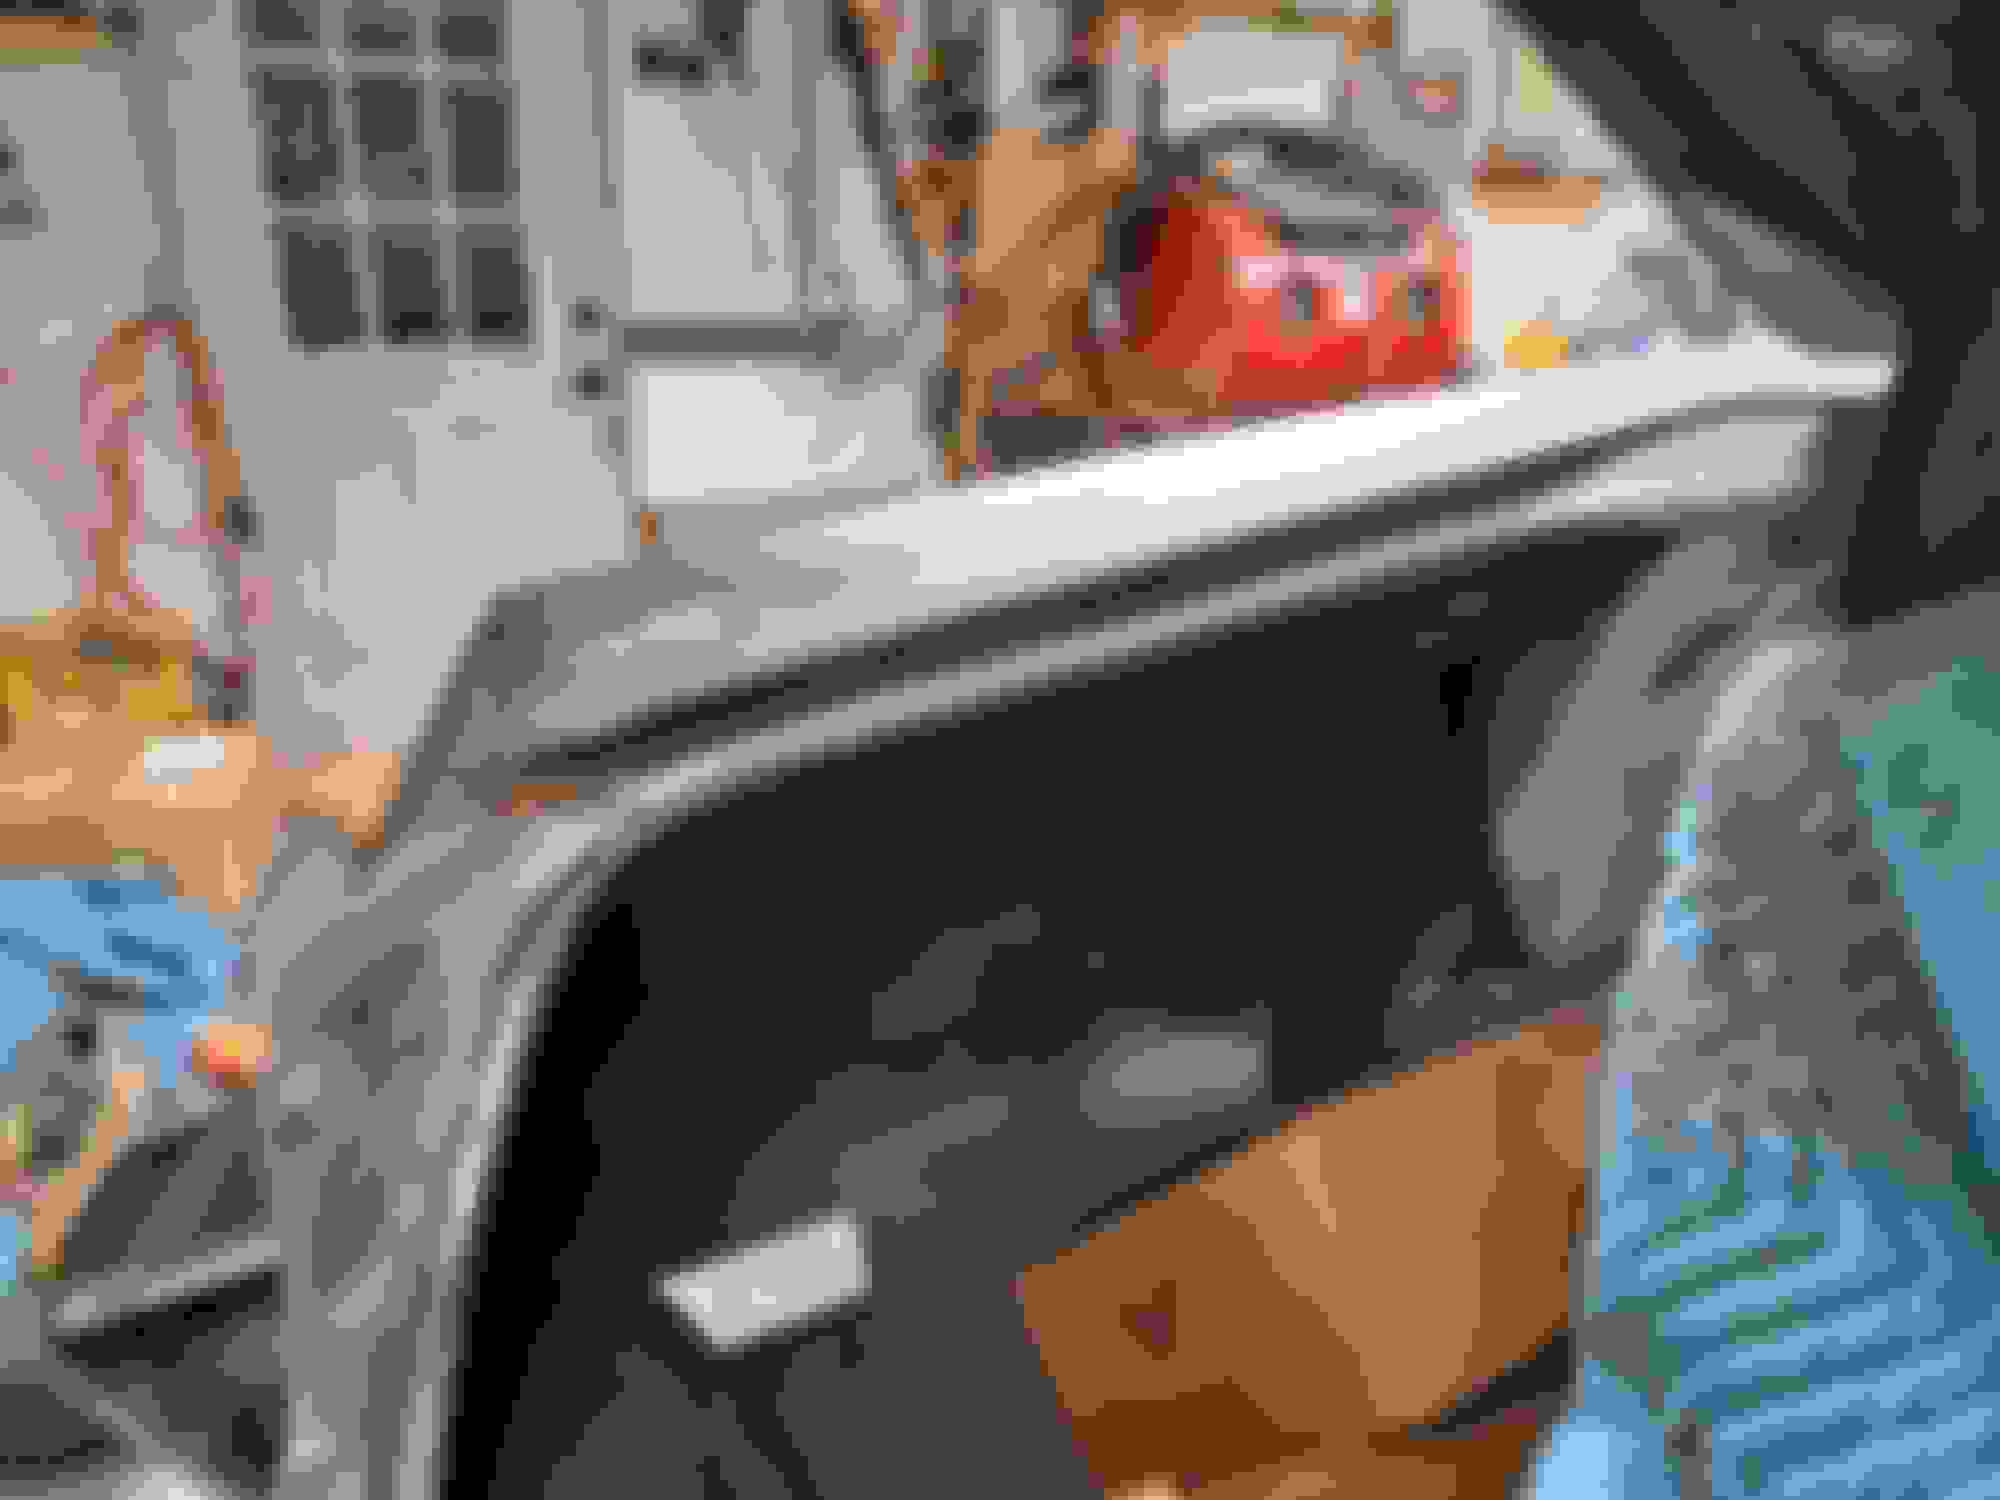
Trying to get the deck lid sorted out.
Did my best to get the rearmost edge down, any attempt to adjust downward with shims disturbs the leading edge.
The driver's side was off the most. I sliced the side edge of the trunk and raised it a bit. Closer but needs tweaking.


")